Vintage 1970 Broncco tx2/tx1

1970 Broncco TX2/TX1

  • yes

    Votes: 2 28.6%
  • No

    Votes: 5 71.4%

  • Total voters
    7
  • Poll closed .
#41
Had some time to kill tonight, so i *finally* committed and welded the jackshaft plates to the frame (they were just tack welded.) It took me a while to commit to this, as it had to be right. Because they're not coming off! Also welded on a fender bracket to the swing arm, because there was none.

I know what you mean ,I walked by nine for 3 days after tackling in place before getting that same courage ,LOL. Once you really weld them, thats it.
 

cfh

Well-Known Member
#42
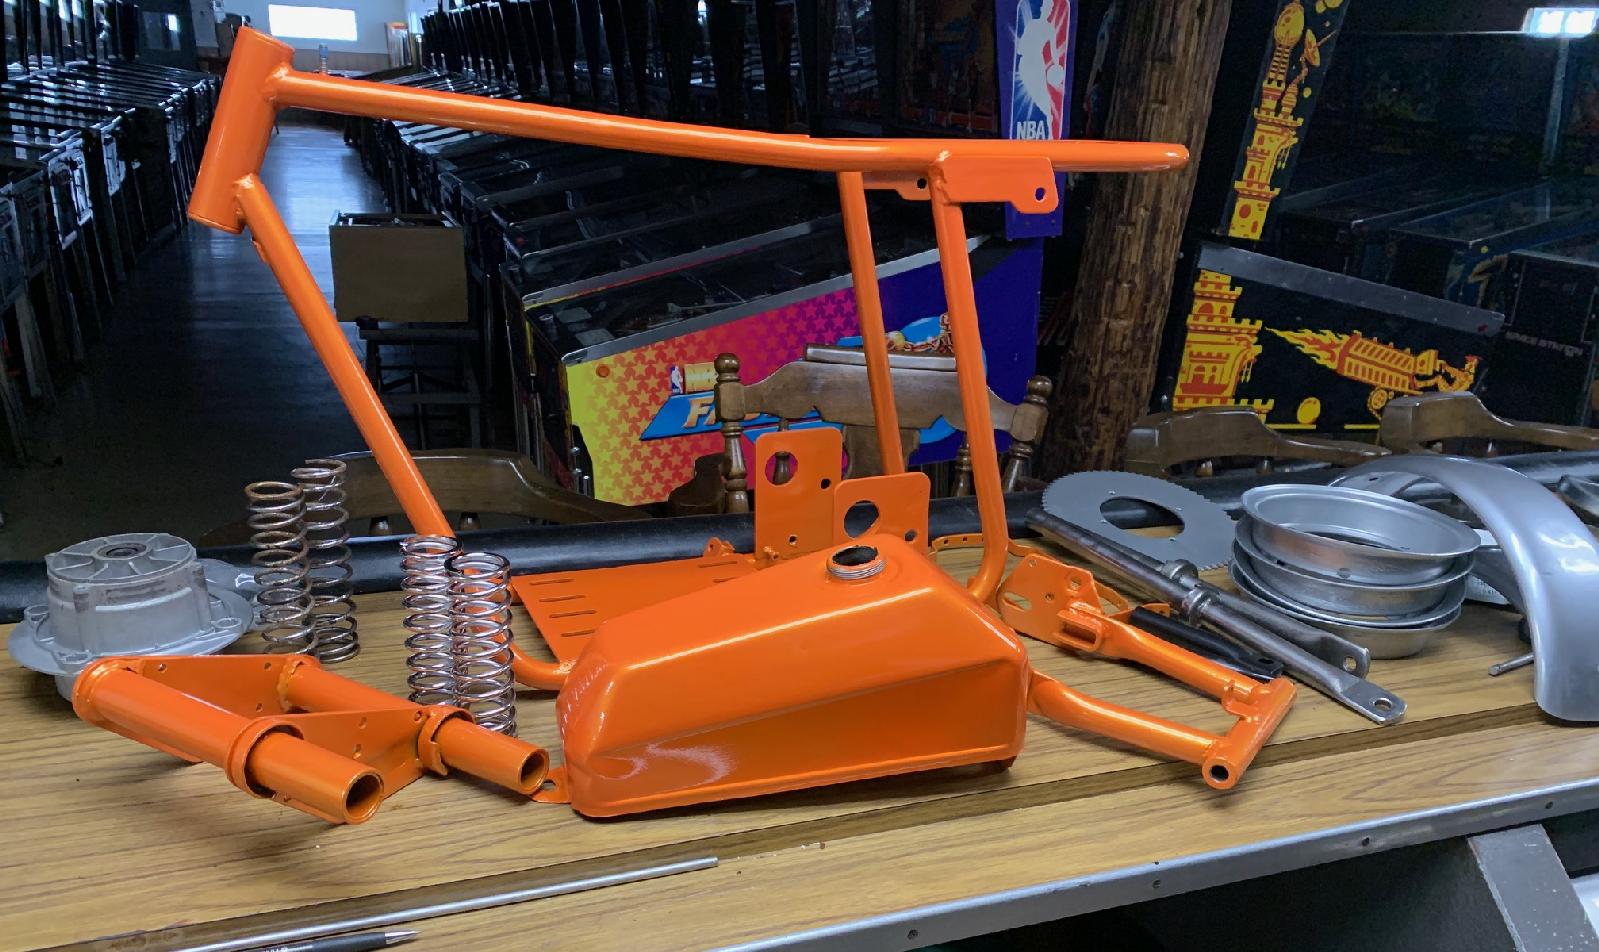
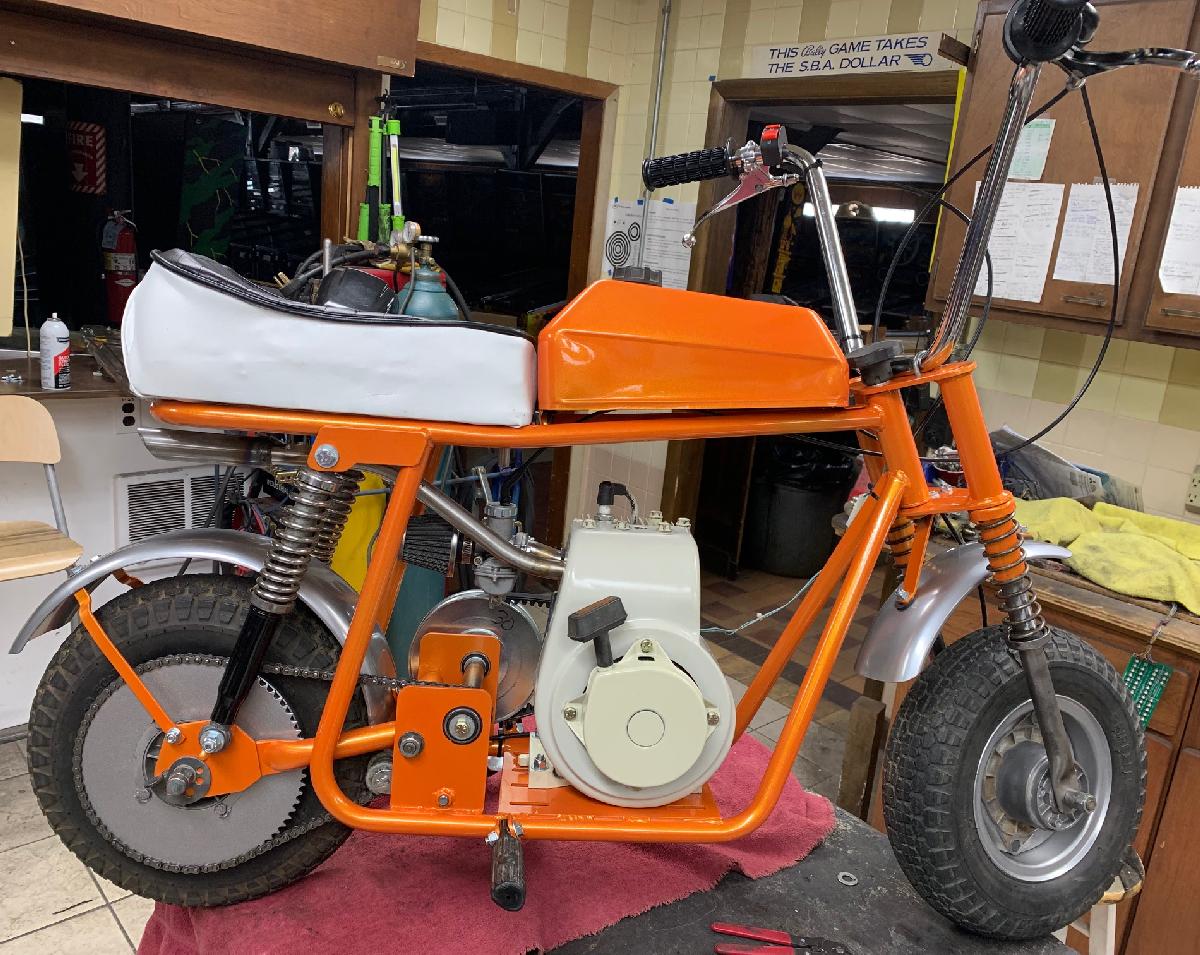
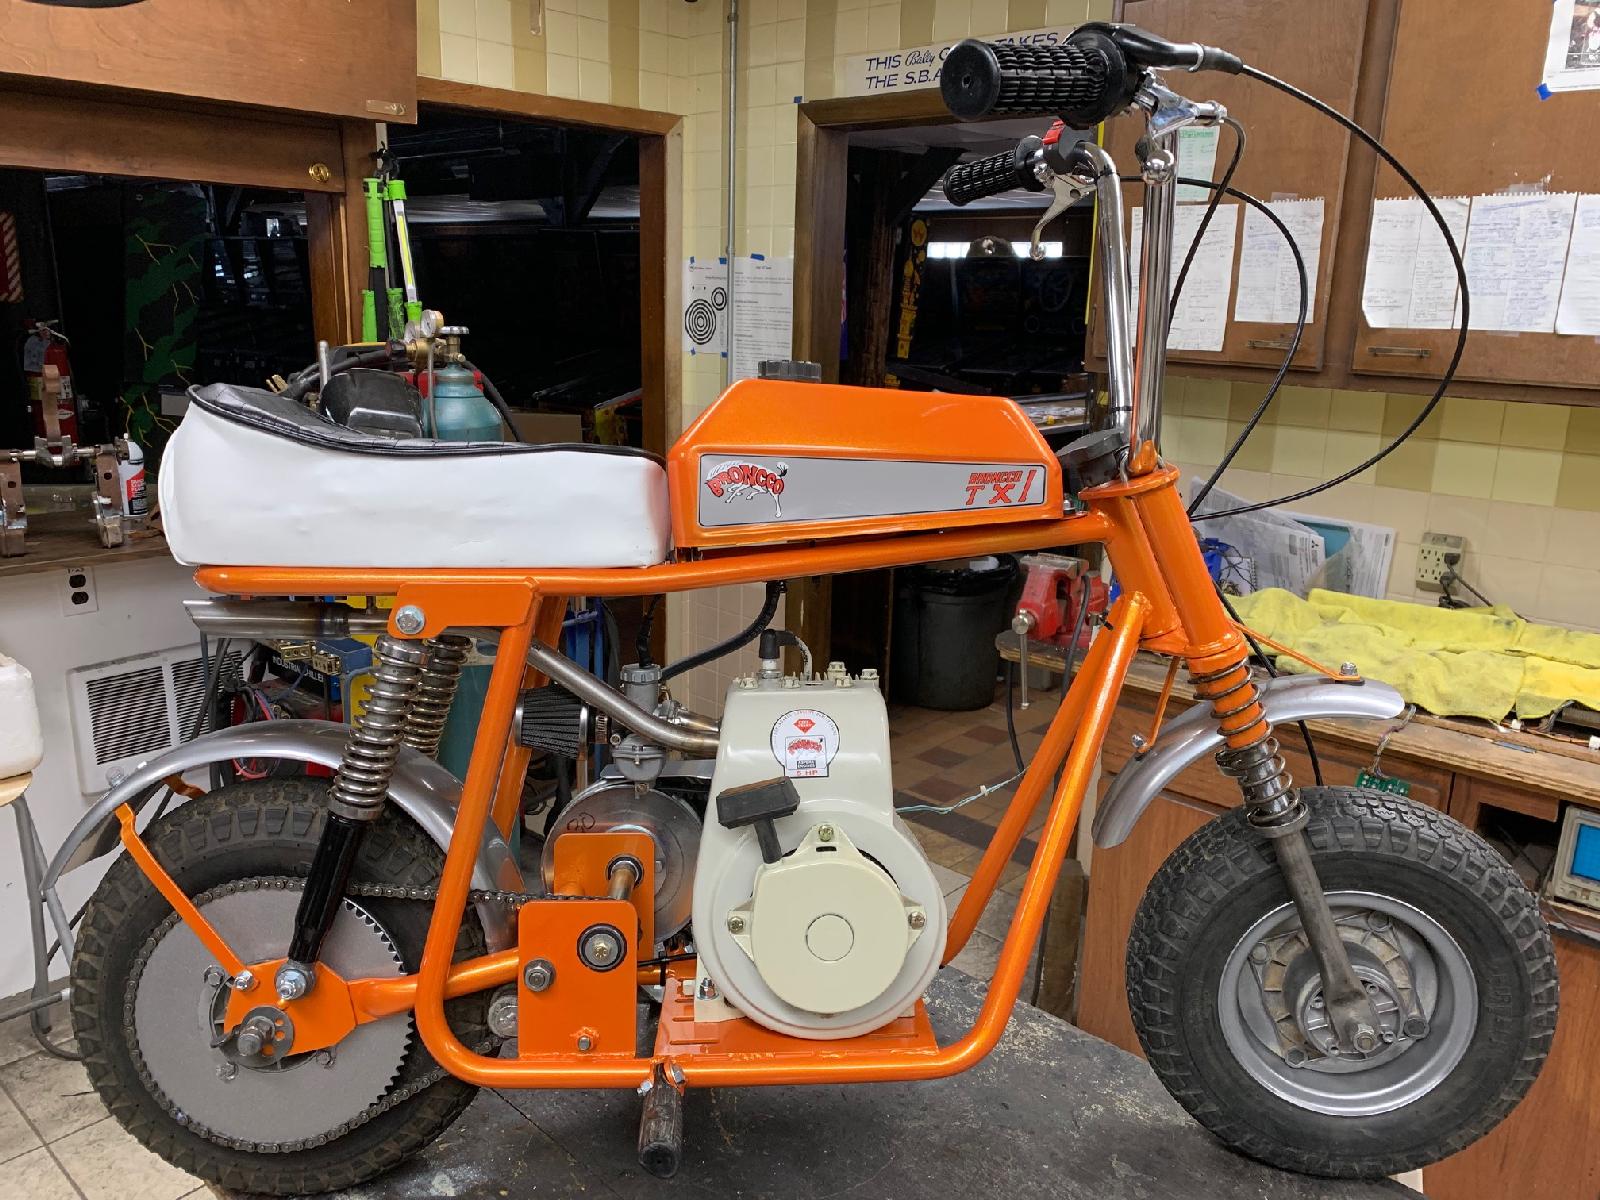
I'm thinking of getting ready for paint, but am i *really* ready for paint? that's always a question, and i don't want to forget anything. So what did i do tonight? made an exhaust for the bike!

i know, you're all like, 'why would you do an exhaust now??'
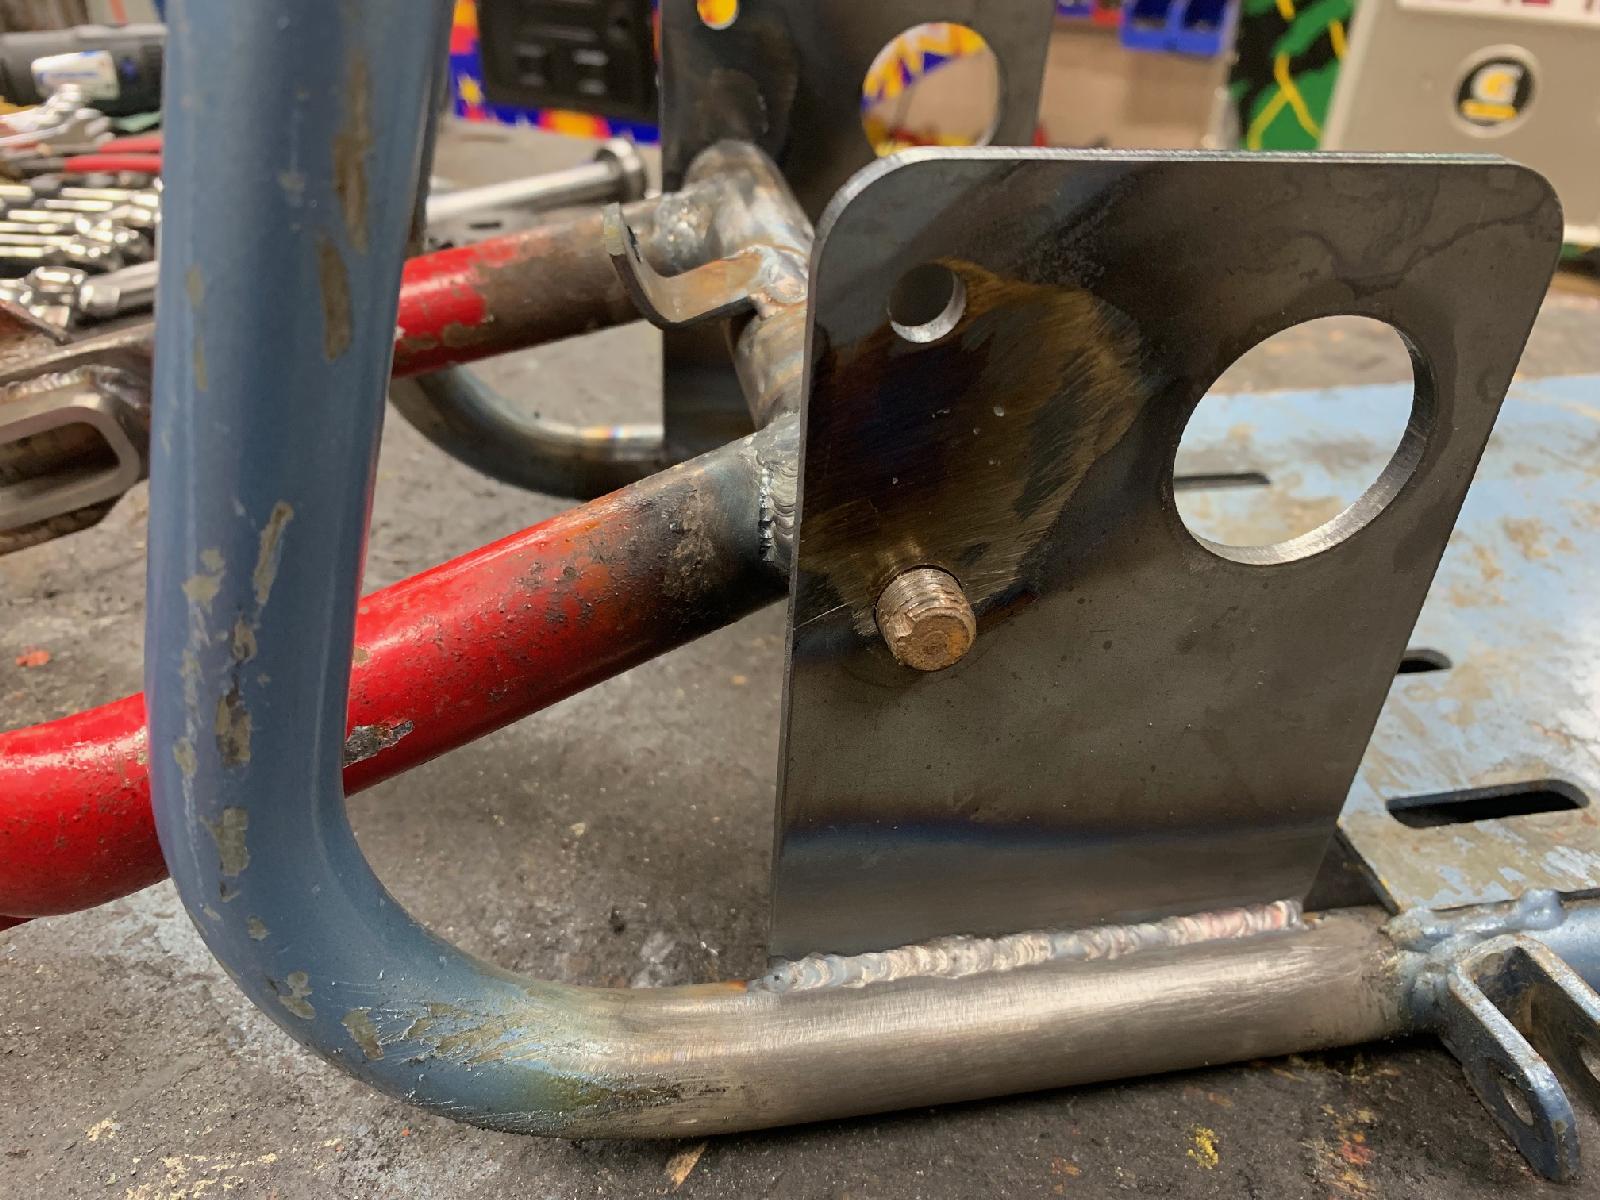
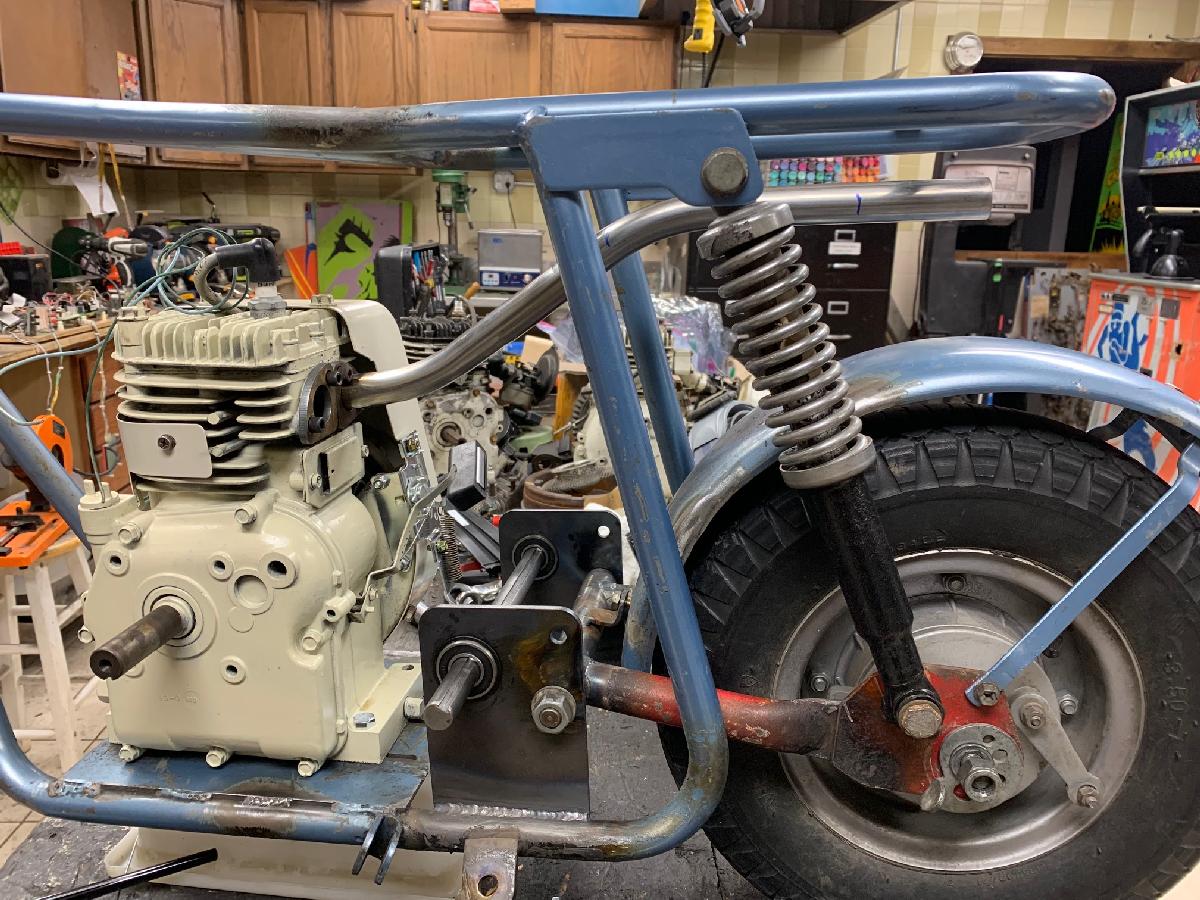
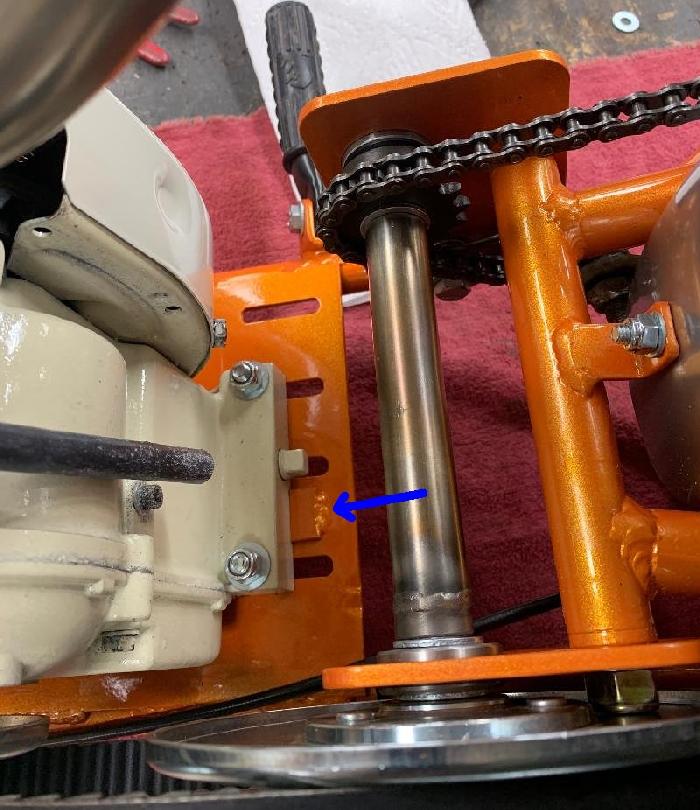
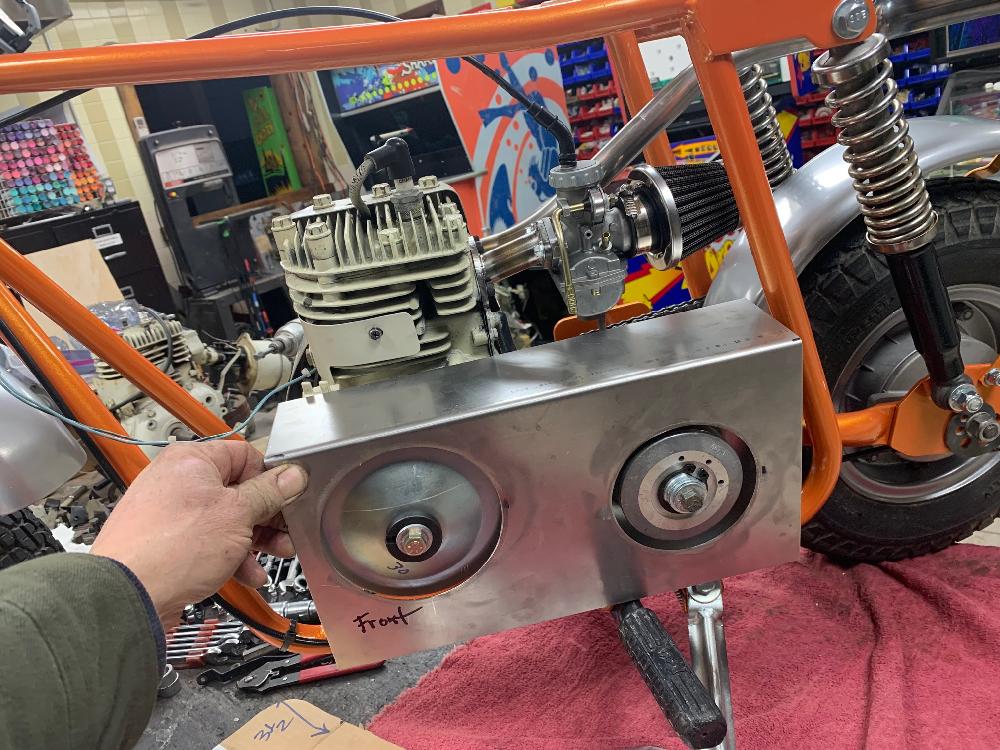
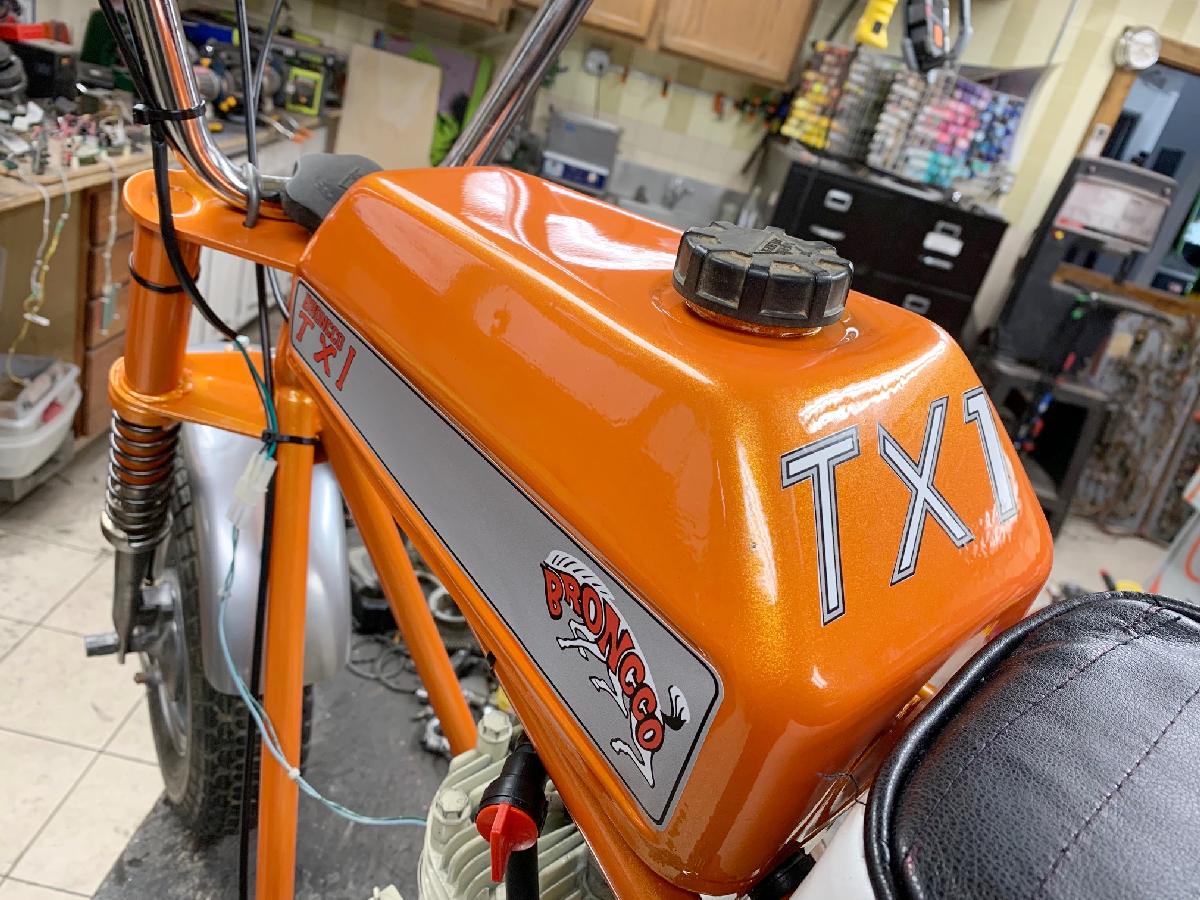
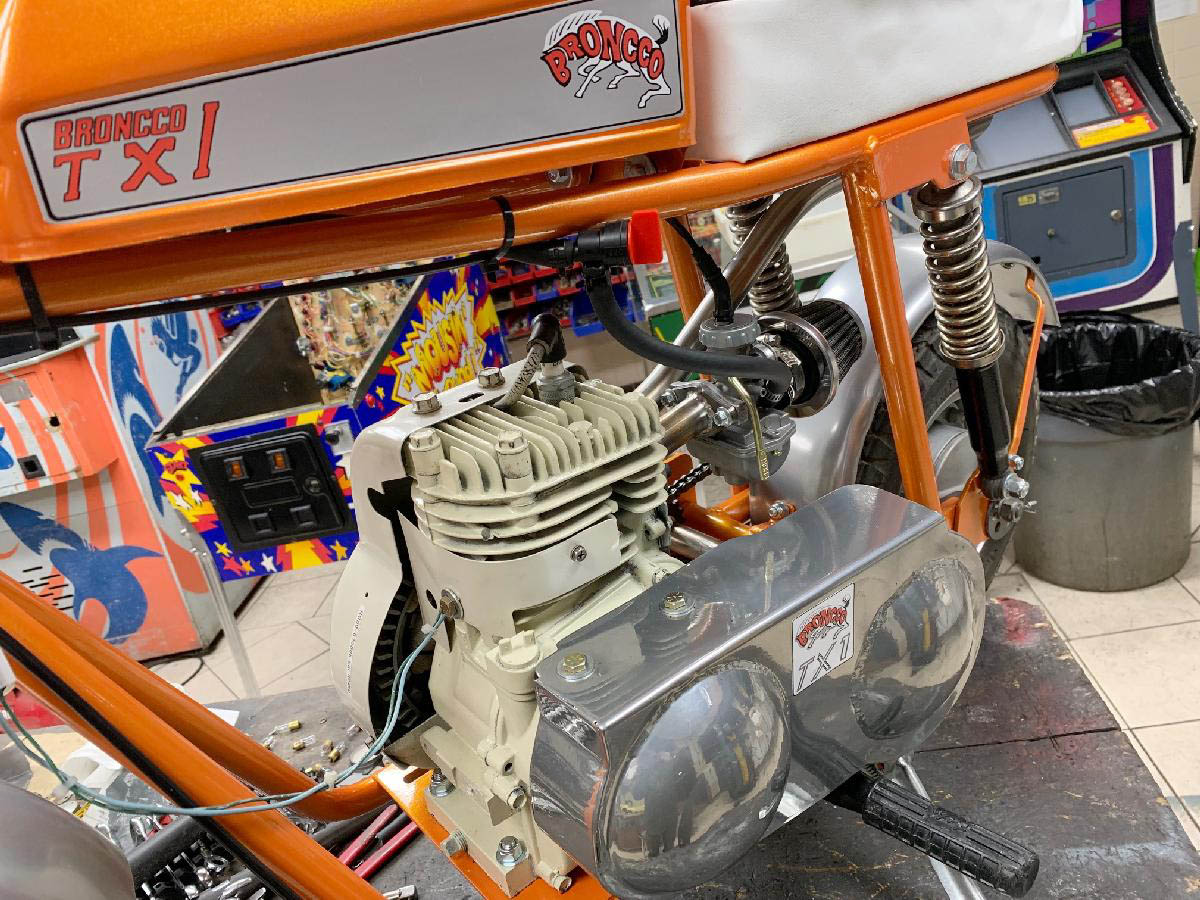
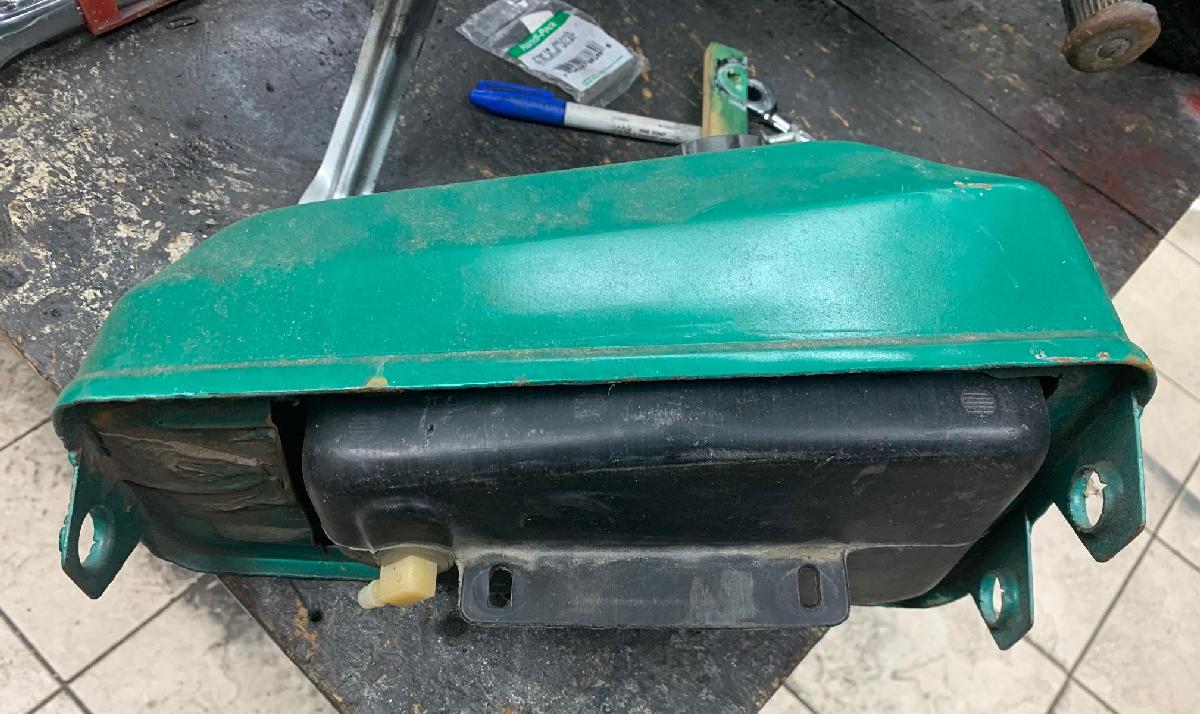
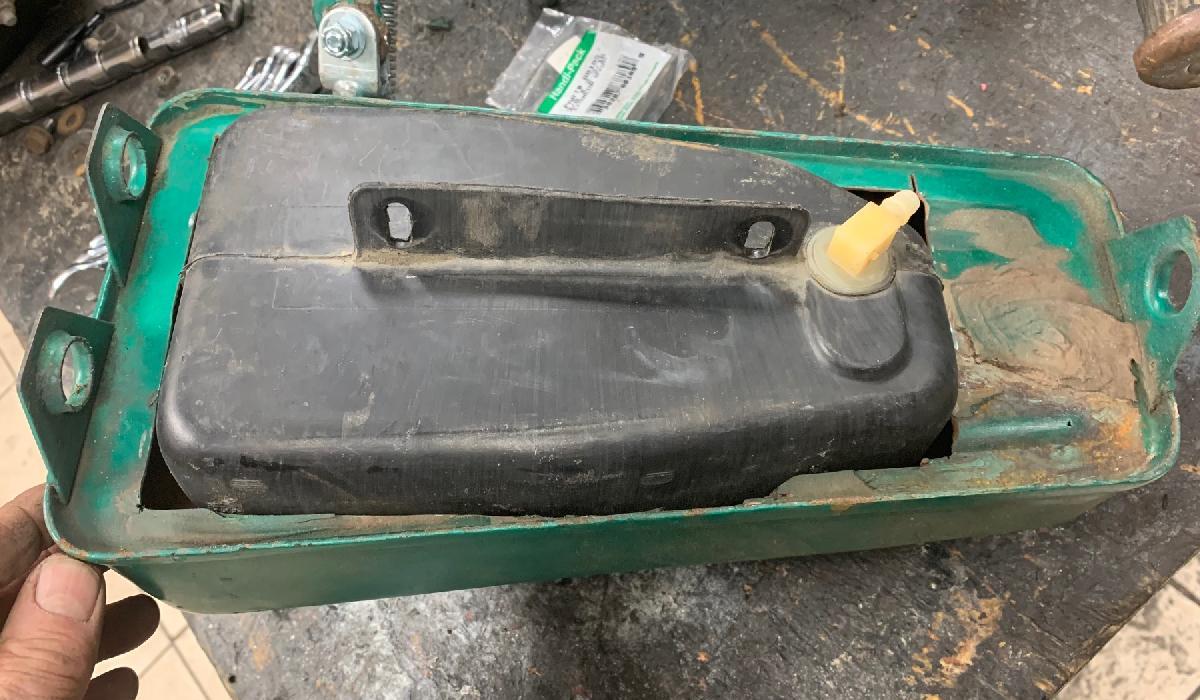
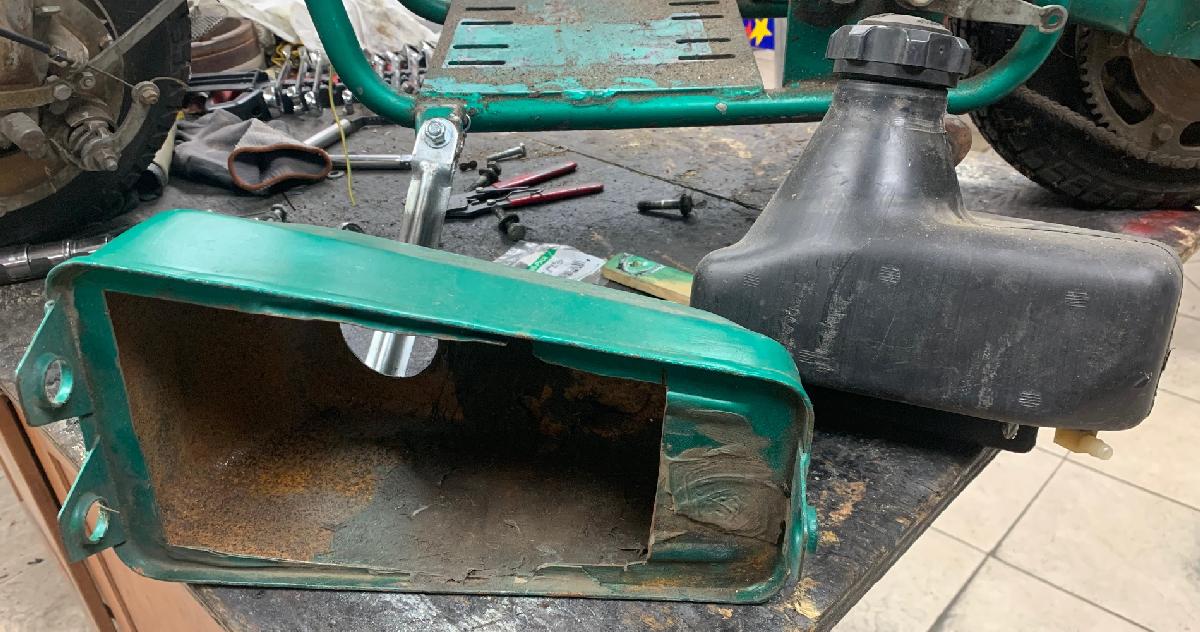
well the easy answer is because i'm not using a stock exhaust. and the tail end of the exhaust will need some sort of bracket to hold the tail in place. And no doubt that will require a tab to be welded to the frame. Hence now is a *good* time to make an exhaust!

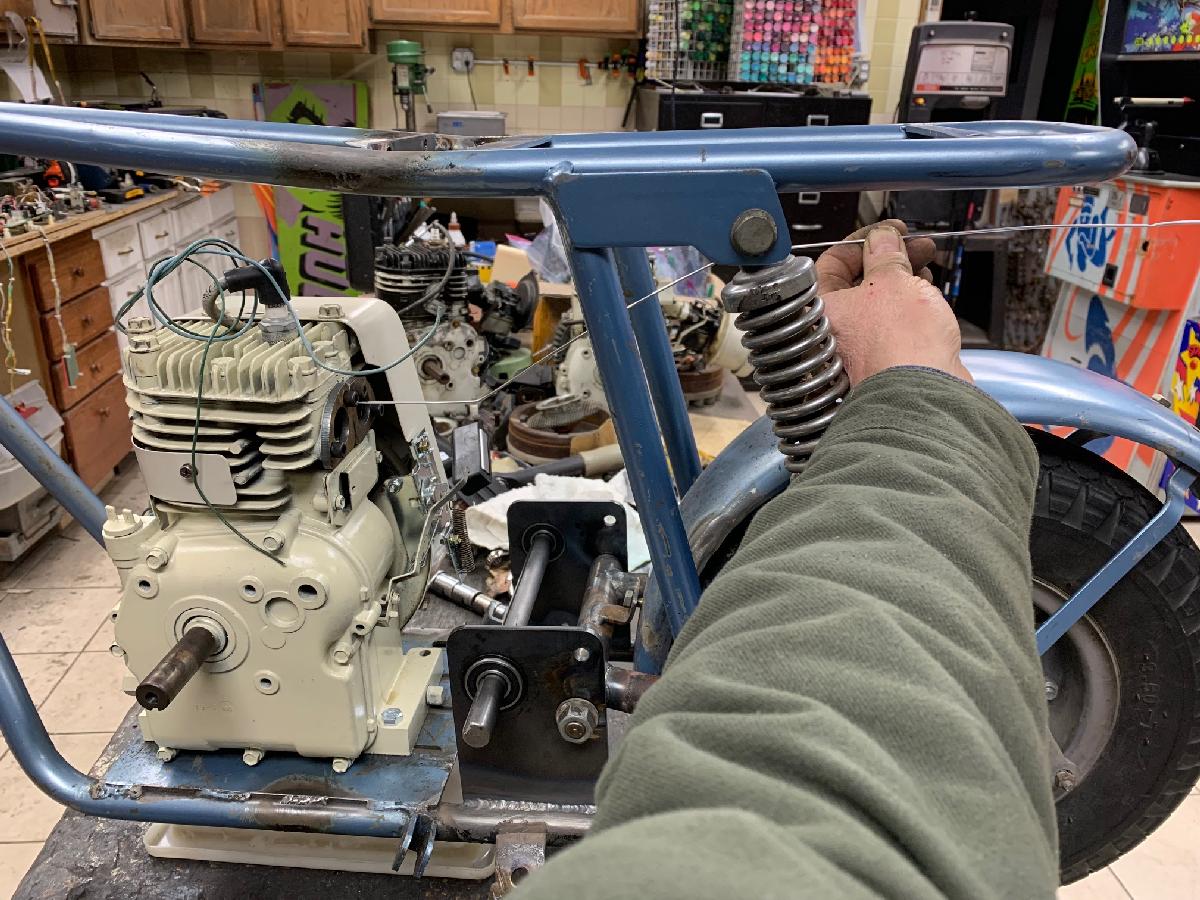
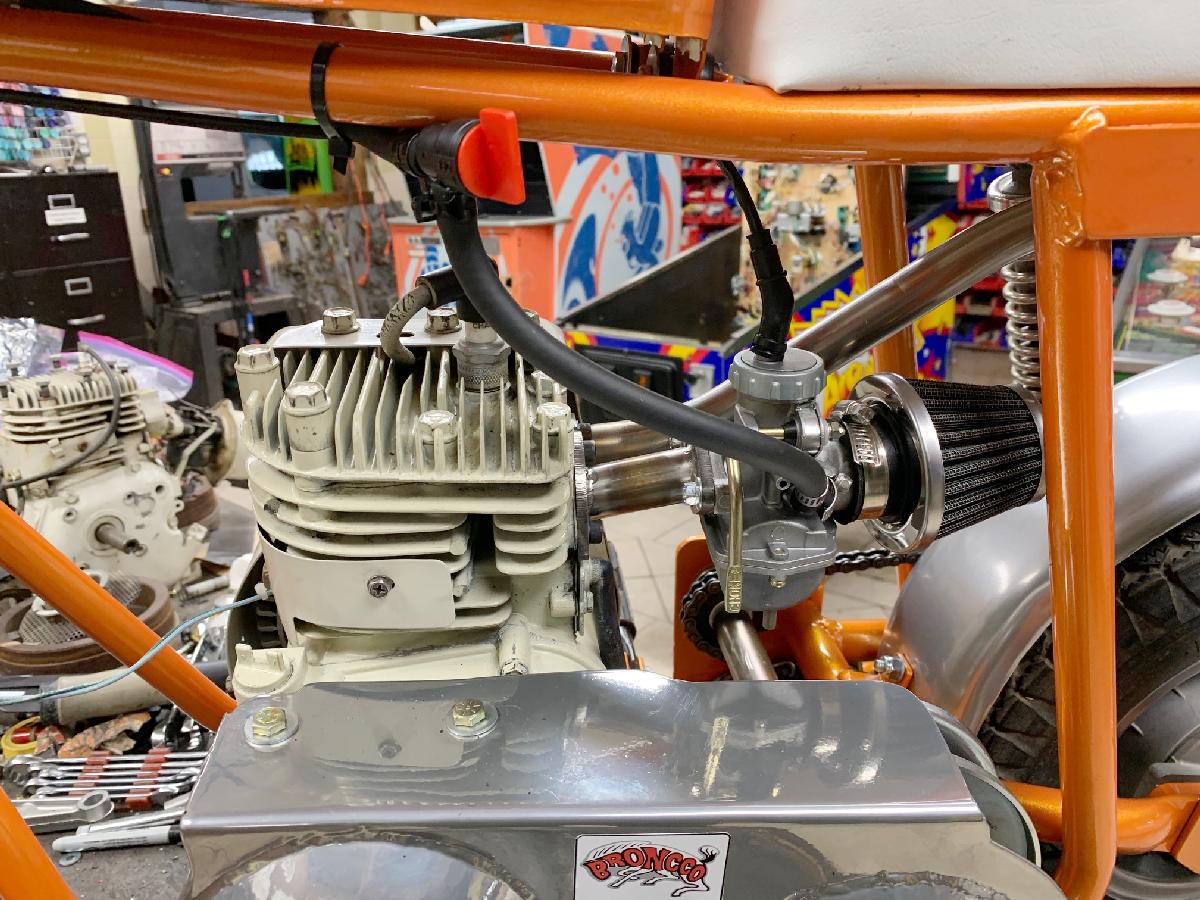
So first task is to see what looks good. I use some Aluminum welding wire, and bend and twist it until i get a general idea of what would be a good exhaust.


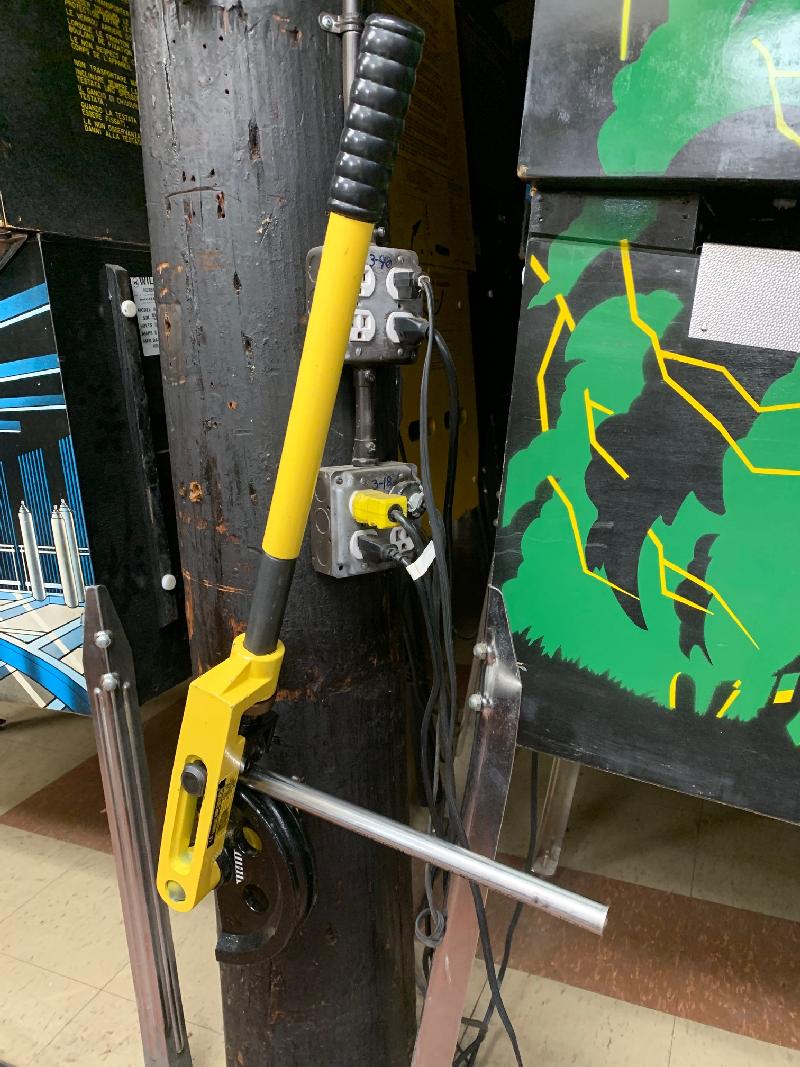
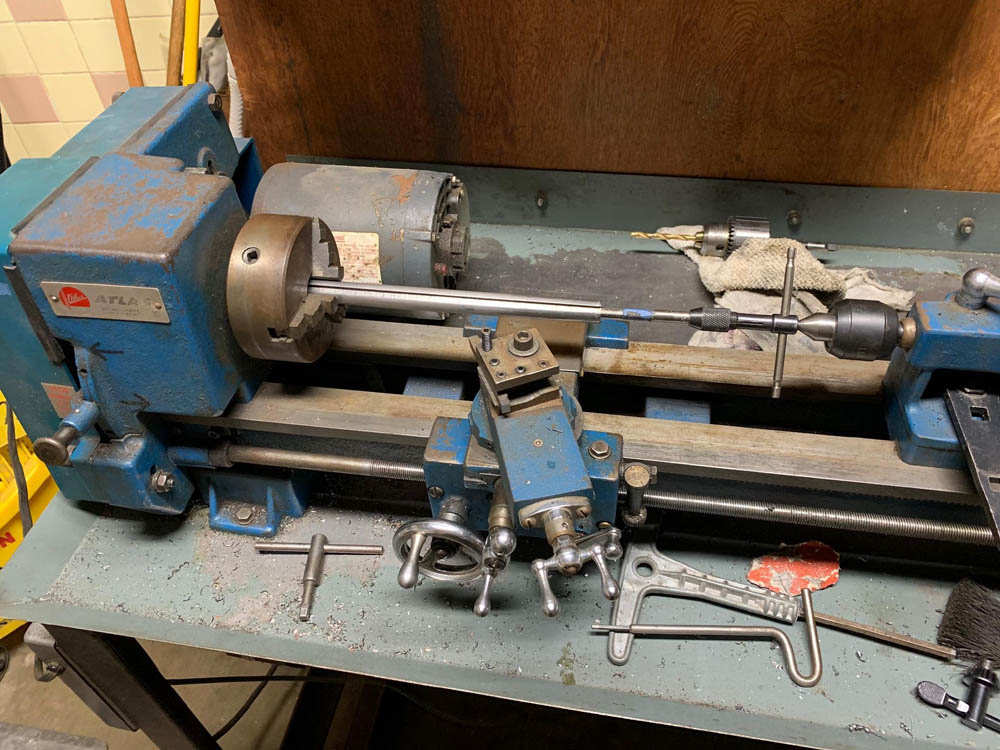
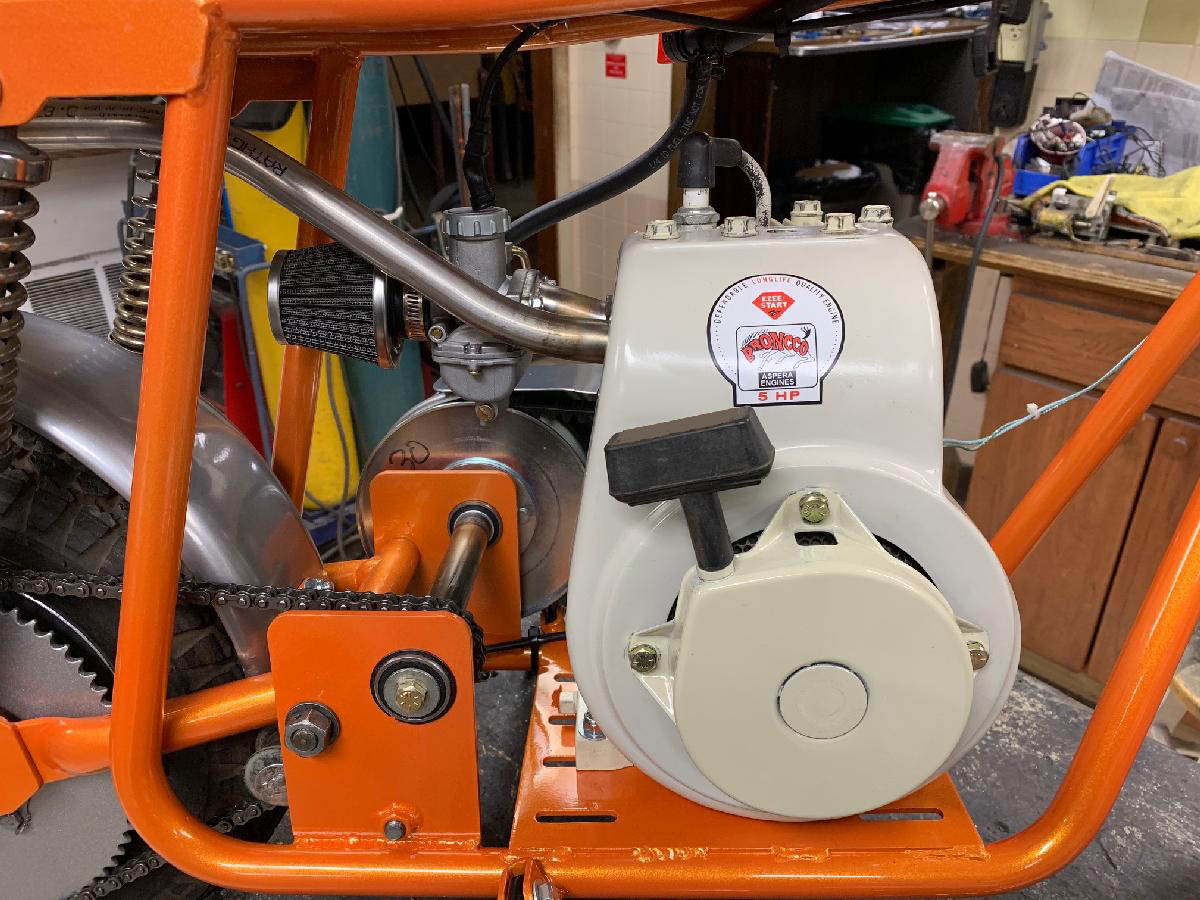
After that's done, i bolt my tubing bender to a random telephone pole... hmm... seem to have one right here.... and cut a length of 7/8" stainless steel .065" thick tubing, and start the bend process.


Do the first bend, and place it in the frame, to make sure it's where i want everything.


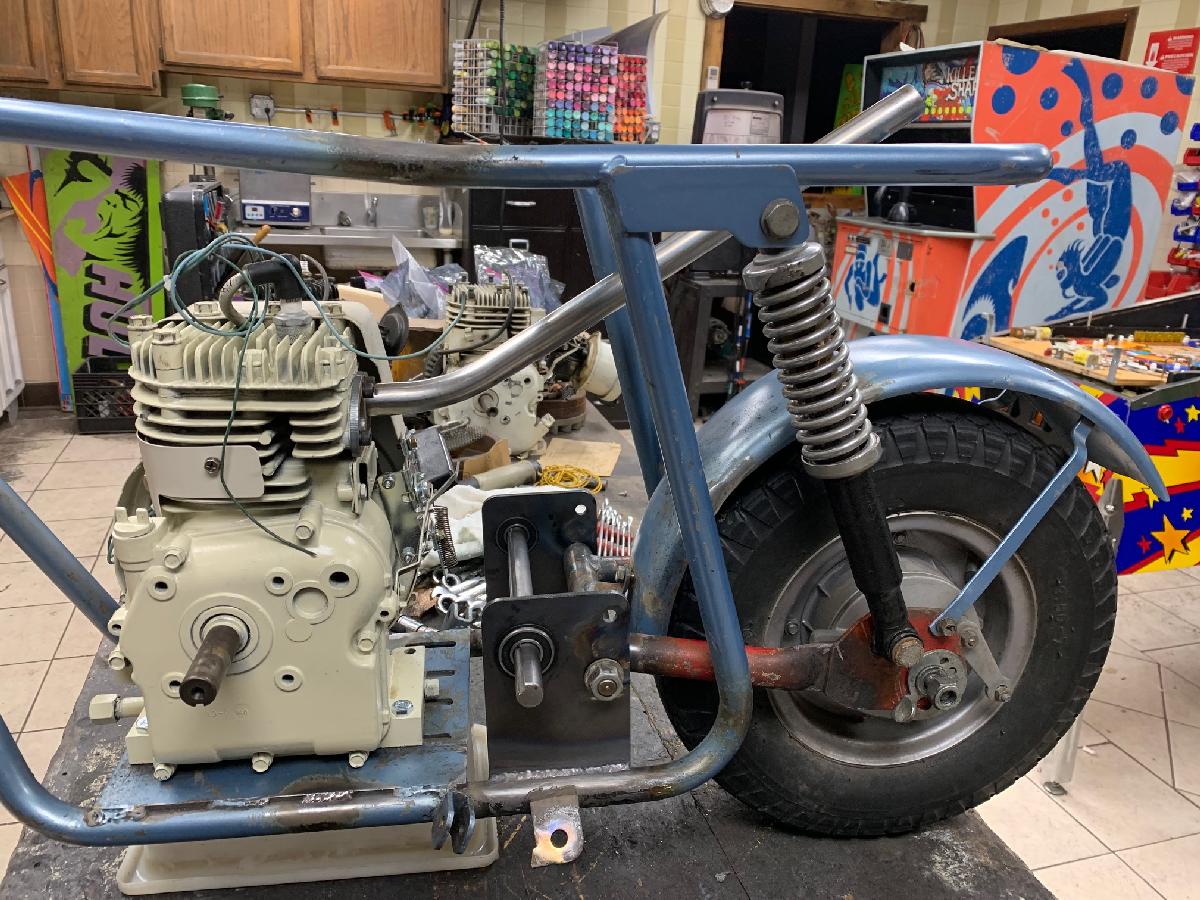
Time to do the last bend, and try it out in the flange in the bike. Then tack weld it in place to the flange.


Now that I have the exhaust bent the way i like, time to weld it to the exhaust flange...


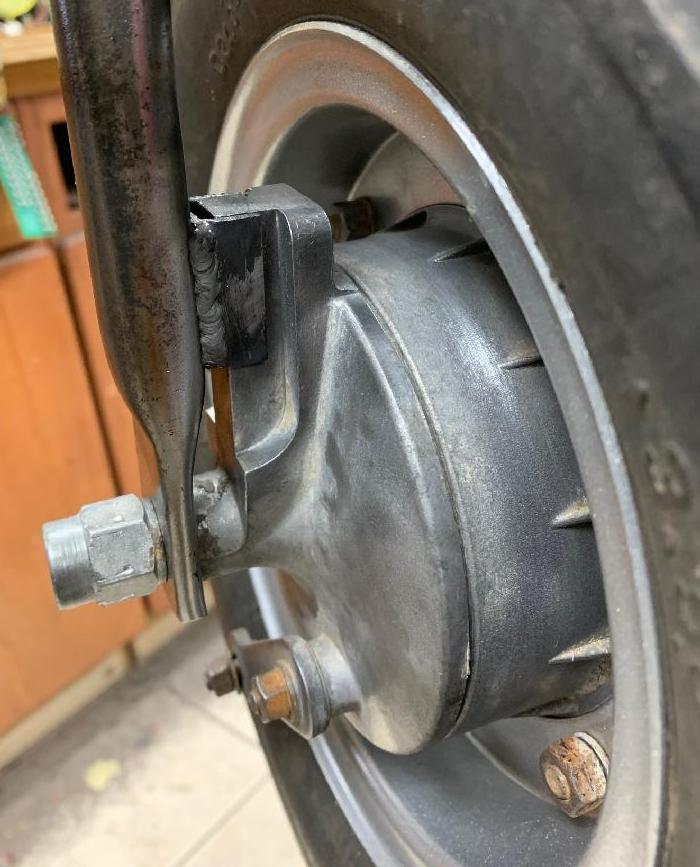
I still have to determine what type of exhaust (harley) end i want. But can do that later. Now I can construct a bracket to weld to the frame and to the exhaust so the pipe won't vibrate itself to death and fall off the engine!
 

cfh

Well-Known Member
#48
did some bolting together. still a lot of work to do, but wanted to get an idea of what things looked like "together".

I'm using a broncco rear wheel for the front wheel. Now i have a drum front brake! much better than a disc brake in my opinion. and easy to implement. Just have to weld a couple brake retainers to the left side lower shock tower. an easy answer to the front brake issue.

Can't get any of the usual suspects to make a seat, everyone is in too much demand! it would be nearly summer before i would see a seat. That means i'll have to make my own. It won't be glorious, but i'll make it work. The original seat is in the picture below. The new seat will be 1/2 to 1" taller. the stock one just seems too short. Also have to make sticker for the bikes. And a clutch guard. And finish the engine. lots to do...


cfh

Well-Known Member
#49
Finished up the front brake. Took some 1" steel square tubing and looped the top off, to make a U channel. Welded that to the front fork stay. Now the front brake is full functional.


Next up is the jackshaft. I buy 5/8" keyed jackshaft materal in 3 foot lengths. Cut it to size, but have to drill and tap the ends. I use my small lathe for that. Easy to drill, but the taping is no fun. Again i use the lathe with a live end. Lock the lathe so it can't turn. Just turn the tap handle, and tigthen the tail stock little by little, as you tap. This keeps the tap straight. Still no fun, but it has to be done. Also had to cut spacers for the jackshaft (not shown). I don't use allen screws to hold anything in place on a jackshaft. I learned that lesson! (Out a couple miles away and the allen screw comes out for the jackshaft sprocket... you're walking home!)


Finished up the engine. It's a Tecumseh HS50 from 1978 (snowblower.) Honed the cylinder and put in new rings (end gap was .012"). Installed an Arc billet connecting rod. Installed that 245/255 style cam I cut in the prior posts. Lapped the valves. New points/condenser. Installed an alloy flywheel (it had a big steel one) and appropriate starter cup. Installed an old-style rounded blower housing. Sprayed some ether into the spark plug hole, and gave it a pull. It lit up in a violent burst!


Also shown in this picture (left side) are the new Rupp torque converter parts I had made. No more worn out Rupp TC1 !!
 

cfh

Well-Known Member
#51
Started working on mounting the motor to the frame and installing the torque converter. One thing I did, since I'm using a series30 torque converter, is to weld a "stay" on the motor plate. This allows me to mount the Tecumseh HS50 engine in the proper position (7" from center of the PTO to the center of the jackshaft), without measuring or thinking. The 7" distance means I can use a standard TAV belt 203589, which is ideal (as it's the most common belt.)


With the motor/exhaust and torque converter mounted, it was time to make the 22mm slide carb intake manifold. Originally i was going to use a Dellorto slide carb, but I changed my mind. Decided to go with the china slide carb instead. Installed the flanges then tack welded the parts in place. Removed and finish welded them, and re-installed. Worked out nice.


cfh

Well-Known Member
#52
Now comes one of the most challenging things to do for this build... the fart pad (seat)!

To make a seat you really need experience, a lot of experience. I don't have that, but i try. That's the best I can say about this. The wifey helps me a lot, but it's really about doing this many times before you're going to get good at it. I did contact a couple seat builders, and they are all 6 months out. Decided to try it myself with the ol' Tuffsew machine. Me and the wife have made a couple seats, perhaps simpler than this, and they looked pretty good. So thought we'd give it a try...

Took apart the old seat and cut new pieces of vinyl. Made the border piping out of 'rope' and vinyl (christ can you buy that stuff pre-made???) Did the main seat stitch patterns (that turned out Ok.) But it all falls apart when sewn together. The measurements aren't exact enough, and it just doesn't look "tight", like a good seat maker. It does work as a seat. If i really like this bike i'll probably pay someone to make a better fart pad. But for now, this has to work. It's not bad, but it's not good either. it will work though!


Need to make or buy a torque converter cover/mount brackets next. And make decals for the gas tank and motor! Then it's time to try the bike out...
 

cfh

Well-Known Member
#54
spent some time in front of the computer using Photoshop, and made up some new decals for the bike. This included motor and gas tank decals. Also made a torque converter cover decal (but not sure i can use it, you'll see why in the next post.) All printed today, so they are ready to be cut and used.


cfh

Well-Known Member
#55
Now comes the torque converter cover. I made a design with some cardboard. it's kind of boxy looking, it needed some more funk to it. So i went to the pet store and looked for some pet water dishes with round bottoms. This will go right over the torque converter drive and driven units. This allows the cover to be closer to the engine, and have some push out for the drive and driven.


To get these ready, I put them on the lathe. Yea i know, how do you get a round bowl to fit on the lathe? Well you open the jaws about 3" wide and put the bottom of the bowl against the jaws. Then move the tailstock (with a live center) up against the inside of the bowl. this holds the bowl pretty well in the lathe. Turn the lathe speed low, and use a metabo (cut off saw) and cut off the top portion of the bowl. A little clean up on the belt sander to make the edges flat. sorry forgot to take a picture of this....

Then got a flat piece of stainless steel and cut two holes in the flat stock. I used a circle shear machine at the local shop that is from the turn of the century. I've *never* used any machinery this dangerous! it just wants to cut you open, so you have to be really careful. They don't make stuff like this anymore! But it cut two 4" holes in the flat stock, as the stock rotates (like a giant saw blade!)


Then moved to their break press, and bent the metal at 90 degrees.


Now i could check the work on the bike. Seems to line up nicely!


Last step is to make a mounting bracket, then weld the two "boobs" onto the flat stock. Probably round the edges of the flat stock too so it's a bit more graceful looking. Not sure how this will look in it's final form... stay tuned...


cfh

Well-Known Member
#56
Made the bracket to hold the cover to the engine. This allowed me to get the 'boobs' centered on the torque converter drive and driven. Tack welded them in place. Need to do a lot of work shaping the overall cover though. it looks way too boxy. Been marking it up with a pen to get some ideas...


cfh

Well-Known Member
#57
All Finished!
i can't do the ride video though. it's just too damn cold and snowy here right now.
Tried to do everything myself. From rebuilding and painting the engine, to making the decals, to making the seat, and all the welding (which turned out decent except for the clutch cover, had some problems with that.) Also tried to document it all here too.


cfh

Well-Known Member
#58
initial ride video. this is the actual first time i've started and riden the broncco mini bike. it's 34 degree outside. that's why i'm dressed like a polar bear. Sorry about the rear brake squeal. i will fix that, first i knew of it...


cfh

Well-Known Member
#59
With that one done, here's part two of the build.
In the original picture posted, I showed a green Tx1. Now it's time to get that one all sorted out.

I pulled the Tecumseh side popper H35 from the green frame. I won't be using that motor (even though it does run.) Instead i'll go with an HS50 engine. I have already put on the new kickstand (need that to hold the frame up!) But there are some hidden issues on this frame that need to be addressed.


The main hidden issue is the gas tank. At first glance, it doesn't appear to have a problem...


Apparently there was a problem with rust in the tank, and someone did a hack job. The hack job amazingly works, and keeps the original look. But it's kind of crazy! The question is, how do i repair this? hmm....


I can repair the bottom of the tank. But the filler neck is something i will need to think about. Like can that be repaired? or do i stay with this crazy plastic tank in disguise repair??

 
Top