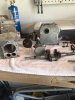
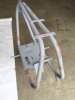
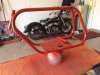
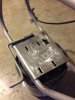
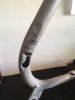
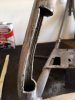
I got the cat apart and blasted . There were 8 extra holes in the engine plate,Along with wallowed out bolt slots and 7 cracks. I welded it up with my limited ability and 110 volt flux core "splatter box", 4" grinder and a driml. I lopped of the hi way pegs and will spend another afternoon finishing the welds off. Waiting on piston and rings for the 2 1/2 horse briggs. It also needs a seat tab repair, new scrub brake pad and the solid pegs welded back.. I think with some practice I may tackle the left rear frame tube that was cut for sprocket clearance.
Some posting and pic practice is also in order, thanks for all the great info.
To continue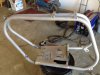

Some posting and pic practice is also in order, thanks for all the great info.
To continue
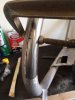
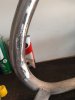
Attachments
-
 63 KB Views: 219
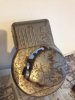
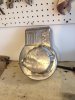
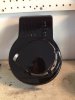

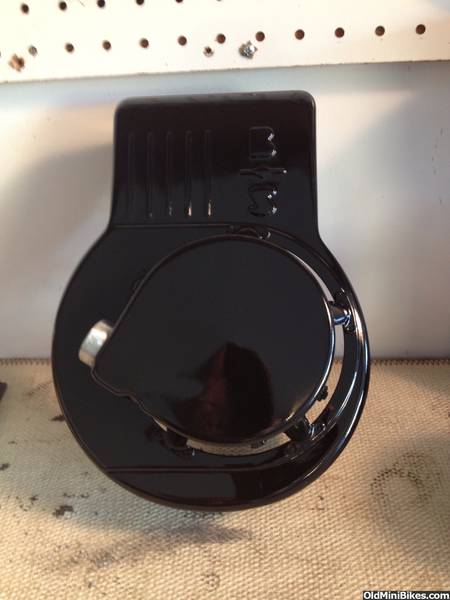
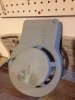
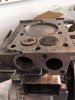
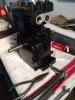
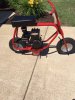
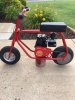
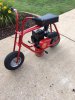
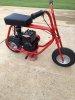
 ut: A little binding but second attempt was successful . I had the motor bored .010 over. Found a nos piston and rings on ebay. All the clearances are well within spec , it had the original piston but was a bit scored. The recoil assembly went together on the first try after I watched a video Havasu Dave posted in another thread.Thanks Dave for all your help on this one... Advice , clutch guard and decal ! So I got the motor together and ran it for a couple of 5 minute sessions today
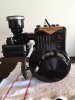
  . This 1959 2 hp is not original to the Cat, but I like it, that's what was in it. So it's a keeper , and I hope in another 56 years it's still running and bringing pleasure.