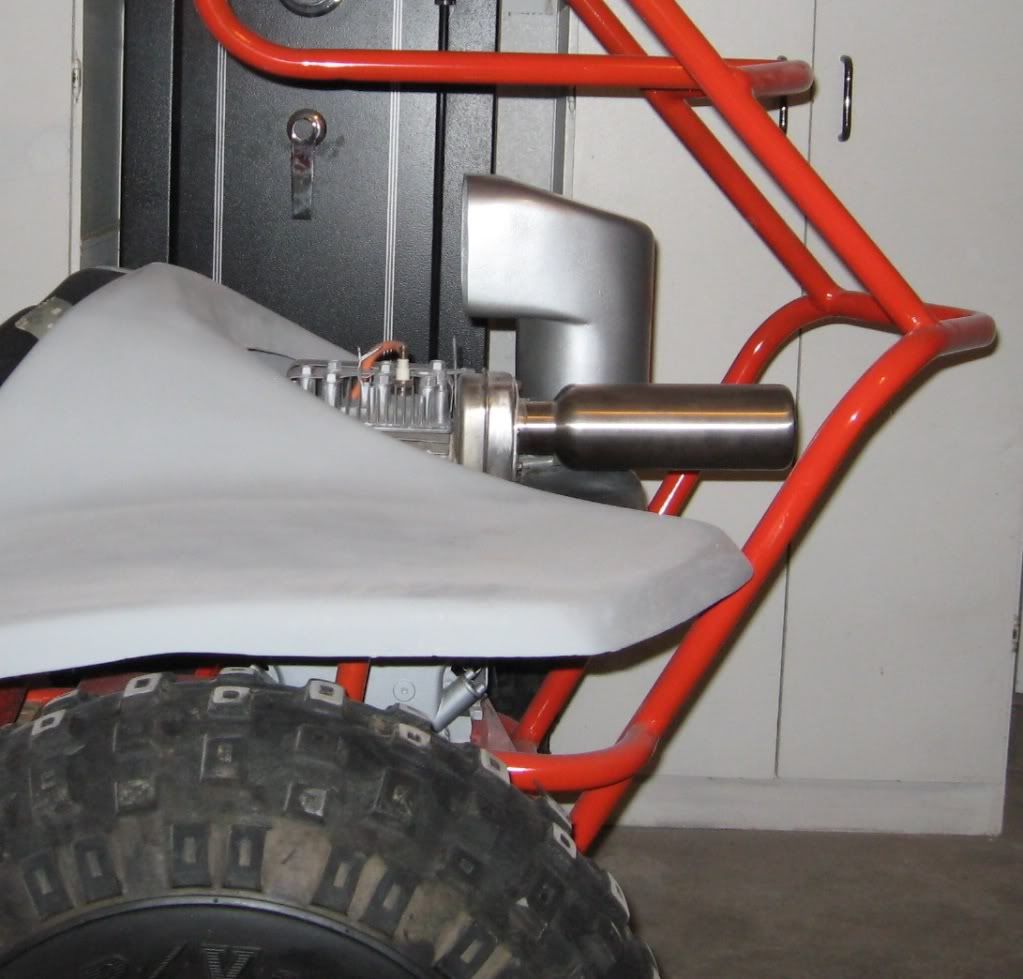
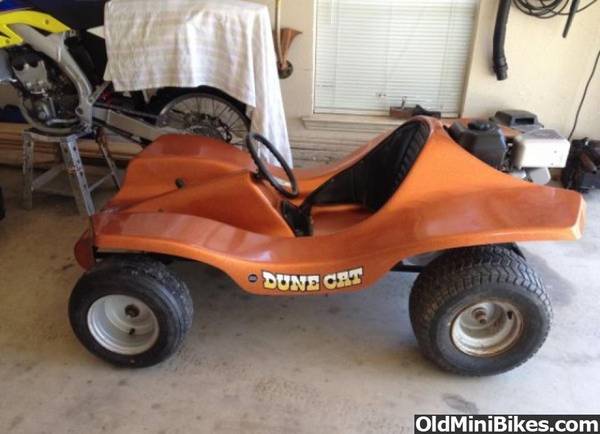
So Like I said- I was kinda in killing-time mode. I had been thinking of how to make some kind of cool looking air induction cowl for the air cleaner. There may be some benefit to inducing cooler fresh air instead of the hot air of the motor, maybe not- but the truth is, this thing is primarily to look cool and “racy”.
I thought for sure there would be someone on this forum who hadn’t thought of doing this type of thing who might get inspired- and I realized there are a gillion things that they could custom fabricate using this method for their OldMiniBikes projects.
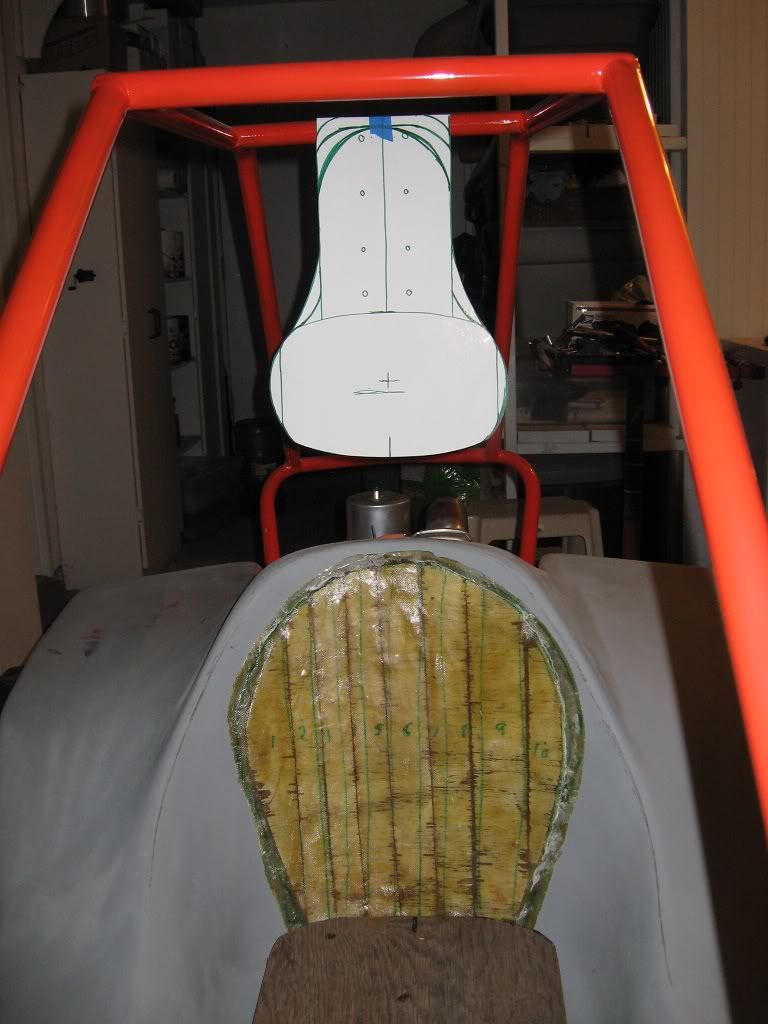
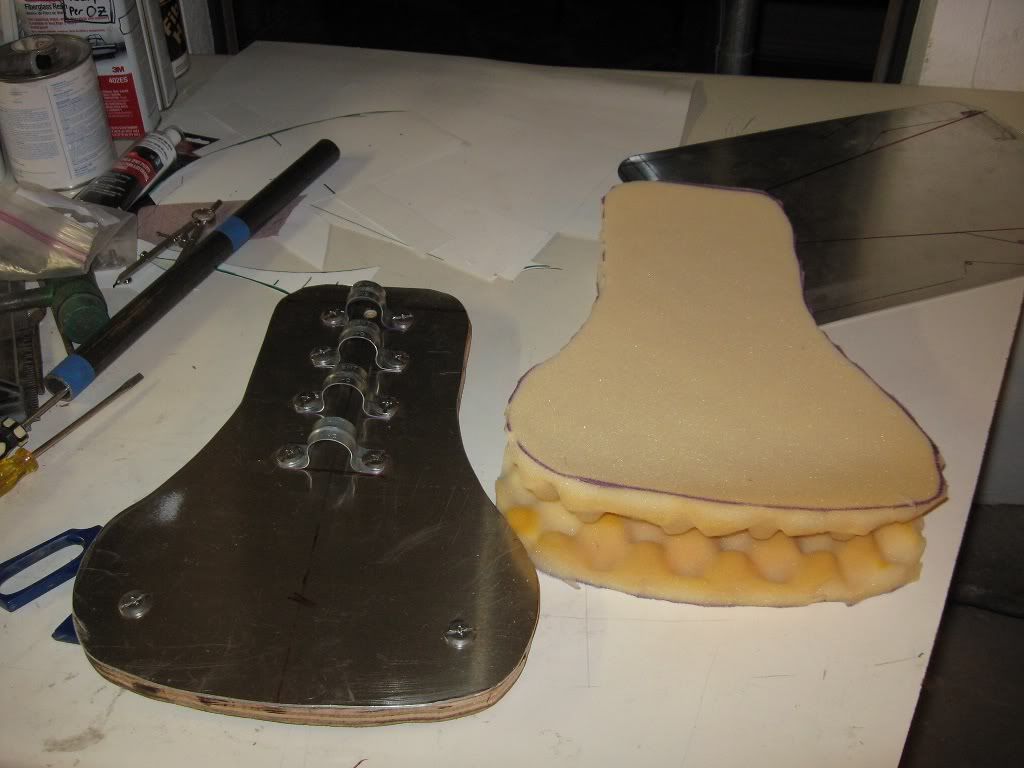
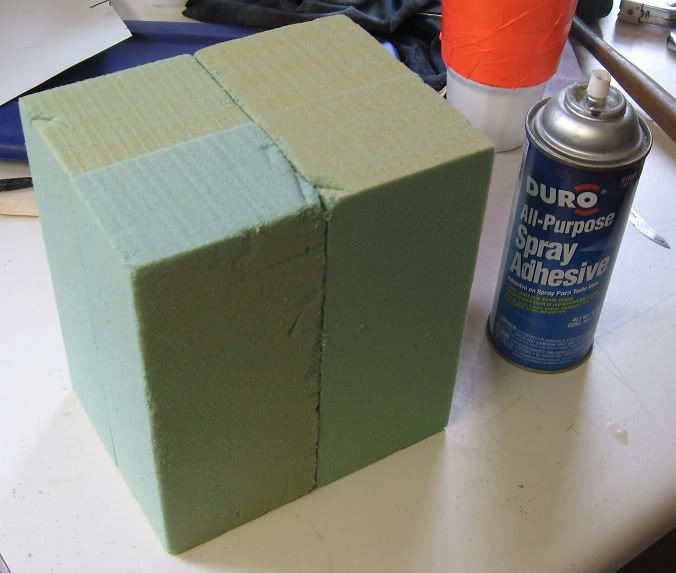
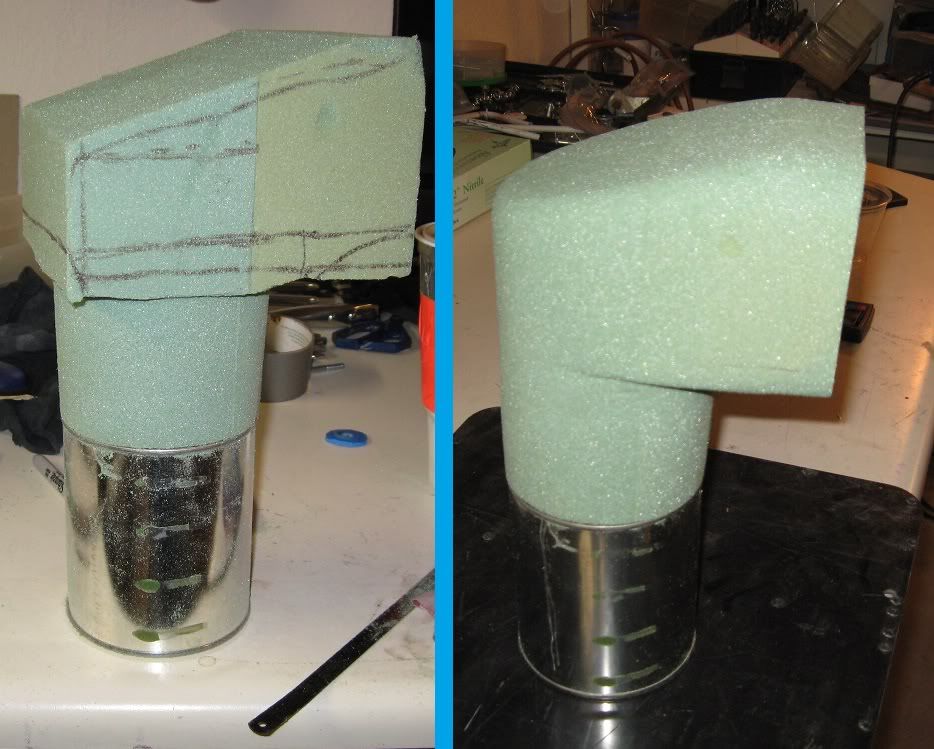
So I had some foam blocks (for just this type of project). FYI- there are two types of foam, this is not Styrofoam, do not use Styrofoam for this type of project, as fiberglass resin will melt it and then you’ve got a big melted mess. This stuff is the type used for stabbing fake flowers into- I forget what it’s called. I glued these things into a larger block using spray adhesive- Which worked to keep them stuck together, but just barely.
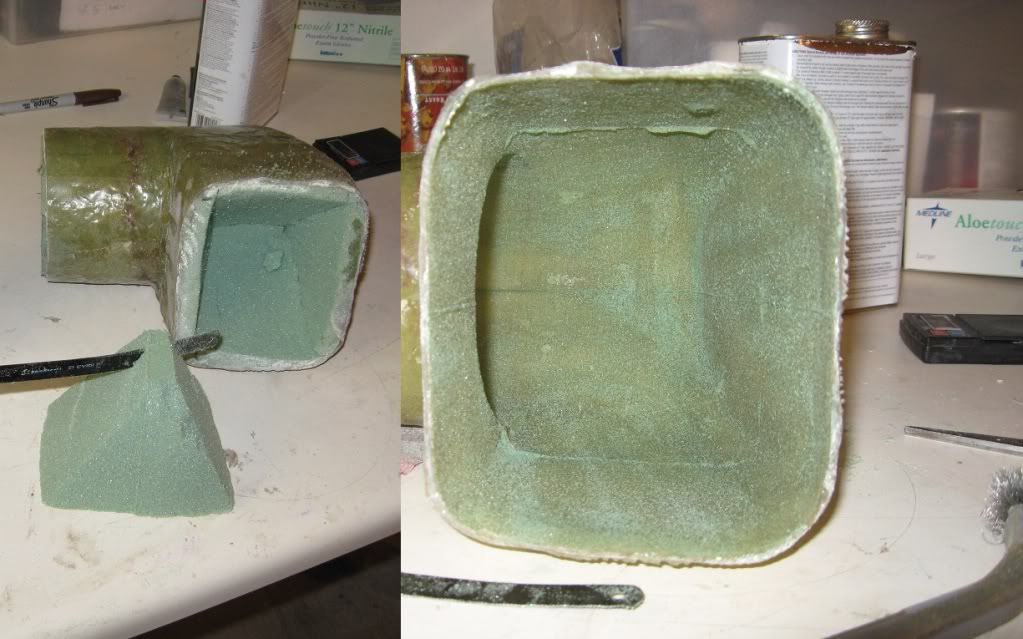
Then I carved them into the shape I had envisioned- In retrospect, I wish I would have been more imaginative in the shape of this thing, but the simpler the design, the easier to build. This is very delicate work as this foam is easy to crush or scar-
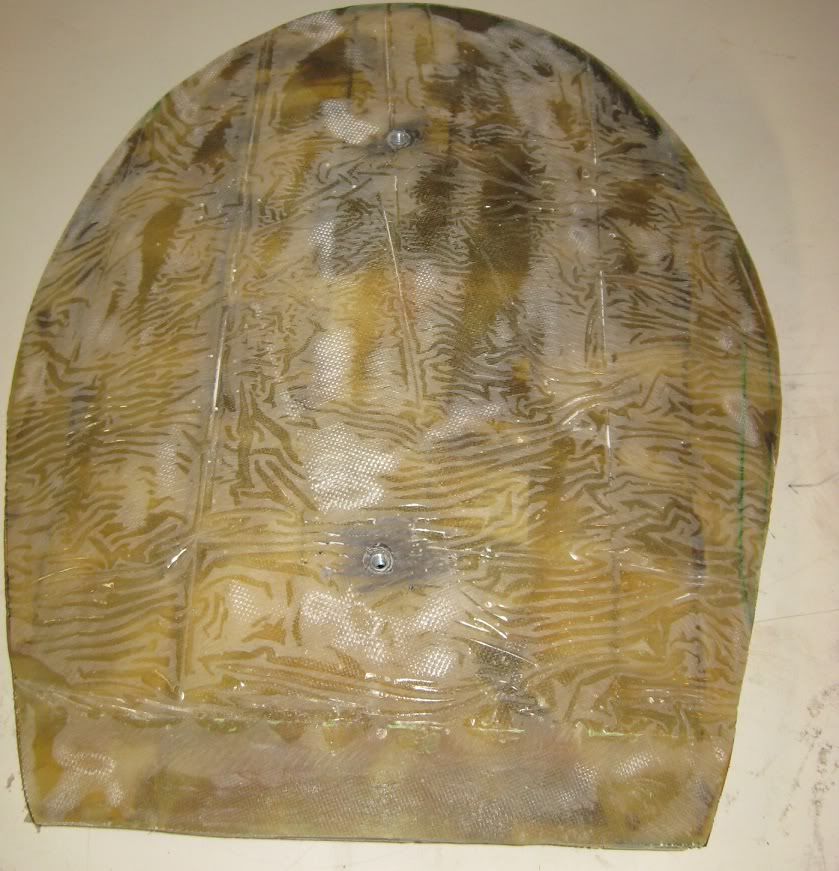
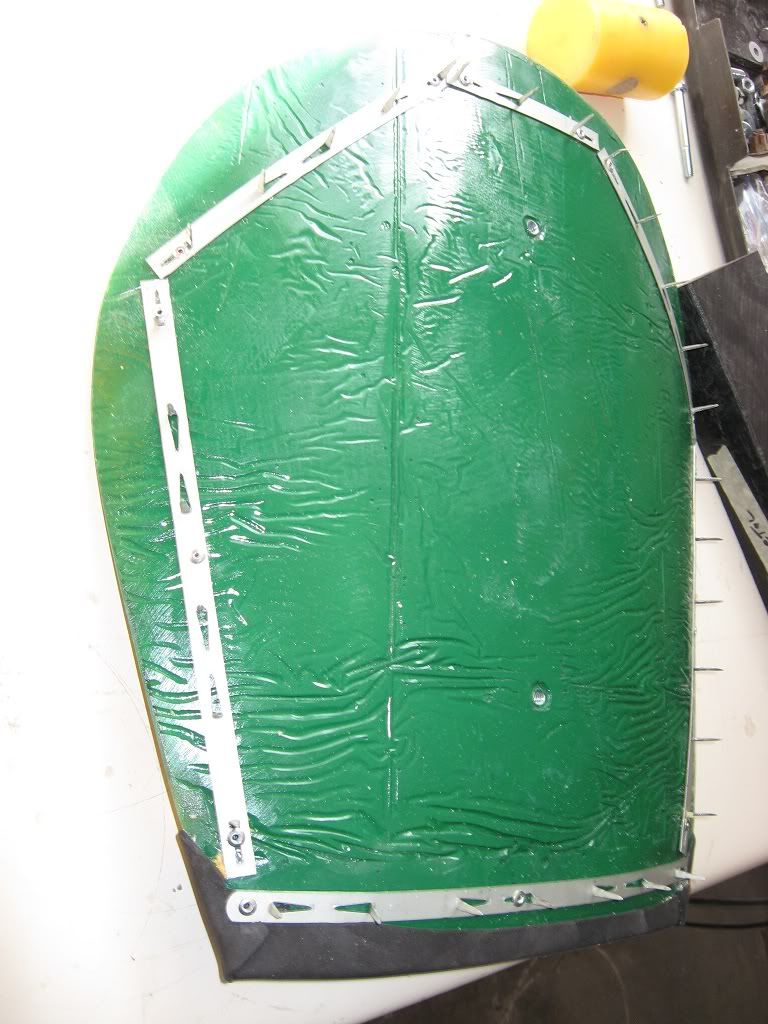
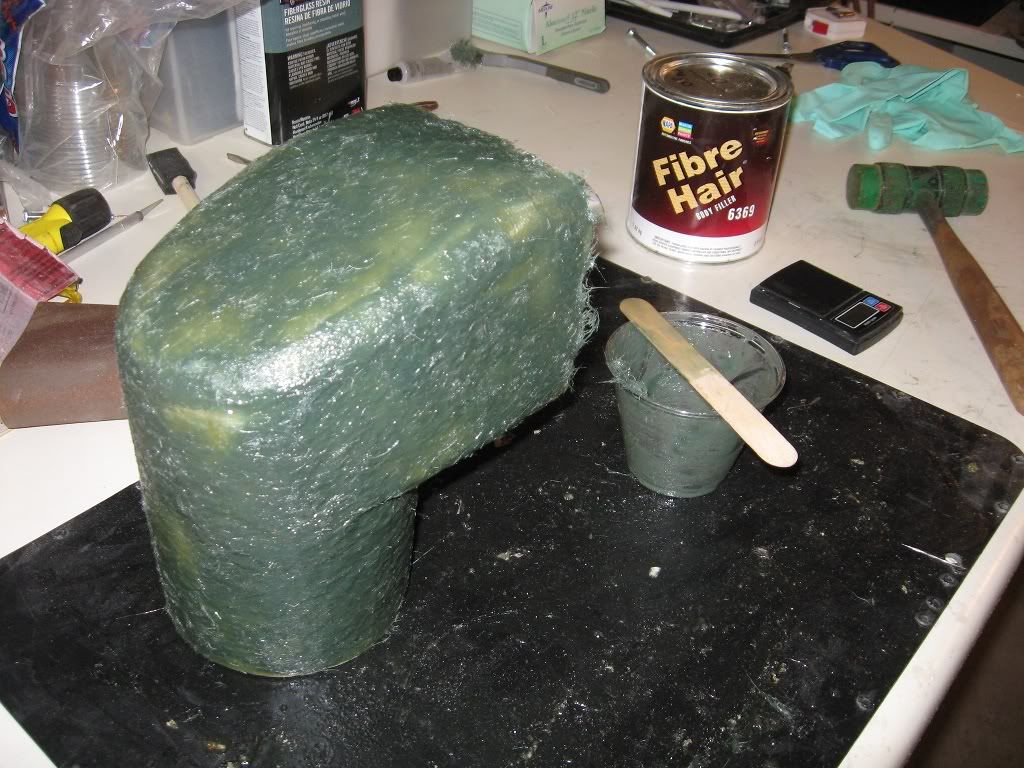
Then I fiberglassed the heck out of it- For something like this, you want to make sure that you’ll have at least 3 but more like 4-5 layers of fiberglass cloth to make sure the thing is hard and rigid and tough when you’re finished. In this case, it took 3 separate batches of resin- I.E. 3 coats- pre-cut the fiberglass cloth to fit different sections of your project- overlapping each other, apply them one at a time as long as you have enough resin to wet them. Then you let it dry up and start over. Unless you are some kind of master fiberglasser (which I am not) this thing will be bumpy and ugly when you’re done. Try to grind off the largest of bumps and do a little smoothing between layers- but be careful not to grind out the fiberglass cloth that is giving your widget it’s shape and strength. Also, make sure you make your mold just a little bigger than what you want- you can trim the edges back to your desired size, after the things built.
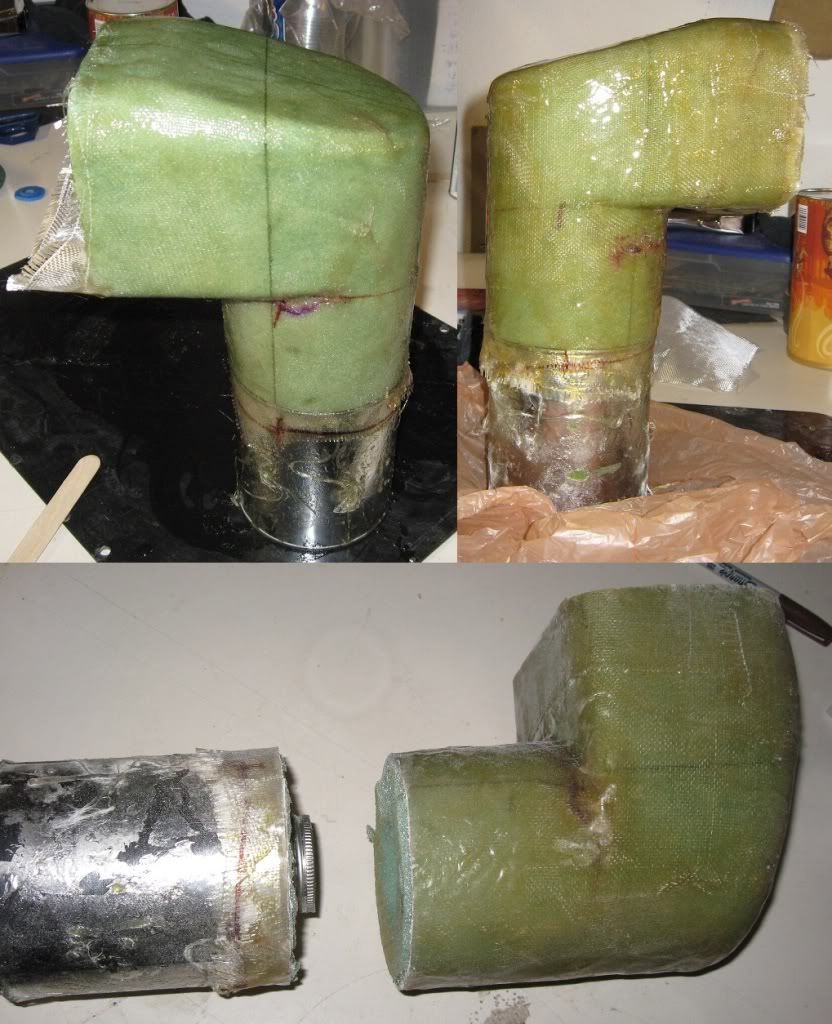
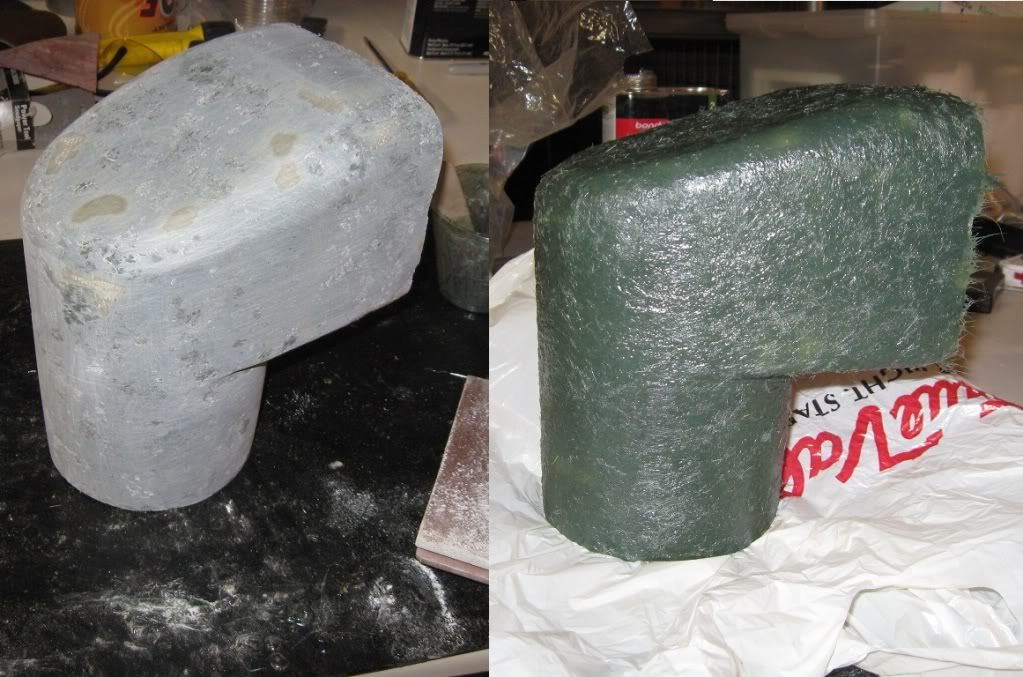
Once the thing was ridged, and dried, I went ahead and carved out all the foam- simple, like a 5 minute project. I used fiberglass filler to cover the entire thing in a thin (smoothish) layer- They make a short fiber filler that would be much easier and smoother, but I did not have any at the moment. I have done this type of thing professionally a few decades ago, so It may look a little easier than it is- it’s like herding cats to get all of this stuff covered and laid down smooth before it starts to harden (gel) up, which happens pretty quick. Don’t worry, anyone can do this. Don’t expect to get a smooth surface without at least one more coat of this stuff. The key is to sand it off until you start sanding down into the fiberglass cloth, and then you stop and lay another coat- repeat if necessary.
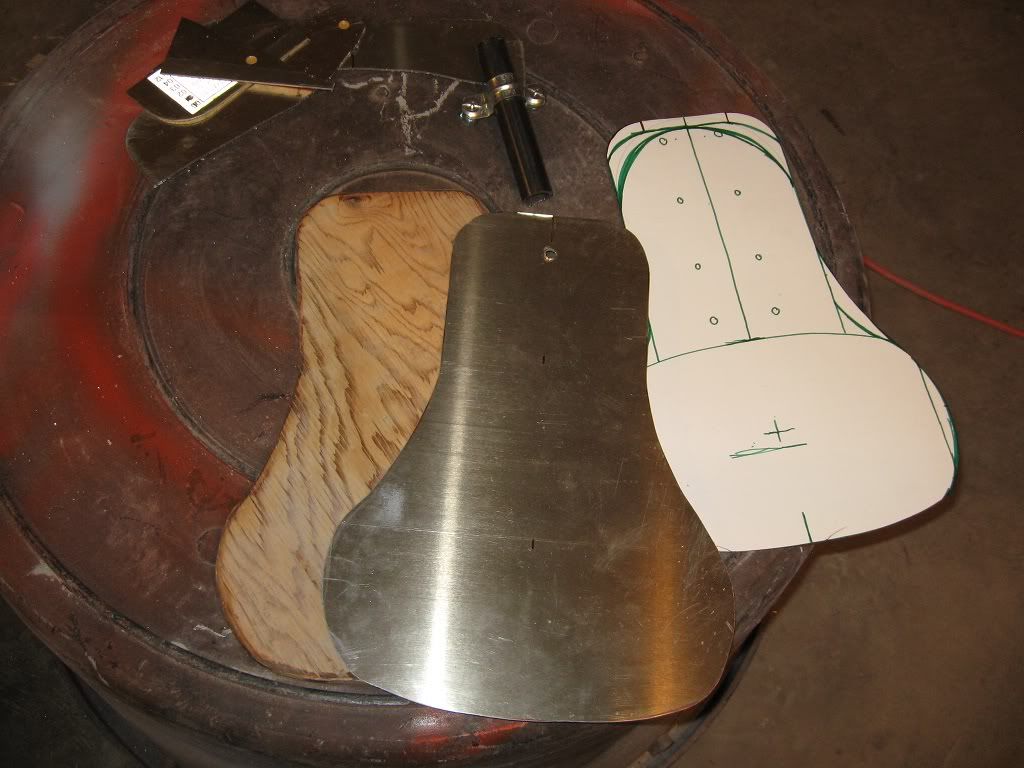
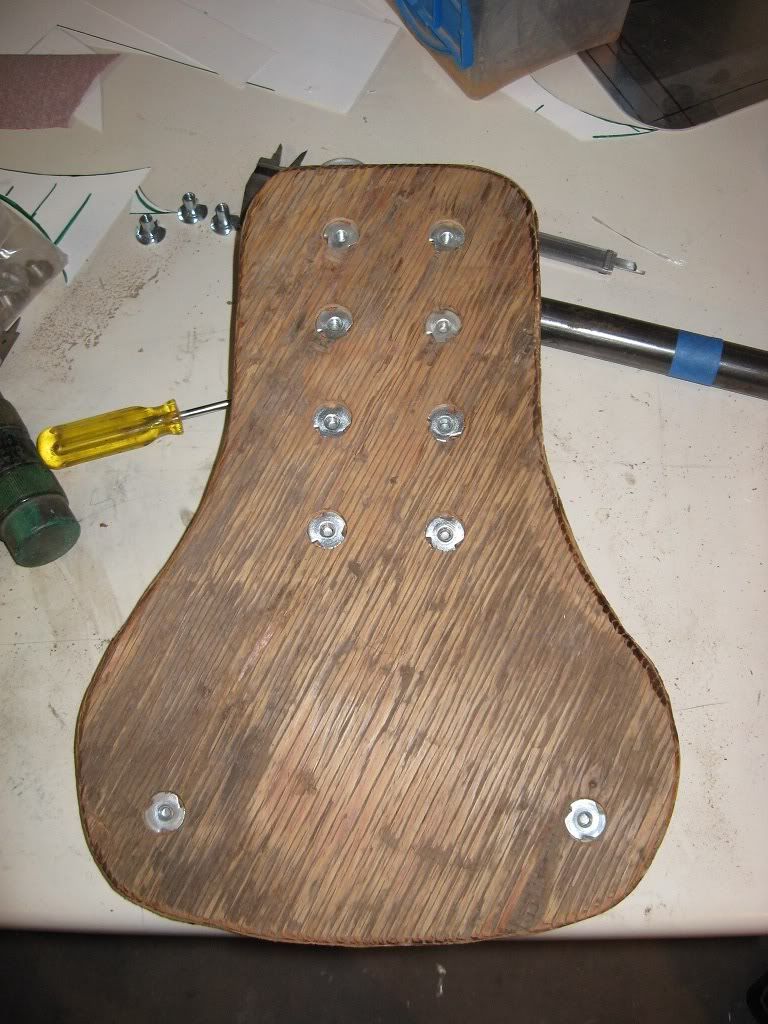
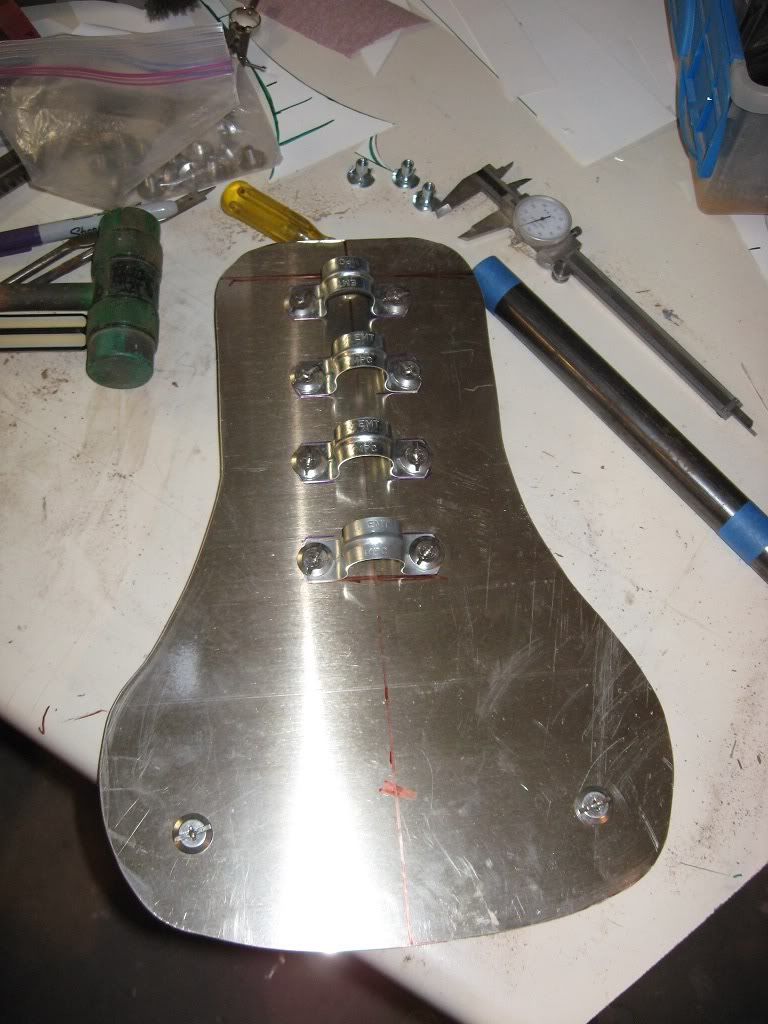
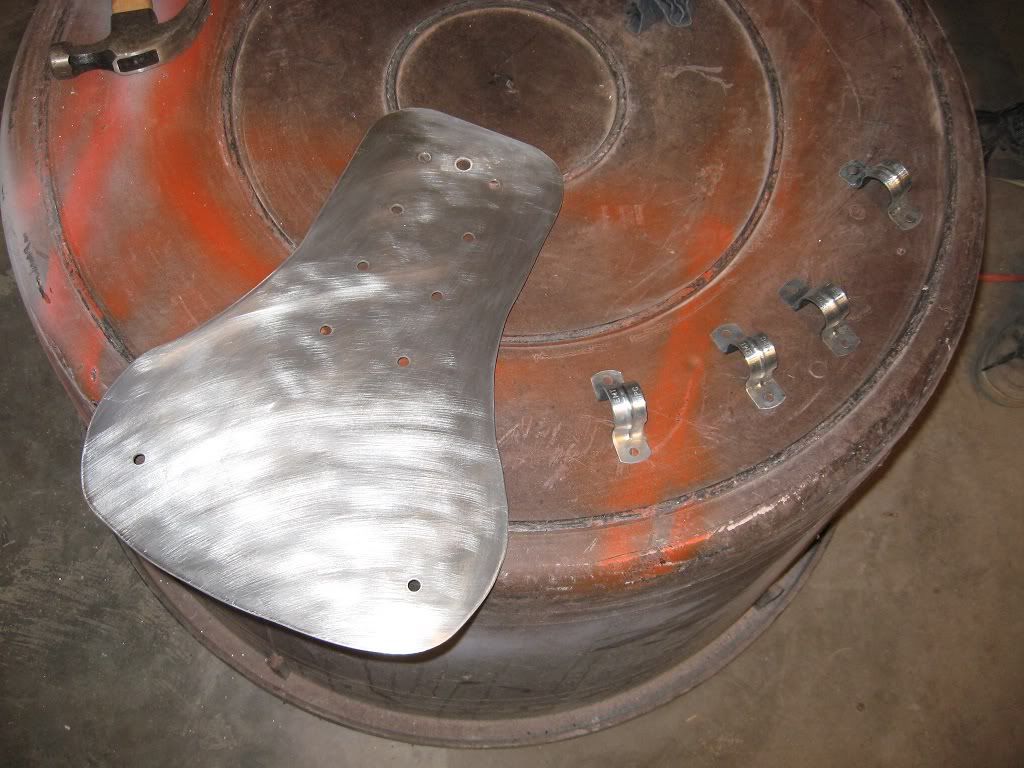
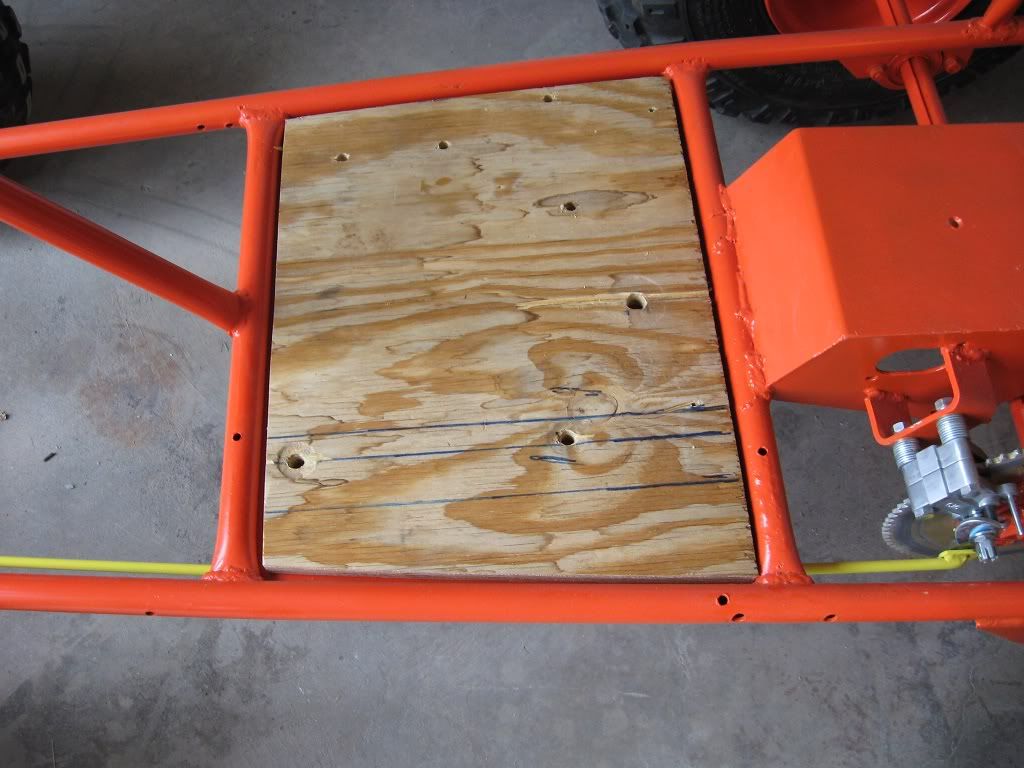
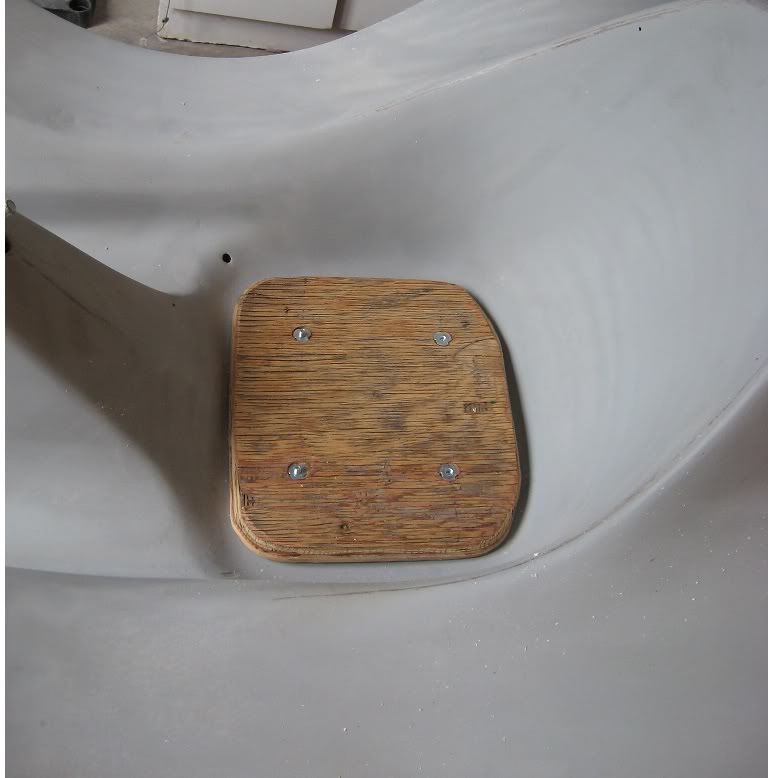
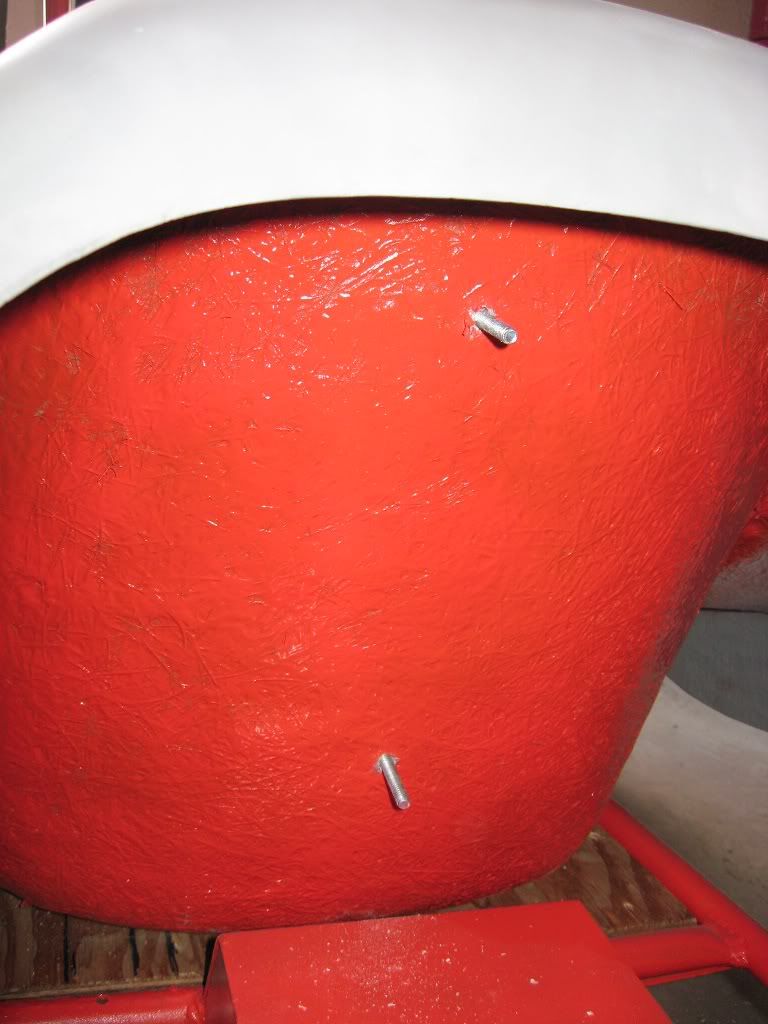
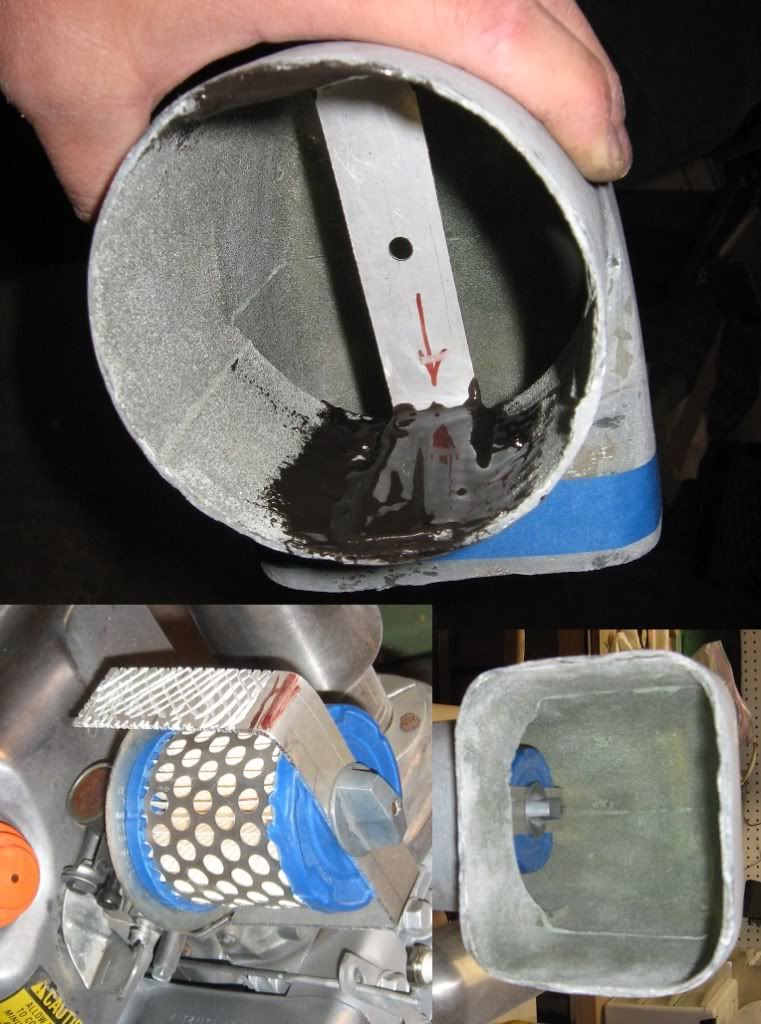
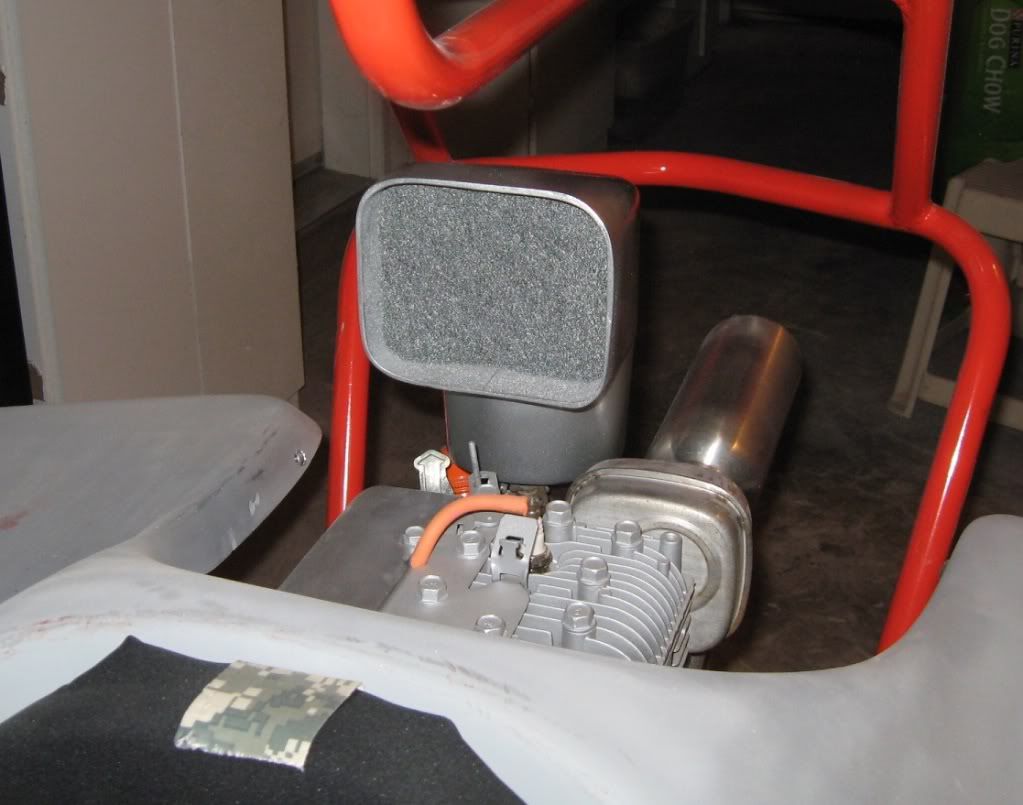
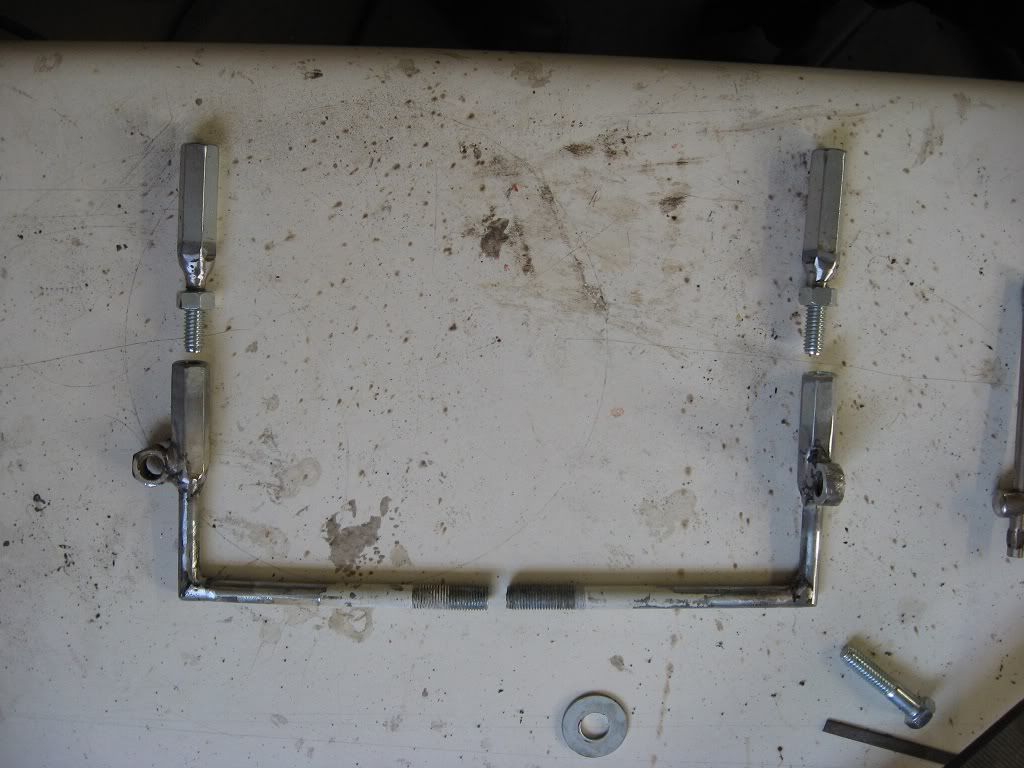
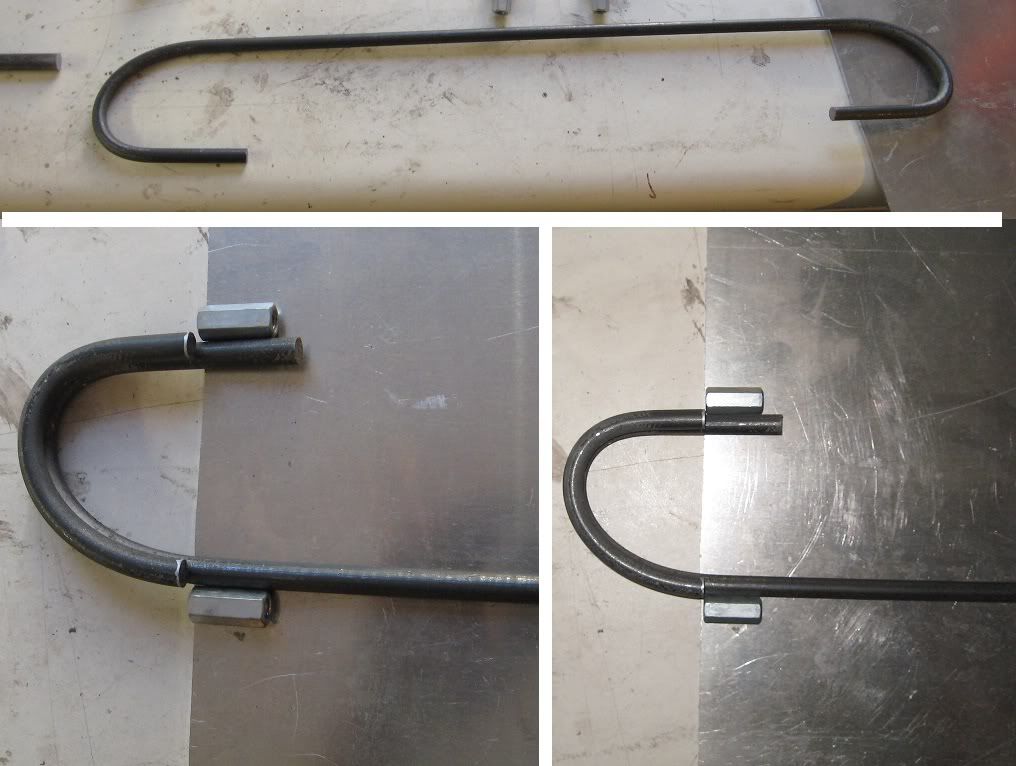
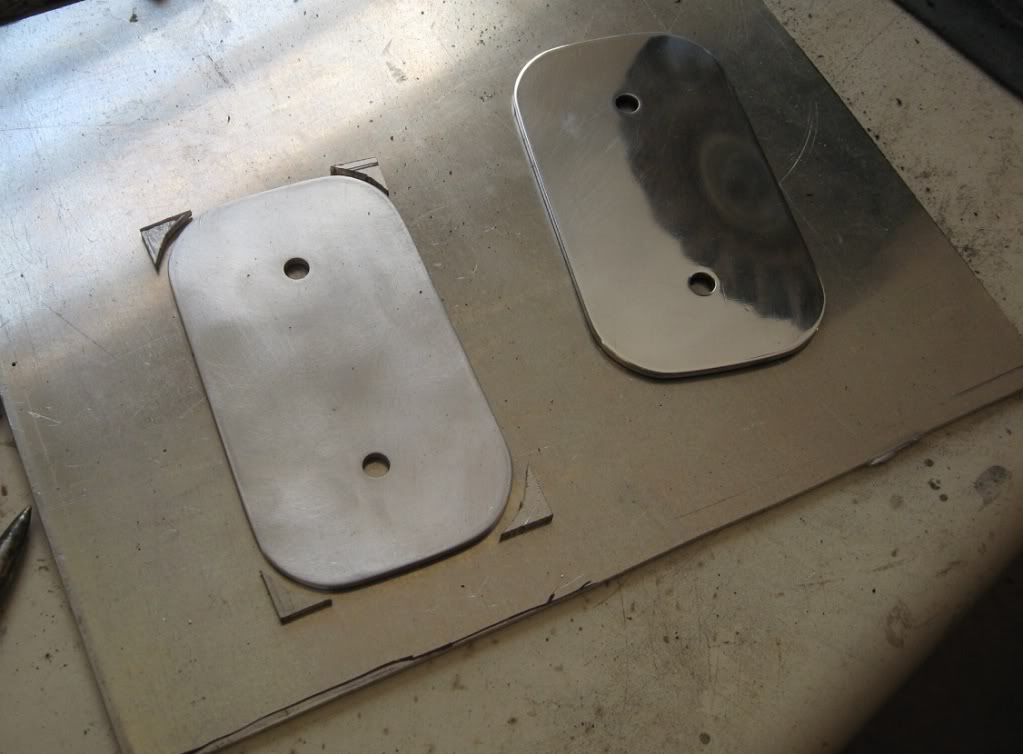
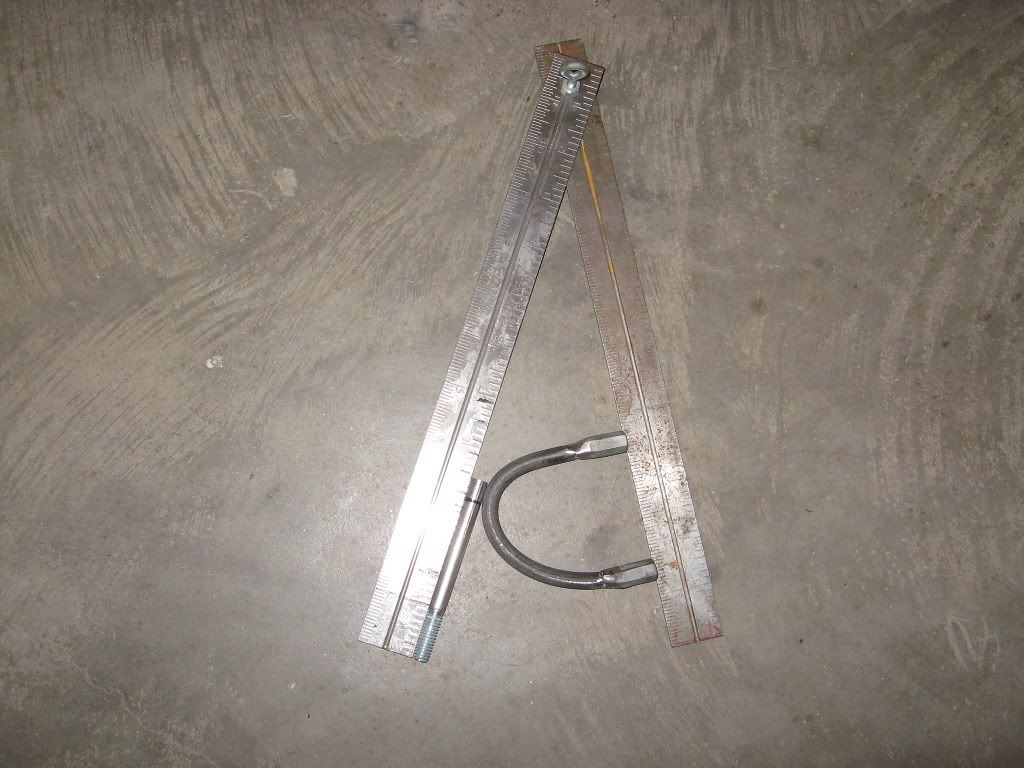
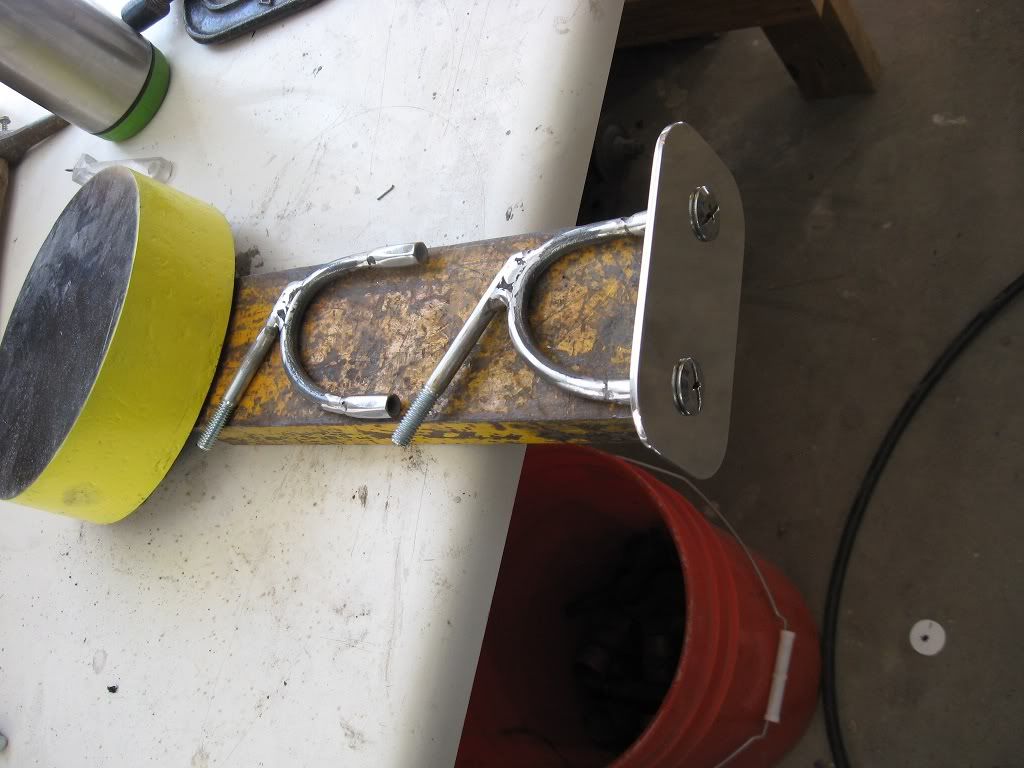
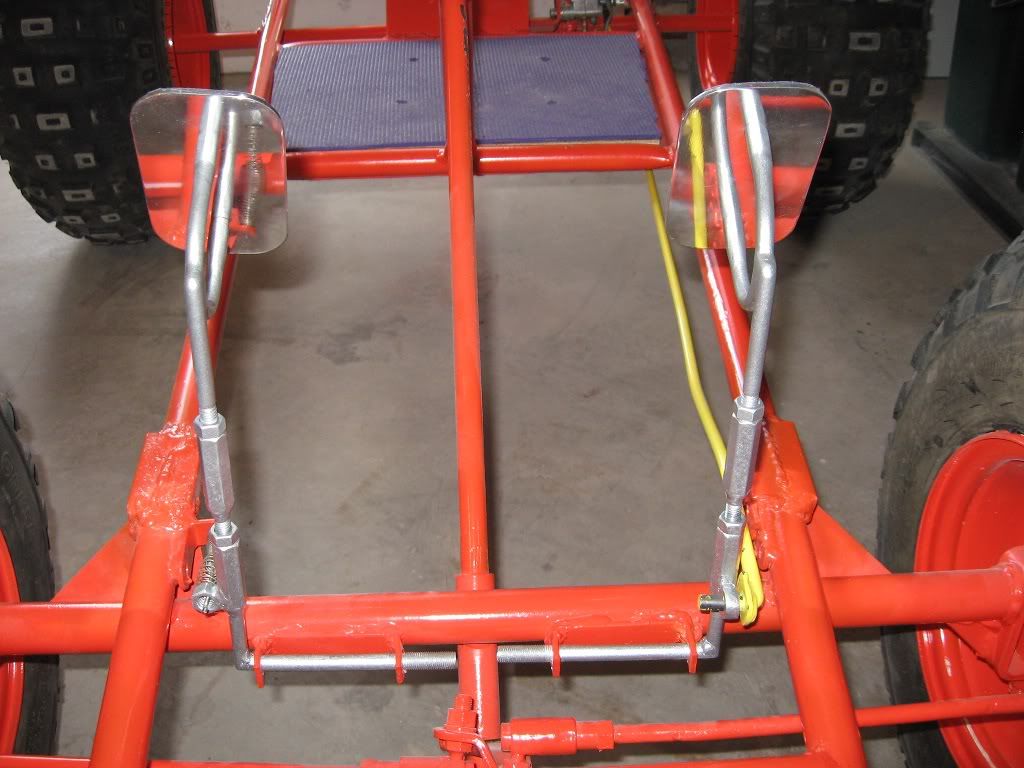
I made an internal bracket out of aluminum plate and J-B Welded it in. Noticed I really roughed up the aluminum where the J-B weld attached it, giving it lots of rough surfaces in several planes to hold on to. I also roughed up the inside of the fiberglass as well. I know it’s attached pretty good because I accidently tripped on the stairs and crash tested it.
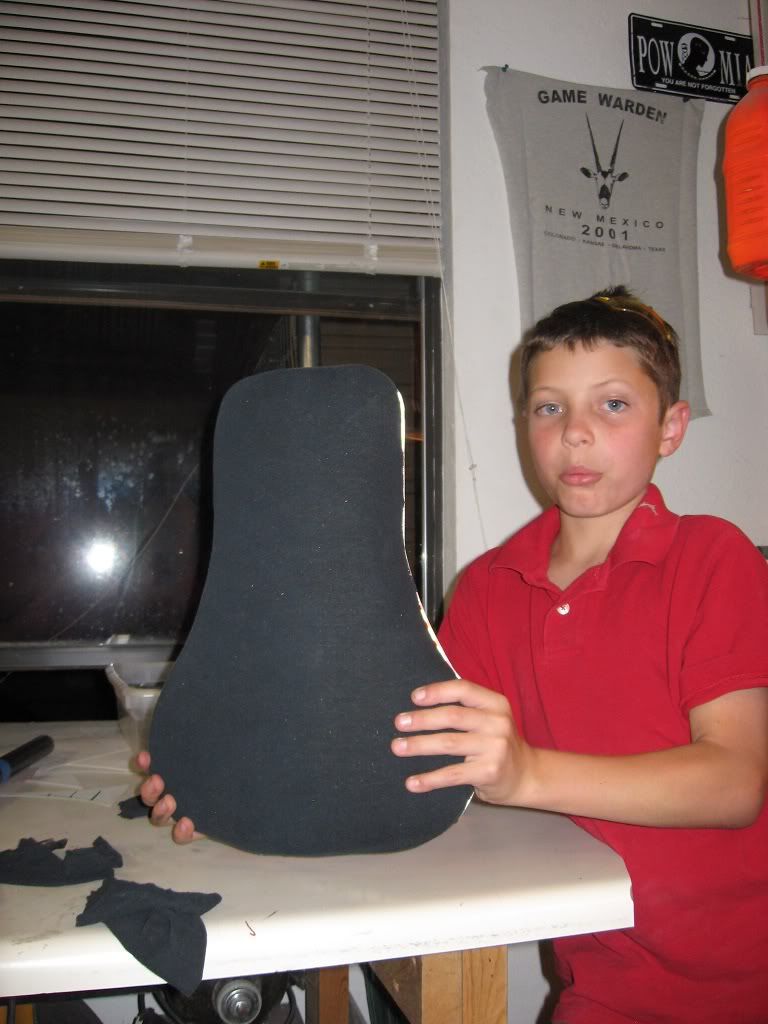
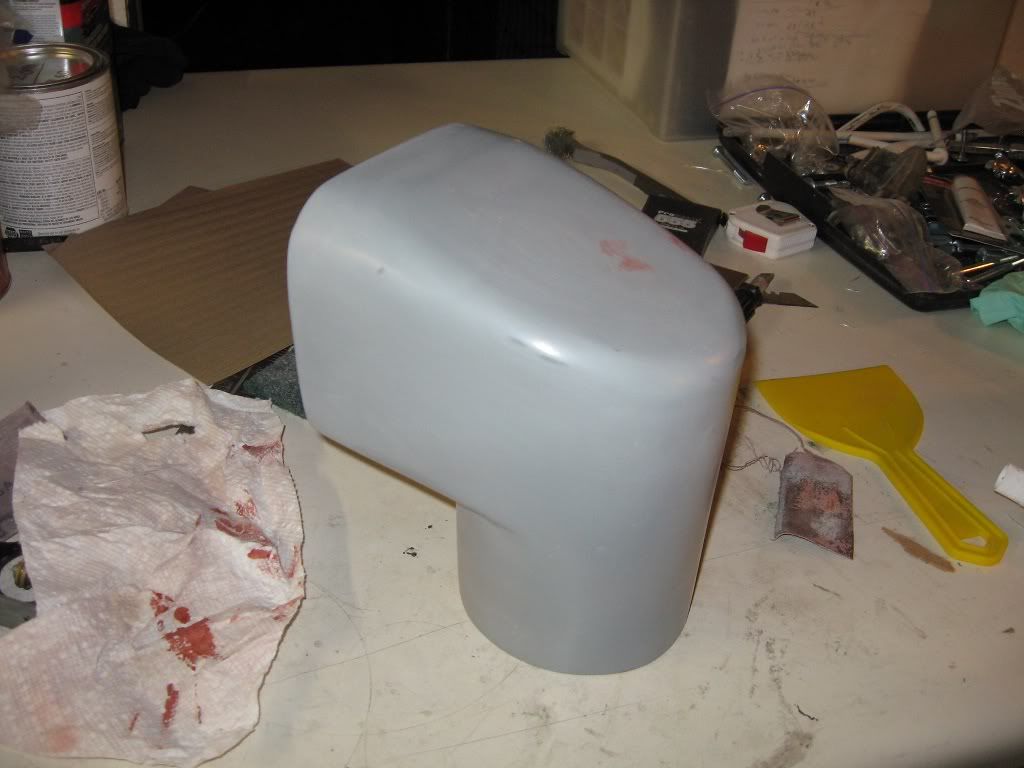
Once I got this thing mostly smooth, I used primer and spot filler (sand and repeat until you run out of flaws or patience)- then I painted it with a hammered texture metallic silver paint, but it could have been any paint as the thing was as smooth as glass when I was done. I cut a piece of scotchbright to fit inside and painted it silver too- I’ll probably do something different eventually.
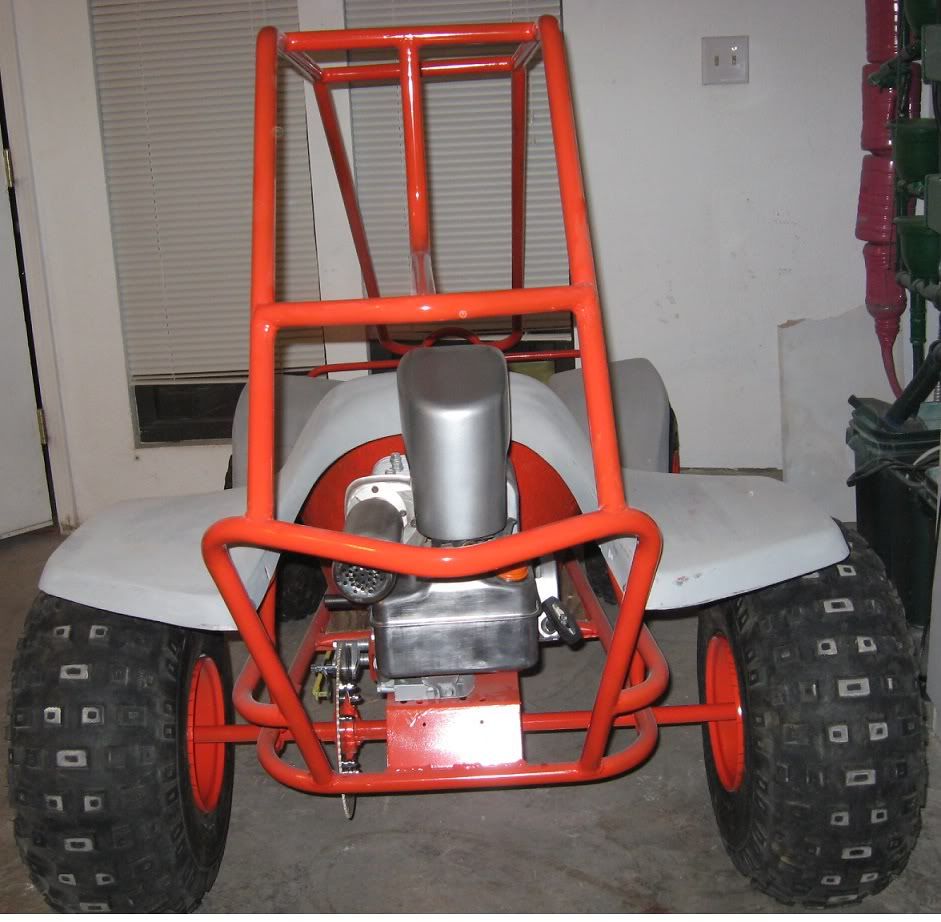
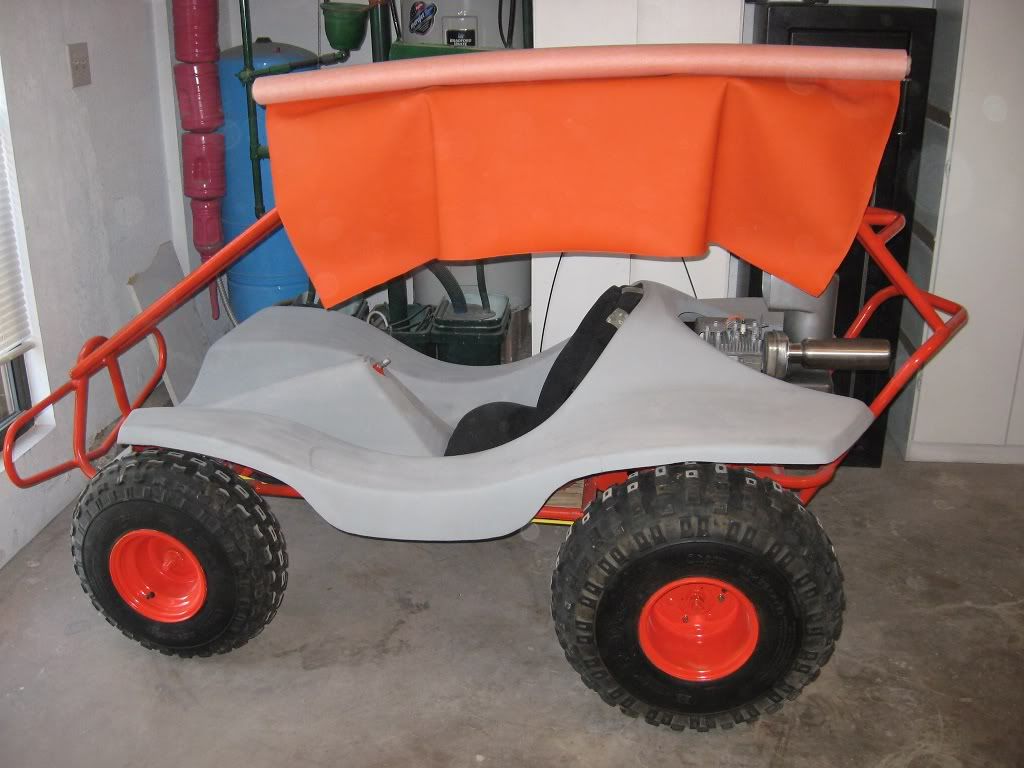
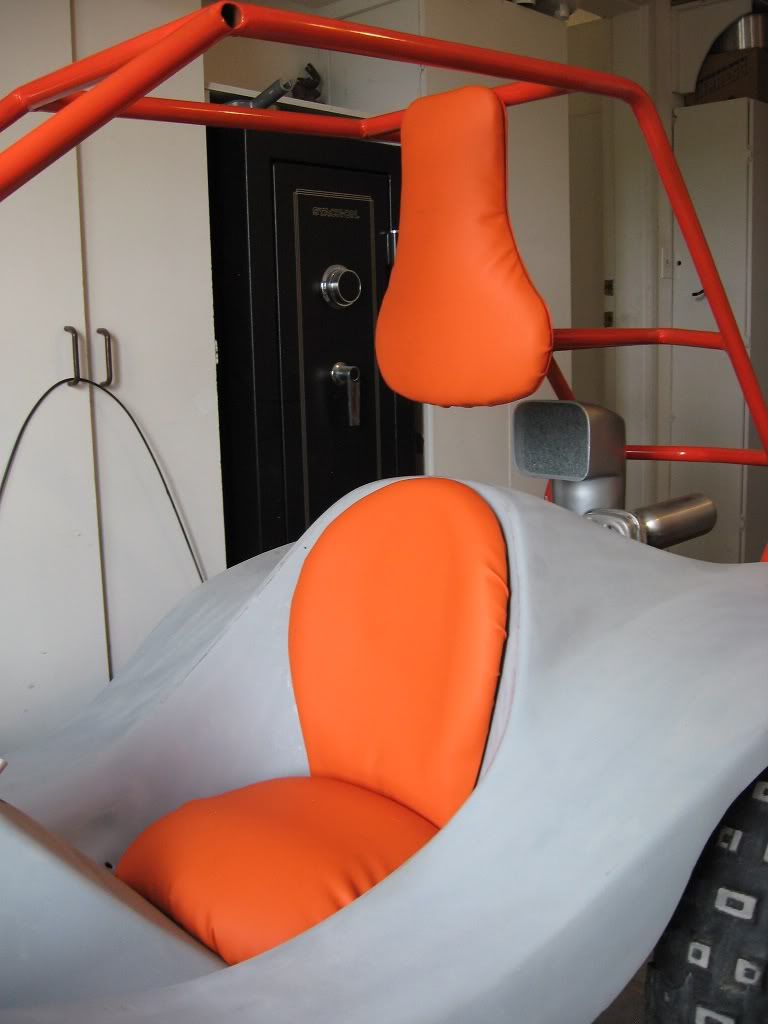
I wanted smooth flat surfaces to make it easy, but in hindsight, I wish I had incorporated the curves of the dune cat body more- but either way, I think it looks pretty cool and dune buggy-y.