Project "Blue Angel/F#!K Cancer"- GX390 Powered MiniBike

#1
I am not sure what to call this one (not that my projects need names, lol). In keeping my promise to make an attempt to move forward and remain positive, I decided to share a project I have been working on more recently and get you guys and gals a little better caught up on it!

A few months ago, I hit a bit of a bad spell in terms of dealing with my fight against cancer. Of course I had continued to be positive (especially/mainly) outwardly and remain true to myself, but, I had honestly lost quite a bit of motivation. Im pretty sure most werent able to tell (other than my wife and a few close friends).

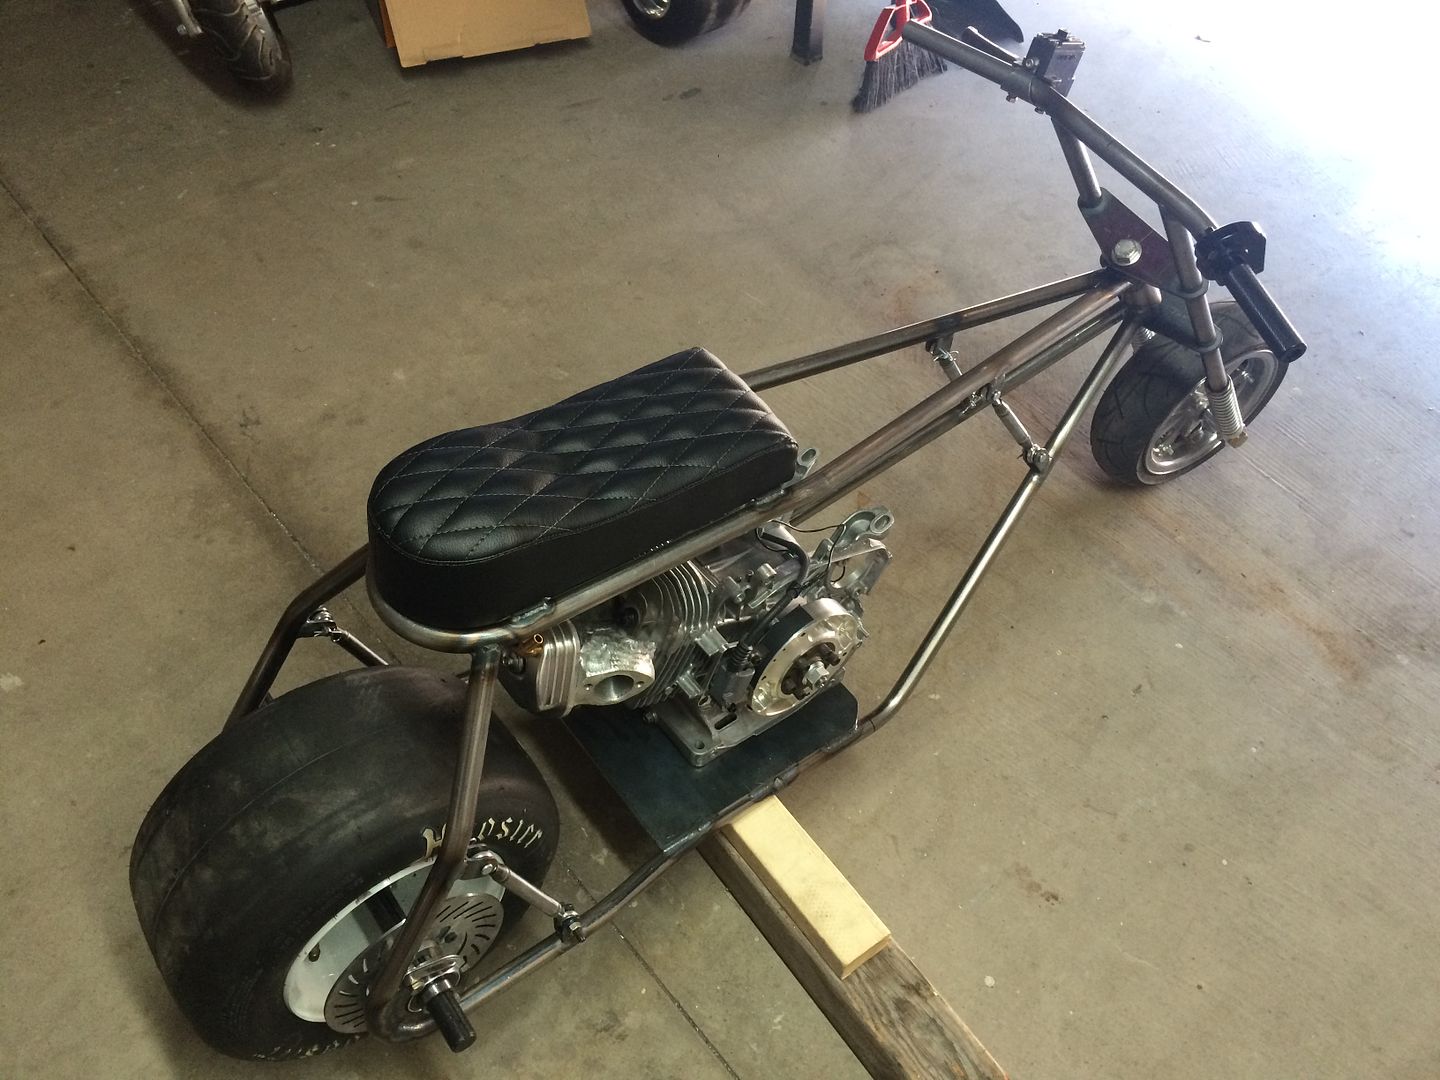
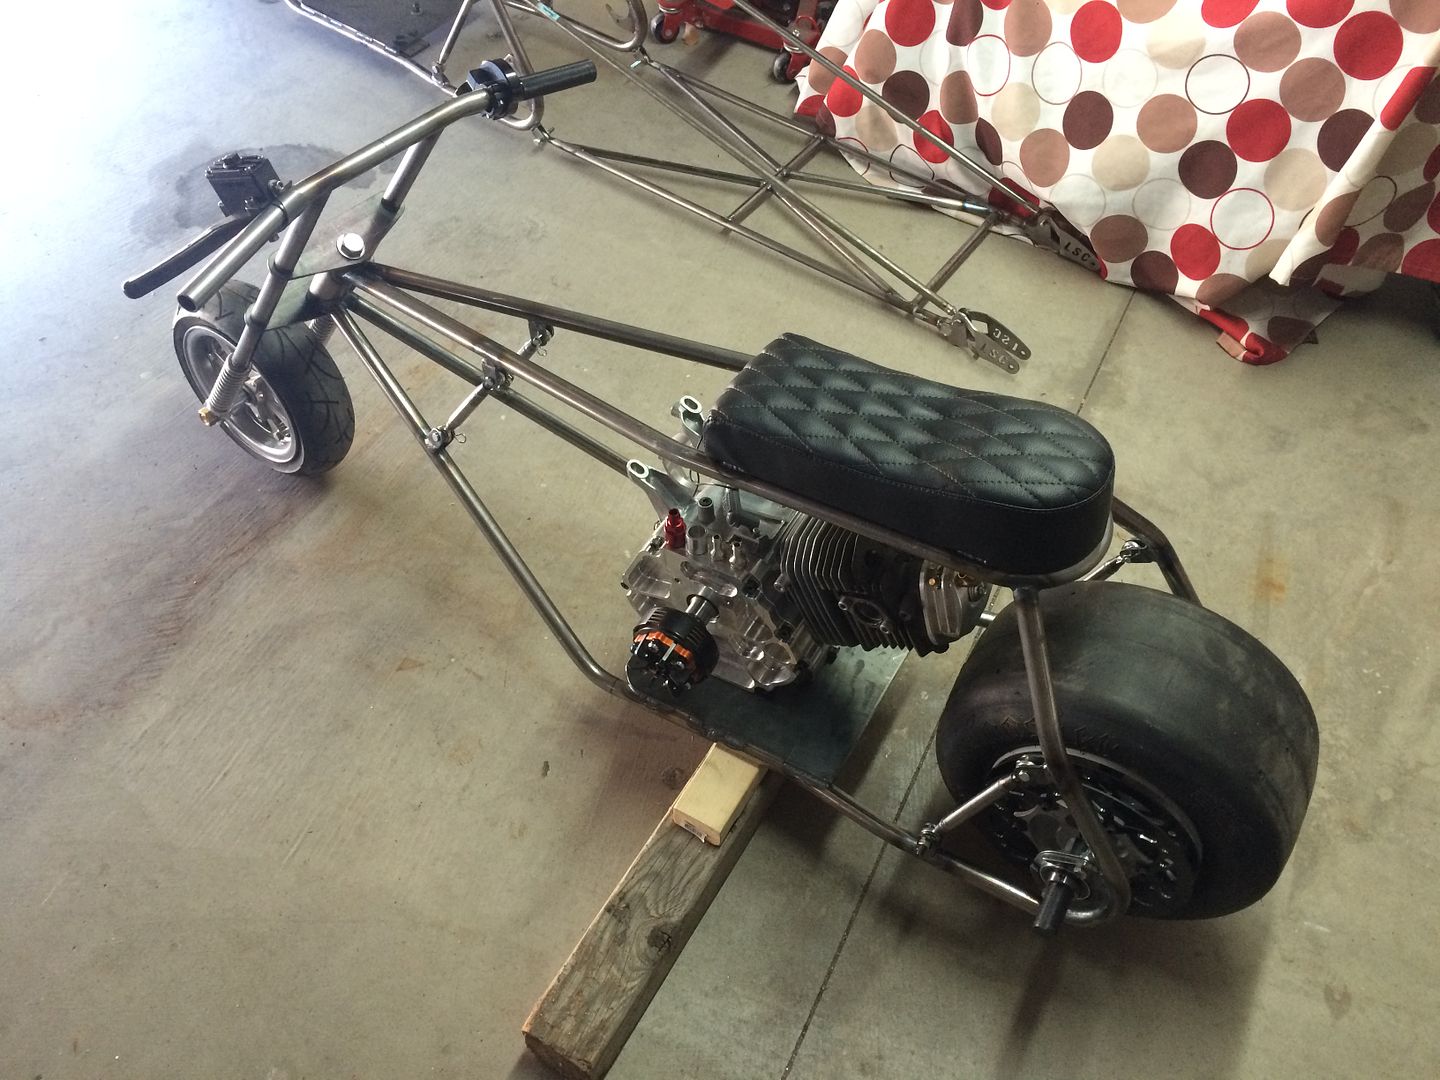
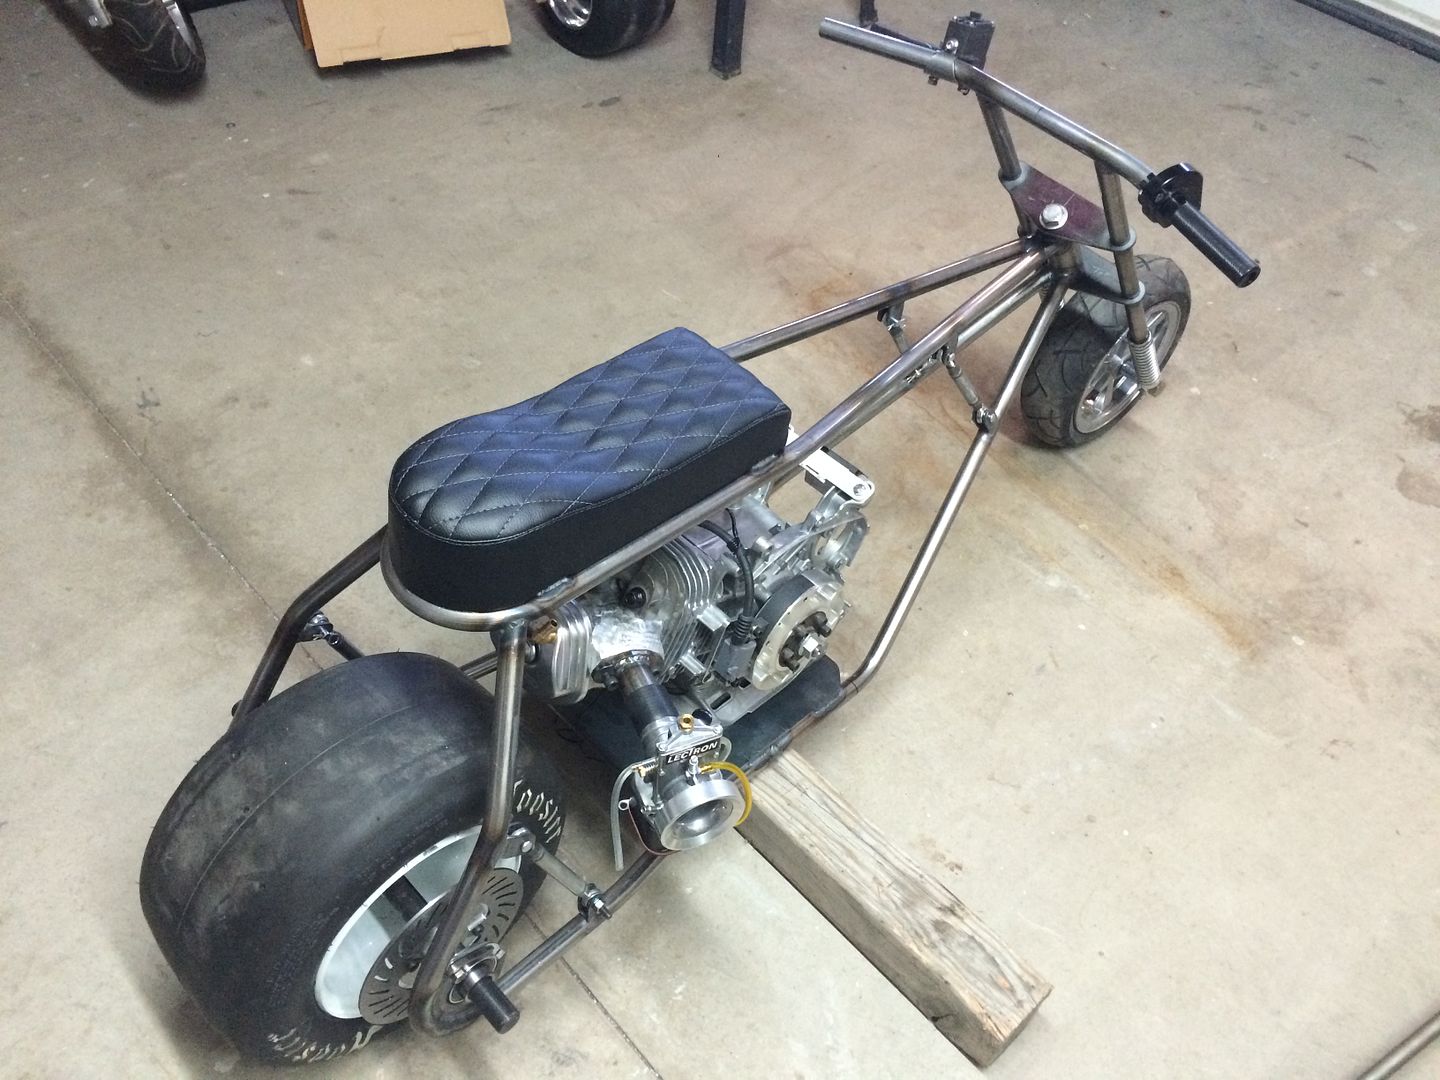
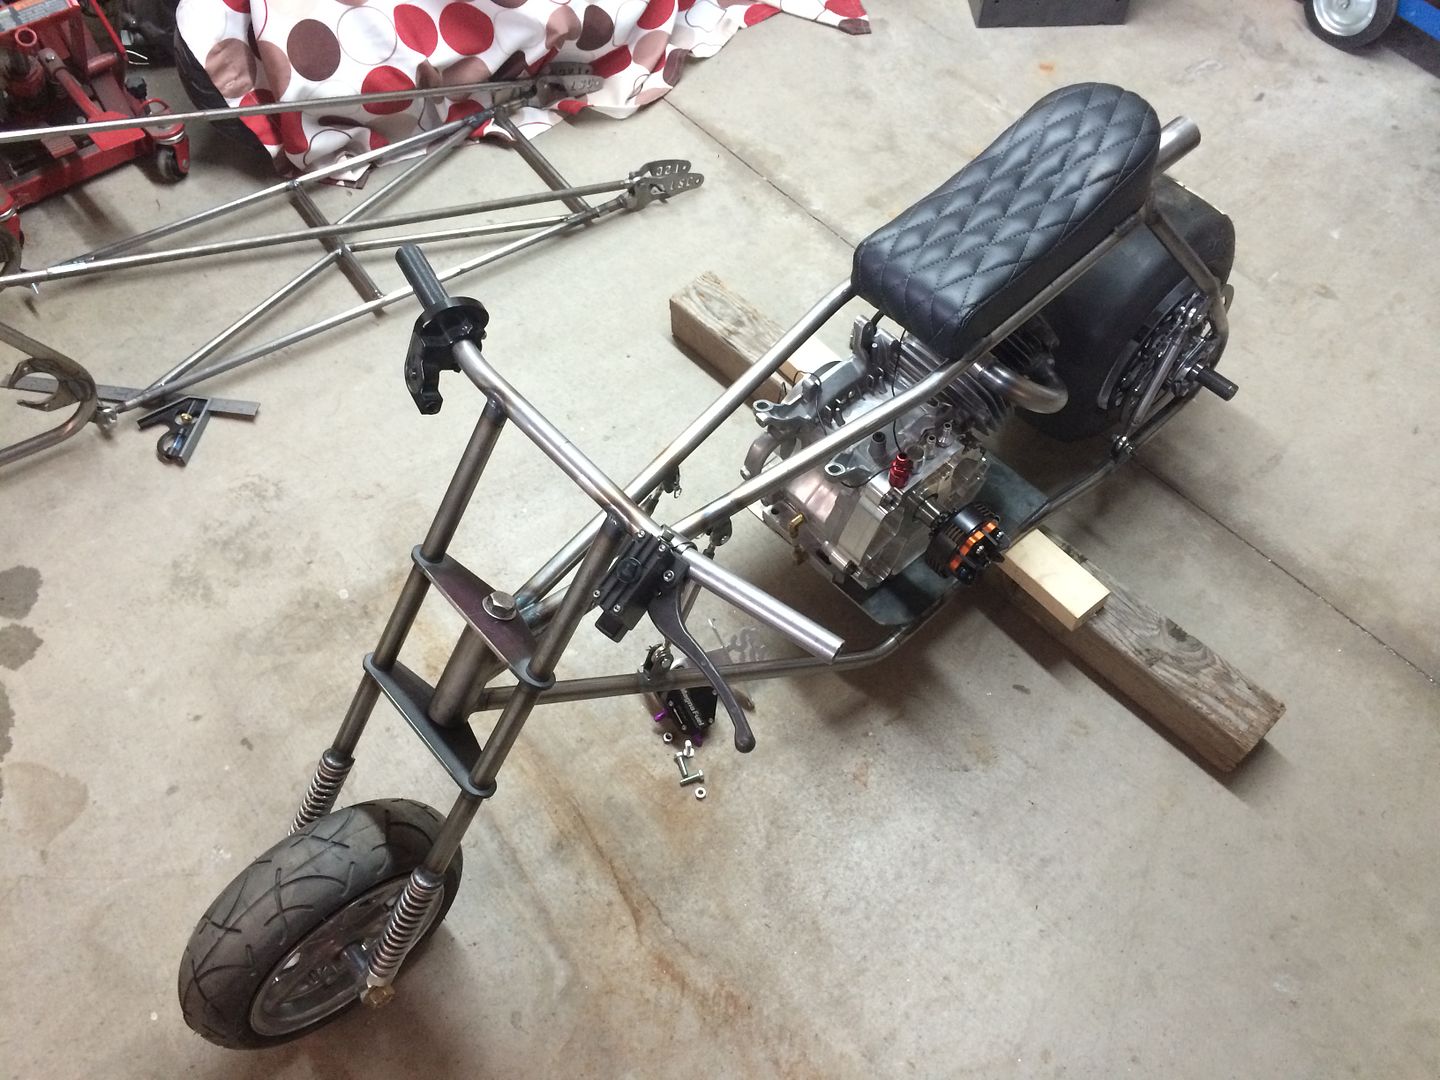
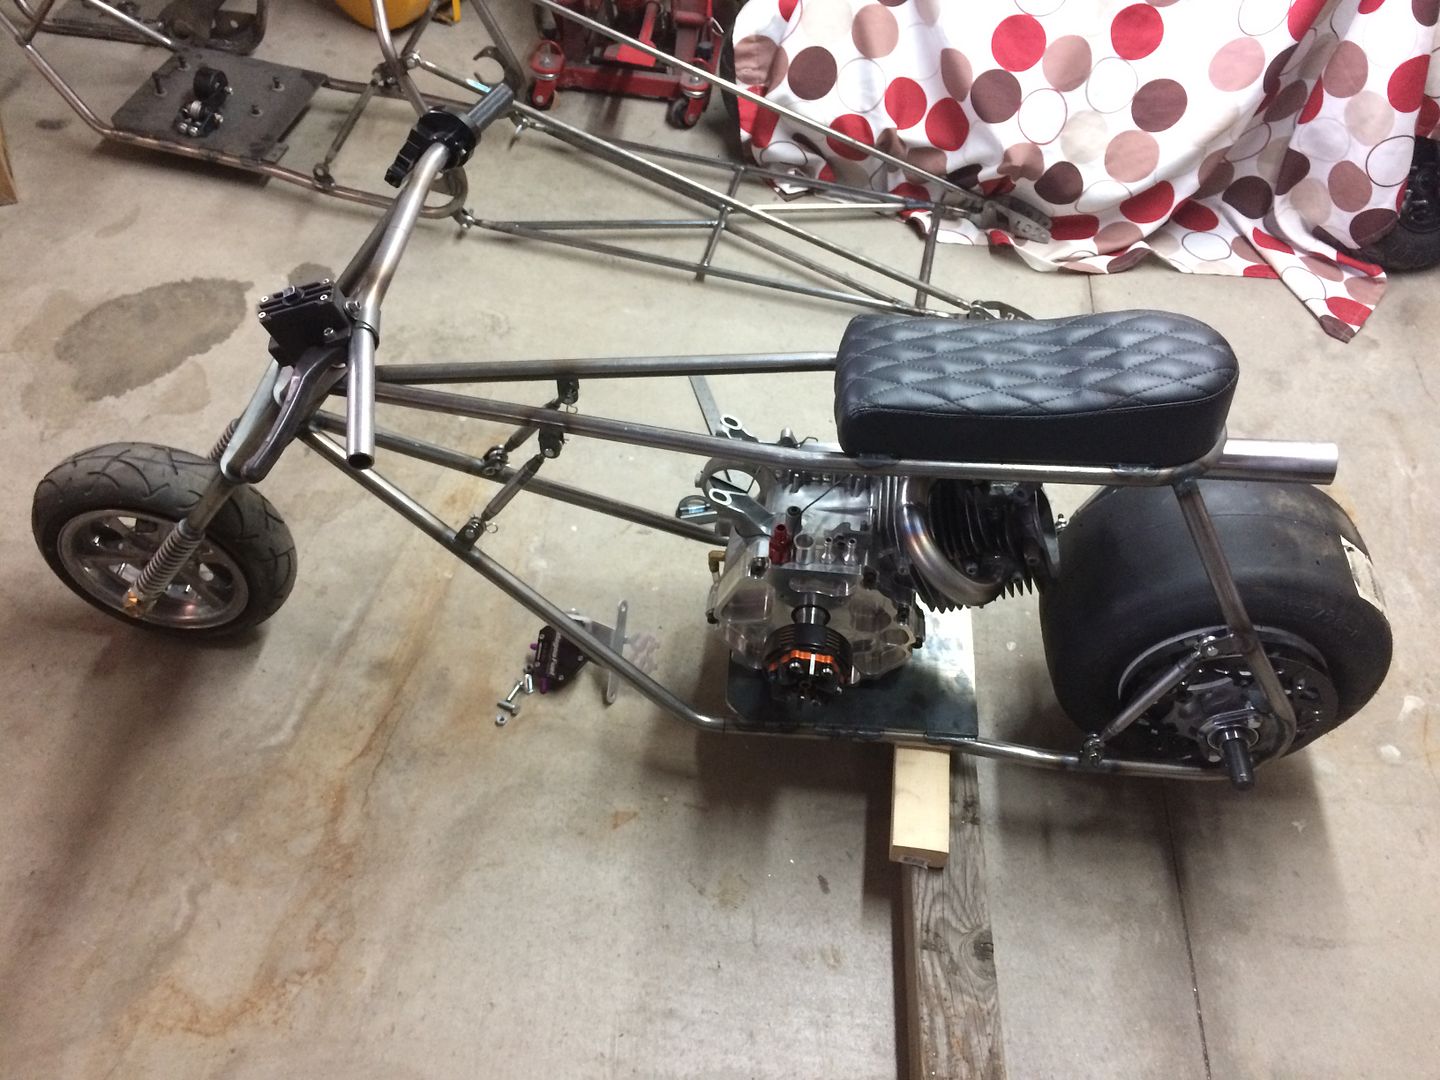
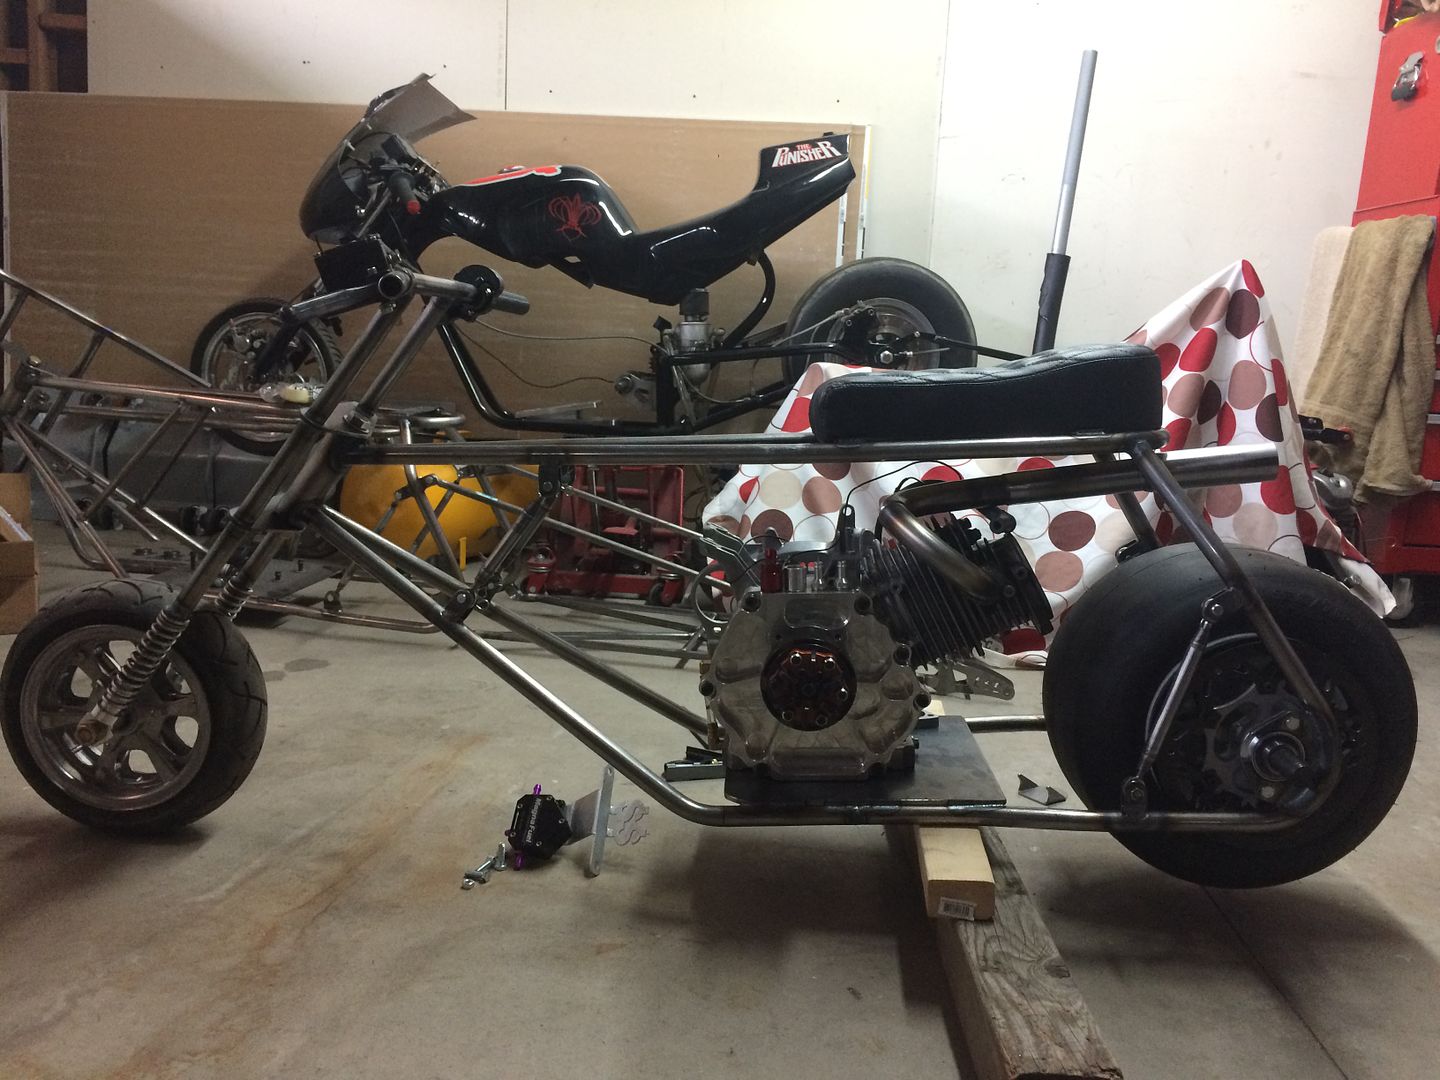
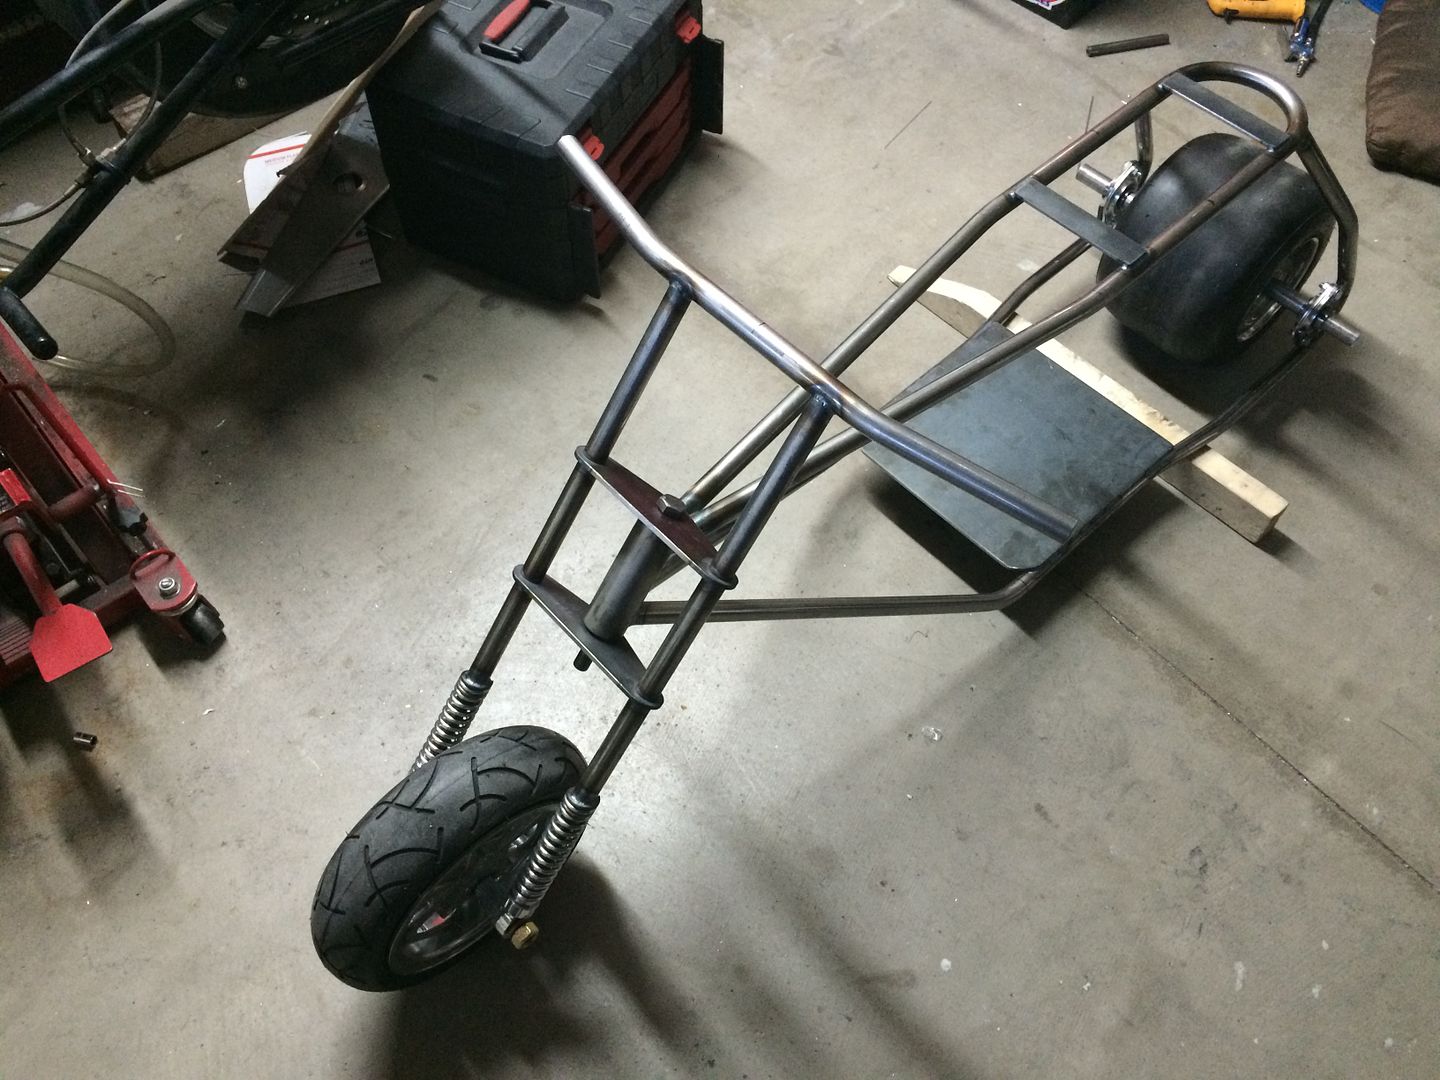
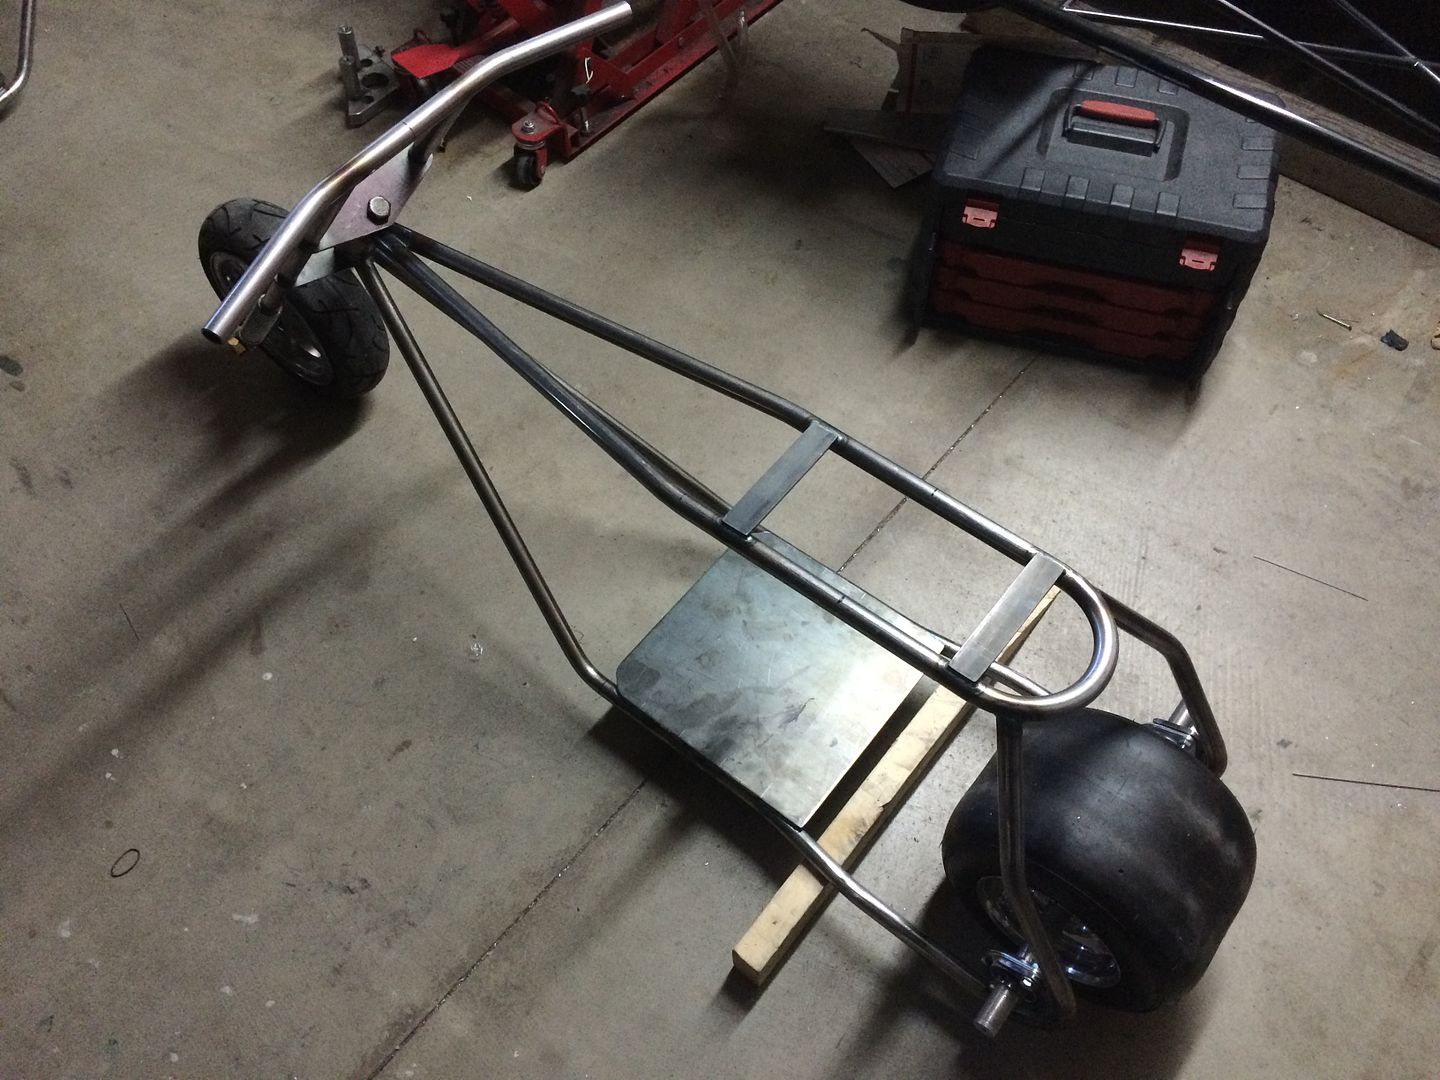
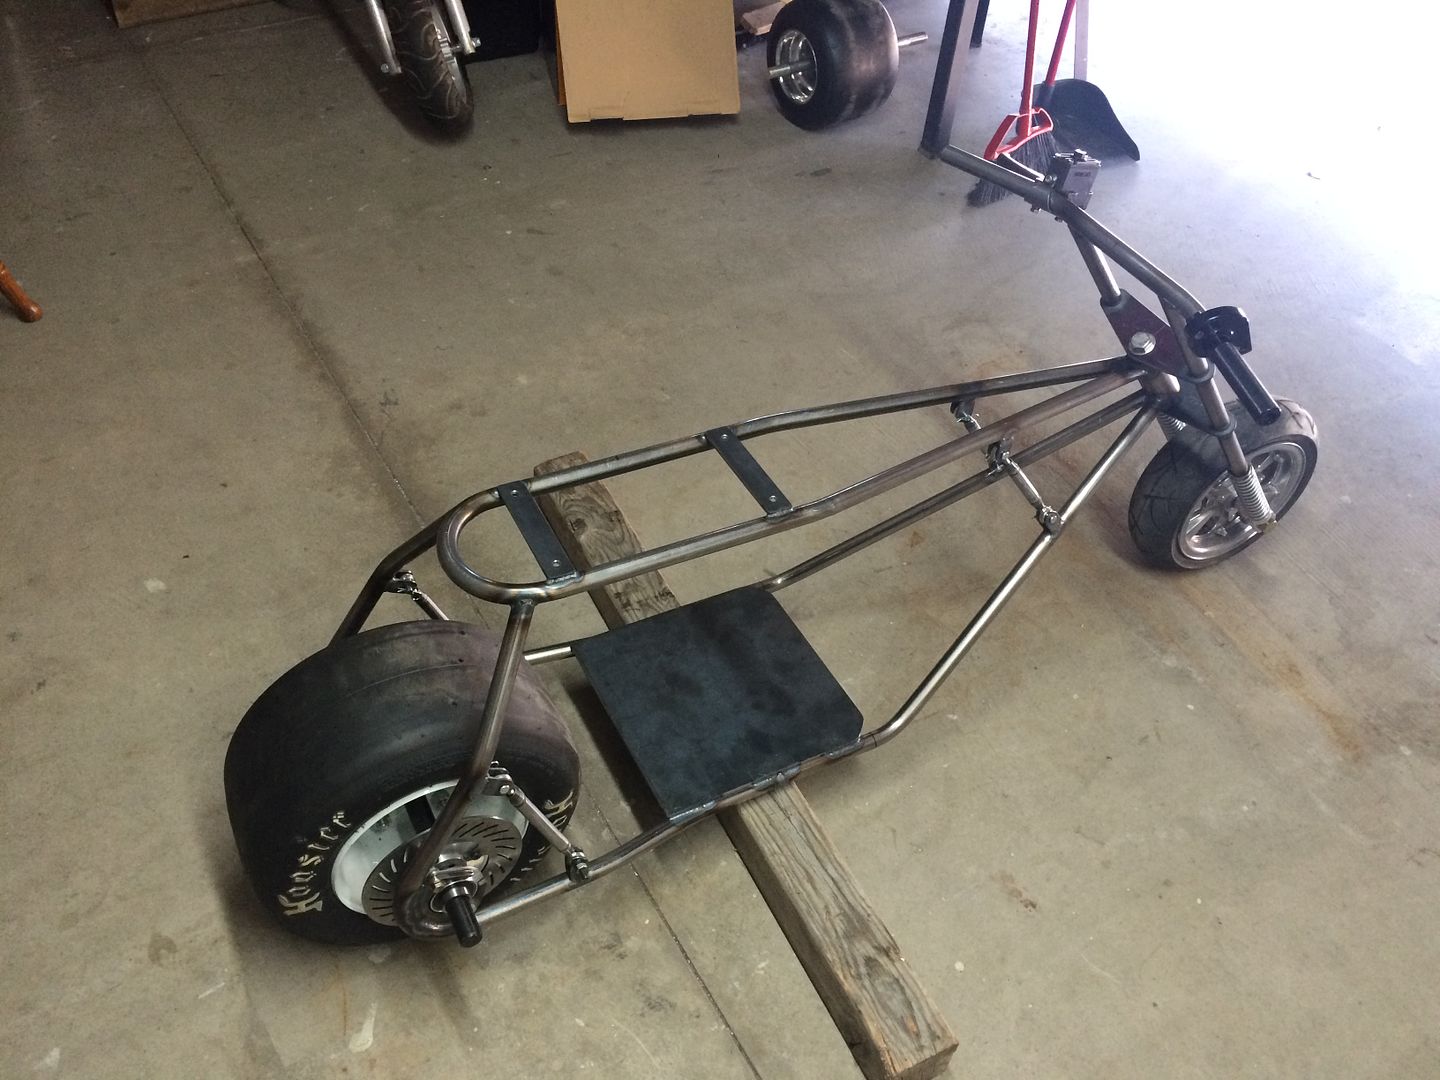
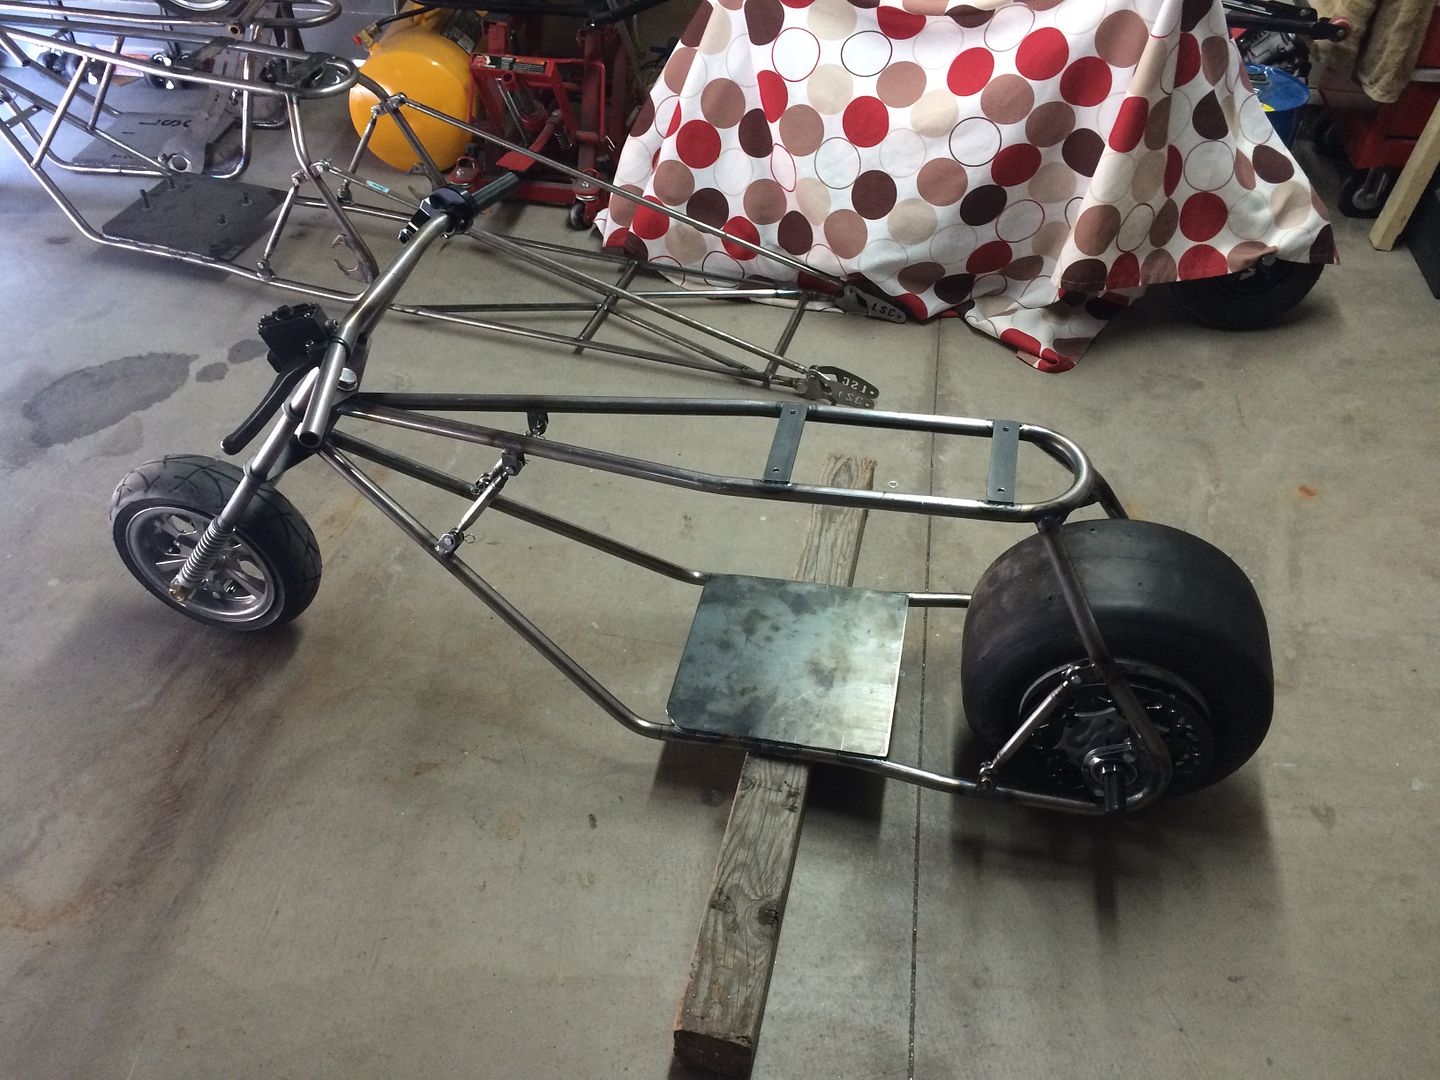
Since I got into minibikes, from the very beginning, I intended to build one (smh) and a very specific one. I wanted to start out with a Temecula Bob frame and put my touch on it. Alot has changed since then. Bob and I have become very close. A while back, I told him I wanted a specific type of minibike frame from him (not that I cannot make my own frames, etc. but that he and his are special to me). I gave him a few specs and requested that an older school style front fork spring suspension be made for it. Typically it may take a while to get something as specific as I wanted it... and i would never rush or expect anything other than what can be done, when he wants to do it!
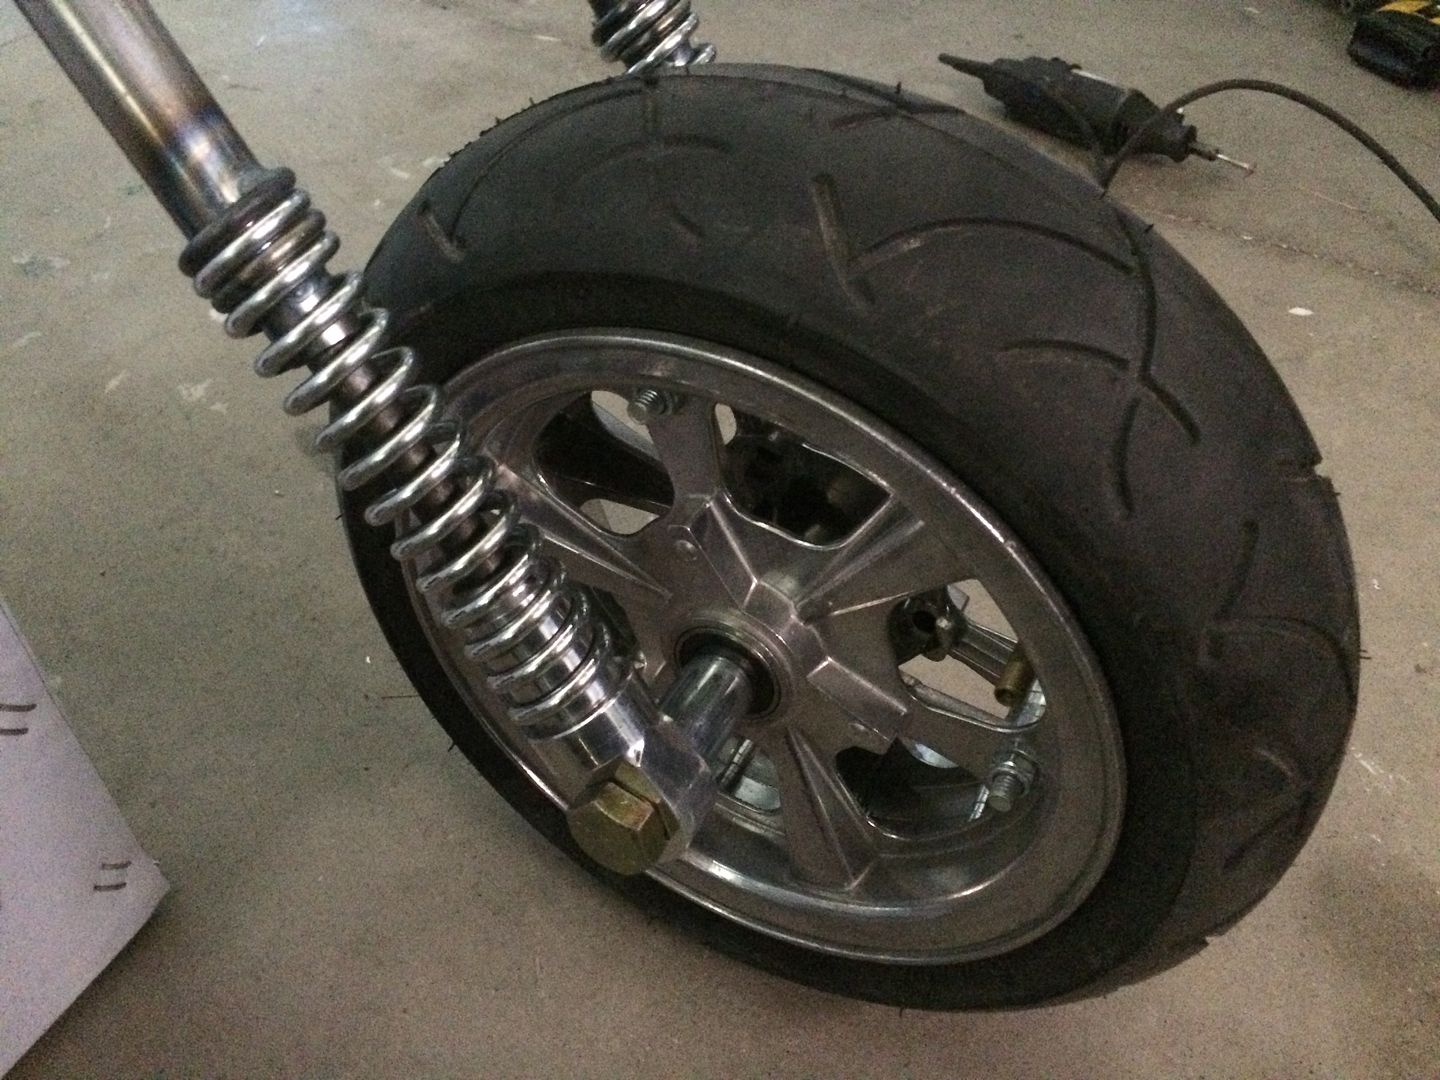
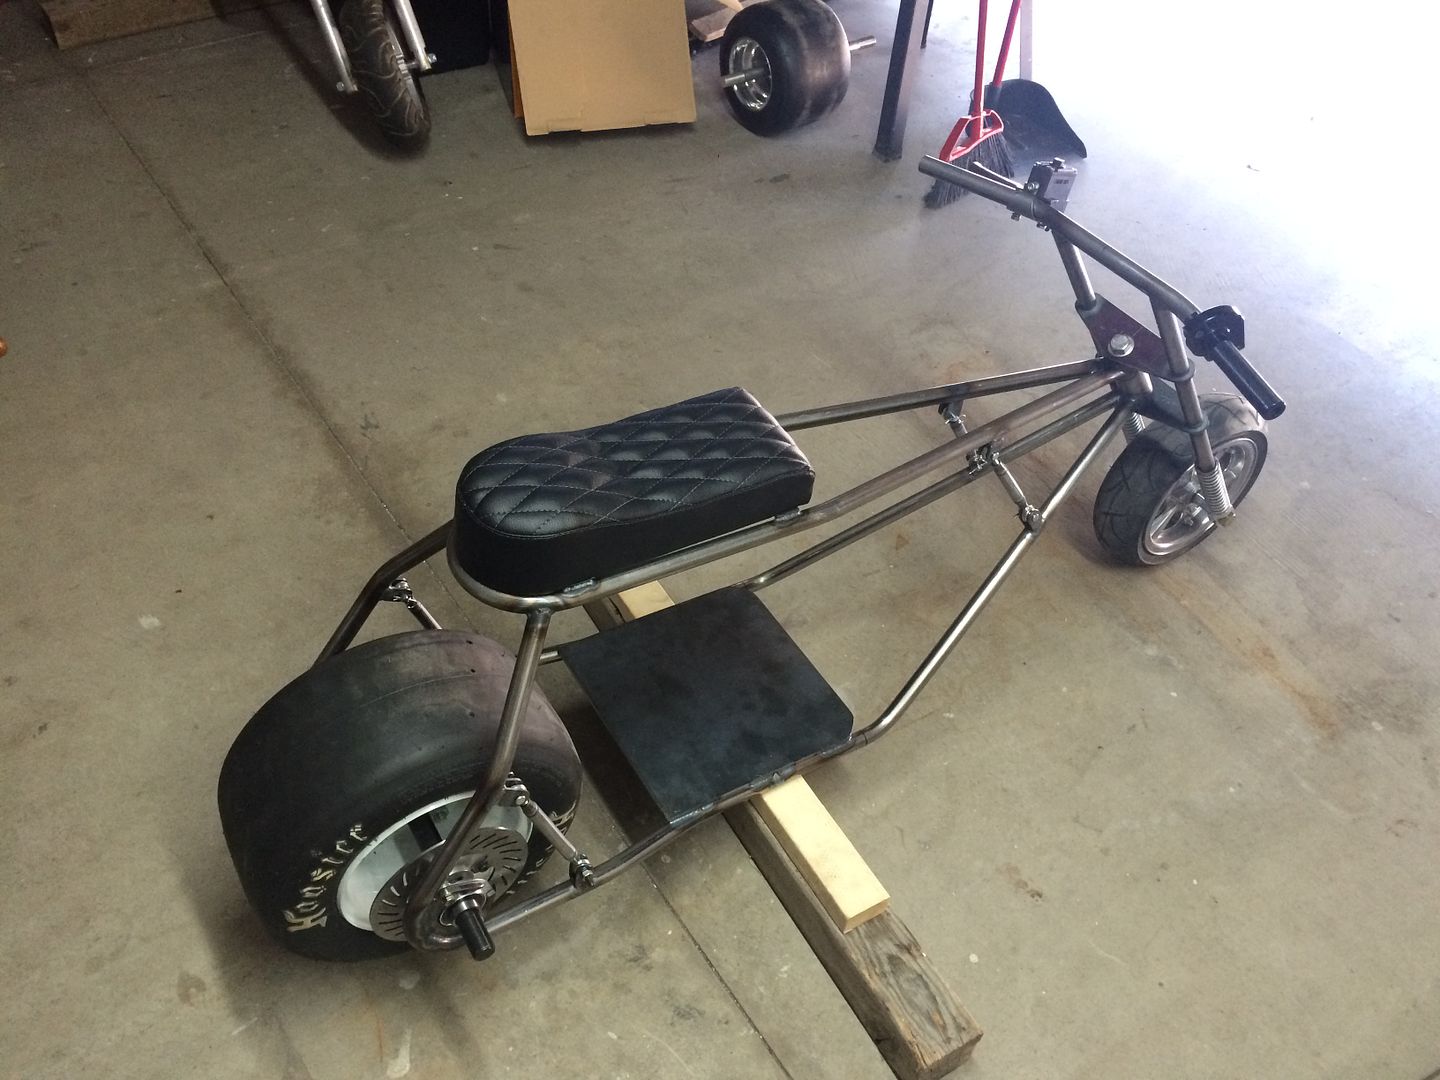
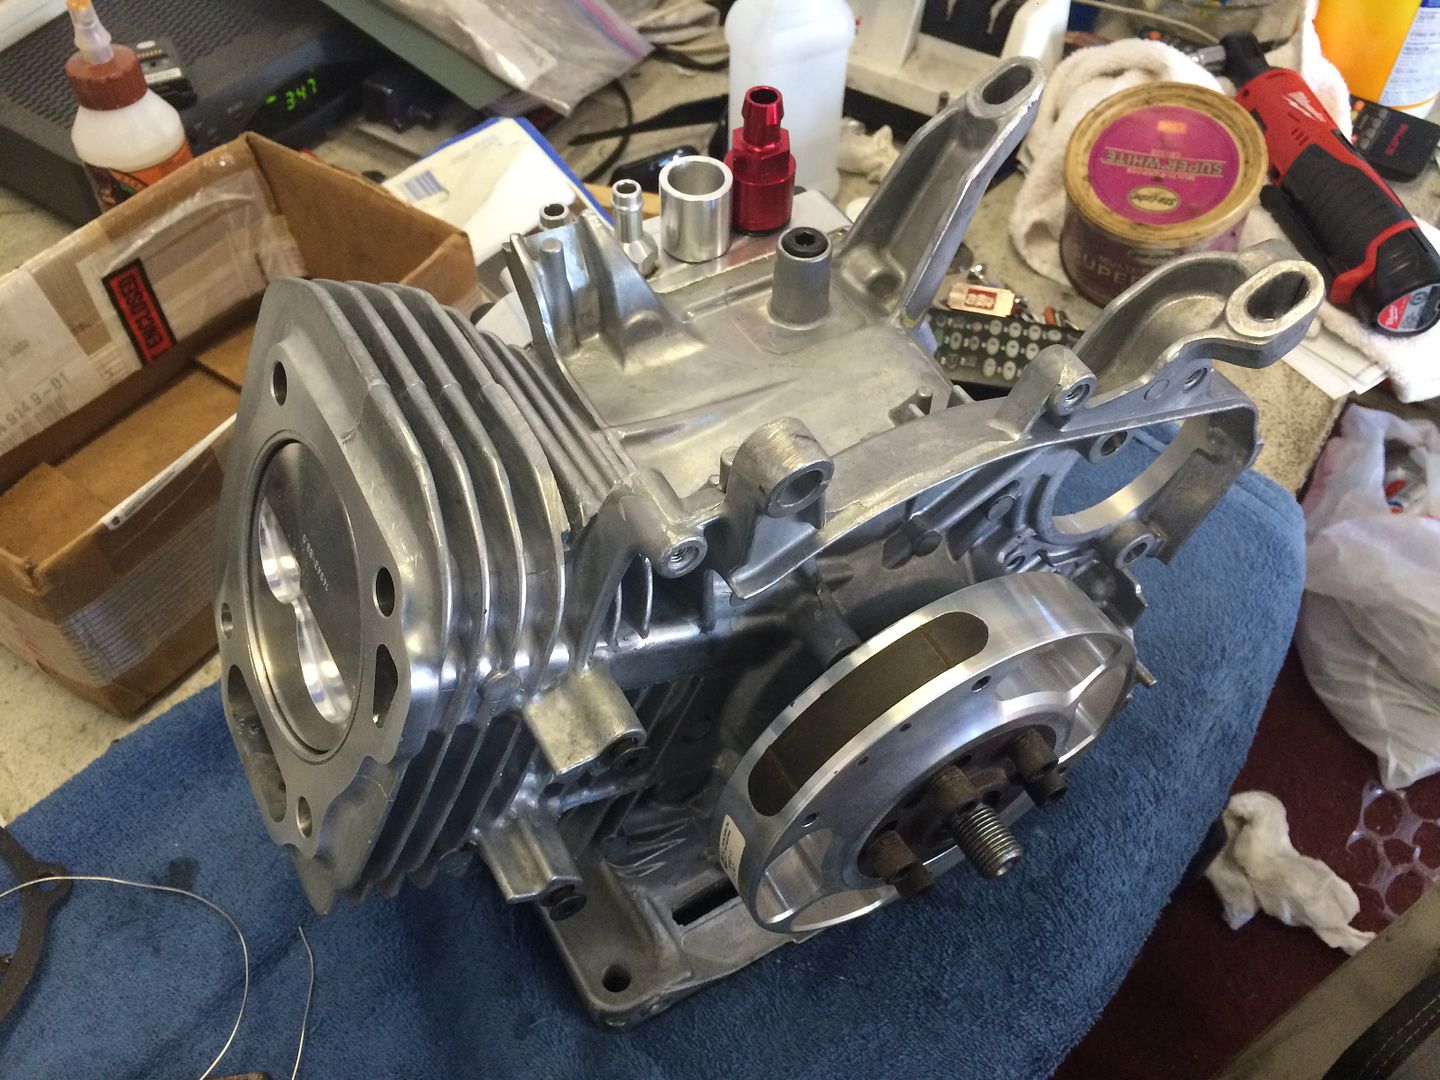
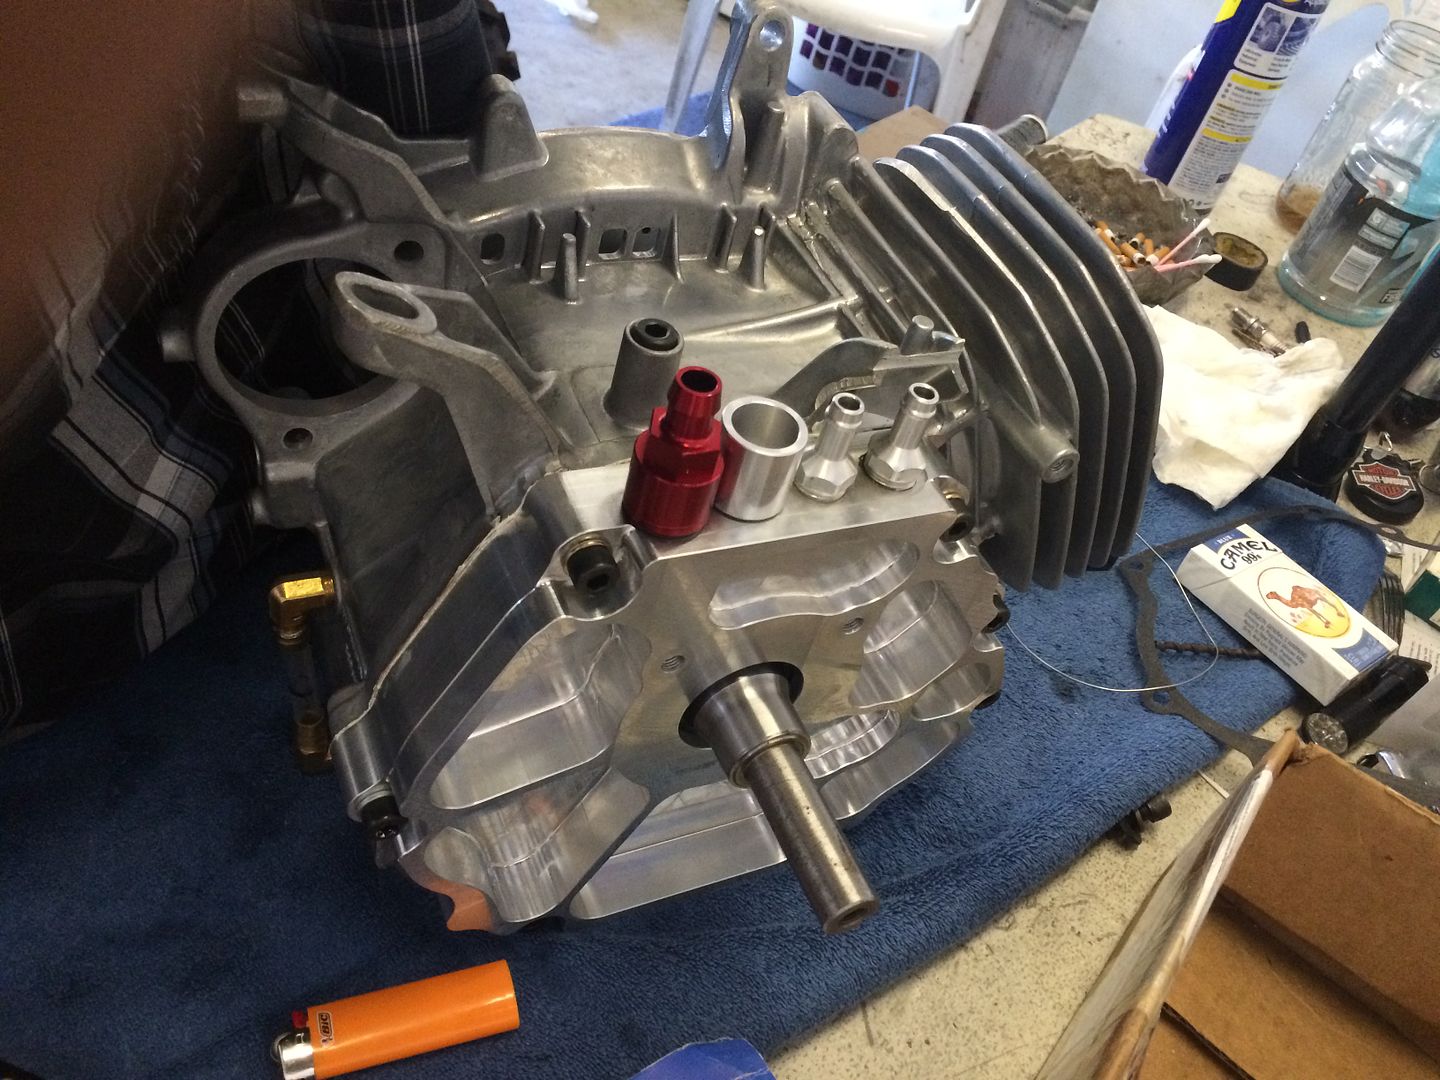
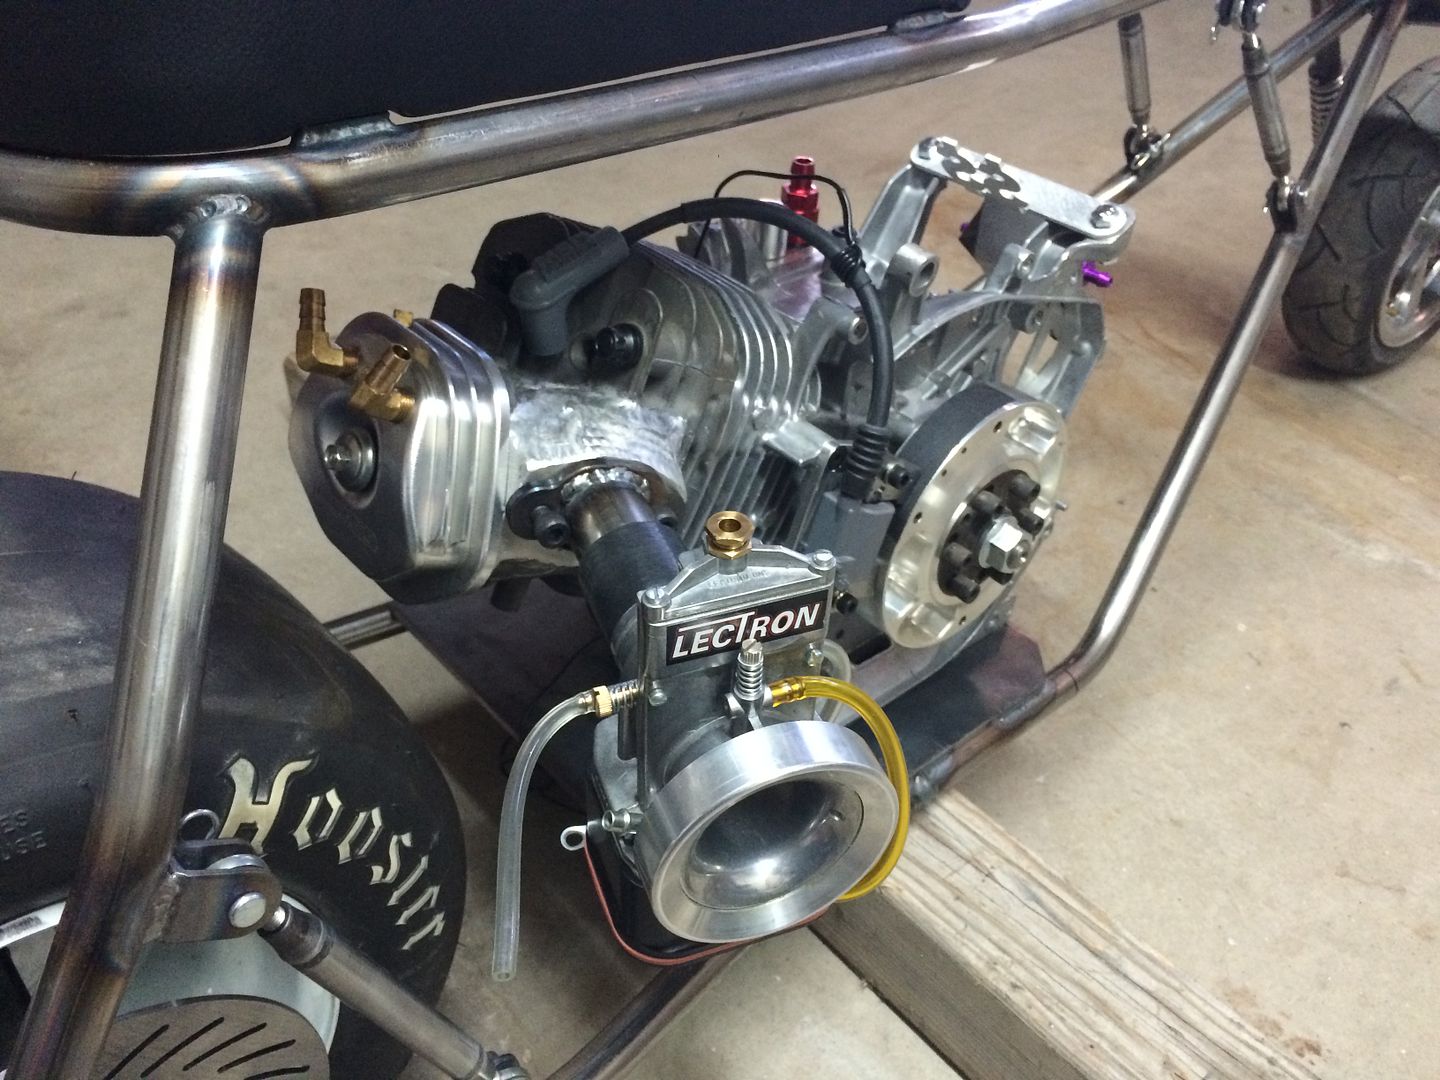
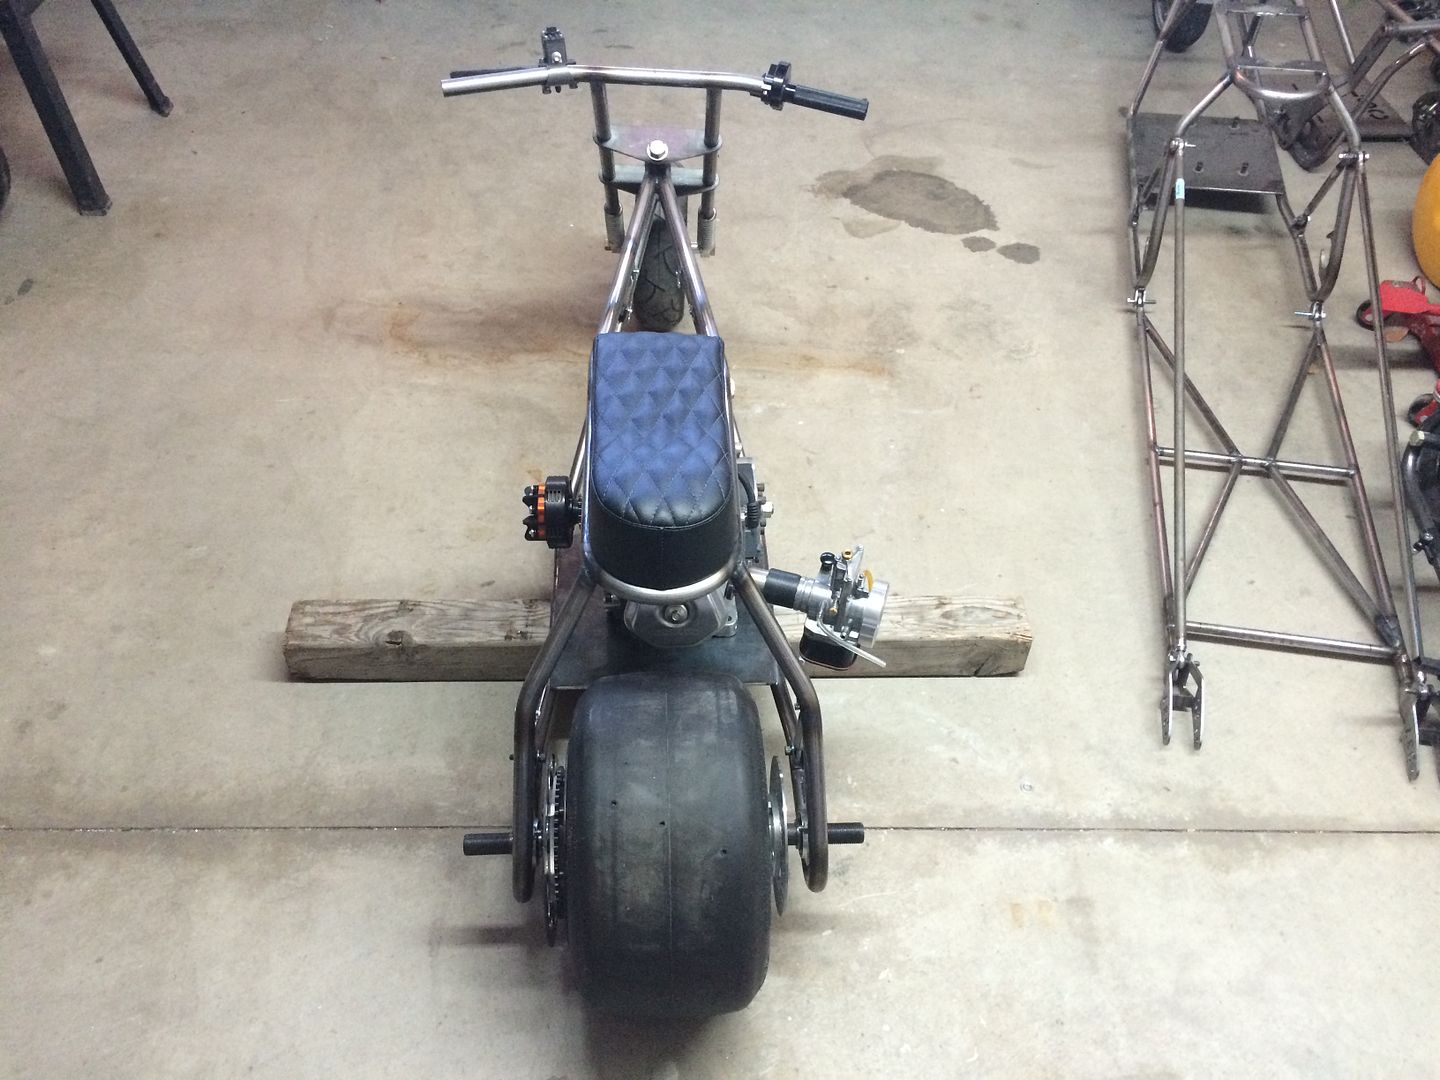
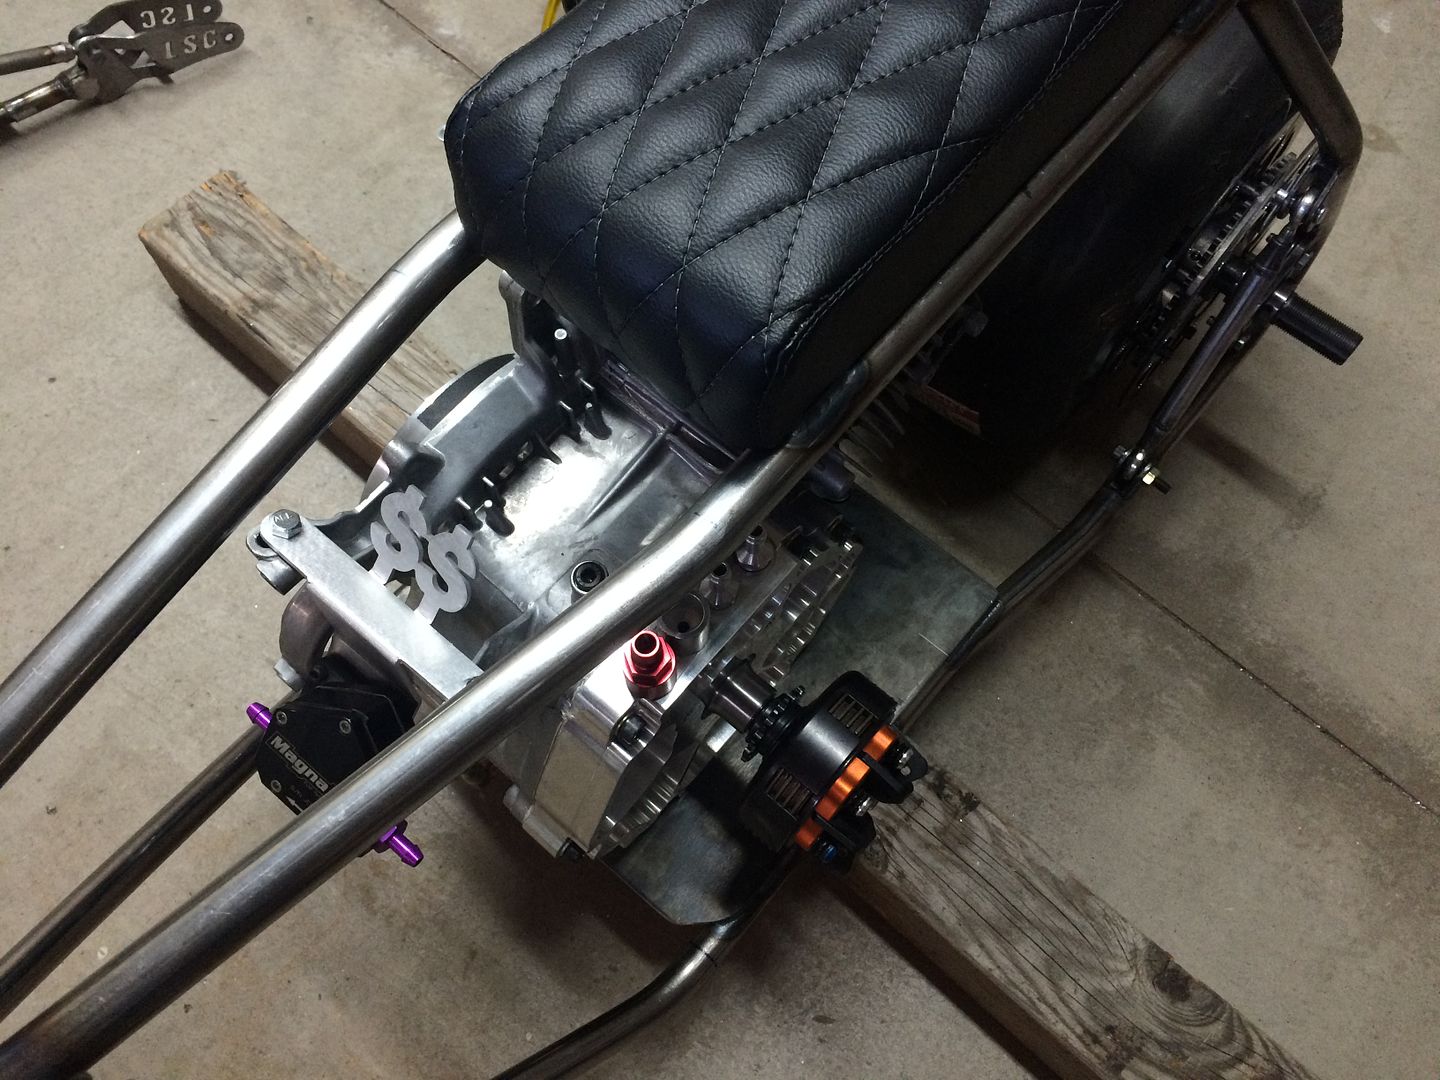
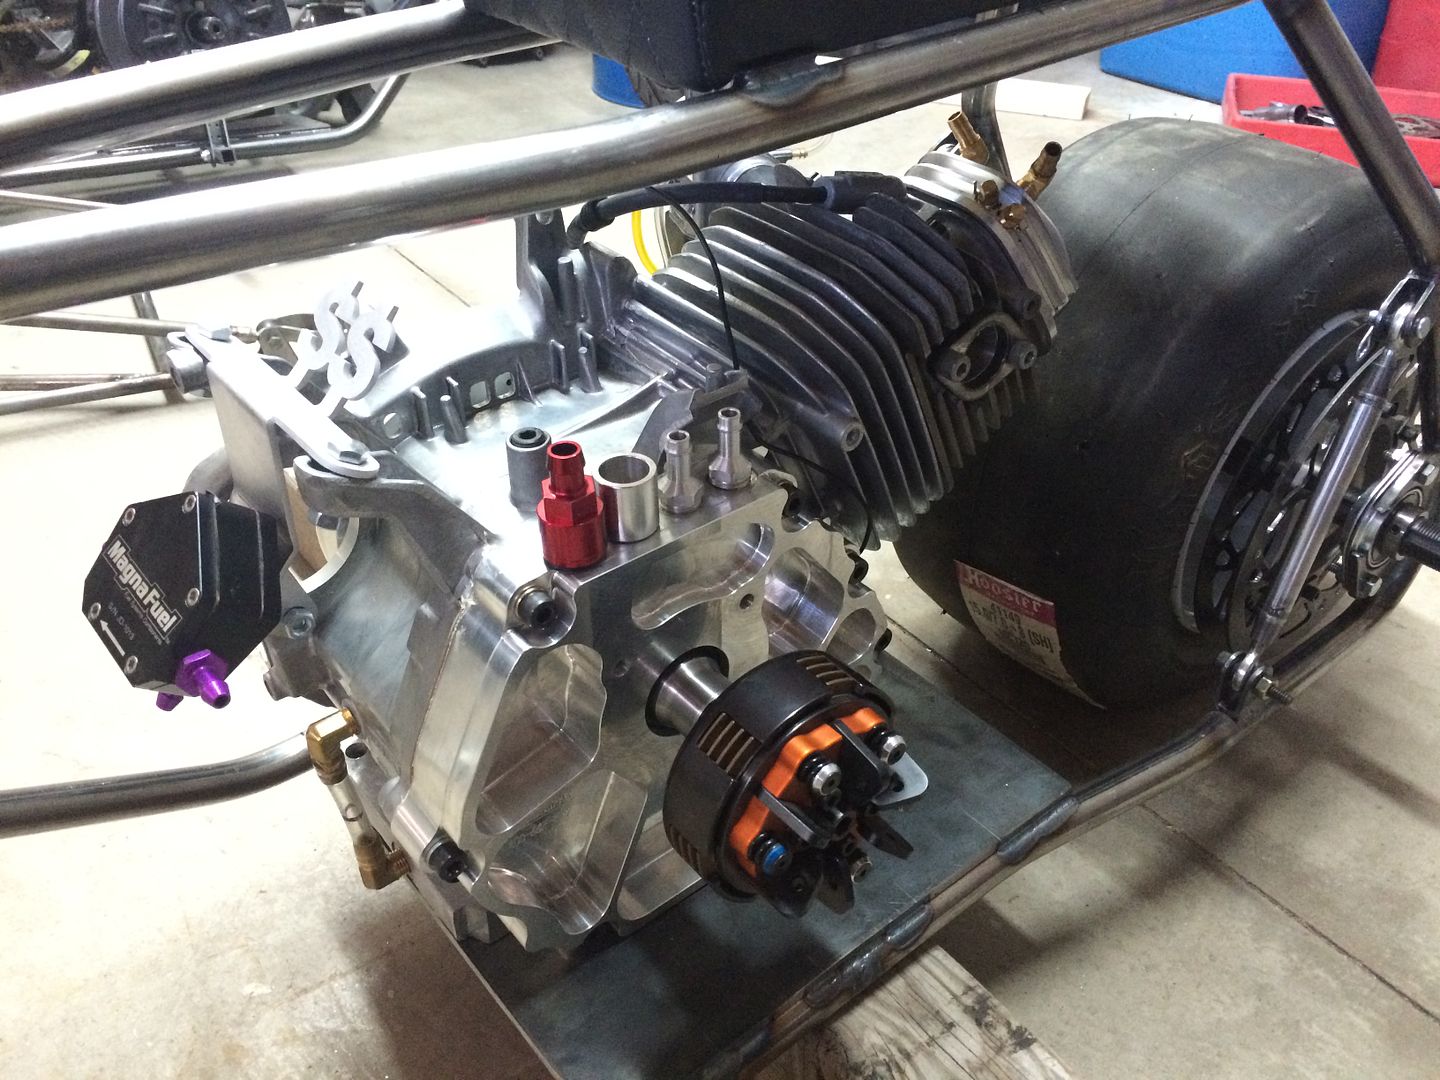
 
#2
To make a longer story shorter, Bob came to visit me one day, a few months back. On this particular day, I wasnt as strong as i usually am and im sure he could tell. A few days later, he returned and left this and I am 100% sure he did this in hopes to give me a push and some much needed motivation...


#3
I wasnt expecting it... and i know he had to work really hard to build it as fast as he did. it was enough to push me forward toward a more positive momentum. Through this situation I have been in, the most important thing for my type of mind, is for me to feel like the bad situation is not "beating me". One way that I do this, is by trying to not let it stop me from progressing. I often measure this progression through projects. In other words, I really needed to vent. And this project is an expression of some of this venting process. Not the best, but the best I could do, each time I pushed myself to get in the garage...
 
#4
Having something very specific in mind for this project, I added some bracing to the front and rear sections of the frame. these are adjustible braces, but they dont need to be... I wanted them to be removeable and using the rod ends, etc, would flow well with the rest of the bike... I also am new to tig welding, so used and will continue to use the tig welding process on this build...


#5
being too lazy to hand cut and router the seat pan, I programmed it in cad and had a friend cnc cut it out.. i went to an upholstery shop, and the owner upholstered the seat while i waited, as i wanted the stitching to be specific and the shape of the foam to be specific.. he did a great job in a very short time...


#6
I then took a trip down to another close friend's house (JD Ayers). He too wanted to be a part of this project and had been working on building the engine for me... It is a GX390ish, unspecified specs :) but it does have some nice titanium and custom bits in it...


#9
i also had previously made a custom mount for the fuel pump that mounts on the engine, since JD sometimes refers to our group as SS Motors (Secret Shit), I figured dollar signs would be appropriate... not talking about money, but SS Motors... lots of hidden jewels in and around this engine...


#13
i made an exhaust for it... tuned/staged to a specific length for this build... wanted the curve of the exhaust to be as gradual as possible, without sticking out too far...
i used exhaust flanges, i programmed and laser cut a while ago... these are larger than the typical gx390 exhaust outlet would be, to get me closer to matching the port on the head (when i port matched it)


#14
the engine isnt mounted onto the plate at this point, but i took this into consideration prior to welding it up and made it where it would fit regardless of the final location of the engine...


#15
the head is fully welded and the intake port heavily modified.. i programmed an intake flange that would closely fit the new profile and i printed it out on my printer.. glued it to some scrap aluminum and began to make the intake...


#17
shaped it on the belt sander best i could...


after mocking it all up, welded the appropriate diameter tubing to the flange... i actually welded it up, inside and out, and port matched it to the head...
 
#18
Glad to see you posting again G !!! As usual your work amazes me ....
thank you!

i tried to make the bead around the bolts holes as small as possible, but i wanted this intake to be as nice as i could make it, so i used my poor mans mill to massage the intake, where the bolts would sit flat and be easy to screw in and out...


#20
after roughing in the inside of the intake, where the welding was... i put it on the head and it fits nicely... i still need to finish the texture in the intake and add a bung for the wet nitrous system...


Top