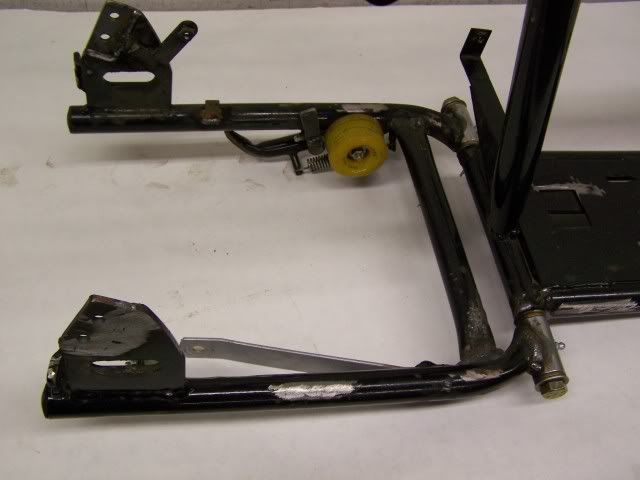
project build with rear springs

delray

Well-Known Member
yes, nice to meet you too....:thumbsup: thanks again for the parts. next year for sure. i hope the weather is the same. it sounds like this year was the best year ever...weather...people...etc...
maybe we can get couple more people to show up next year....kyle...buckeye..derek..markG....steve.......stubbymonster..scott..who else can we think of...?????....wayne....:thumbsup: got to get ogy too with one of his fox campus bikes.......:scooter: i know i am missing somebody...:shrug:jesse? i should make a hit list.....:deal:
 
Last edited:

delray

Well-Known Member
i am sure you could try it with out the brace. i put the extra brace in because i had the room and thought it might keep any flexing down from one side to the other side. it almost sounds like you are starting to get into a tire size that will be just to big for the factory frame setup and will have to do some big changes to the frame to make things work correct.
 
i am sure you could try it with out the brace. i put the extra brace in because i had the room and thought it might keep any flexing down from one side to the other side. it almost sounds like you are starting to get into a tire size that will be just to big for the factory frame setup and will have to do some big changes to the frame to make things work correct.
maybe so. i will look at it closer before i do any cutting.
 

delray

Well-Known Member
heys guys i have a small video of my bike finish from last summer that i never down loaded onto you tube. just showing how the electric start/switch works. i can run it with lights off or click it back one and have the lights on and then click it back one more time and kills the engine. i really like the switch setup. makes it alot nicer and clean looking with everything built into one swith.......:thumbsup:
little windy that day,so there is some wind feed back into the mic..:doah:
https://www.youtube.com/watch?v=fuzgXxv68jU
 

fistfullabar

Well-Known Member
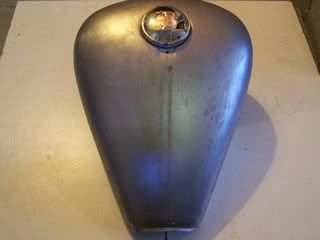
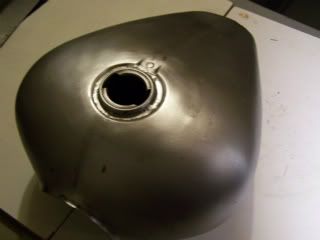
well it has been a very long project and this one seems to keep getting put on the back burner.......:doah: i still like to get it done and i desided to make the tank into a real tank after looking and looking at real motorcycle tanks and seeing nothing that really looks right and the cost on some of them $$$..:doah: i am glad i went with the factory tank,it just looks right for the bike...:thumbsup:

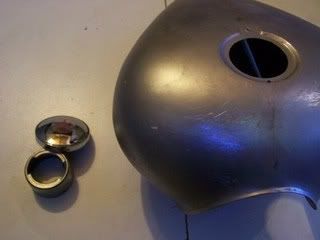
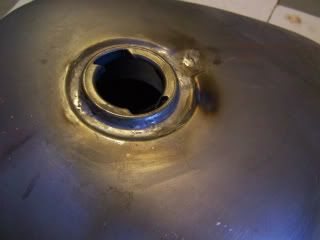
first thing i did was strip the tank and then enlarge the filler hole 1/4 inch bigger for the filler neck.


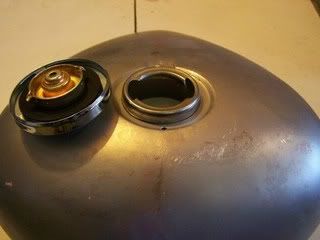
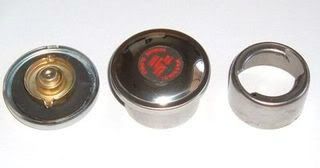
new gas cap and filler neck


spot welded the filler neck in place from the bottom and then solid welded around top neck.

solid weld it self cleans up real nice and does a real nice job of sealing the filler neck area........:thumbsup:


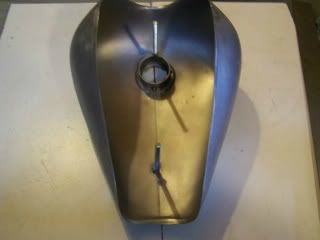
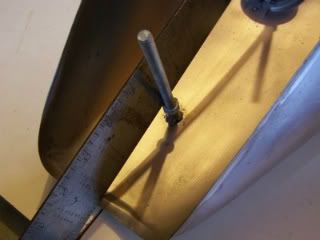
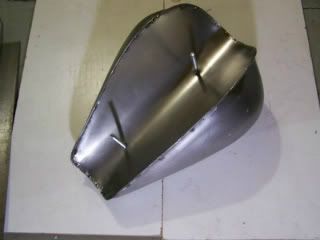
i had couple long 5/16 threaded bolts i just use for fabing up some mounting studs for the tank.


also threaded couple nuts on to the studs to use has a stopper/or back support for the inner tank metal to be welded to the nuts. so this way the outer tank shell doesn't have to carry all the weight.
One of the best parts of this build.
 

delray

Well-Known Member
fistfullabar
One of the best parts of this build
thanks man......:thumbsup:
tanks has been holding up real good and has been to windber parade ride for the last three years........:scooter:

still thinking about building another baja bike and doing something little different to the tank.....:grind:
 
I have a 1968 Heathkit Boonie under restoration. Giving it some modern touches. Installing a Briggs 5 HP with electric start & battery. Using 5 post ignition switch. No rectifier. Having a hard time with deciding the correct wiring path needed for the horn, headlight, tail light, brake light, etc. Looks as you have completed your project with similar challenges. Can you share any information on a wiring diagram that you were able to use on your build? Matt
 

delray

Well-Known Member
yes, it should be real simple. i pickup a briggs starter switch that has a ground, start on,and on with/lights. once you have tested the switch and know what is what,also you can find a wiring diagram on the switch too after purchasing it. i run my switch through a small garden tractor briggs starter Solenoid so i don't burn up the switch it self. in time it will cook the switch. for my lighted coil wire coming out of my engine i got lucky on that. it comes out as dc current and just for safety reason's i ran it through a oneway diode. so nothing could come back and damage the lighted coil. also the lighed coil only puts out 2 amp's. all my lighting must be leds. so i still can still have 1amp+ going back to the battery. if i was going to use regular conventional bulbs i would have no charging system for the battery. one standard bulb draws 2amp's.

kind of funny your building a boonie like that. i plain on building a boonie with electric start someday. going to just put in a automatic two speed and then place my switch where the old two speed control was. also my bike came originally with the battery box,front and rear light and horn.
 

delray

Well-Known Member
digging up a old thread guys. i just had this fall into my hands this last summer. not sure if i really have time for it...lol but if i do i got some crazy ideals for it.
baja project X.
project x.jpg
 
Top