Removing neck bushings

#1
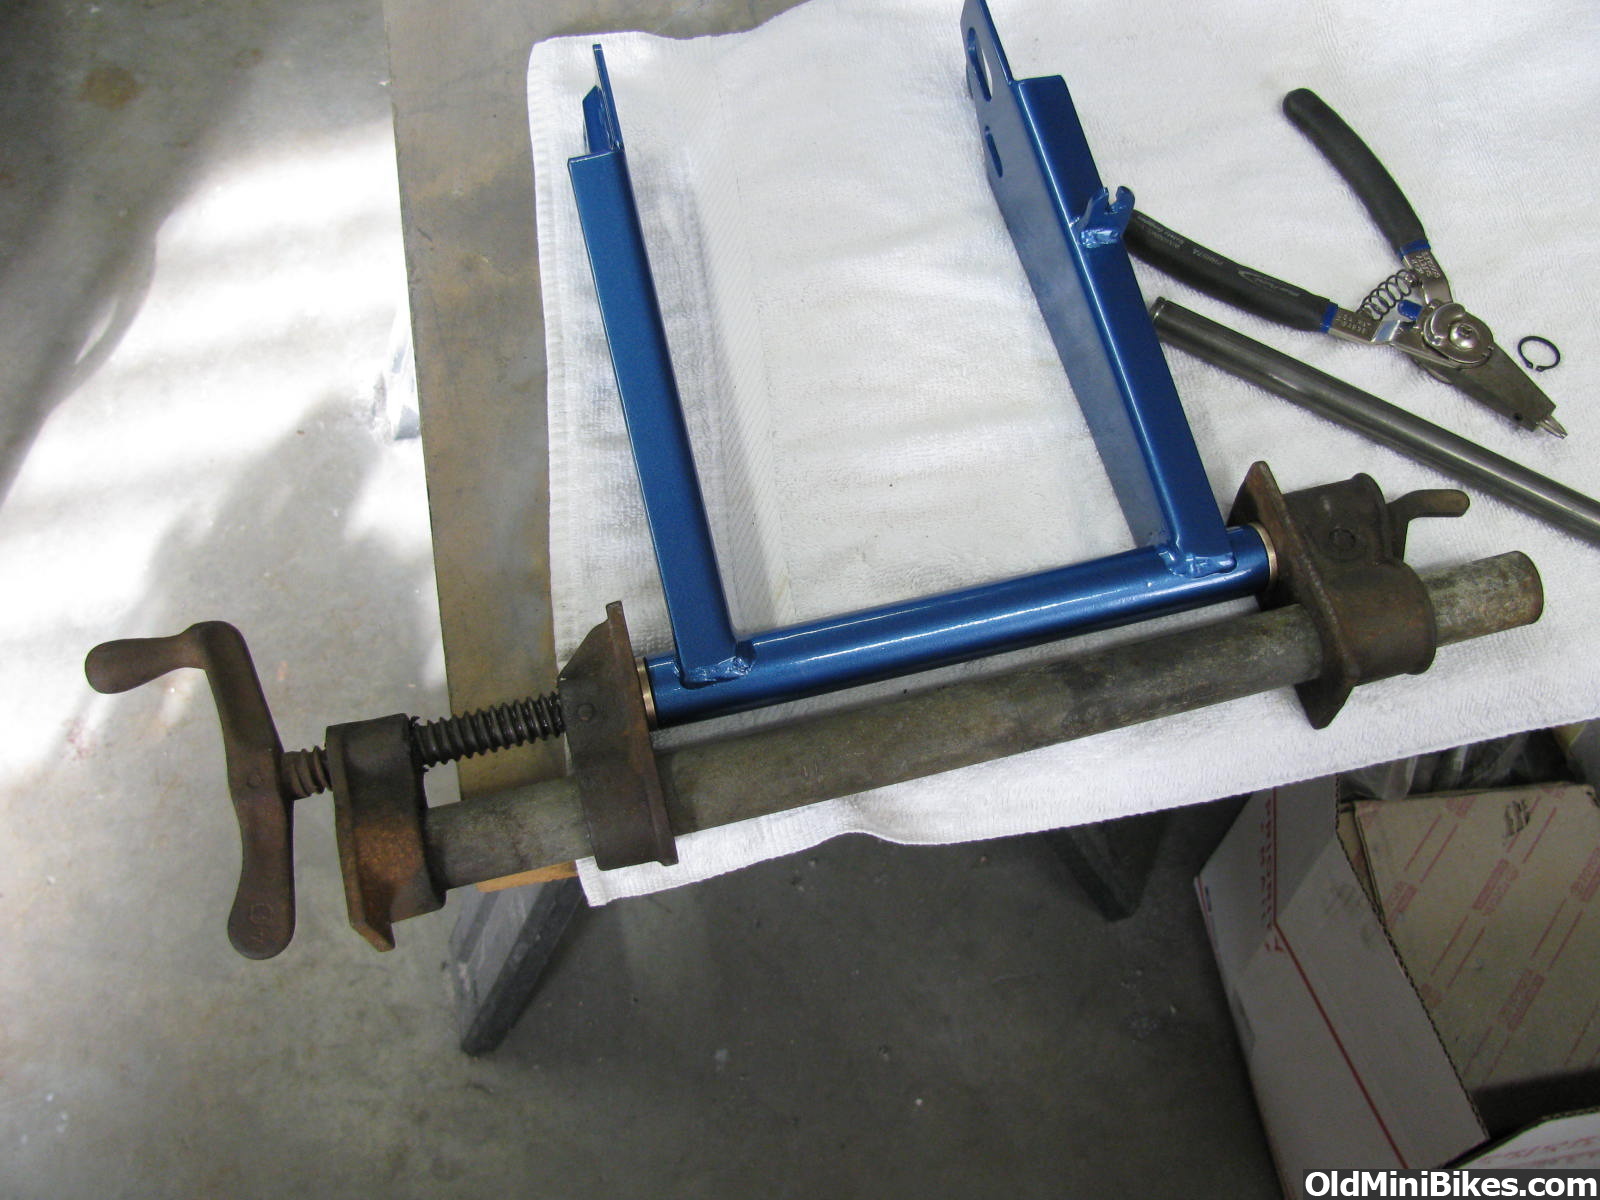
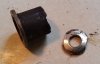
I'm trying to remove neck bushings from an Bonanza BC frame. I thought I could tap,tap,tap from opposite end with a long screwdriver and get them out. No dice. :hammer: Even tried a few whacks. Tried propane torch heat on the neck, along with whack,whack, whack :hammer:. That was probably dumb since doesn't bronze expand faster than steel? Anyway neither the top or the bottom have moved at all.

Do I need a pilot bearing puller? I just don't see how that would work either, I don't know what would support or hold it on the outside of the neck.

Any experience or advice?

Thanks, Ken

Edit: or do I need something like this?:
New abi Enduro Cartridge Bearing Puller | eBay

There is barely a lip I can feel on the inside. Do you just squeeze this thing in there past the lip and try to pry it out?

2nd edit: I just noticed this section is under the "engines" heading so my question is probably in the wrong spot. I'm not exactly clear on where to ask questions. :shrug:
 
Last edited:
#3
Okay, I actually did try with some 1/2" allthread. I will let it soak some more and try that again. Thank you I hope :laugh::thumbsup:
 
#5
Take a hacksaw that is just a handle and a blade (not a hoop one) and begin to cut a slot in the bearing. Go 180 degrees and cut into it on the other side. Whap the he** out of it and it will eventually come out. Don't be afraid to hit it good and hard. you're not saving the bearing for anything.

Doc
 
#6
you're not saving the bearing for anything.

Doc
Lol unless I still can't get it out and had to push it back in :laugh: Been fighting it a while now.

Reminds me of trying to get an oil filter off and being scared to drive a screwdriver through it for leverage. Because if it still won't budge, then what? :laugh:
 
#9
I hate to say this because I hate this tool, but an air hammer with light pressure in the proper places would most likely get it out, although you will probably mushroom something in the process. Are new bushings readily available?
 
#10
I assume they are. I believe they are an off the shelf 5/8 x 5/8 bushing. But I don't have one removed to verify. :laugh:

Doc I could take a picture but yes, just the bushings at the top and bottom of the neck. :shrug:
 
#11
Cut them a little, use an air hammer if you have it etc. Sometimes you just have to get radical beating them. Sometimes a threaded rod can work. I usually take a long 5/8th rod and put pressure so that it skews to the side. It has a 90 degree edge that will grip the lip inside better. Just about the time you think you have beat it really hard...beat it even harder.

Doc
 
Last edited:

CarPlayLB

Well-Known Member
#13
Kenny, take your dress off and hit it harder!:laugh::hammer:
I have a 12" punch that I use that is a small diameter...never had a problem! Helps to have the frame on something solid. I believe OldMiniBikes has the replacement bushings you will need
 

markus

Well-Known Member
#14
Kenny, take your dress off and hit it harder!:laugh::hammer:
I have a 12" punch that I use that is a small diameter...never had a problem! Helps to have the frame on something solid. I believe OldMiniBikes has the replacement bushings you will need
Prety much the same here, 1/2 drift with a pretty straight blunt tip, You just have to constantly walk it around the edge while hammering on it so it comes out pretty straight or you just make it harder to remove.

If they are hard to take out than they are gonna be tight to go back in, that's actually a pretty good thing. I dress the new ones a little if they are tight so it can start in the tube, then stick them in the freezer for awhile and grab and old adjustable pipe clamp I have to drive them back in:

(This is the swingarm of a Nanza but they use the same bushings)


I do this on for the jackshaft bearings if you are going to go J/S:

Tippy, like Greg I used a dremel with a sanding drum just enough to take the clear/base/primer out hole. want to try and make sure its still a "press fit" if possible.

Not the prettiest but I just used a 1 1/2" bit to bore a small inset into a block of wood enough so the other side of the bearing can pass and the block can rest against the plate.

Tools I used:


since the metal is now bare I dunno of it helps or not but I took some car wax and slathered it in the hole and around the plate before I put the bearing in and then put it together like this:


worked pretty good, with no issues


Good luck :thumbsup:
 
#16
Wow, lots of good info and advice here. :thumbsup: I won't wear my dress tomorrow :laugh: and as my good friend would say "get some A$$ behind it." Wish me luck.
 
#17
(This is the swingarm of a Nanza but they use the same bushings)
I actually know where there is a whole wall full of those clamps hanging and not being used. My late father's woodworking shop. I'm sure he would approve if I brought a couple home with me and put them to good use. :thumbsup:
 
#18
Got it!!!!

I have the bottom one out I just had to share the tool I made. LOL I should keep it under wraps and patent it it worked so good!! :clap:

Nah, I was never destined to be rich and famous anyway. :laugh: So after soaking in penetrating oil for like a day I switched to a chunk of 5/8" allthread and was whacking away in a circular motion. I didn't cut the bushing; not because I didn't like Doc's advice; ONLY because I didn't have that kind of hacksaw. :thumbsup:

I was making steady but painfully slow progress. After 20 minutes or so I could see a visible gap between the flange and the neck. Some more whacks and I could get a razor blade in the gap. All this time the wheels are turning in my head about what kind of tool I need.

I picked up an ordinary 1/4" flat washer and checked the diameter. Looked about right, so I ground flats on it to about 5/8" and dropped it down the neck from the top. It laid flat on the lip of the bottom bushing. About 5 more whacks and the bushing dropped right out. :thumbsup:
20160304_111113.jpg

Crappy picture of the bushing, I'll go look closer but all that damage is probably from the original screwdriver and allthread slipping around. Doesn't matter, they will be replaced anyway.

I'll set up a paypal account and everyone who makes & uses one of those tools can send the royalty checks my way :thumbsup: :laugh::001_tt2: j/k
 
#19
I have the bottom one out I just had to share the tool I made. LOL I should keep it under wraps and patent it it worked so good!! :clap:

Nah, I was never destined to be rich and famous anyway. :laugh: So after soaking in penetrating oil for like a day I switched to a chunk of 5/8" allthread and was whacking away in a circular motion. I didn't cut the bushing; not because I didn't like Doc's advice; ONLY because I didn't have that kind of hacksaw. :thumbsup:

I was making steady but painfully slow progress. After 20 minutes or so I could see a visible gap between the flange and the neck. Some more whacks and I could get a razor blade in the gap. All this time the wheels are turning in my head about what kind of tool I need.

I picked up an ordinary 1/4" flat washer and checked the diameter. Looked about right, so I ground flats on it to about 5/8" and dropped it down the neck from the top. It laid flat on the lip of the bottom bushing. About 5 more whacks and the bushing dropped right out. :thumbsup:
View attachment 83175

Crappy picture of the bushing, I'll go look closer but all that damage is probably from the original screwdriver and allthread slipping around. Doesn't matter, they will be replaced anyway.

I'll set up a paypal account and everyone who makes & uses one of those tools can send the royalty checks my way :thumbsup: :laugh::001_tt2: j/k
You ruined a perfectly good washer :laugh:Glad ya got r done :thumbsup:
 
#20
And I ruined a second washer getting the top bushing out. :laugh: Didn't need to grind any flats on that one, nothing in the way of dropping it in full diameter with one of the bushings removed. I think I counted 8 whacks total before the bushing and washer went flying across the shop :thumbsup:
 
Top