Hi all,
Follow along as I walk you through the rebuild of a 1969 Retek Cheetah.
History
The bike was originally purchased by my Uncle, brand new in 1969. Retek stands for Recreational Technologies - a company out of Milwaukee, WI. The engine is a 7hp (250cc) Tecumseh. It is an off-road, rear-wheel-drive mini bike without any suspension. The drive system is a centrifugal clutch driving a belt to a jackshaft, and a chain to the rear wheel sprocket. Braking is a single disk brake on the rear wheel. The wheels are Goodyear knobbies - still the original tires and in GREAT condition. The engine does have a magneto powering a headlamp and a tail light.
My Uncle used this bike a fair amount when he was younger, but about 10 years ago, it saw its last encounter with dirt and the open trail. It has since been stored in the shed at some recreational property in northern Wisconsin.
Rebuild Goal
Wanting to revive that hunk of metal sitting in the shed, I decided it was time for a rebuild! Starting a project, you have to define your ultimate goal with the project. Defining the scope of the project helps set a timeline, a task list, and a budget.
The goal for this rebuild was:
- To rebuild/restore the Retek Cheetah 250 to near-original condition
- Have it mechanically safe and sound. It needs to run and handle well.
- Have a retro-looking paint job with some good eye-appeal. The paint job doesn't need to be perfect...it shouldn't look so nice to be afraid to take the thing into the woods and get it scratched up.
Rebuild
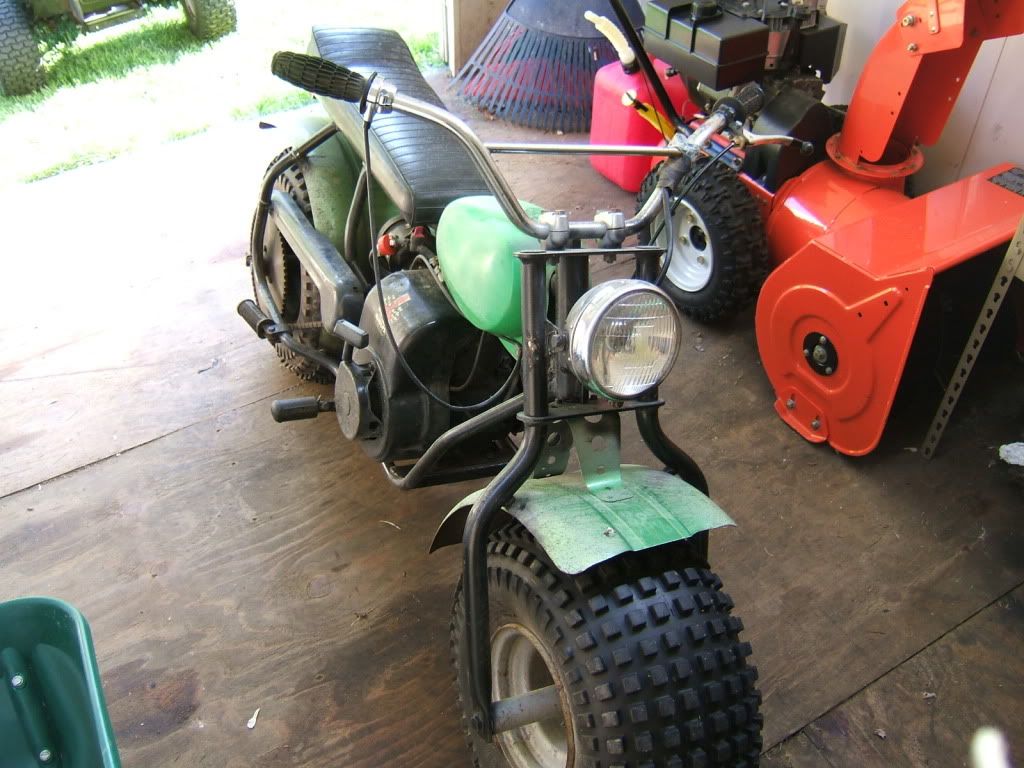
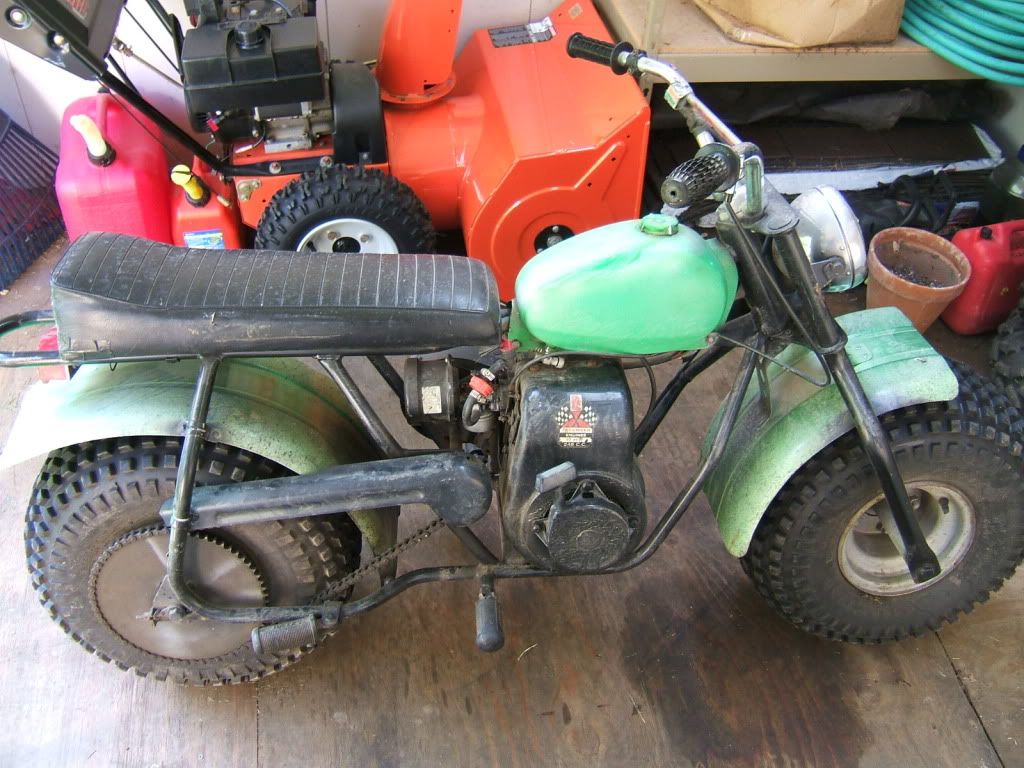
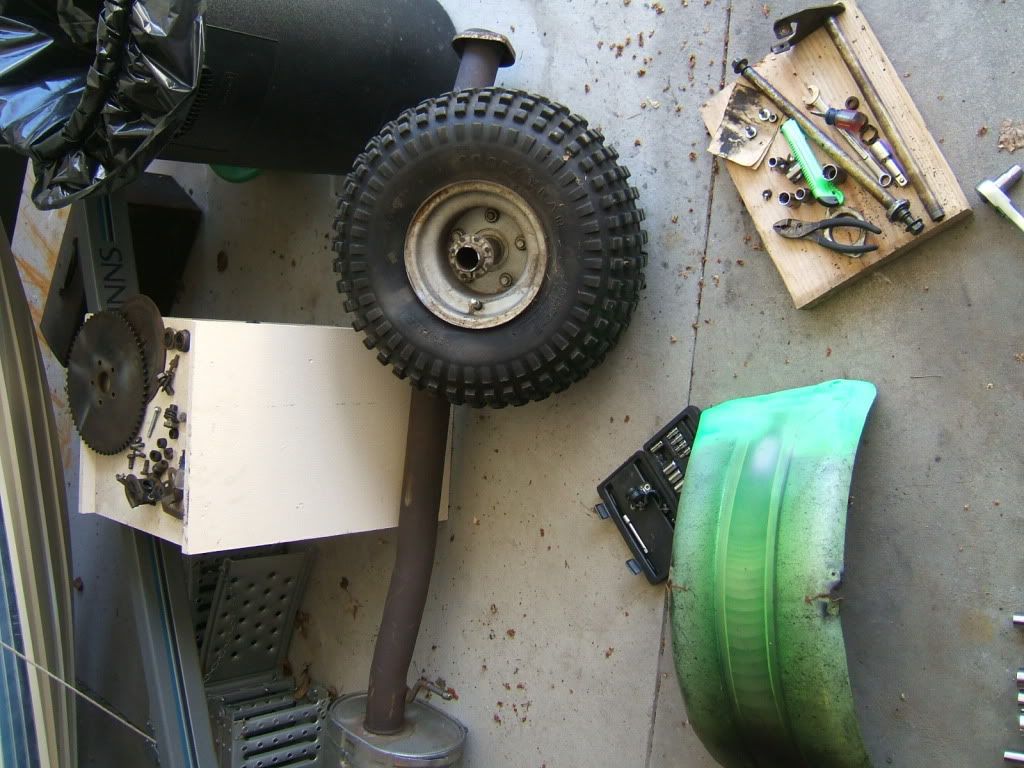
Here are photos of the bike in "beginning" condition.
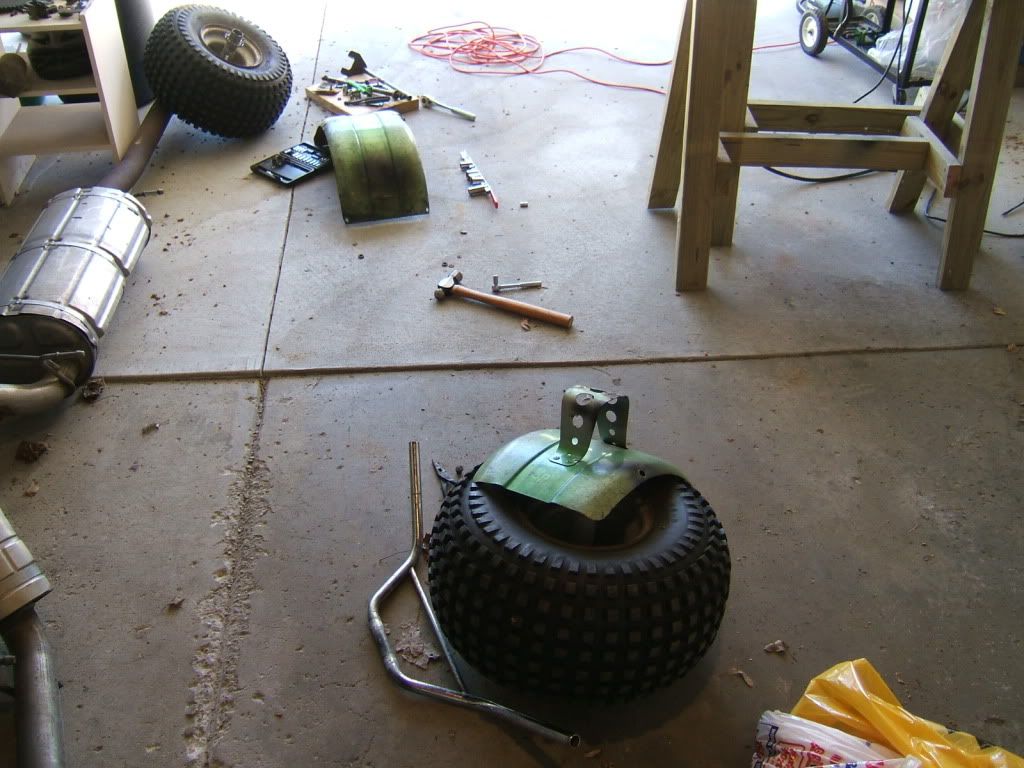
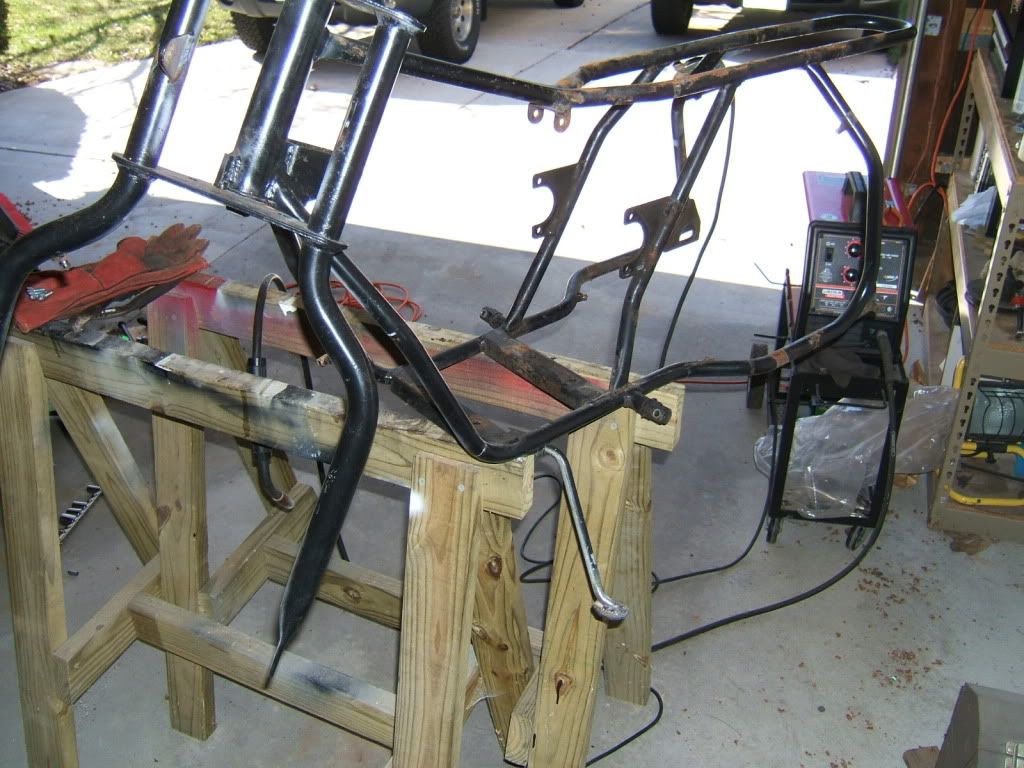
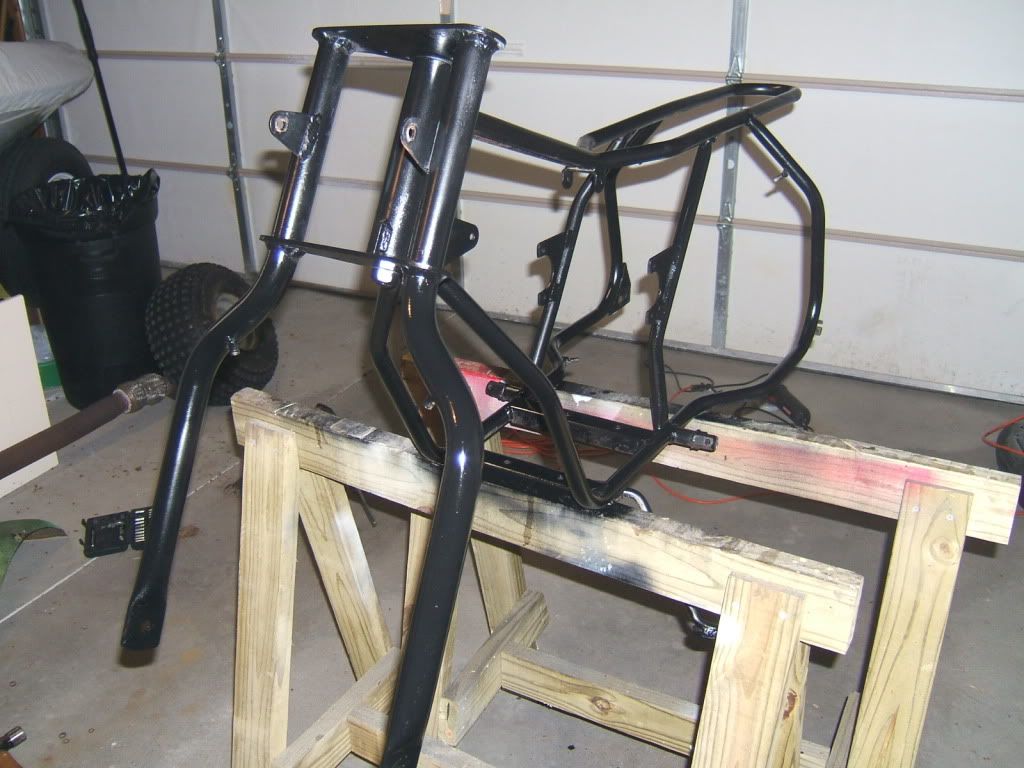
Disassembly down to the bare frame.
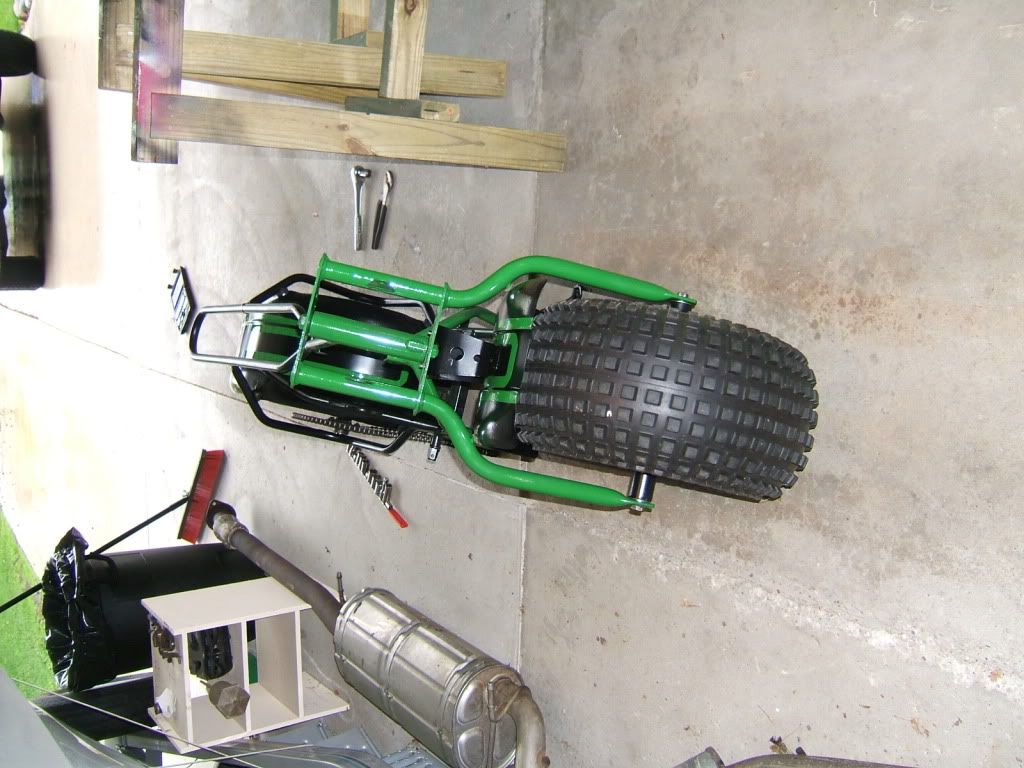
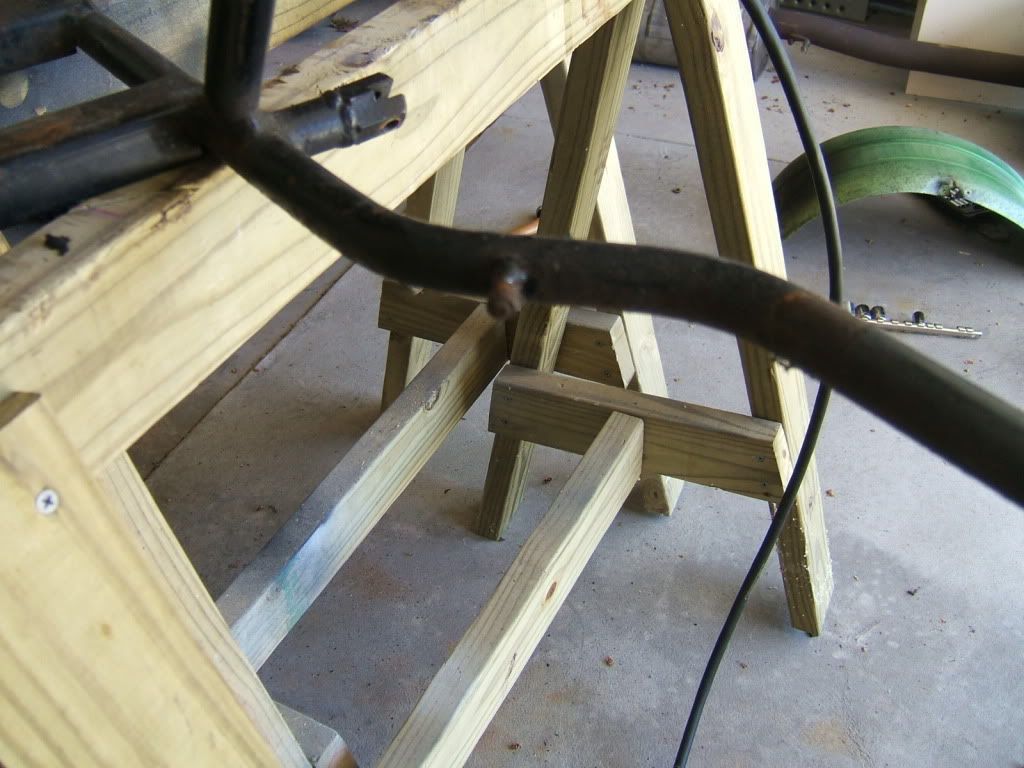
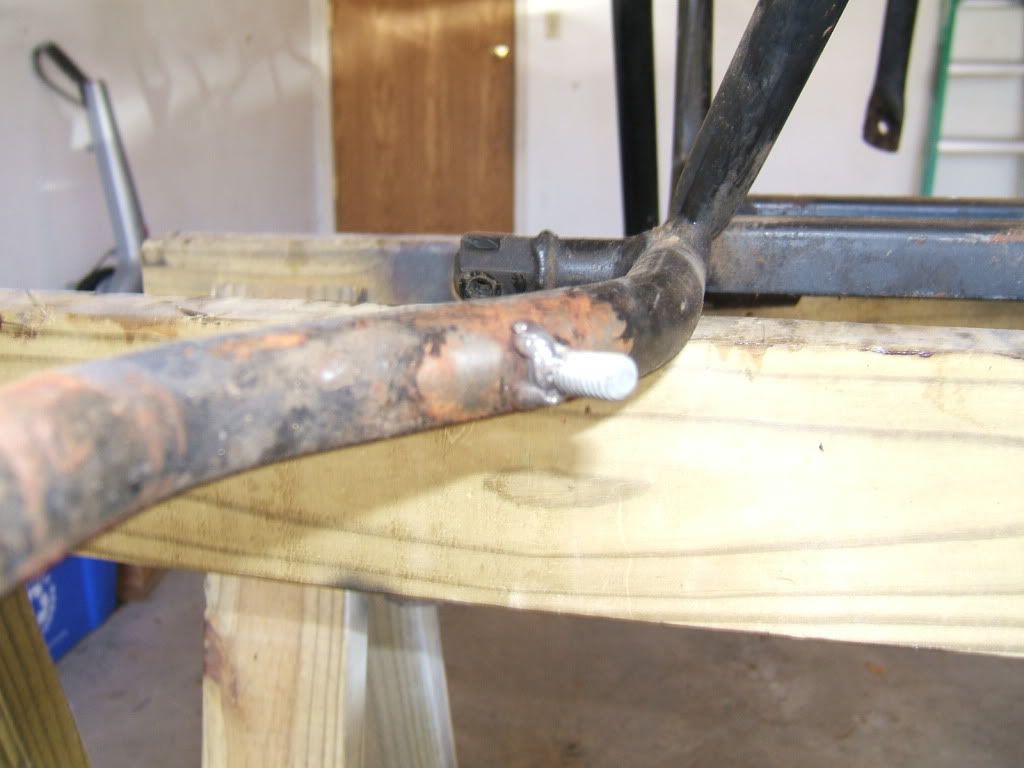
The threaded mounts for the rear fender had busted/rusted screws in them. I cut them off and welded on a threaded stud for mounting. While I had the welder out, I also added a larger pad to the bottom of the kickstand to keep it from sinking into the dirt and mud...maybe it'll actually hold the bike up now!
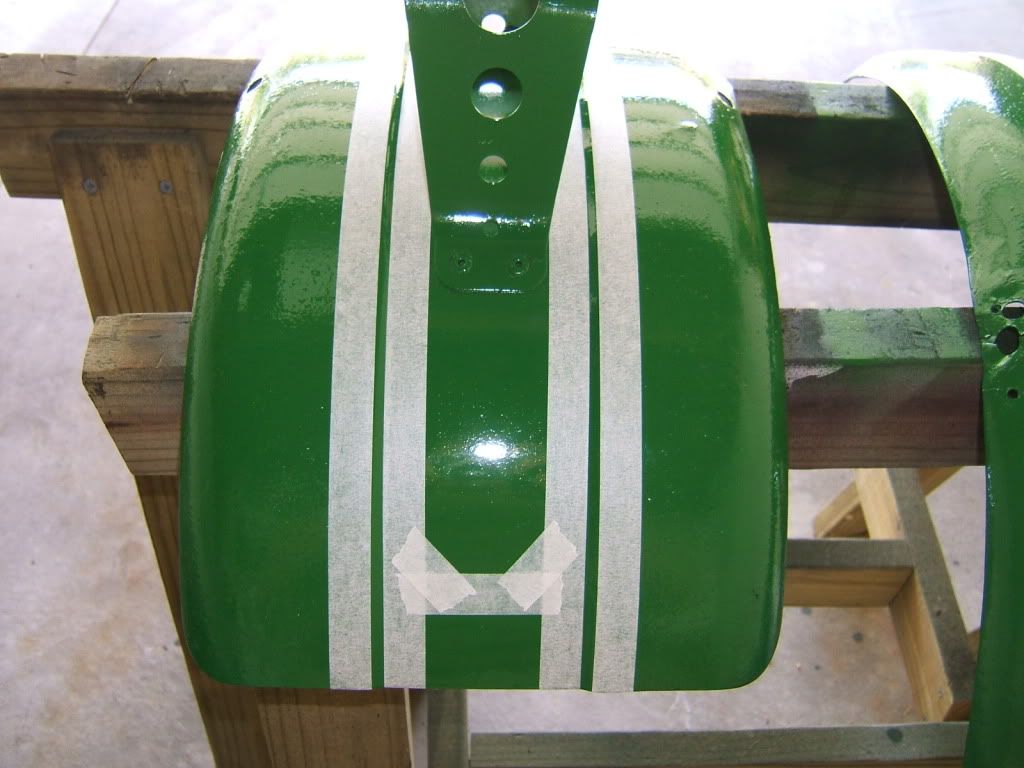
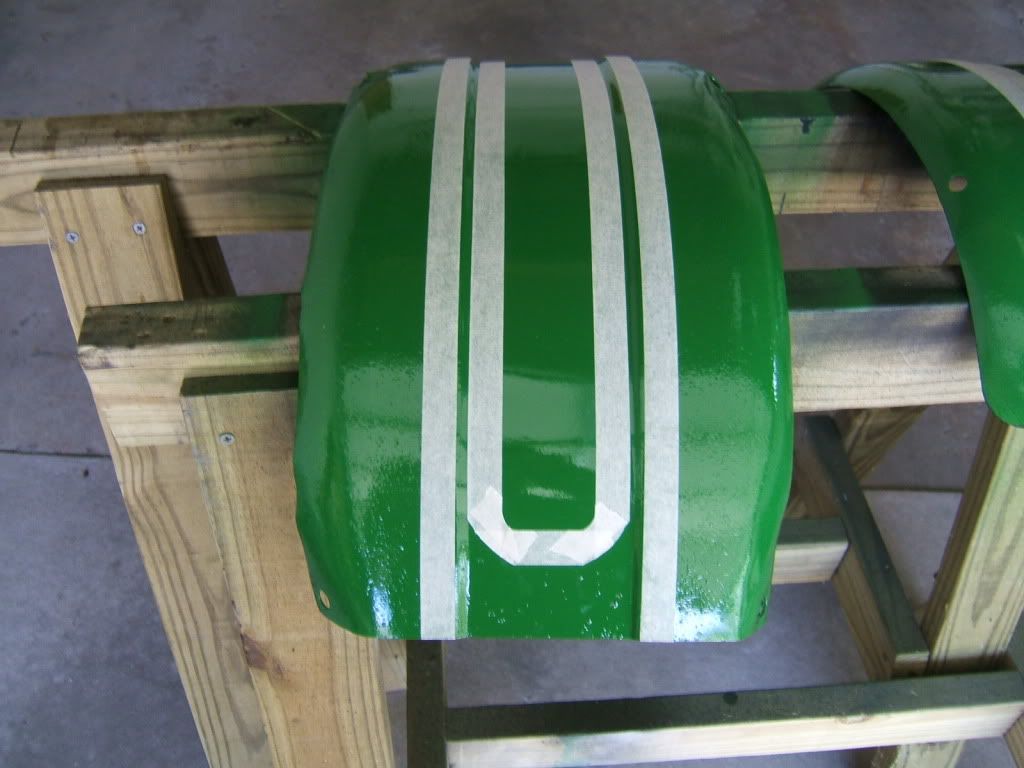
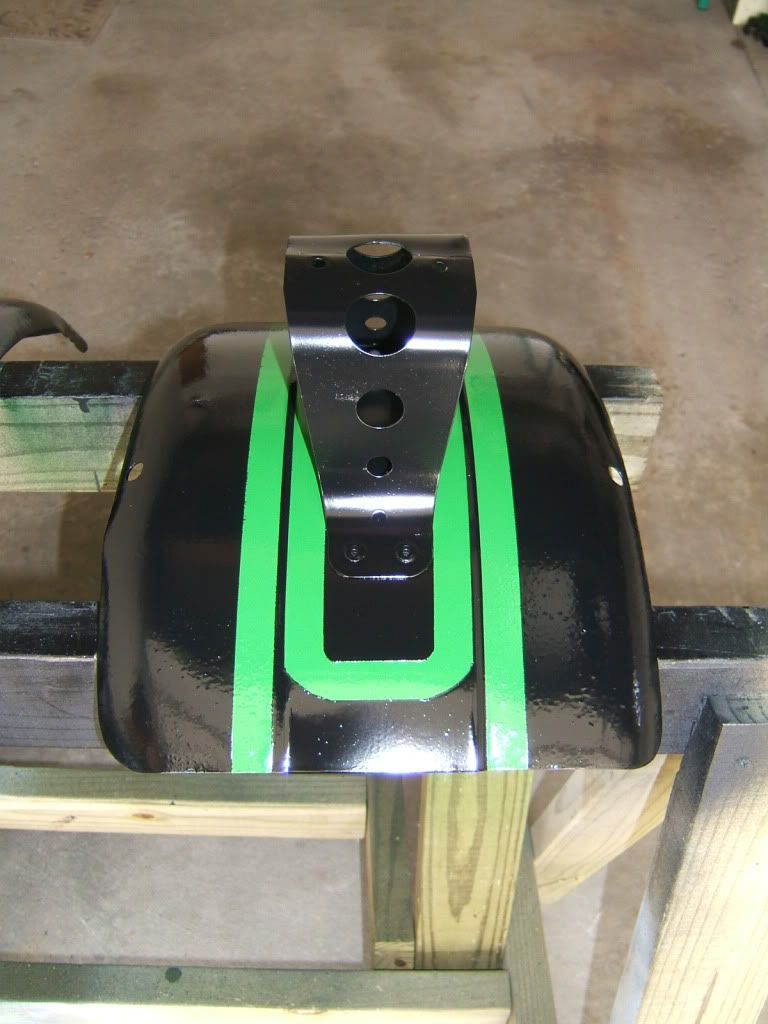
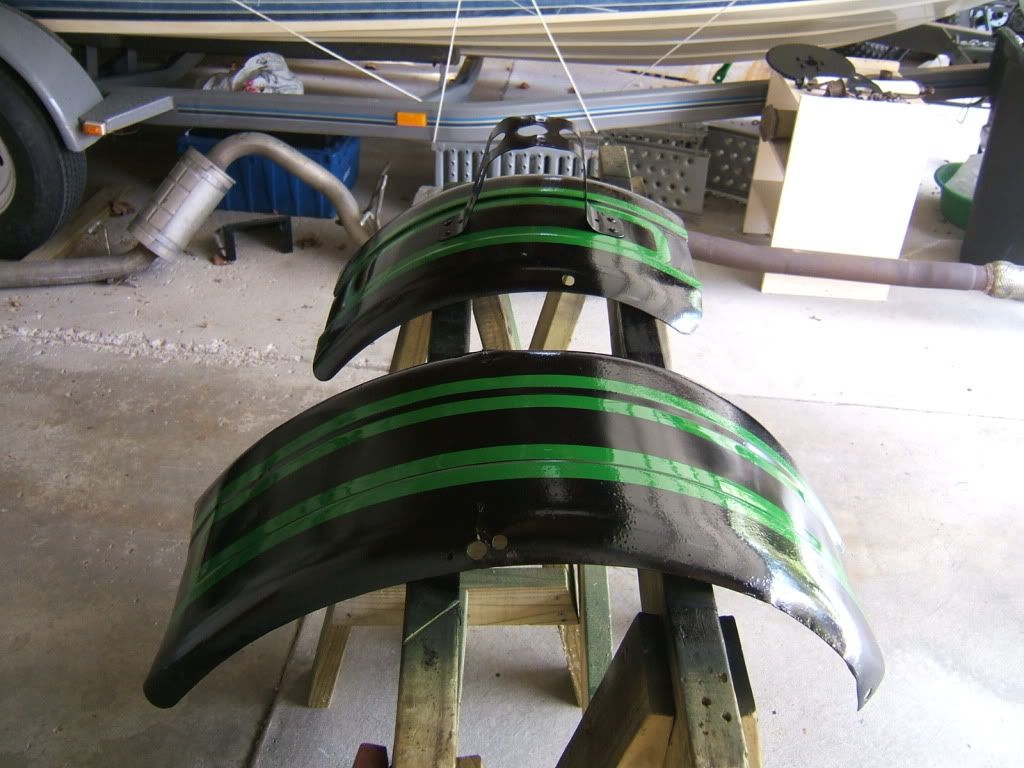
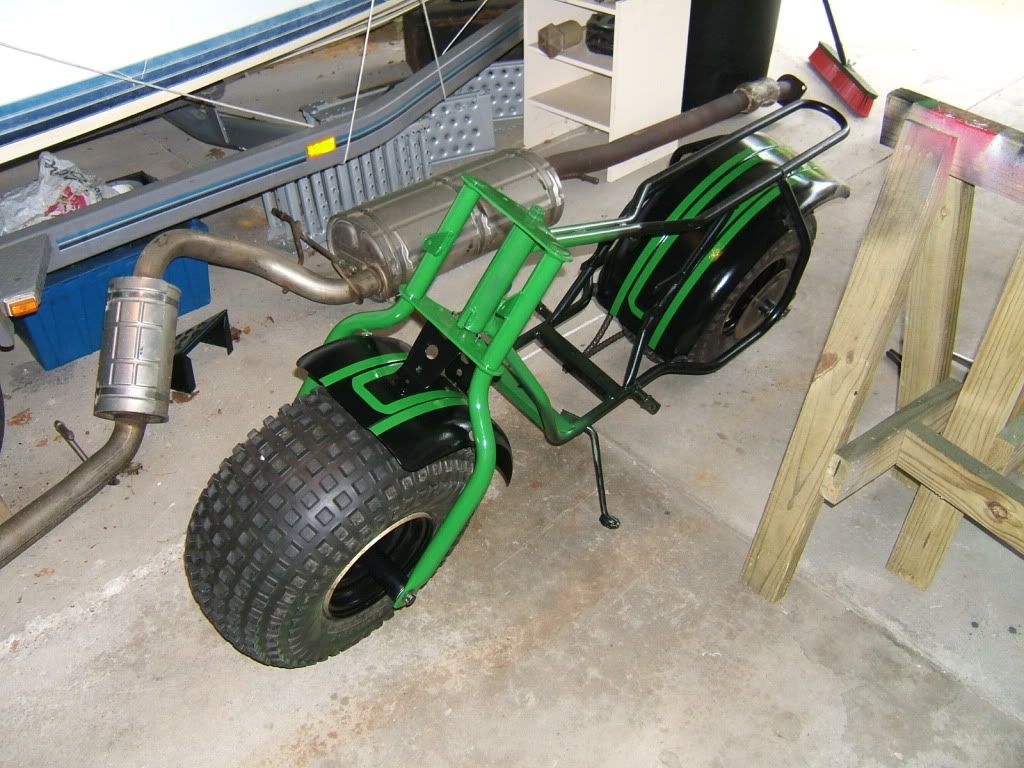
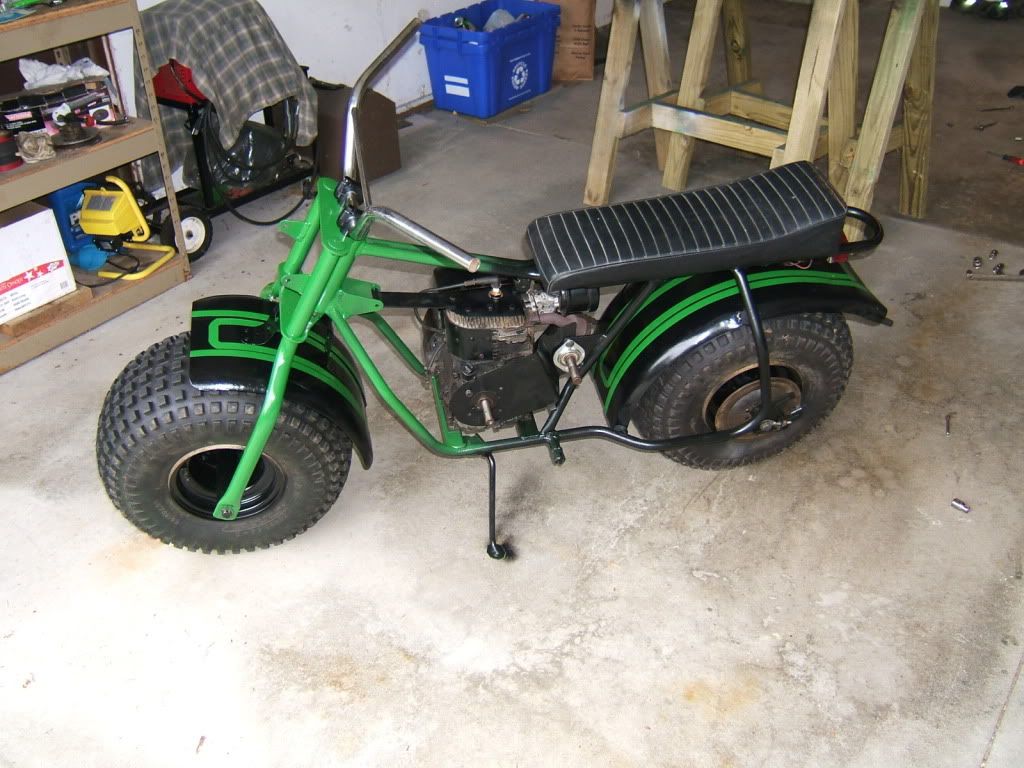
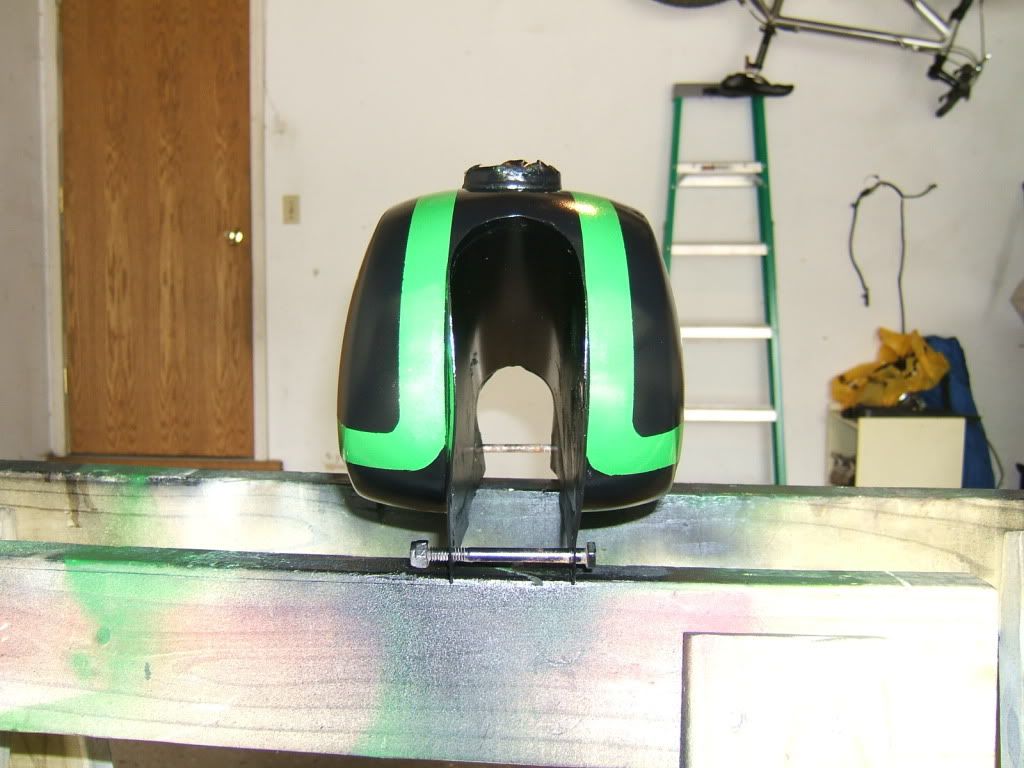
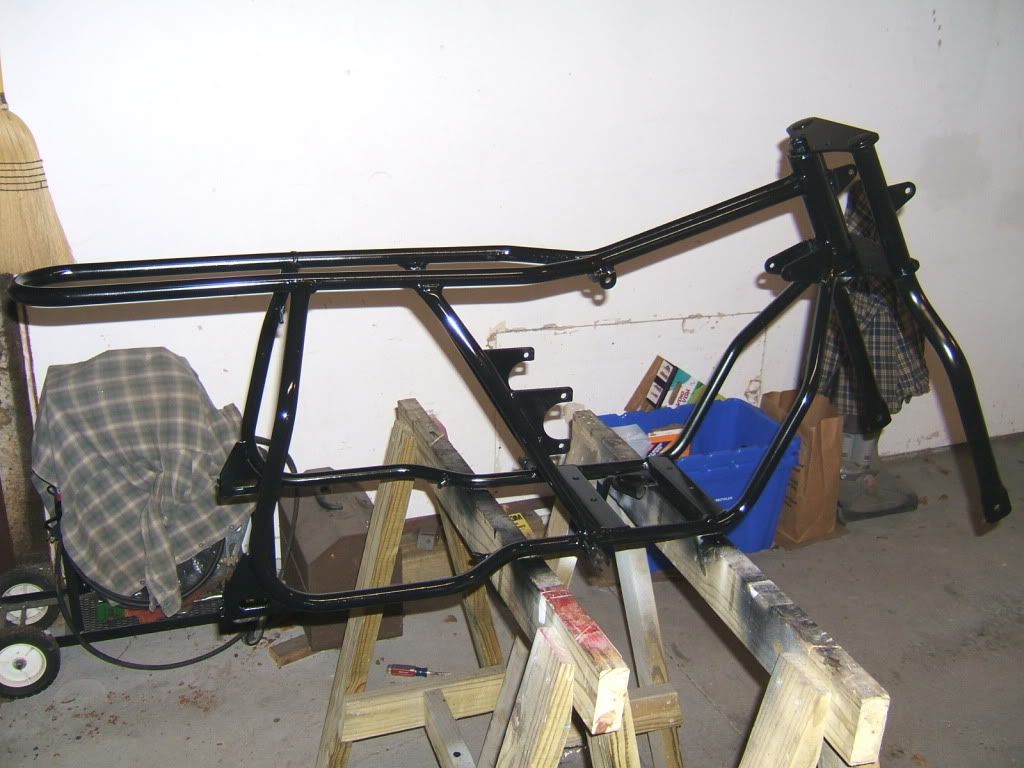
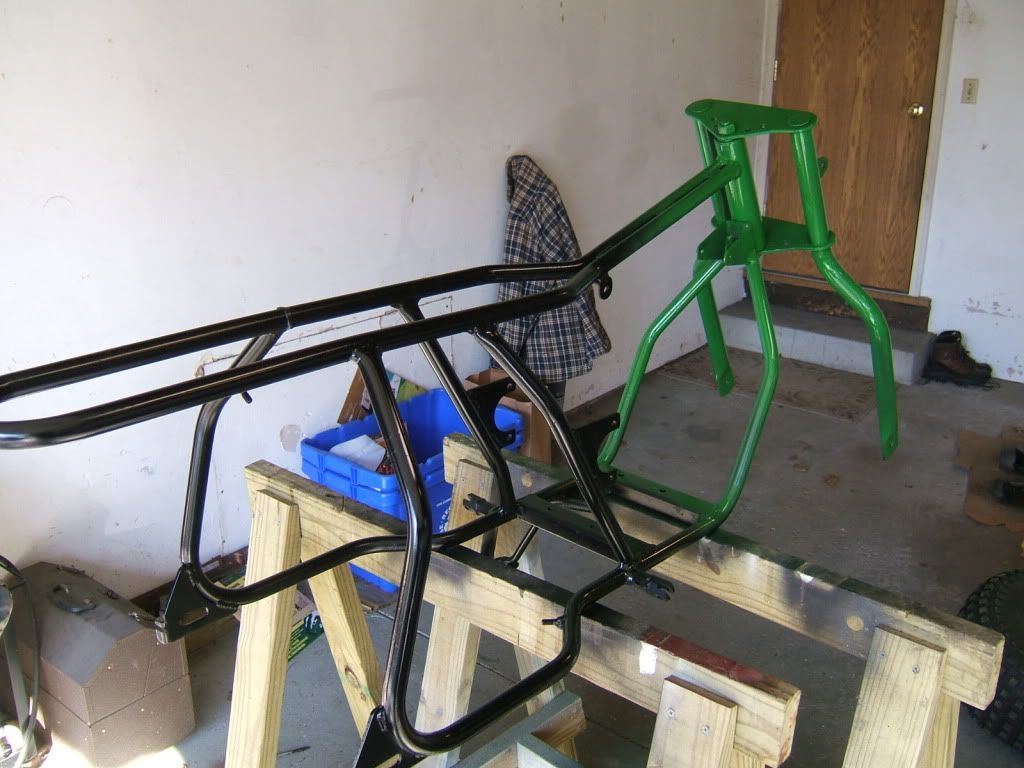
I sanded down the frame and gave it a shot of Rustoleum Semi-Gloss Black spray paint. Followed that up with some John-Deere Green out of a rattle can. Faded the paint job front-to-rear.
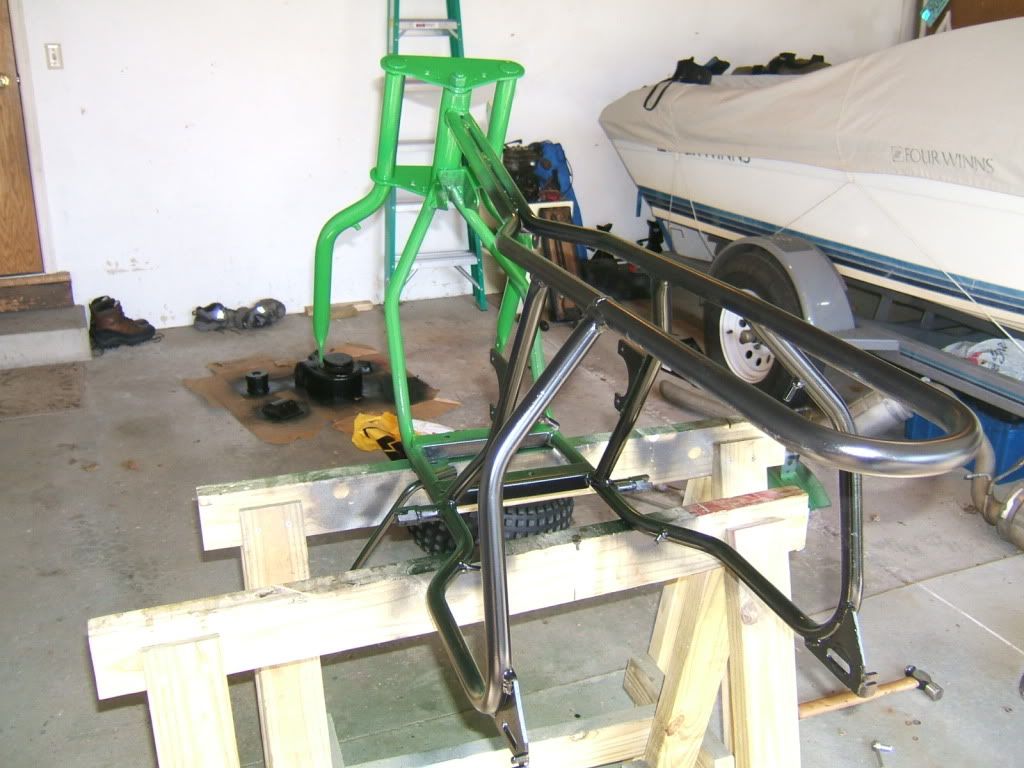
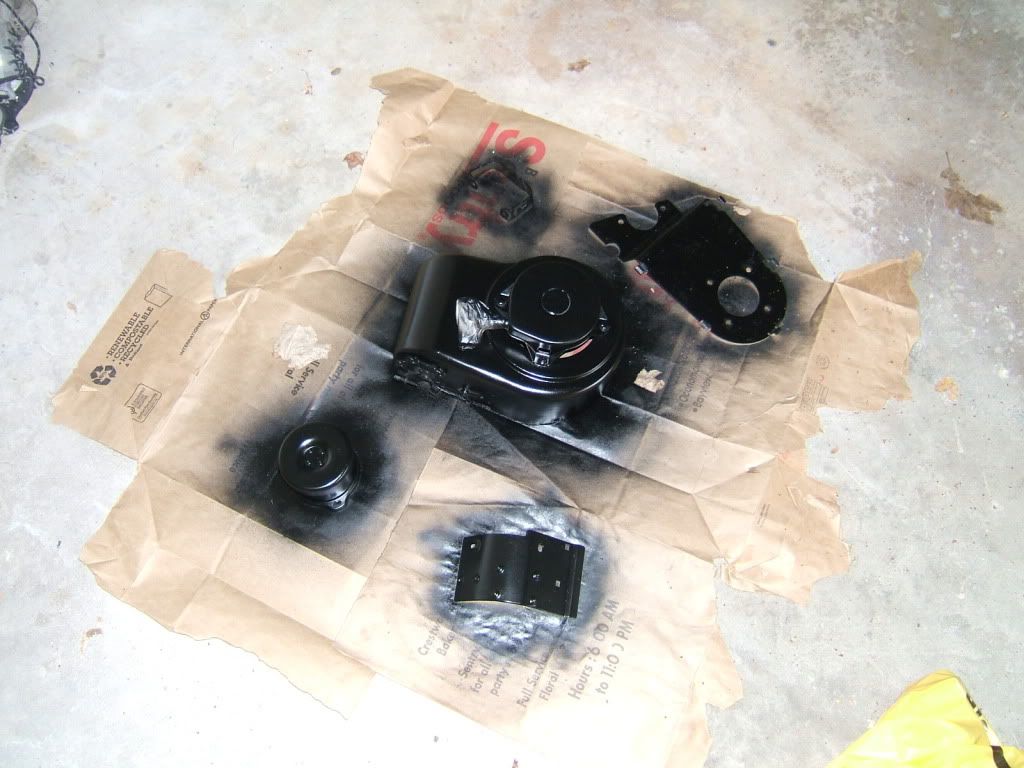
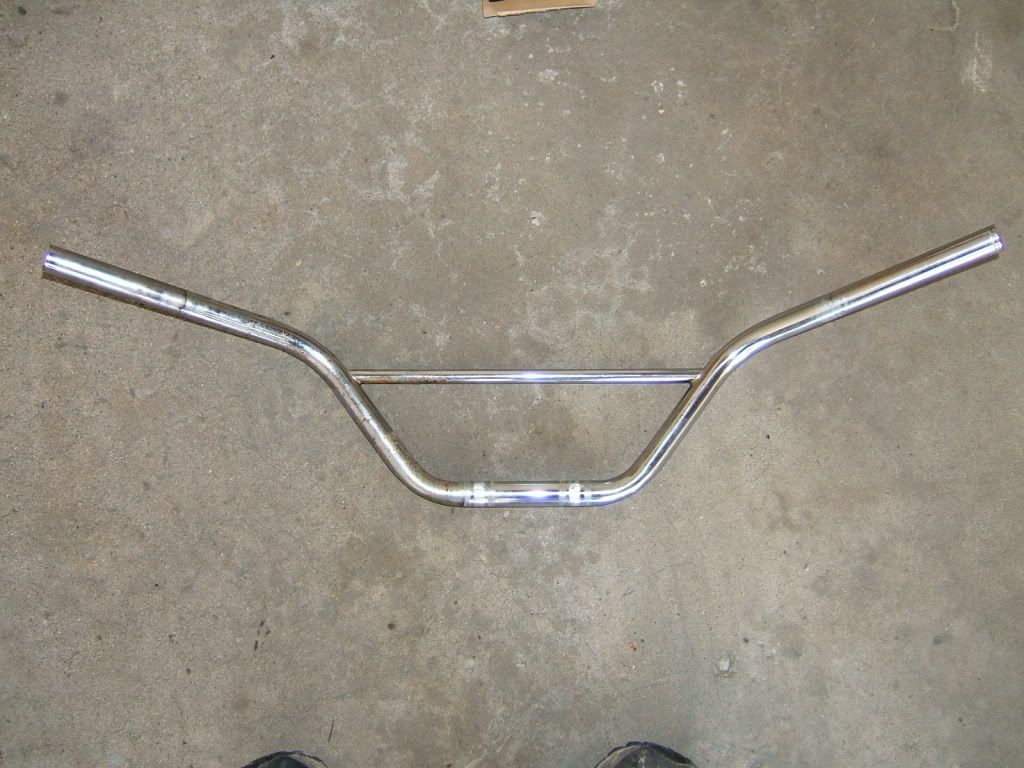
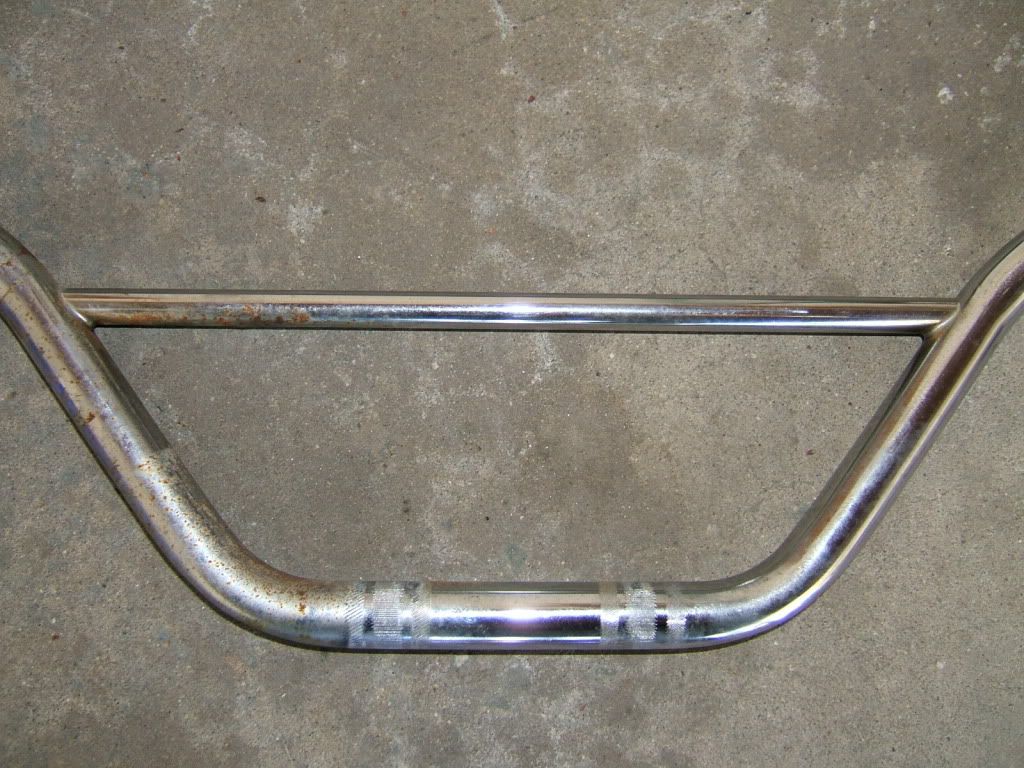
Next, it was time to paint some of the other parts of the bike. The jackshaft and front and rear wheel all got new bearings. I polished the dirt, grime, and surface rust off the chrome handlebar as well (photos below show left side untouched and right side polished).
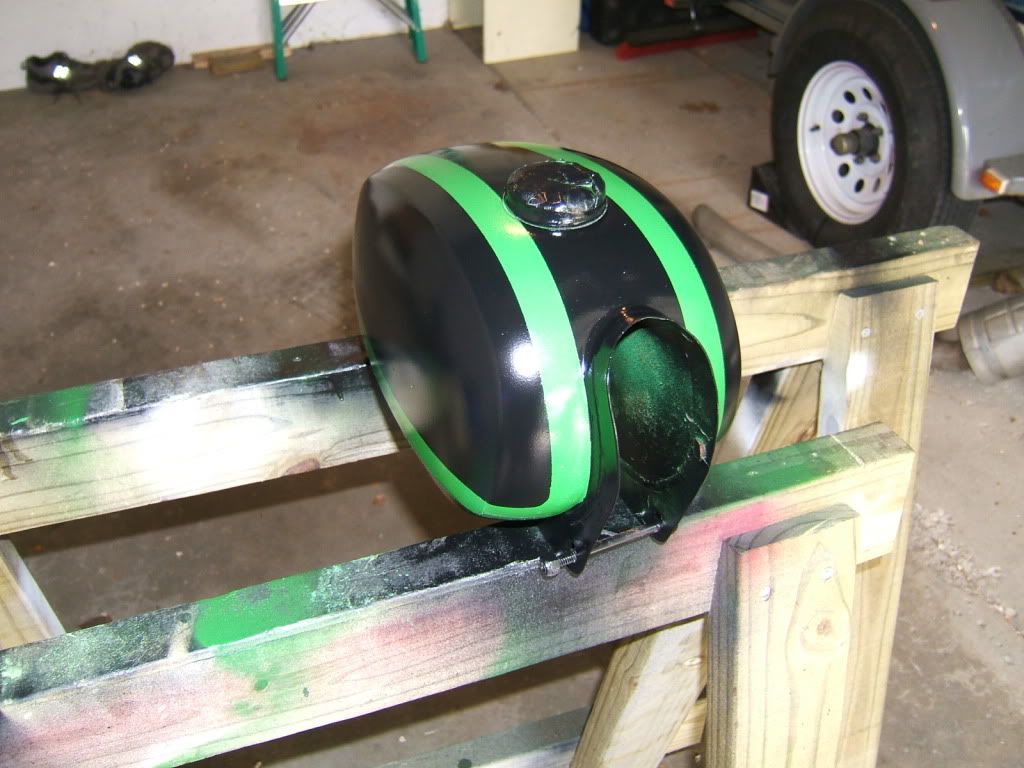
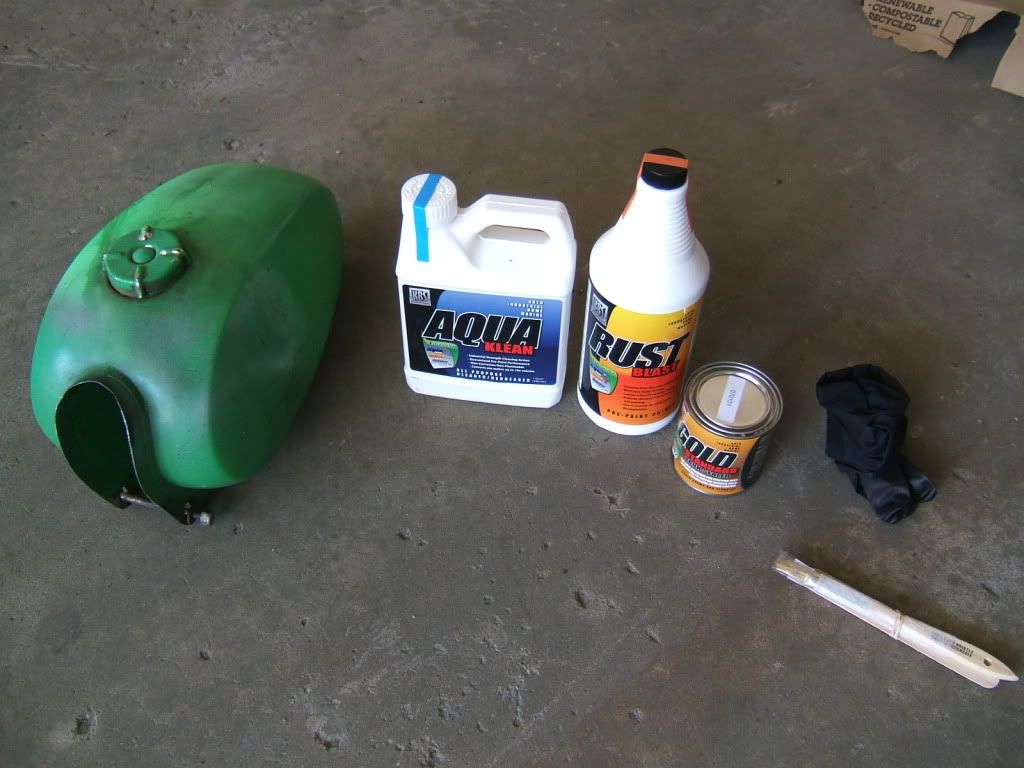
The gas tank was pretty badly rusted inside from such a long life (and such a long time sitting with gas in it). I purchased KBS-coating's Motorcycle gas tank sealer kit with cleaner, rust remover, and sealer.
Follow along as I walk you through the rebuild of a 1969 Retek Cheetah.
History
The bike was originally purchased by my Uncle, brand new in 1969. Retek stands for Recreational Technologies - a company out of Milwaukee, WI. The engine is a 7hp (250cc) Tecumseh. It is an off-road, rear-wheel-drive mini bike without any suspension. The drive system is a centrifugal clutch driving a belt to a jackshaft, and a chain to the rear wheel sprocket. Braking is a single disk brake on the rear wheel. The wheels are Goodyear knobbies - still the original tires and in GREAT condition. The engine does have a magneto powering a headlamp and a tail light.
My Uncle used this bike a fair amount when he was younger, but about 10 years ago, it saw its last encounter with dirt and the open trail. It has since been stored in the shed at some recreational property in northern Wisconsin.
Rebuild Goal
Wanting to revive that hunk of metal sitting in the shed, I decided it was time for a rebuild! Starting a project, you have to define your ultimate goal with the project. Defining the scope of the project helps set a timeline, a task list, and a budget.
The goal for this rebuild was:
- To rebuild/restore the Retek Cheetah 250 to near-original condition
- Have it mechanically safe and sound. It needs to run and handle well.
- Have a retro-looking paint job with some good eye-appeal. The paint job doesn't need to be perfect...it shouldn't look so nice to be afraid to take the thing into the woods and get it scratched up.
Rebuild
Here are photos of the bike in "beginning" condition.
Disassembly down to the bare frame.
The threaded mounts for the rear fender had busted/rusted screws in them. I cut them off and welded on a threaded stud for mounting. While I had the welder out, I also added a larger pad to the bottom of the kickstand to keep it from sinking into the dirt and mud...maybe it'll actually hold the bike up now!
I sanded down the frame and gave it a shot of Rustoleum Semi-Gloss Black spray paint. Followed that up with some John-Deere Green out of a rattle can. Faded the paint job front-to-rear.
Next, it was time to paint some of the other parts of the bike. The jackshaft and front and rear wheel all got new bearings. I polished the dirt, grime, and surface rust off the chrome handlebar as well (photos below show left side untouched and right side polished).
The gas tank was pretty badly rusted inside from such a long life (and such a long time sitting with gas in it). I purchased KBS-coating's Motorcycle gas tank sealer kit with cleaner, rust remover, and sealer.
Last edited: