Spinning 8 Ball Exhaust

#1
This project mounted a real 8 ball into the mouth of a trumpet exhaust on a custom minibike. The 8 ball spins slowly as the engine idles, and speeds up as rpm increases.

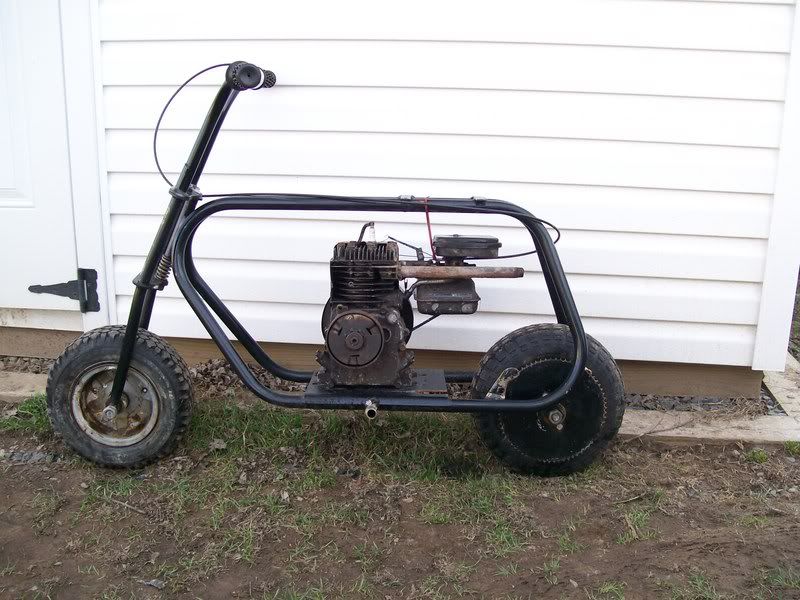
Pic 1- The photos in this set came from fitting the 8 ball mounting bracketry to this Honda GC160 engine, but this project can be adapted to almost any engine, with minor alteration to the exhaust to form a trumpet at the end. This engine has a velocity stack and exhaust made from real brass and copper bugles, available at flea markets or Harbor Freight stores for about $15 each, or less.

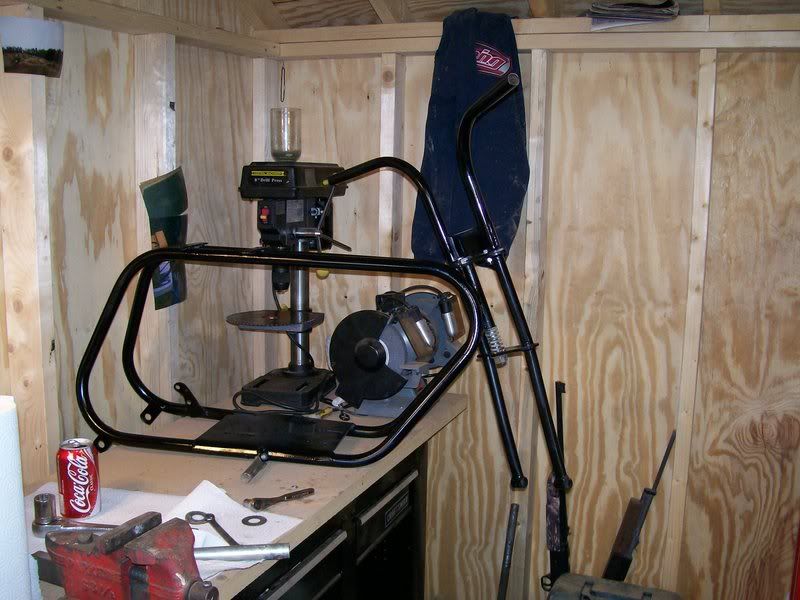
Pic 2- The idea is to fabricate a mounting bracket sized and shaped to use exhaust gases flowing around the 8 ball, causing it to spin. I chose these bugles because the mouth opening is just the size I want to be able to place the ball into the opening and have it seen well from this angle, but...

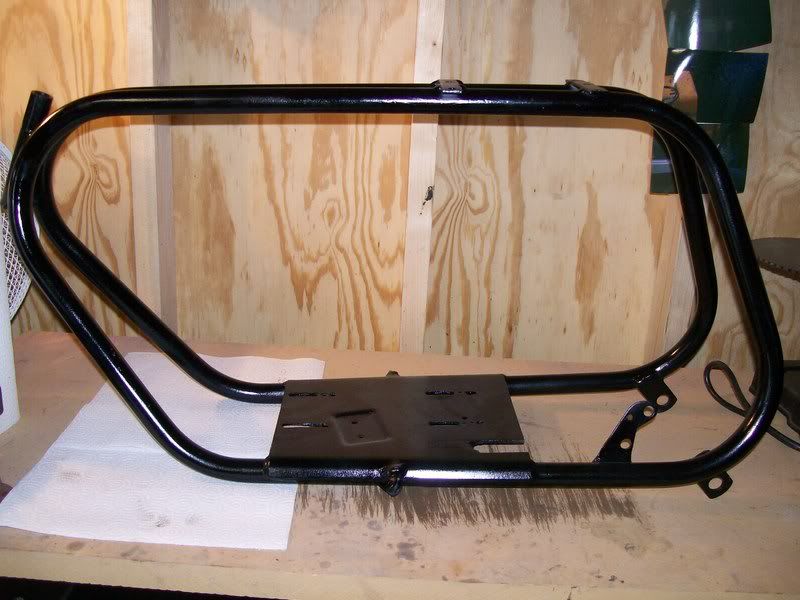
Pic 3- the opening is also the right size to allow the ball to be seen protruding from this angle also.

Pic 4- I chose some fairly thick 1" wide brass stock to fabricate the bracket. The stock was held up to the mouth and marked for bending, and then hand-bent in the loose jaws of a bench vise. I wasn't worried about scratches at this point...they'll be removed later.

Pic 5- I bent the bracket a little at a time, adding additional marks for contours, and attempting to exactly conform to the inside of the exhaust while creating space to mount the 8 ball within the contours of the bracket.
 
Last edited:
#2
Continued...

Pic 6- I inserted the bracket several times, checking the contours and adjusting the bends to closely match the exhaust.

Pic 7- The bracket was also compared to the ball, to ensure adequate mounting clearance in both height and length.

Pic 8- The ends of the bracket were marked and trimmed off.

Pic 9- The bracket protrudes just enough to allow the ball to be seen from the side as well as the rear.

Pic 10- Mounting holes were marked and drilled through the bracket and exhaust. The bracket will be riveted on later...at this point they are just holding the bracket loosely in place to determine axle holes.
 
#3
Continued...

Pic 11- I made several different brass axles on a lathe, but ended up choosing to use a bronze bolt and nut to keep it simple. The appropriate sized holes were drilled into the axle, and it was rough-fitted to the bracket.

pic 12- This copper baffle is critical...it channels the exhaust gases to one side of the ball. Without it, gases hit the entire surface of the ball, creating turbulence, and the ball won't spin. The baffle started as a paper template, then transferred to copper sheet for cutting. The baffle and bracket were drilled and riveted together after fitting. Additional rivets have been added to the bracket, but it's still just loosely mounted at this time.

Pic 13- The 8 ball was mounted between two dead centers in a small engine lathe and spun by hand to locate the exact center of rotational balance. The ball was spun repeatedly and relocated on the centers until there was no wobble during spinning. When the center of balance was located, the centers were tightened to dimple the surface of the ball.

Pic 14- The tailstock dead center was then replaced with a centering drill, the ball was aligned in the dimples, and bored through.

Pic 15- It is also possible to drill the ball using a drill press if you're careful to locate the center of the ball when mounting it in the press.
 
Last edited:
#4
Continued...

Pic 16- The drilled ball was mounted on the axle, and spacers were made to position the ball in the center of the opening. These spacers are made from brass tubing, and are spiral cut to add visual interest...they spin with the ball.

Pic 17- Side view, showing protrusion. This is a live-axle setup...none of the parts are attached to each other, and all are free to turn or spin. The axle fits loosely through the bracket and the ball, and the spacers are not attatched to the ball or the axle. The entire assembly is lubed with dry graphite and spins quite freely.

Pic 18- The bracket was polished to remove scratches, then riveted into the mouth of the exhaust. The engine was then clamped to a bench, fitted with a fuel source, and started.

Some type of fins are needed to help the ball spin, and I usually attach them with the engine on a test stand, so I can add or remove fin material to change the speed of the ball's rotation. For this project, I chose four Canadian pennies to use for fins. The ball was taped off and marked in four equal sections, and a Dremel tool fitted with a penny-sized cutting disc was used to cut four angled slots into the ball. The pennies were inserted into the slots, and secured with a drop of superglue. The pennies are spaced so that one is entering the airflow area as the preceding one is leaving, and they are angled inward to catch the airflow more efficiently. This set-up provided the amount of spin I was looking for, but additional material could be adhered if needed. I also like to use yellow balls with buffalo nickels for chopper exhausts, but the balls discolor after some time.

Pic 19- A view of this project as it appears on the bike.

Pic 20- Just a photo of my 1951 Craftsman 1/4 hp buffer...cotton wheel with general-purpose rouge on the left, flannel wheel with jewelers rouge on the right. This is why I don't worry about scratches.
 
#6
Yes...the frame is 23 ft of tow chain with the links MIG welded together. I stretched it taut between a bench vise and a turnbuckle, then tacked together the sections I wanted, leaving loose links where I wanted angles.

The sections were then clamped into the shape of the frame, trued, and tacked again.

It was finish-welded after all the other components were fitted...took about 4 hours to weld and sand smooth.

What are you riding? Got any pics to post?
 
#7
im building mine now i have a cat 400 and im repainting i just sanded it but i have to weld some stuff im probably going to paint black im planing on putting a 3hp briggs on it and see what it does my brother is almost done w/ his ill post some pics asap im kinda new at this site.
 
Top