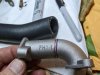
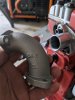
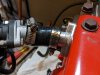
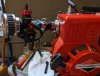
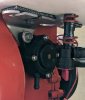
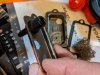
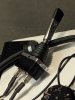
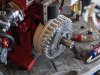
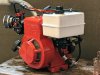
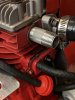
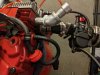
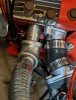
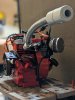
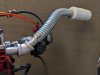
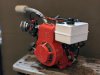
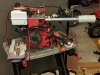
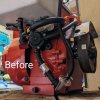
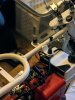
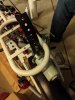
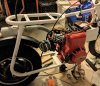
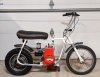
While I wait for an eBay throttle to come so I can test ride and finish tuning the carb... These pics are just my getting things refitted.
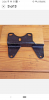
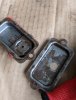
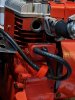
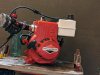
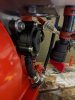
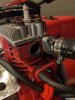
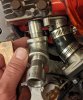
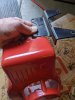
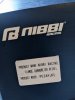
About that carburetor: It's a Nibbi PE24. It came with two pilot jets (35 & 40) and four main jets (108, 110, 112 & 115).
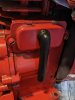
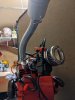
Some bench tuning has so far helped me settle on the #40 pilot, with the air screw opened less than three turns. (I could barely start the engine with the #35 pilot, and did only after tweaking the air and idle screws to stupid positions.) Unless the test riding results dictate otherwise, I'm going with the #40 slow jet at 2-1/2 turns out.
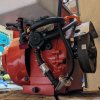
Some more on current settings: Main jet is the #112 for now; Spark plug is reading tan; Needle in position 3.
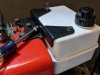
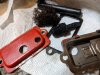
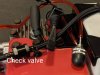
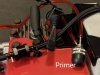
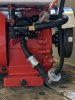
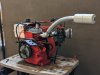
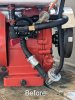
The 2-way breather vent and rest of the fuel system appears to be working perfectly. And yeah, it starts right up, idles smoothly, and sounds awesome already.

I'll post again as I complete the tuning.
 1.5 MB Views: 110
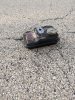 5 MB Views: 111
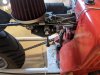 2.4 MB Views: 96