Hi all,
My name is Robin and I live I Newfoundland, Canada. I've just became the proud new owner of this little gem. It's my moms old mini bike and I'd like to restore it for my daughter. She's just 2 years old yet so I have a few years to get this done.
Although I've been riding for many years, I am a complete newb in the small engine world. I have never even seen the inside of an engine before, but I've been reassured that the tiny saxonette in his little ride is extremely easy to repair and tune up. I am a tinkerer by nature so I'm really looking forward to this project.
I am not sure where to start in this restoration. Does anyone have any advice? As far as I know, the only problem was with the pull cord, and a little weld and some rasping will supposedly fix it. That being said, I want to go deeper than just getting it running, I want it to look like the day it was bought! Unfortunately, my grandparents didn't take a photo of it when it was new and no one seems to remember what colour it was when my grandfather purchased it.
Here we go:
The bike has been idle but stored inside for 25 years so what is in the gas tank is pretty thick, how do I go about fixing that? Is there a process for cleaning the inside of an old gas engine? How do I get the thickened fuel out of the tank and components? And what should be replaced in the engine after doing this? Are there seals or lines I need to purchase in advance?
How do you guys go about cleaning the white oxidation from the fins by the cylinder? Can you use abrasive pads or is there a gentler way? There is a build up or white corrosion but I don't want to damage anything with the wrong tools.
I plan on getting the chrome pieces re-chromed at a local shop if my husband will pay for it, and the black frame is easy enough to get powder coated again, but I am not sure what to do about the tank and fenders. The factory colour was navel orange as stated in the spec sheet for the 1972 Prowlers, but I cannot find a paint code or an example of the colour to bring to a shop. I do have an Orange chip from under the rubber trim around the tank, but everyone is telling me the tank is supposed to be gold, as the exposed areas are now. Can anyone confirm that all of the 1972 Prowers were actually the dark reddish orange that is hiding under the trim? And are there decals to be bought or should I tape off the existing decals? They are in hard shape, and due to the curvature on the tank I don't know if I can have them scanned and replicated.
Any tips are welcome and very much appreciated!") Thanks in advance.
Thanks in advance.

My name is Robin and I live I Newfoundland, Canada. I've just became the proud new owner of this little gem. It's my moms old mini bike and I'd like to restore it for my daughter. She's just 2 years old yet so I have a few years to get this done.
Although I've been riding for many years, I am a complete newb in the small engine world. I have never even seen the inside of an engine before, but I've been reassured that the tiny saxonette in his little ride is extremely easy to repair and tune up. I am a tinkerer by nature so I'm really looking forward to this project.
I am not sure where to start in this restoration. Does anyone have any advice? As far as I know, the only problem was with the pull cord, and a little weld and some rasping will supposedly fix it. That being said, I want to go deeper than just getting it running, I want it to look like the day it was bought! Unfortunately, my grandparents didn't take a photo of it when it was new and no one seems to remember what colour it was when my grandfather purchased it.
Here we go:
The bike has been idle but stored inside for 25 years so what is in the gas tank is pretty thick, how do I go about fixing that? Is there a process for cleaning the inside of an old gas engine? How do I get the thickened fuel out of the tank and components? And what should be replaced in the engine after doing this? Are there seals or lines I need to purchase in advance?
How do you guys go about cleaning the white oxidation from the fins by the cylinder? Can you use abrasive pads or is there a gentler way? There is a build up or white corrosion but I don't want to damage anything with the wrong tools.
I plan on getting the chrome pieces re-chromed at a local shop if my husband will pay for it, and the black frame is easy enough to get powder coated again, but I am not sure what to do about the tank and fenders. The factory colour was navel orange as stated in the spec sheet for the 1972 Prowlers, but I cannot find a paint code or an example of the colour to bring to a shop. I do have an Orange chip from under the rubber trim around the tank, but everyone is telling me the tank is supposed to be gold, as the exposed areas are now. Can anyone confirm that all of the 1972 Prowers were actually the dark reddish orange that is hiding under the trim? And are there decals to be bought or should I tape off the existing decals? They are in hard shape, and due to the curvature on the tank I don't know if I can have them scanned and replicated.
Any tips are welcome and very much appreciated!
Thanks in advance.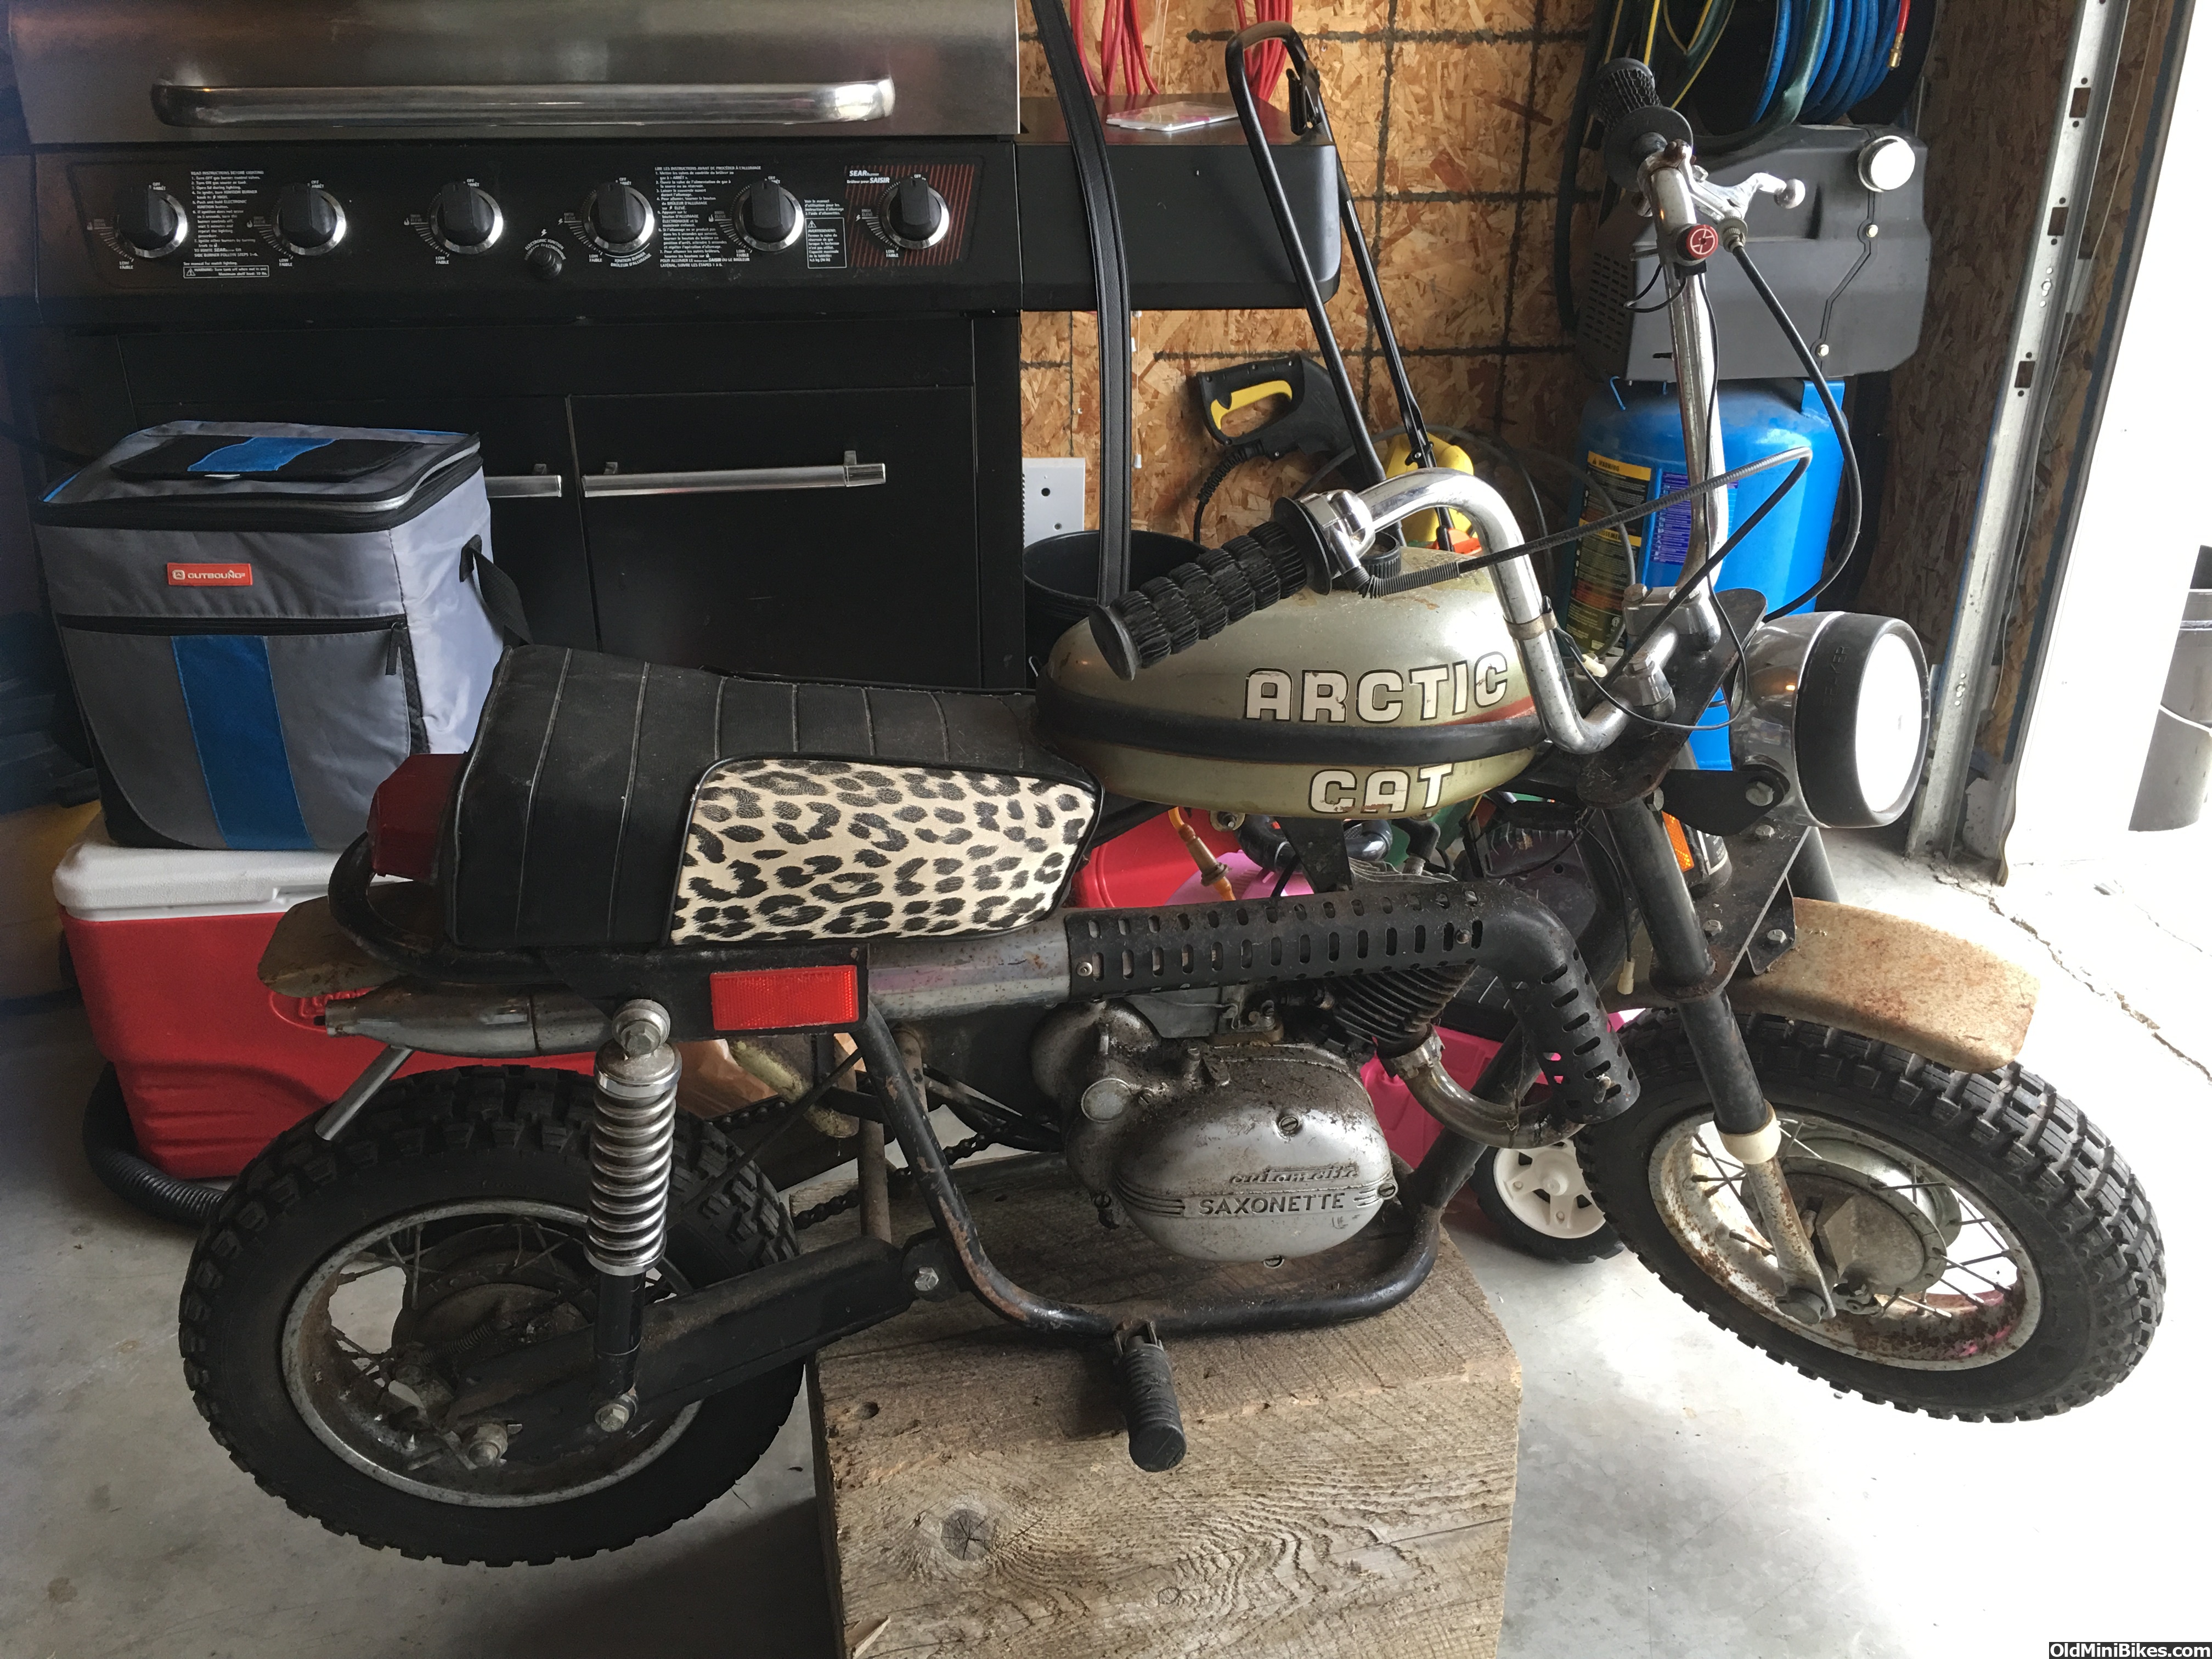
Last edited:
