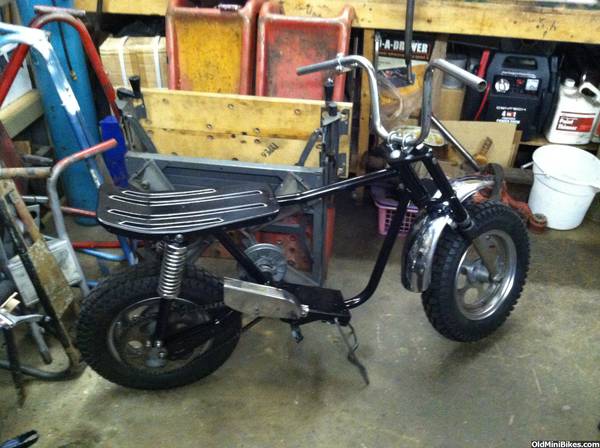
Well, I never really intended to get into Rupps but when an opportunity knocks, I usually answer the door. Several weeks back a lot of two Rupps came up on my local CL. The first is a semi complete 1972 Rupp Scrambler and the other is a 1972 Rupp Roadster 2. My plan was to take the Scrambler from semi rough roller to rider for Windber. I began about a week ago so a lot is done but I wanted to post up the start and a couple pre assembly pictures just for fun anyway.
This is what I started with. The pictures supplied by the seller yielded a correct Rupp 4hp engine that had been blown apart with some key missing items (so I thought). After getting the engine off the Scrambler, I found the missing parts to the Roadster motor. I'll still have to find some donor items to rebuild the original engine for it but honestly, it's a great start. I know it's not correct for the Scrambler but I'm not building a show bike. I'm just doing an exercise in turning a project around like I've watched several do here. Thanks for the inspiration Karen! I get so wound up in making things perfect that I almost never get any of my projects done so I just wanted to build something from start to finish with a goal in mind. As for the Roadster 2, there was a good portion of that as well and I think I'm going to repeat the process later after I find a few of the missing pieces but build something along the lines of a Black Widow type bike.
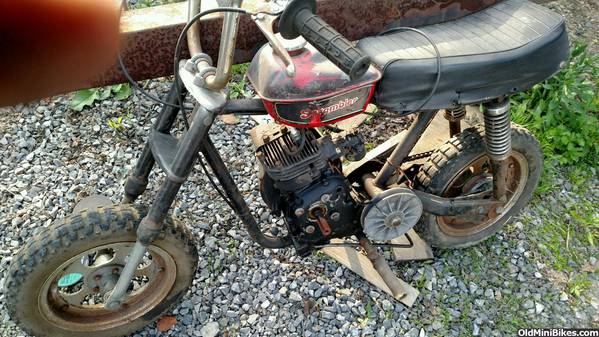
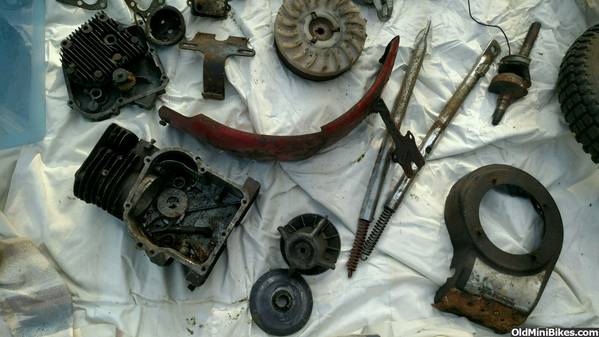
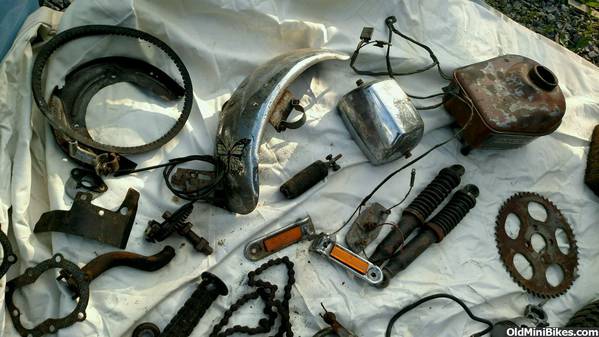
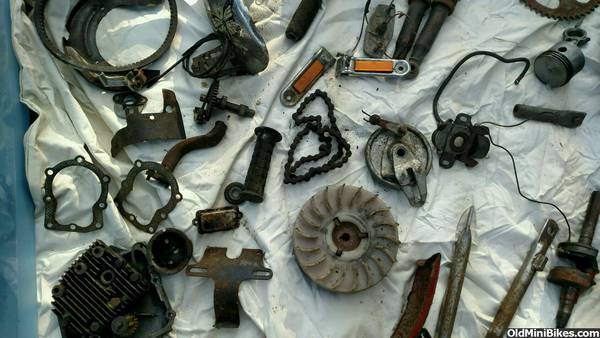
So in actuality, this is where the project started.
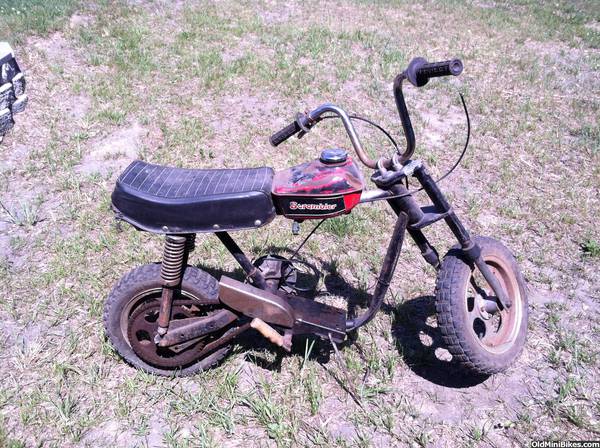
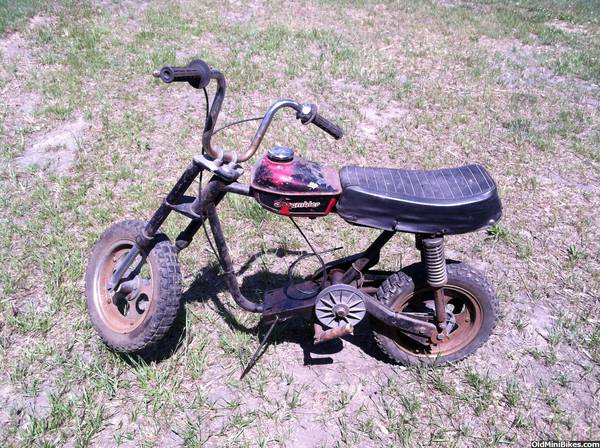
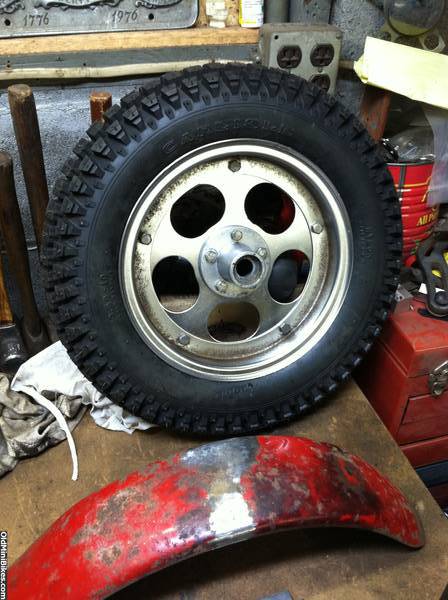
The first thing I did was scrubbed up the front wheel parts. I had bought a pair of the vintage Carlisle tires that were one size larger than the factory. I like the more aggressive look for this bike. In the foreground is the rear fender after repairing. It had the usual split in the middle plus the tail was almost doubled back. I hammered everything out smooth and welded up the seam.
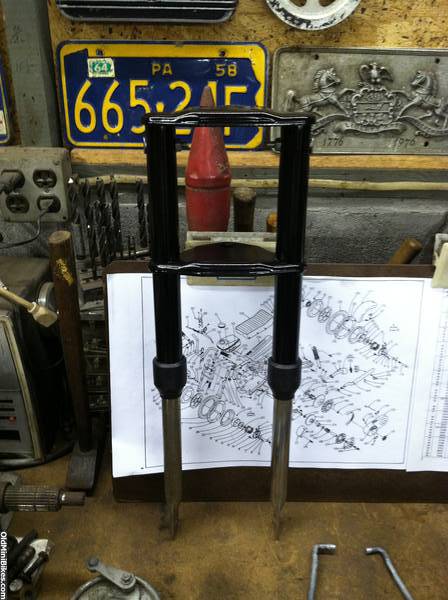
Next up were the small parts that I could fit in the blast cabinet including the triple trees and swing arm. I cleaned, prepped and painted them. Forks and legs after reassembly.
At present, I found a way to get the frame in my blast cabinet and do as much as I could with minimal maneuverability inside it. After which I did the rest by hand with my angle grinder. It is now prepped and painted. I've been working on this for between one and two weeks and it's looking good for my goal. I was going to reassemble the rear wheel last night but found that the previous owner had really messed up all the hardware so there is a trip to ACE after work today. The roller should be together by the weekend and hopefully a rider over the weekend so I can do my final tuning before Windber. More pictures posted tonight once I get things straightened up after the thrash so far.
This is what I started with. The pictures supplied by the seller yielded a correct Rupp 4hp engine that had been blown apart with some key missing items (so I thought). After getting the engine off the Scrambler, I found the missing parts to the Roadster motor. I'll still have to find some donor items to rebuild the original engine for it but honestly, it's a great start. I know it's not correct for the Scrambler but I'm not building a show bike. I'm just doing an exercise in turning a project around like I've watched several do here. Thanks for the inspiration Karen! I get so wound up in making things perfect that I almost never get any of my projects done so I just wanted to build something from start to finish with a goal in mind. As for the Roadster 2, there was a good portion of that as well and I think I'm going to repeat the process later after I find a few of the missing pieces but build something along the lines of a Black Widow type bike.
So in actuality, this is where the project started.
The first thing I did was scrubbed up the front wheel parts. I had bought a pair of the vintage Carlisle tires that were one size larger than the factory. I like the more aggressive look for this bike. In the foreground is the rear fender after repairing. It had the usual split in the middle plus the tail was almost doubled back. I hammered everything out smooth and welded up the seam.
Next up were the small parts that I could fit in the blast cabinet including the triple trees and swing arm. I cleaned, prepped and painted them. Forks and legs after reassembly.
At present, I found a way to get the frame in my blast cabinet and do as much as I could with minimal maneuverability inside it. After which I did the rest by hand with my angle grinder. It is now prepped and painted. I've been working on this for between one and two weeks and it's looking good for my goal. I was going to reassemble the rear wheel last night but found that the previous owner had really messed up all the hardware so there is a trip to ACE after work today. The roller should be together by the weekend and hopefully a rider over the weekend so I can do my final tuning before Windber. More pictures posted tonight once I get things straightened up after the thrash so far.
Last edited:


