Replacing the worn teeth on a Bonanza 60t Go-Power ... Pic Heavy

#1
beekeeper got the Bonanza he always wanted thanks to jeep4me!!
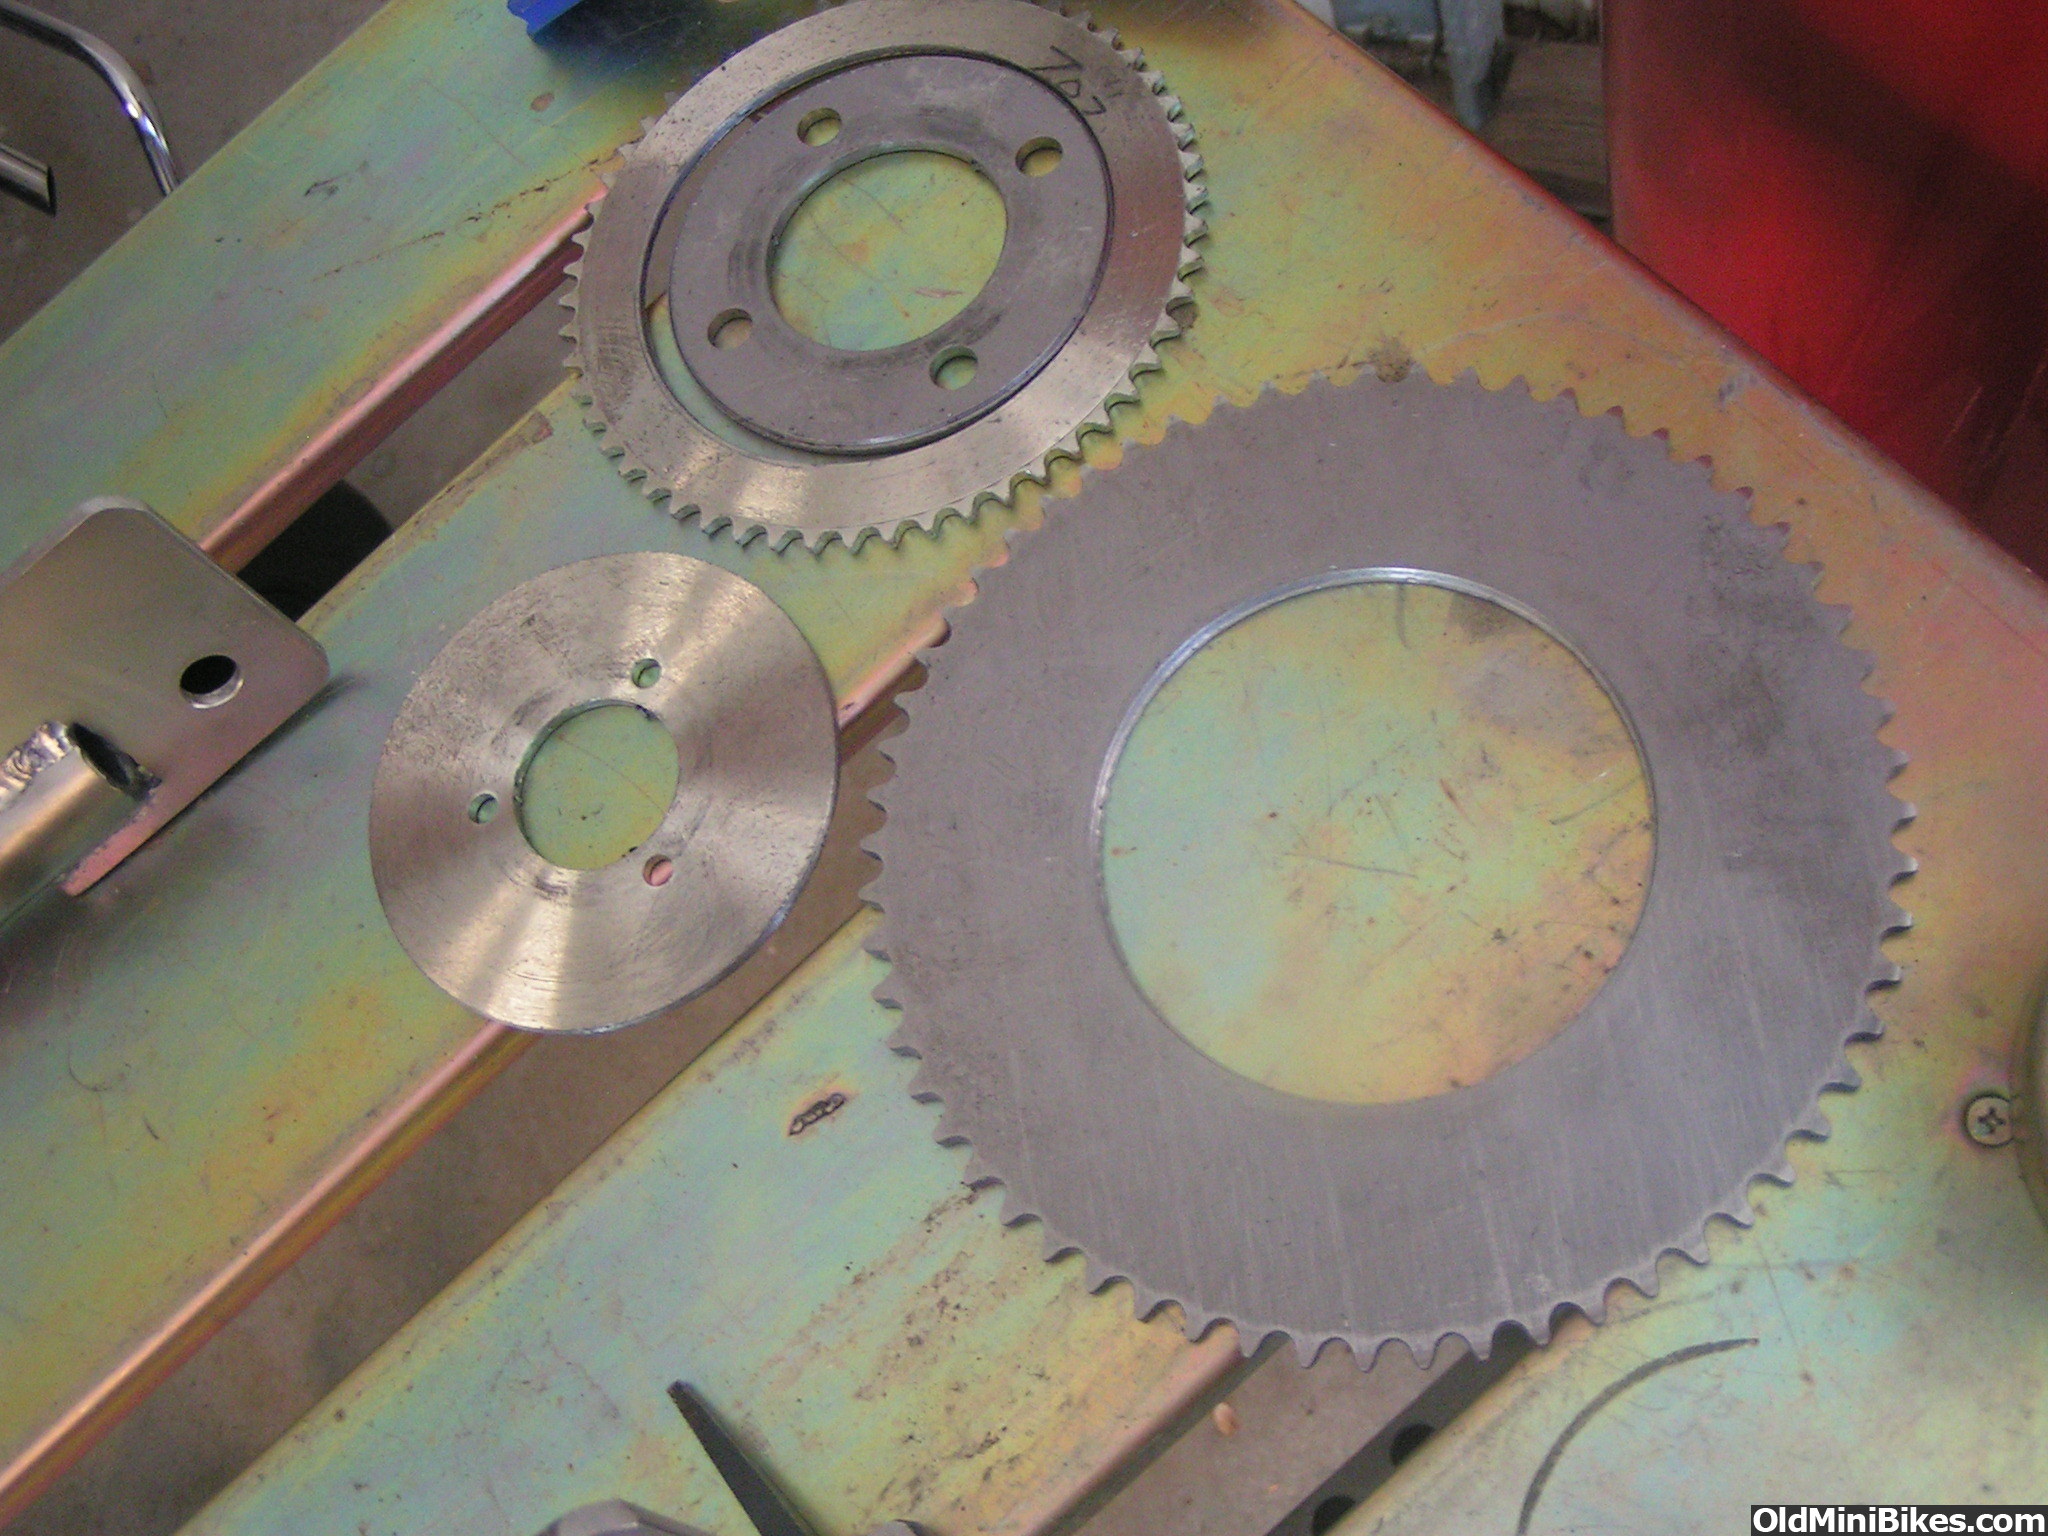
The sprocket was worn down to the nub.
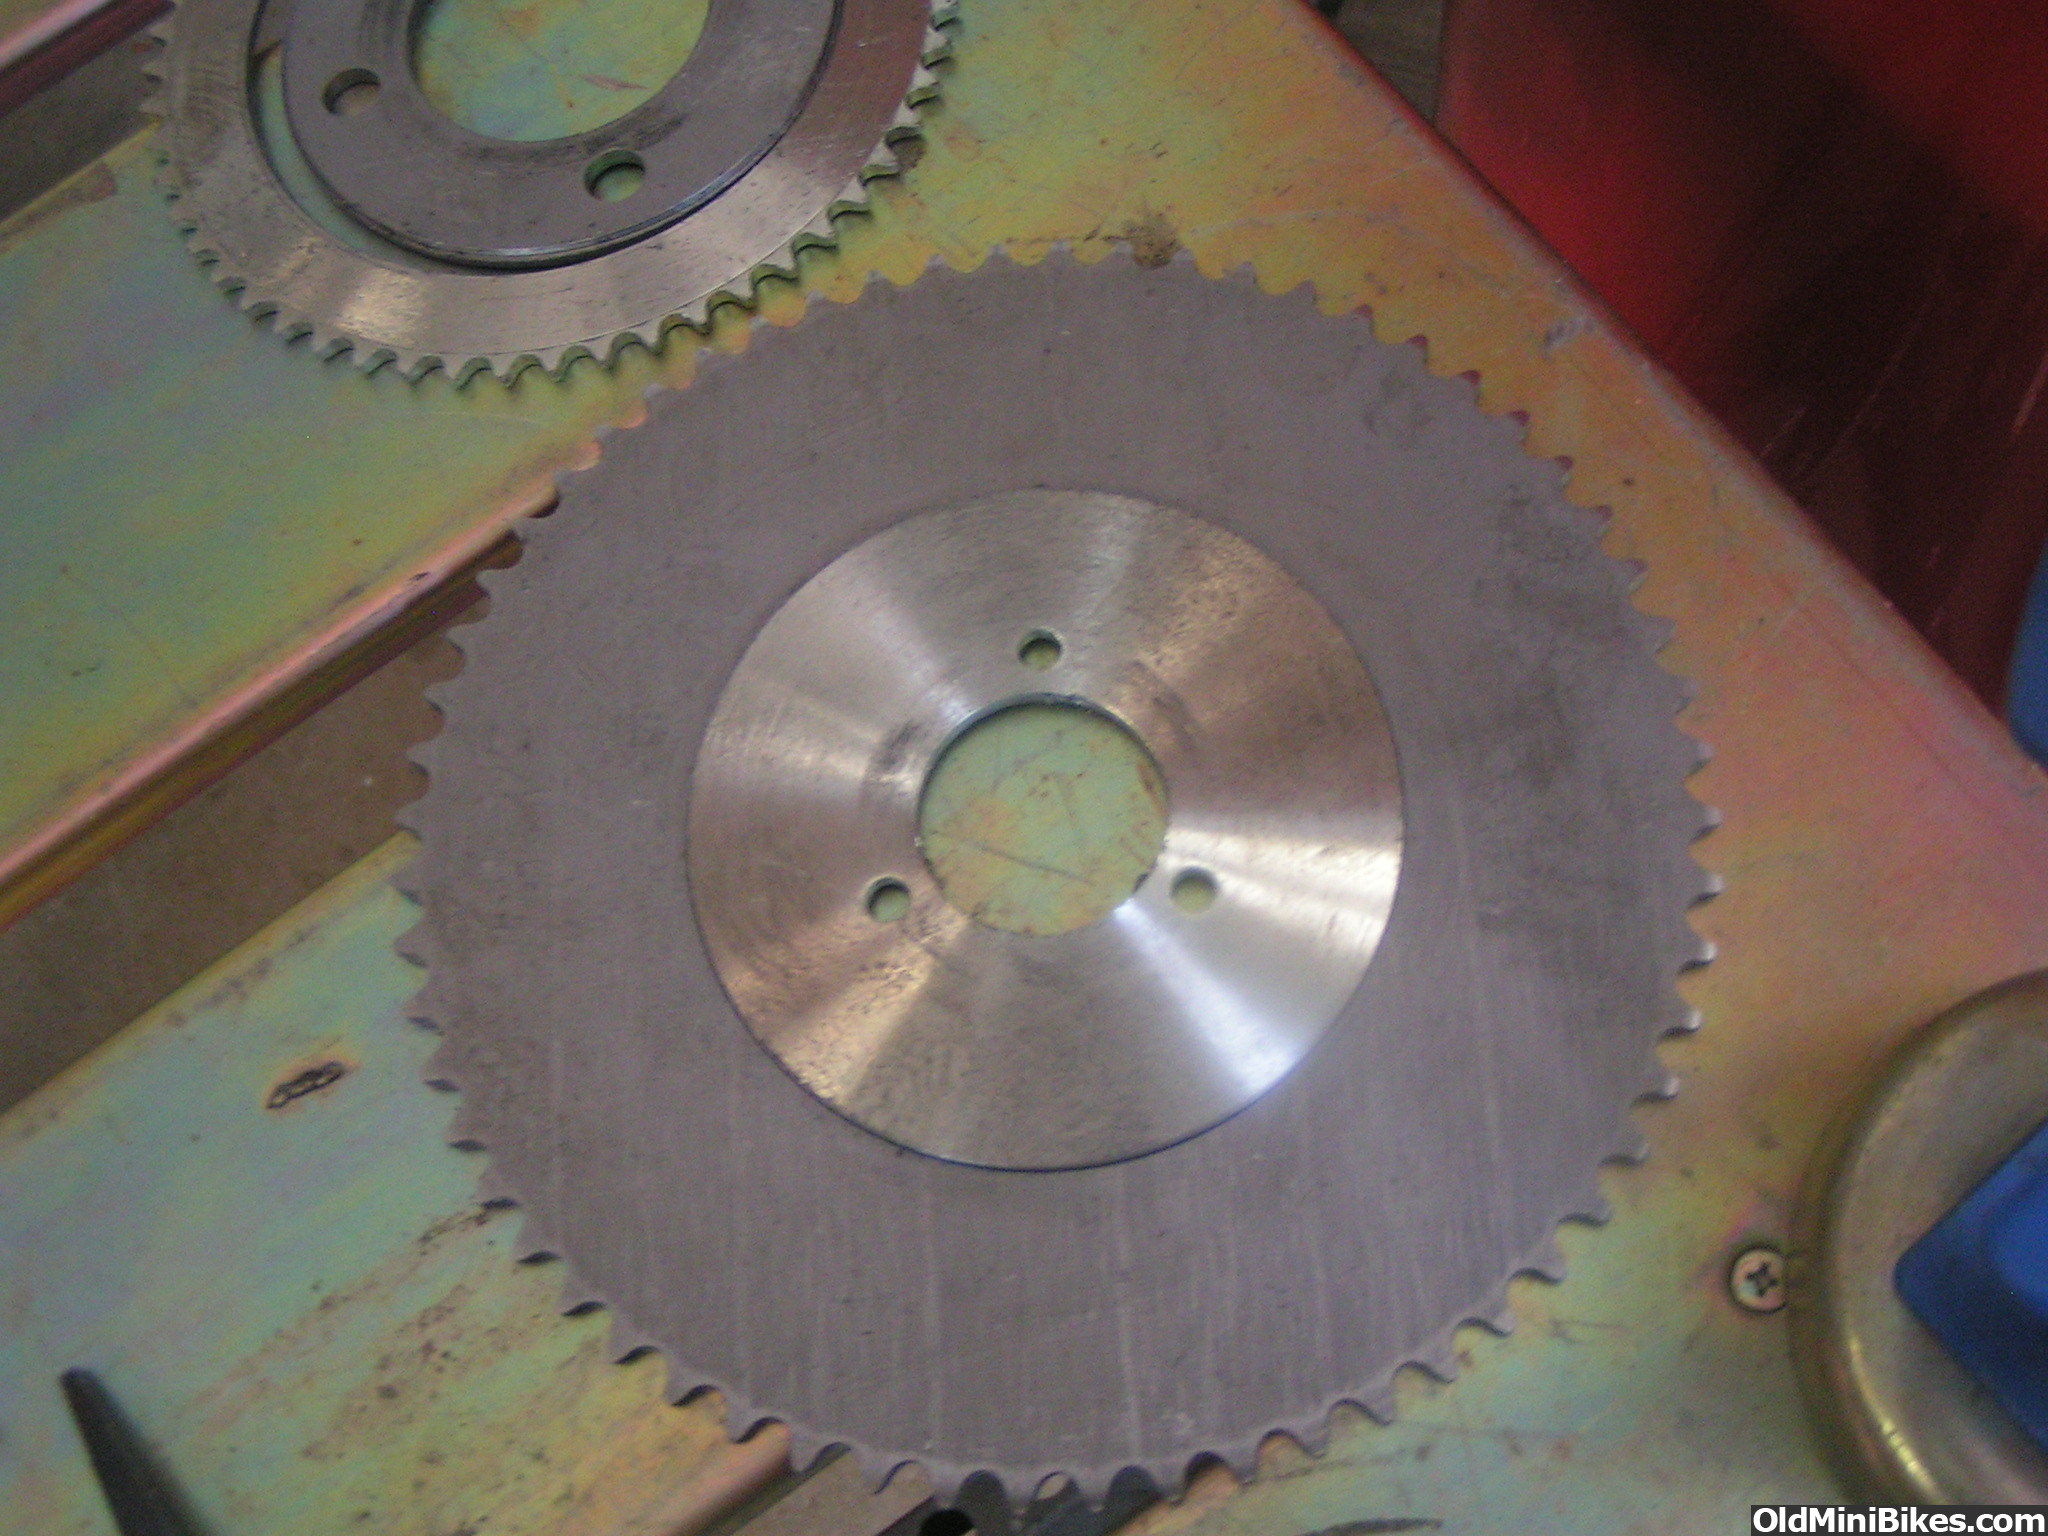
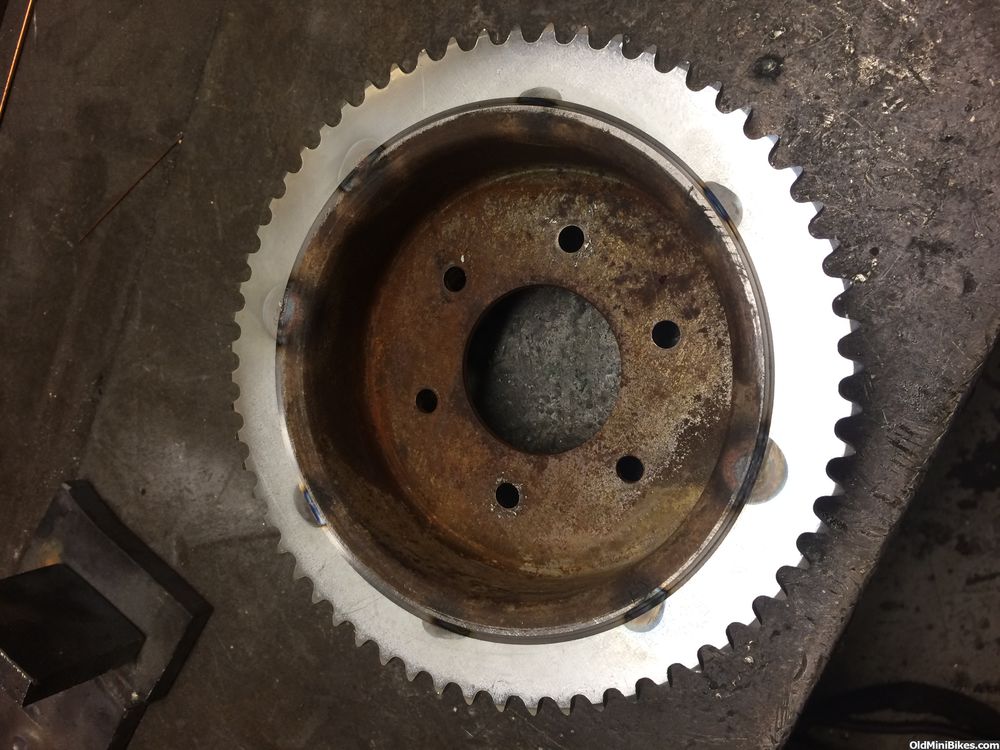
He bought a flat 60t off OldMiniBikes ...

Both the old and new sprockets went on the CNC


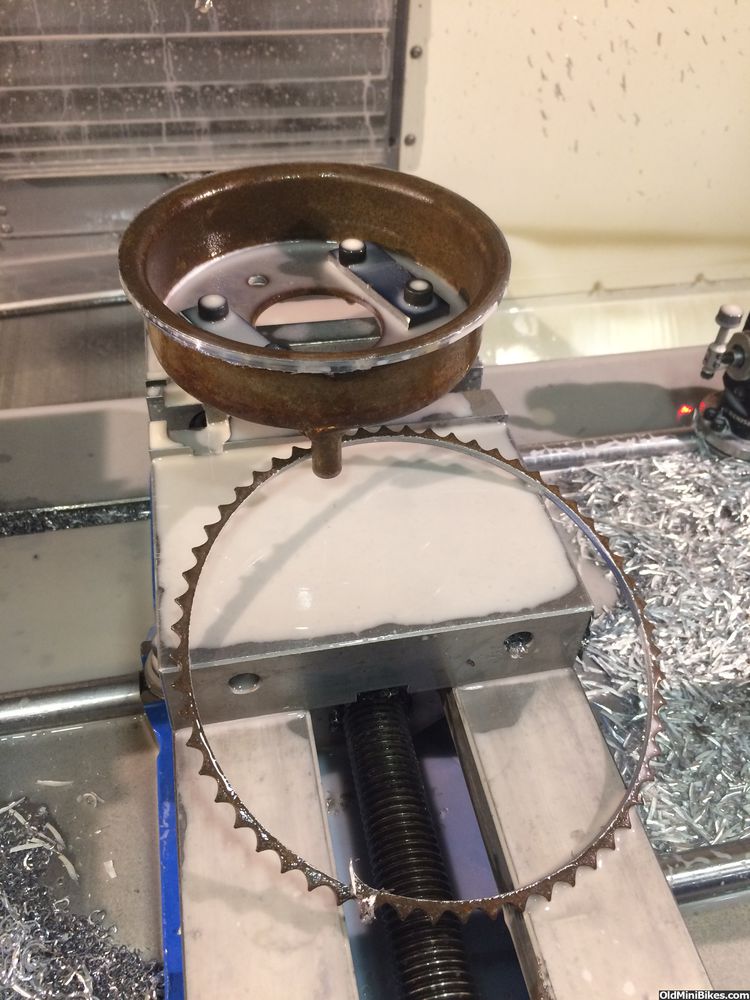
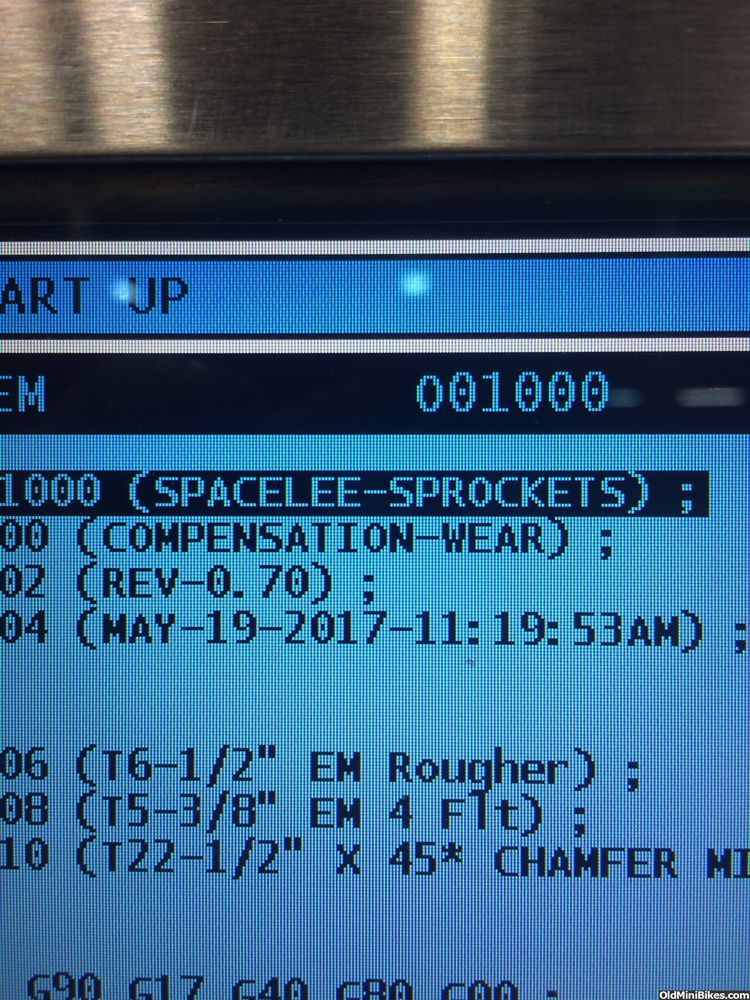
Wayne the CNC guy named the program ..


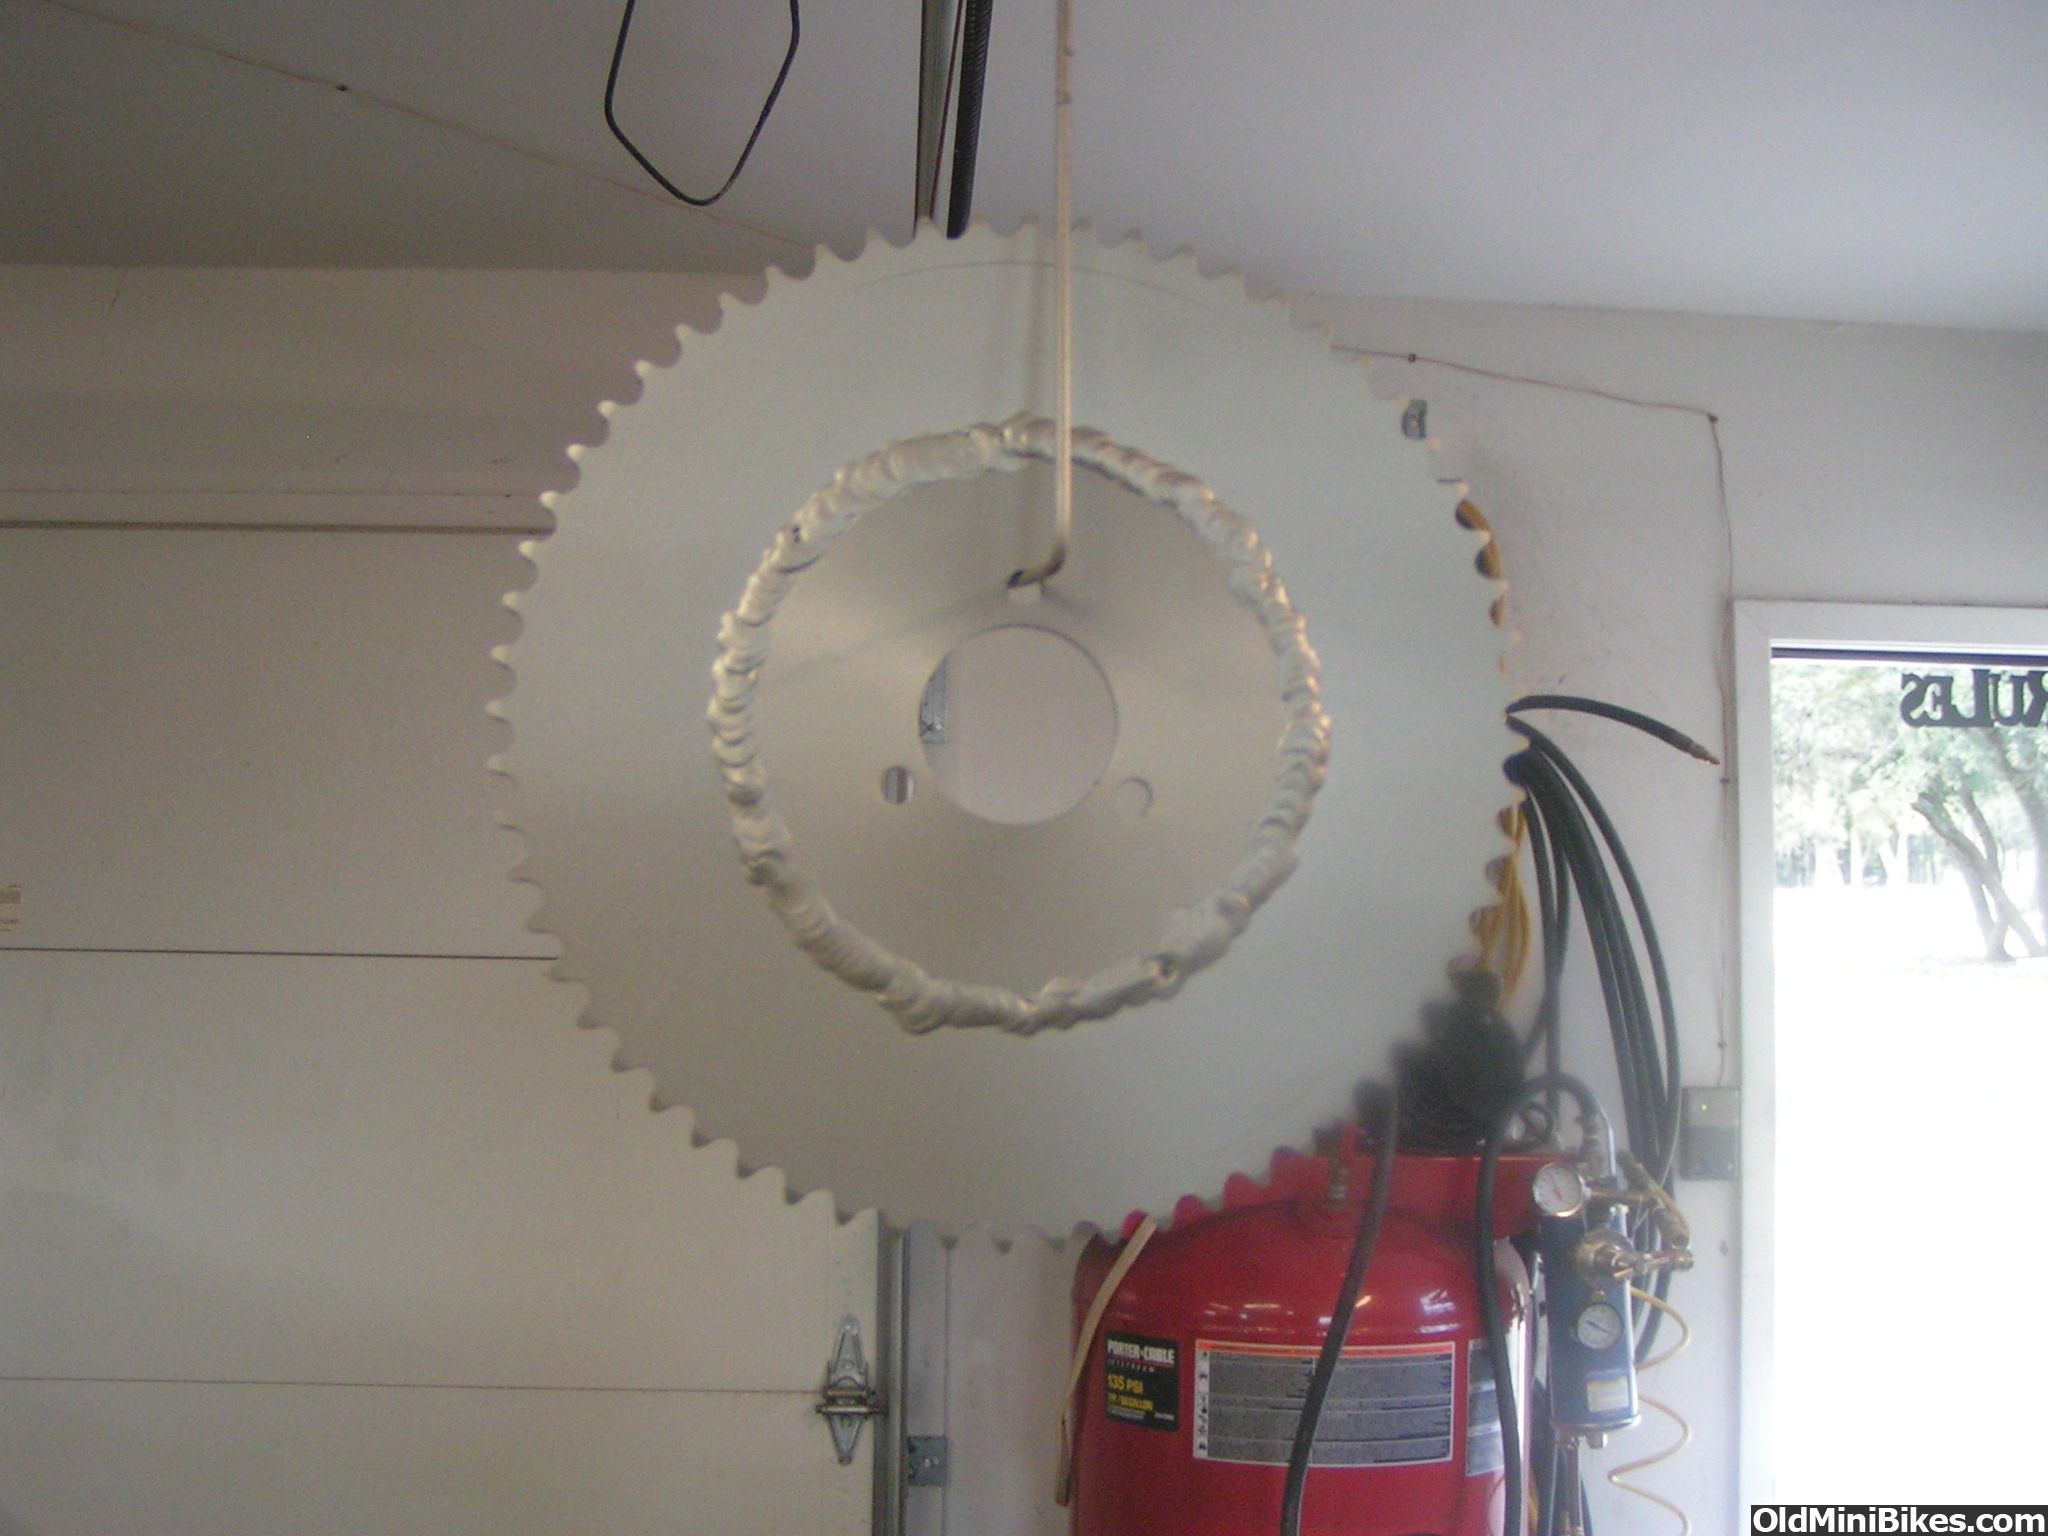
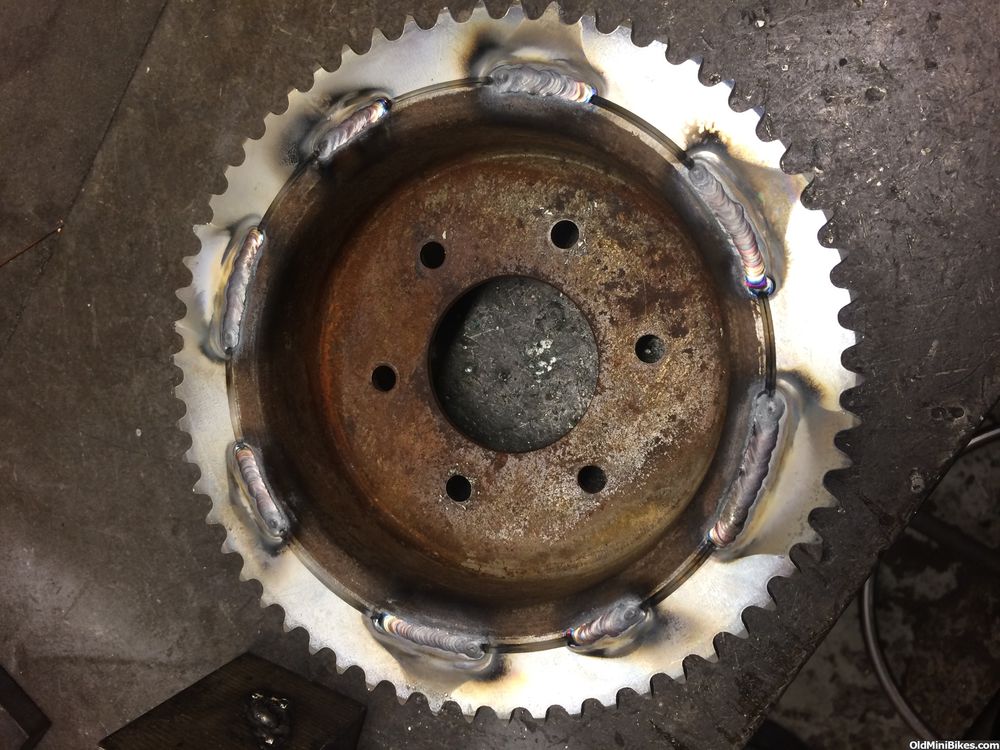
Made a jig to hold it while I stitched the back


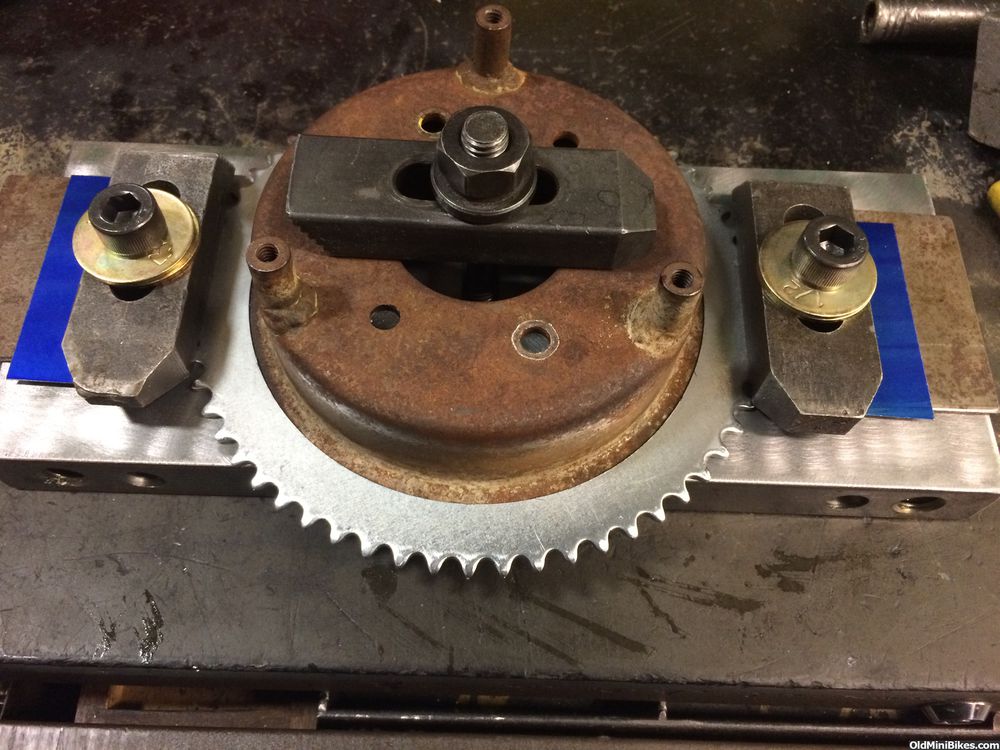
I only MIG and my welds are "serviceable"


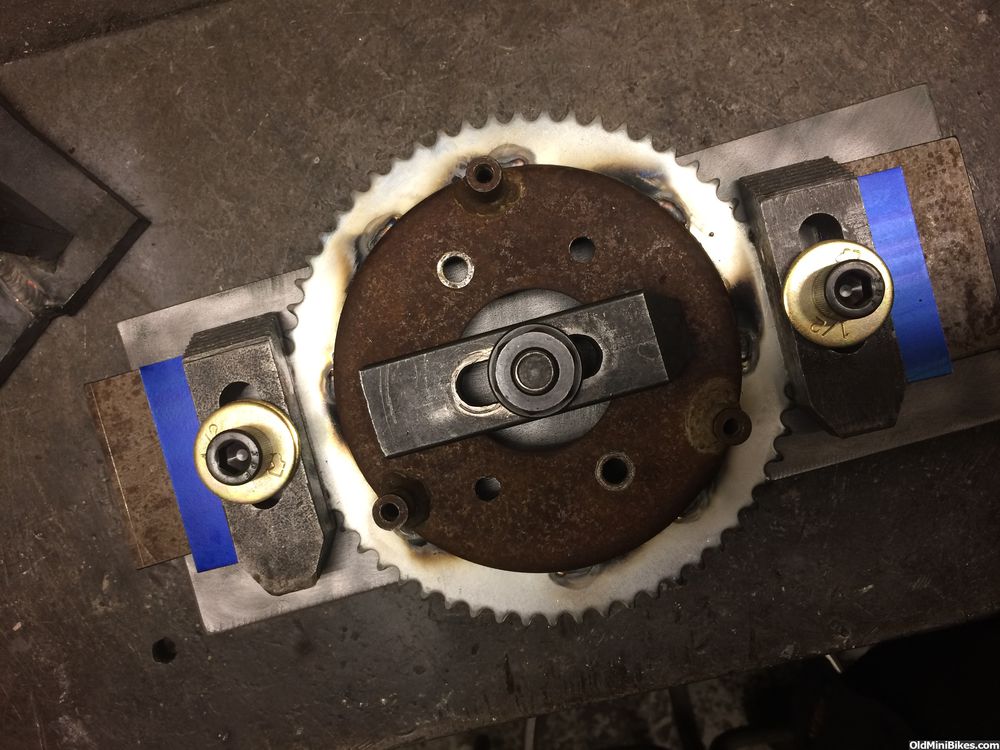
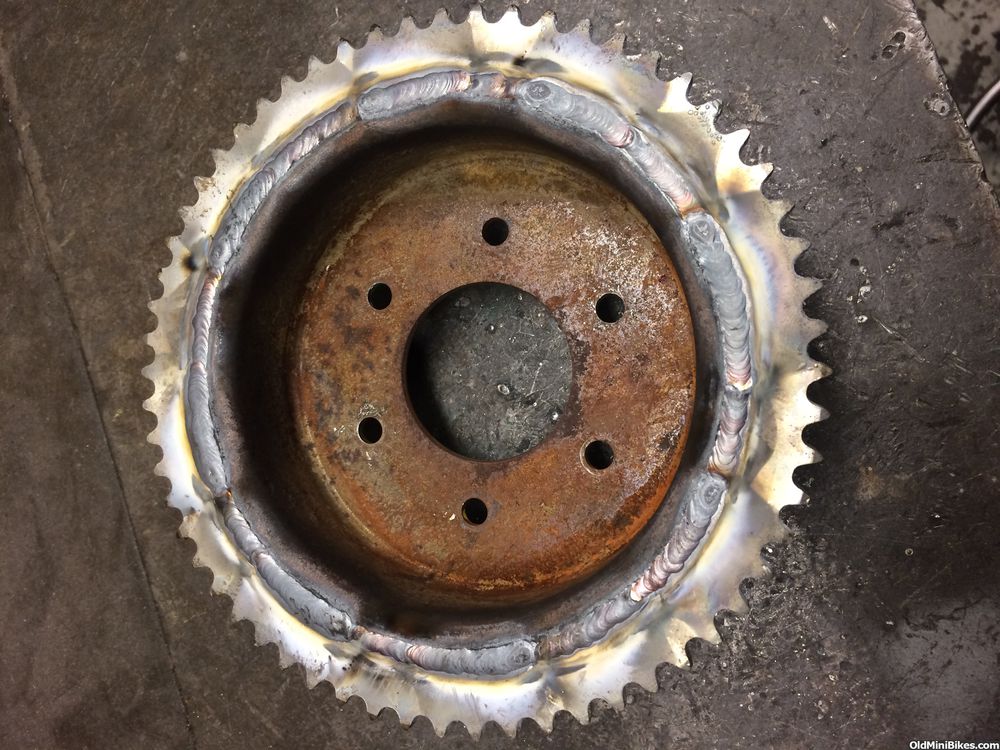
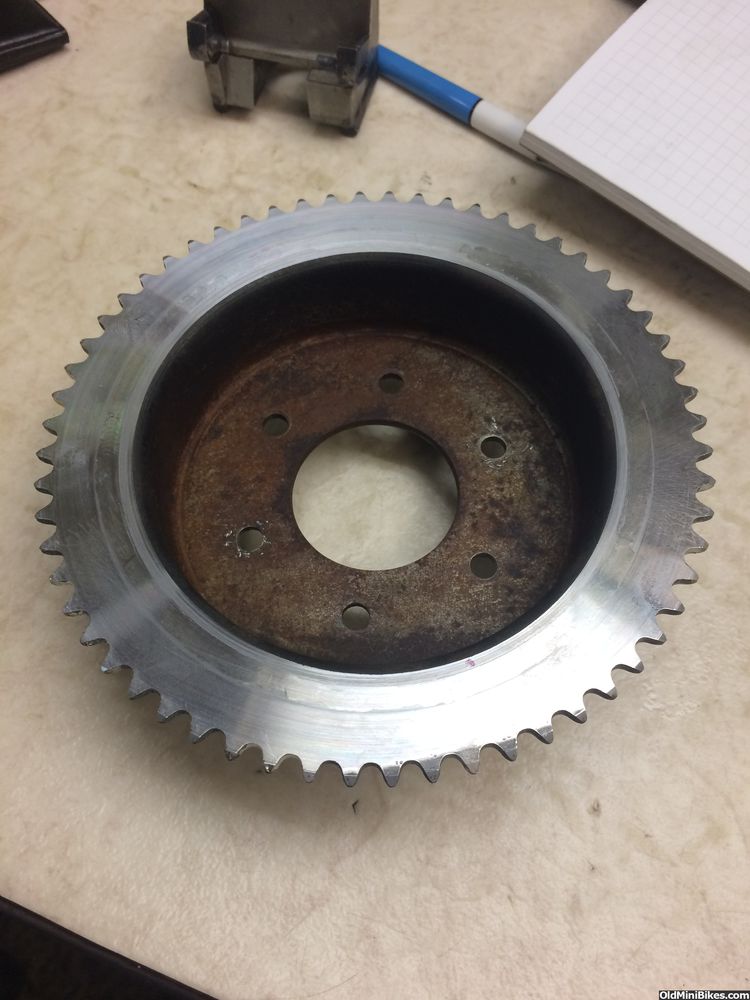
Flipped over to the front you can see Wayne programed in a chamfer on both halves.


Stitched the front


Finished welding the front.


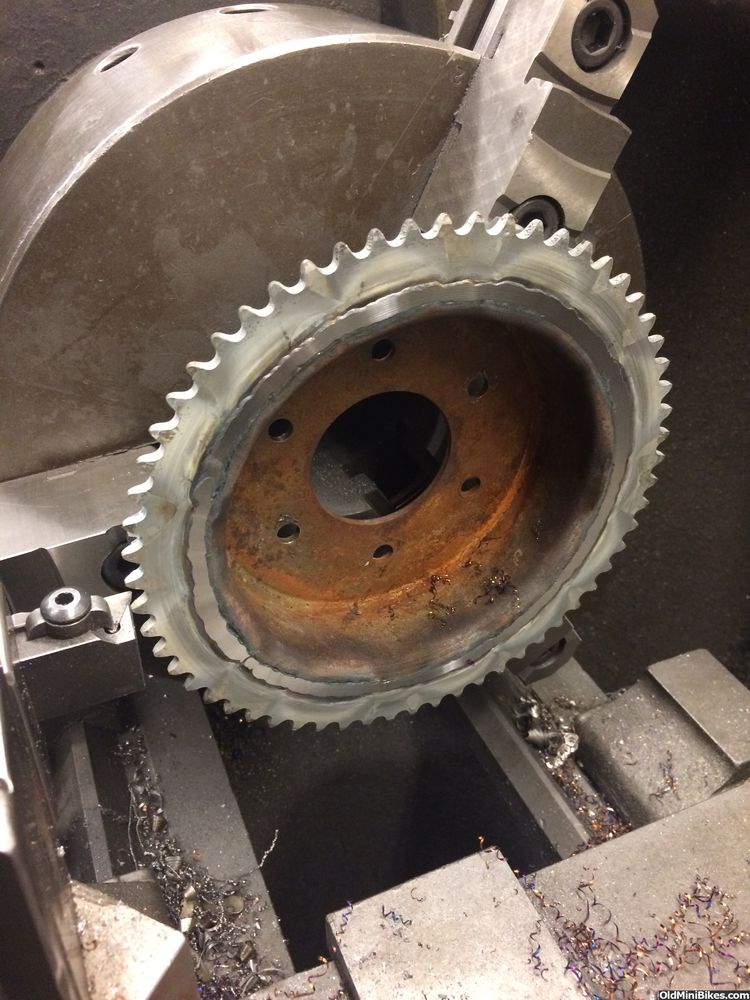
1st pass on the lathe.
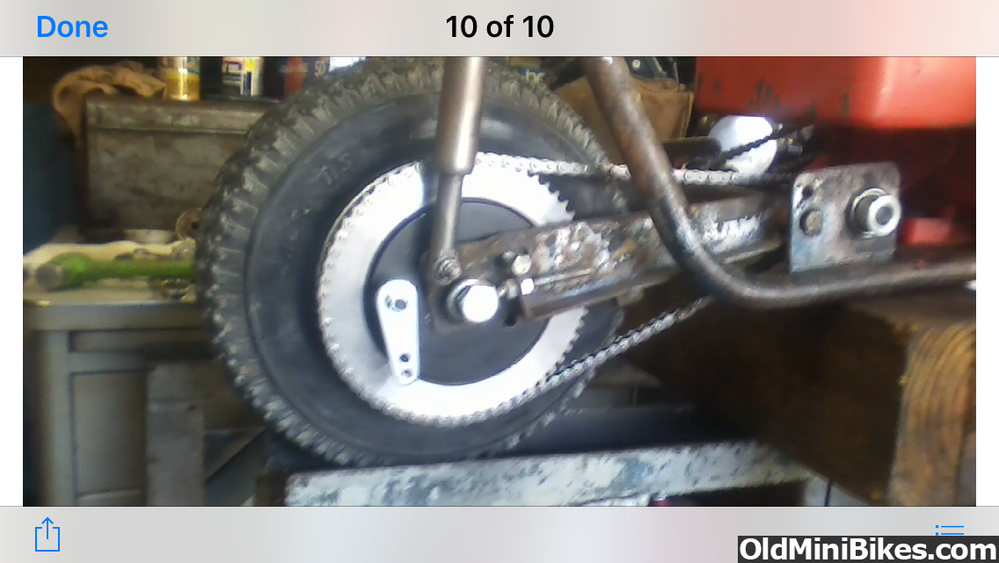

Finished product.
 
Last edited:

markus

Well-Known Member
#2
Excellent work :thumbsup: I've got that same issue I am trying to get worked out for a 4" brake assembly, still gotta get the sprocket cut to fit the drum.

couple of your photos are coming up scrambled with one of my paint jobs though :anon.sml:
 
#5
Nice I did something similar once but did not think about bracing it like you did before welding. I cut the worn area off the original sprocket with a bit of a flange left then cut the center out of a new sprocket to fit it and after a lot of time it fit perfect, then I proceeded to weld it up 1/4 at a time in opposite areas and when done it looked like a vinyl record that had been left in the sun, warped all over. I was able to straighten it out in the press thank god as I had a lot of hours cutting the hardened steel sprockets.
 
#6
nice work on the sprocket.

why didn't you set up the cnc machine cut the teeth?

:thumbsup:
I'm Tool & Die .. not CNC .. Wayne slipped this in for me between jobs ... This seemed like the simplest way to repair this type of problem.
As far as I know 60t Bonanza Go-Power sprockets are not being re-popped currently, so this was a decent way to save one from the trash heap ...

Lets keep these old minis going!!
 
#10
Looks great. Like brand new.
Only thing I would do different is use mild rod ... I used stainless for better flow but it gets a bit harder than the sprocket metal and took a few more passes on the lathe.
Final passes were done about 300 RPM and .0005 at a pass while keeping the ceramic bit wet with tap fluid, this stopped the chattering.
 
#12
Here's a pic of the newly revived sprocket on its forever home ...

beekeeper took the pic with his flip phone while doing jumping jacks :001_tt2:

He should be doing a long term build thread on his childhood dream mini ....

 
#14
I'm glad that worked out so well for ya, If I woulda tried that it would of warped all over.
The trick is to have your pieces clamped to a flat surface and put down short welds in a pattern similar to tightening lug nuts on a wheel.
Then it can be unclamped and in this case flipped over to do the other side the same way but keep moving around in a lug pattern till all the weld is filled in.
Keep the heat even, don't let one spot get too hot.

Again, my welds are serviceable but I have learned from some very good welders over the years stuff like how to not warp stuff ... but I still do!!
 
#17
Great Informative thread. I sure could have used it when I did mine and had to spend hours to straighten it.
I am truly surprised I could teach you anything .. you seem very knowledgeable on a ton of subjects!!
There are a small number of people on this site that I place in the "knows their shit" category ... your one of them!

Kevin
 
Top