Adding a valve cap?

markus

Well-Known Member
#1
Some of the engines come with the Valve cap, and some don't. Currently I am working on a 1994 H35 and doing some basic (free stuff) mods since it I tore it 100% apart and getting redone fully. It does not have/use the valve caps, not quite sure why.

I would like to add them, My thinking here is they do help keep the spring in line and while it may not be much-if any, increase the spring tension. I should not get any bind (although I reground the cam to remove the compression bump the rest of the cam measurements stay the same), the HS engines used them, the lift seems to be the same as the H is :shrug: I have taken apart Briggs engines before and seen the springs sitting cockeyed...I never liked seeing that :laugh:

A very slight increase in spring tension on this engine would not be a bad idea I dont think if that was the reason for the deletion, some of the things I have done to it so far in theory should make a little more power and of course it will be spinning a little more RPM's than stock settings.

thoughts ?
 

markus

Well-Known Member
#4
Marcus do you mean the metal valve spring cap on opposite side of the retainer?
Yes, Tecumseh calls them valve caps. They are in some, but not all of the small frames. I'm not seeing why they would not want them in there but they do.

a pic of some from an ebay listing:


capguncowboy

Well-Known Member
#5
My '70 Rupp Roadster didn't use these either. I've seen them in other engines, but I'm not sure what the benefits/downsides are of using or not using them is. I would think it would prevent damage to the oil breather ceiling from the springs grinding away at them though
 

markus

Well-Known Member
#6
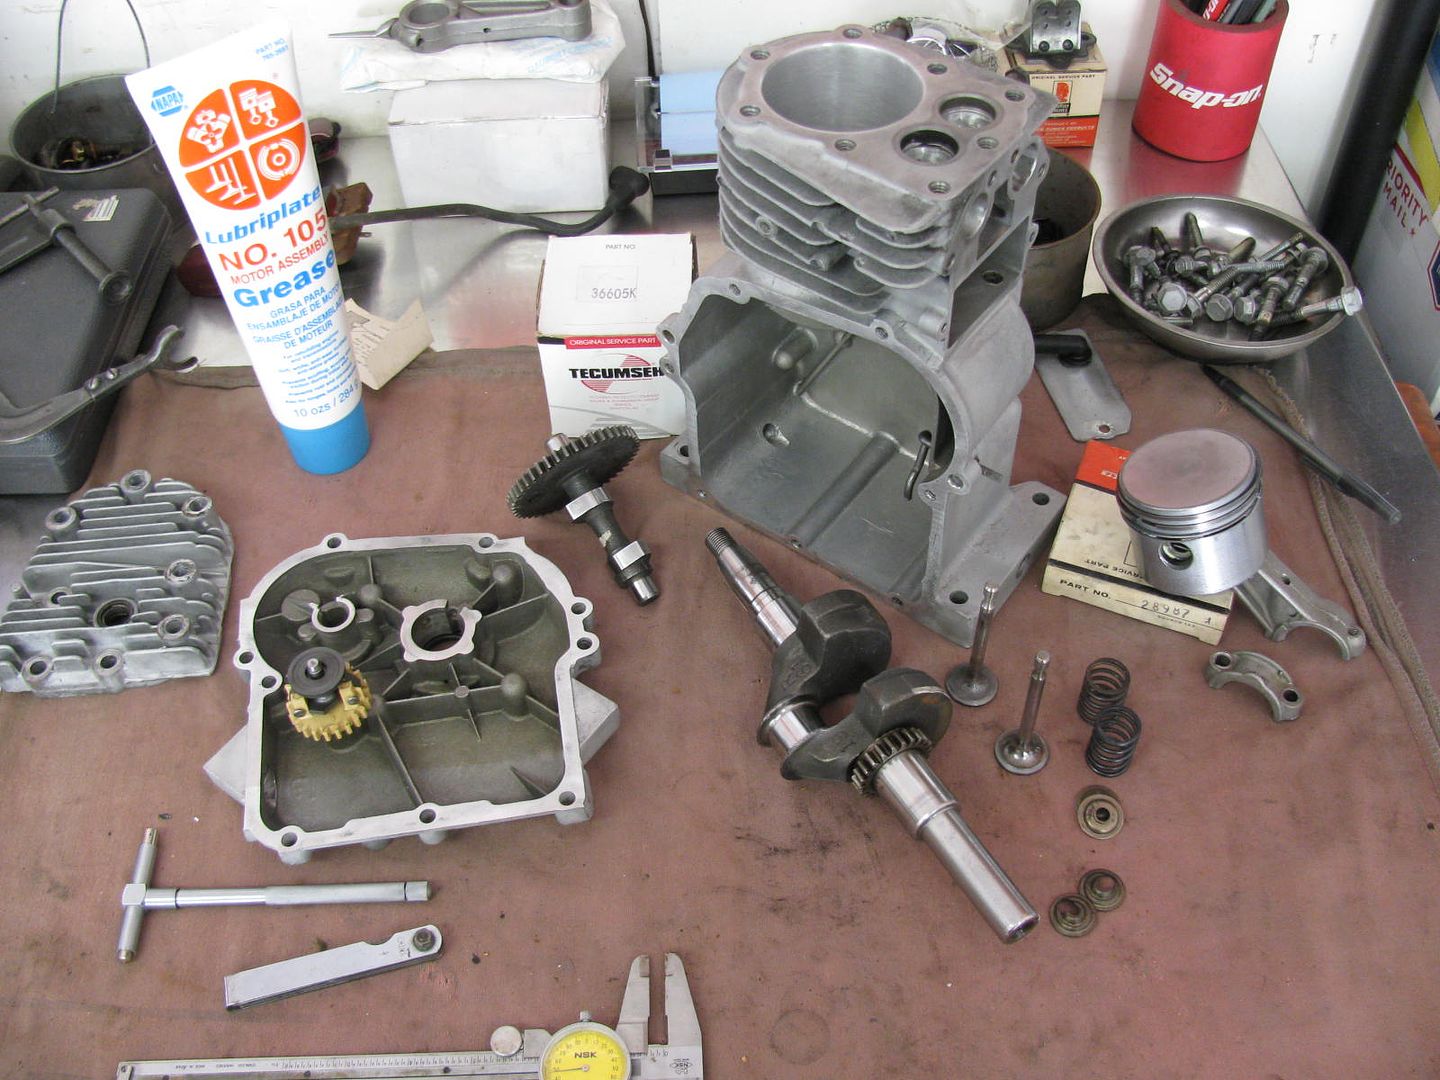
I'm just gonna install them, I yanked apart a trashed block 1970 HS40 last night getting ready for the scrapper to come by and pick up the junk blocks/parts pile I have going and pulled the set from it. I double checked the spacing and all that while I was lapping the valves and compared springs visually and see no difference in those parts.

Finished the honing, ring gap, smoothing/reworking the ports, lapping the valves, and all that sort of good stuff this morning. Time for a hot bath (for both me and the engine parts :laugh:) and at least get it to long block, wrapped up an off the bench so I can work on the other stuff!
 

markus

Well-Known Member
#7
happy to report adding the caps did not cause failure :laugh: I test ran it in for about 45 minutes today at various RPM's and it did great, only did a few quick over-revs since its on the stand with no load on it though.

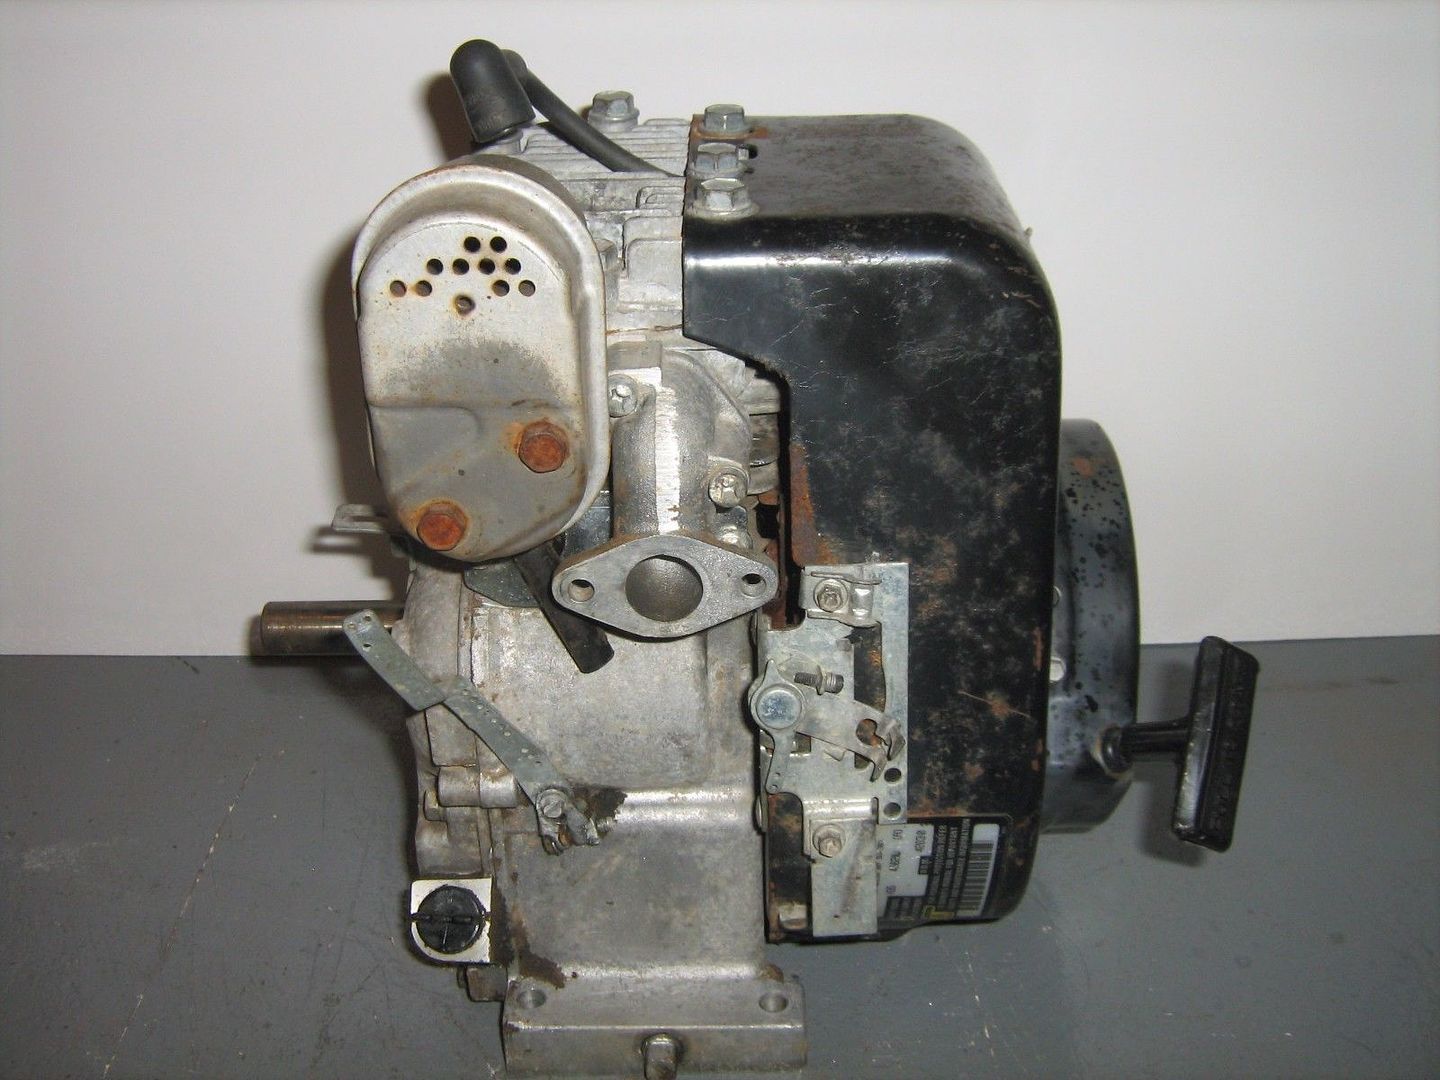
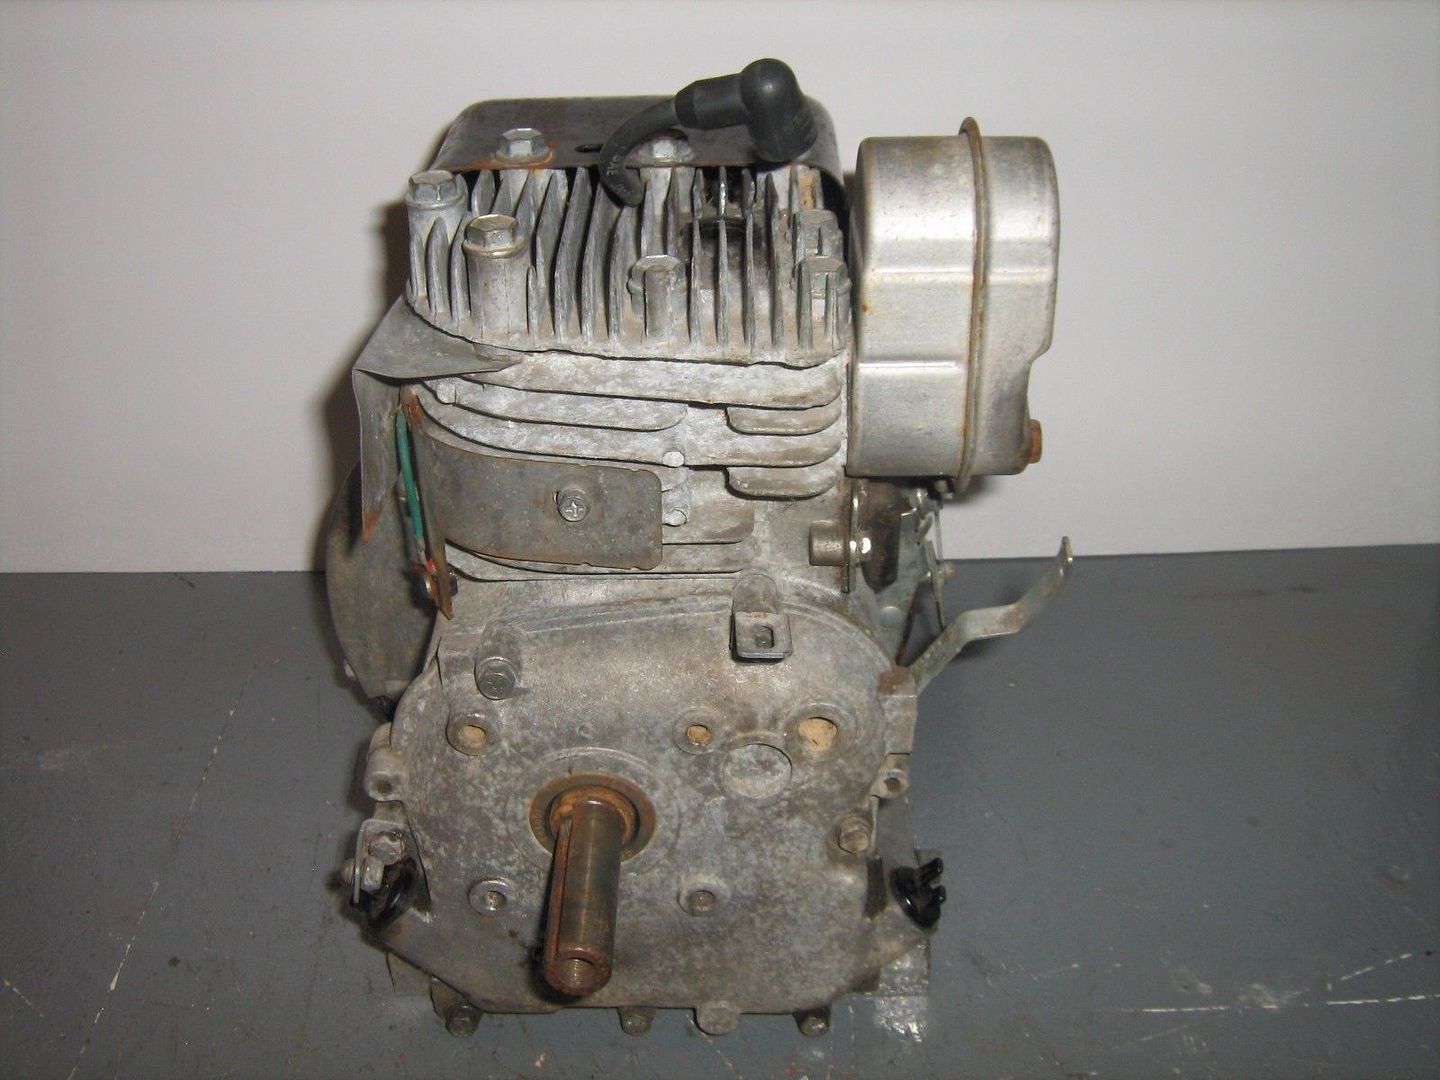
here was the enigne as I recived fromt he ebay listing:


Its a 1994 electronic ignition H35 with the large bottom end and equal size valves, The exhaust port is smaller though so I carved on it a little more while I was smoothing out the casting flaws/edges in the ports.


Got new rings and hone job, and I reworked the cam to remove the compression release bump. I did try the HS40 billet rod in there and it has some clearance problems so thats a no-go.

I also ordered and installed the Tecumseh star/motorsports coil that supposedly is a little hotter. I was curious if it would work and it does. I have no idea how it ran before so I cant compare it to the stock unit, but just an FYI that it does work with the smaller H engines too.

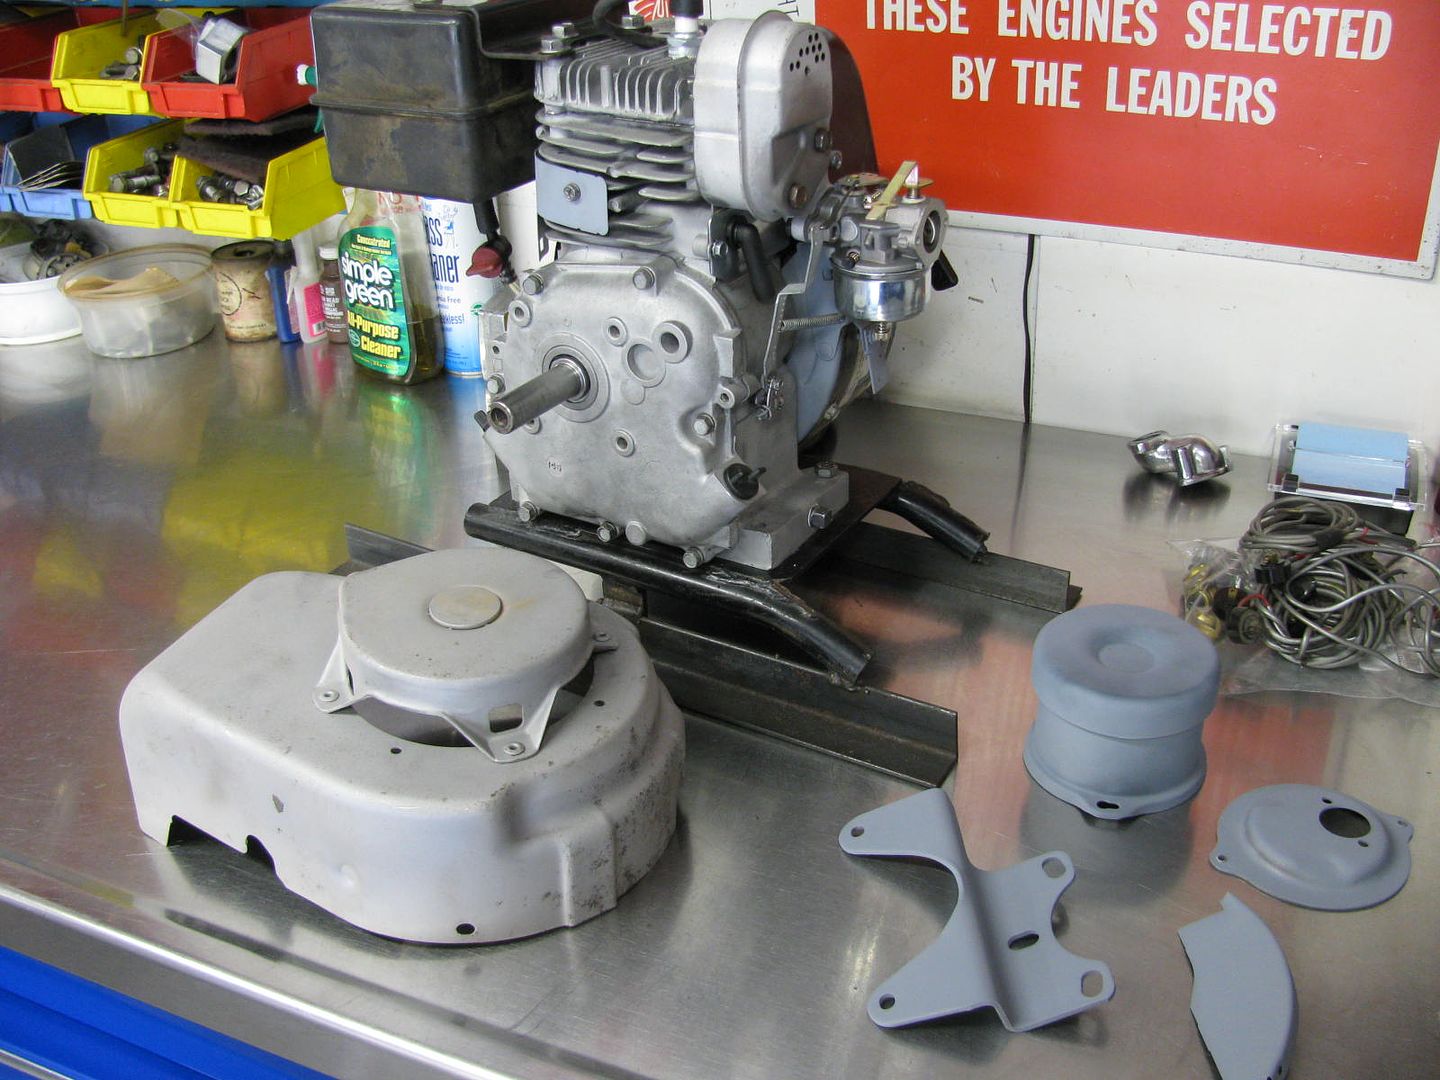
this is where I am at with it tonight, just has the test tank thrown on it and the original shroud for testing ( I did carve open that muff as they choke down at the inlet so I matched it to the port, just needed a muff for now)


I will be installing the 1987 shroud with old style recoil on it that's shown in front there, I have to "cave and pave" over the numbers stamped in it in the morning and get it prepped and ready to shoot. I was going to leave the block bare but I may paint the whole thing now, just not sure the color yet.
 

markus

Well-Known Member
#8
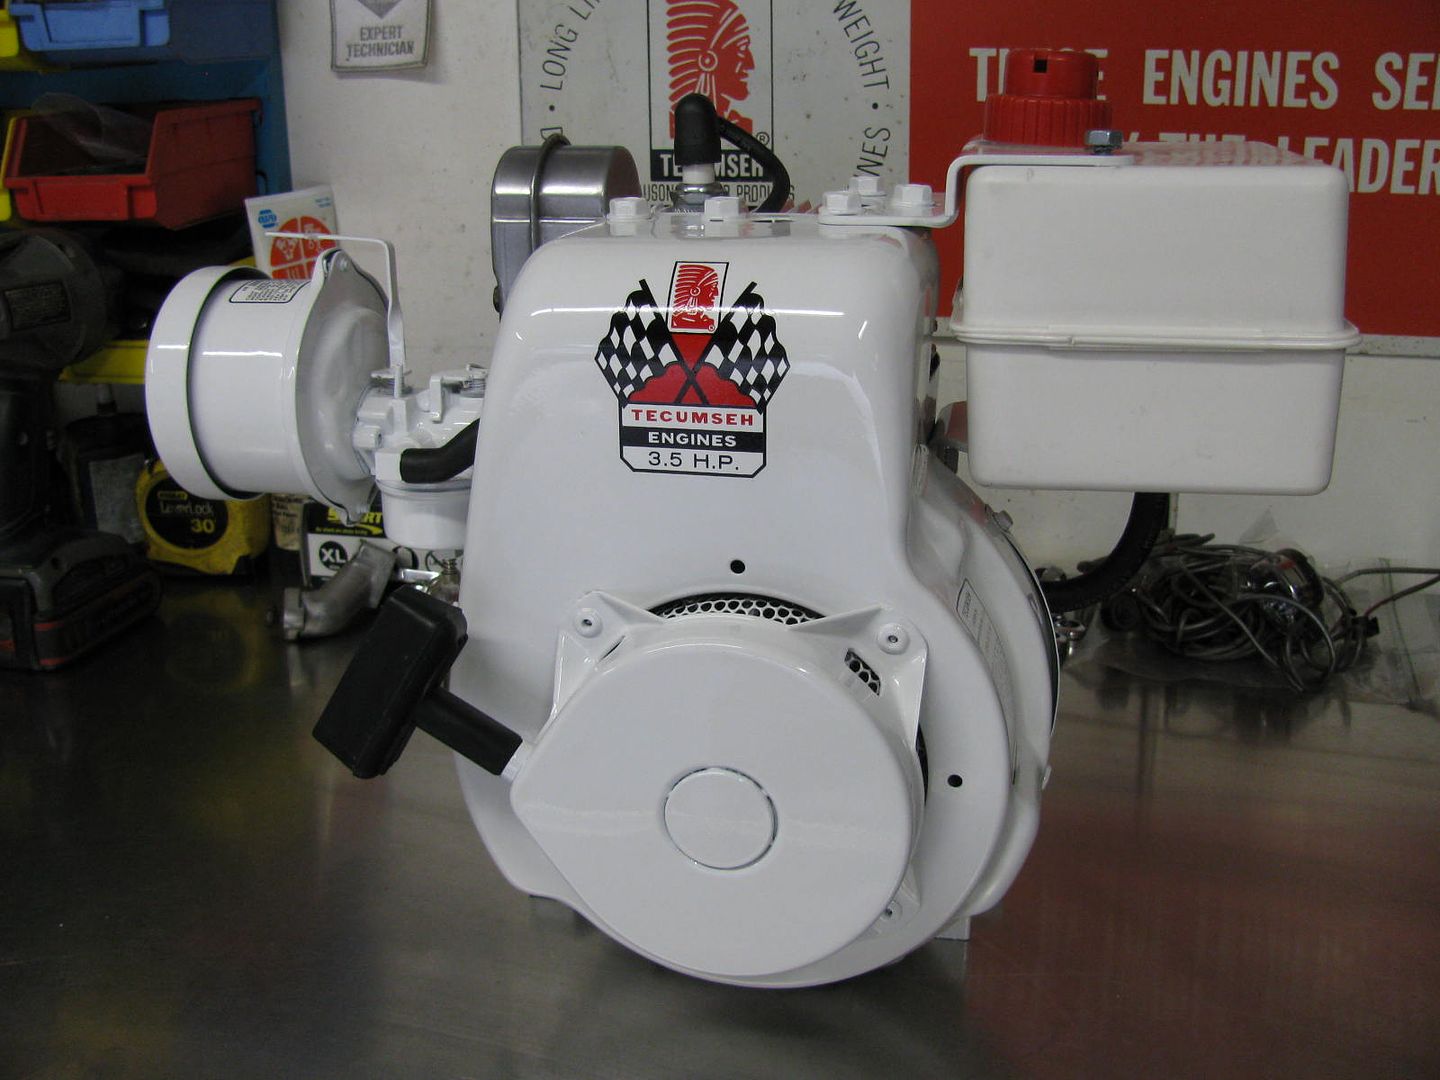
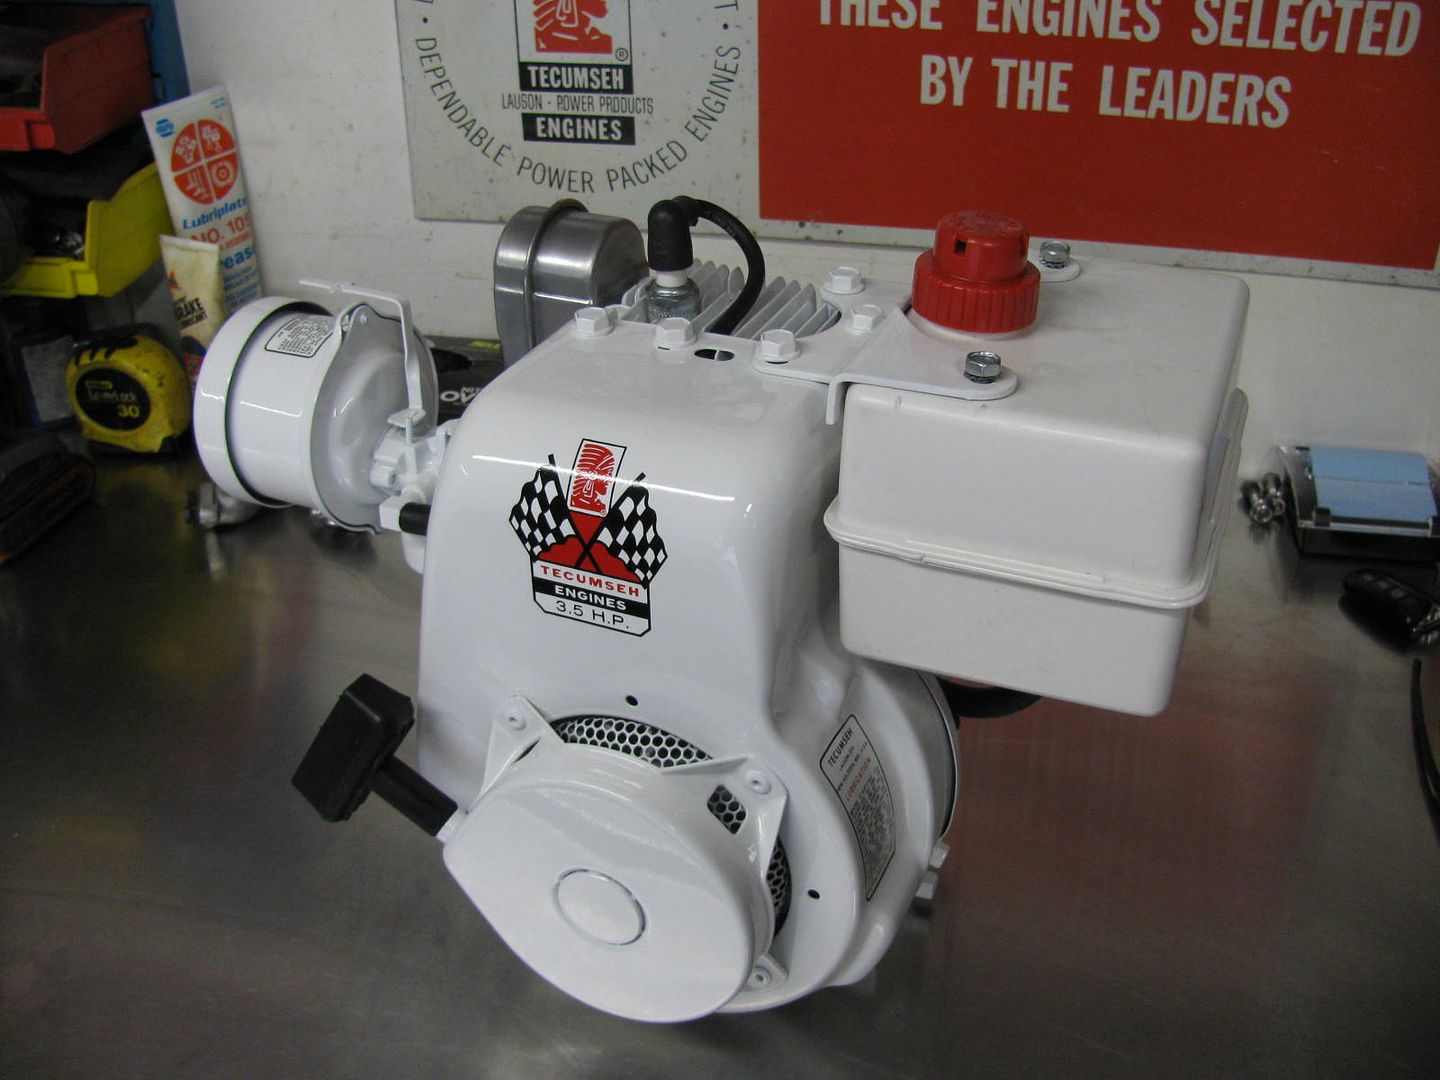
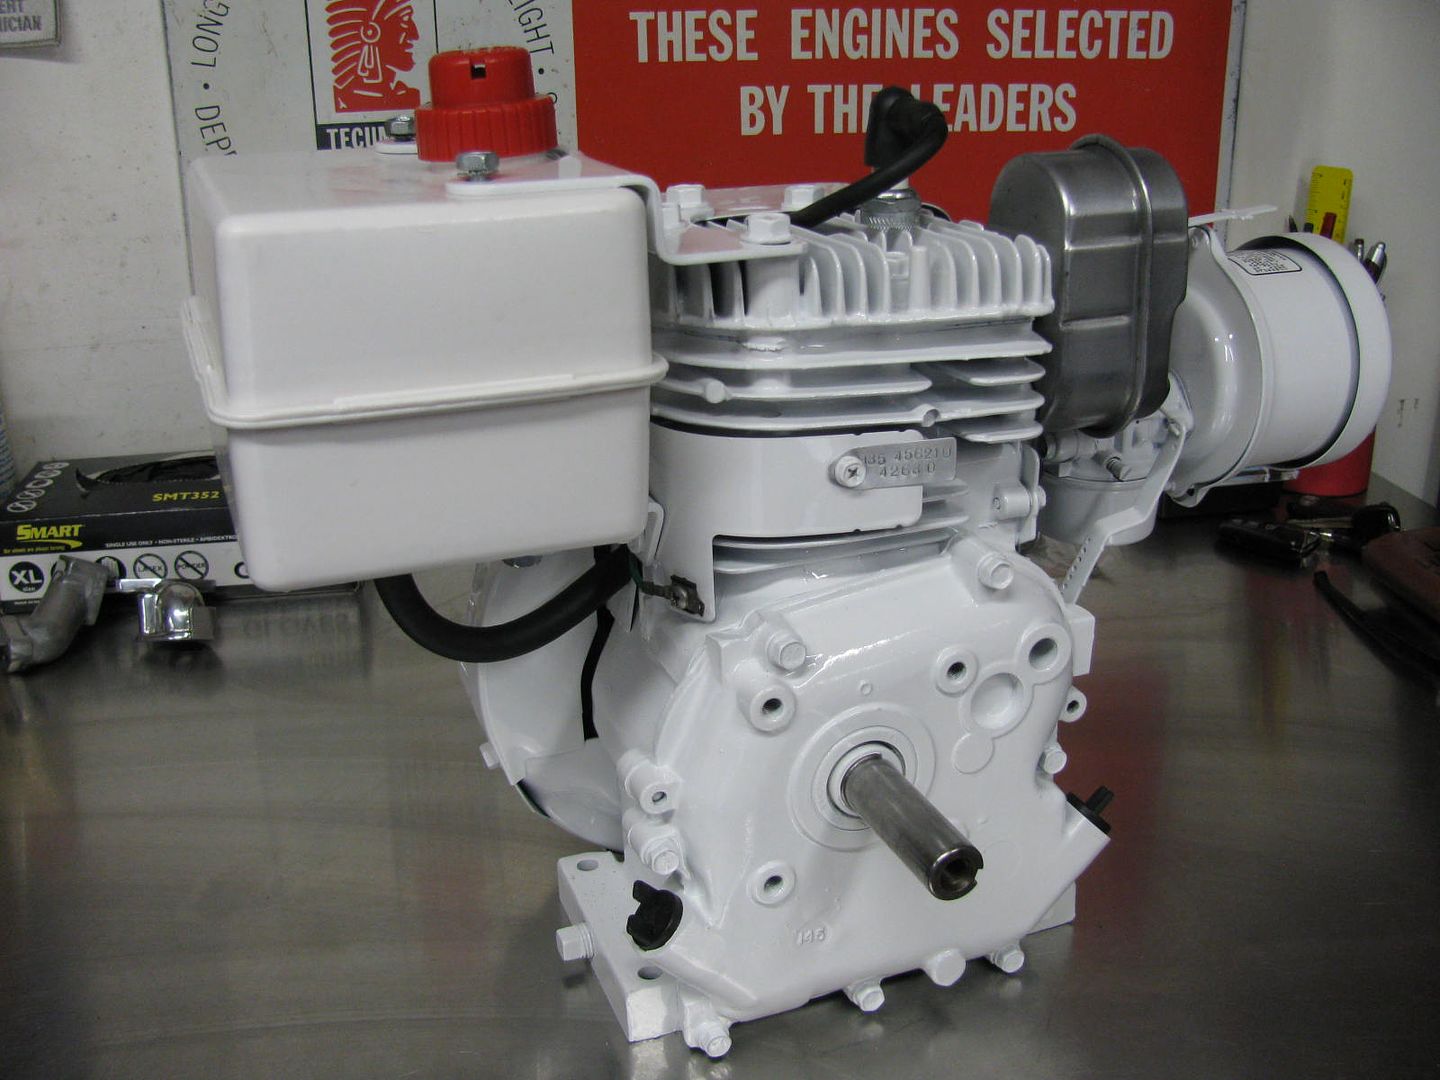
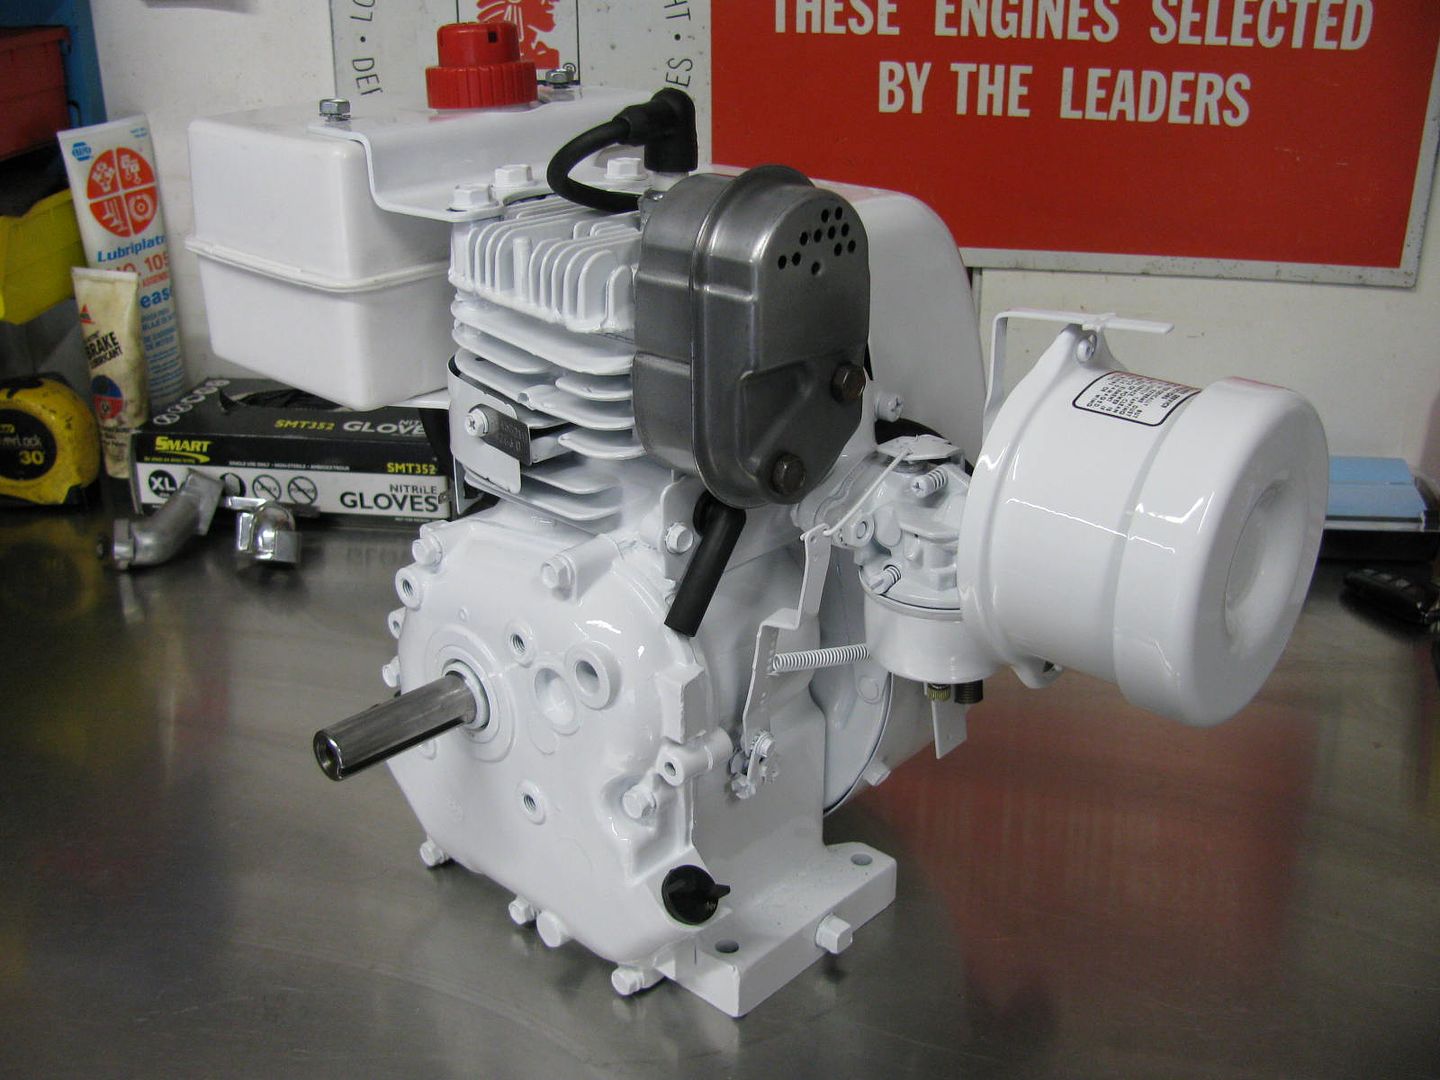
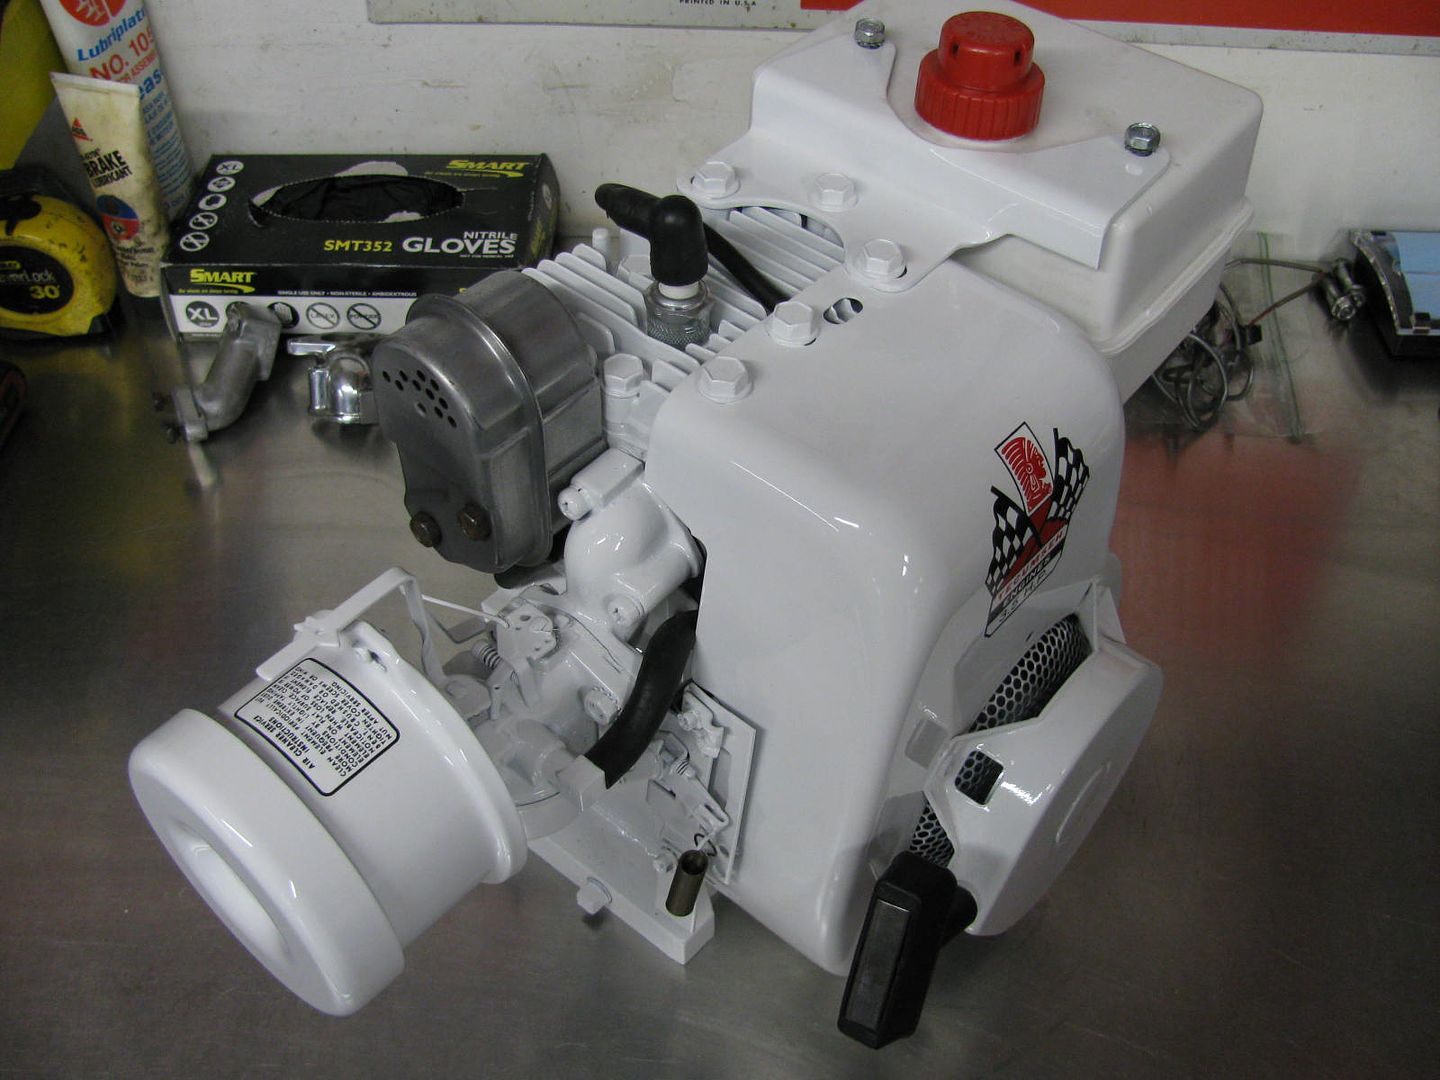
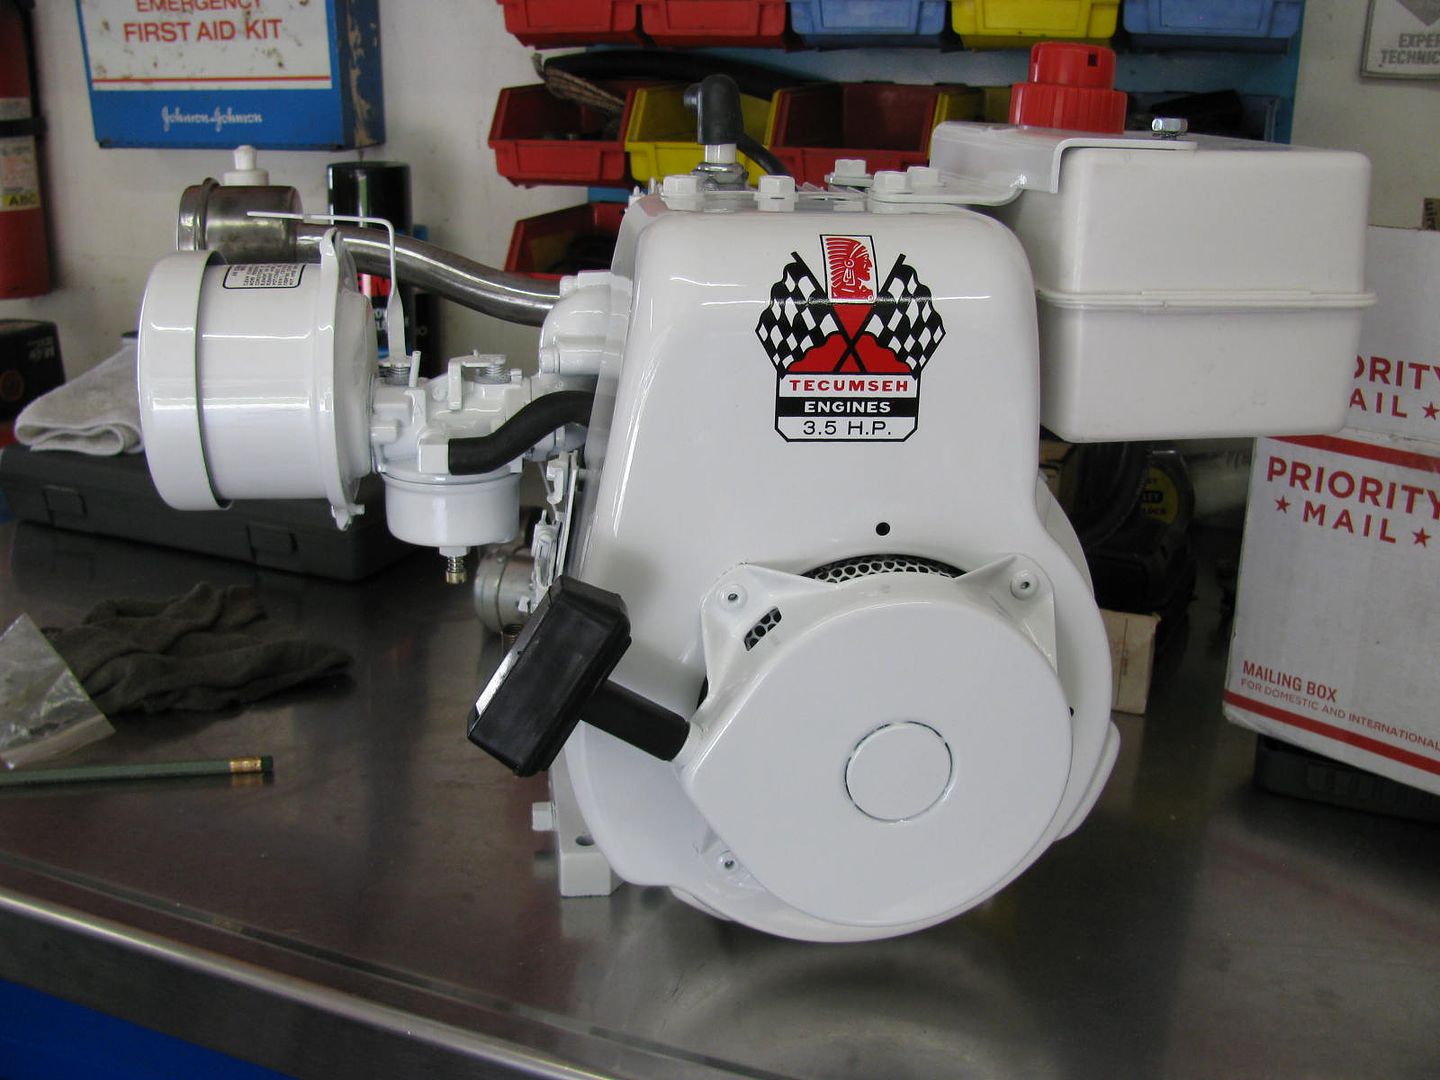
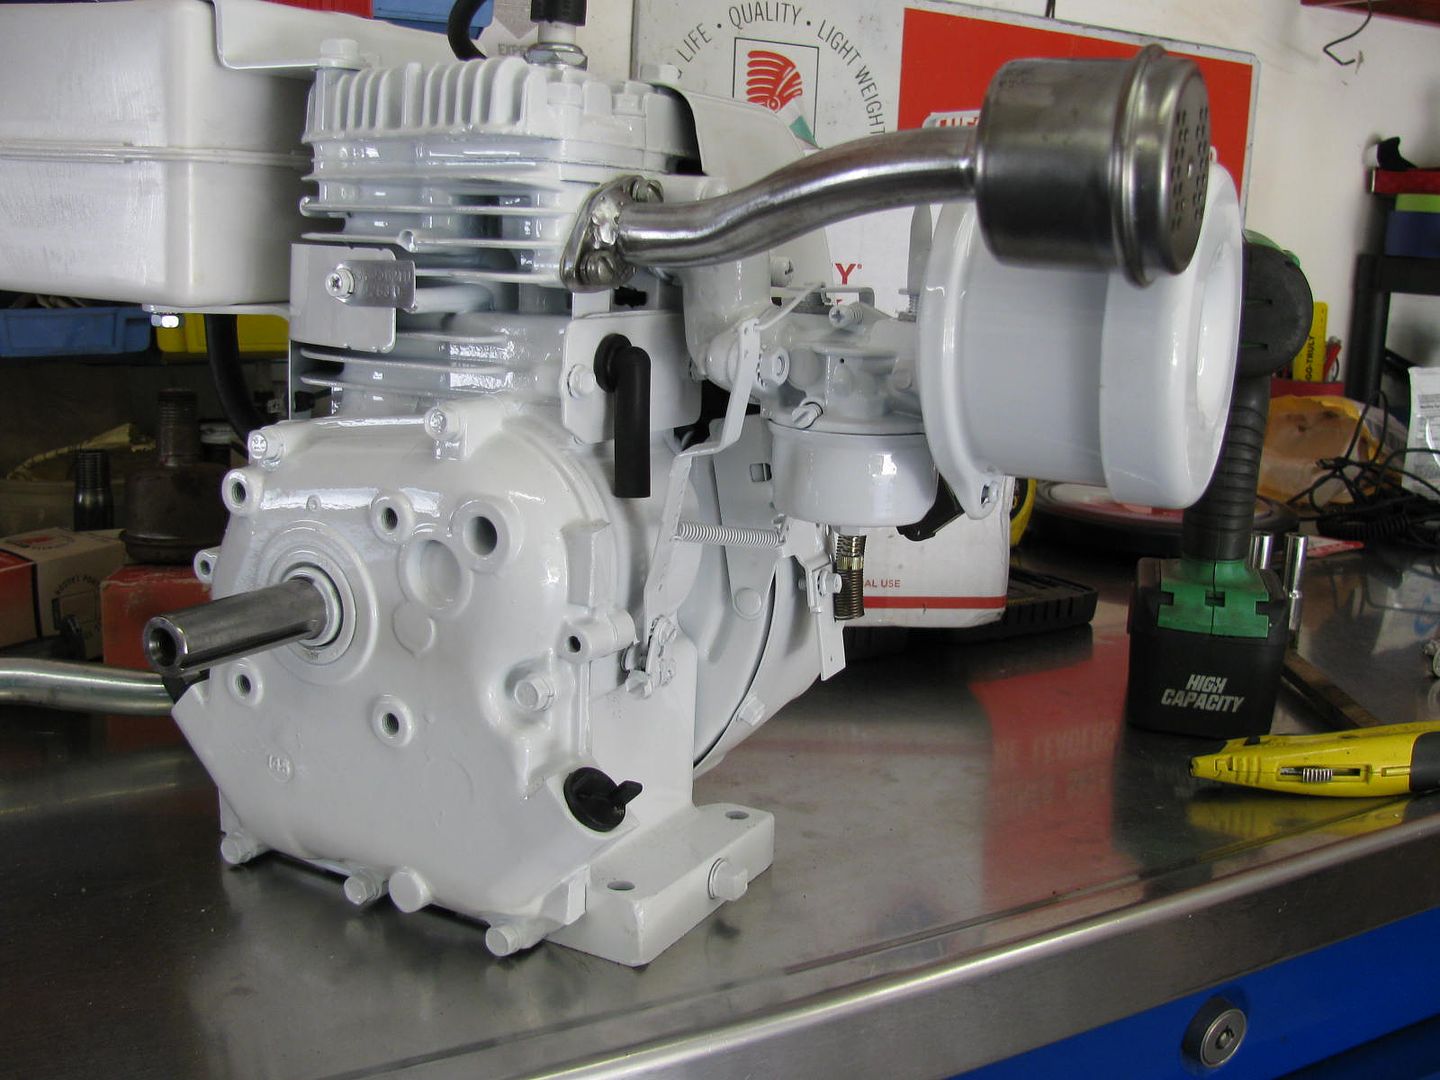
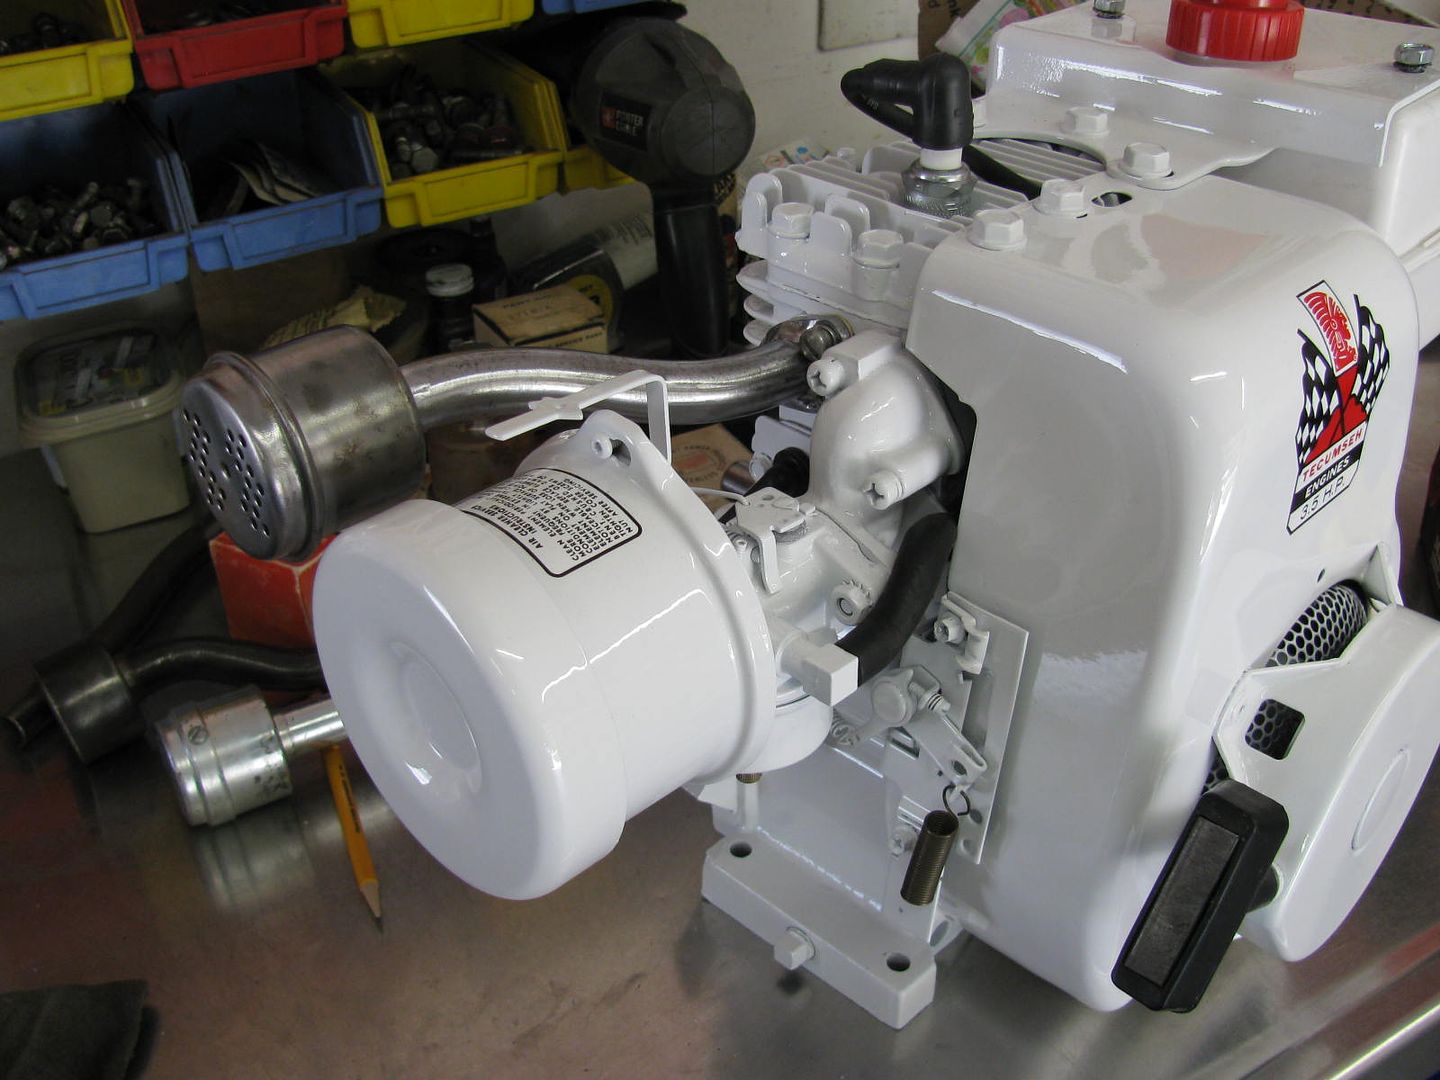
Yesterday I mixed up the paint and got it sprayed out, installed the waterslide decals early this morning, peeled the tape off the things I didn't want painted and installed the fuel line, tank, muff etc., came out pretty clean...


its kinda a mix between new and old style, The 1994 bock is slightly rough cast as they were bare block from the factory, not as course as the later models thankfully though. It took paint pretty well. I decided I wanted to leave the wires, rubber parts, and things like that unpainted to sort of break it up a little.

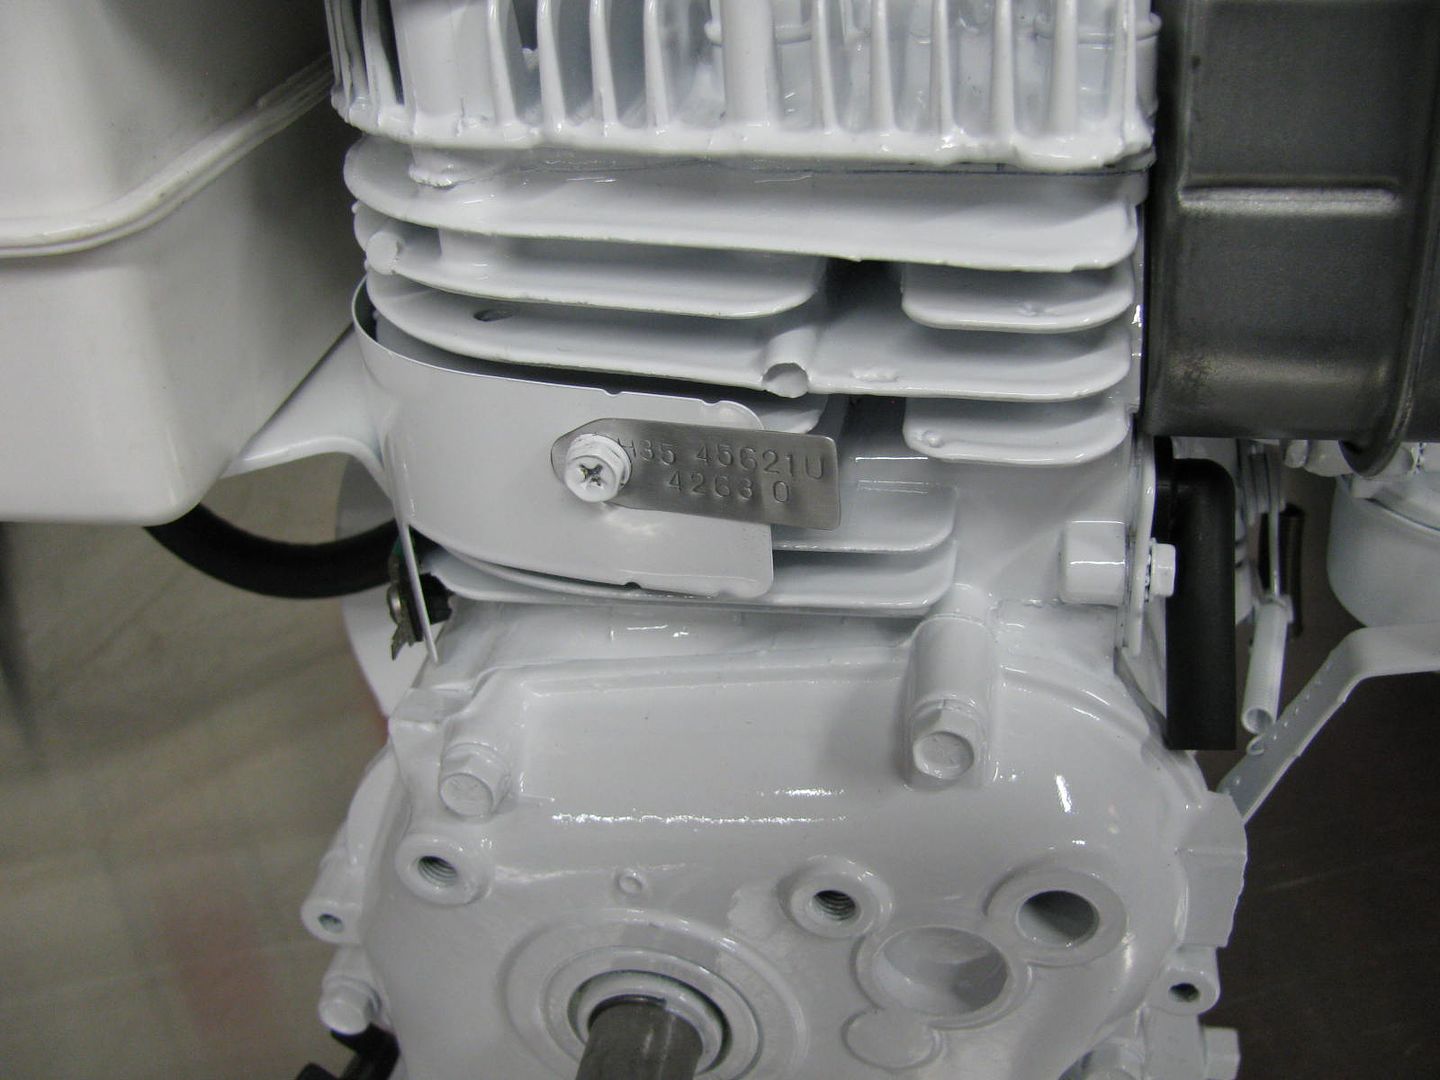
Since the 1994 was actually a decal ID tag, and the shroud I used was from a 1987 Sears, I filled those numbers in on the shroud. I also made a tag reminiscent of the First series HS50's and used the actual numbers from the 1994 (kinda works out since the serial number is a 4 which at first glance will give the 1974 appearance which was right around the shroud transition time for these engines)


markus

Well-Known Member
#10
Wow, Markus...that's beautiful. First I'd seen the valve caps. I don't remember any of the TECs we had in the shop having those back when I was teaching.
Thanks! Yea I was checking some part numbers this morning again trying to get some parts ordered and They were in all the earlier H and HS engines that I checked numbers on. Maybe they just deleted them out in the last gen engines as a cost cutting measure or something to that nature. I have an H35 that specked out just about the same as this one other than being side exhaust (large journal crank and equal size valves) that I am doing something a little off the wall with and it specs out as still having them. that is right about the time the external coils were starting to show up in use. Mine was a points engine but it has the lugs for external coil too.

I dont like them not being there, Briggs didnt seem to use them at least in the smaller engines, I have found the springs all cockeyed in them when tearing them down :doah:
 
#11
Yesterday I mixed up the paint and got it sprayed out, installed the waterslide decals early this morning, peeled the tape off the things I didn't want painted and installed the fuel line, tank, muff etc., came out pretty clean...


its kinda a mix between new and old style, The 1994 bock is slightly rough cast as they were bare block from the factory, not as course as the later models thankfully though. It took paint pretty well. I decided I wanted to leave the wires, rubber parts, and things like that unpainted to sort of break it up a little.

Since the 1994 was actually a decal ID tag, and the shroud I used was from a 1987 Sears, I filled those numbers in on the shroud. I also made a tag reminiscent of the First series HS50's and used the actual numbers from the 1994 (kinda works out since the serial number is a 4 which at first glance will give the 1974 appearance which was right around the shroud transition time for these engines)


Looks awesome :bowdown:
 

markus

Well-Known Member
#15
Thanks :thumbsup:

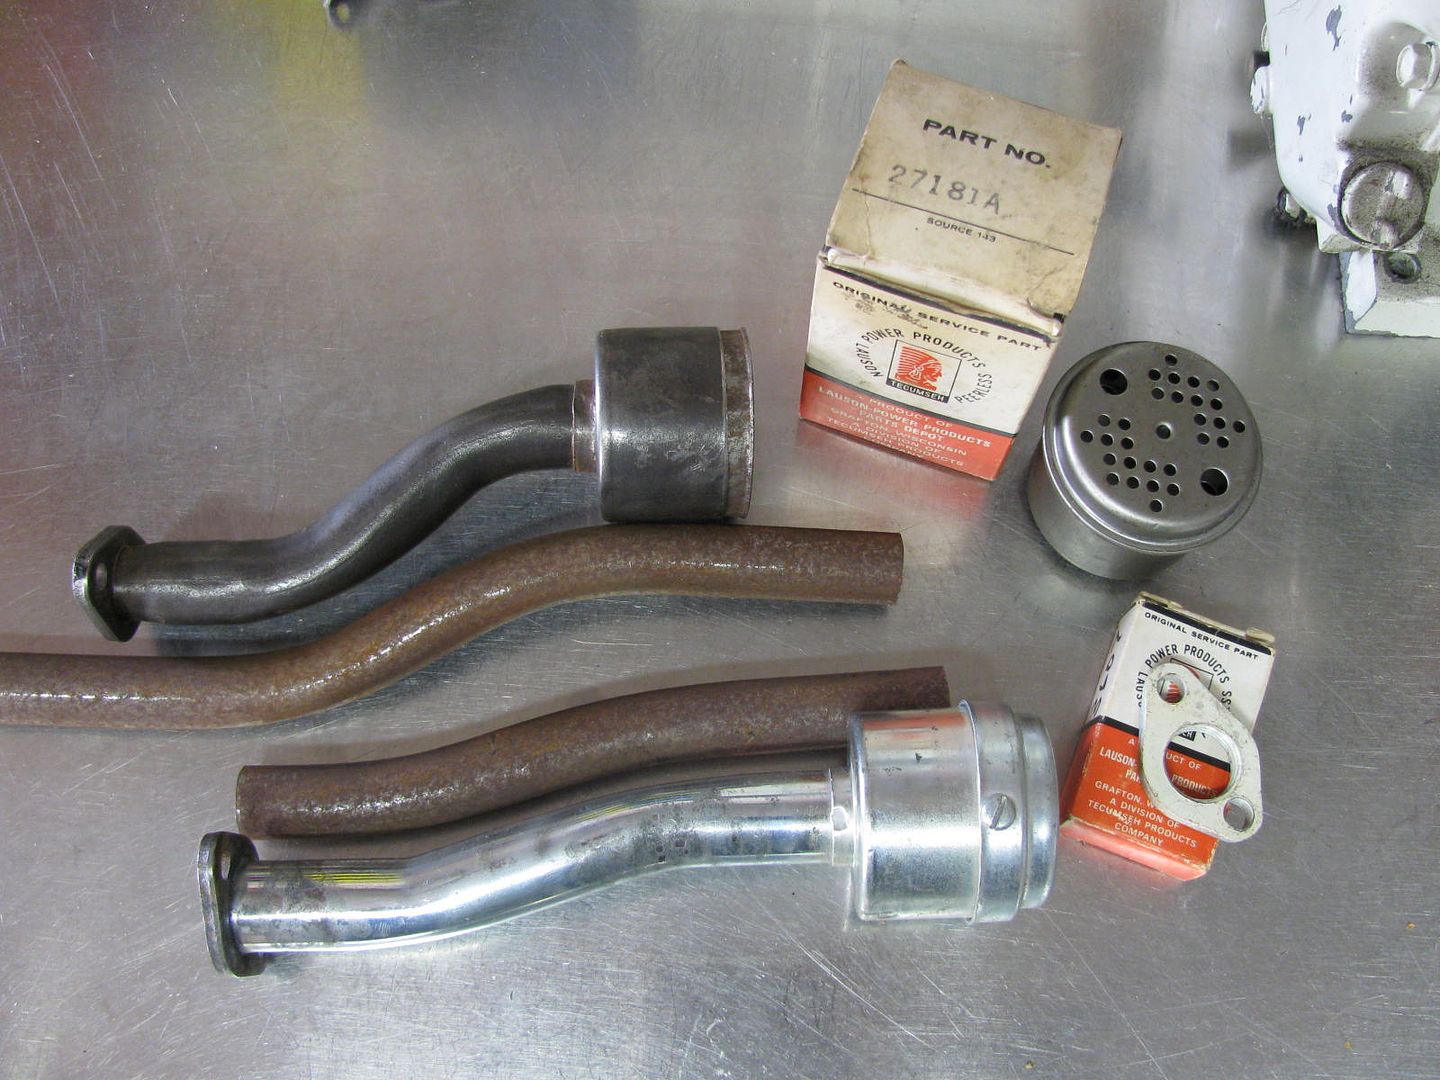
Next I am going to make an attempt at replicating the dog leg muffs for the H35's. My bending capabilities are VERY limited, I can get the tight fit version pretty easy (the chromish looking one in the pic) but you are limited to running the stock air cleaner low/ or possibly use the offset clocked base to get it off to the right. The more standard 33194 (top in pic) I am coming close but that is about at tight as I can get my bend with what I am using so it may end up looking a little different.


That flange in the pic is an exhaust adapter that Tecumseh sold, I found and bought it to have a good pattern to have. I just ordered some of the can muffs that Tecumseh used on their version, which I will have to modify/remove the male threads on it so I can weld it to the header. If that don't work out, I can use one of the muffs I have in the pic, and just weld another flange on the other end of the header for it to bolt to.
 
Last edited:

markus

Well-Known Member
#16
Thanks :thumbsup:

Next I am going to make an attempt at replicating the dog leg muffs for the H35's. My bending capabilities are VERY limited, I can get the tight fit version pretty easy (the chromish looking one in the pic) but you are limited to running the stock air cleaner low/ or possibly use the offset clocked base to get it off to the right. The more standard 33194 (top in pic) I am coming close but that is about at tight as I can get my bend with what I am using so it may end up looking a little different.


That flange in the pic is an exhaust adapter that Tecumseh sold, I found and bought it to have a good pattern to have. I just ordered some of the can muffs that Tecumseh used on their version, which I will have to modify/remove the male threads on it so I can weld it to the header. If that don't work out, I can use one of the muffs I have in the pic, and just weld another flange on the other end of the header for it to bolt to.
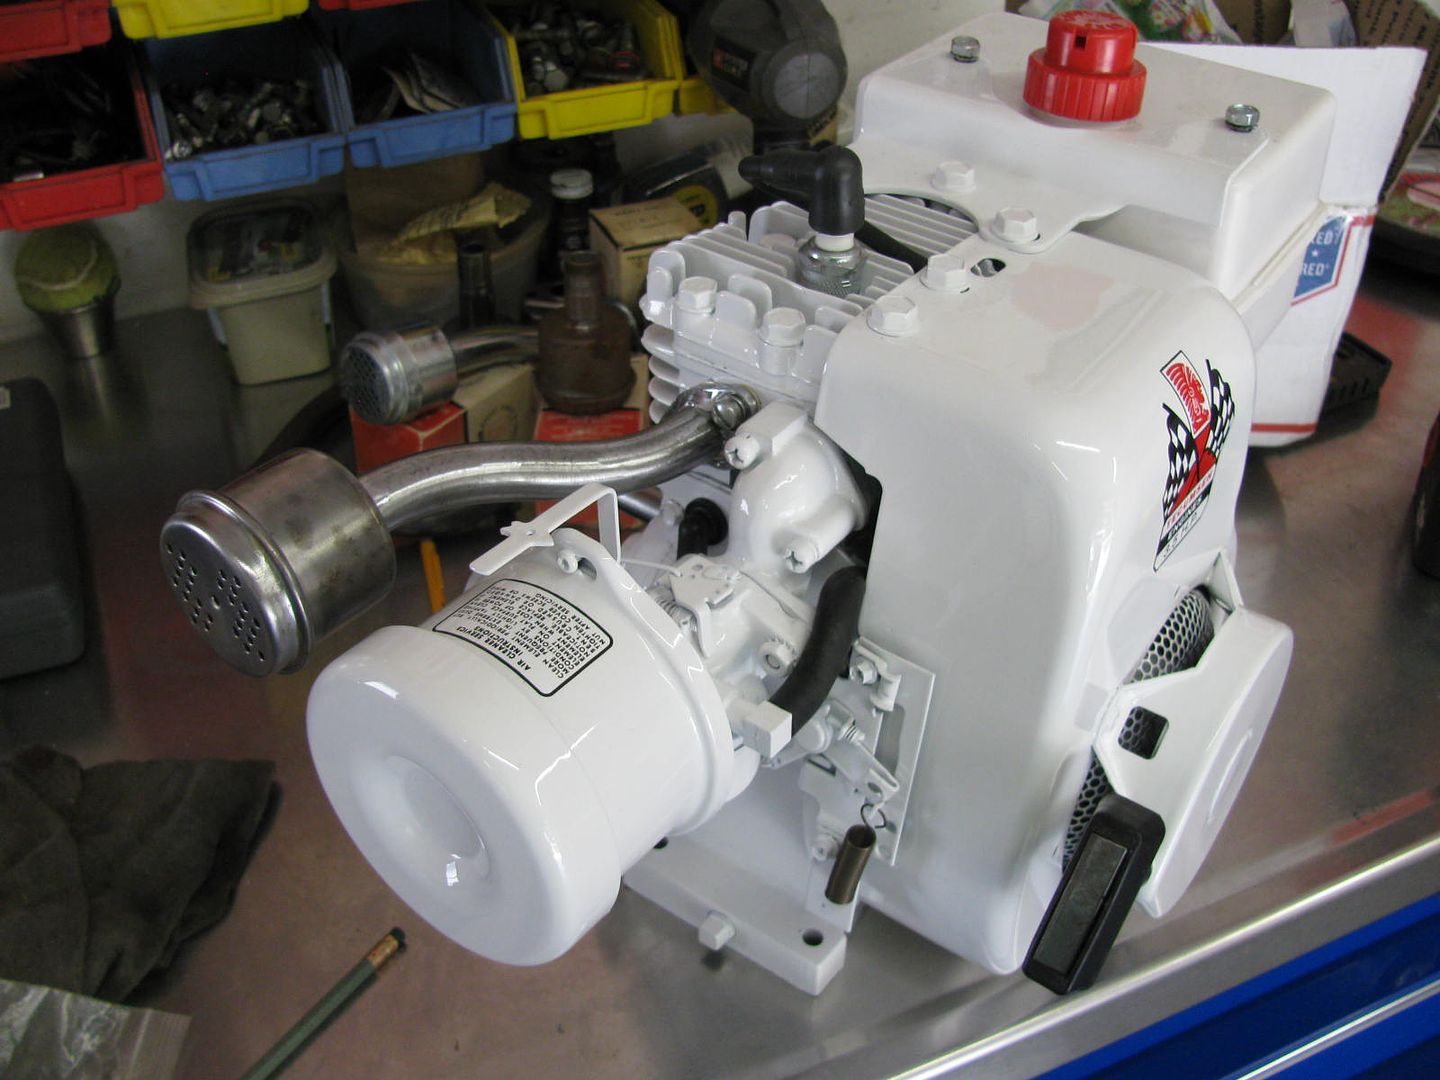
Well, didn't come out too terrible for homemade :shrug:


was still able to keep the air cleaner up high mount but kept the muff can pretty low and as tight to the air cleaner as I could, so hopefully it will work on various applications.


will make a few adjustments for the next ones, but it was not too bad to do. Making the flange took some time but I wanted to see if it looked halfway decent before I have a stack of the flanges cut! Gotta get this one in the blast cabinet, prepped and painted up and it will be ready to go :thumbsup:
 

markus

Well-Known Member
#19
I don't know anything about it, but I found this while reading some old threads

http://www.oldminibikes.com/forum/tecumseh/94732-hs40-valve-upper-cap.html
While the reason sounds good, I found that not to be true in the H35. the guides were still in the same spots old versus new version. In the HS50's, the exhaust guide protrudes so low due to increased port size they actually used a different cap with an increased center hole to clear the guide vs not using a cap at all so I dunno if I can get behind that explanation though.
 

markus

Well-Known Member
#20
Got a chance to run my header today, sounds pretty good, those mufflers are actually a little more restrictive than the old Taylor spark arrestors and the Tecumseh made ones even, so its probably not a performance gain by any means but came out looking pretty close to the original and is pretty quiet and and should not shoot flames at least.

https://www.youtube.com/watch?v=NEKe2cOqcHs
 
Top