Anybody have any Jackshaft installation tips and tricks

#1
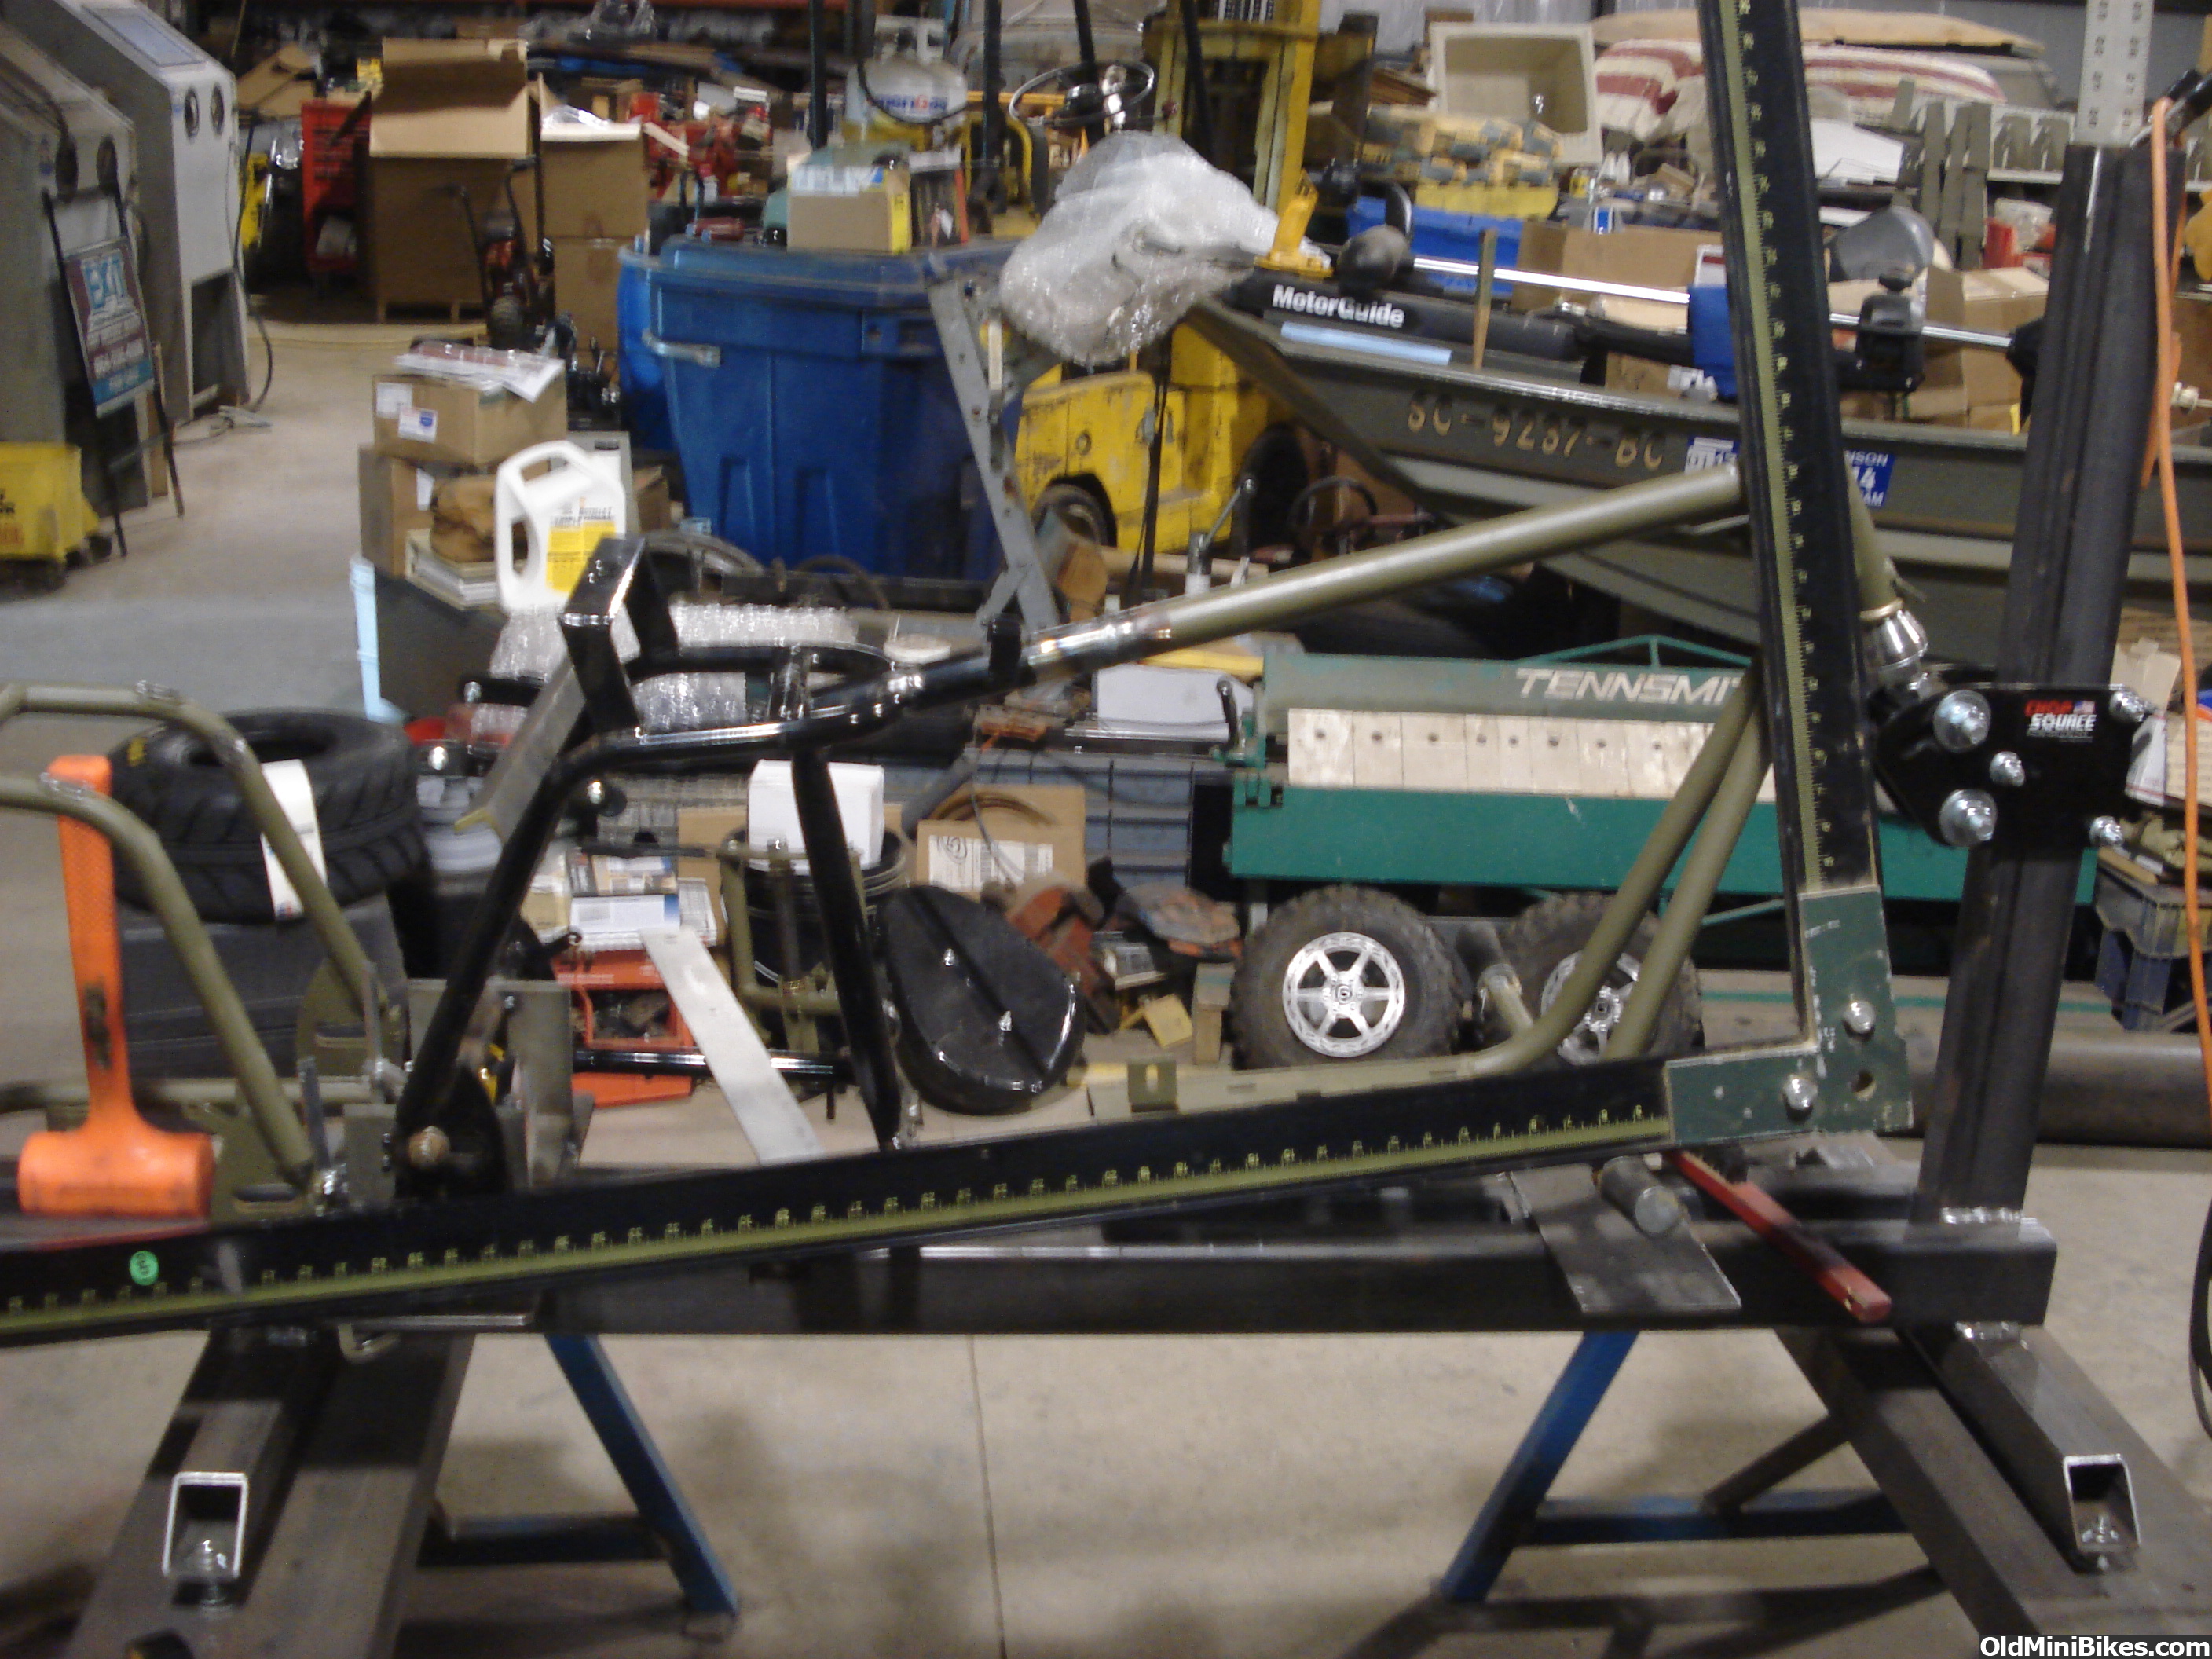
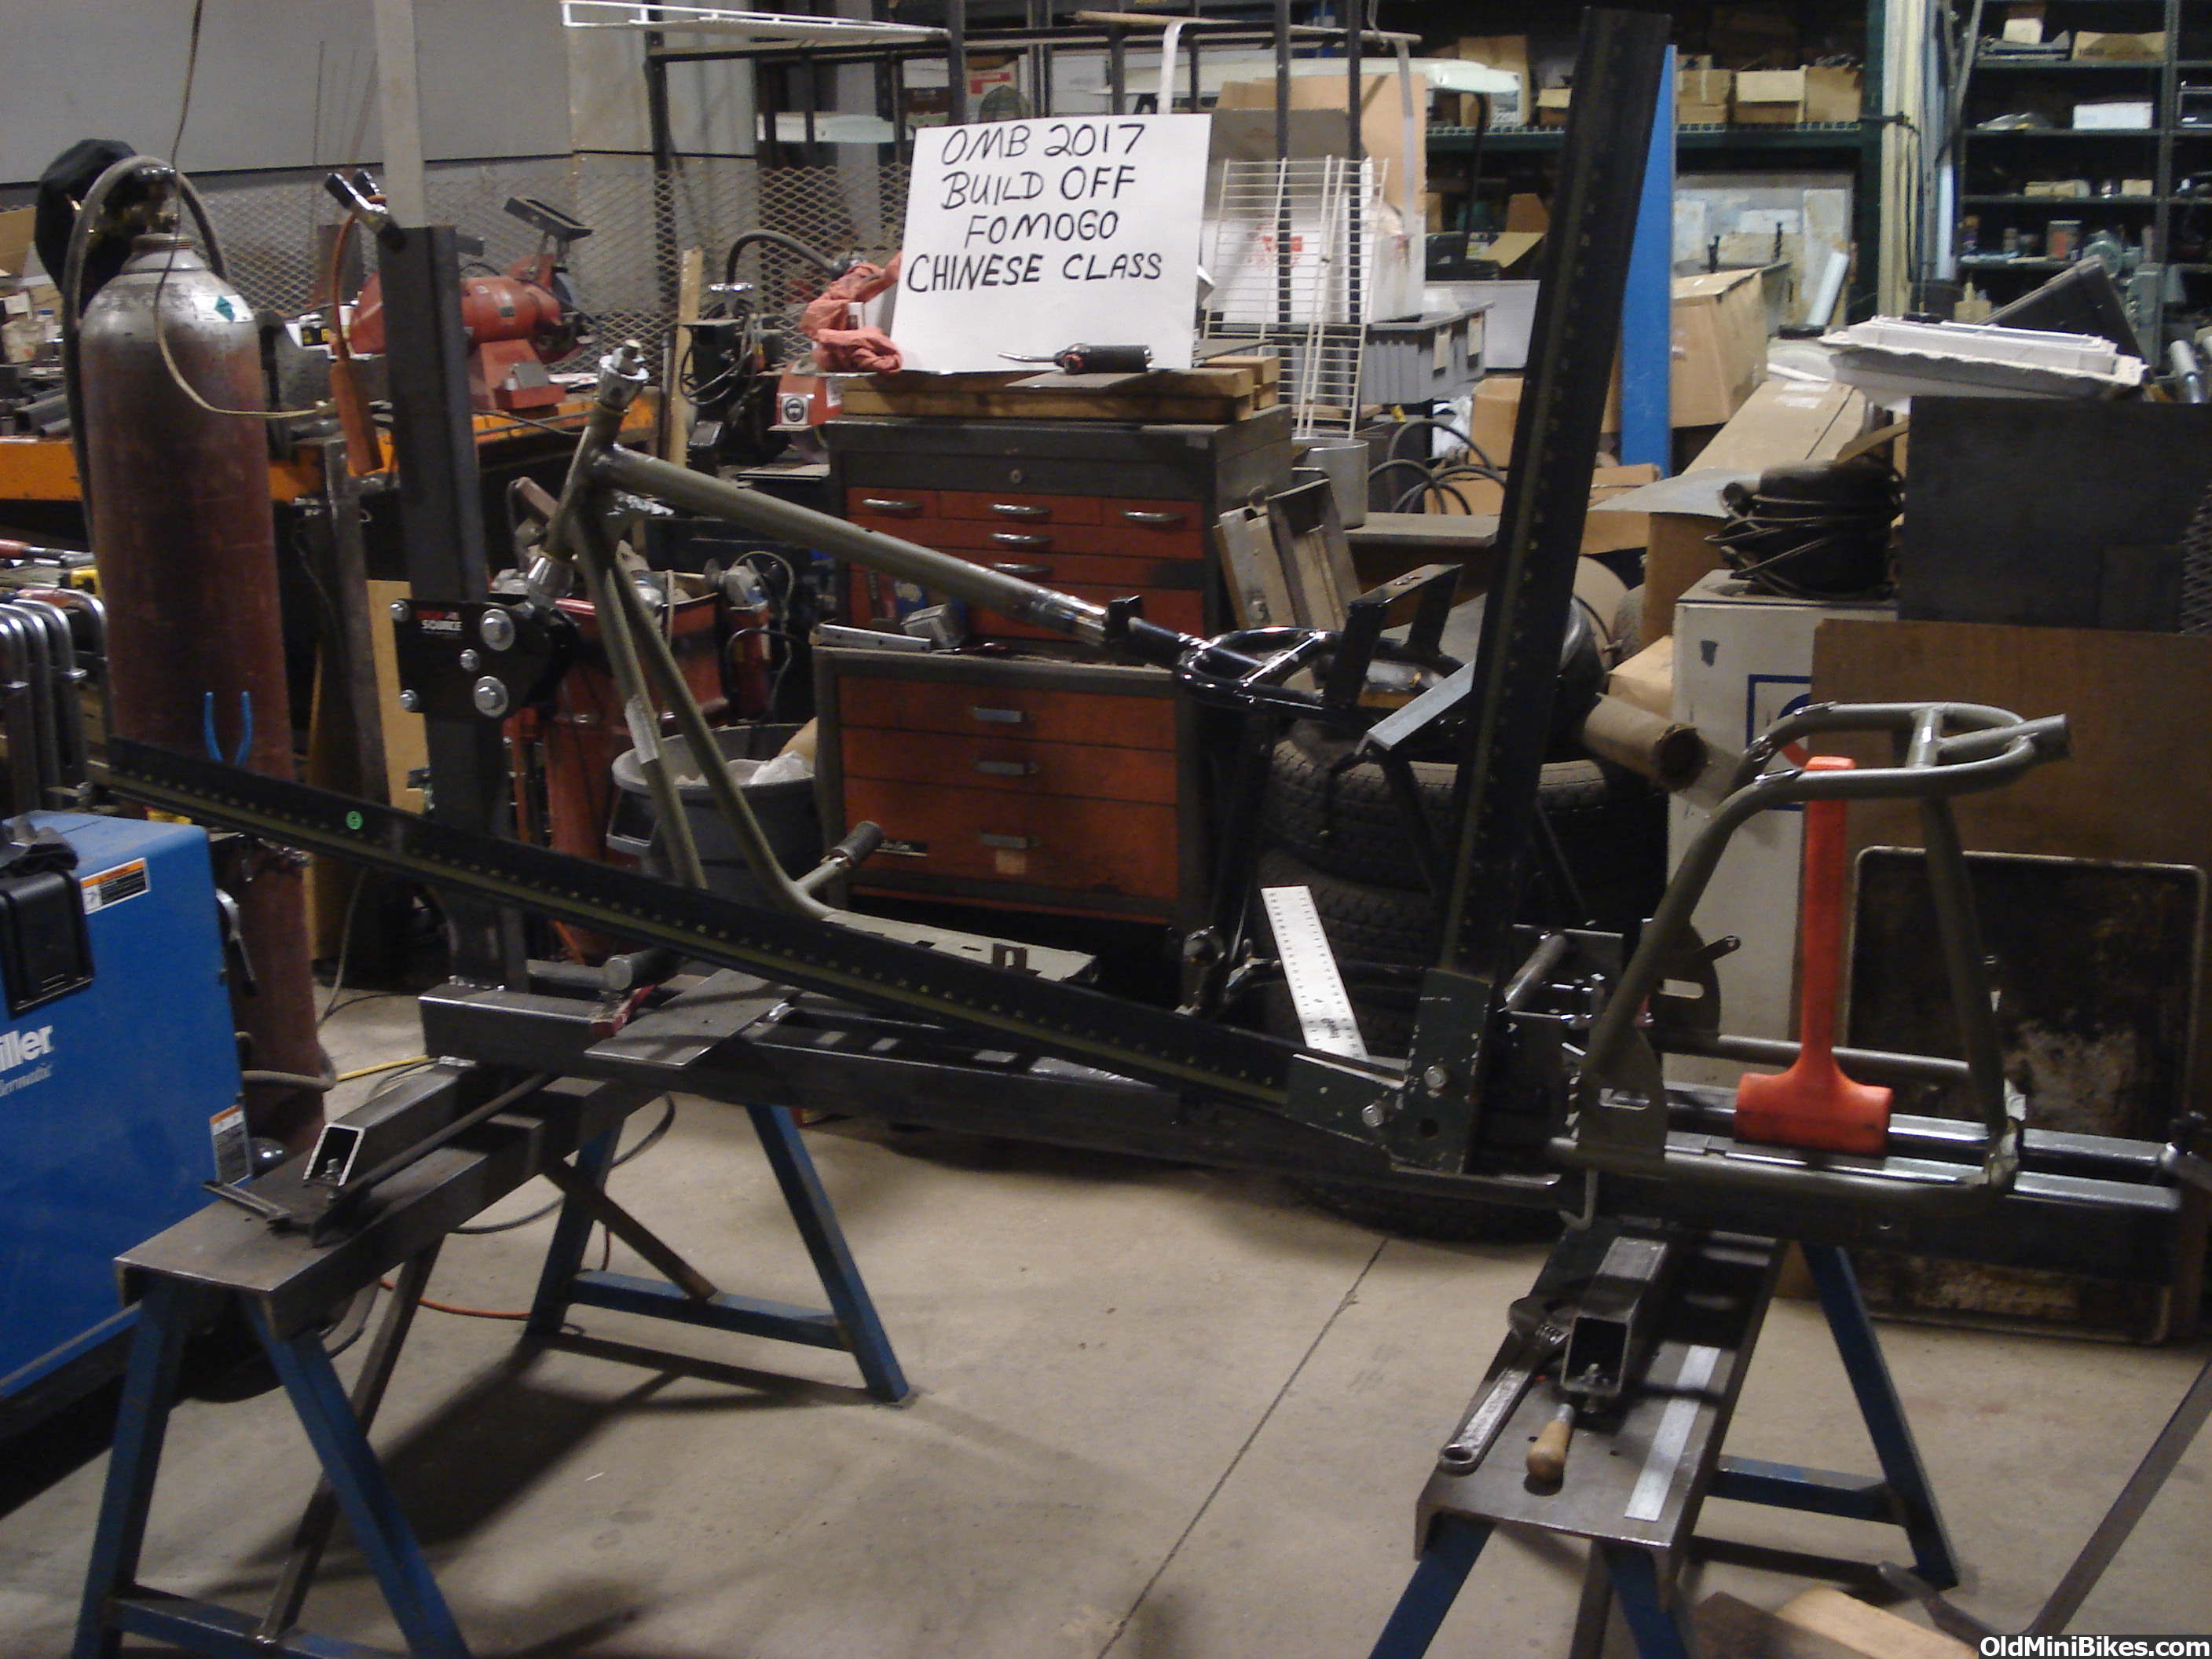
I am getting to the point that I need to purchase and install a jackshaft on my Build Off bike. It is a Baja Warrior that Is stretched and has a 420cc Predator going in it. I have a 40 series TC for it and I will need a 3/4 jackshaft.

Do you have any tricks for squaring up all the pieces? Engine, jackshaft and axle? Any advice on what to make sure that I do and don't do?

It should be pretty straight forward but I would like to only do this once. I have messed with a few Go Karts over the years but I have never had anything that had a jackshaft so this is all totally new to me.

Thanks for any and all advice! :thumbsup:

Doug
 
#3
Dunno if help you..probably that fat engine is not allowing chain alignment from tav to rear sprocket ..what about a pillow bearing block with sprockets on either side to align..
 
Last edited:
#4
Doug, why use a jackshaft and a TAV? Is there some alignment issue? Can you mount the motor where the gears are aligned?
Eric, I have a Predator 420 and a 40 series TC for this bike and it does not use a back plate. So the plan is to mount the driven on the end of the jackshaft. I would like to center up the motor as much as possible so that it is comfortable to ride. I am not to worried about chain alignment as I can flip the wheel and run it that way if I have to. What I am hoping to do is run a short jackshaft with the driven on the outside and then a sprocket on the inside of the mount so that I can run the chain down the left side like it came.

I am open on this as I just ordered the JS from OldMiniBikes today and have not test fit anything except setting the motor in the frame and holding the driven up behind it to see what it would look like.

Thoughts????

Thanks,

Doug
 
Last edited:
#5
I would be hesitant to use a "short" jack shaft. The distance between the driven and the sprocket may not be much, but I would make the distance between the bearings on the shaft, far apart as I could to take the load better. It would also be easier to get it straight and square.
 
#7
Have to agree with Pap and Firepowerminis on spreading out the load. Especially with that much engine. On the Powells, the earlier versions with a BS 5 FH used a short shaft and bearing arrangement for the belt driven and the chain sprocket. However the later models had the shaft quite a bit longer, going through both frame supports. Nine inches in length on 1/2" bolt for the JS.

Simply weld in a frame fitment on the other side to accept a bearing and the other end of the JS. As far as alignment, well Doug, you've got it on a jig, so you're ahead of where I've ever been on aligning the JS and rear wheel axle for true. :thumbsup:

What has always saved my bacon, is to incorporate easy removal of JS and componets- cut in a C clip groove on the shaft for instance and forego allen set screws. This allows some "wobble" room, and prevents the allens from marring the shaft, making it difficult to slide out of the bearings without sandpaper each time. The other aspect that has saved my butt is having fore and aft adjustment. You will always have the side-to-side because of the JS.

The final test for me is to install the chain and spin everything by hand. Listen to the chain, and watch how and where it seats on the sprocket. The chain never lies, provided the engine plate is stout. I know, low tech stuff, LOL. You got this.
 
#8
The advice you gotten above from Pap, Firepower and Dave is excellent. Take a look at this thread: http://www.oldminibikes.com/forum/projects-and-rides/102647-gilson-restomod.html

Adam did an excellent job describing what he did to make the plates for his jackshaft (and I used his descriptors for my Gilson build). Gilsons have a mounting tab on either side of the frame and a separate plate. Adam shows this and would help you visualize what Dave was suggesting above.
 
#9
I would be hesitant to use a "short" jack shaft. The distance between the driven and the sprocket may not be much, but I would make the distance between the bearings on the shaft, far apart as I could to take the load better. It would also be easier to get it straight and square.
I agree and by short I was referring to the fact that the assembly would be stacked with the driven, then the JS bearing and then the gear with another bearing on the other side of the frame. I didn't make myself clear. But thank you for pointing it out just incase I was going to do it the way it sounds. Because it does sound bad..... As in fail on the first ride.

You can still spread the bearings out as wide as possible, even with driven and sprocket both cantilevered beyond left bearing.
That is my original intent.

Have to agree with Pap and Firepowerminis on spreading out the load. Especially with that much engine. On the Powells, the earlier versions with a BS 5 FH used a short shaft and bearing arrangement for the belt driven and the chain sprocket. However the later models had the shaft quite a bit longer, going through both frame supports. Nine inches in length on 1/2" bolt for the JS.

Simply weld in a frame fitment on the other side to accept a bearing and the other end of the JS. As far as alignment, well Doug, you've got it on a jig, so you're ahead of where I've ever been on aligning the JS and rear wheel axle for true. :thumbsup:

What has always saved my bacon, is to incorporate easy removal of JS and componets- cut in a C clip groove on the shaft for instance and forego allen set screws. This allows some "wobble" room, and prevents the allens from marring the shaft, making it difficult to slide out of the bearings without sandpaper each time. The other aspect that has saved my butt is having fore and aft adjustment. You will always have the side-to-side because of the JS.

The final test for me is to install the chain and spin everything by hand. Listen to the chain, and watch how and where it seats on the sprocket. The chain never lies, provided the engine plate is stout. I know, low tech stuff, LOL. You got this.
Thank you Dave. I like the C-clip deal. That could save a lot of headaches... And you make a good point with the fact that the chain never lies..... And the engine plate is 1/4 inch..... Stouter than the bike its self...

The advice you gotten above from Pap, Firepower and Dave is excellent. Take a look at this thread: http://www.oldminibikes.com/forum/projects-and-rides/102647-gilson-restomod.html

Adam did an excellent job describing what he did to make the plates for his jackshaft (and I used his descriptors for my Gilson build). Gilsons have a mounting tab on either side of the frame and a separate plate. Adam shows this and would help you visualize what Dave was suggesting above.
Thanks for the link. I will read it and study what I need to do. While I wait on my OldMiniBikes delivery of my new JS... :thumbsup:

The bike has an adjustable axle so I am thinking that if I get the axle all the way to the front or rear end of the slot and work square to that I should be square to the bike. I hope to bolt the engine down with just 4 holes if I can get my centerline distance correct for the belt length, which I haven't bought yet. I figure at the worst I can slot the engine bolt holes for a little fudge factor. I am hoping and intending to weld the JS brackets solid without another adjustment point.

Just waiting on parts...


Thanks guys for taking the time to reply. :thumbsup:

Doug
 
#10
:shrug:I only have 1 bike with a jackshaft and my setup likely won't be of much help to you I'm afraid. I use a JR dragster style jackshaft plate with a Polar clutch. The Polars need to have a certain offset for the driven and also certain spacing for the belt. I used a straight piece of square stock on both sides, the belt side and the sprocket side, to align everything. Like was said, chain doesn't lie and I was able to get it very smooth and straight.
Here is a pic of my setup

 
#11
(I was writing as Massacre was posting--he's showing essentially what I'm describing below)

You can also square the jackshaft mounts to your engine plate engine mounting holes (or the mounted engine) using a framing square to locate the mounts and axle parallel to the rear of the engine/mounting holes.

Just a note on the belt selection--when you get your centerline distances set, select the belt based on minimum-to-mid distance and not mid-to-maximum center line distance. In other words, the shorter of the two belts that should fit (the belt sizes should overlap in your application). The belts have very little stretch to them, if any.

I ordered the mid-to-maximum CL distance belt and found it to be too large and I ran out of forward adjustment room. The next smaller belt gave me all the travel I needed to make adjustments and set the proper tension.
 
Last edited:
#12
(I was writing as Massacre was posting--he's showing essentially what I'm describing below)

You can also square the jackshaft mounts to your engine plate engine mounting holes (or the mounted engine) using a framing square to locate the mounts and axle parallel to the rear of the engine/mounting holes.

I did try to square up the thing with my framing square but it didn't seem to work very well on either side..... :eek:


And thanks for the heads up on belt sizing. I am sure Iwill post more questions as soon as my OldMiniBikes order arrives and I have the JS in hand...

Doug
 
#13
Otay, take a scrap piece of steel and mount it in the rear engine mount holes (all the way back, flush to end of the slot). Tape measure and string: Set the axle on one side. Measure other side, set it and then triangulate with string--adjust as necessary (just like in the early hot rod days). Once you've got the two square to each other, then you can locate the jackshaft mounts. If you're thinking swing arm, then I'd suggest the mounting plates serve both purposes--jack shaft and swing arm--and then they are guaranteed to be square. You'll see what I mean in Adam's thread.

'Stang is going be super quick with that supercharger!:thumbsup:
 
#16
Well all my OldMiniBikes JS parts arrived today. Now I get to play engineer........ Then act like a mechanic and actually fix it. :thumbsup:

Doug
 
#18
Which kit did you get FoMoGo?
Welll.... I guess it is an OldMiniBikes kit. OldMiniBikes was out of kits....... So they graciously made up 2 kits for me out of the items on the shelf. I ordered a 14 inch shaft as I figure that I can cut it to what ever length I need.

I still have to get the lower rails extended on my Warrior so I can set the motor plate in it and start trying to fit it all together. I should be back on it by Wednesday.

Gotta finish up the Supercharger install on this Mustang tomorrow and then install the PCM Tuesday when UPS brings it back from Roush for the re-flash. Then we will run it up the street and see how bad it really is with the claimed 685 horsepower that the SC makes.

Doug
 
Top