Bird Nighthawk Project

#1
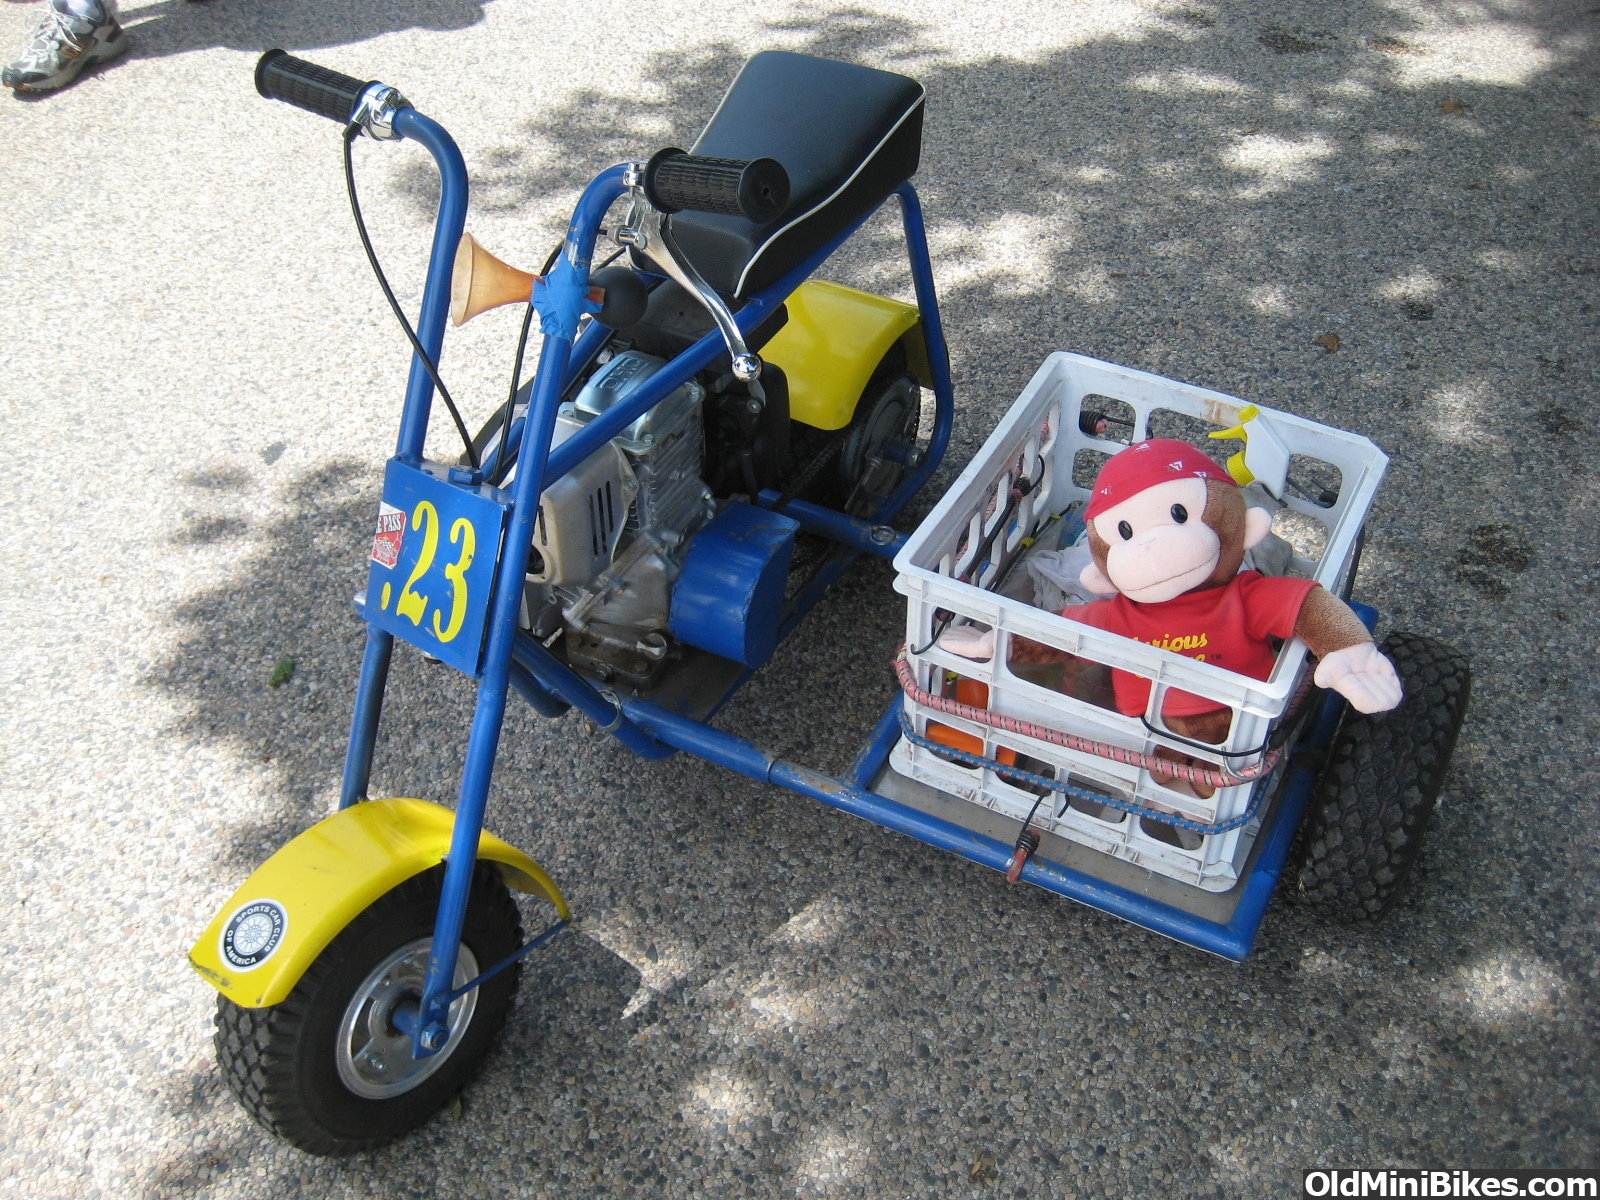
I found this complete Bird Nighthawk (minus fenders and governor linkage) on a local classified in Utah, where I currently live. I wasn't familiar with the model, but thanks to this site, it didn't take long to figure it out.

I regret not taking any "before" pictures before I started to tear it down. My profile Avatar is the only image I have of the bike "before."

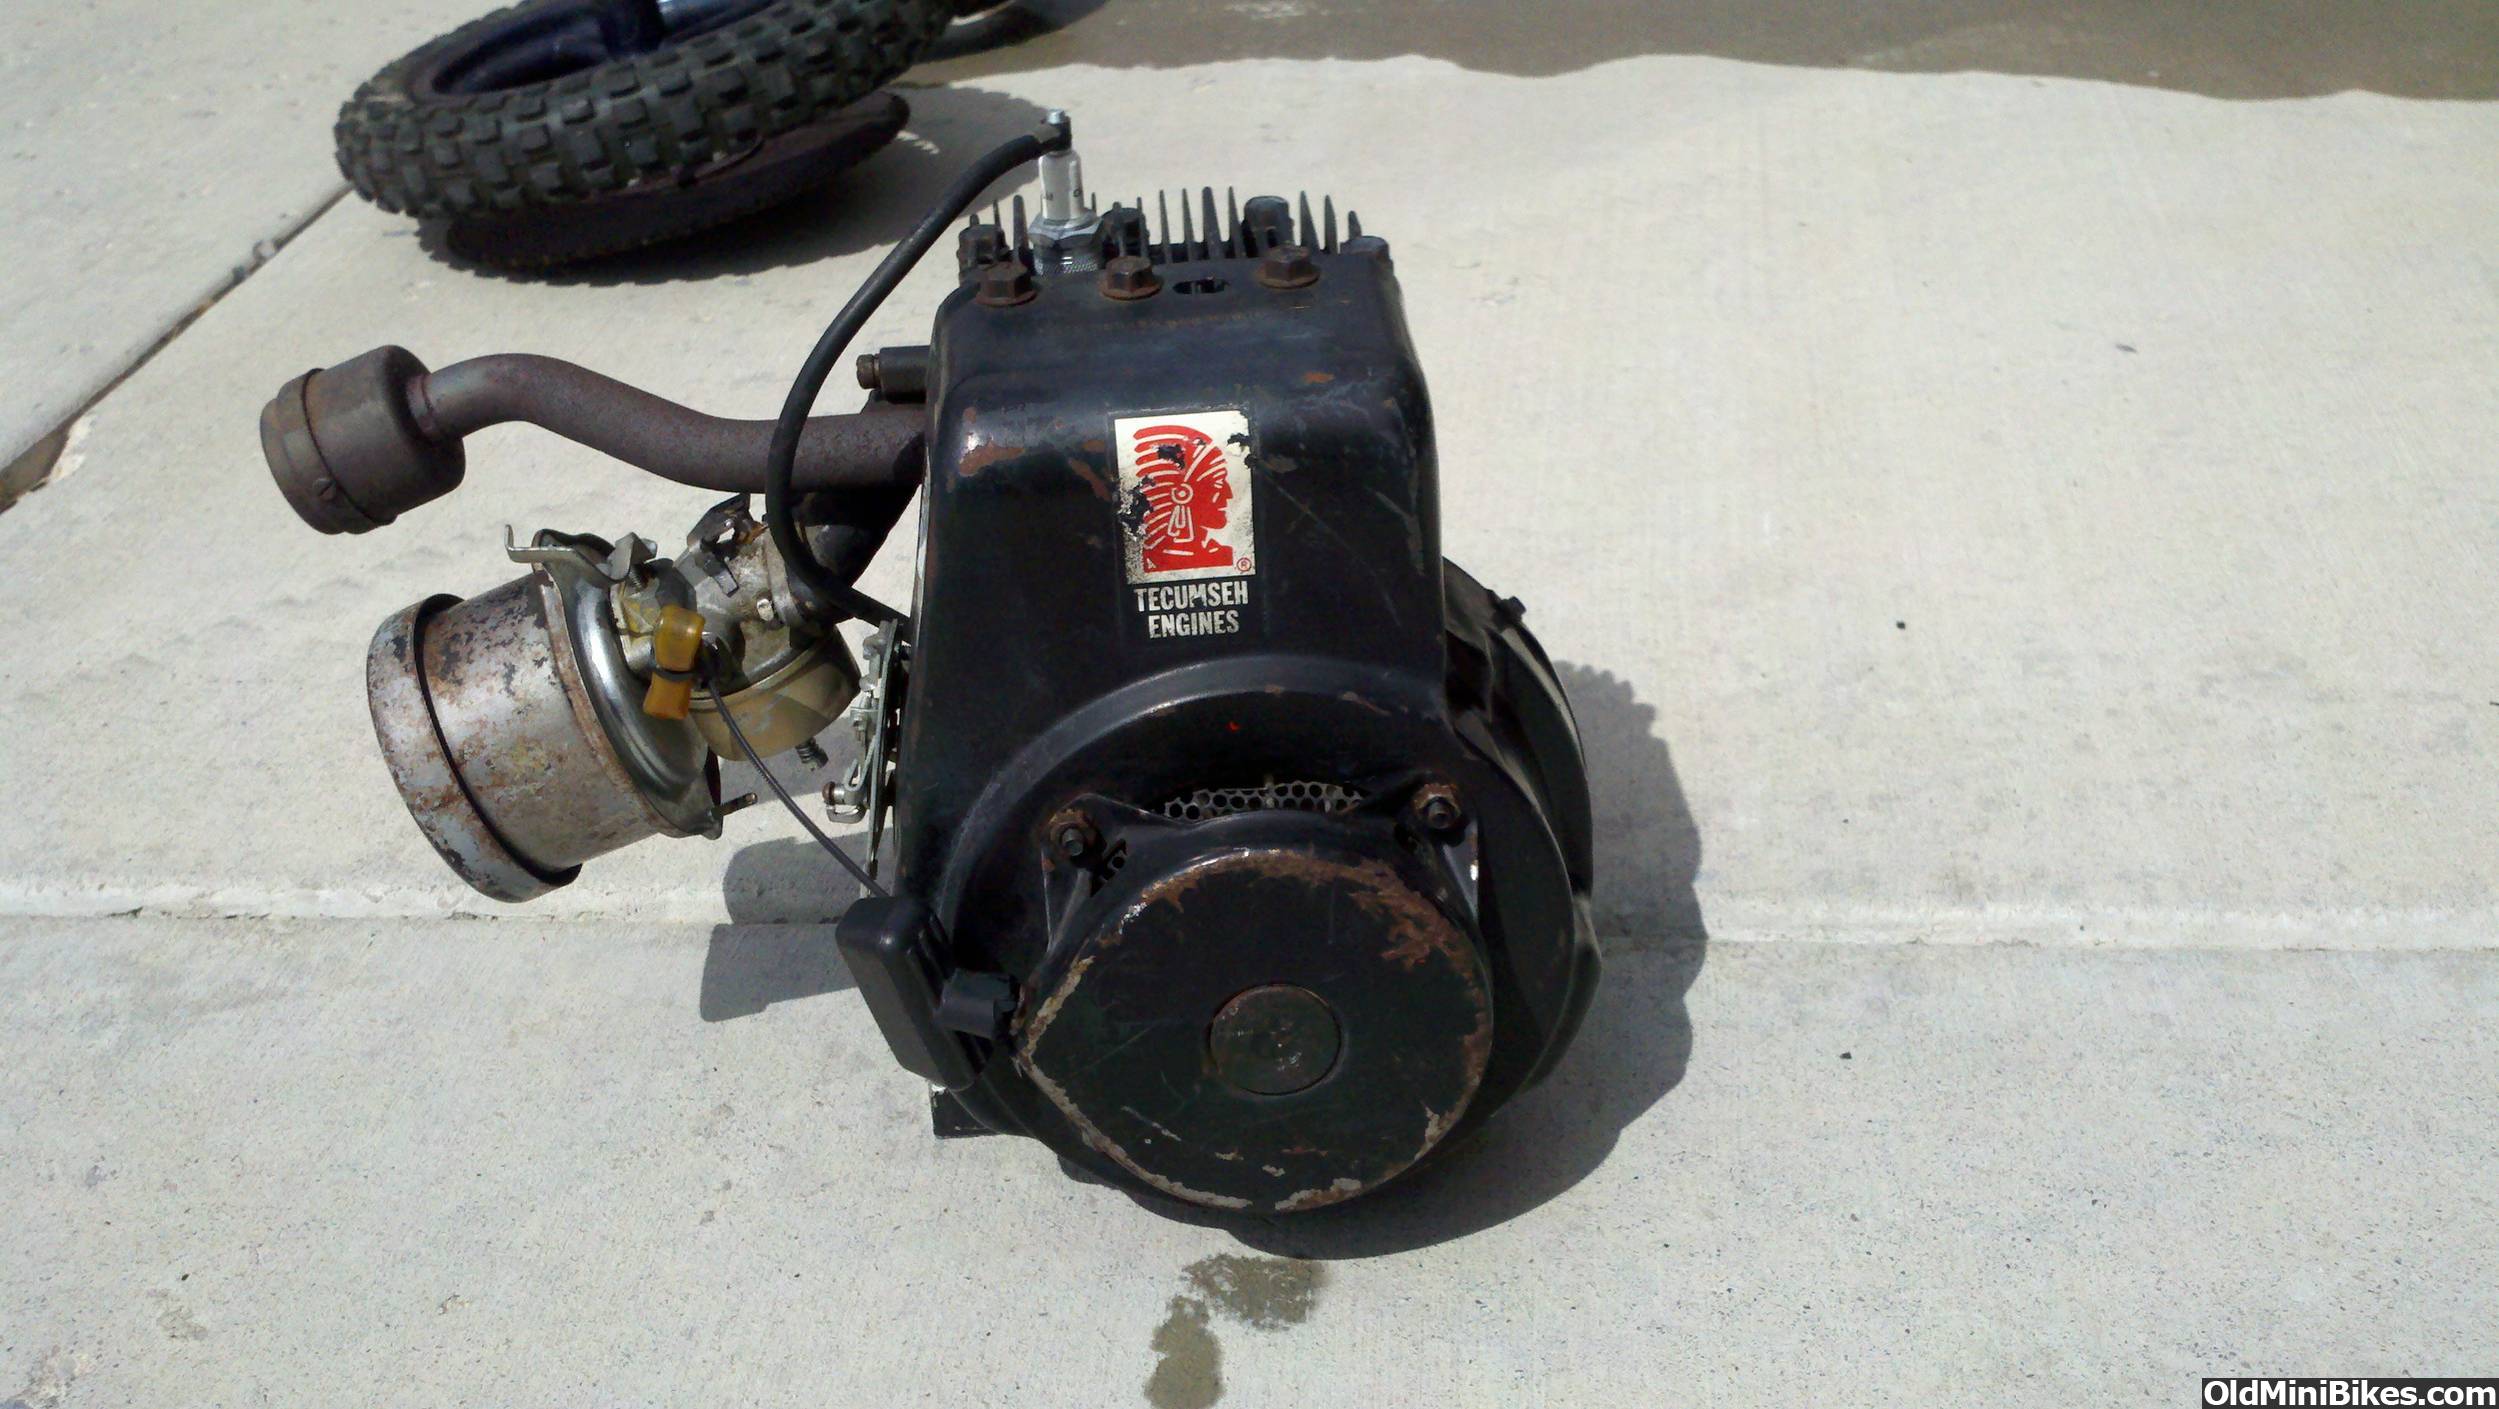
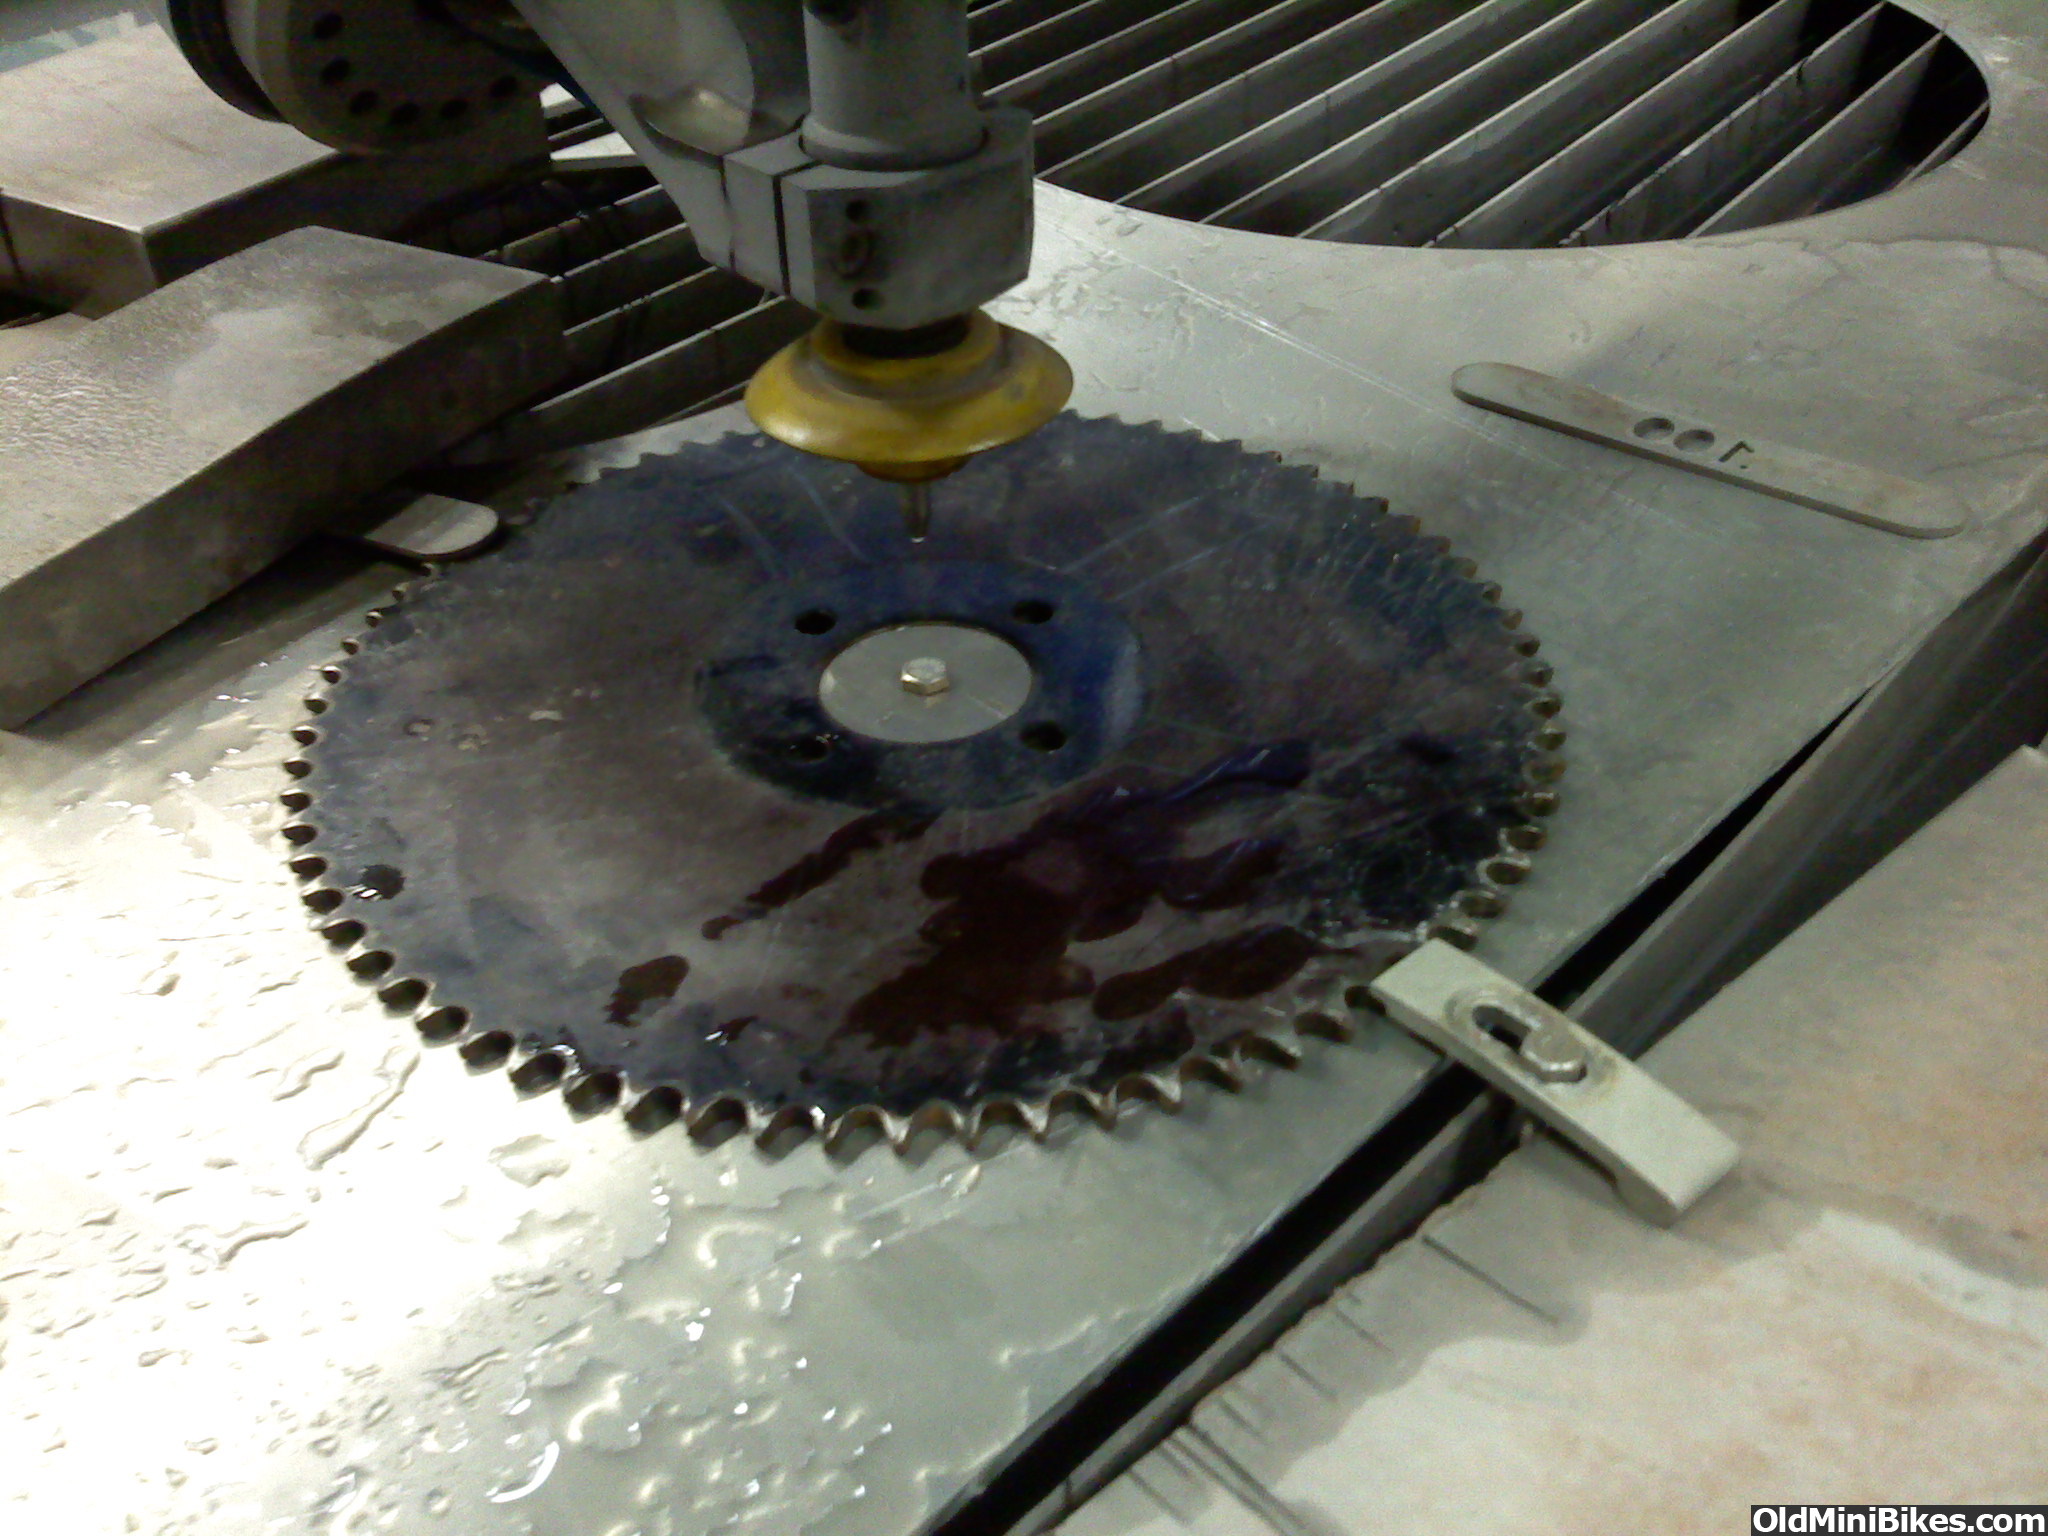
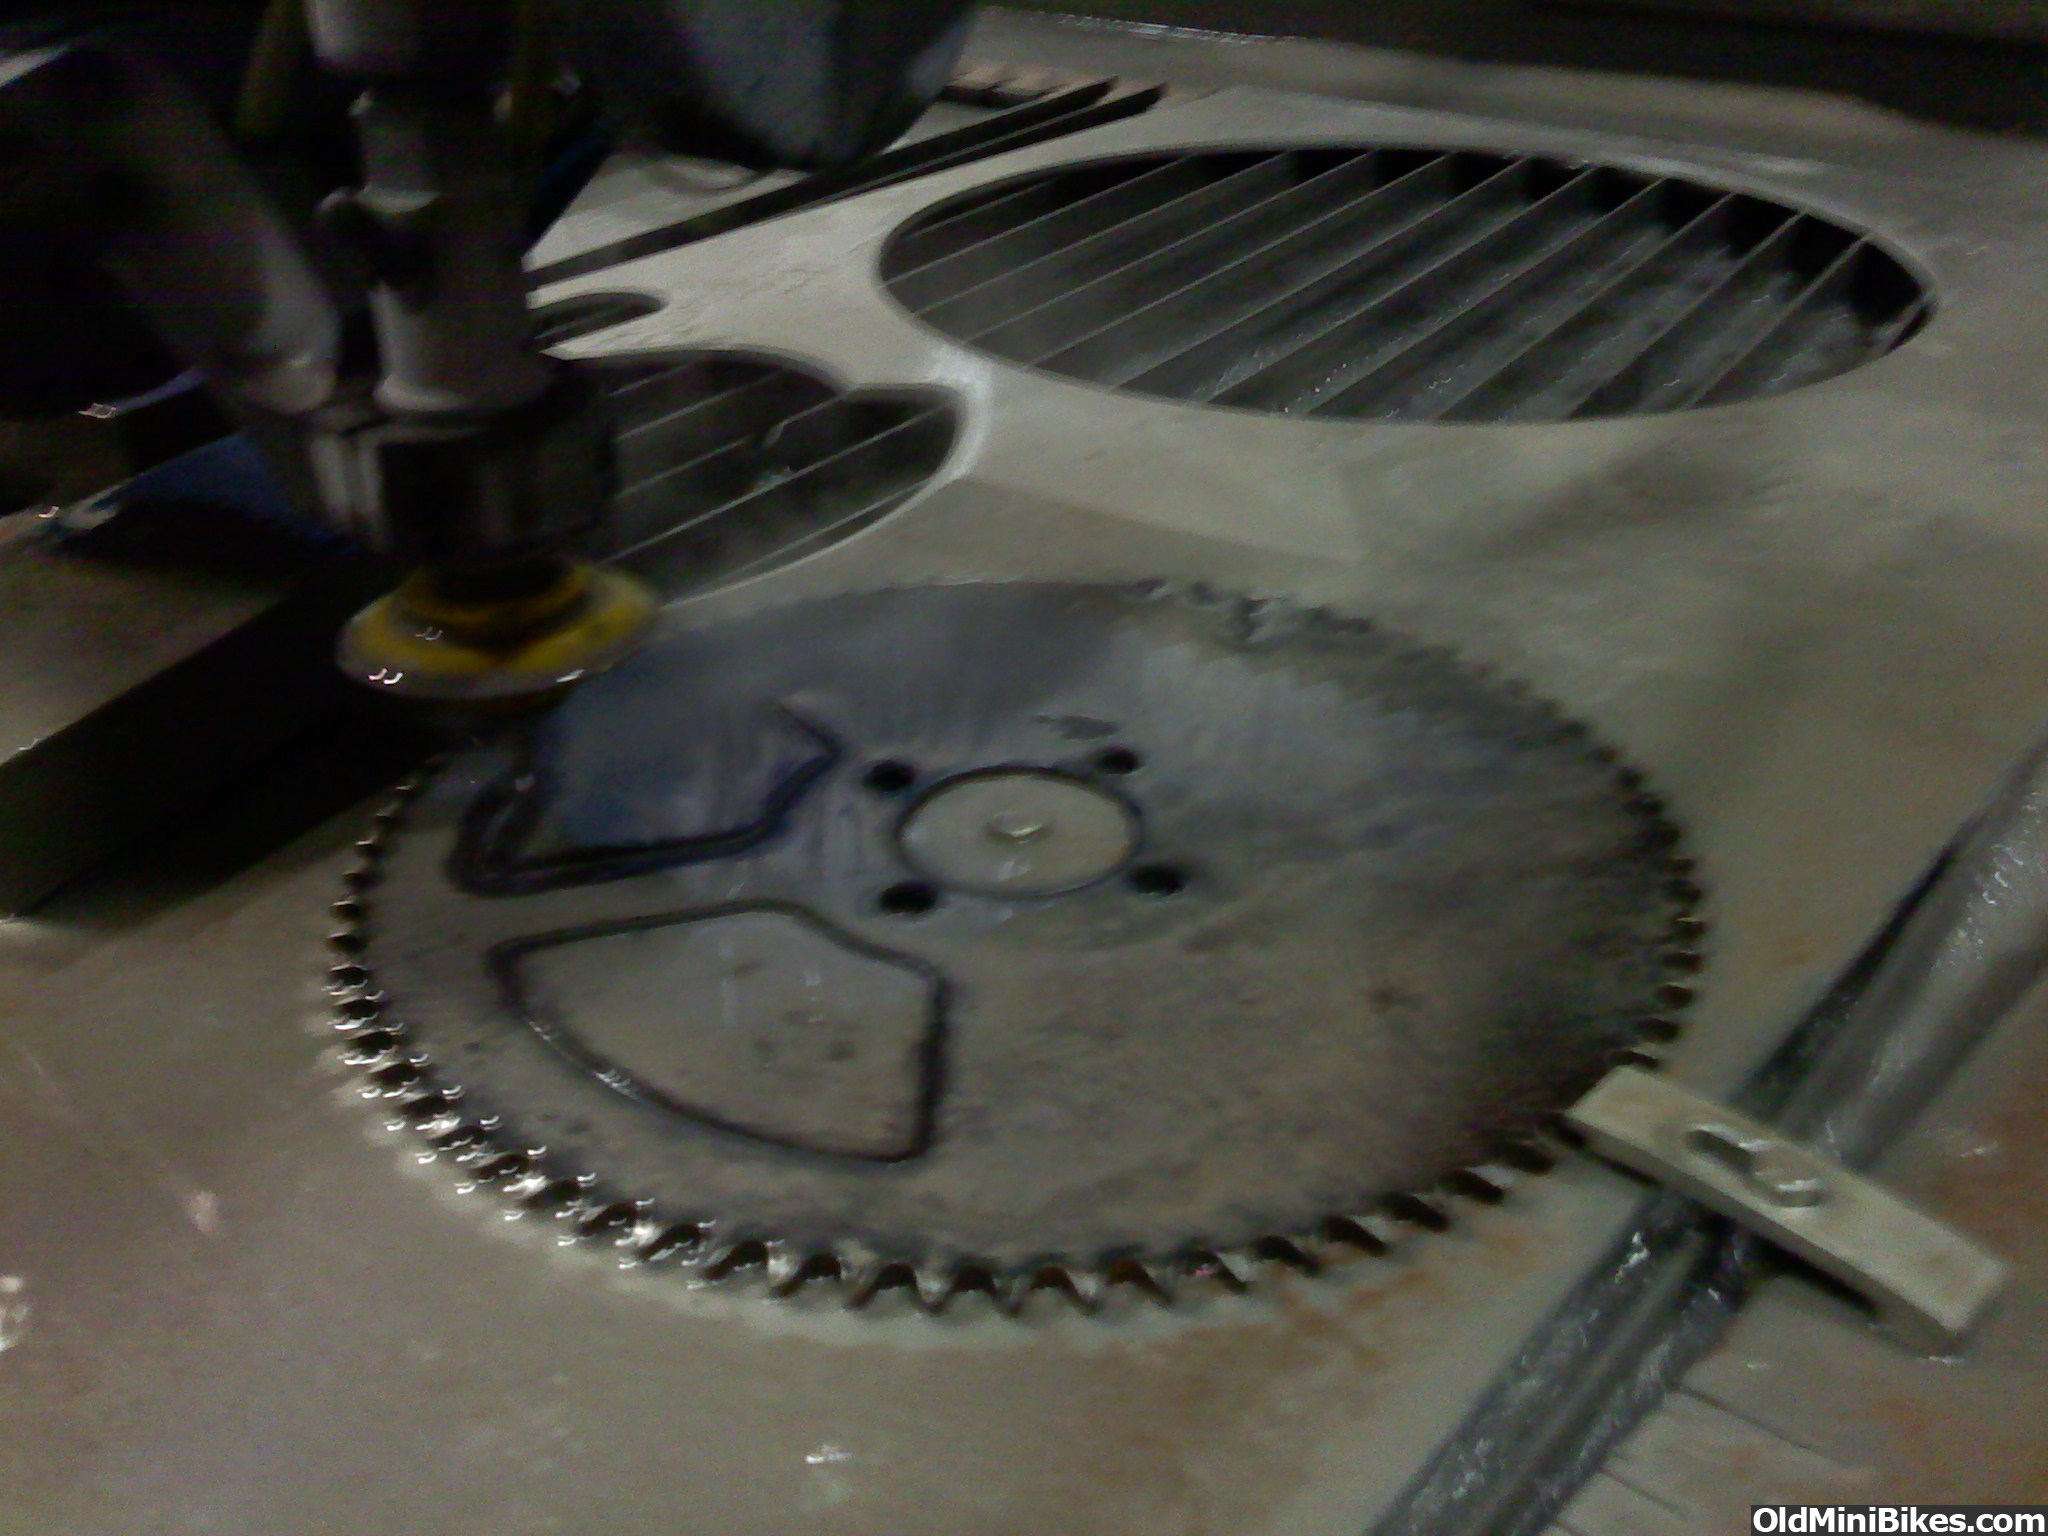
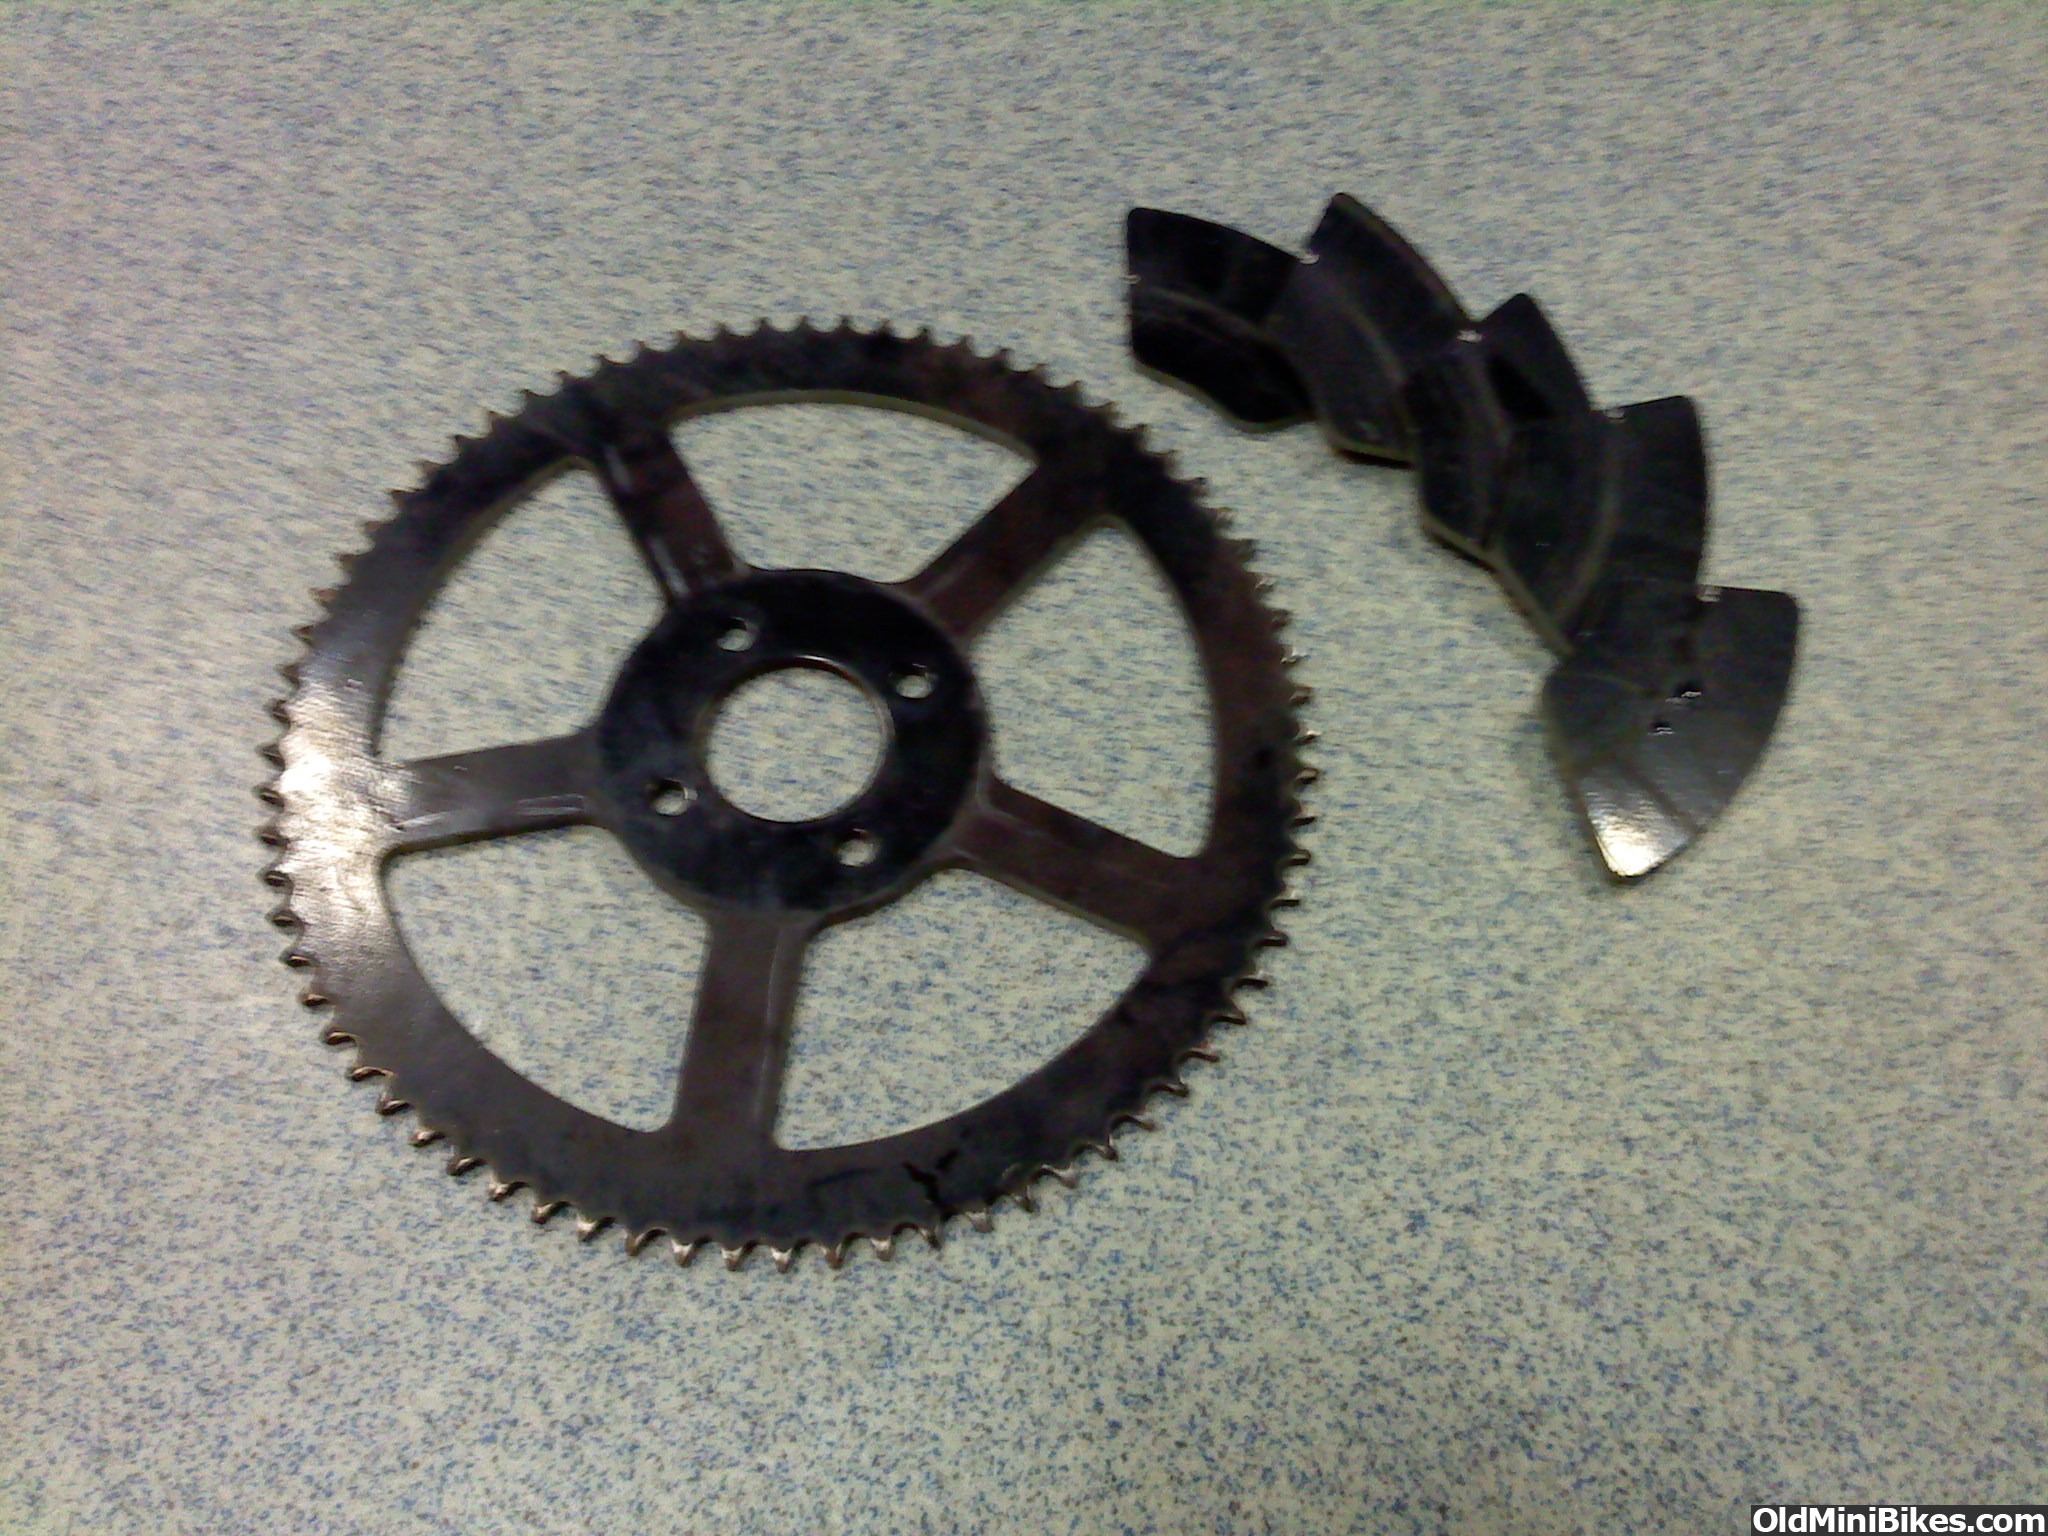
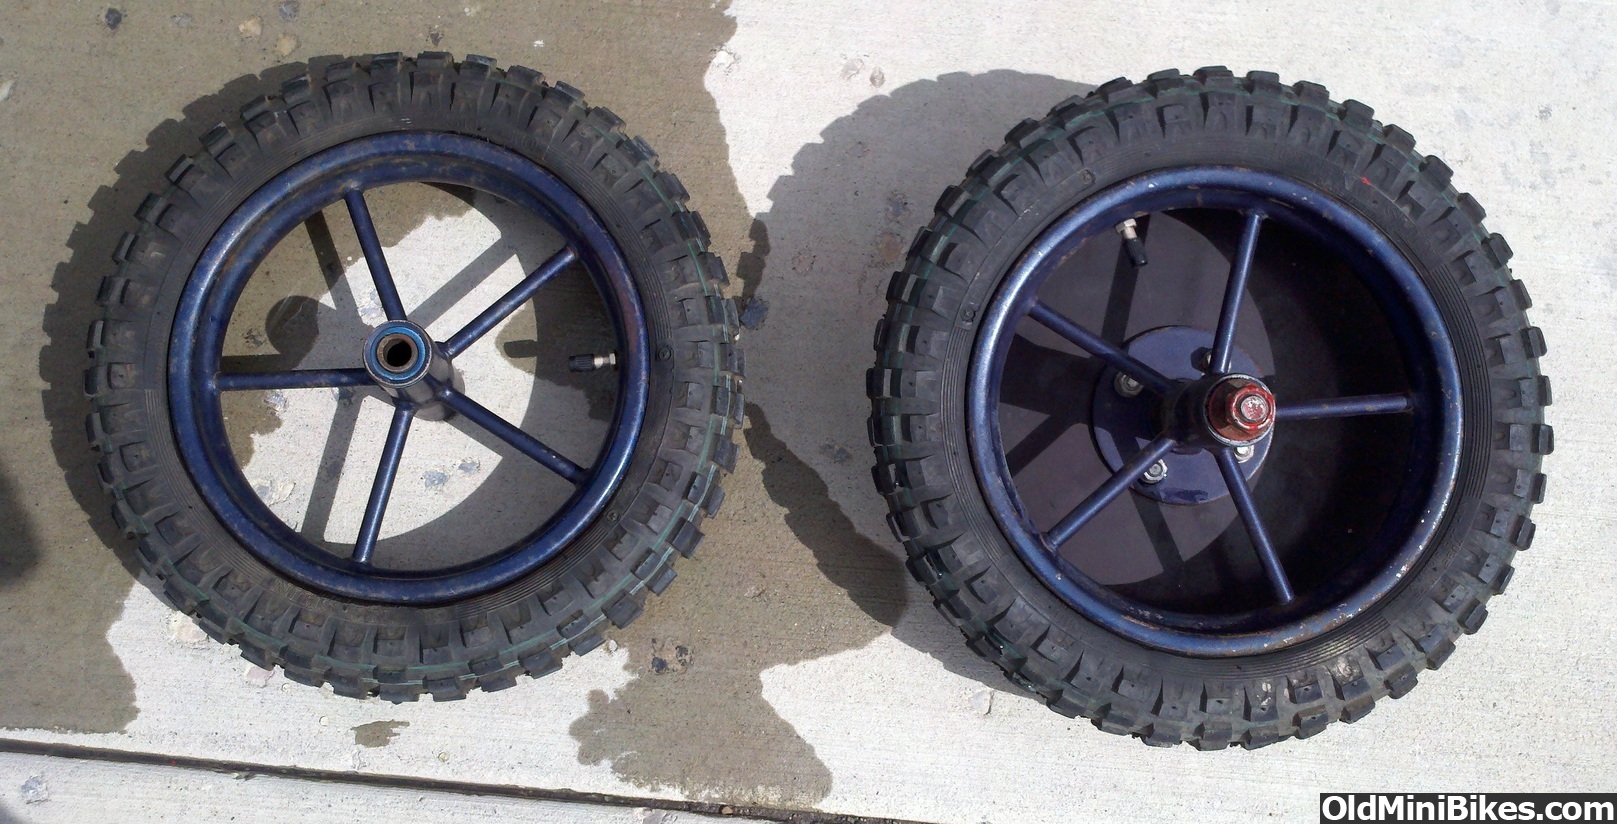
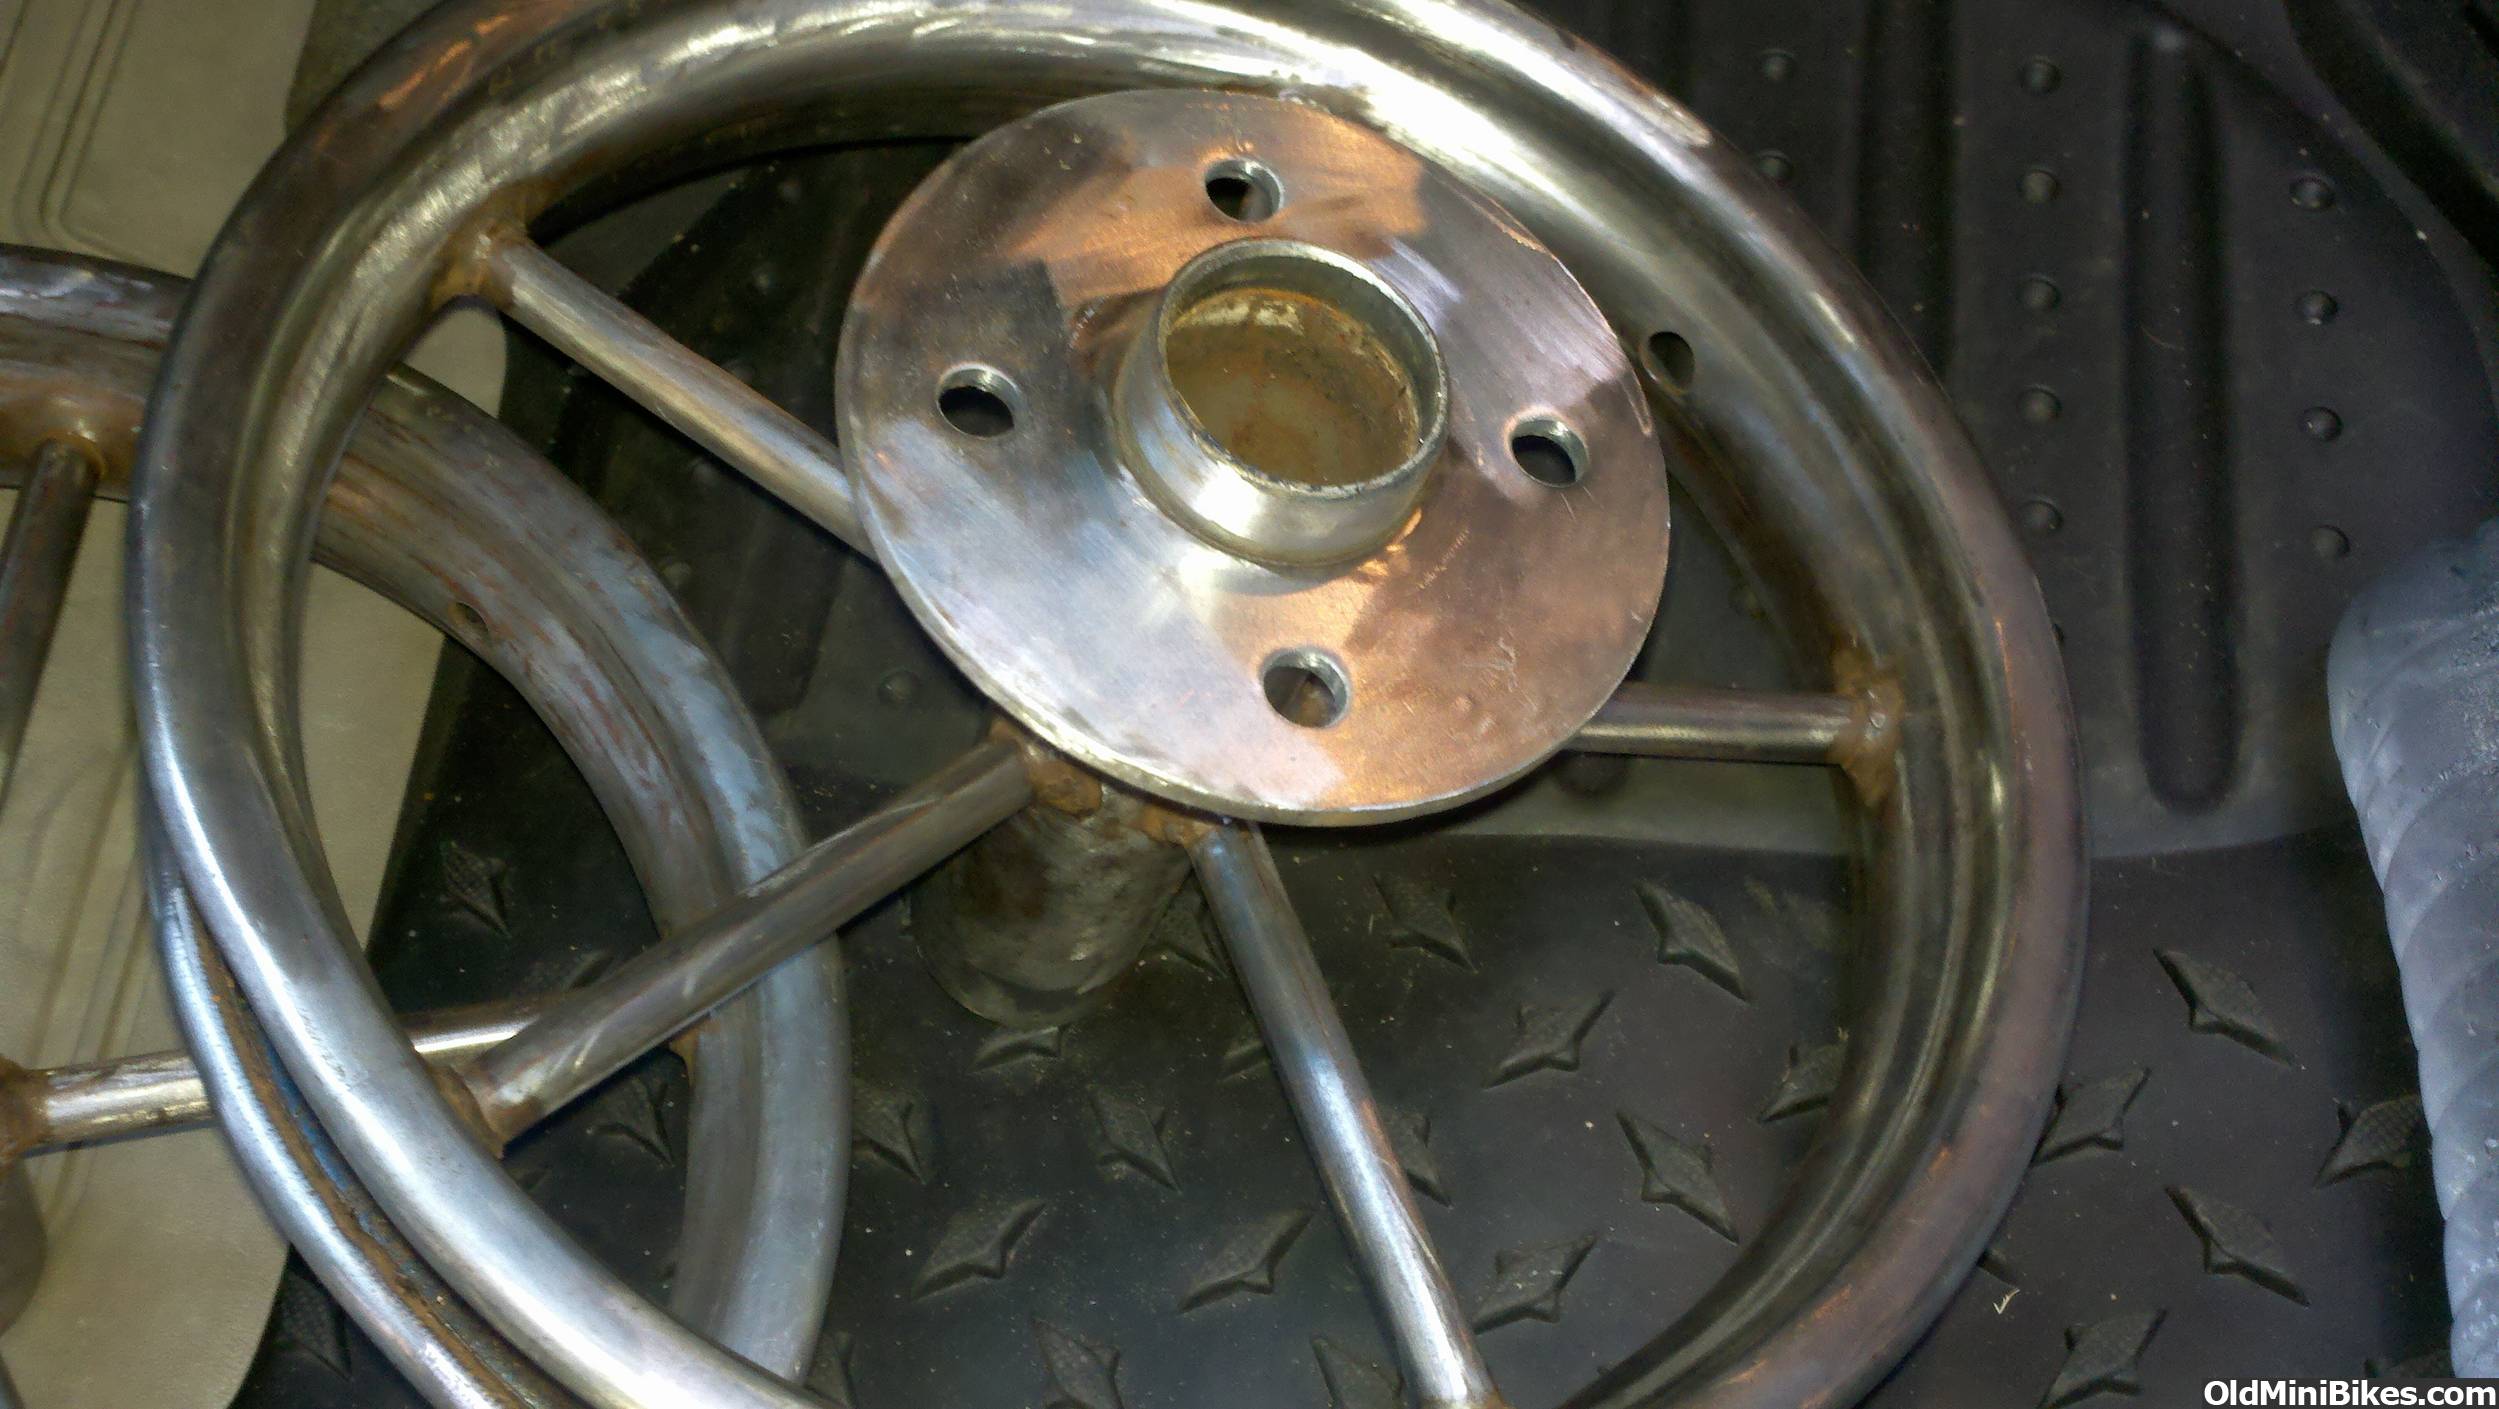
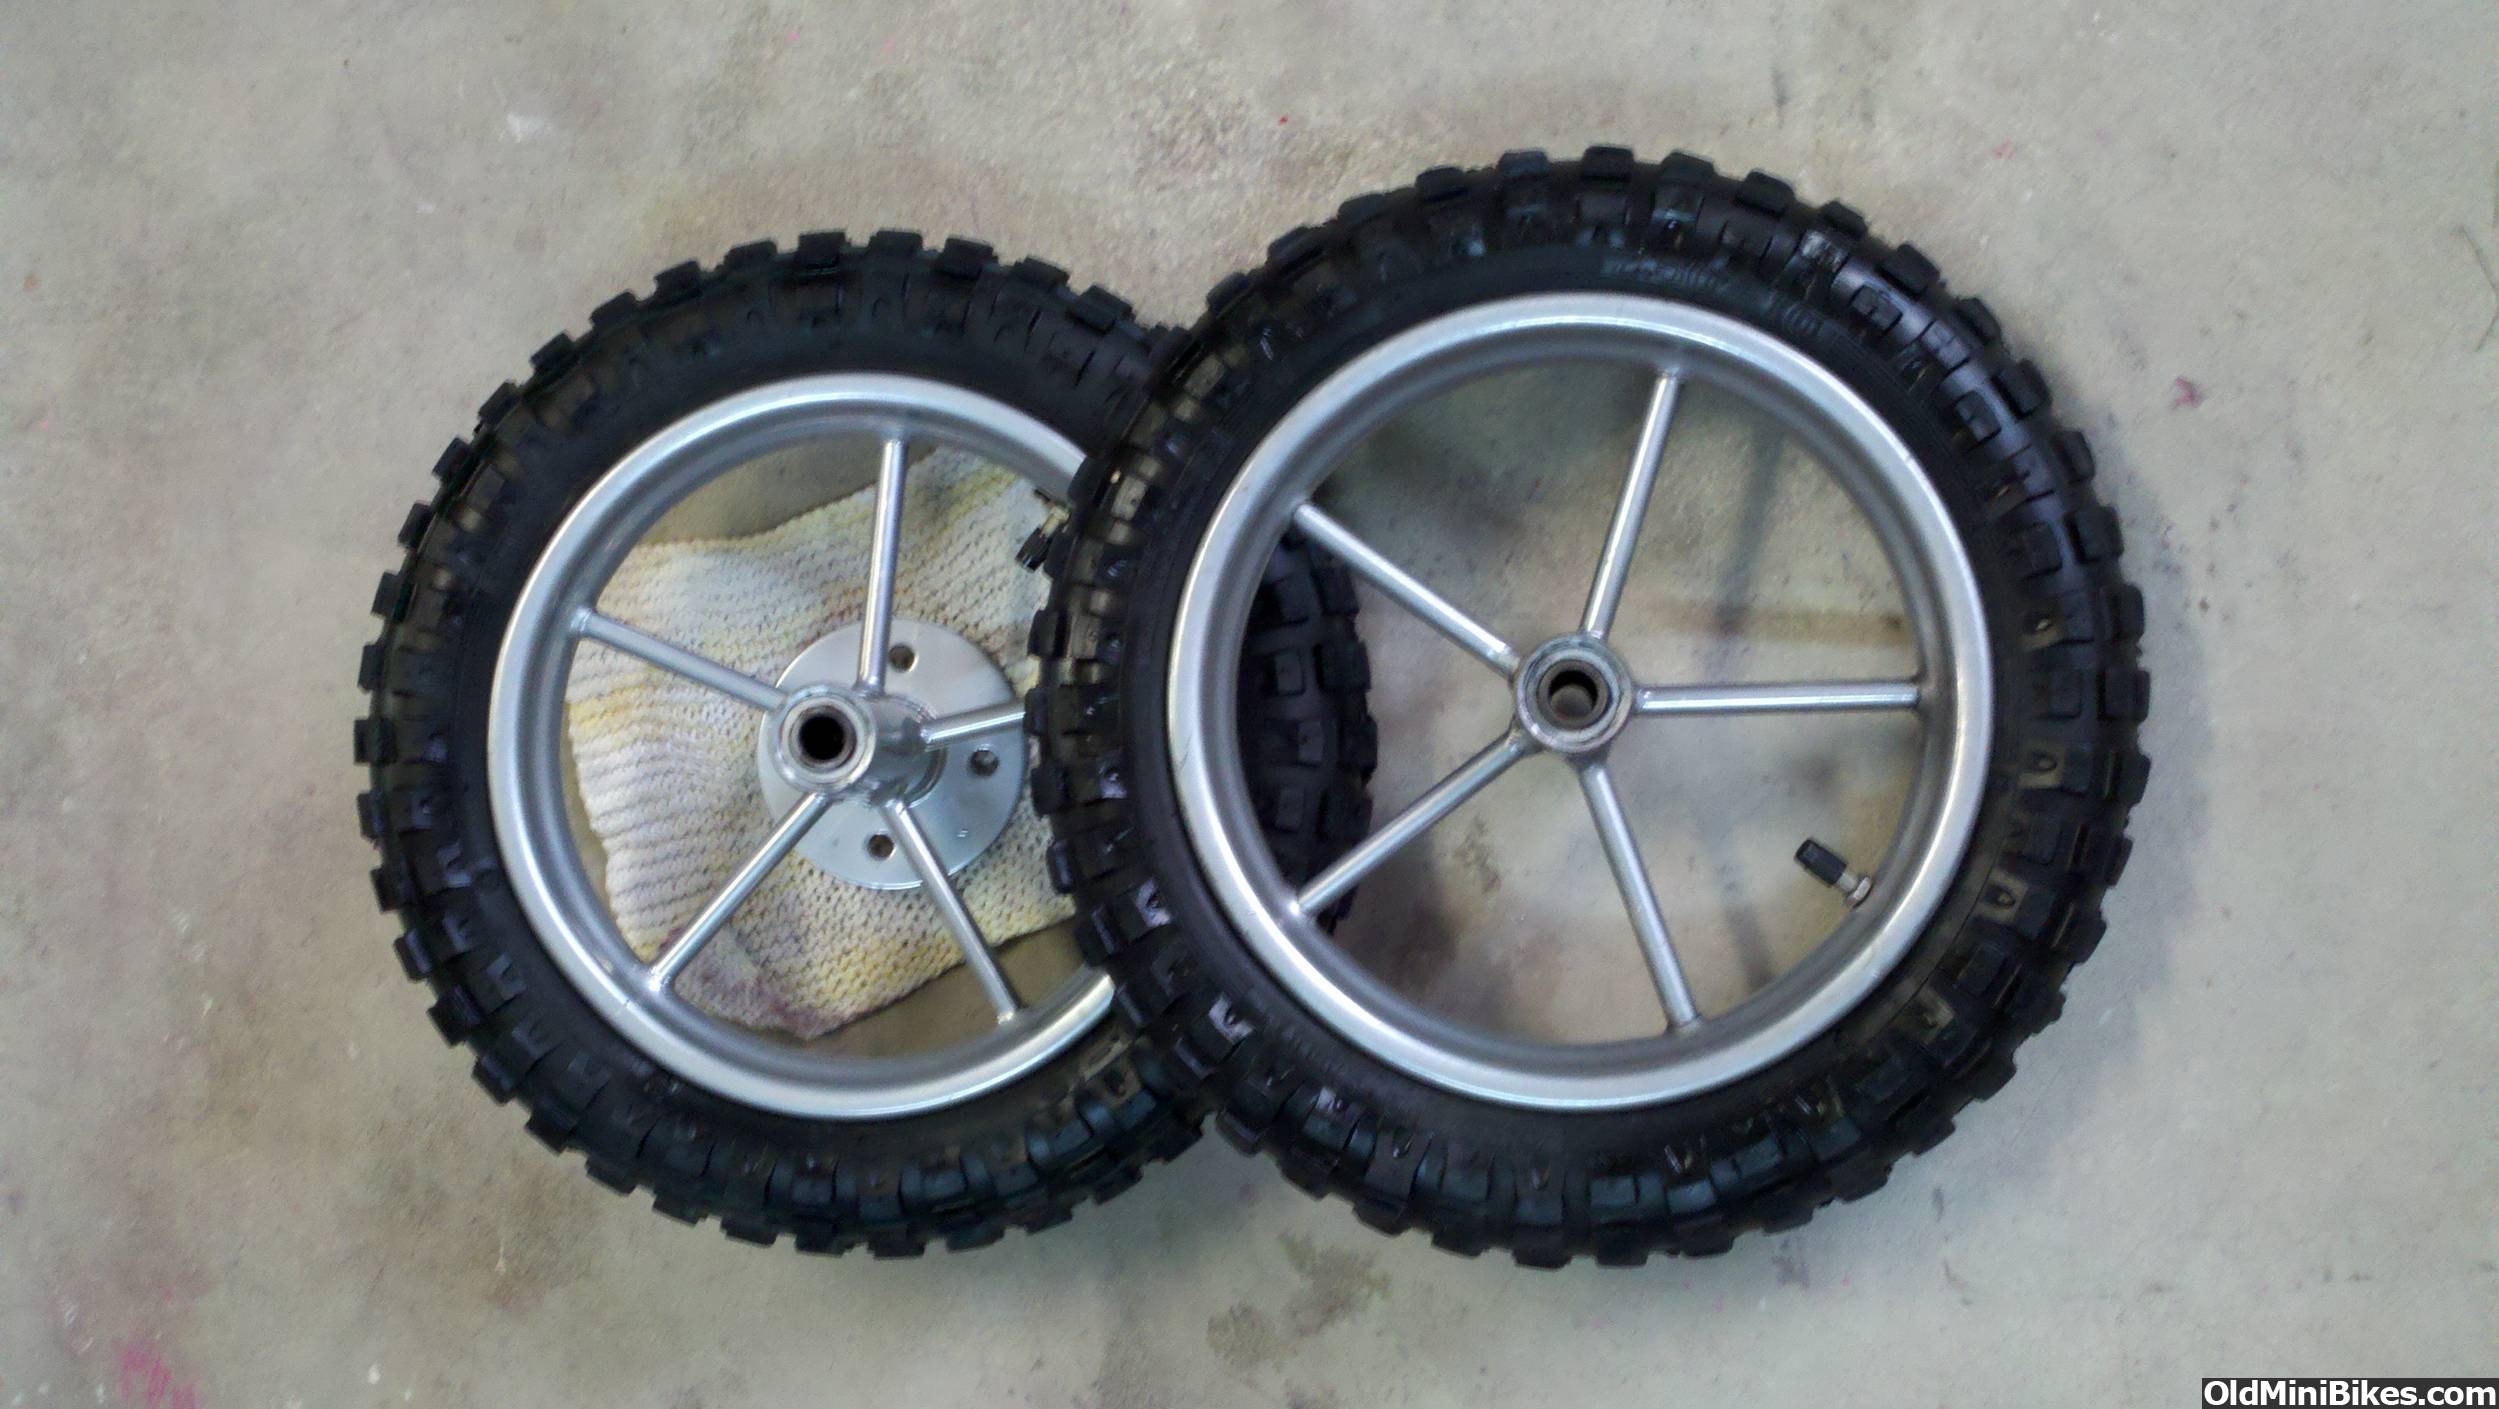
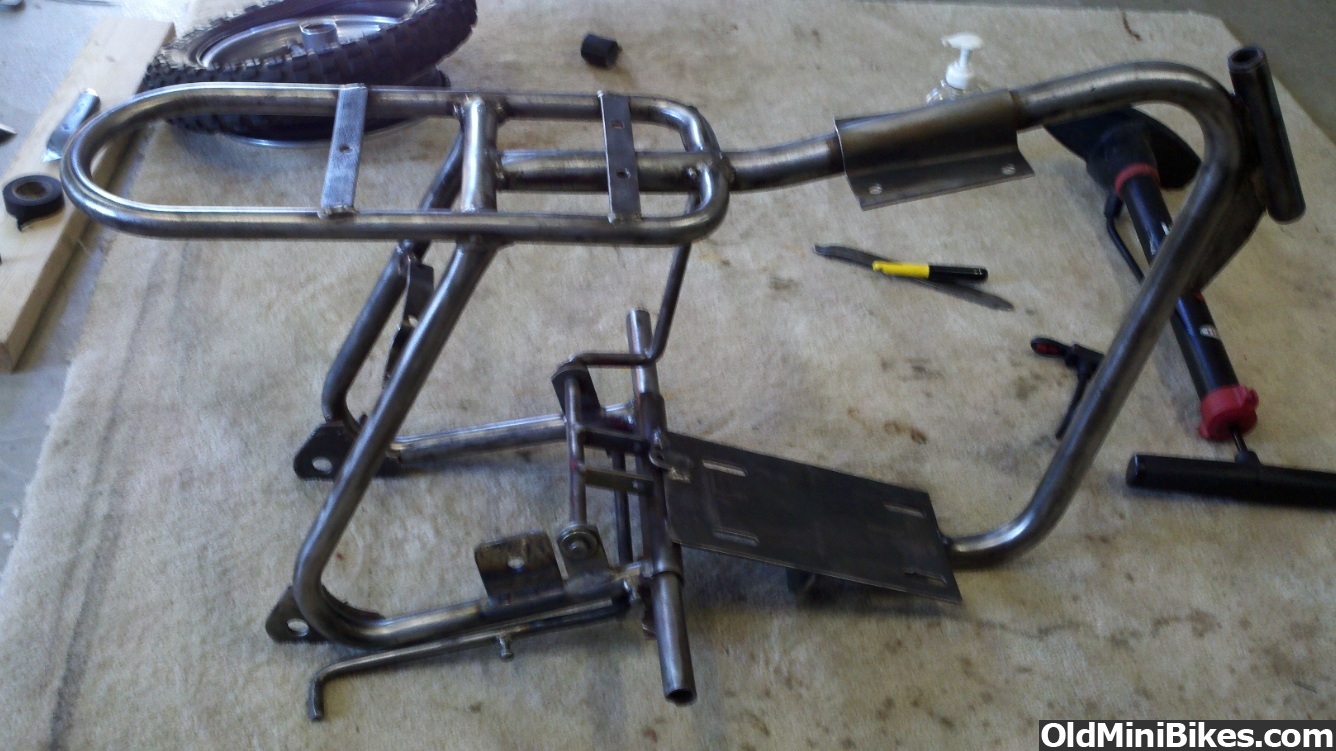
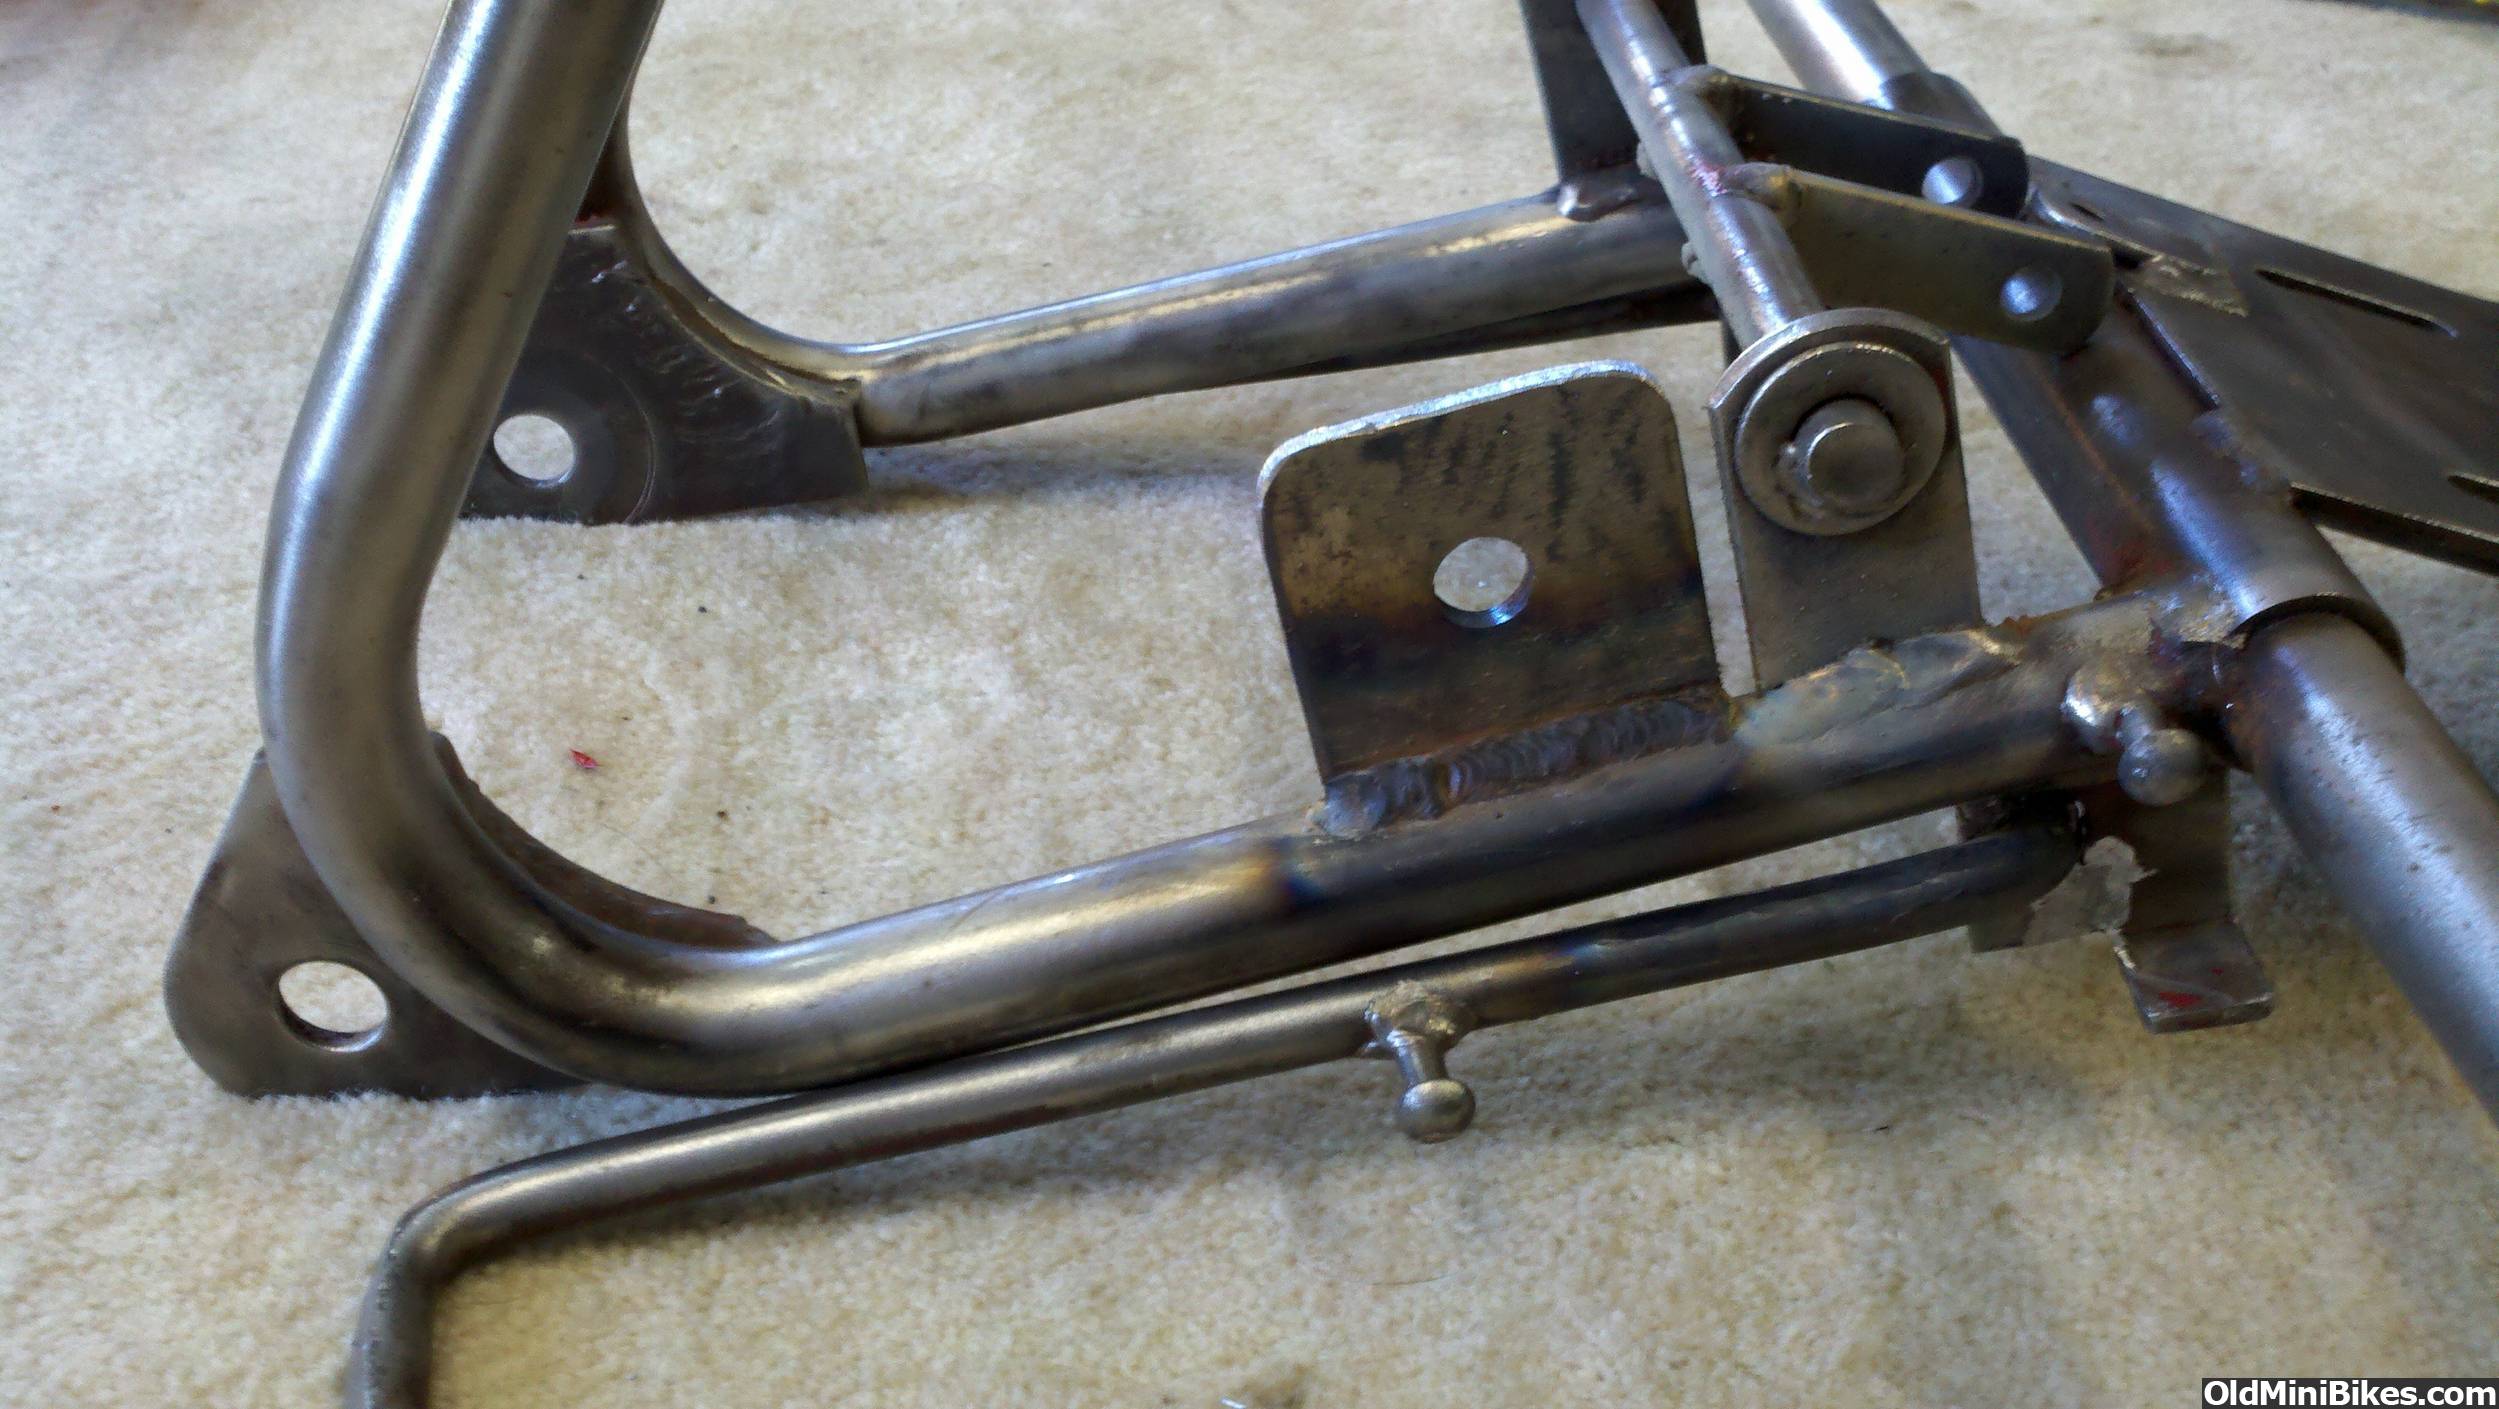
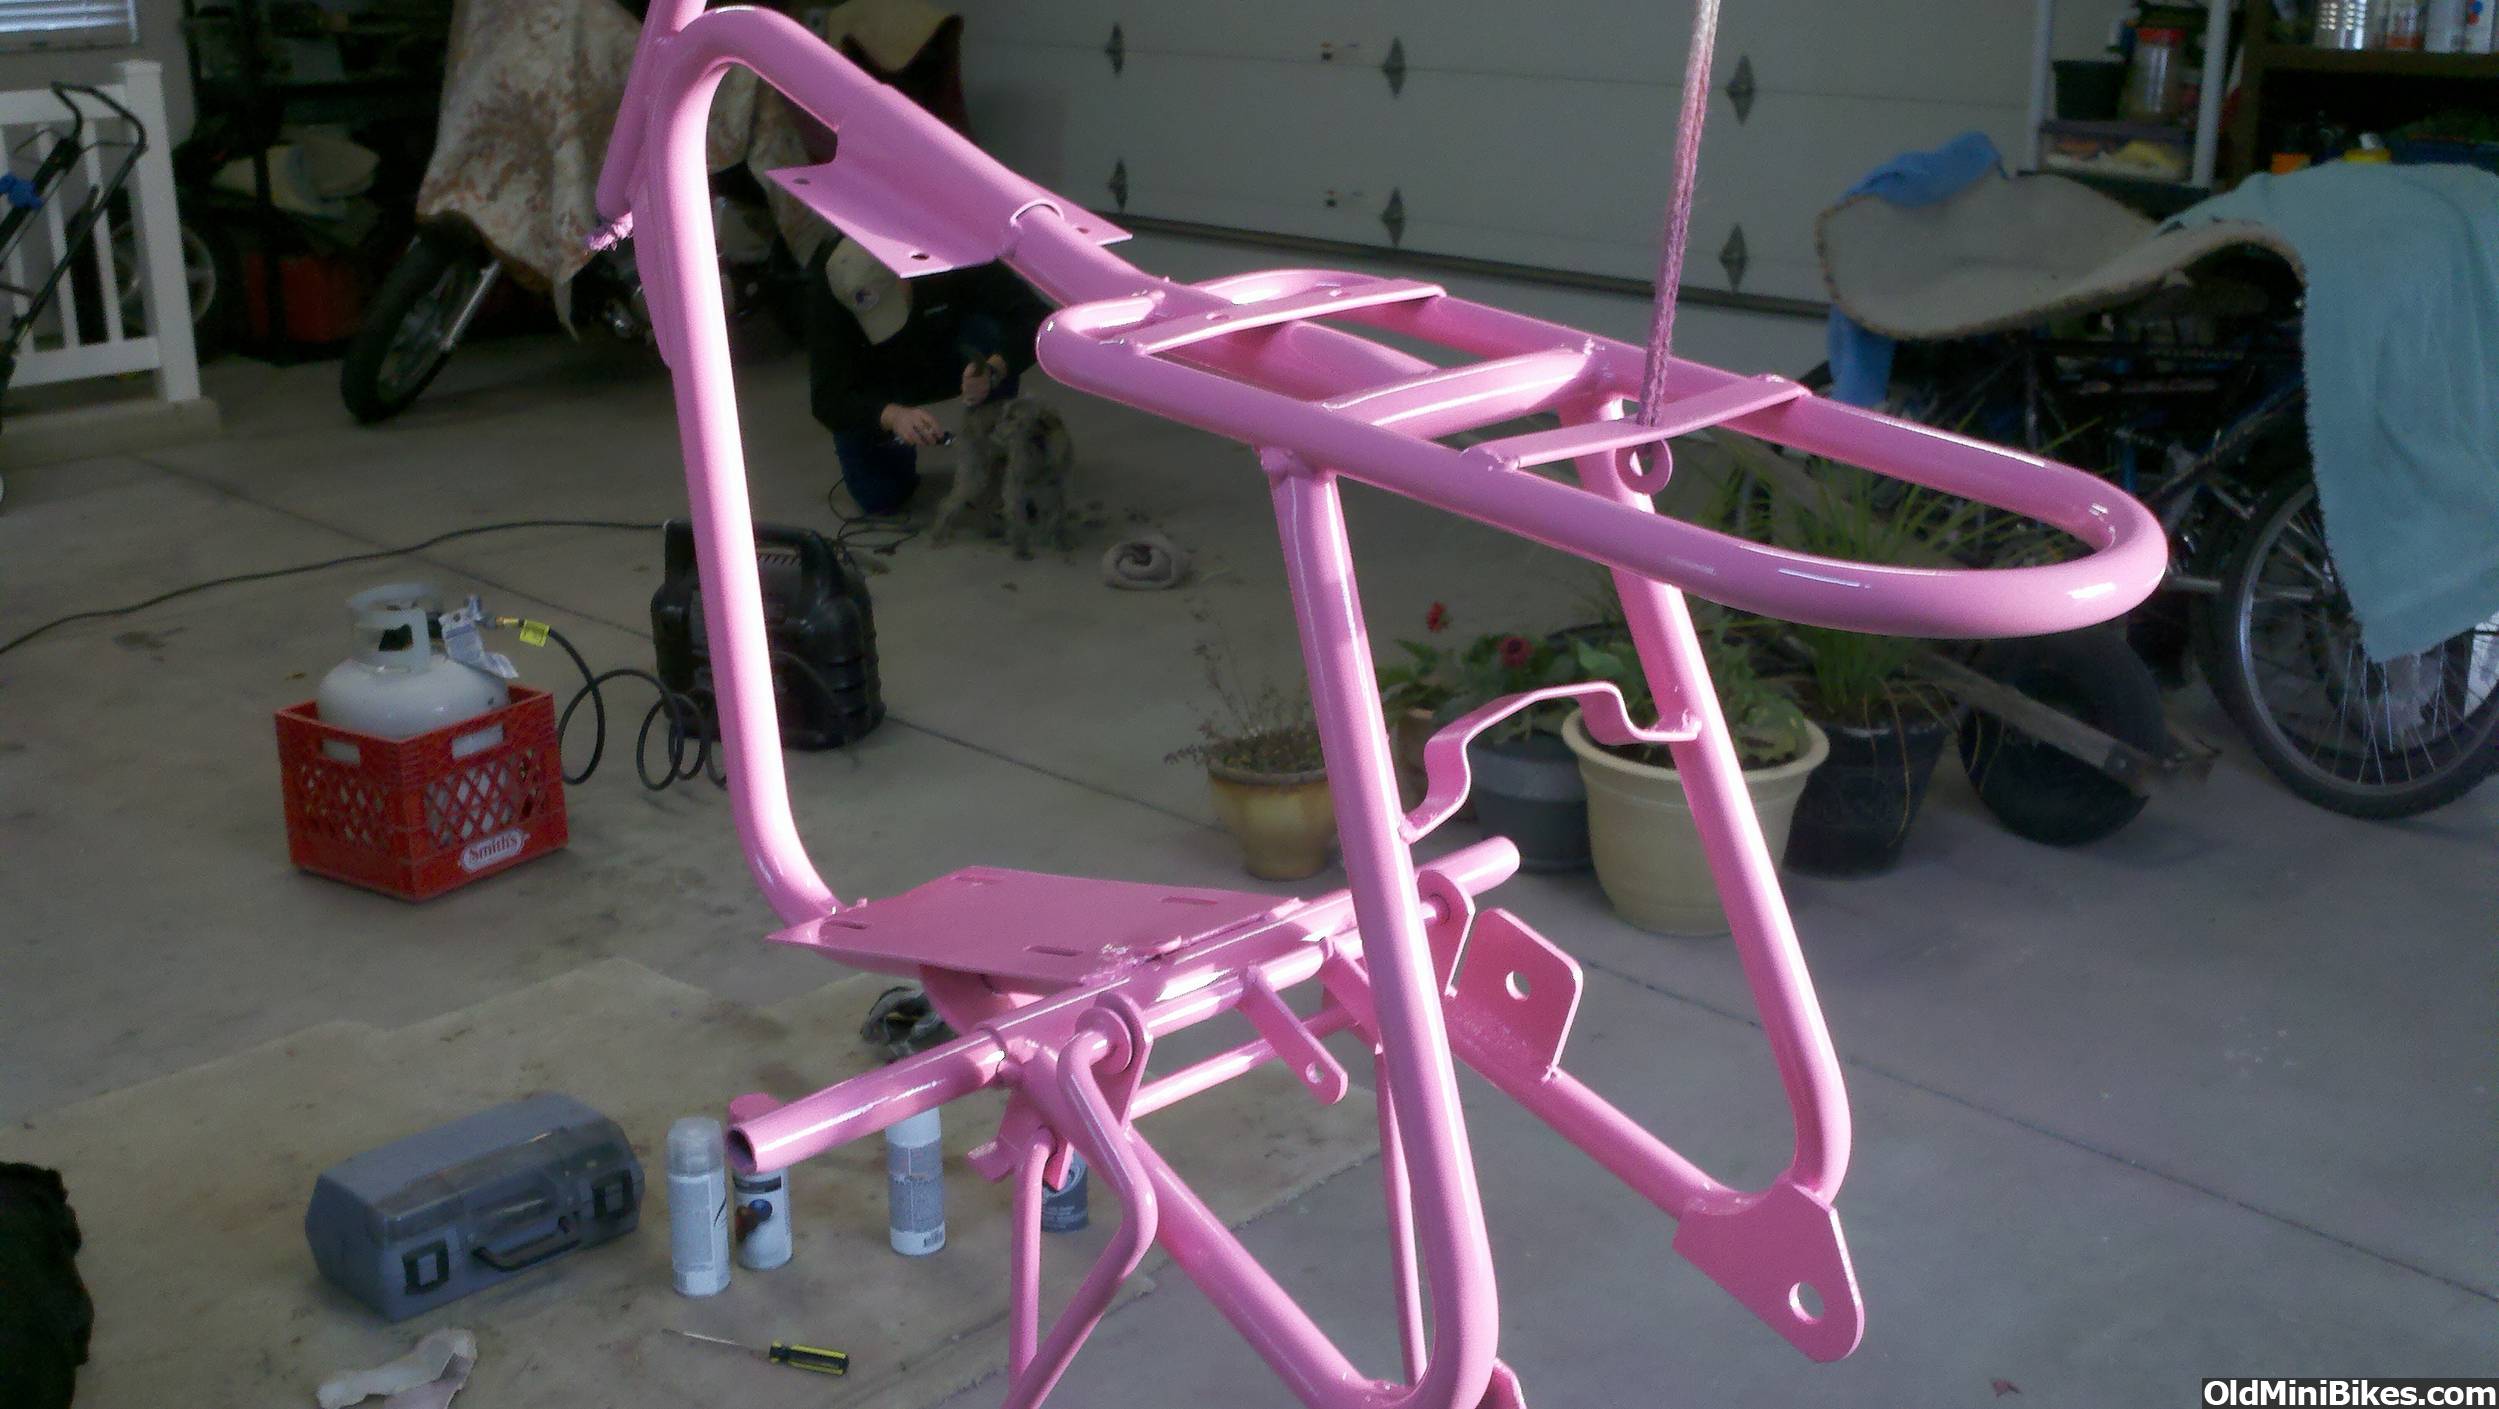
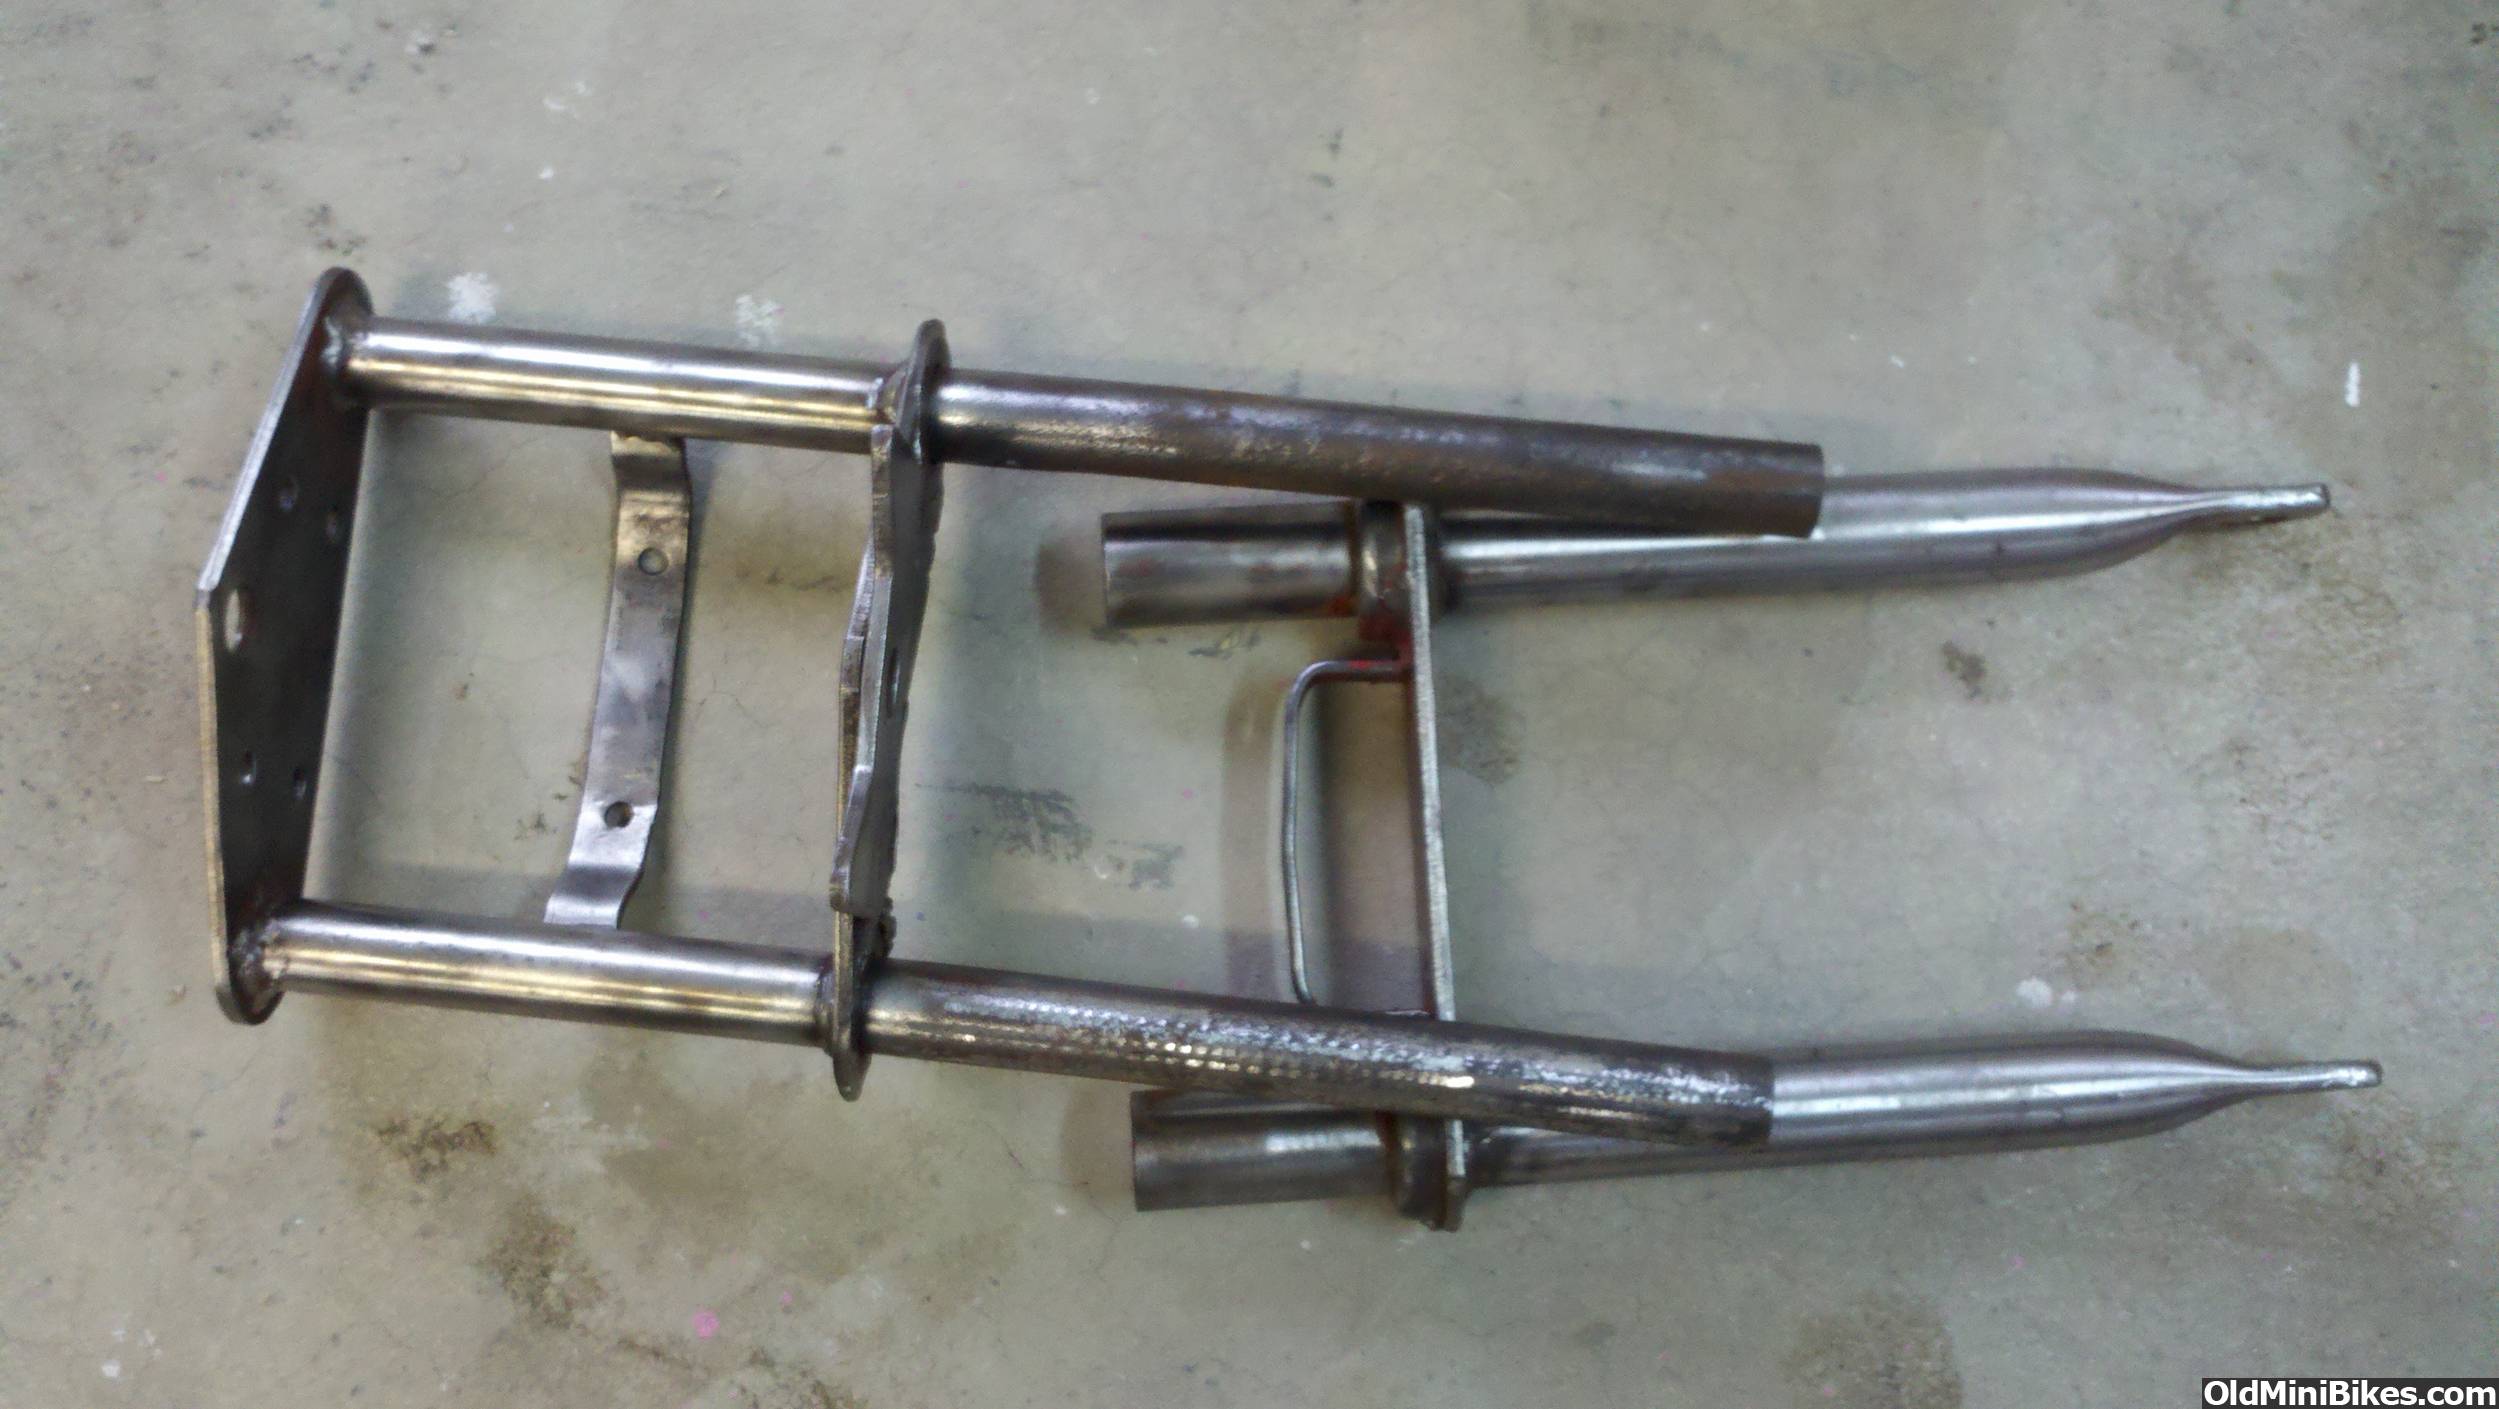
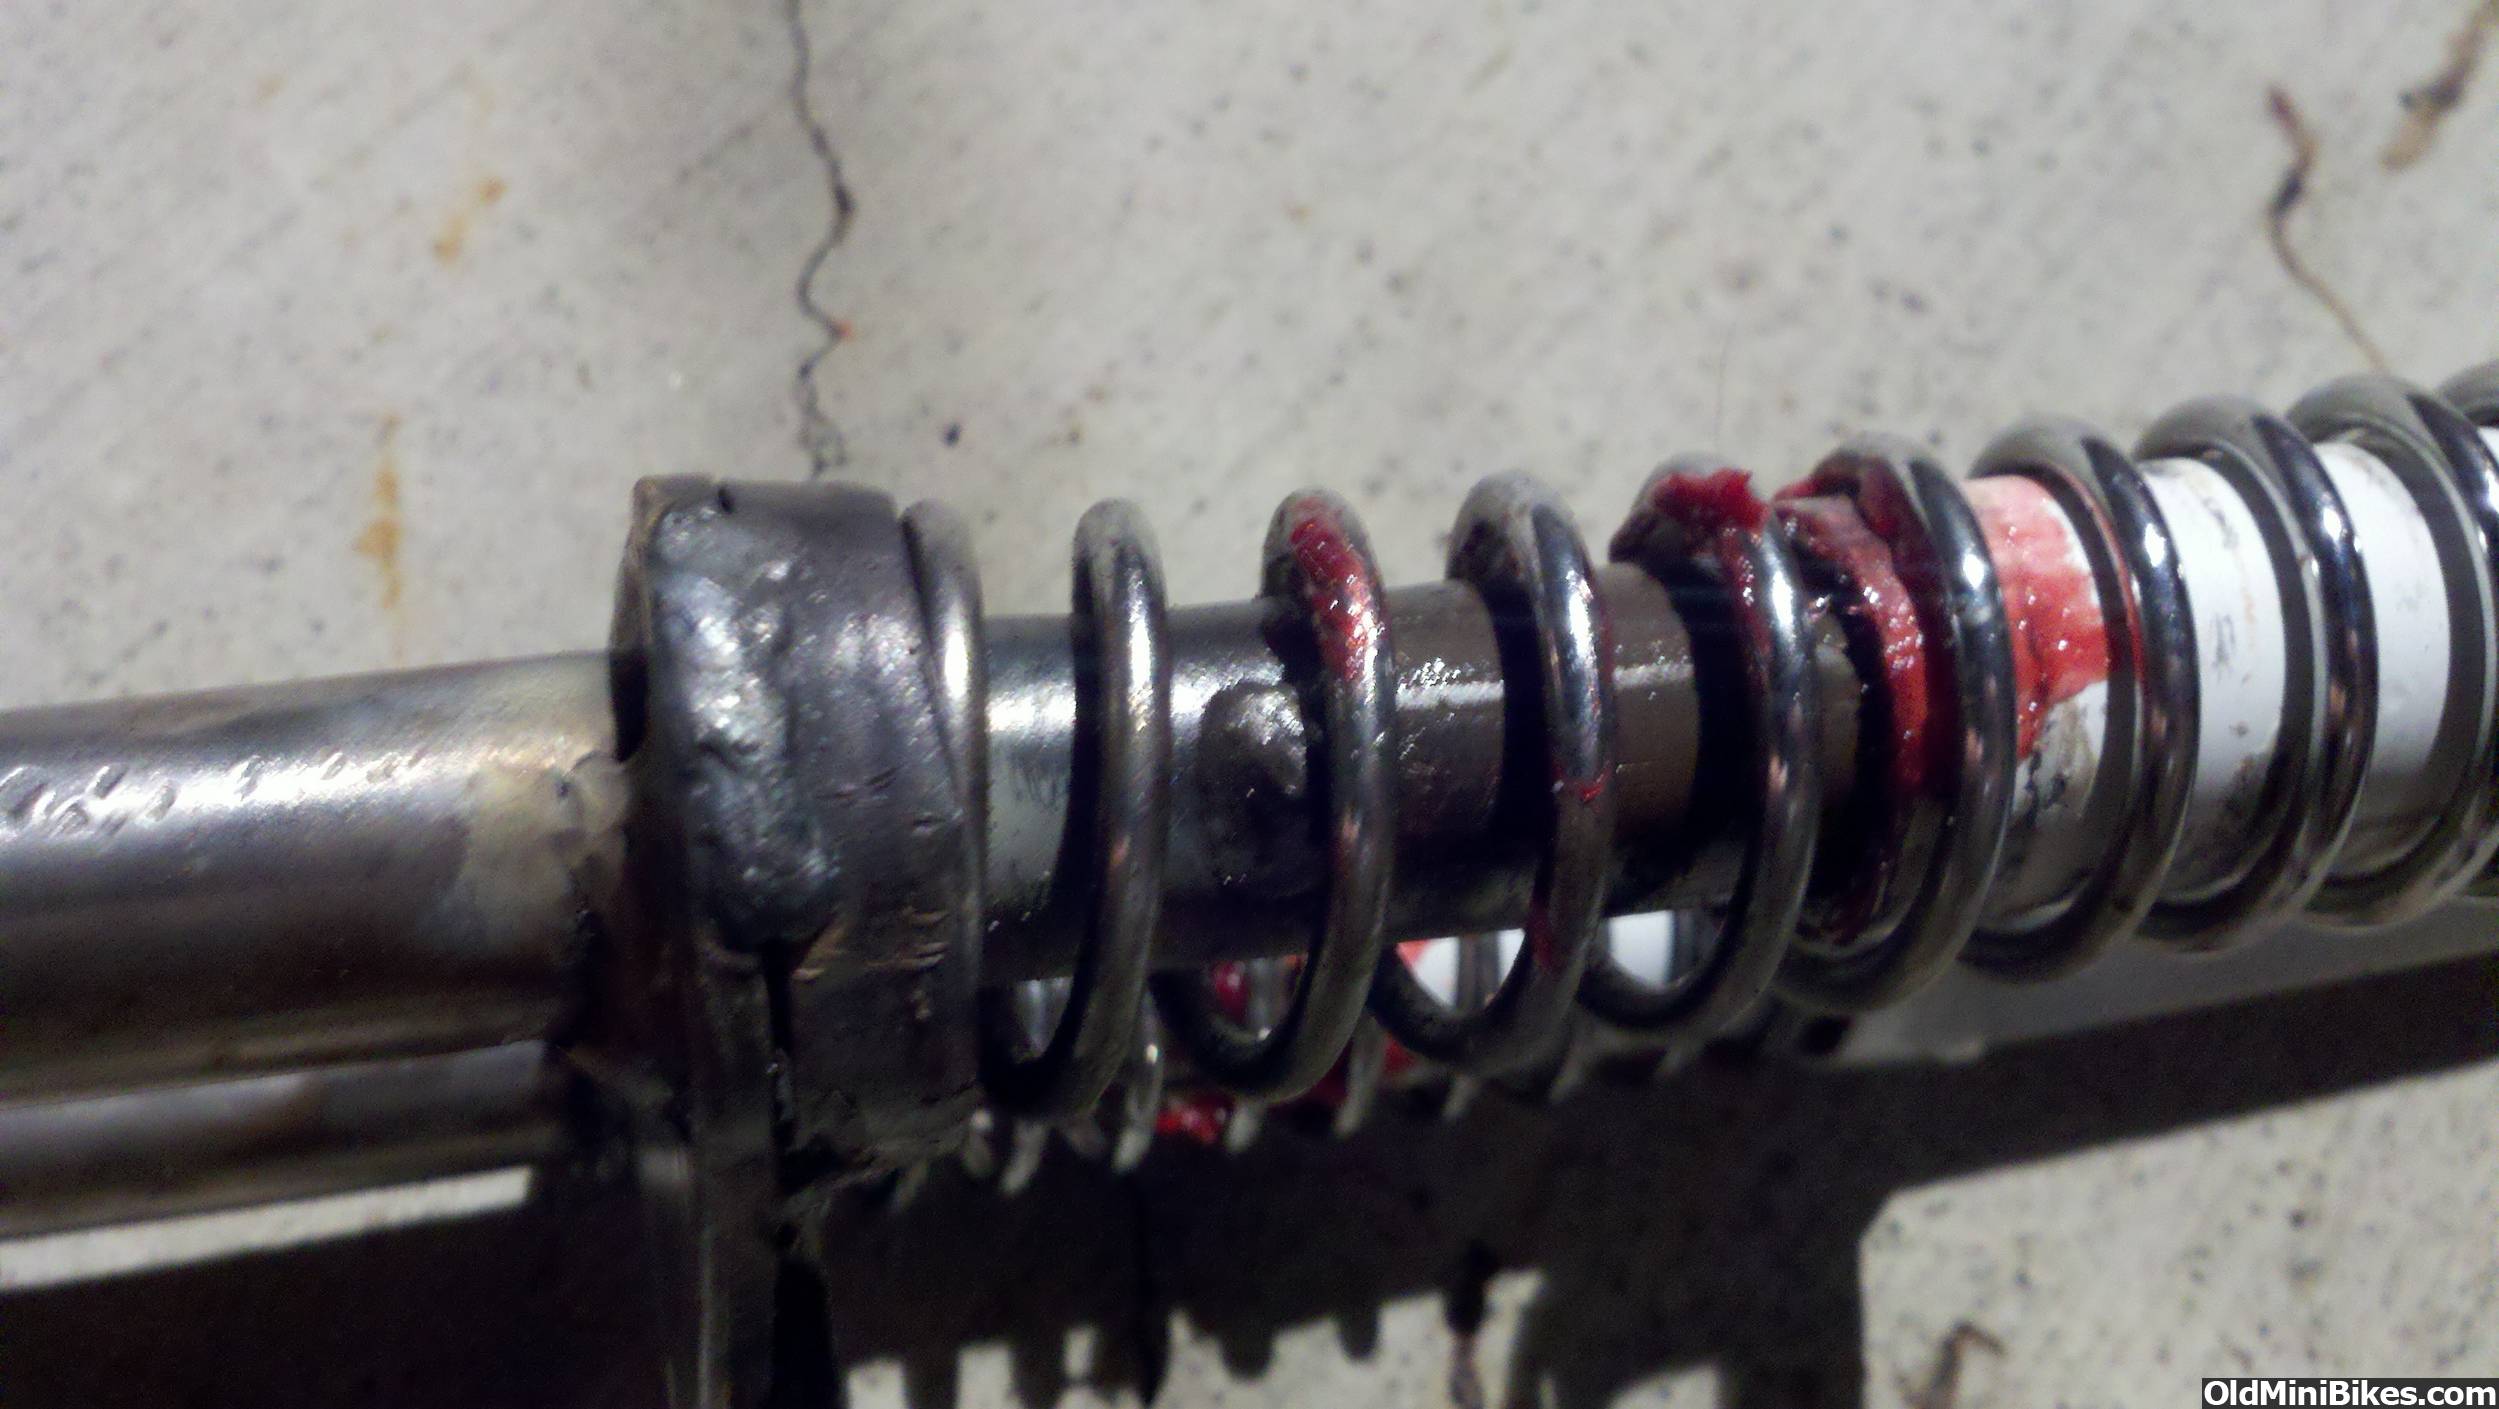
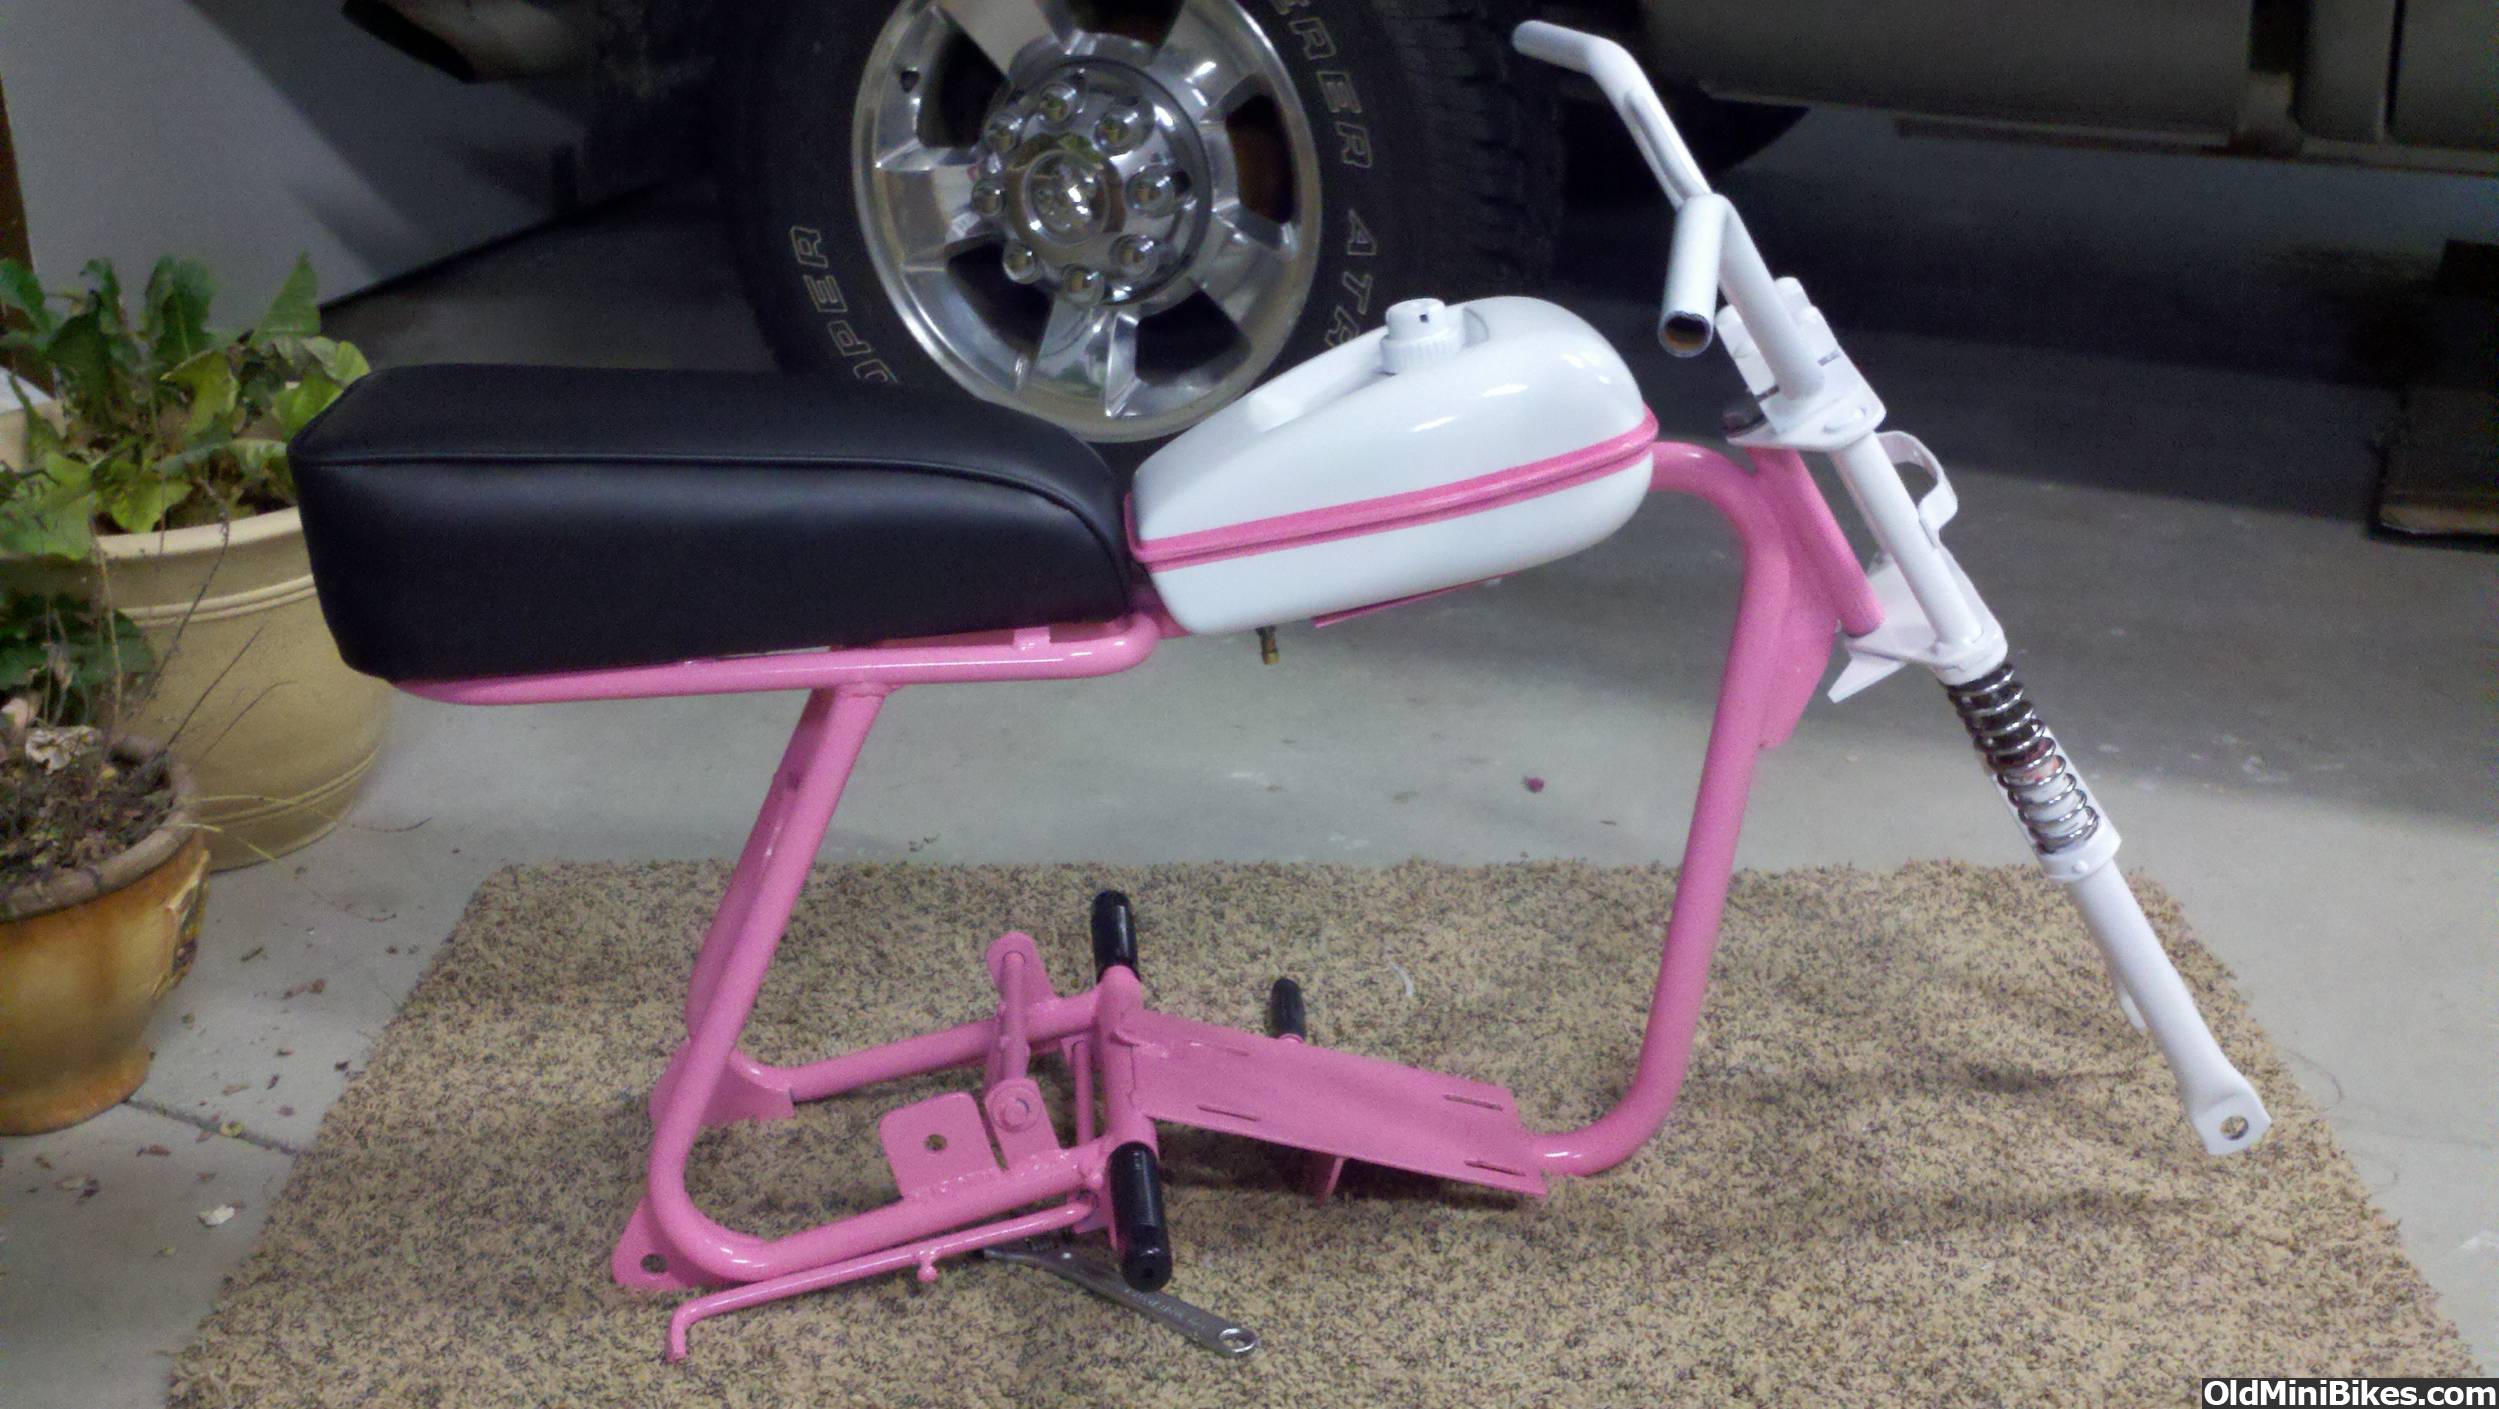
Here are a few pics of the tear down. Its been a learning process as I go, and mistakes have been made.
 
#2
I didn't like the solid rear sprocket. It weighed 5.6 pounds and took away from the spokes of the rear wheel.


Fortunately, my brother works for Flow Water Jets. I traced out the 5 spoke pattern of the wheel onto the sprocket, and he went to work with it.


The finished sprocket only weighs 3.3 pounds. I was concerned about how much I could take out, but my brother said he ran it through the structural integrity tests on his CAD program and said I should be just fine on a mini.


Time to powder coat!
 
#3
The wheels were in need of a new paint job.


These took a LONG time to prep without having access to sand blaster. A sand blaster is definitely on the Christmas list for the future.


I met a guy with a Harbor Freight powder coater and an oven in his garage. That worked out very nice.


Here's where a regret comes in: I mounted the same rotted tires I took off. That powder coating is pretty strong, but I hate to take these tires off and mount new ones because I inevitably damage the paint a little every time. Lesson learned.
 
#5
rotted tires? they look pretty new to me. I even see a new tire color ring in the first pic pre paint job??
Its not captured in the pictures, but both tires have numerous cracks on the side walls. They look good in the picture of them mounted after the rims were coated thanks to the power of ArmorAll.
 
#9
sprocket looks cool:thumbsup:
THANKS! I'm excited to get it painted and mounted to the wheel.

After spending WAY to much time cleaning up the wheels, I bought a HF grinder and wire wheel for the frame. The money spent was well worth the time saved.


I spent a long time looking over the forum for how other members are mounting side cars. I have a very cool old wooden (milk?) crate. I want to be able to make a side car out of it in the future. Since it is another project for another day, and I want the Bird to come together, I just haphazardly welded a piece of steel to the frame that I hope would work out in the future for a side car mount of some sort????


Also, you can see in the pic that the kickstand bracket has a new weld. The kick stand was bent in all sorts of places and directions. I cut one of the two brackets so I could snake the kick stand out. After a long time with a plumbers torch and some metal pipes, my brother and I were able to get it pretty dang straight. The trick now will be keeping the nephews off the bike while its on the kick stand so its doesn't get bent again. I'm not a fan of this kick stand design.
 
Last edited:
#10
Here is another area of my learning process: Painting.

I most likely did not prep the frame well enough for paint (rattle cans). I only sprayed it off with an air hose. I've since read on the site that the frame was probably still covered in my own finger oils, etc.

Also, I probably painted this while it was too cold in the garage. I had some radiant space heaters going, but they were small.

PINK? Well, its for my wife. While I did not get a commitment from her that she will ride it (she crashed in the back yard once before on my GT80 and swore it off), I figure if I paint it pink she HAS to ride it, right? :deal:
 
#14

pretty in pink!
looks like the dog in the background is getting his ass shaved!
lmao!!
It was, as a matter of fact! I didn't notice that when taking the picture, but I did when I posted it and wondered if anyone else would. Sorry you all had to see that, but there was a doggy grooming station set up opposite from my frame painting station! :doah:
 
#16
Oh no. That thread makes my attempts look pretty shabby (I am a beginner, but it still stings a bit). I would like to know how he painted under the springs. I tried so hard to get them twisted out of those brackets with no luck. I ended up cutting them off. Will post pics soon.

Considering his name is Hppowedercoatings, I suppose I shouldn't be too hard on myself. That bike looks amazing, though.
 
#18
The forks caused me to loose some sleep. The were bent when I got and needed to be straightened out. I tried so hard to get the springs twisted out. Couldn't do (if you know how its done, please let me know, even though its too late for me now). So I cut the top brackets off.


I was unable to get the forks bent back where they needed to be, so there is still a "kink" in the top of the inside fork tubes. This cause the forks to snag when compressed all the way and they did not want to release. So, I tack-welded a "bumper stop" of sorts to prevent the forks from compressing all the way, loosing about 1 inch of sweet Nighthawk travel!


The worst part of it all was that I could not paint the inside of the forks because I have to weld the upper brackets back on (which would have burnt off all the paint, and I did not want to paint the springs). So, I have some very ugly front forks. :thumbdown:

I might just have to paint all of the forks- springs and all to make it look decent.
 
#19
Coming along. I bought plastic paint for the gas tank. After reading a few other threads on here, it sounds like the fuel fumes will be too much and will eventually discolor or peel the fuel tank paint off. If that happens, I might buy one of those metal bicycle tanks off ebay. I'm not too worried because the fuel tank was very much dry rotted anyway.
 
#20
I had the exact same problem you described when I painted the Tank on my Nighthawk. Since then I changed the color I'm doing the bike in now I've got a peeling dark green tank on a Grabber Green bike... I'm thinking of going the Bicycle tank route but I just don't think it fits the look of the bike quite right.

I feel your pain on not replacing the old rotted tires after doing the wheels also... rode the Nighthawk all through the snow today and ended up with a pretty sweet blowout. The fix a flat had done so well for so long too....

If you do eventually learn how to separate the forks on one of these make sure to post it up. I want to get mine apart to polish the springs. They're the sore thumb sticking out on the project for me.
 
Top