First attempt at porting.

#1
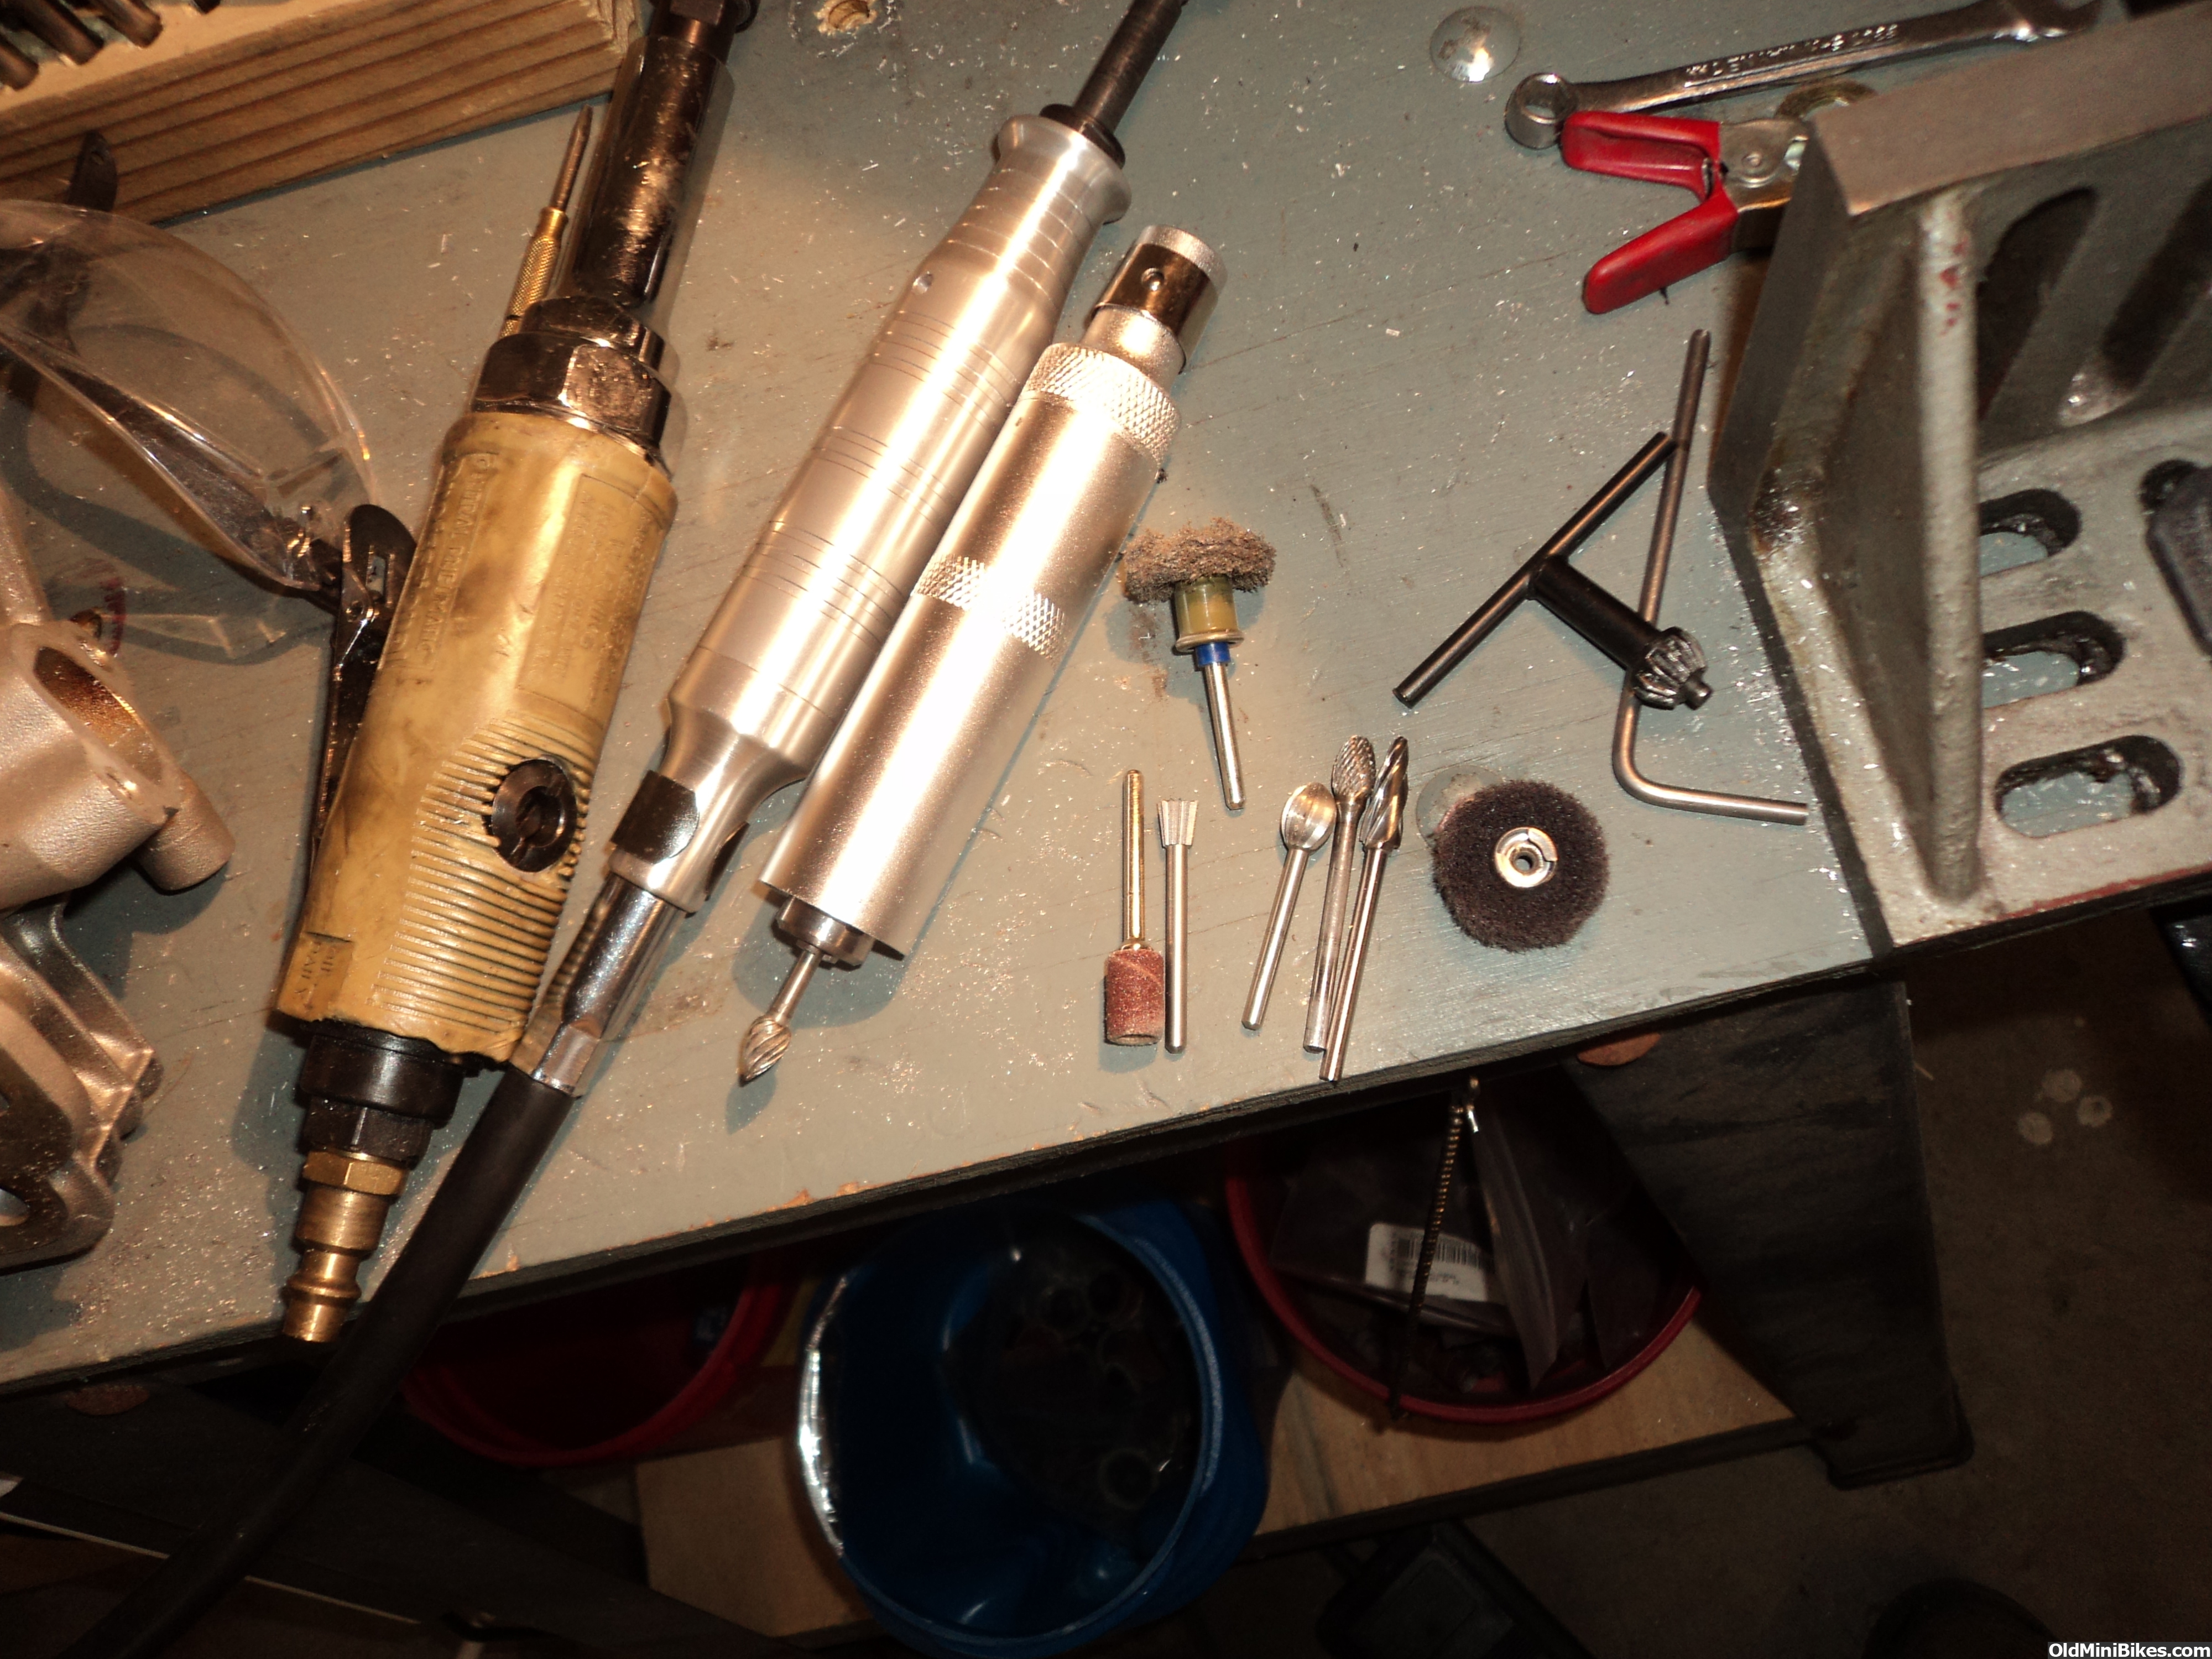
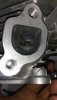
I have decided to jump into the world of porting.
I have started with removing the sharper corners and around the valve guides
How much more can I take out before I lose too much bottom end?
Please be gentle it's my first attempt.
I still have to finish them off I just want to know if I should go further
 

Attachments

#2
What I did for my port floor is use a 1/4" wide piece of 120 grit emery cloth about 10" long. I just put it through the port and pulled back and forth moving the emery from side to side and the angle I pulled it at. I could not fit my dremel so that's that I figured for the port floor. Your floor should be some of your best gains in flow. Great job getting the courage to port your head. I was afraid my first time and so far have ported 2 heads but have yet to run either. I would recommend when you put your head back together that you fill your ports up one at a time and let them sit with a penetrating fluid like W40 or something similar and make sure your valves still seal.

Untitled.png flads.png You can roll the port roof back further. I don't know how far back you can go but know how far I went. The picture of the bit is the bit I used with my dremel at about mid speed. I used some 120 grit rolled up so it was stiff enough to apply pressure as well to smooth things out when I was finished.
 
#3
I have given my head to a friend who does valve work for a living he has re-cut the seats and ground the valves. They look so much better than what they did. He said they were no where near right.

Ill see if I can find a bit like that at the hardware store I do have a dremel bit you can replace the sand paper with but its a lot fatter than your dremel bit.

I just dont want to go too far to lose bottom end

thanks
 

trinik7597

Active Member
#4
Please don't take this the wrong way but you haven't even touched that port yet .. and that stone tip is going to clog very quickly and you will be smearing instead of removing material .. sanding and stone work is for finish not the initial material removal and shaping
 

CarPlayLB

Well-Known Member
#5
I am curious as to what everyone is using to port heads. The carbide bits seem to grab to much, and I cannot find small sanding cones for the Dremel. C'mon Trinik....what are the tools we need?
 

CarPlayLB

Well-Known Member
#6
I am curious as to what everyone is using to port heads. The carbide bits seem to grab to much, and I cannot find small sanding cones for the Dremel. C'mon Trinik....what are the tools we need? [MENTION=43506]trinik7597[/MENTION]
 
#7
[MENTION=31879]CarPlayLB[/MENTION], are you lubricating the bit?[emoji848] An old candle works well to touch the bit in before removing material.
Here's an affordable start....
Engine Porting Kit


Sent from my iPhone using Tapatalk
 

CarPlayLB

Well-Known Member
#8
[MENTION=1406]minibikin'[/MENTION]
I have seen those kits before, but I don't think they are made for the dremel. I thought those have 1/4" shanks...and they may be too large for the small ports in these heads. I will try the wax though! Thanks :thumbsup:
 
#9
I can't teach you all my secrets....[emoji47] But you are correct on the shank size. A good dremel/rotary tool with the flex shaft attachment is 1/4". The hobby sized Dremels are limited in mandrels.


Sent from my iPhone using Tapatalk
 
#10
Here are the physical tools I use to port a head. Before any grinding starts you need to determine what the particular engine/application is going to require for airflow using some simple math. Then you need to calculate the minimum cross sectional area in the port required to attain that amount of flow and if the valve is the MCSA then you would need to fit larger valves as well as port. I can tell you the intake runner on these heads is very efficient and is capable of flowing mid 80's CFM with no changes. It all goes to sh#t at the end of the runner/bowl interface. It appears the head is cast with the runner and then the bowl is machined in one step with no blending at all. Without a flow bench, some math, and maybe larger valves the best you can do on a stock head in order of importance is a perfect radius on the short side (I have not mastered that skill yet) next a good multi angle valve job including a back cut on the intake valve, streamline around the valve guide and last smooth the sides where the runner meets the bowl.
Here are some of my tools
1) grinding bench I took out all the 1/8 inch shank cutters and crossbuffs so you can see all that is available for a dremel.

2) the rest of the bench including a tube of grinding wax so the aluma burrs cut smooth and do not grab.

3) Flow Bench - without this you have no idea if you are increasing flow or decreasing it. Also it allows me to check velocity all around the port.

4) Valve seat preparation tools
 
#11
As ole said the short side radius is very important .. most of my heads are 32 /28 setups opened up as far as they can be with out welding .. what I was trying to say is don't be affraid to get in there and do it ...
 
#12
Hey Trinik, Ole4 you guys have any pictures of some mild ported heads? Not some fully ported heads but something a person would do if they were building a motor that was only spinning to about 6K? If you guys also have a picture of how far a person can port the roof before braking through that would be helpful to a few of us too :thumbsup:
 
#13
Hey Trinik, Ole4 you guys have any pictures of some mild ported heads? Not some fully ported heads but something a person would do if they were building a motor that was only spinning to about 6K? If you guys also have a picture of how far a person can port the roof before braking through that would be helpful to a few of us too :thumbsup:
What he said lol.
I'll be spinning mine no more than 5500-6000.
 
#14
Please don't take this the wrong way but you haven't even touched that port yet .. and that stone tip is going to clog very quickly and you will be smearing instead of removing material .. sanding and stone work is for finish not the initial material removal and shaping
Are you talking to me or deadpixel ? He has has gone further than I have.
 
#15
Hes talking to me.

For what I do I don't ever think I need to touch the port of the head not tell I build a motor for drags. I think that is true for most of us that modify our motors. Most of us are looking for more power at 6K and under. Also like most of us I will never have a head flowed or have access to a flow bench so am just going to be porting off visuals and hoping I did not hurt flow. I know you guys usually do high lift and high RPM stuff and the technique for porting is probably different than it would be on a low RPM and low lift application. If you guys have some pictures of a low lift, low RPM head it would be help full to a few of us on here. Also if any one has flow numbers on a mildly ported head or numbers that were taken at each step of the porting process that would be awesome.

I know the short side is a good gain and hard to mess up part of the port and smoothing out the sharp edges but cant tell ya if I lost power on my heads yet or not as I have not ran them. I wanted to be safe when I ported as I am looking for low RPM power.
 
#16
Here are the physical tools I use to port a head. Before any grinding starts you need to determine what the particular engine/application is going to require for airflow using some simple math. Then you need to calculate the minimum cross sectional area in the port required to attain that amount of flow and if the valve is the MCSA then you would need to fit larger valves as well as port. I can tell you the intake runner on these heads is very efficient and is capable of flowing mid 80's CFM with no changes. It all goes to sh#t at the end of the runner/bowl interface. It appears the head is cast with the runner and then the bowl is machined in one step with no blending at all. Without a flow bench, some math, and maybe larger valves the best you can do on a stock head in order of importance is a perfect radius on the short side (I have not mastered that skill yet) next a good multi angle valve job including a back cut on the intake valve, streamline around the valve guide and last smooth the sides where the runner meets the bowl.
Here are some of my tools
1) grinding bench I took out all the 1/8 inch shank cutters and crossbuffs so you can see all that is available for a dremel.

2) the rest of the bench including a tube of grinding wax so the aluma burrs cut smooth and do not grab.

3) Flow Bench - without this you have no idea if you are increasing flow or decreasing it. Also it allows me to check velocity all around the port.

4) Valve seat preparation tools
I think what most of us are curious or at least I am and am sure Kleyne is, is how far can a person grind around the valve guide area? You have a good picture of a port roof that's finished? My current motor I don't plan on doing a valve job on. I just plan on re lapping them and making sure they seal good after I am done porting. Just doing short side, sides and around valve guide. What have your gains been just doing the short side if you have taken that reading?
 
#17
So if you read my earlier post you can calculate the approximate maximum flow something is capable by first finding the MCSA in Sq inches then multiplying it by 137. If the stock carb is approx. 625 in diameter and max carb flow is around 40CFM at 28 inches. Most stock clone heads are slightly more than that so Your carb if stock is the limiter on maximum flow. That said the low lift flow will be improved if you radius the short side (easier said than done correctly) blend the side edges of the runner into the bowl and streamline the area around the guide. You should not be raising the roof except for next to eash side of the guide. Air does not like to change, if you start opening the roof and just have a stock valve the air will slow down when it hits the bowl and if you make it too large the inertia to force air in the motor will be lost.
 
#18
So if you read my earlier post you can calculate the approximate maximum flow something is capable by first finding the MCSA in Sq inches then multiplying it by 137. If the stock carb is approx. 625 in diameter and max carb flow is around 40CFM at 28 inches. Most stock clone heads are slightly more than that so Your carb if stock is the limiter on maximum flow. That said the low lift flow will be improved if you radius the short side (easier said than done correctly) blend the side edges of the runner into the bowl and streamline the area around the guide. You should not be raising the roof except for next to eash side of the guide. Air does not like to change, if you start opening the roof and just have a stock valve the air will slow down when it hits the bowl and if you make it too large the inertia to force air in the motor will be lost.
That makes sense.
Man I love forums. Even though I am an old car mechanic you can't get this type of experience unless you're in a performance shop, which sadly I'm not.

thanks heaps
 
#19
You should not be raising the roof except for next to eash side of the guide.
Ya that's what I meant. I should have been more clear. But like I did to my last head. I moved the area around the guide and blended it back further in to the bowl area. Did not realize the stock carb was so restrictive. I see why people use the mikuni carbs.
 
#20
So if you read my earlier post you can calculate the approximate maximum flow something is capable by first finding the MCSA in Sq inches then multiplying it by 137. If the stock carb is approx. 625 in diameter and max carb flow is around 40CFM at 28 inches. Most stock clone heads are slightly more than that so Your carb if stock is the limiter on maximum flow. That said the low lift flow will be improved if you radius the short side (easier said than done correctly) blend the side edges of the runner into the bowl and streamline the area around the guide. You should not be raising the roof except for next to eash side of the guide. Air does not like to change, if you start opening the roof and just have a stock valve the air will slow down when it hits the bowl and if you make it too large the inertia to force air in the motor will be lost.
I agree with ole on this info. The only bit of info I would add is make sure you are not smoothing the intake runner, it needs to be the roughness of an 80 grit sanding roll. It helps to atomize the fuel and keep it from sticking to the port wall. On the first head I ported I killed flow by taking too much off the SSR and the air jumped across the back of the valve versus flowing all around the valve. I would suggest get a 6" mandrel with a 1/4" die grinder, best tool I have for porting. Ingersol Rand makes a good one that is plenty powerful. Also the carbides are specific to steel versus aluminum. Porting heads is fun, but to test the fruits of your labor a flow bench is required, if going for max flow at your predetermined max lift. As ole has stated air does not like to change direction.
 
Top