Harley Davidson X-90 Restoration

#1
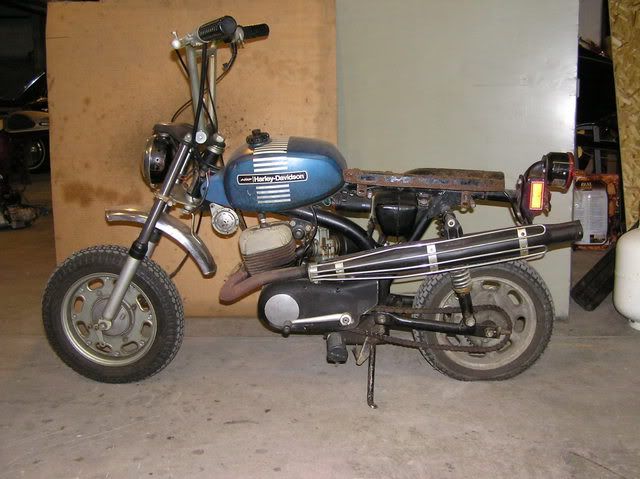
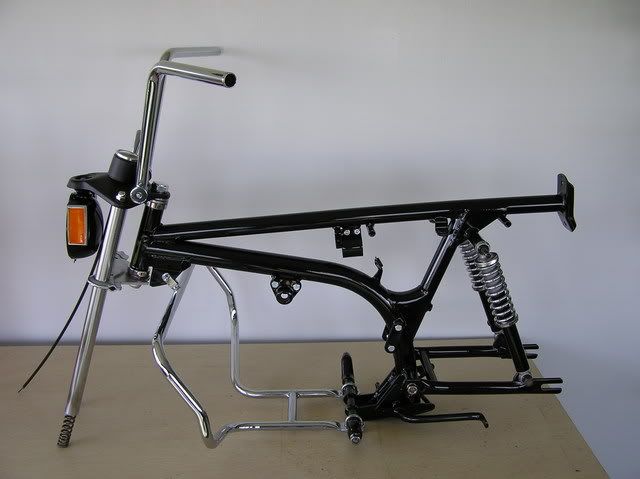
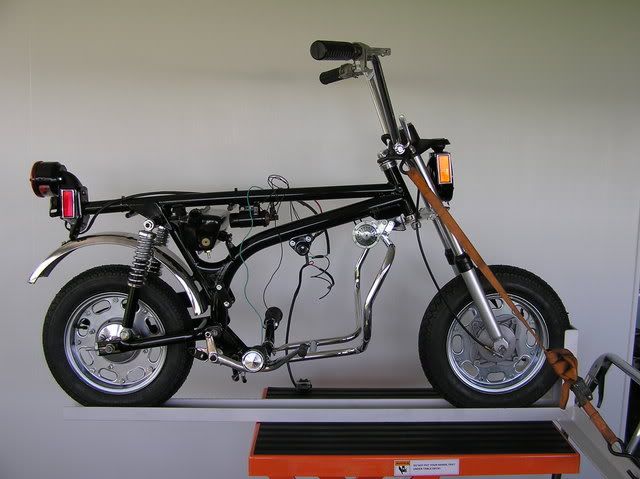
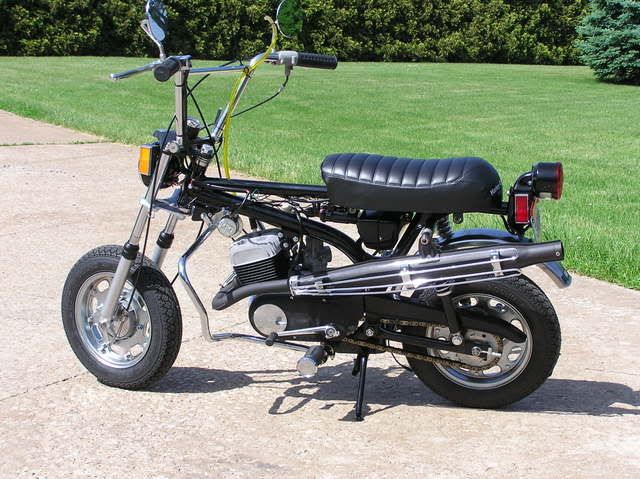
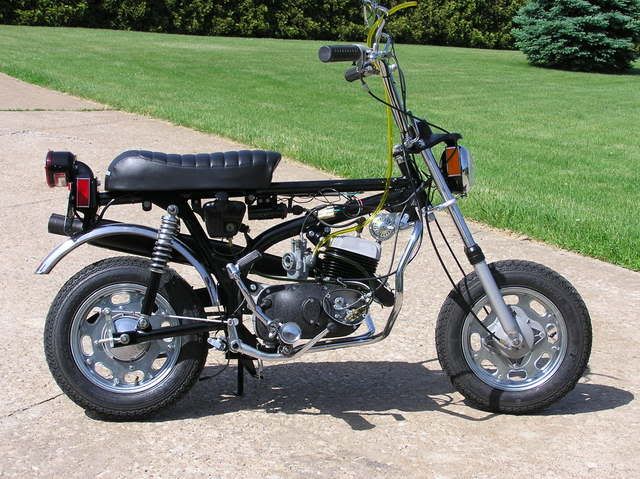
This is the bike that we started with last winter - a 1973 HD X-90, all original with a title.


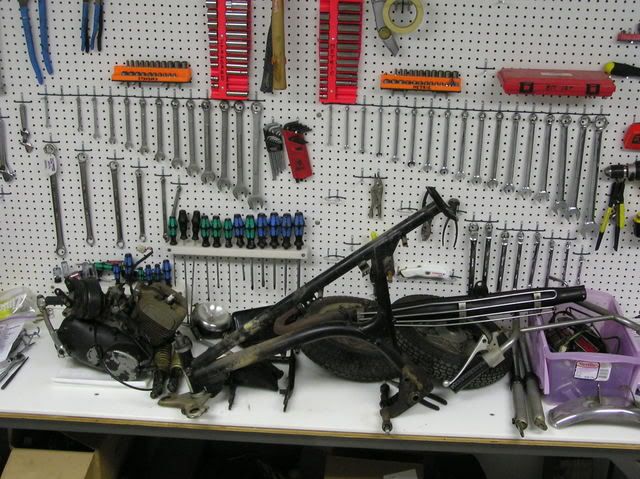
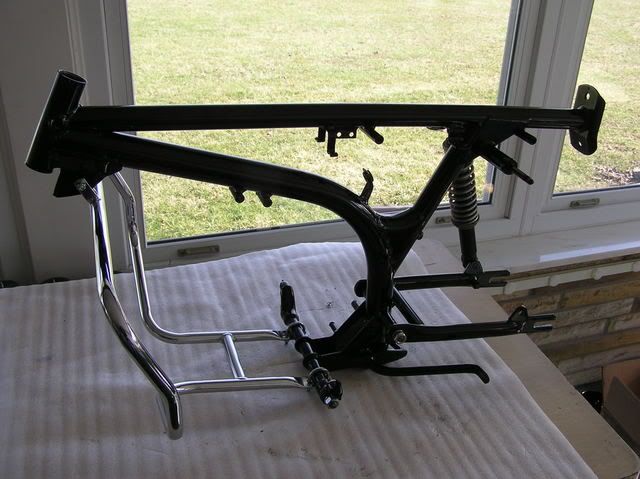
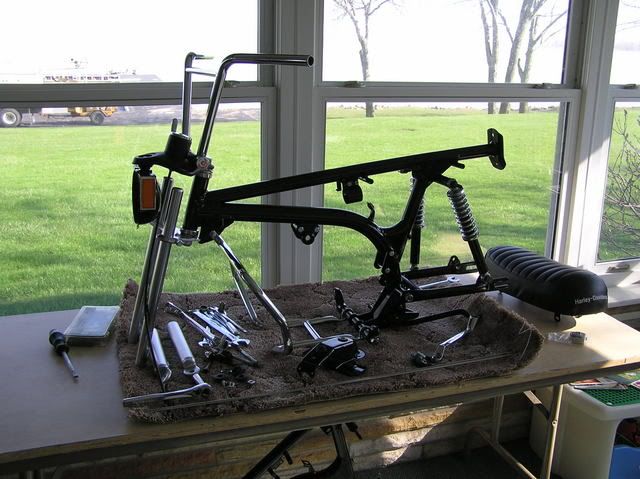
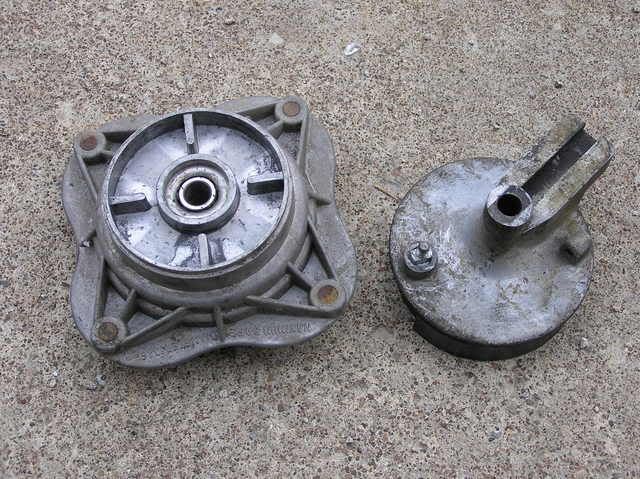
We started out with disassembling the bike to inventory and inspect all parts.


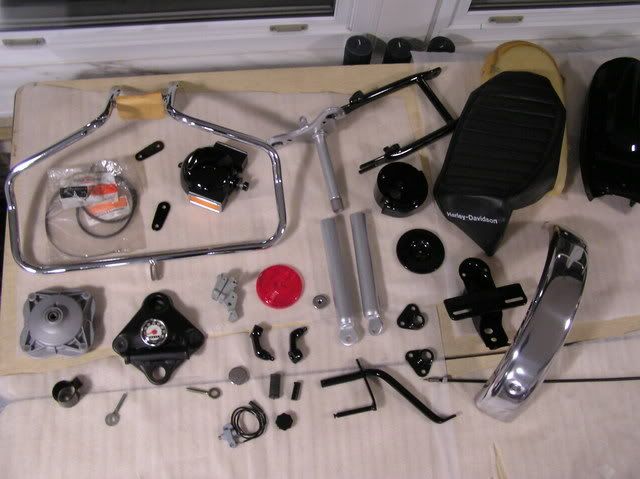
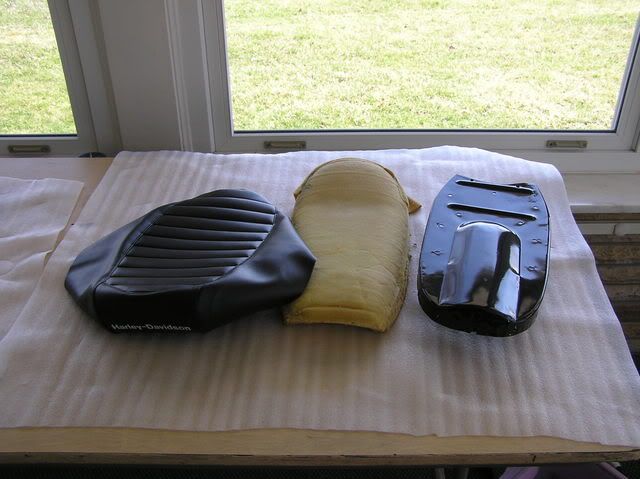
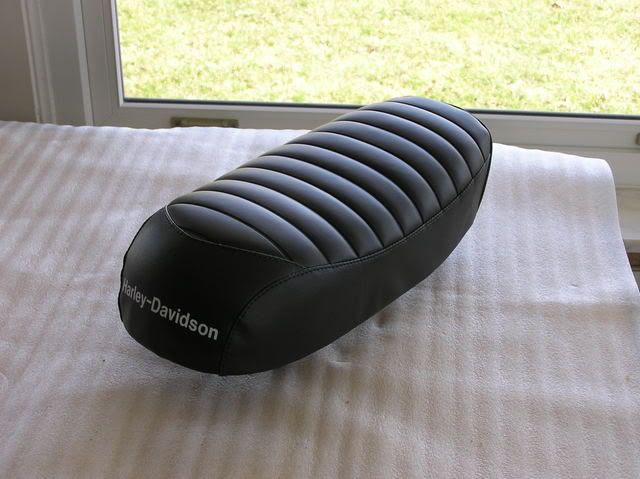
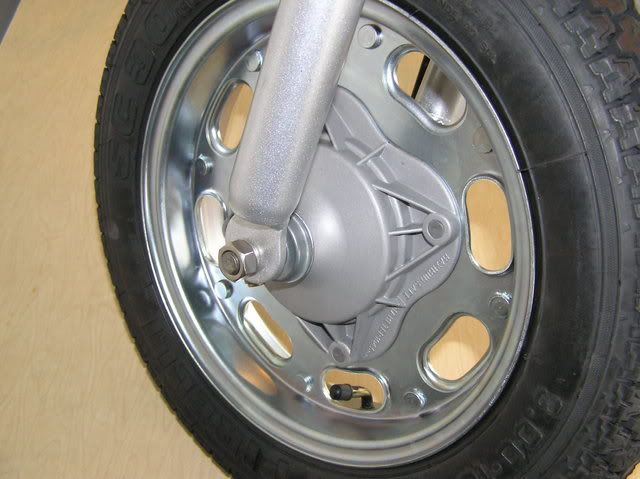
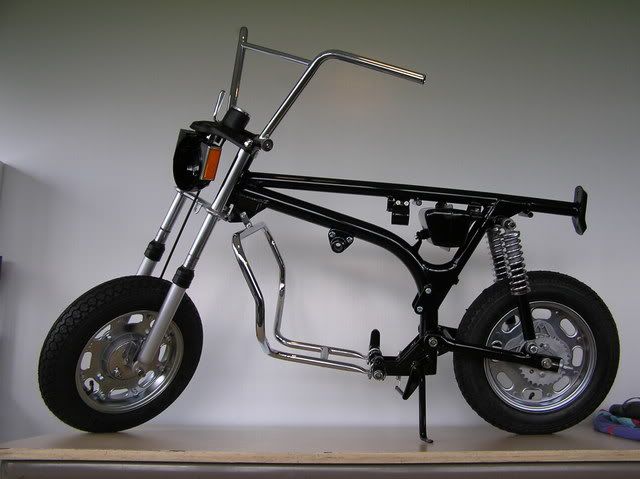
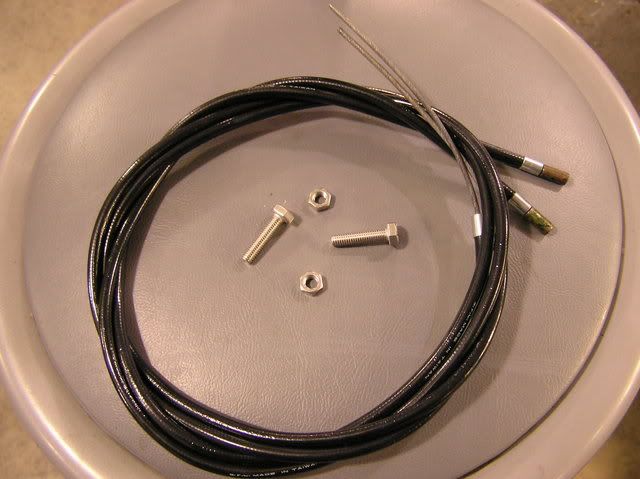
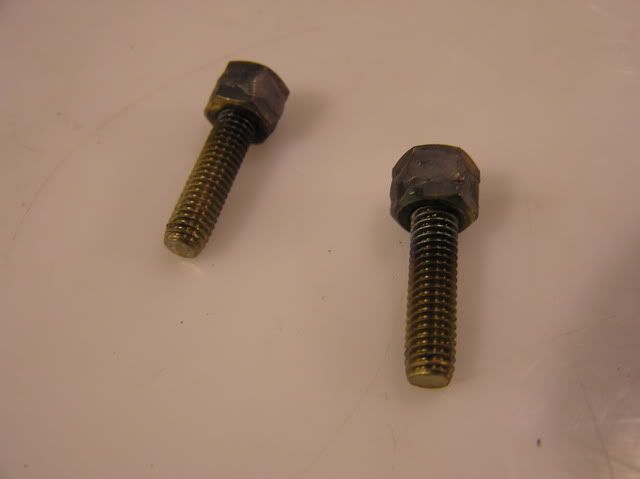
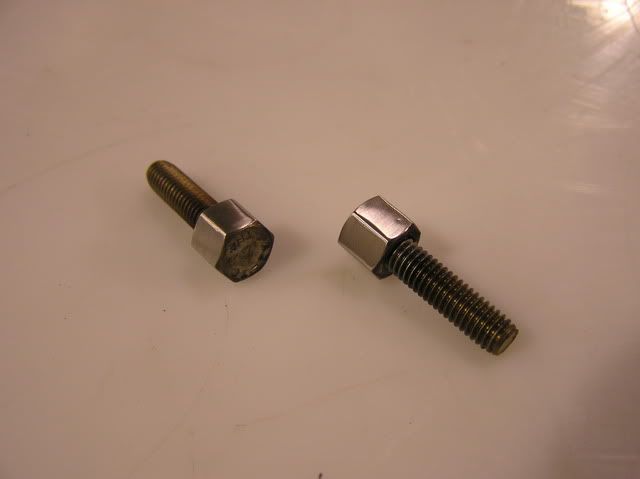
The parts are grouped - paint, powder coat, chrome plating, zinc plating, etc. All parts are inspected and prepped for restoration of the appropriate outer finish. As parts are getting finished they are grouped for assembly.

 
#2
The bike has seen a lot of use and abuse. Parts were bead blaster, polished, sanded, welded, etc.


This is a full restoration so it should start out as a new bike - new wrinkle powder coating and a NOS speedometer.

 
#3
All of the frame parts including the seat pan were bead blasted, welded as needed, and powder coated. The original seat foam was reused and a new cover was purchased.


Looks like new now.

 
#5
The wheel rims and hubs require quite a bit of work to make them look new again.


The rims are cleaned up and sent out for zinc plating. The hubs are glass beaded and clear coated.


The brake backing plates are polished prior to reassembly.

 
#8
There always seems to be some small parts that are not available for a restoration. This time it was a front brake adjuster. Instead of spending all day going to the motorcycle dealers I headed to the shop.

This is what I started with - brake cables, 6mm stainless steel bolts and nuts.


Put the nuts and bolts together keeping the flats aligned. Carefully TIG weld the nuts and bolts.


Sand the welds down being careful to maintain the outside head dimension on the new parts.


Put the new part in the lathe and face it off. Drill, counterbore, chamfer and deburr the part.


Test fit the cable before taking the part out of the lathe.


Perfect fit

 
#9
The bike is almost reassembled. I am waiting for the gas tank from the paint shop and I have to finish polishing the front fender. These items will not delay me from running the bike. I have a long yellow fuel line running up the handlebars. The engine will run about 5 minutes on a full hose of fuel.


Once the carburetor and oil pump are adjusted the engine cover and air cleaner will get installed for the final carburetor adjustments.

 
#10
The bike was actually finished at Laconia Bike Week. I sat at the picnic table one afternoon and installed the tank decals and made all final adjustments. The bike hit 55mph on the first ride into town that same afternoon. Over the next 2 days we put about 50 miles on the bike and it ran great.


1973 Retail Price $325
Cost of bike with title in 2005 $1600
Restoration cost $900
Total Dollars Spent $2,500
Total Restoration Hours - 250 hours
Value of bike today - $5,000
Enjoyment Factor - Priceless
 
#11
The bike was actually finished at Laconia Bike Week. I sat at the picnic table one afternoon and installed the tank decals and made all final adjustments. The bike hit 55mph on the first ride into town that same afternoon. Over the next 2 days we put about 50 miles on the bike and it ran great.


1973 Retail Price $325
Cost of bike with title in 2005 $1600
Restoration cost $900
Total Dollars Spent $2,500
Total Restoration Hours - 250 hours
Value of bike today - $5,000
Enjoyment Factor - Priceless
HAHA!
:thumbsup:
 
#15
Jim does the very best restorations of Harleys I have ever seen. Awesome job. Envy factor: Way High! RacerX

...I honestly hope that at some point my X90 will look half as good!
 
#18
Jim, do you go to Daytona bike week in the spring? If so you may want to make plans for the x-90s to go as well...keep an eye on my site for the announcements and more info. Once tentative plans are finalized I will post them.

ps....they will need to be licensed for this event ;)
 

73X90

New Member
#20
I know this is an older thread, but I have a question for you re: your seat cover?
Where were you able to find the new seat cover and are they readily available?

I have a 73 X90 that I've owned since I was 8 in 1974, and the seat has a small tear in one side panel and I'd like to be able to replace the cover if possible. Just thought you might be able to point me in the right direction.

GREAT work by the way, they look awesome!

Brett!
 
Top