Home Made Tools, Equipment, Gadgets and Parts
- Thread starter KustomKartKid
- Start date
- Tags stand
valve relief cutters
This is two versions of piston eyebrow cutters. This is what you do when your to cheap to pay a machine shop to cut valve reliefs in your piston tops. Or if you have some expensive pistons and no one around who knows how to do what you want done. I used valves a few millimeters larger than the ones I was using in the motor.
After all the measurements were taken, a stop was placed between the valve and the guide and the pistons were brought up to TDC and were cut accordingly. One of them has a piece of tool steel brazed to it and the other one just has the top of the valve serrated with a die grinder.


Got thrown a real curveball at work the other day - this is a simple fix,but I was really chuffed it worked so well.
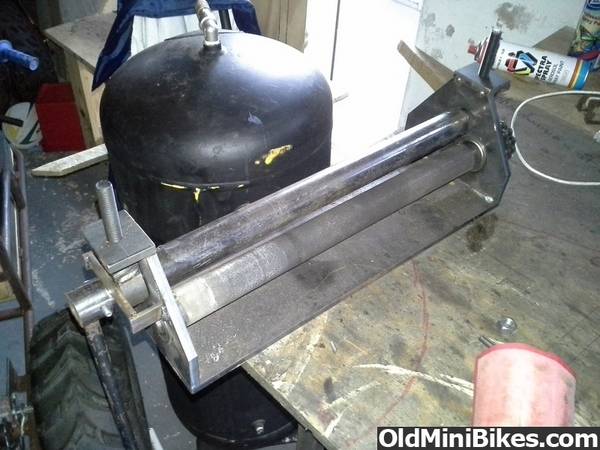
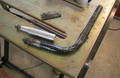
One of the machines we have uses two acme threads and bushes to lift the table up and down. I stripped it down for a bearing change and found the threads and bushes as stiff as hell.
The thread is easy to clean up with a file, but the bush is a different animal.
I could not find a tap to match
Did not have a boring bar, and my lathe is a manual change for pitch - a pain in the :censure:
So I came up with this.
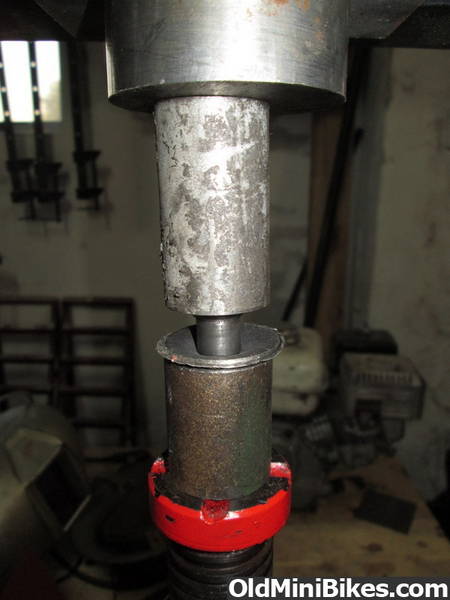
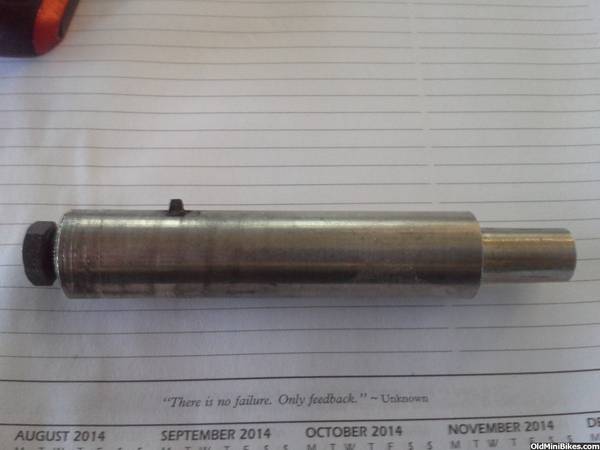
I turned a piece of scrap bar to the same ID as the bush. Then drilled a 6mm through the bar about 20mm from the end. Then I drilled and tapped an 8mm hole in the end of the bar. This way I could put a piece of 6mm HHS bar inthe hole and clamp it with an 8mm bolt ut: to many dimesions and not a good read:laugh::laugh:
Then I took a piece of HHS and ground the point to match the acme thread, this bit was easy as I used the amce screw to match it. Then the HHS was loaded into the bar, depth set and tightened in place.
Then I clamped the bush in the chuck, and the bar/tap into the tailstock. As I wanted to feel what was happening I did not lock the tailstock, just let it run free and then turned the chuck by hand.
It zipped through, cleaned out the thread and hey presto good as new.
One of the machines we have uses two acme threads and bushes to lift the table up and down. I stripped it down for a bearing change and found the threads and bushes as stiff as hell.
The thread is easy to clean up with a file, but the bush is a different animal.
I could not find a tap to match
Did not have a boring bar, and my lathe is a manual change for pitch - a pain in the :censure:
So I came up with this.
I turned a piece of scrap bar to the same ID as the bush. Then drilled a 6mm through the bar about 20mm from the end. Then I drilled and tapped an 8mm hole in the end of the bar. This way I could put a piece of 6mm HHS bar inthe hole and clamp it with an 8mm bolt
ut: to many dimesions and not a good read:laugh::laugh:Then I took a piece of HHS and ground the point to match the acme thread, this bit was easy as I used the amce screw to match it. Then the HHS was loaded into the bar, depth set and tightened in place.
Then I clamped the bush in the chuck, and the bar/tap into the tailstock. As I wanted to feel what was happening I did not lock the tailstock, just let it run free and then turned the chuck by hand.
It zipped through, cleaned out the thread and hey presto good as new.
Last edited:
Mini Bike Dyno _7/12
Some of these are old ones that I posted before....like this contraption:
Some of these are old ones that I posted before....like this contraption:
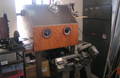
Well ok…..so it’s not really a “Dyno”…..it’s just a bunch of old Go-Kart parts cobbled together……...but it’s fun to play with, there’s an ever present element of danger to it, and it has actually proven to be a very useful device.

Now raise your hand if you’ve ever tried to adjust the main jet on a carb while riding at top speed…either burning your hand or nearly wrecking yourself in the process….hmy: …I’ve done it many times over the years, sometime even riding “cross armed” …throttling with my left while I reach down with my right….a bit hair raising to say the least.
So I’ve had this idea kicking around in my head for probably a year. We started stashing the parts we collected under a bench in the garage…..me and the kid decided to dig the stuff out and put it together just prior to Windber…..
Essentially it’s just a set of rollers….to be specific they are made from a 50mm kart axle and “cassette” bearings that I dug out of the trash at the local track. You just need to watch the guys with a lot of money…they don’t bother to straighten an axle or re-use the bearings…they just replace everything. :shifty:

The frame is just some heavy (3/16”) C-channel . We decided to bolt it all together so it would be serviceable in case the bearings go bad. We cut two 12” long rollers out of the remaining straight portion of the axles and installed the bearings on each end.

There are 4 sleeves that act as spacers between the sections of C-Channel. These were made from an old discarded nerf bar we had..(this is why I never throw anything away :wink..

4 Lengths of ½-13 threaded rod pass through the tubes and the channel and 4 nuts and lock washers hold it all together nice and rigid.

The bearings are located and clamped using carriage bolts and small pieces of tubing.

So what is it good for…?? Well besides annoying the neighbors we don’t really have any room to ride where we live….we have to load the bikes and take them somewhere everytime we want to test one. Now we just chock the front wheel…set it up on the rollers and let it rip. You can exert a fair amout of load on the bike just by bearing all your weight down. If I get time I may even incorporate a little band brake on the rollers to provide increased loads.
Here it is in action.....
Mini Bike Dyno - YouTube
In the short time we've had it, it has proven to be invaluable for testing carbs, clutches, chain alignment, TAV operation, etc….The whole thing is only a little more than a foot square and stores away or travels easily…..

I only wish I had taken a video of Hent on this thing at Windber. He had that obnoxiously loud Bonanza wound up on this thing where I thought the bottom end was going to fly out of it :lol: It was a real crowd pleaser……!!
.
…...but it’s fun to play with, there’s an ever present element of danger to it, and it has actually proven to be a very useful device.
Now raise your hand if you’ve ever tried to adjust the main jet on a carb while riding at top speed…either burning your hand or nearly wrecking yourself in the process….
hmy: …I’ve done it many times over the years, sometime even riding “cross armed” …throttling with my left while I reach down with my right….a bit hair raising to say the least.So I’ve had this idea kicking around in my head for probably a year. We started stashing the parts we collected under a bench in the garage…..me and the kid decided to dig the stuff out and put it together just prior to Windber…..
Essentially it’s just a set of rollers….to be specific they are made from a 50mm kart axle and “cassette” bearings that I dug out of the trash at the local track. You just need to watch the guys with a lot of money…they don’t bother to straighten an axle or re-use the bearings…they just replace everything. :shifty:
The frame is just some heavy (3/16”) C-channel . We decided to bolt it all together so it would be serviceable in case the bearings go bad. We cut two 12” long rollers out of the remaining straight portion of the axles and installed the bearings on each end.
There are 4 sleeves that act as spacers between the sections of C-Channel. These were made from an old discarded nerf bar we had..(this is why I never throw anything away :wink
..
4 Lengths of ½-13 threaded rod pass through the tubes and the channel and 4 nuts and lock washers hold it all together nice and rigid.
The bearings are located and clamped using carriage bolts and small pieces of tubing.
So what is it good for…?? Well besides annoying the neighbors we don’t really have any room to ride where we live….we have to load the bikes and take them somewhere everytime we want to test one. Now we just chock the front wheel…set it up on the rollers and let it rip. You can exert a fair amout of load on the bike just by bearing all your weight down. If I get time I may even incorporate a little band brake on the rollers to provide increased loads.
Here it is in action.....
Mini Bike Dyno - YouTube
In the short time we've had it, it has proven to be invaluable for testing carbs, clutches, chain alignment, TAV operation, etc….The whole thing is only a little more than a foot square and stores away or travels easily…..
I only wish I had taken a video of Hent on this thing at Windber. He had that obnoxiously loud Bonanza wound up on this thing where I thought the bottom end was going to fly out of it :lol: It was a real crowd pleaser……!!
.
Here are a few of my homemade tools I use some mini specific others generic.
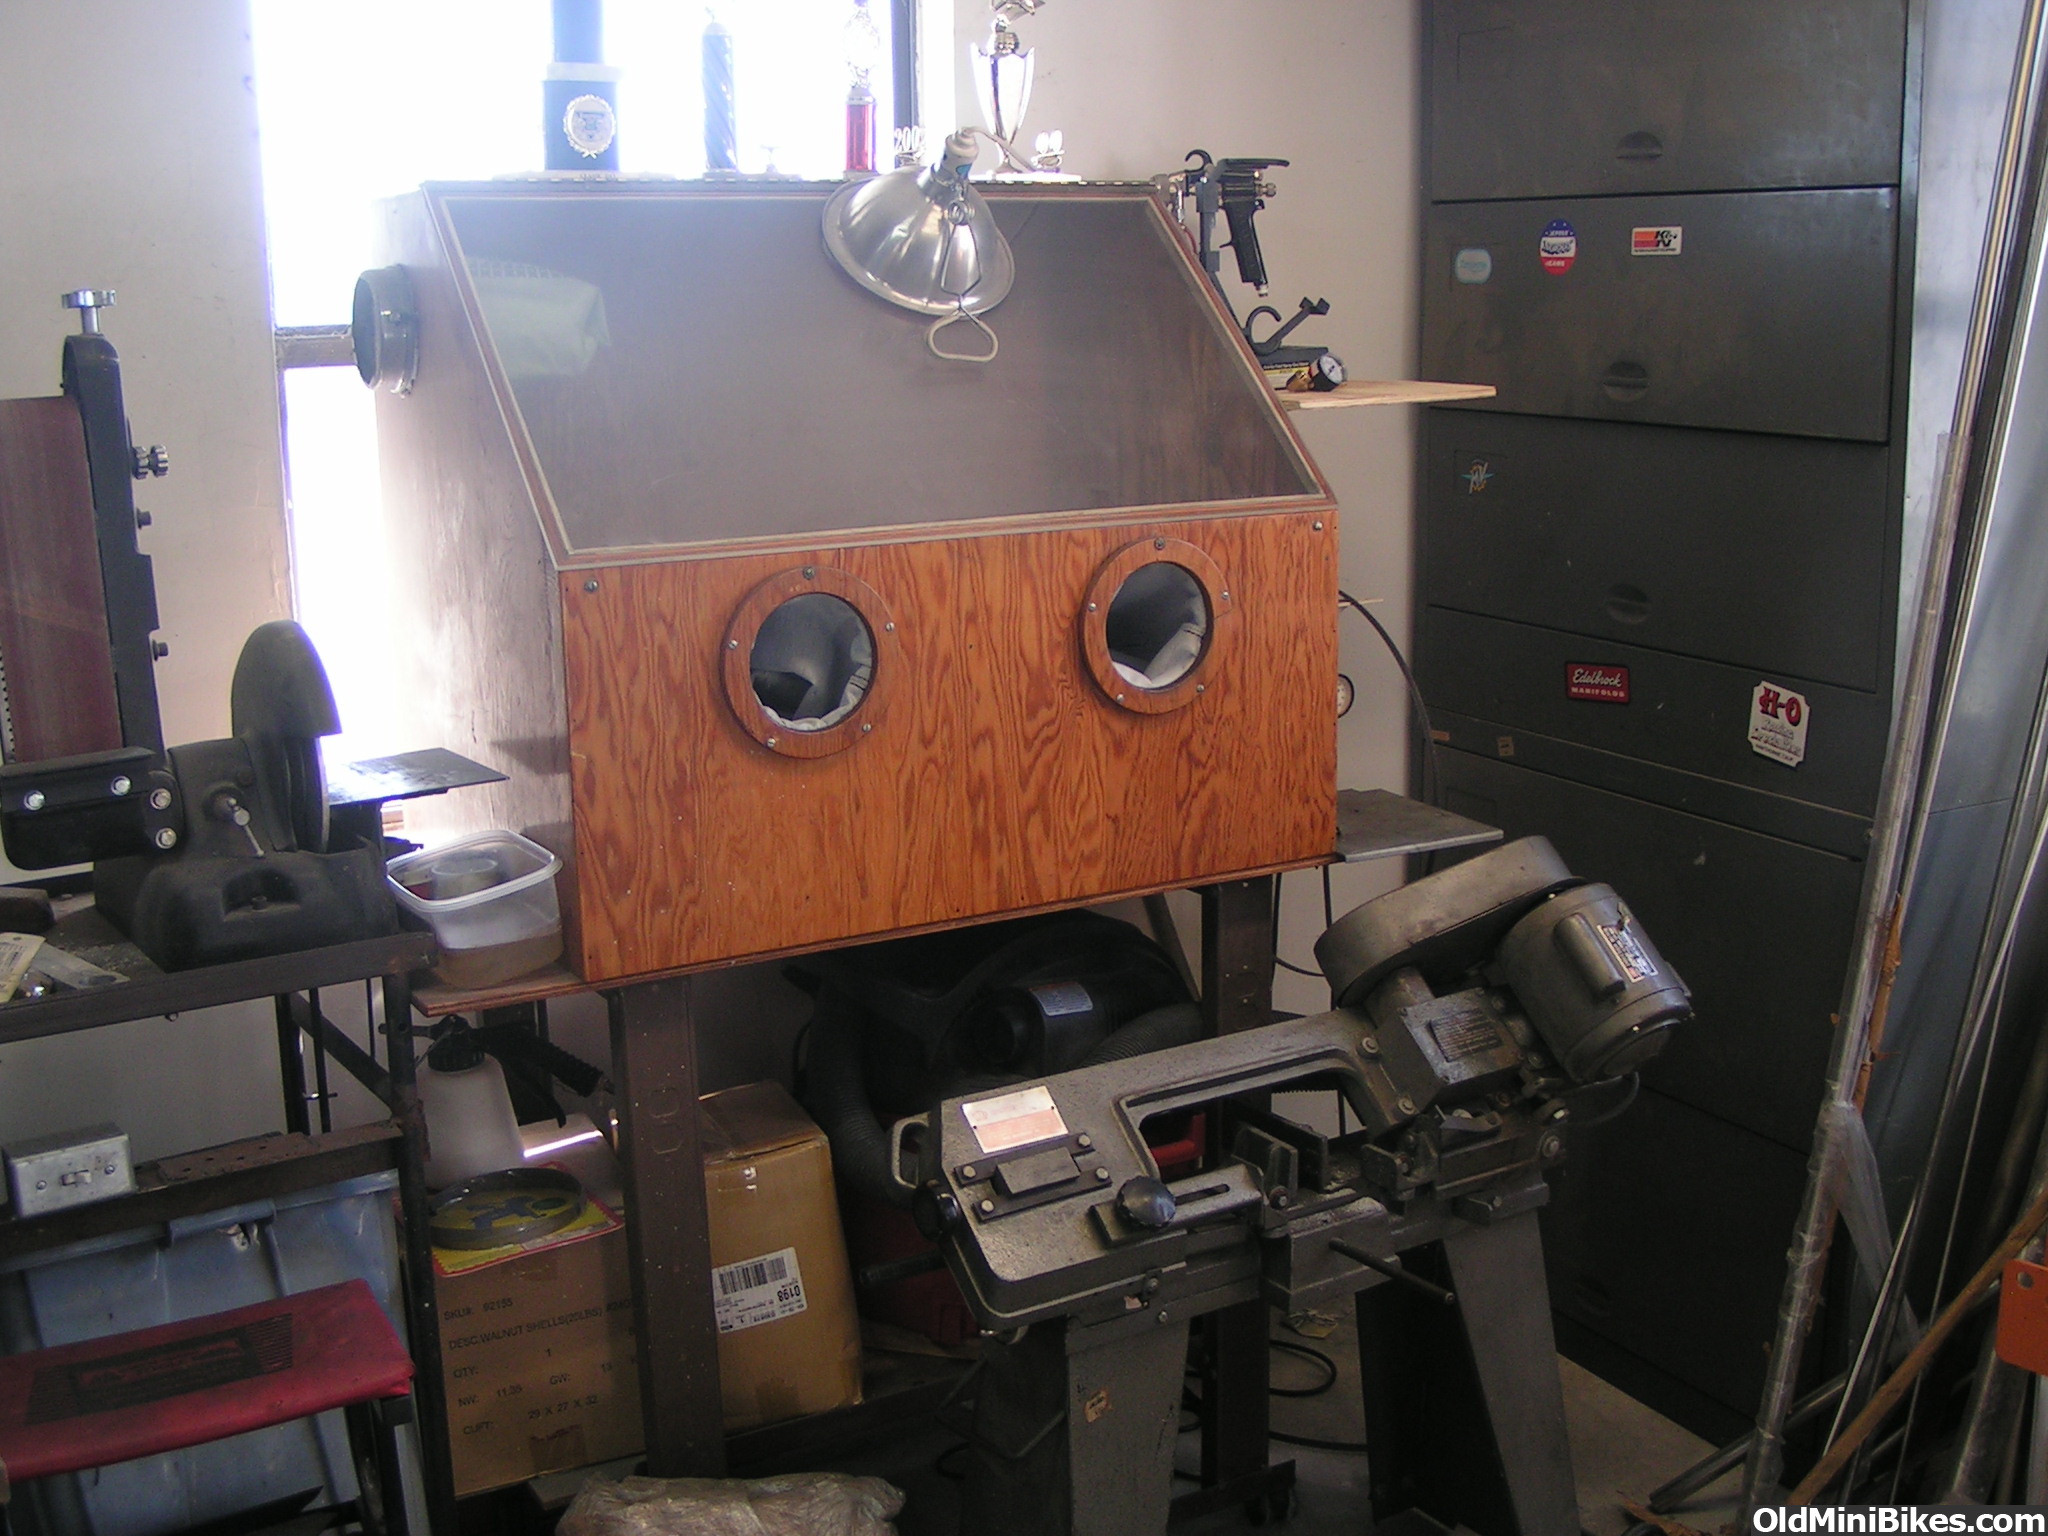
Glass bead cabinet
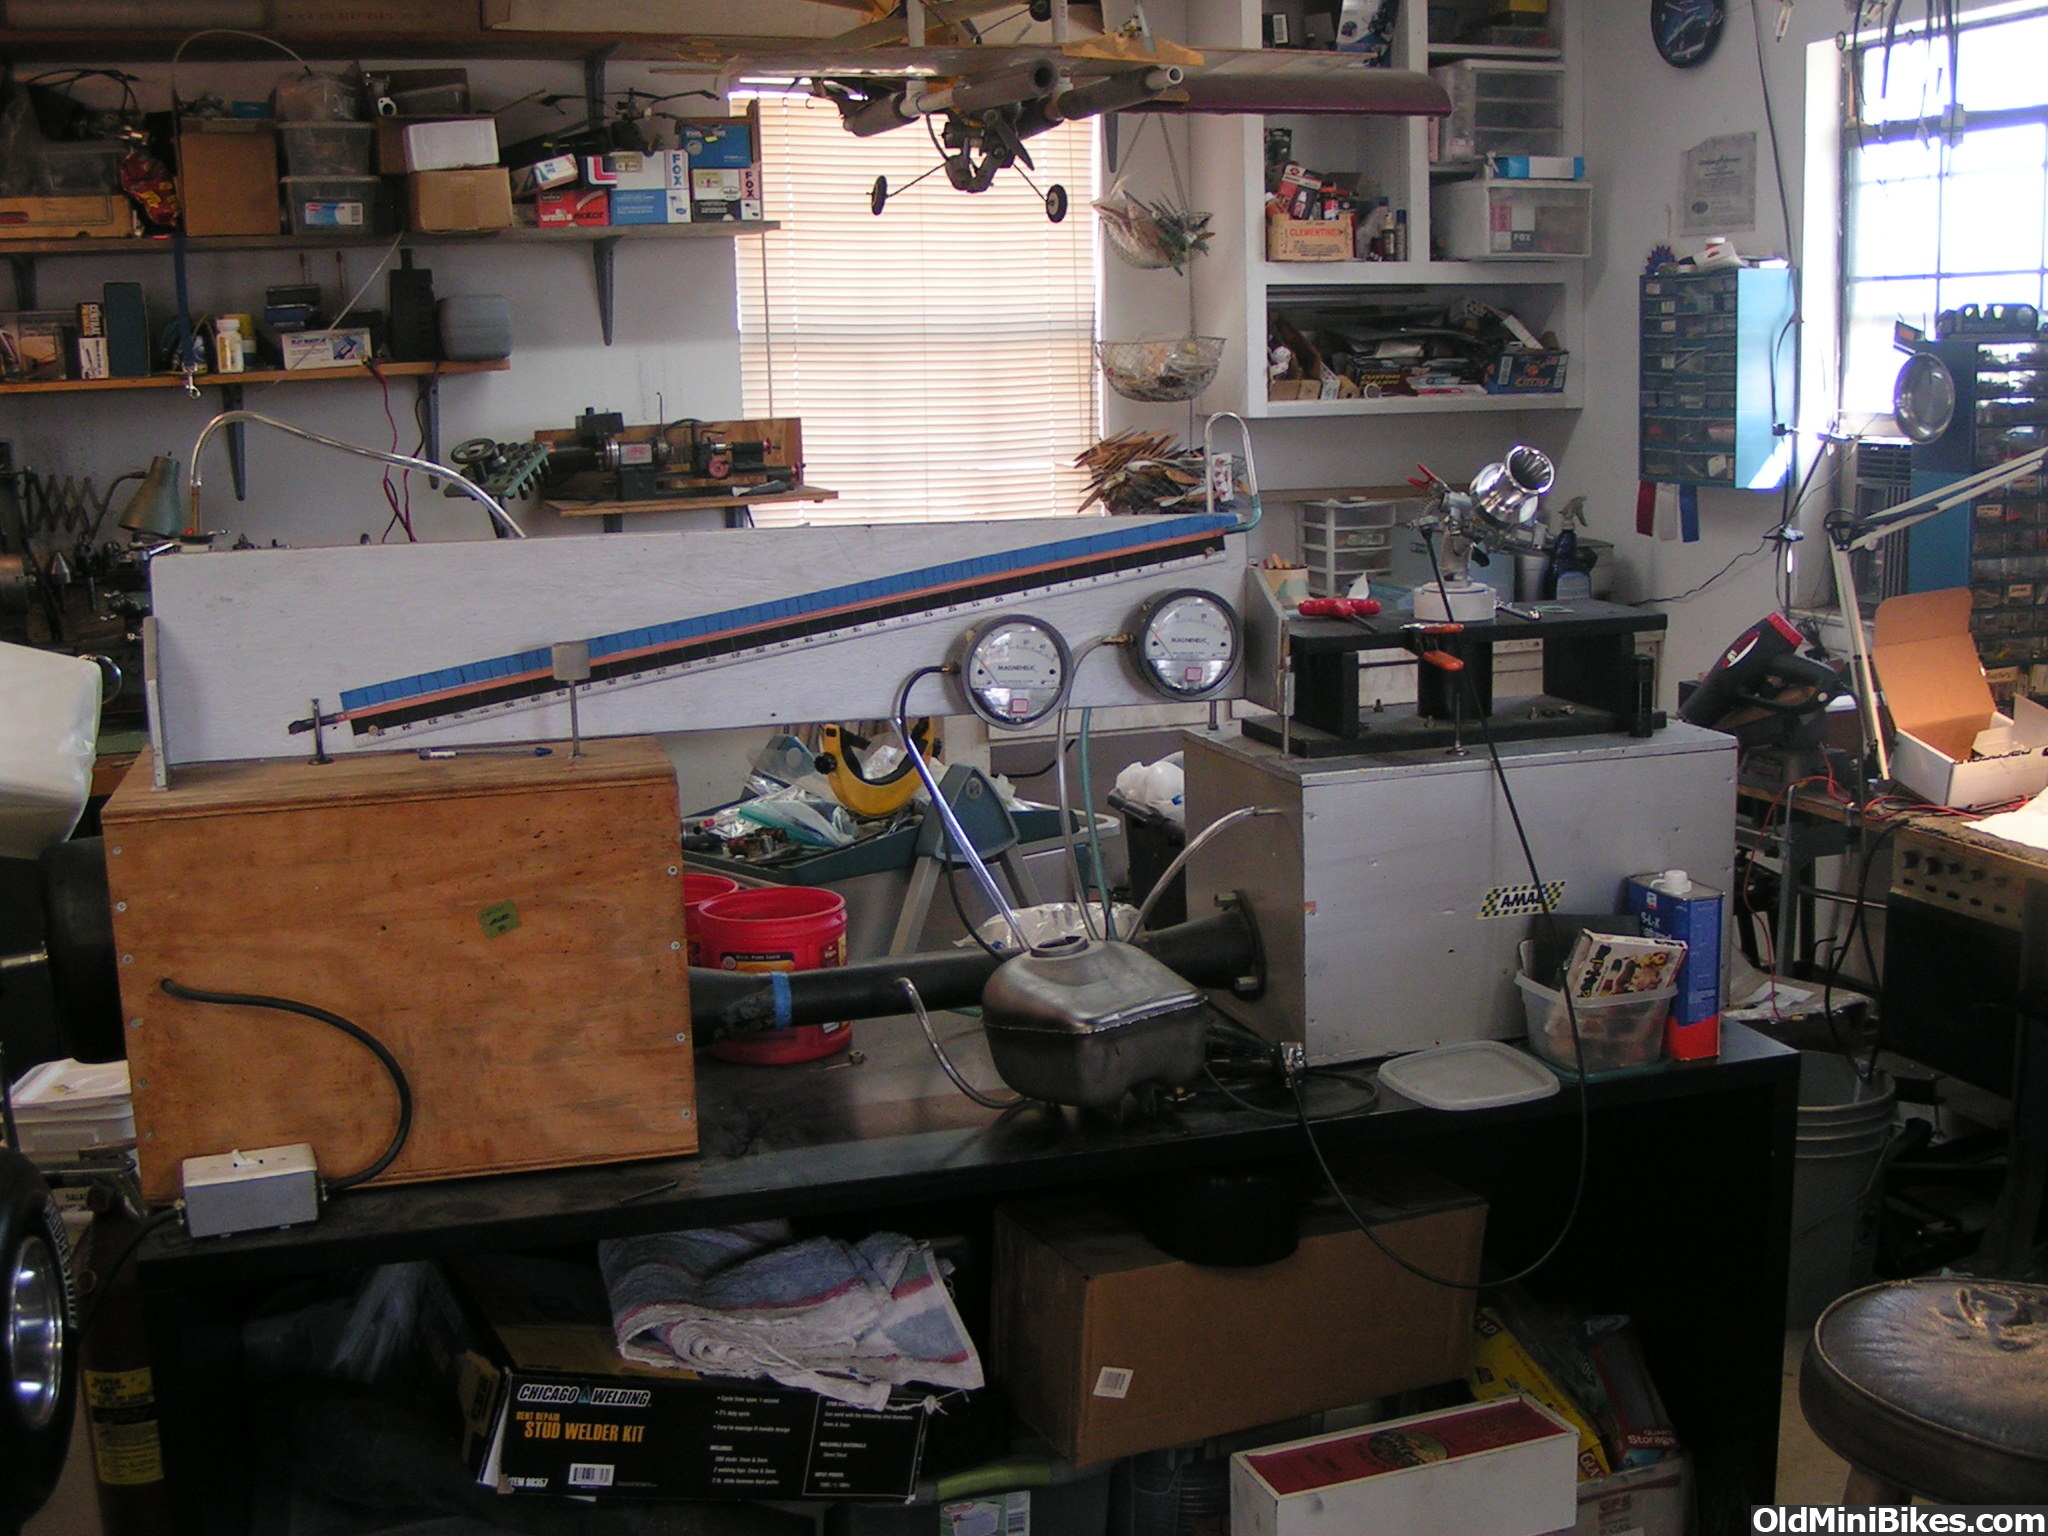
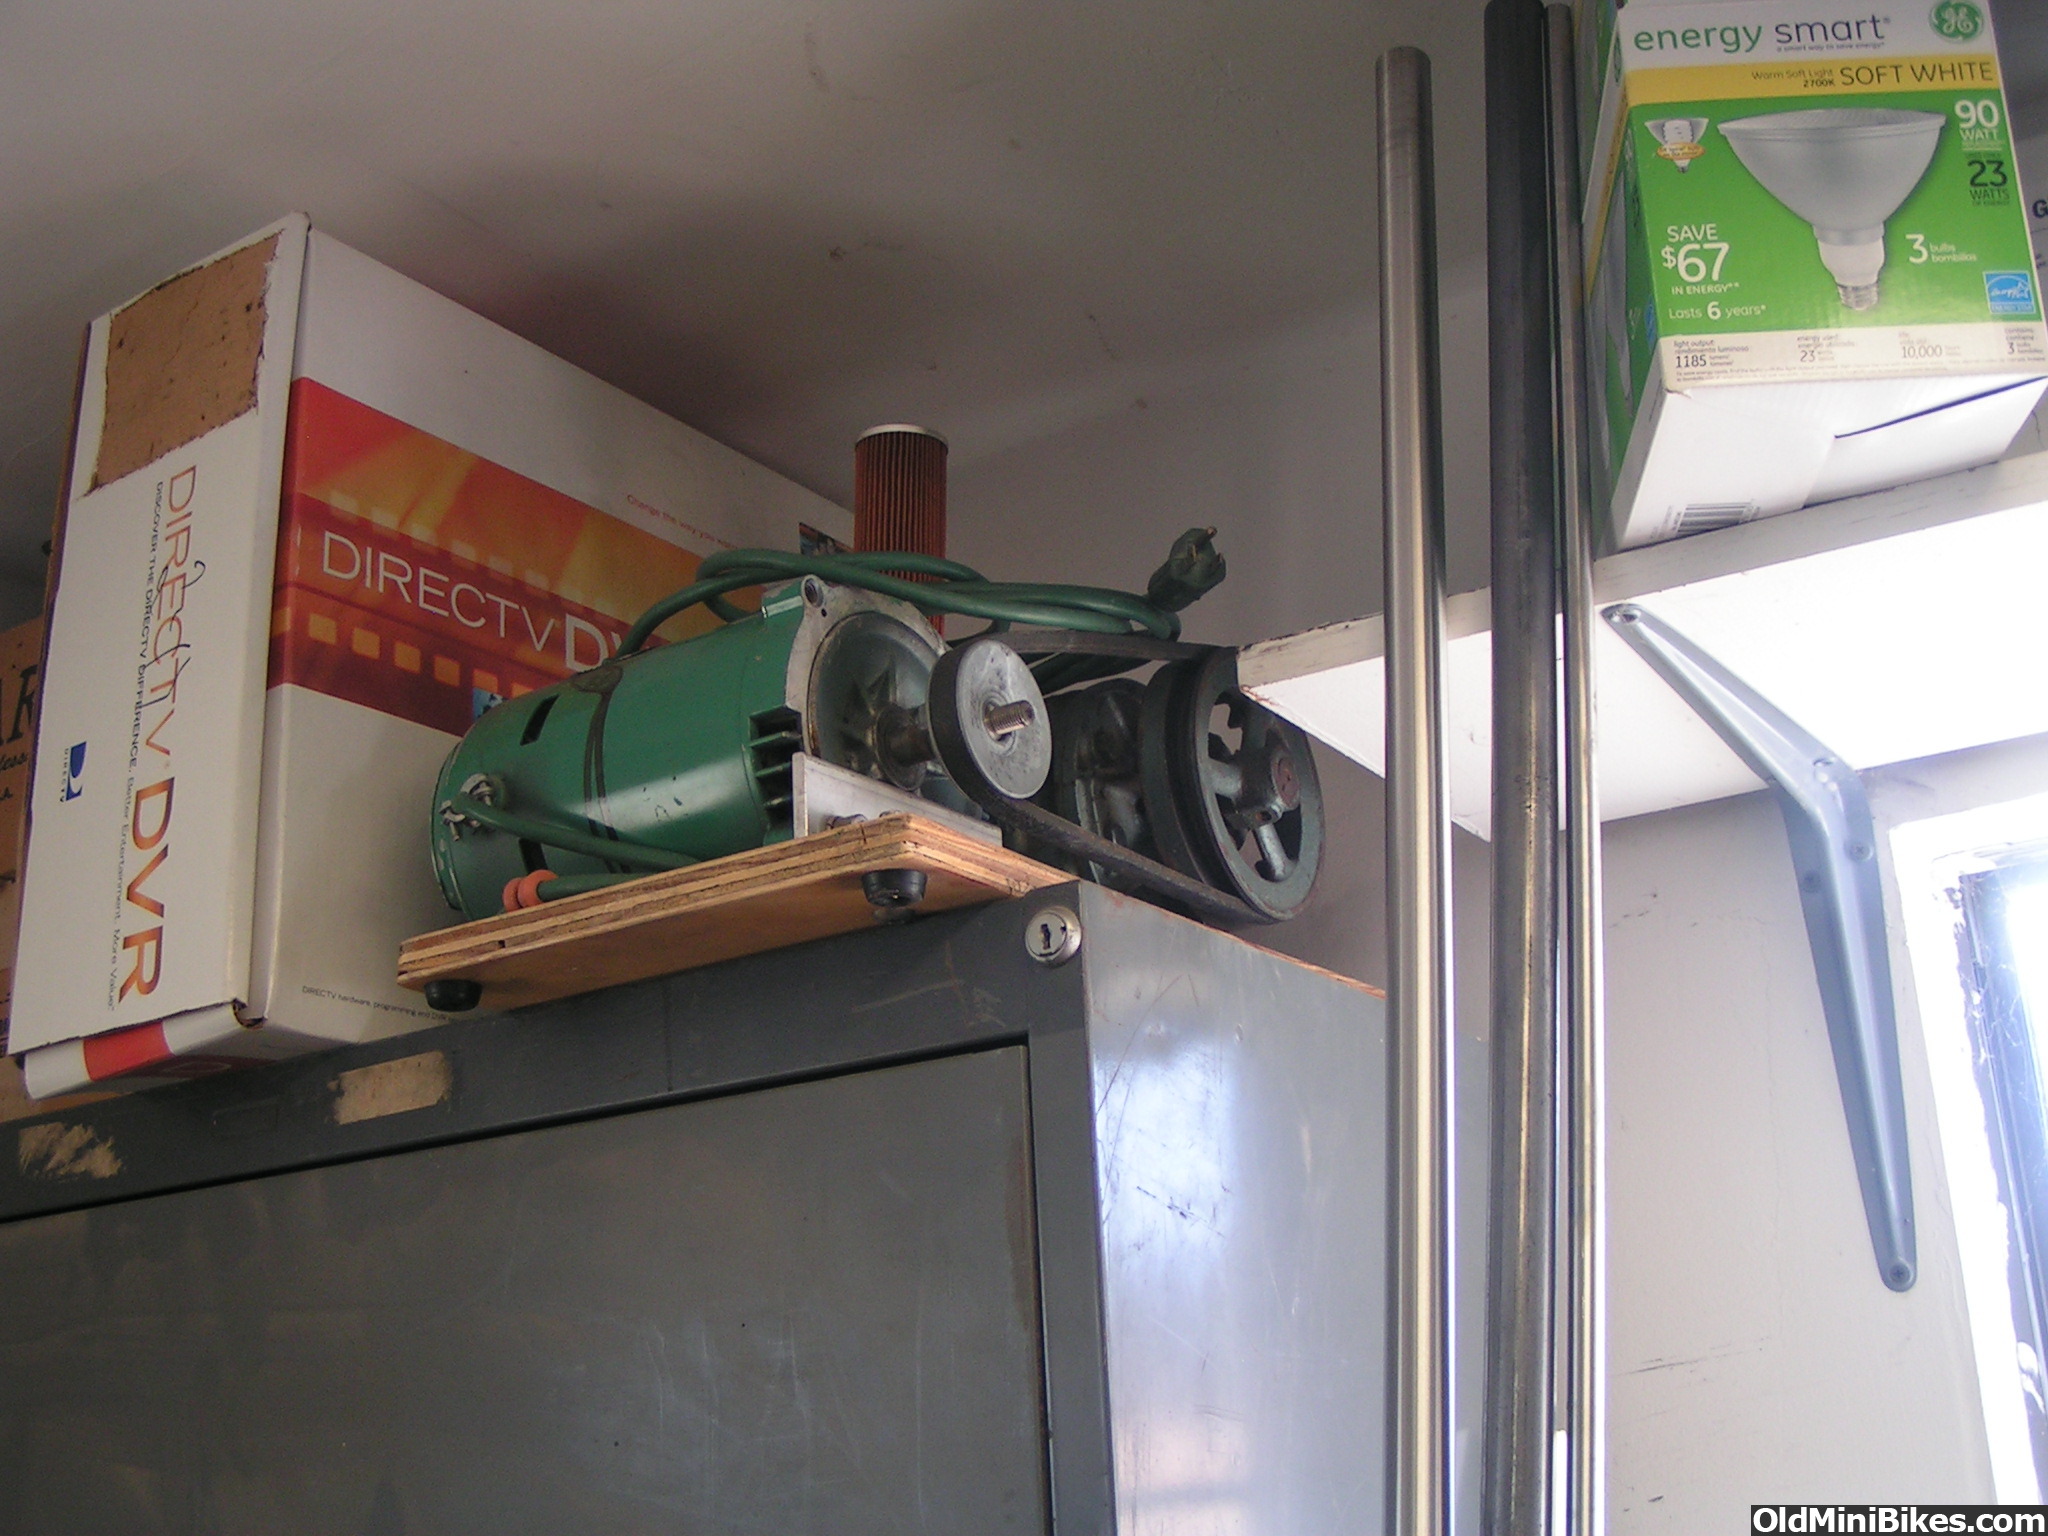
Flow bench
Head holder
Flywheel holder
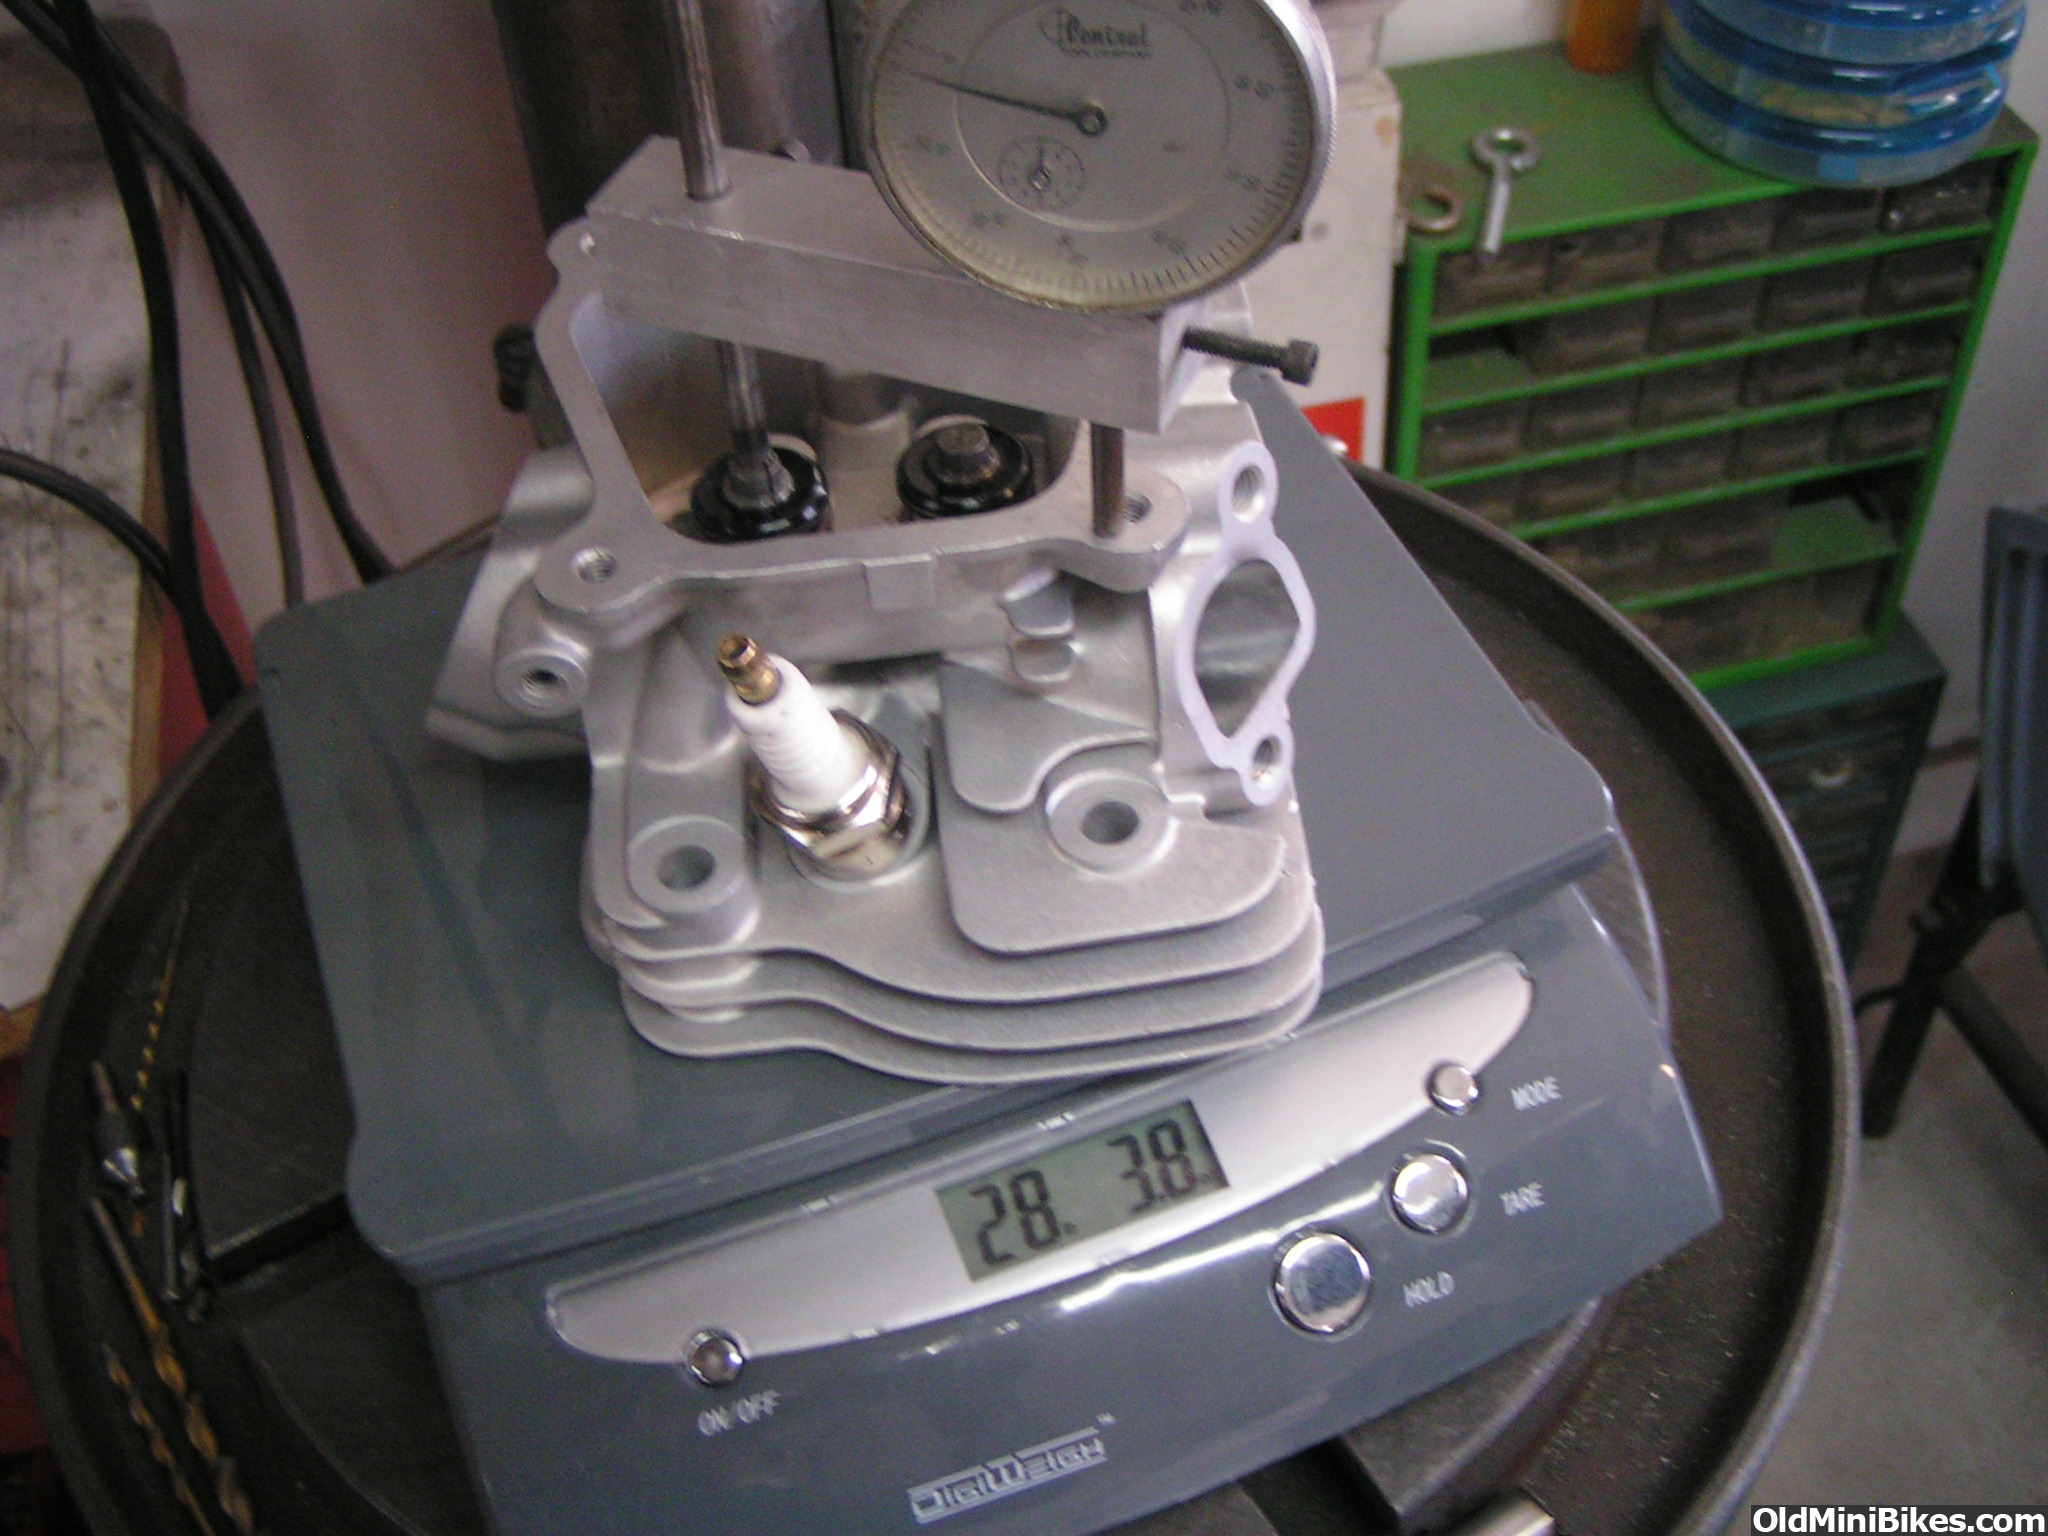
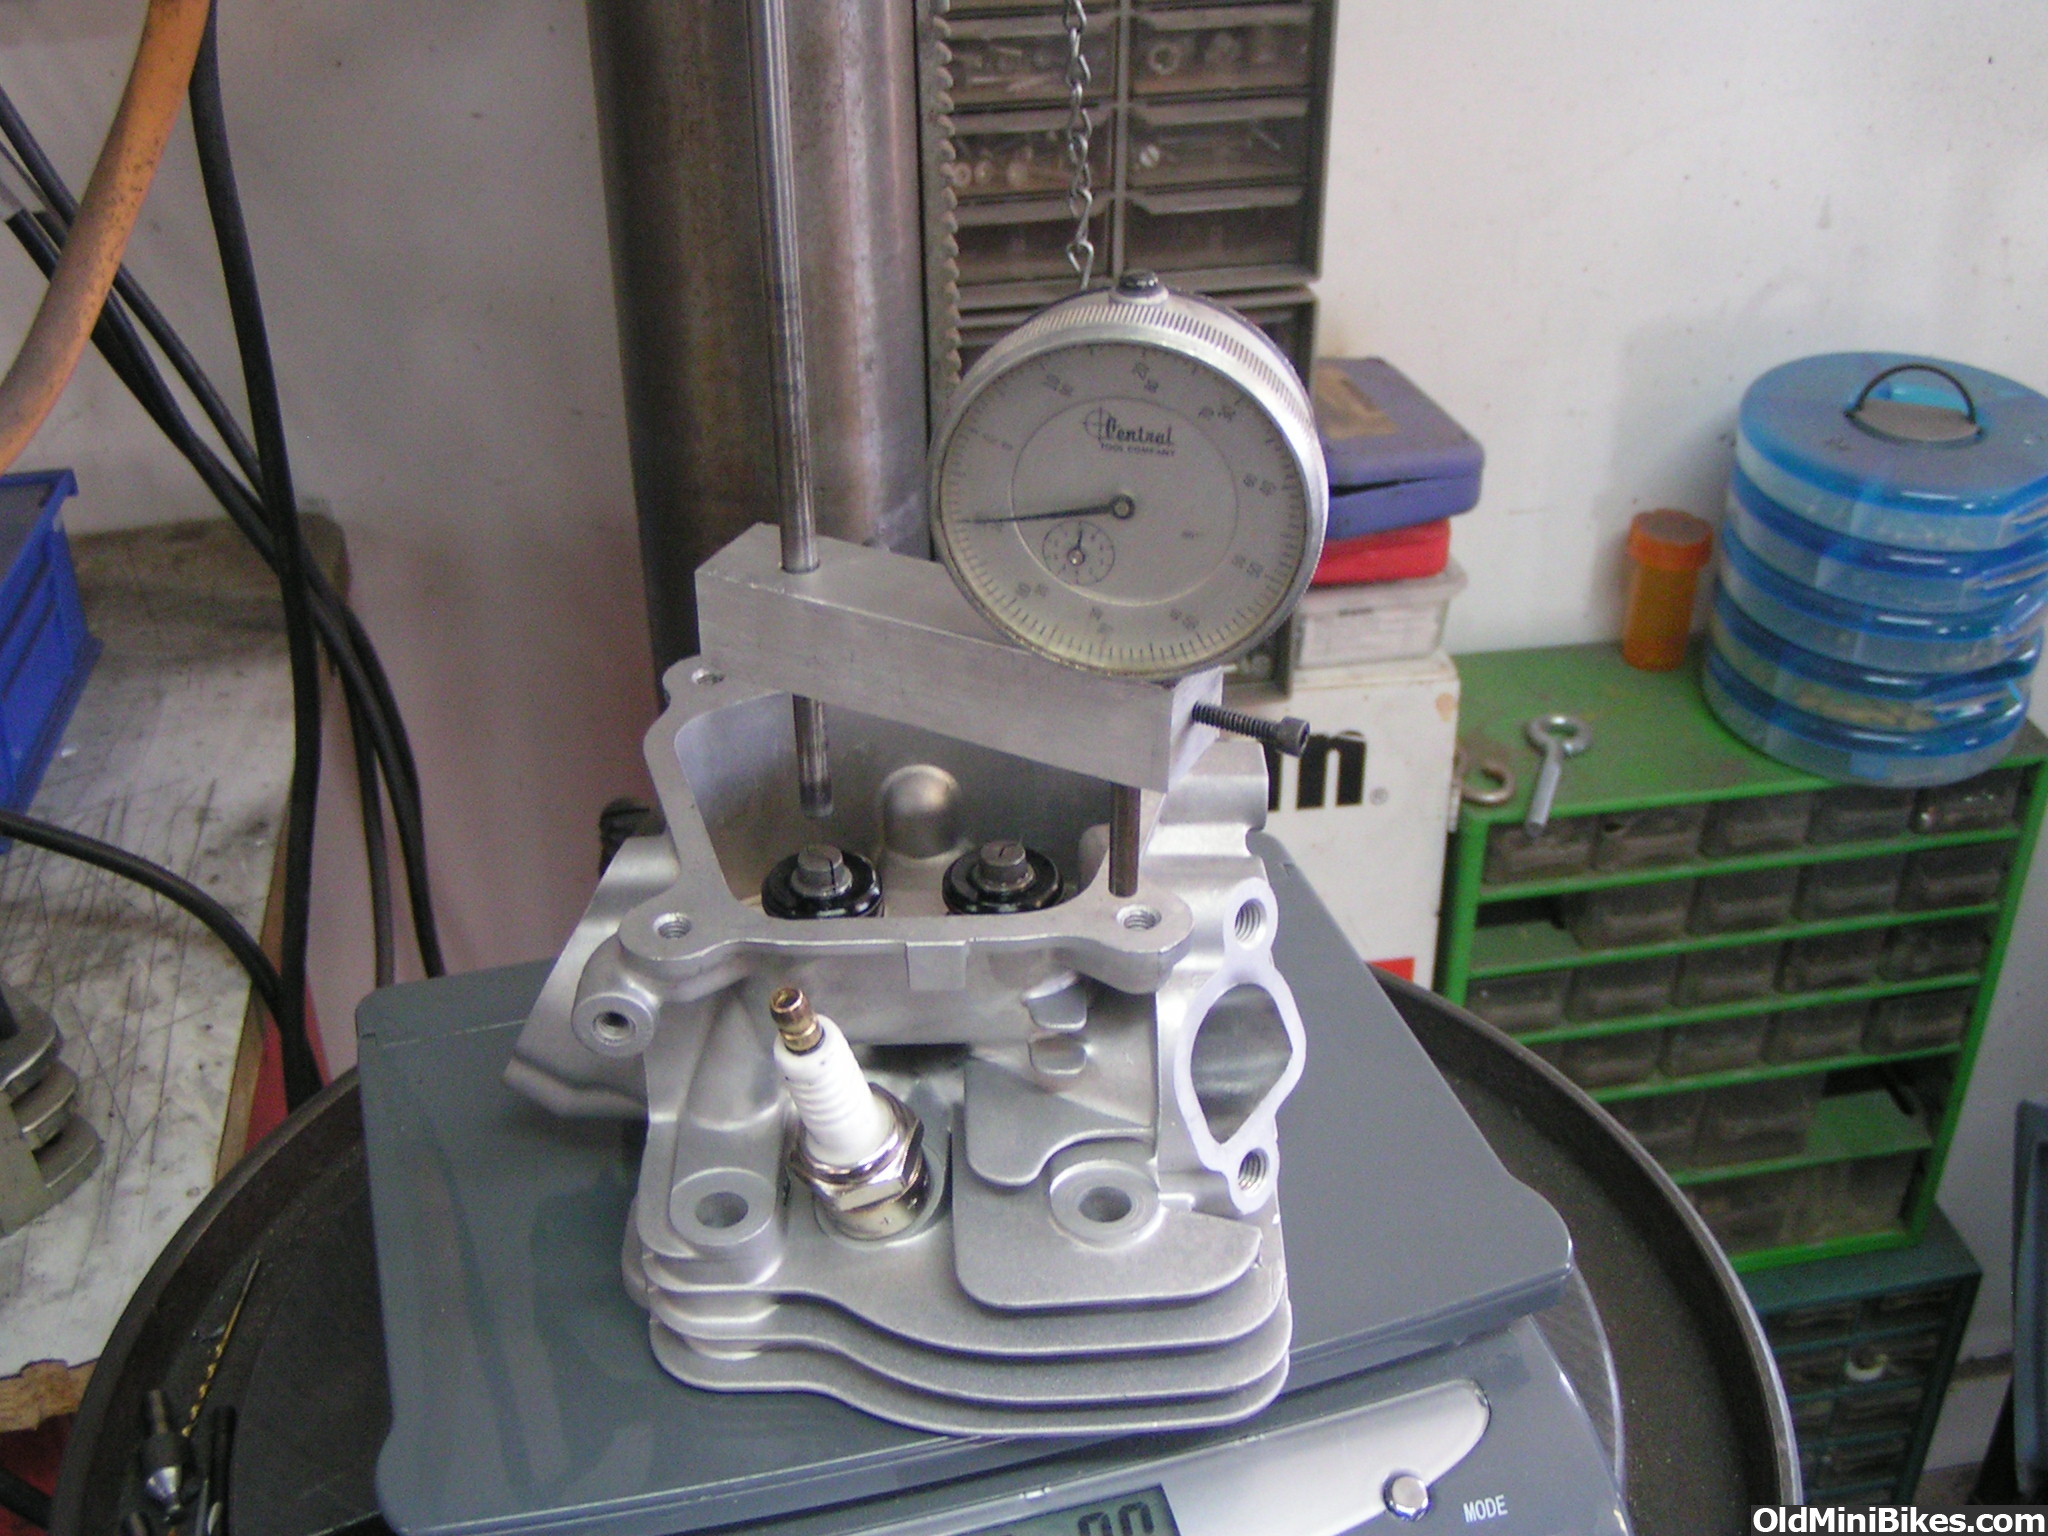
valve spring pressure tester for seat pressure and max lift and anything in between
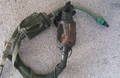
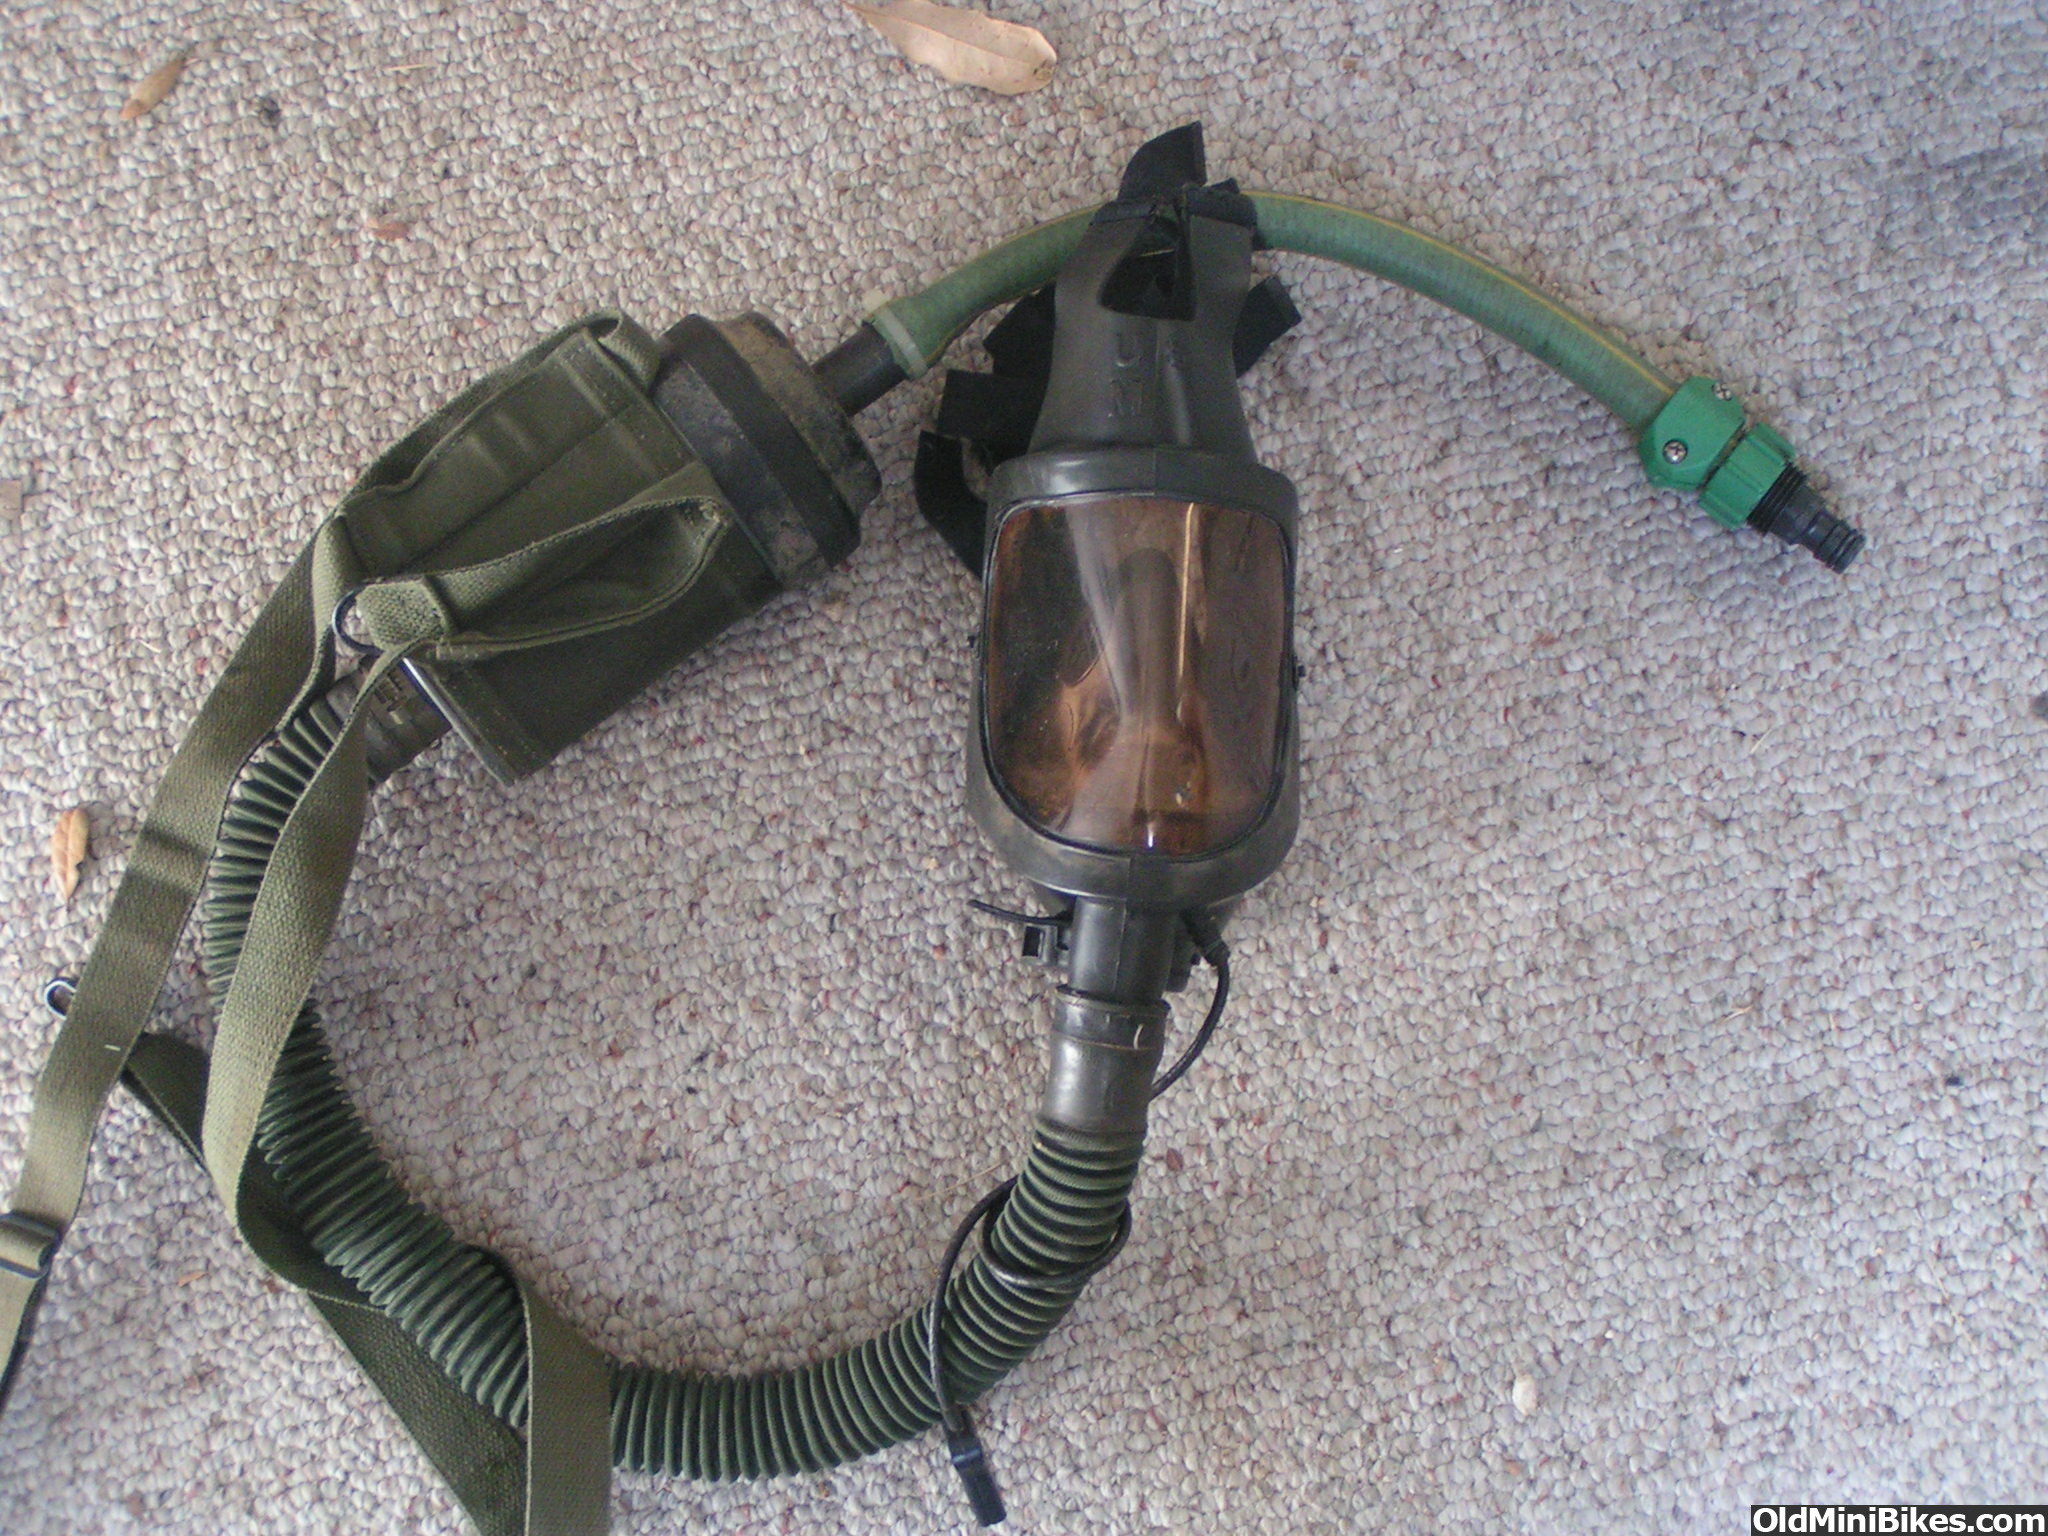
Forced air respirator for painting with imron or other dangerous paints.
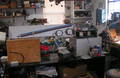
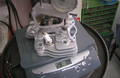
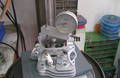

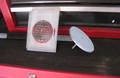
Last one is to pressure test a clone head after a valve job. I made the metal one first but then made the acrylic one so I could fill chamber with liquid and see where it was leaking.
Glass bead cabinet
Flow bench
Head holder
Flywheel holder
valve spring pressure tester for seat pressure and max lift and anything in between
Forced air respirator for painting with imron or other dangerous paints.
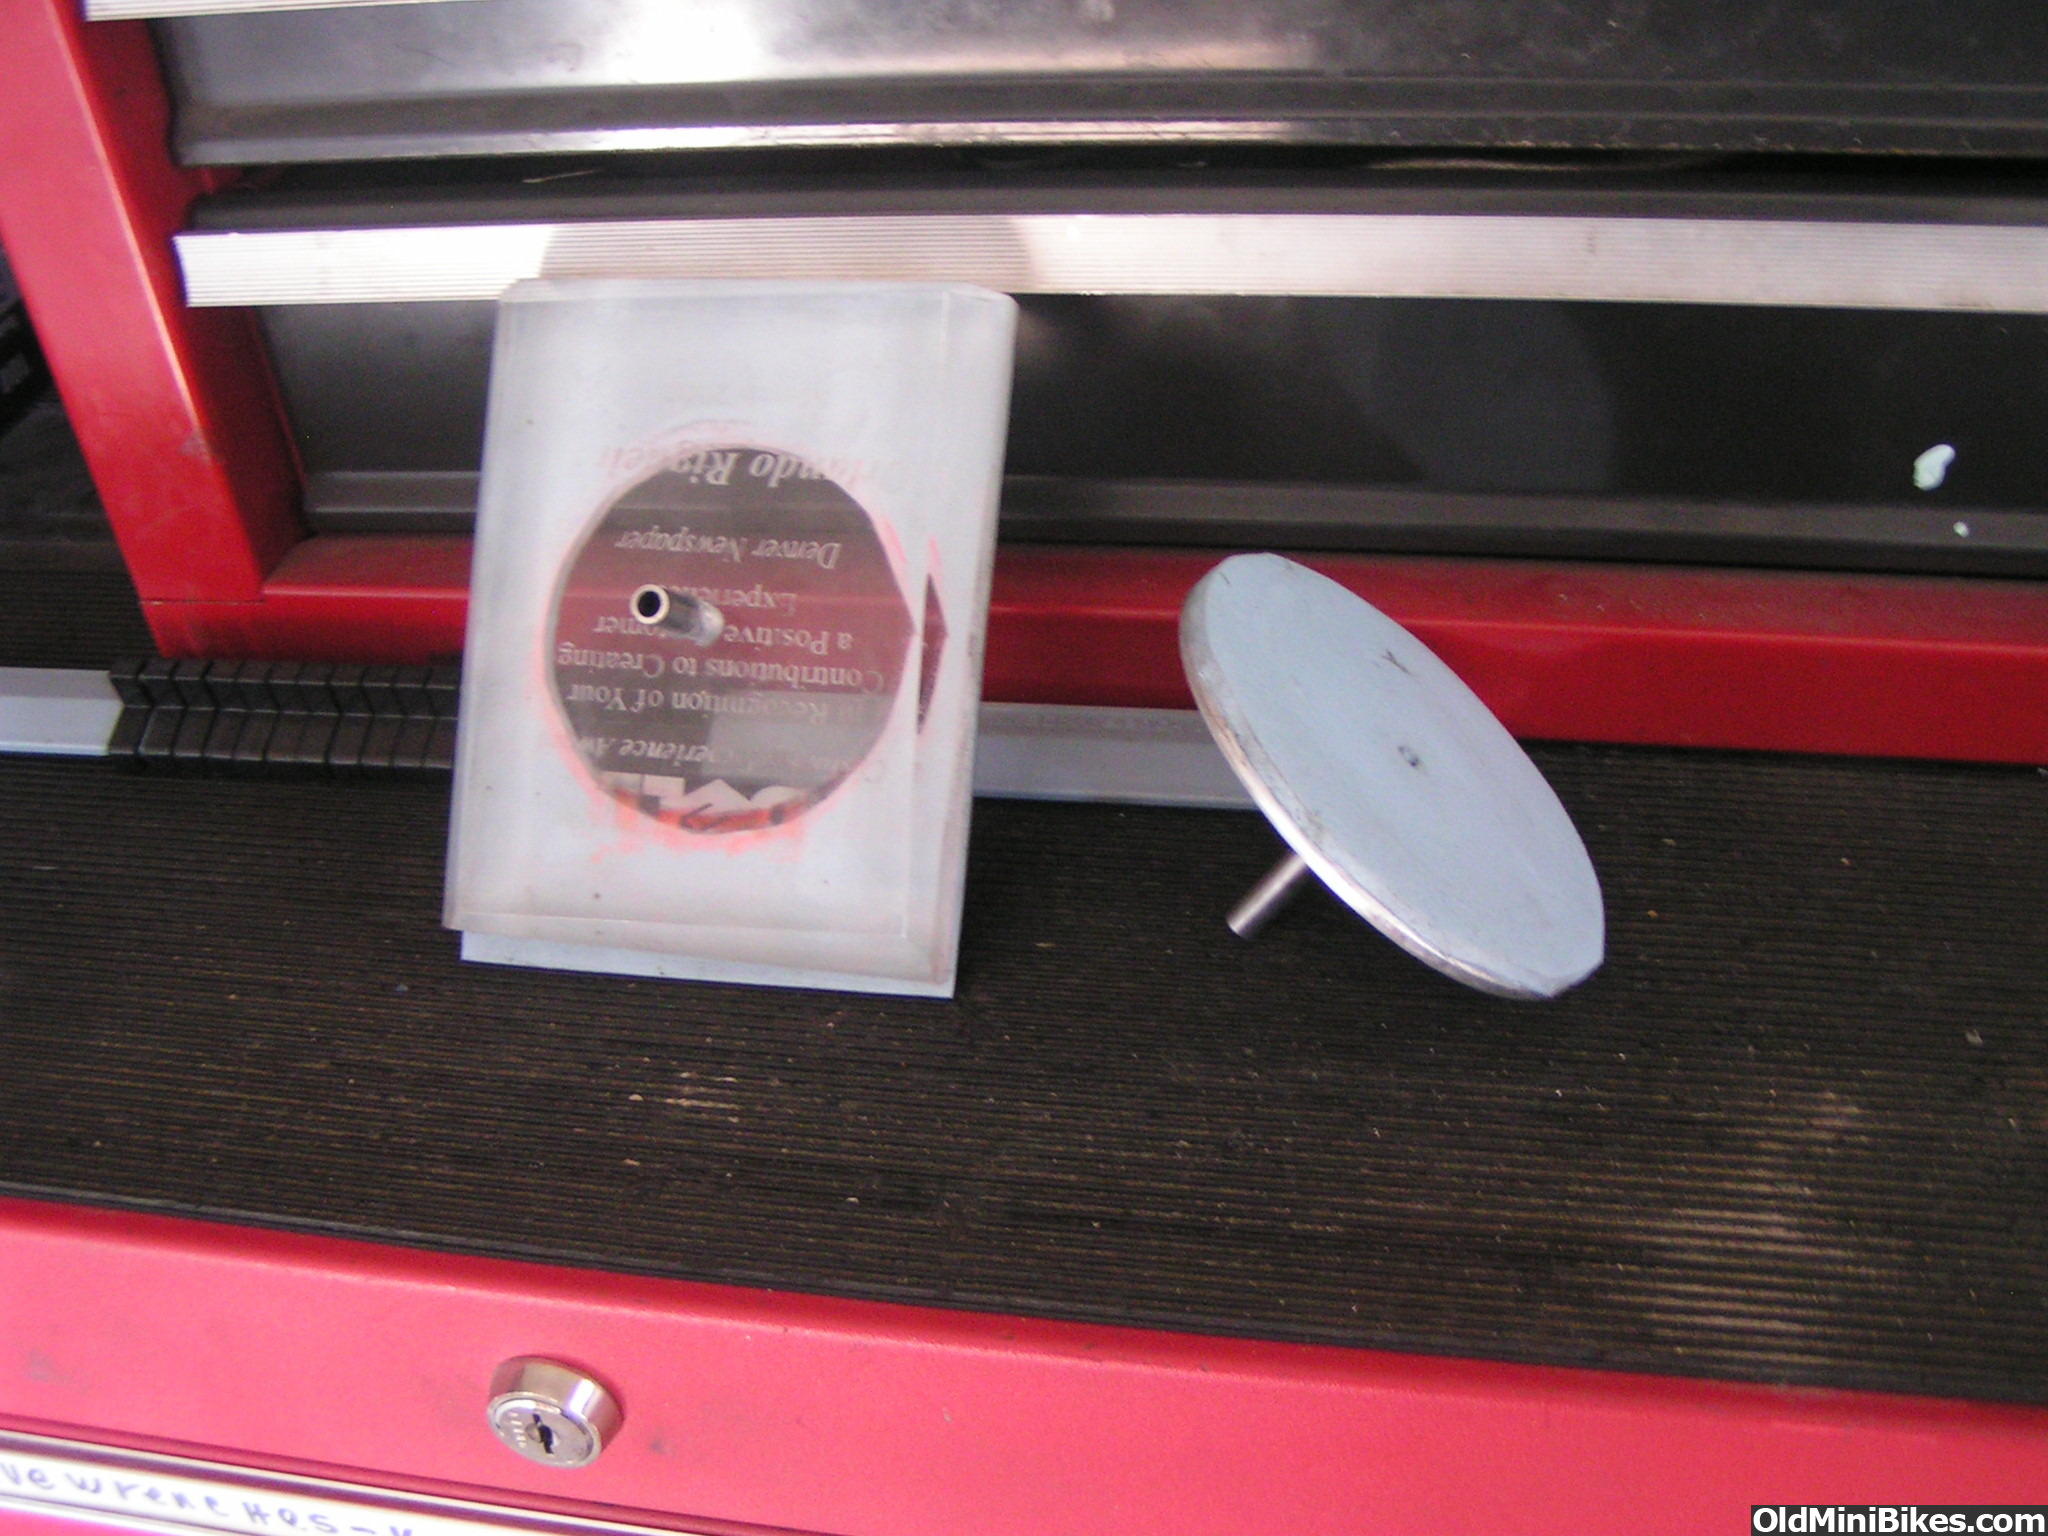
Last one is to pressure test a clone head after a valve job. I made the metal one first but then made the acrylic one so I could fill chamber with liquid and see where it was leaking.

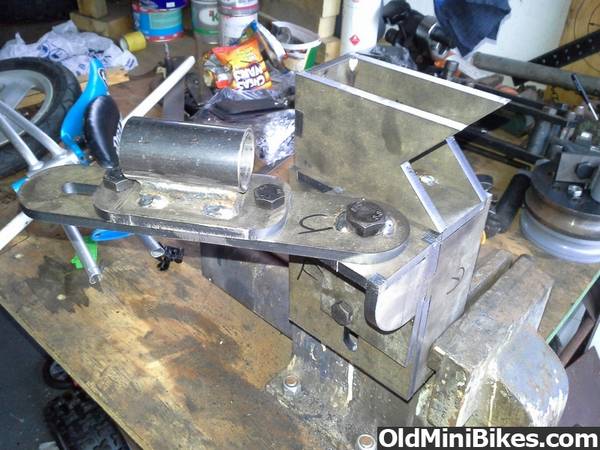
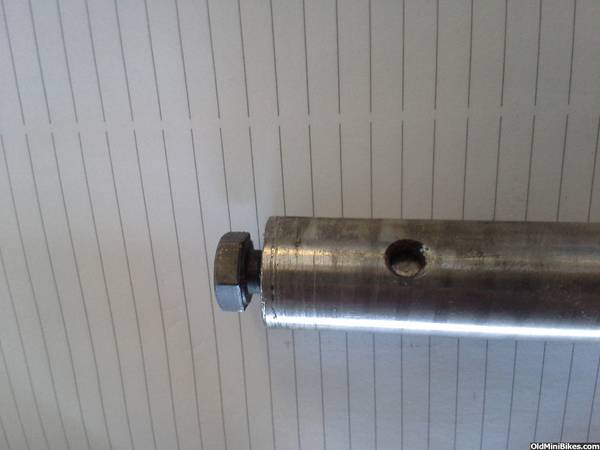
KKk this is a great thread, so many good ideas and stuff I gotta build one day here. I've been focusing on old snowmobiles lately so the tool I made is to remove the nut that holds the inner sheave of the primary on the long crank shaft on Yamaha 2 stroke snowmobile engines. I can't get them from yamaha anymore and originals are few and far between. I want to make a nicer looking one on the mill later on.


***also, I believe the Moto skeeter minibikes have a similar style nut on the primary.
Sent from my iPhone using Tapatalk
***also, I believe the Moto skeeter minibikes have a similar style nut on the primary.
Sent from my iPhone using Tapatalk
Last edited by a moderator:
nice work guys and gals. iv made a tools like that Clayton. Probrobly half of them end up back in the scrap bin though since its usually a one time only job and the tool is only made good enough to work once :laugh: Im making a gadget right now for my jeep itll be done tomorrow so ill get some pics :thumbsup:
check out this piece o crap lol. I threw it together bevel big holes in sheet metal after theyre punched out. works great! just tighten the bolt in the center to squish the metal into the tube. The outer pipe is actually an old wood wagon wheel hub lol. its the first thing i grabbed that was the right size