Hey all. Thanks for stopping by.
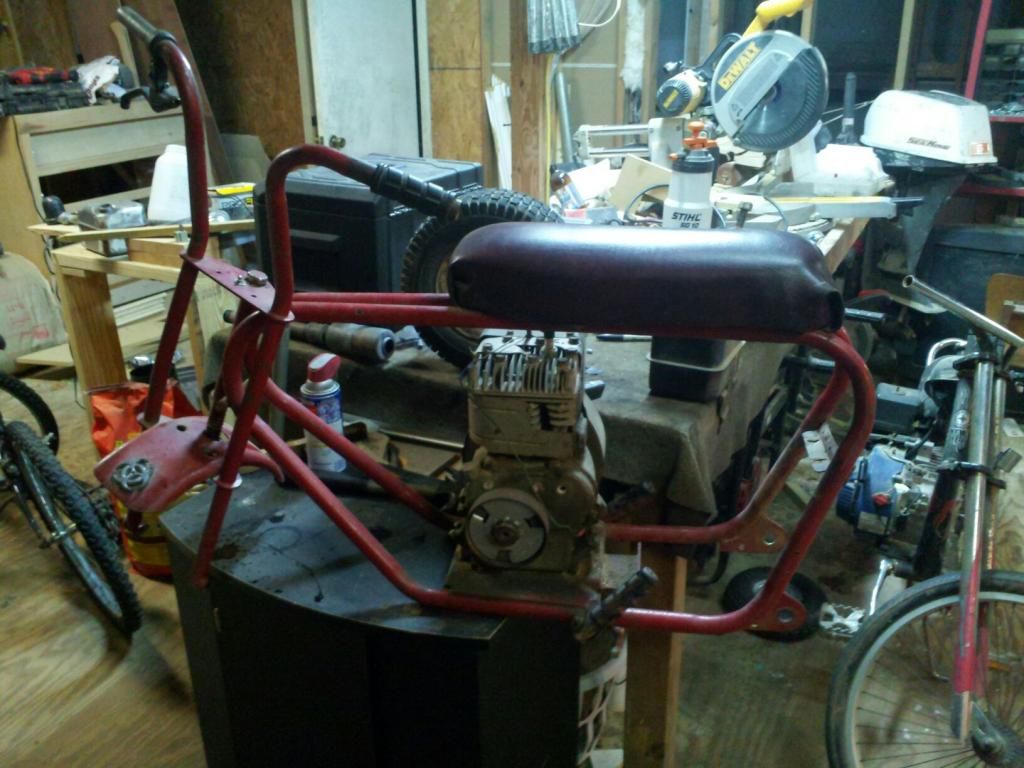
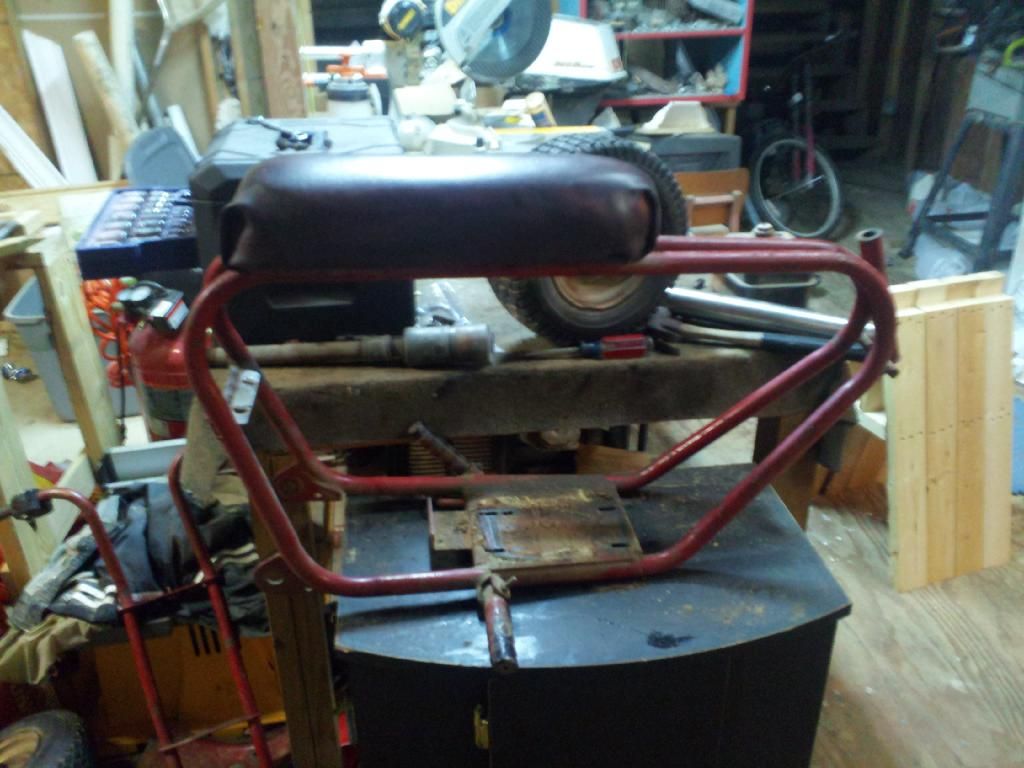
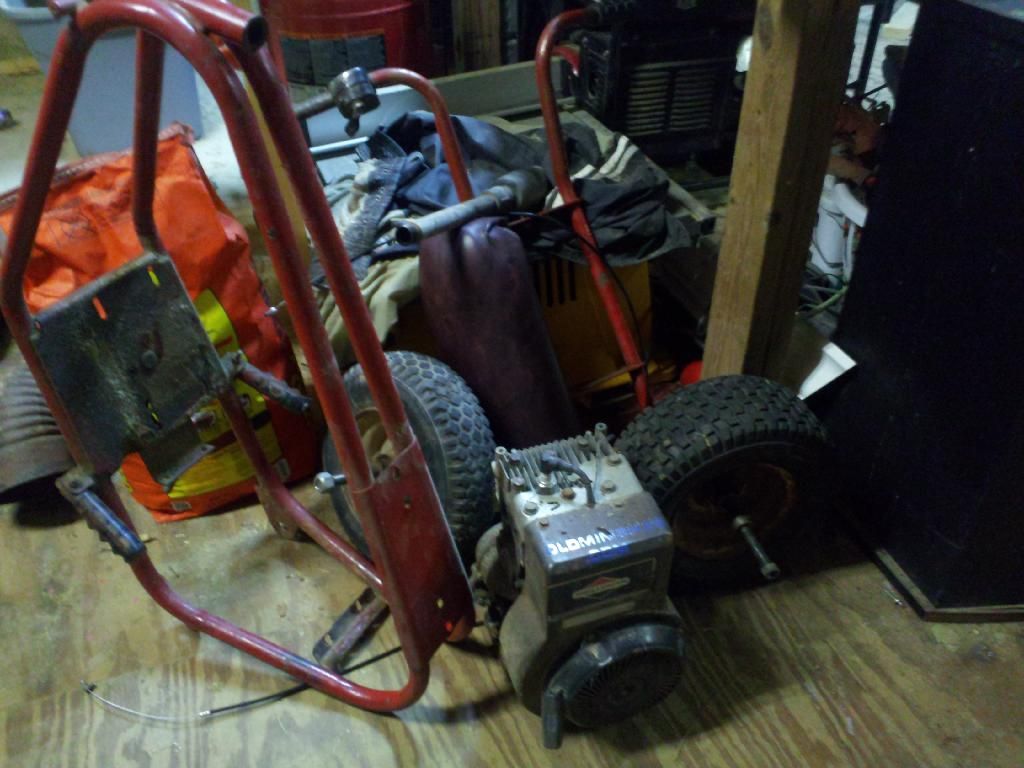
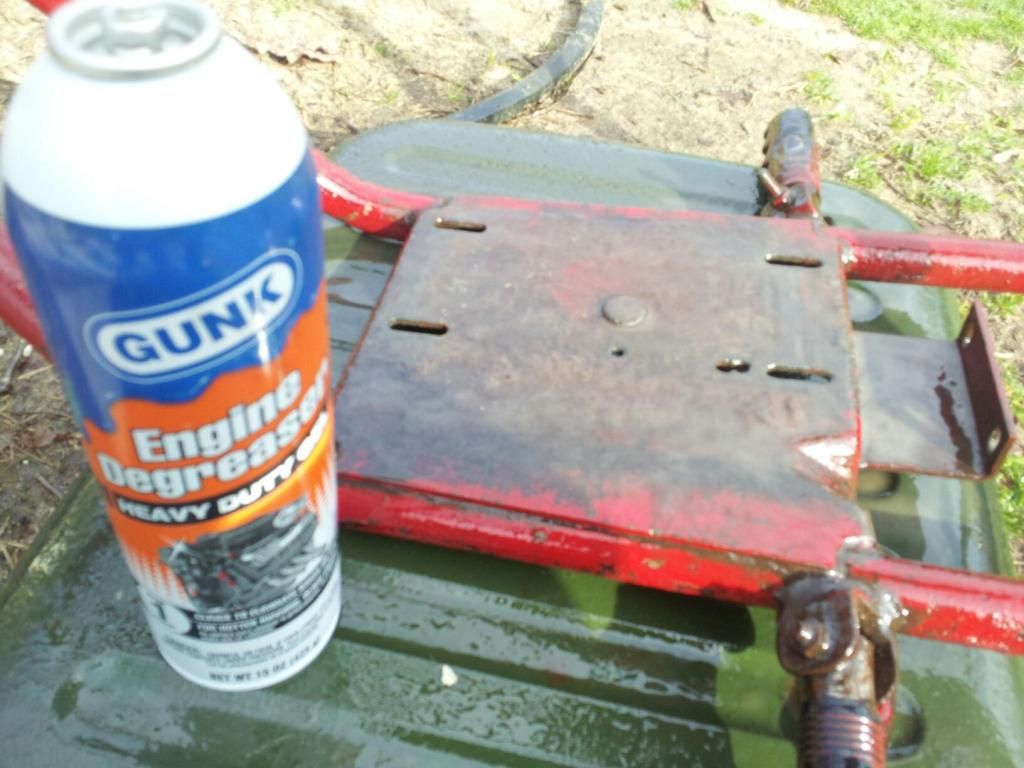
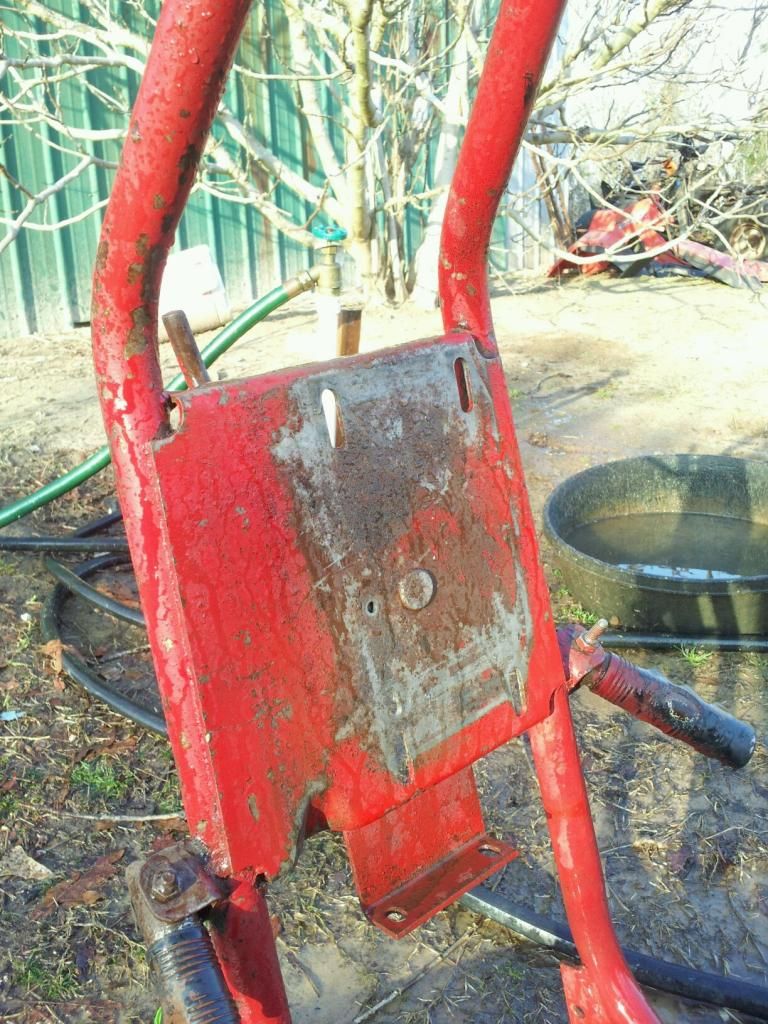
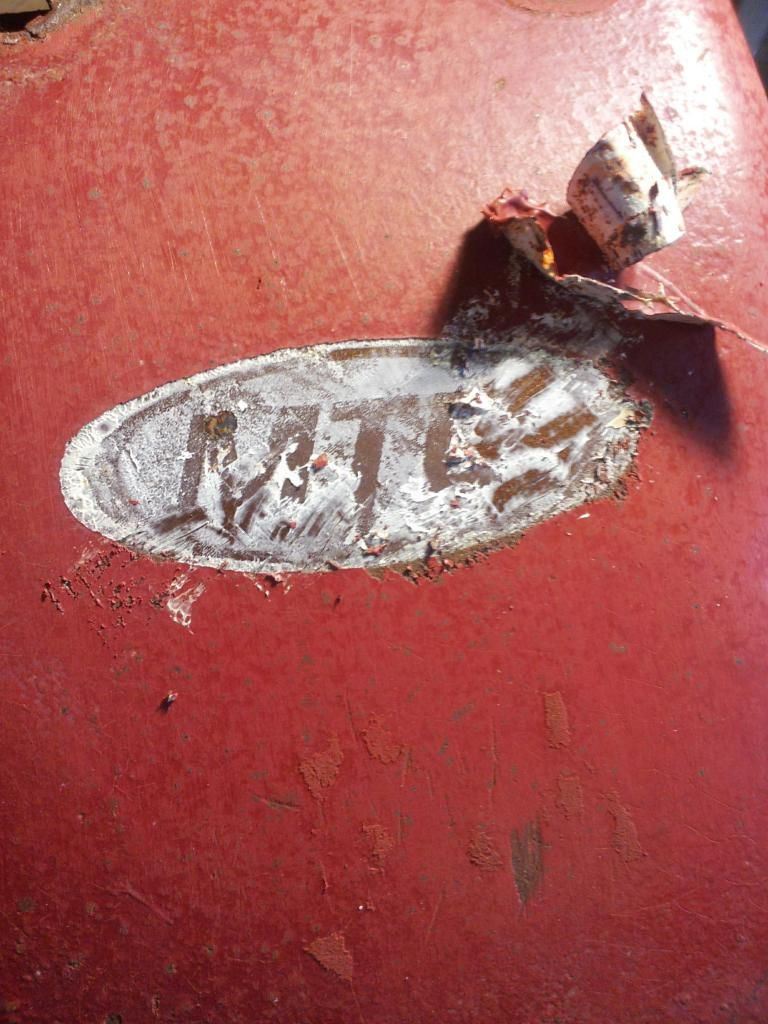
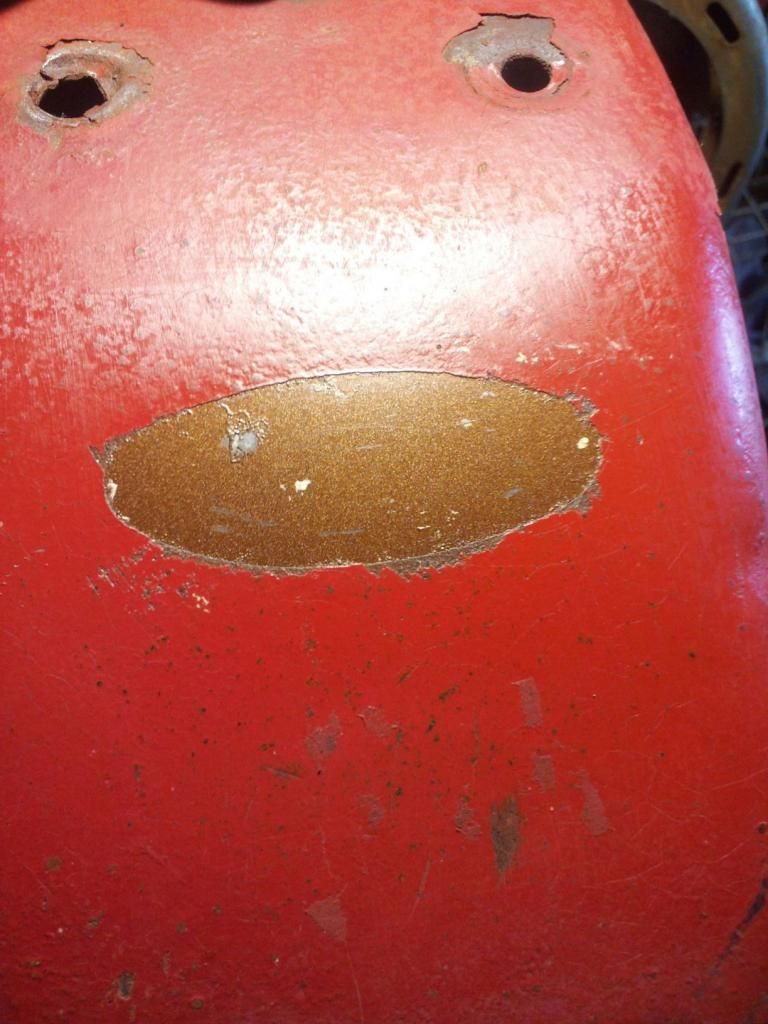
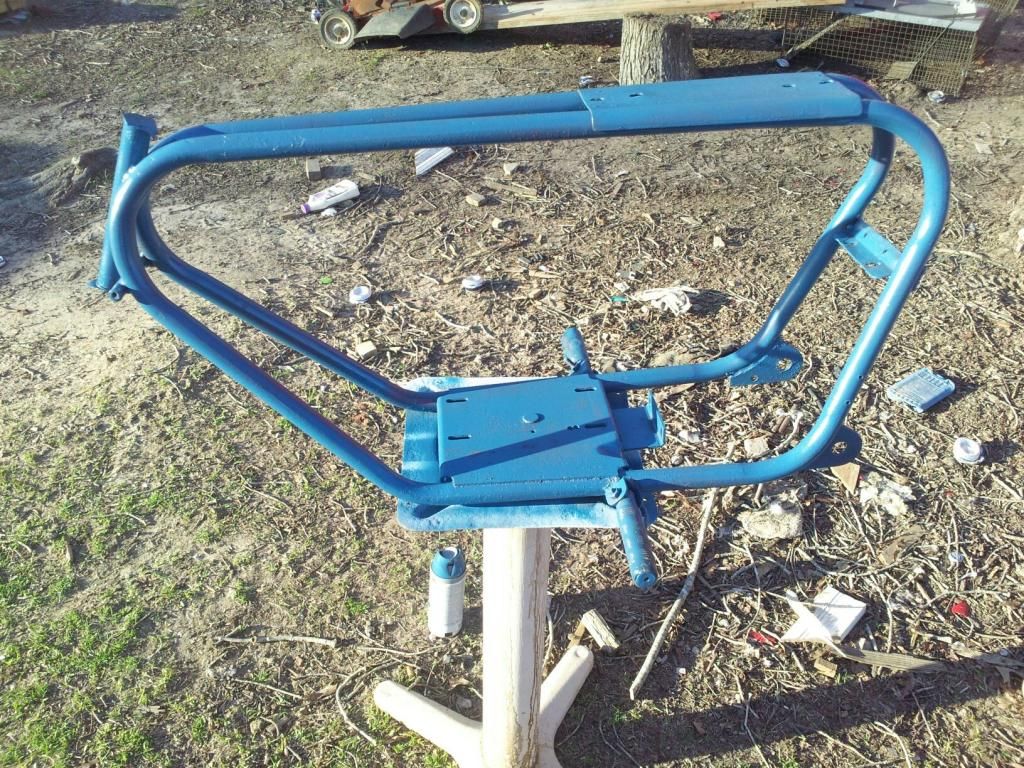
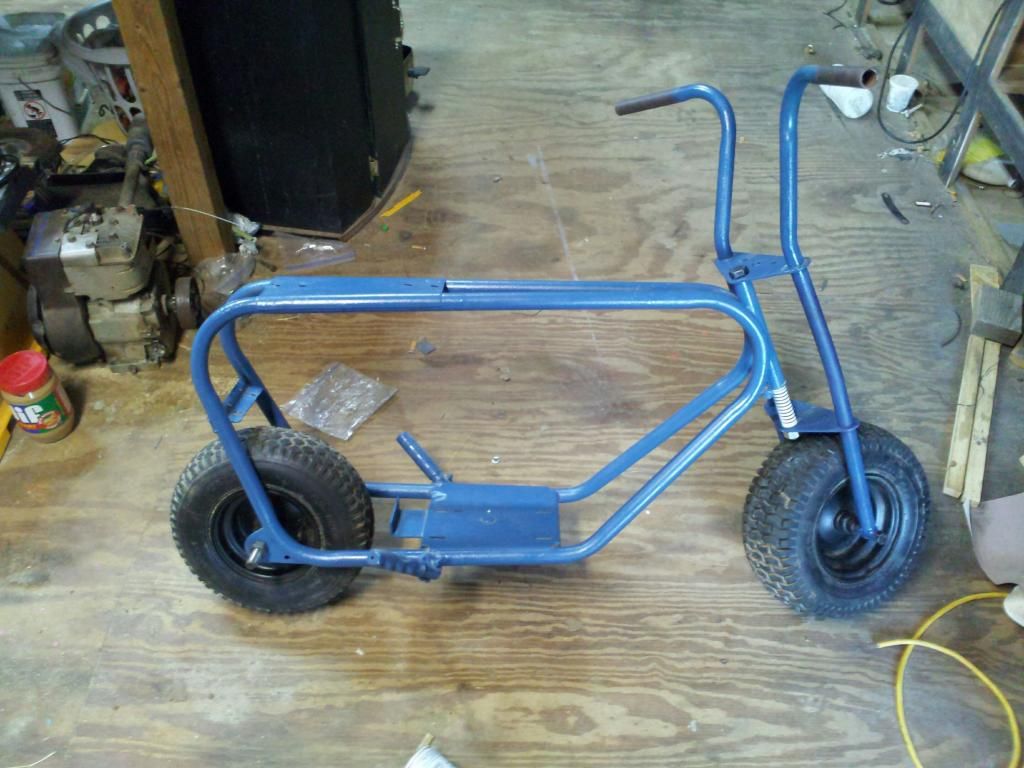
My dad bought me this minibike for me back when I was 12. I rode it for a while, but it started to have issues sucking gas and at the time I had no idea how to fix it. So I parked it in the shed until I let my younger brother-in-law take it and play with it. It is now back in my possesion and finally going to be fixed up. I'll apologize in advance because I wasn't a member of the forums when I took everything apart. I took a few pics, but not as many as I probably would have if I was planning on this thread. As I said I currently have it just about completely disassembled. I am planning on painting it somewhat like my motorcycle which is blue with black and white as secondary colors. I'm not going to get too crazy, robably just going to scuff it up and use it as practice with a paint gun I got at Christmas.
Had/has a B&S 5hp 135200 series engine (not flat top). My brother-in-law has about a dozen of these things in the shop. He thinks he put a nylon/plastic cam in this one. I have no idea how well it'll perform, but he says it'll rev faster due to having less rotating mass. I plan to have a spare head milled flat (the heads on these engines are identical to flatheads, but have a small lip that runs around the valves/combustion chamber it is roughly .015" tall. By having that lip milled I'll basically have made a flathead (which is much more cost-effective than buying one). I am also planning to mildly port the valves and shave the eyebrows from the block. Probably other things later on as well.
Had to go through all the fuel system because my brother and father-in-law used RTV as a gasket between carb and the fuel tank. They didn't know until I informed them that gasoline will eat RTV.
The carb is completely taken apart and I've got diaphrams in the mail. Today I gave every metal part a soak in the ultrasonic bath. If you haven't used one of these to clean a carb, I highly reccomend adding one to your work bench. After the bath I let it dry and sprayed it out with carb cleaner.
Tank has also been cleaned out really good with water/screws/water/dish soap/water and more water to get the RTV slime out of it. It was literally about the consistancy of my baby son's boogers.
That's all for tonight. It's past my bed time
Last edited:

