Project #14.854 --Big block Rebuild

#1
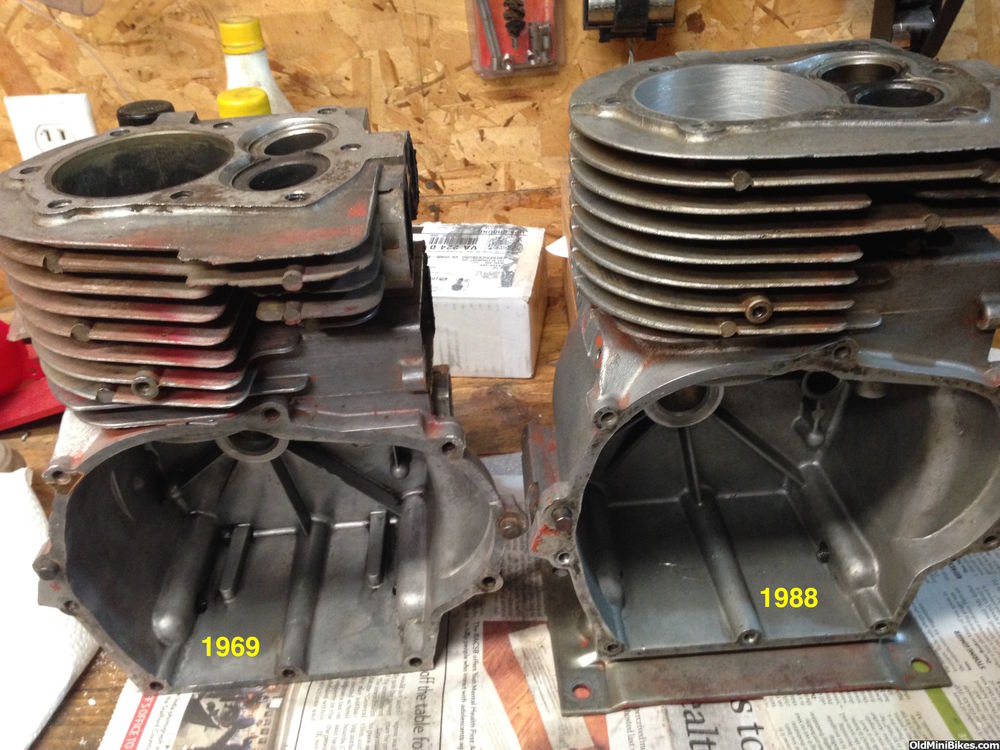
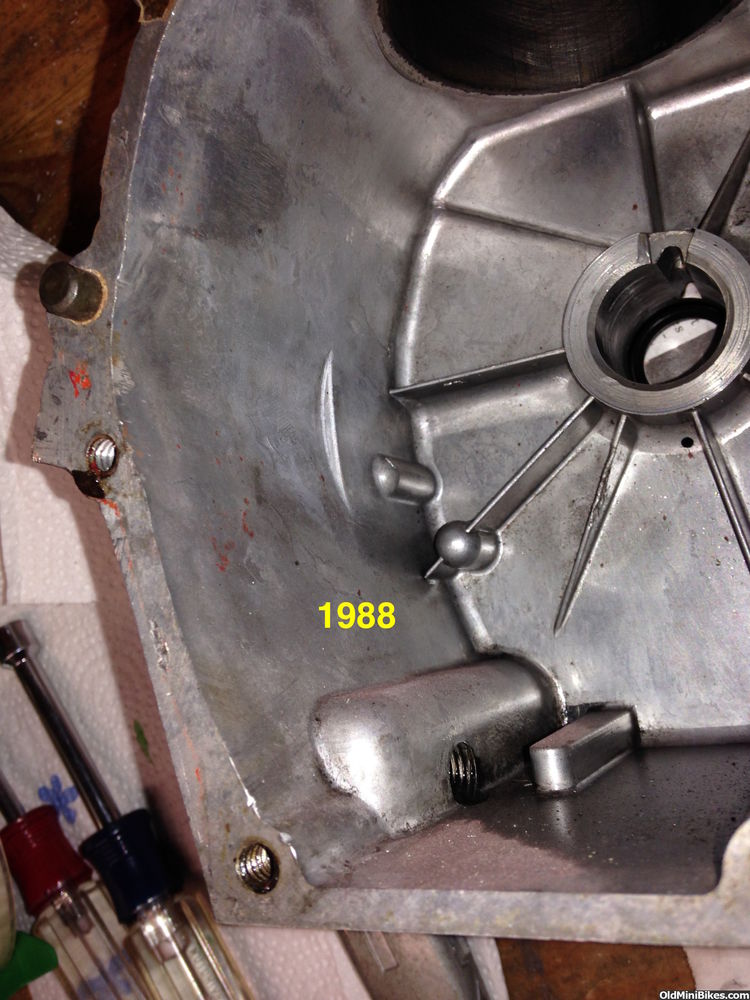
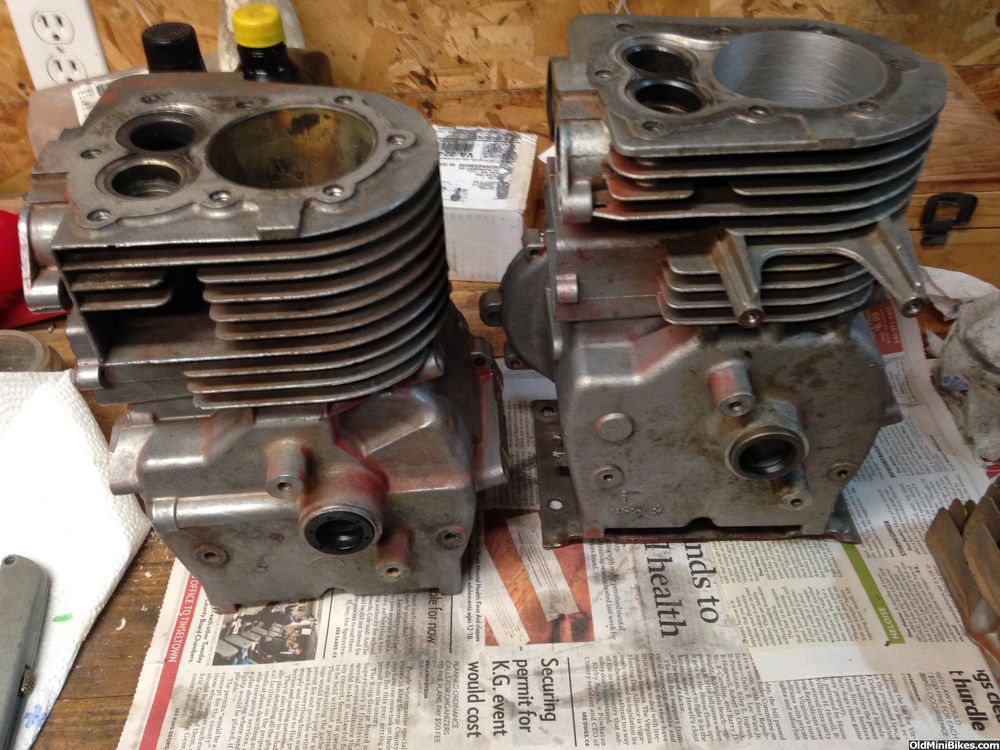
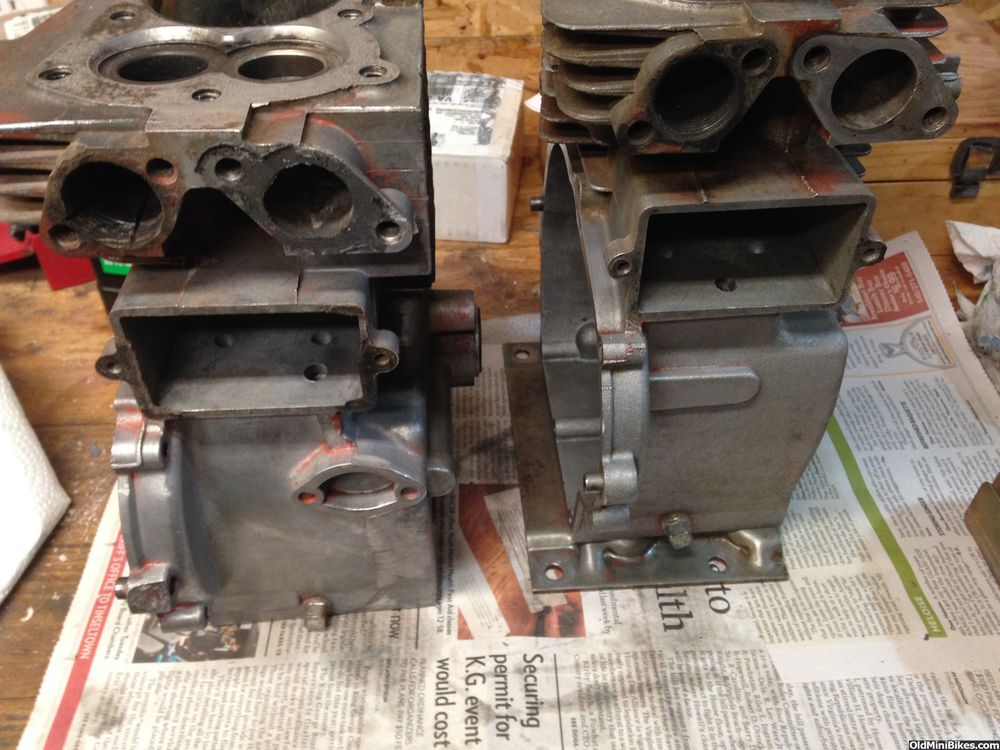
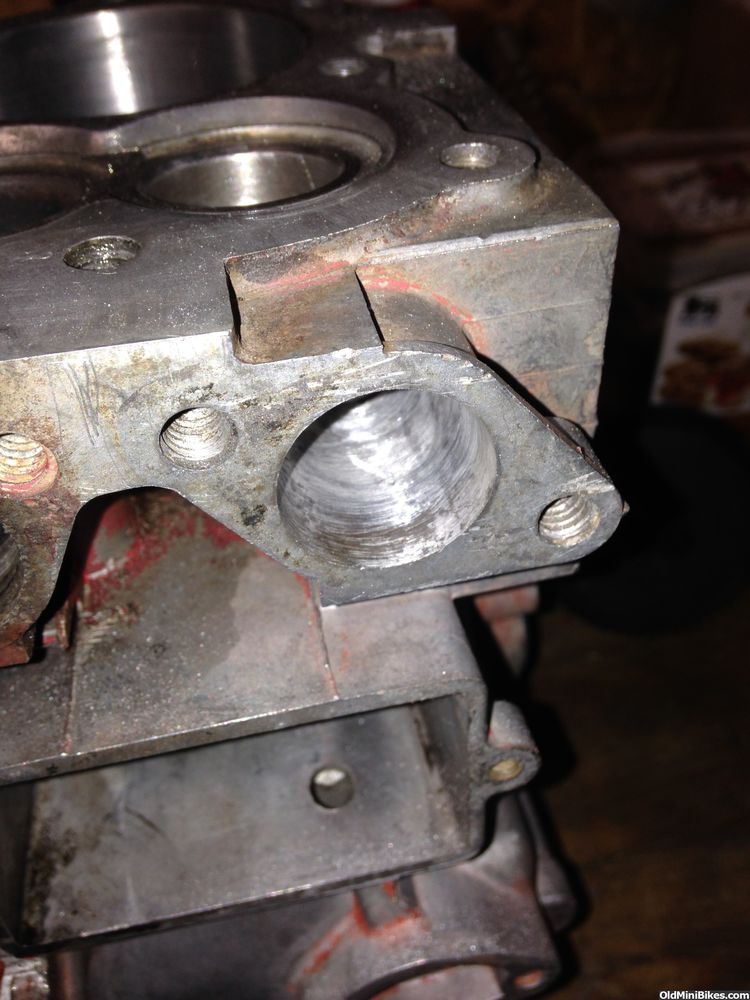
What do you get when you have a tired H60 block that can't be bored 0.020 over? You get Project 14.854 (cubic inches, that is). I'm going to resurrect two H60s--one with a stock bore with new rings and the second bored to accept an H70 piston with an H60 crankshaft. The plan is to build them identically, determine if the H60 carb is effective on both or not, and test them for real world performance. No dynos, no fancy internals.

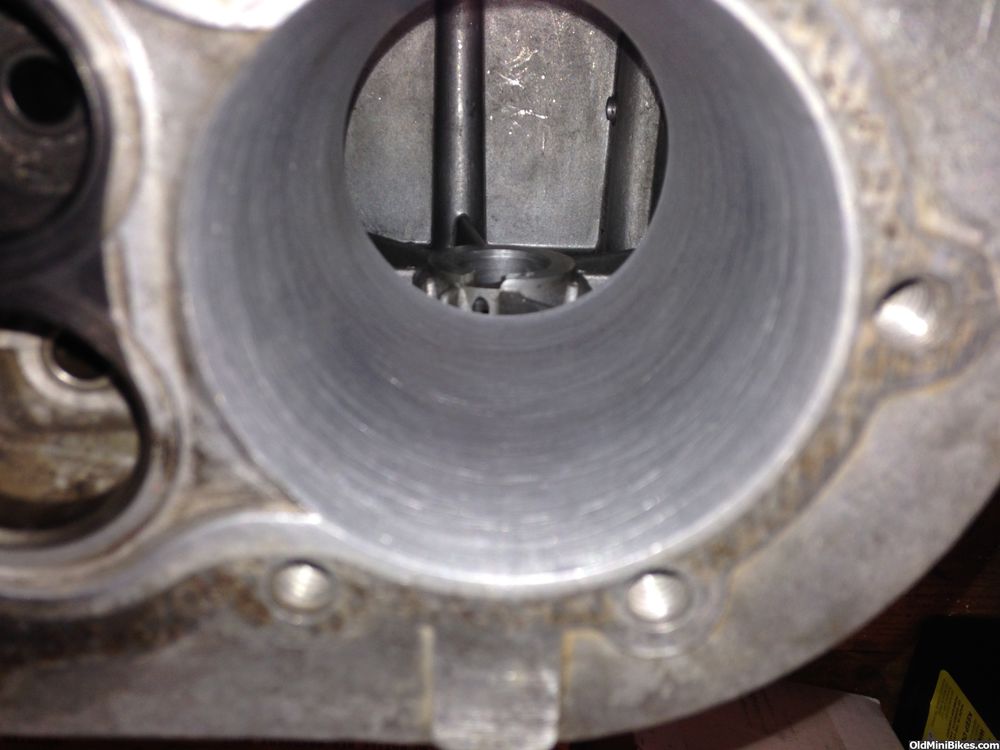
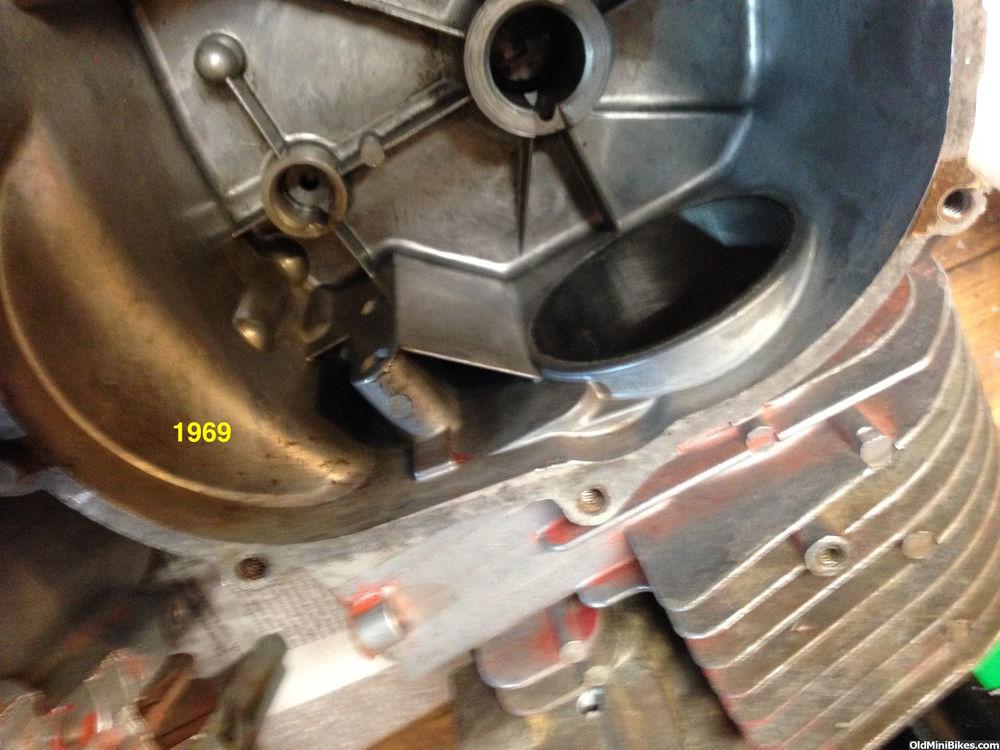
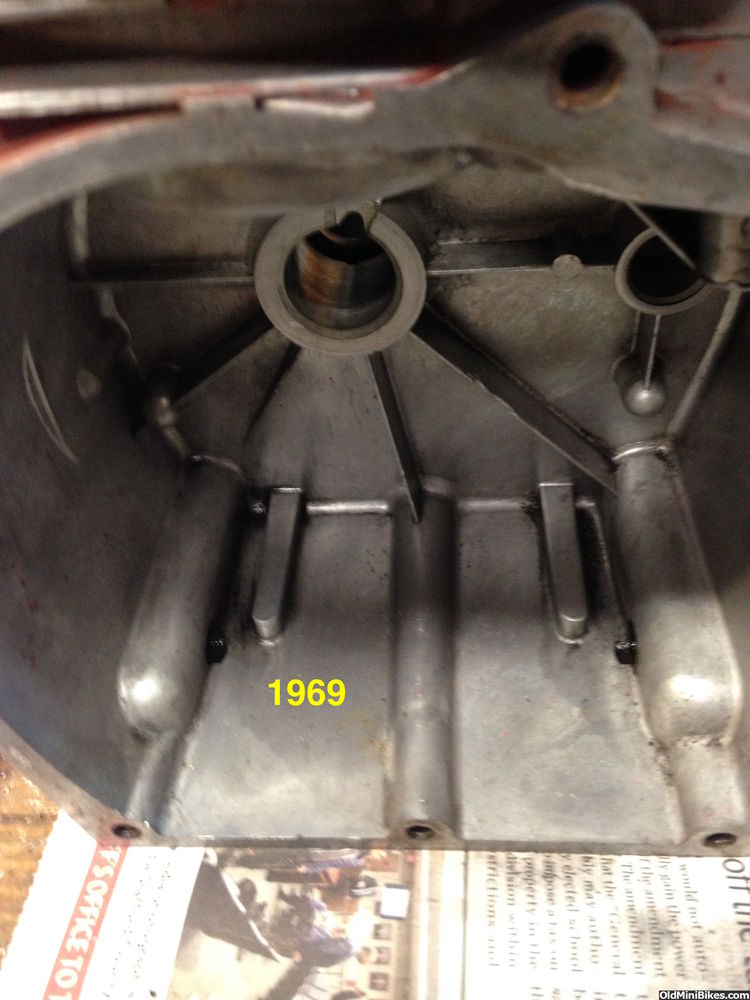
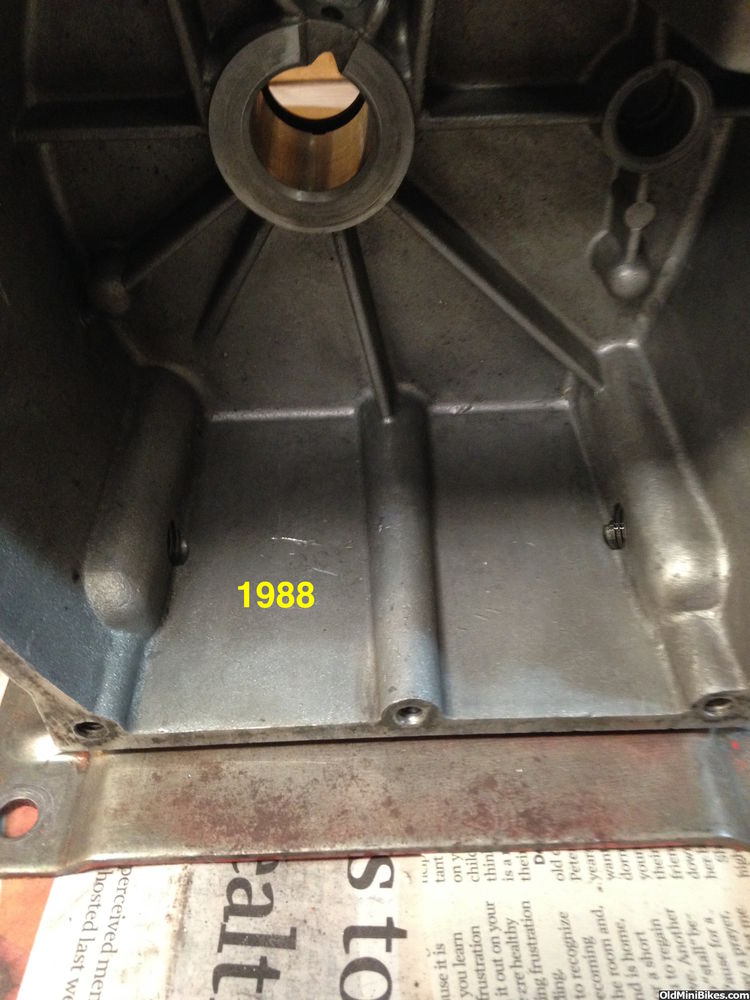
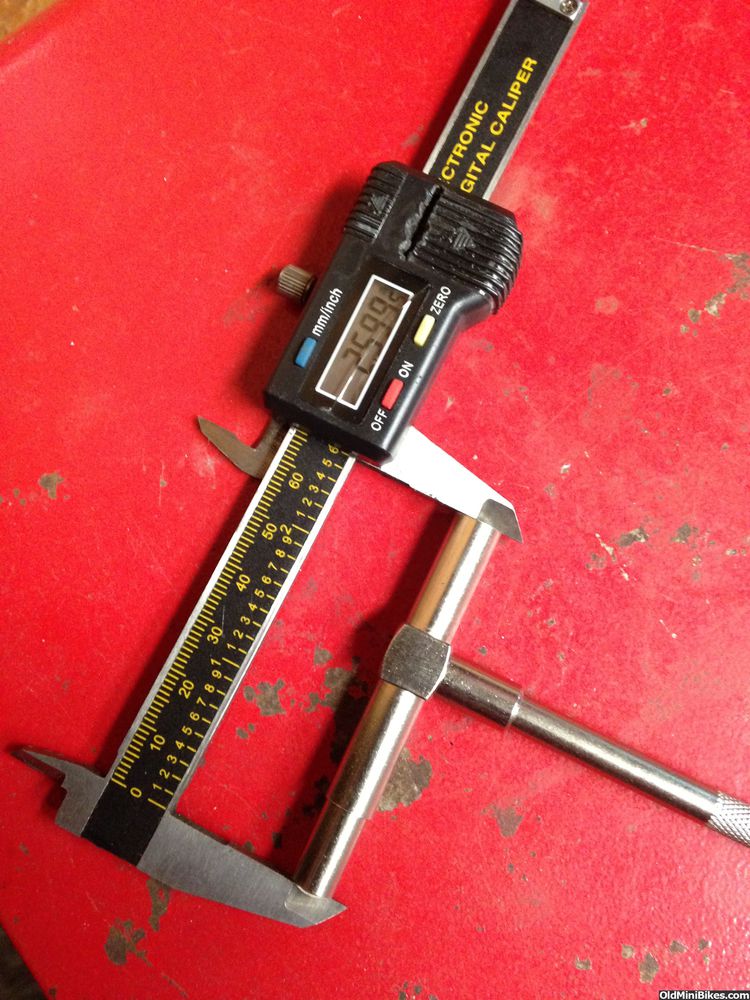
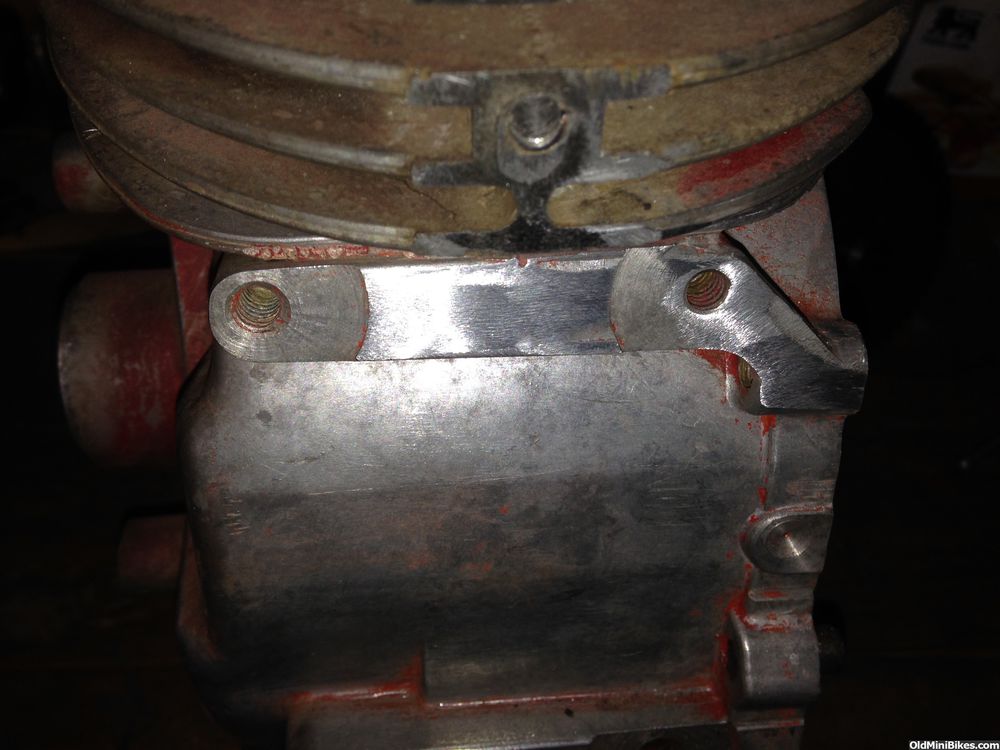
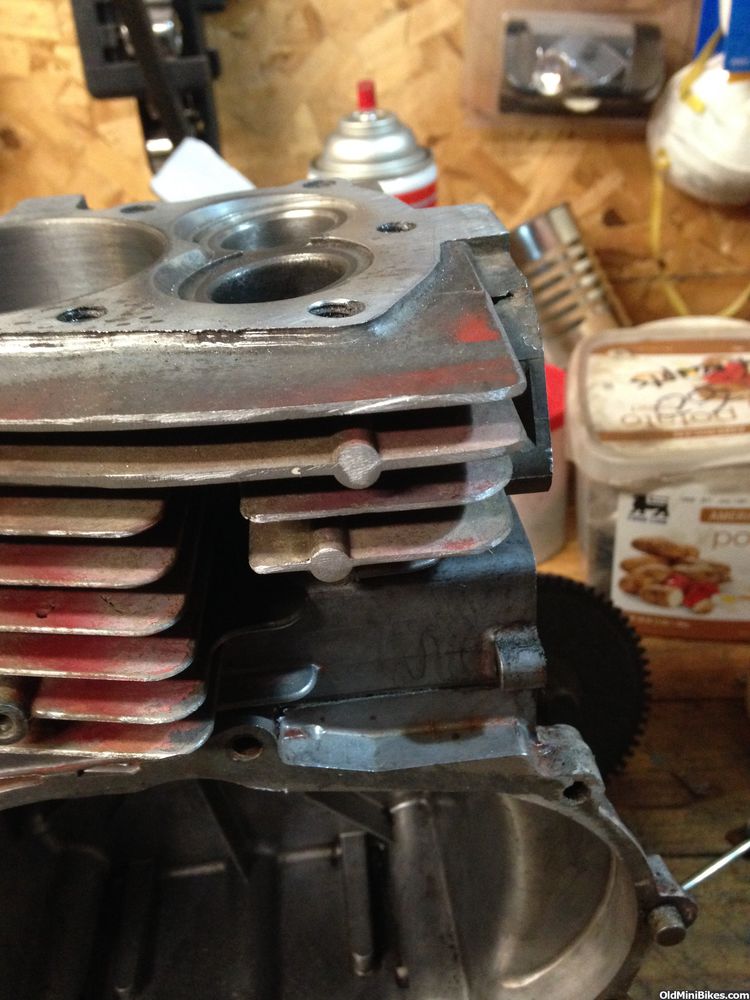
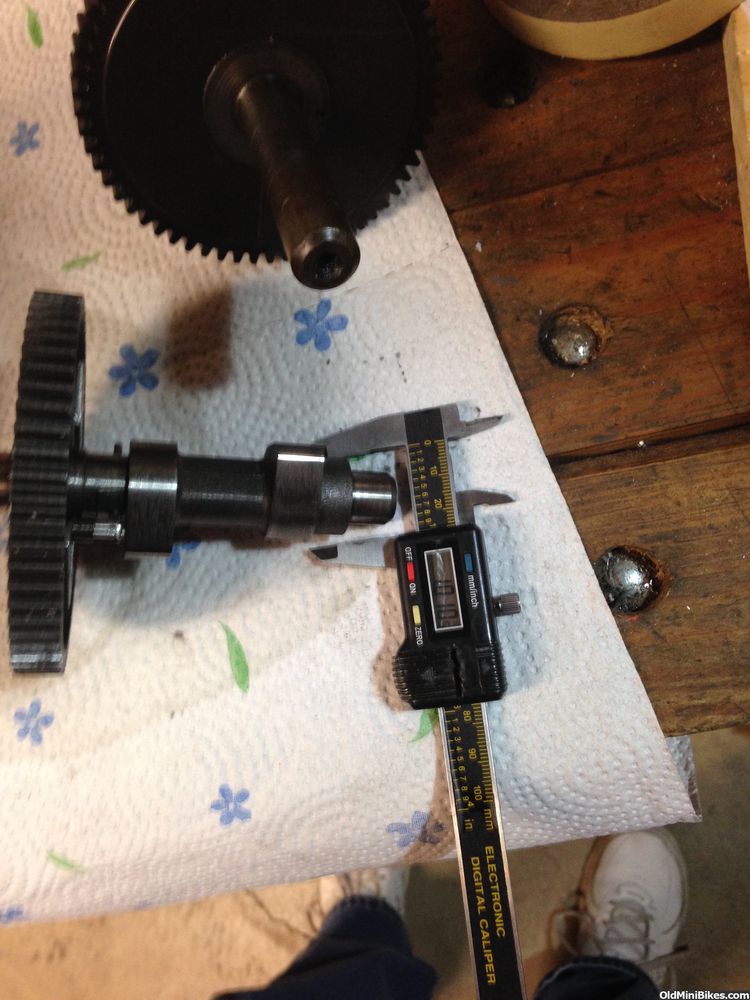
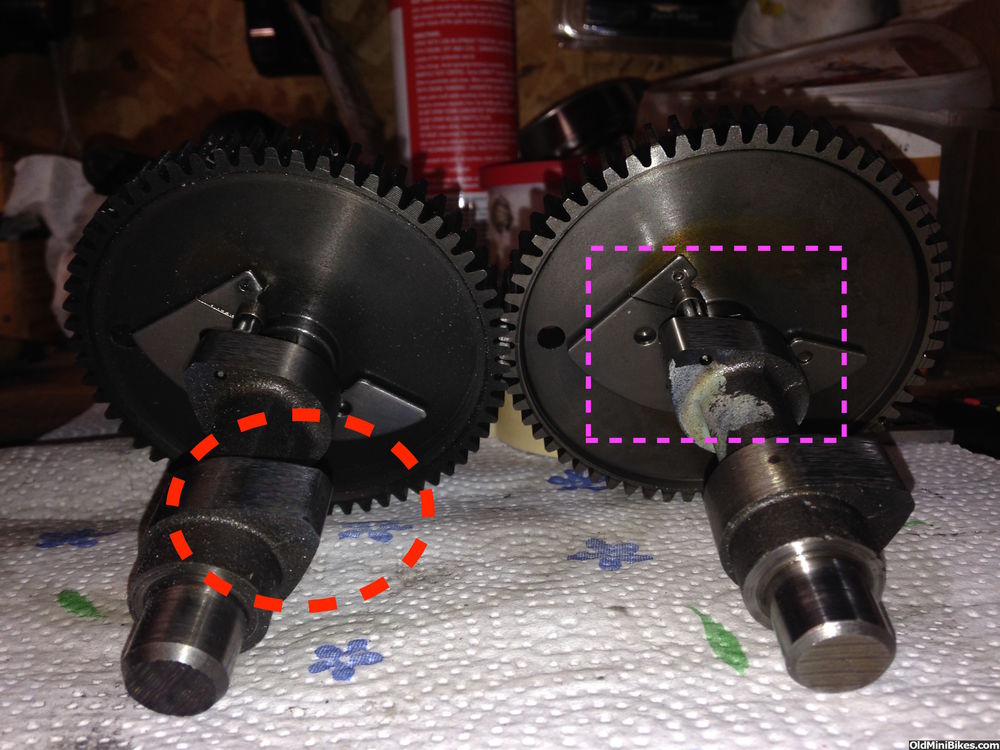
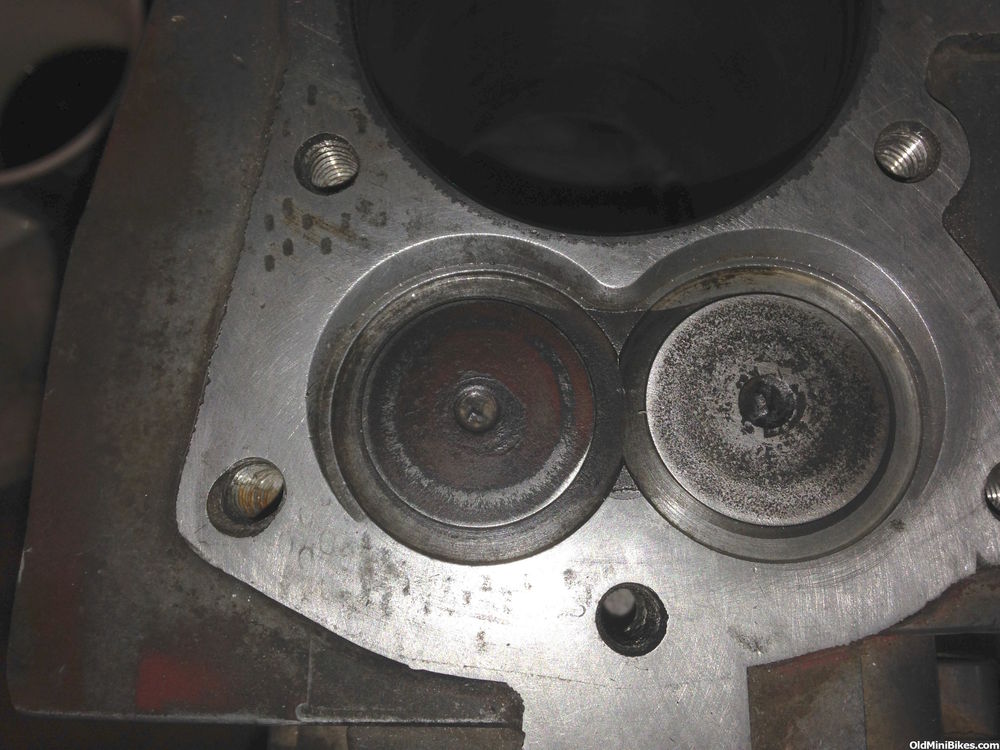
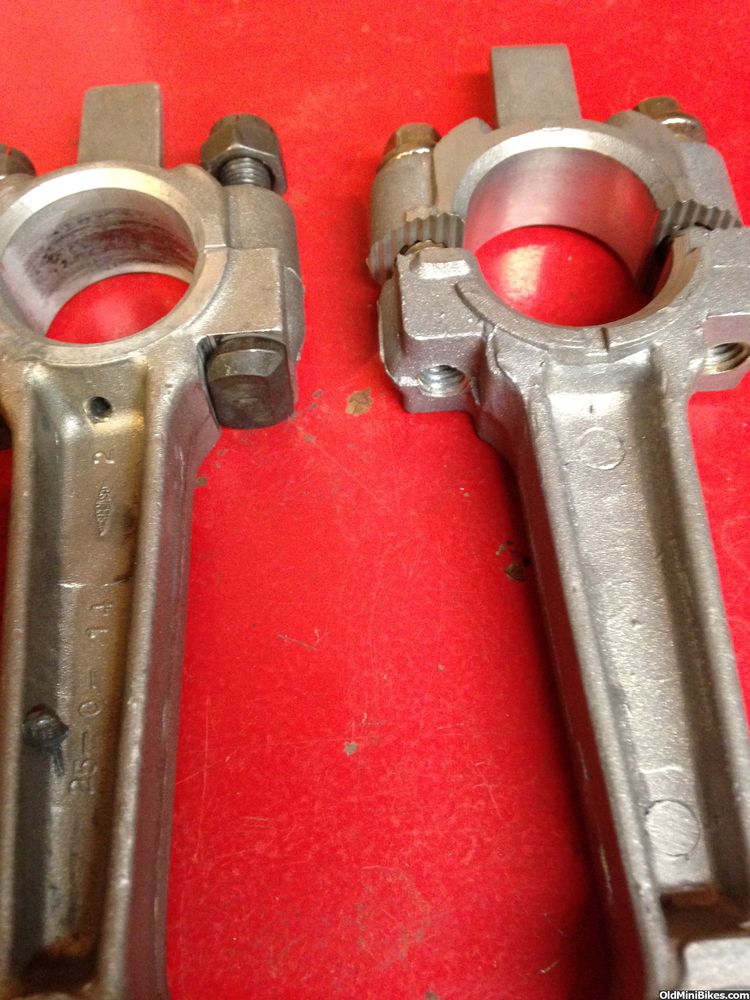
Basically stock and governed. I'm working on now my third H60: Two of the three had the governor spool in pieces. Certainly Project 14.854 suffered from metal and plastic chunks in the crankcase along with over-revving. Hence, the post on how to clean up a crankshaft. I had the engine bored at Steve's Cycle Shop in North Carolina. Found him through eBay and the price was right. He's a mini bike fan, too.

Not as glamorous as the Briggs Raptor v. Tecumseh, but should be interesting. Your input will be gladly accepted. Stay tuned.
 
#2
You clearly live in some time warp and have way too many hours in your day. I need to mail you my engine but my luck it would get stuck in reverse between here and there taking even longer than me doing it.
 
#4
Comparison Photos of the 1969 and 1988 Blocks

One engine is a 1969 steel-sleeved bore with points ignition. The second is a 1988 aluminum bore with electronic ignition and external coil. There are quite a number of differences between the blocks. These photos are something to study to see the differences.

The 1969 originally had a stubby crankshaft and will be swapped out to a 2 1/4 PTO. The 1988 originally was a dual PTO engine with 2 1/4" output shaft. The camshaft will be swapped out (and it has a mechanical compression release) and a new side cover provided by Markus will be installed.

Both engines will run a stock stroke of 2.50." The 69's stock bore is 2.625" and the 88's new bore is 2.75" as shown below:


Lots of differences between the two engines. The 69 is always on the left or photos have year labels.


Note the differences in the fins:


1969 Head is above.


Note the differences in the combustion chambers. Below is the 1969--


And here is the 1988. The valves appear to be slightly more angled along with a reshaped chamber.

 
#7
The stock displacement of the H60 is 13.53 ci and the stock displacement of an H70 is 15.04 ci, if you were wondering. So, we're adding 1.32 ci to get to 14.854. This new engine is going to be more over square than usual.
 
#10
Doing some measuring...Bores

Started on the two blocks by taking some measurements of the bore sizes. A number of members have pointed out the stock bore always seems to widen at the bottom of the stroke. No different with the 1969 block. I used a telescoping gauge to measure the bores on both engines. The best way is to take multiple measurements at the top of the bore, middle and bottom. The measures are below the picture.


Here are the measures (averages) starting with the 1969 H60:
Bottom--2.602"
Middle--2.587"
Top--2.590"

The 1988 H70 is:
Bottom--2.7285"
Middle--2.7245"
Top--2.726"

Specifications from L-Head Manual:
H60 Bore--2.625
H70 Bore--2.750

So, both engines are a little under bore. I did do some honing on the 1969 but nothing on the 1988 yet. The 1969 does have a steel sleeve, so it might have been sleeved previously. I have 0.010" over rings for the 1969 and stock H70 rings for the 1988. I'm NOT going to hone out to spec without checking ring gaps first.
 
#11
Intake "porting" and flash removal H60

The H60's machining is not exactly pristine. There were a number of spots on the block where casting flash had not been removed and a couple of fins were pretty nasty looking. The intake port had some really sharp edges from original machining along with some ridges. Those were cleaned up with a Dremel with a mill end and a 3/8" and 7/8" sanding drums. I also did some work truing the head gasket mating surface. A preliminary hone was also done on the bore.

The casting flash:


Preliminary honing and "porting" work (much less than "Tweak the Teke")


#13
Started on the two blocks by taking some measurements of the bore sizes. A number of members have pointed out the stock bore always seems to widen at the bottom of the stroke. No different with the 1969 block. I used a telescoping gauge to measure the bores on both engines. The best way is to take multiple measurements at the top of the bore, middle and bottom. The measures are below the picture.


I'm curious, are the ends of the telescopic rounded enough to touch their center to the bore? If not, that would give an undersize measurement.
 
#16
Camshafts

There are actually three cams in this project. The 69's, the 88's PTO cam and its replacement. Measuring the cams to determine any differences yielded nothing to my caliper. However, I have not measured duration yet.


Here's an image of camshaft nomenclature:


Lift gets calculated by subtracting the maximum diameter of the base circle from the calculated distance of nose to base. This worked out to be--
1969
Intake--1.263 - 1.00 = 0.263 Lift
Exhaust-- 1.263 - 1.00 = 0.263 Lift

1988 PTO
Intake--1.268 - 1.00 = 0.268 Lift
Exhaust--1.260 - 1.00 = 0.260 Lift

1988 Non-PTO
Intake--1.261 - 1.00 = 0.261 Lift
Exhaust--1.257 - 1.00 = 0.257 Lift

The differences may be more to user error than actual changes in the cam specifications.

Note in the below photo how the noses are more square than rounded. Additionally, all three cams are mechanical compression release.

 
Last edited:
#17
Prepping 1969 Valves

The valves for the 69 were pretty gunky. They were cleaned up with a wire wheel to get the big stuff off, steel wool soaked in PB Blaster and, lastly, chucked (lightly) in the drill press to be polished. The exhaust valve face needed some serious lapping (first with coarse compound, usually a no-no). The intake face lapped quickly. Valve springs and caps were cleaned with brake cleaner and the valves re-installed with plenty of 30 wgt on the stems. I did do a little more work to the intake before installing the valves. Interestingly, this engine does not use pins to secure the valves (the 1970 for the Trailbike does).

Pre-Lapping


After Lapping--


Seated


Installed with springs.

 
#18
Connecting Rod--Dilemma One--Experts weigh in!

I knew the rods needed to be replaced (the 88's disintegrated and the 69's was pretty galled). I did a part number look up and found NOS Tecumseh rods. However, the OG 69 rod has an oiler and the NOS rods do not. This engine gets a donor crankshaft as the original was a stubby PTO. So, knowing that heat build up has been a problem with both engines, should an oiler be drilled and chamfered to lubricate the bearing surfaces?
Experts need to weigh in!

Rods side by side (note design differences and galling):


Oiler (grooves are pretty deep, btw):


31380C NOS Rod:

 
#19
The ends are rounded just for this purpose. Harbor Freight sells a kit of 5 for varying diameters. There is not a one size fits all...
Pic angle or dirty bifocals, didn't show the radius clearly :)
I've had the 6-piece set of Mitutoyo telescoping gauges sitting on top of the matching micrometer set box for 25 years, except the times I'm using them.
Digital calipers are OK for rough measurement but not really precise enough for bore clearance work.
 
#20
Pic angle or dirty bifocals, didn't show the radius clearly :)
I've had the 6-piece set of Mitutoyo telescoping gauges sitting on top of the matching micrometer set box for 25 years, except the times I'm using them.
Digital calipers are OK for rough measurement but not really precise enough for bore clearance work.
Absolutely. Even an outside caliper is not good enough to check the bore. Probably the pic angle. :laugh:
 
Top