
I could, but it's not worth it. The "new" block has the same basic design with the exception of 4 rather 2 coil mounts. The tins from the original engine will transfer over (including the square air deflector). Changed the crank seal back to the original this morning and let run for about an hour. A little bit of carb adjusting and she idles and revs well.
Dr. Shop Teacher's - "Lil" Indian Model 600 - (Vintage Class)
Nothing like starting from scratch again
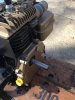
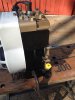
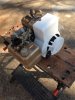
I should have known better than to finish detailing an engine before testing it. Generally, I do but I guess I was feeling a bit cocky. After all, it's a Briggs....what could go wrong?:shrug: I do prefer the Tecumsehs for some strange reason.
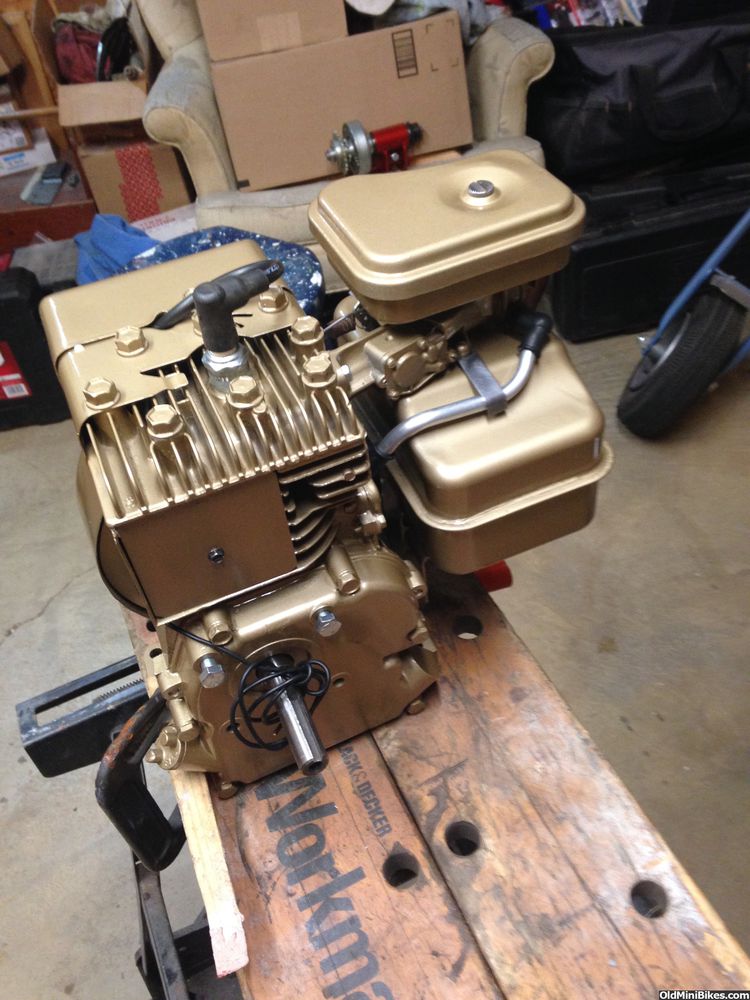
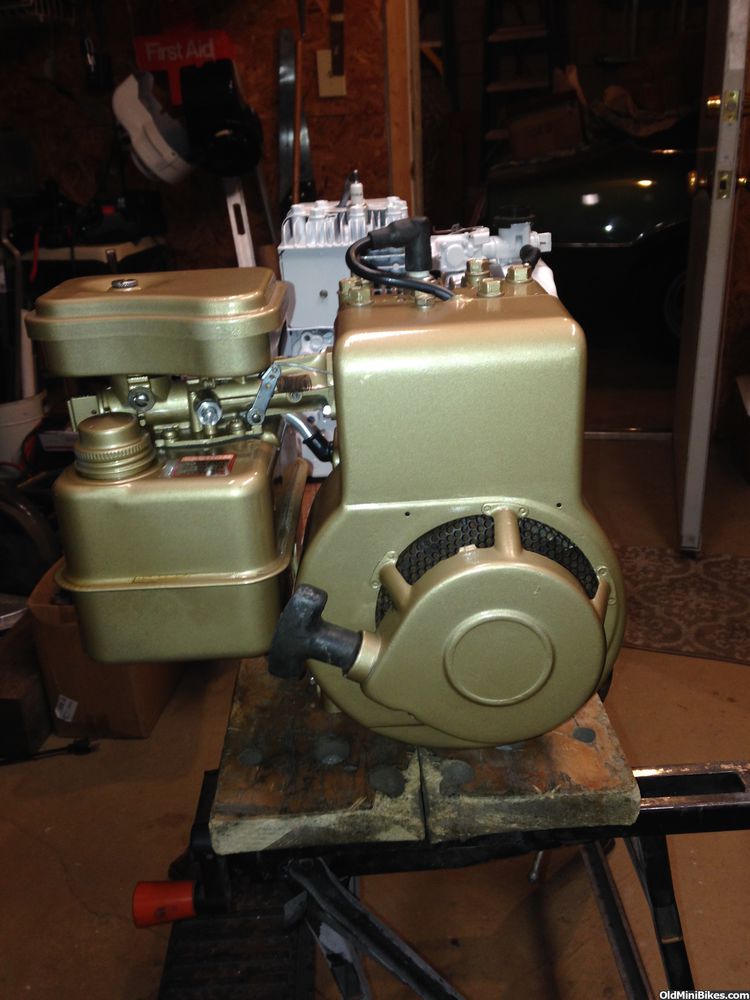
A couple of pics of the engine before it gets done in bronze finish. White shroud is for it's cousin (twice removed :laugh") . I'll get the block prepped, masked and painted tomorrow. Hopefully, it'll be looking as it should by the end of the week. I ran it for an hour today to make sure nothing more bad happened and she was fine.
. I'll get the block prepped, masked and painted tomorrow. Hopefully, it'll be looking as it should by the end of the week. I ran it for an hour today to make sure nothing more bad happened and she was fine.
Markus is helping out by properly sizing/shaping the kickstand (in the mail tomorrow). Pucks are ordered for the disc brake so it needs to be polished up along with the driven clutch.
I should have known better than to finish detailing an engine before testing it. Generally, I do but I guess I was feeling a bit cocky. After all, it's a Briggs....what could go wrong?:shrug: I do prefer the Tecumsehs for some strange reason.
A couple of pics of the engine before it gets done in bronze finish. White shroud is for it's cousin (twice removed :laugh
. I'll get the block prepped, masked and painted tomorrow. Hopefully, it'll be looking as it should by the end of the week. I ran it for an hour today to make sure nothing more bad happened and she was fine.Markus is helping out by properly sizing/shaping the kickstand (in the mail tomorrow). Pucks are ordered for the disc brake so it needs to be polished up along with the driven clutch.
Attachments
-
 1.7 MB Views: 19
 -
 1.6 MB Views: 18
 -
 1.7 MB Views: 21
I should have known better than to finish detailing an engine before testing it. Generally, I do but I guess I was feeling a bit cocky. After all, it's a Briggs....what could go wrong?:shrug: I do prefer the Tecumsehs for some strange reason.
Markus is helping out by properly sizing/shaping the kickstand (in the mail tomorrow). Pucks are ordered for the disc brake so it needs to be polished up along with the driven clutch.
Markus is helping out by properly sizing/shaping the kickstand (in the mail tomorrow). Pucks are ordered for the disc brake so it needs to be polished up along with the driven clutch.
Markus makes great LiL Indian kickstands. I'm glad you got with him on one, I just couldn't find anything extra.
The bike looks outstanding, I'm really looking forward to seeing the completed product.
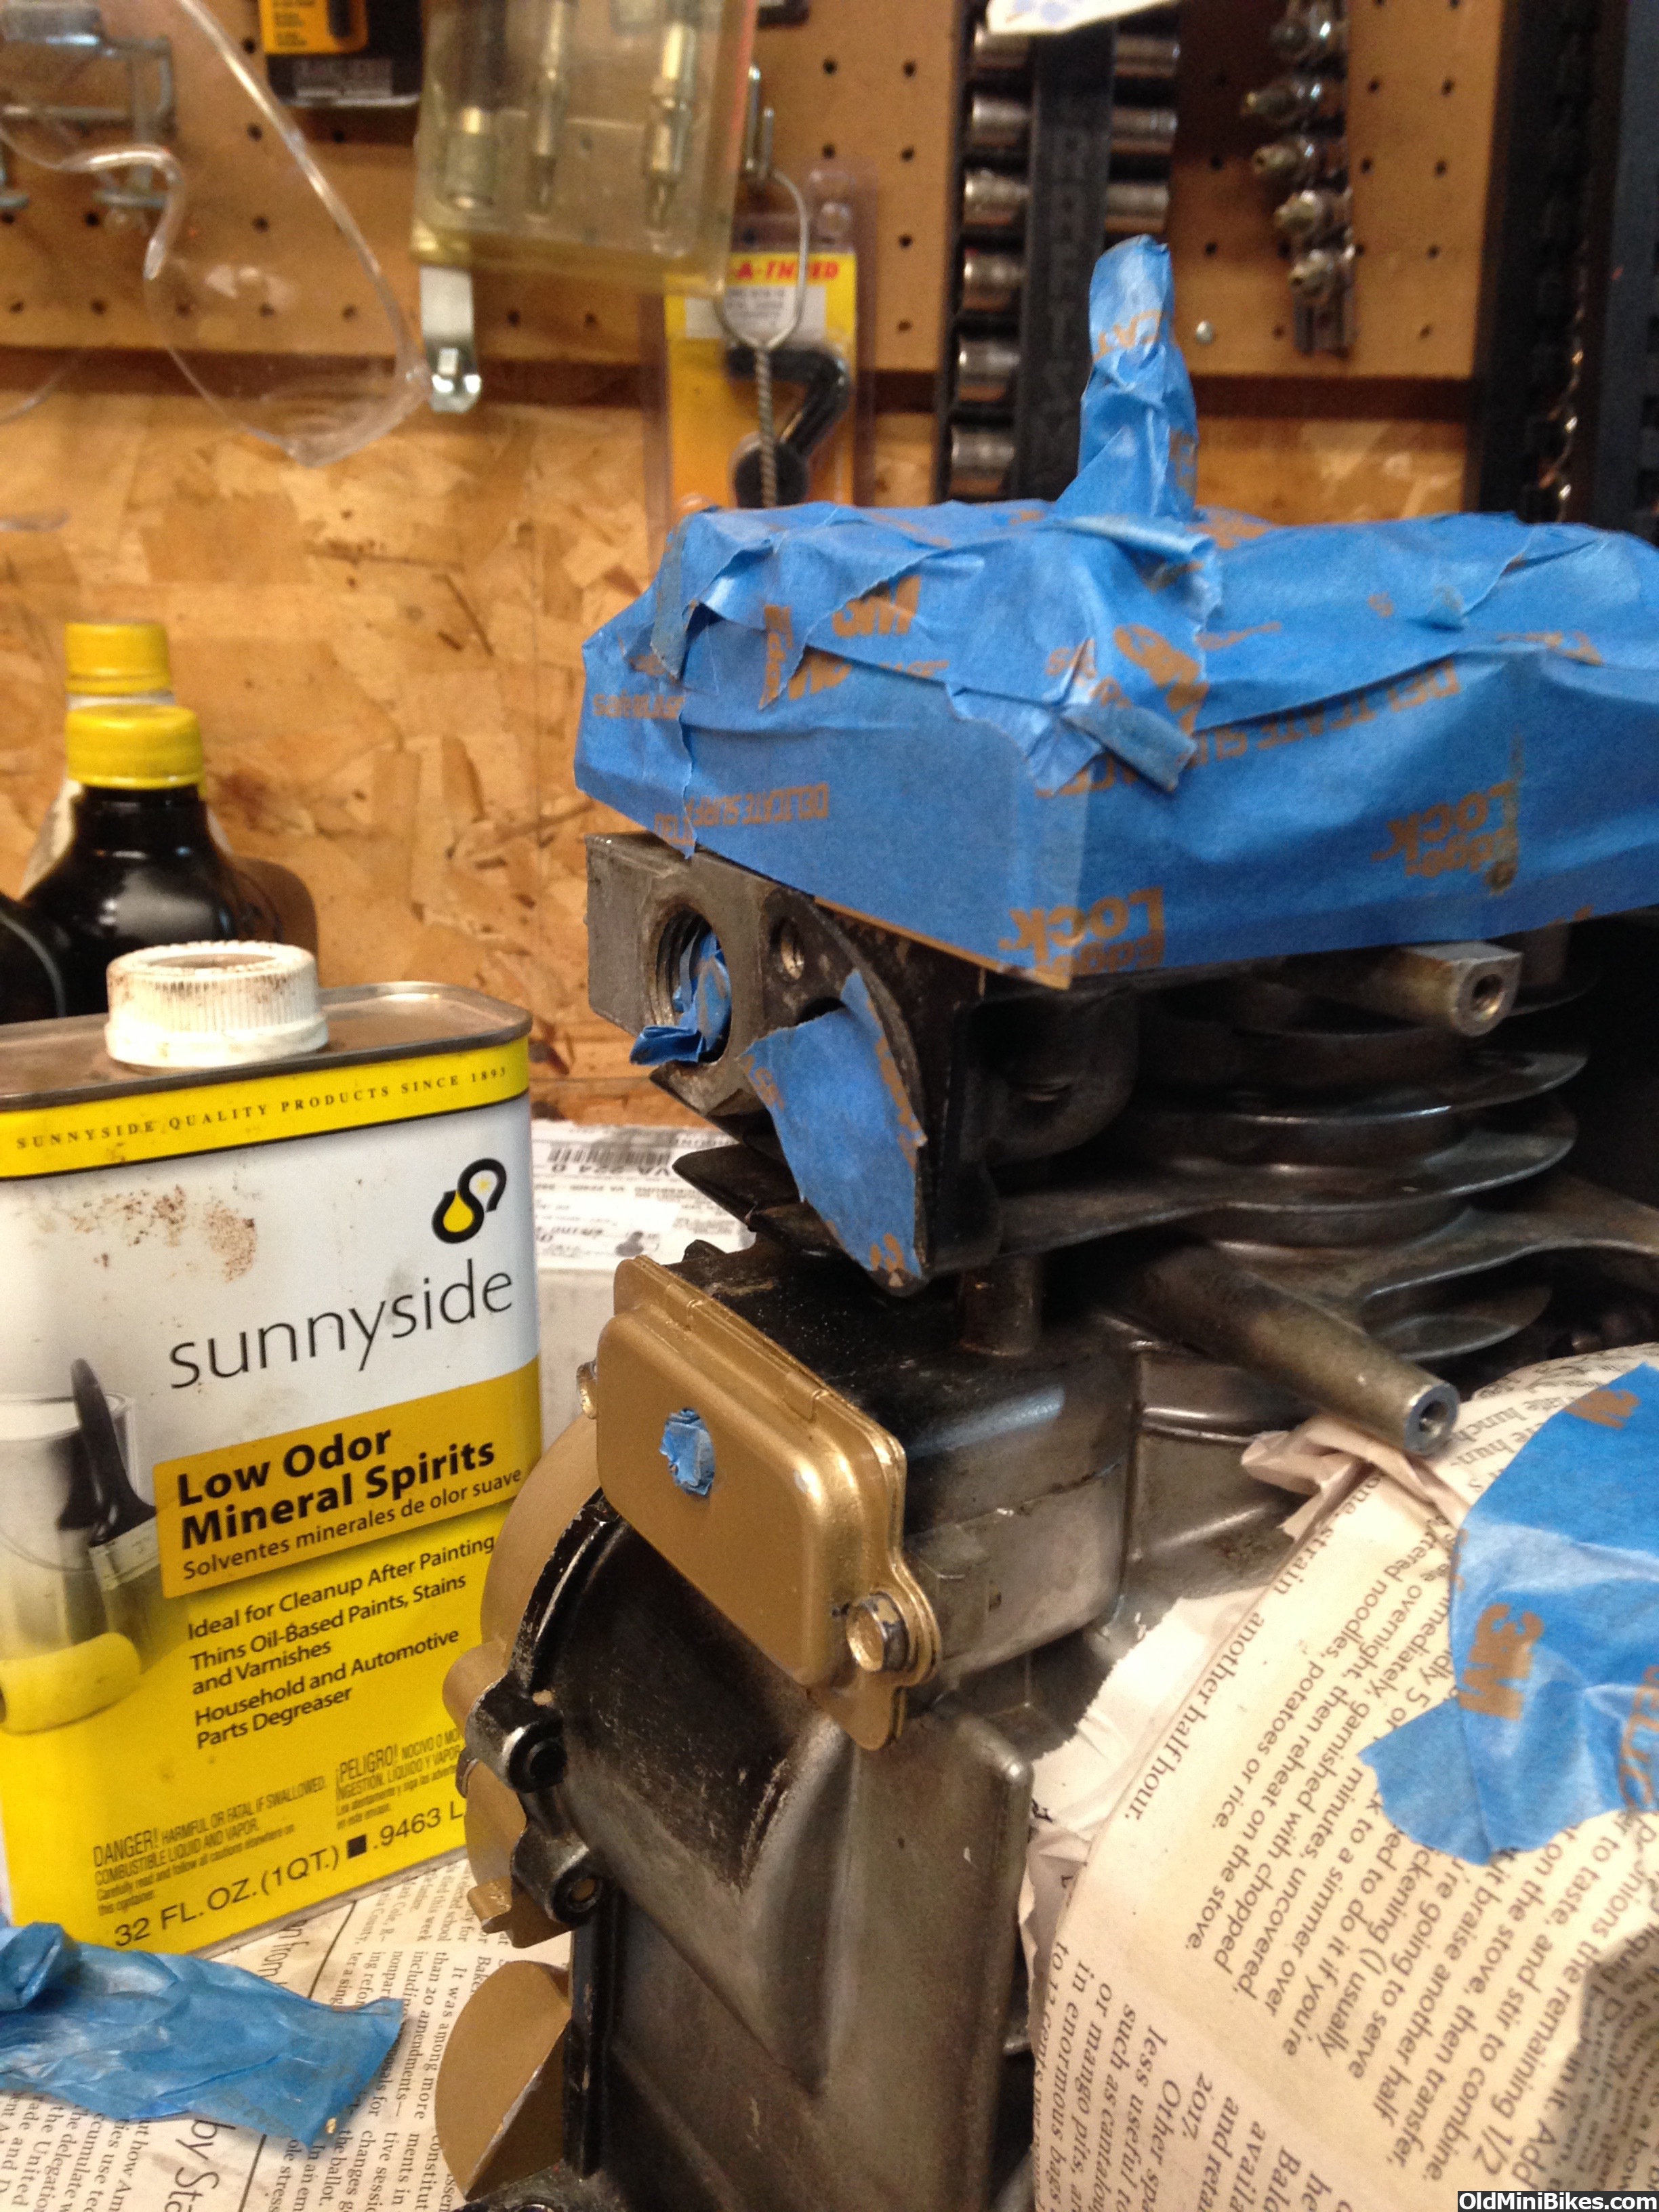
Engine Paint
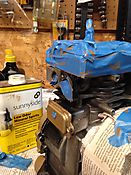
Cleaned up the block this morning and taped it up for the bronze paint. Before so, I checked crank endplay and found I had way too much. I had doubled the gaskets because the gaskets I had were thinner (I guessed 0.010 and 0.005). So the sump cover got pulled and one gasket removed. End play is much more acceptable. After it was reassembled, I degreased one last time and put it in bronze.


Cleaned up the block this morning and taped it up for the bronze paint. Before so, I checked crank endplay and found I had way too much. I had doubled the gaskets because the gaskets I had were thinner (I guessed 0.010 and 0.005). So the sump cover got pulled and one gasket removed. End play is much more acceptable. After it was reassembled, I degreased one last time and put it in bronze.

Last edited:
Clutch Install
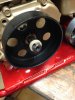
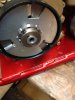
Since the photo upload feature is not working yet, I uploaded the other way. This is a one-off made by Jim Donovan and is a two piece 5/8 shaft two speed clutch. Because it doesn't have a c-clip holding the two parts together, Jim gave some pretty specific instructions on how to install (he was really concerned the clutch would blow apart if not secured properly).
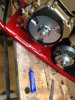
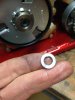
The two sprocket outer piece is installed first (it has a bushing to reduce it to 5/8") and has to spin freely. I stepped it off the inside edge of the pto with two 14g bushings for chain clearance. Then six (6) felt washers are installed to space the clutches off the outer. Then the clutch pack is installed with a key. Because I stepped the clutch out, I needed to add a 5/8 OD x 1/8 thick shim spacer to the end of the crank to keep the keeper washer and bolt from locking the clutch pack to the outer.
Jim insisted that I use two set screws in addition to the keeper bolt on the end of the crank and these were blue loctited.
Since the photo upload feature is not working yet, I uploaded the other way. This is a one-off made by Jim Donovan and is a two piece 5/8 shaft two speed clutch. Because it doesn't have a c-clip holding the two parts together, Jim gave some pretty specific instructions on how to install (he was really concerned the clutch would blow apart if not secured properly).
The two sprocket outer piece is installed first (it has a bushing to reduce it to 5/8") and has to spin freely. I stepped it off the inside edge of the pto with two 14g bushings for chain clearance. Then six (6) felt washers are installed to space the clutches off the outer. Then the clutch pack is installed with a key. Because I stepped the clutch out, I needed to add a 5/8 OD x 1/8 thick shim spacer to the end of the crank to keep the keeper washer and bolt from locking the clutch pack to the outer.
Jim insisted that I use two set screws in addition to the keeper bolt on the end of the crank and these were blue loctited.
Attachments
-
 1.6 MB Views: 22
 -
 1.5 MB Views: 25
 -
 1.4 MB Views: 23
 -
 1.7 MB Views: 24
 -
 1.6 MB Views: 22
 -
 1.5 MB Views: 21
More assembly and test fitting
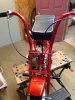
Engine and jackshaft plate were mounted and secured temporarily (chains are tomorrow). I ordered what I thought was a neck Lil Indian logo that ended up being way too big, so I put it on the front of the engine (a waste of 8 bucks, IMO). I guess it could have gone on the shroud, but I didn't like that look. Brake lever installed and cable was cut to length as was the throttle cable. Brake pucks haven't got here yet, and I've ordered vinyl engine decals to replace the slide ons that came off yesterday when I installed the new recoil spring.
Engine and jackshaft plate were mounted and secured temporarily (chains are tomorrow). I ordered what I thought was a neck Lil Indian logo that ended up being way too big, so I put it on the front of the engine (a waste of 8 bucks, IMO). I guess it could have gone on the shroud, but I didn't like that look. Brake lever installed and cable was cut to length as was the throttle cable. Brake pucks haven't got here yet, and I've ordered vinyl engine decals to replace the slide ons that came off yesterday when I installed the new recoil spring.
Attachments
-
 1.6 MB Views: 42
 -
 1.2 MB Views: 40
 -
 1.9 MB Views: 39
Throttle
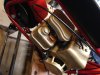
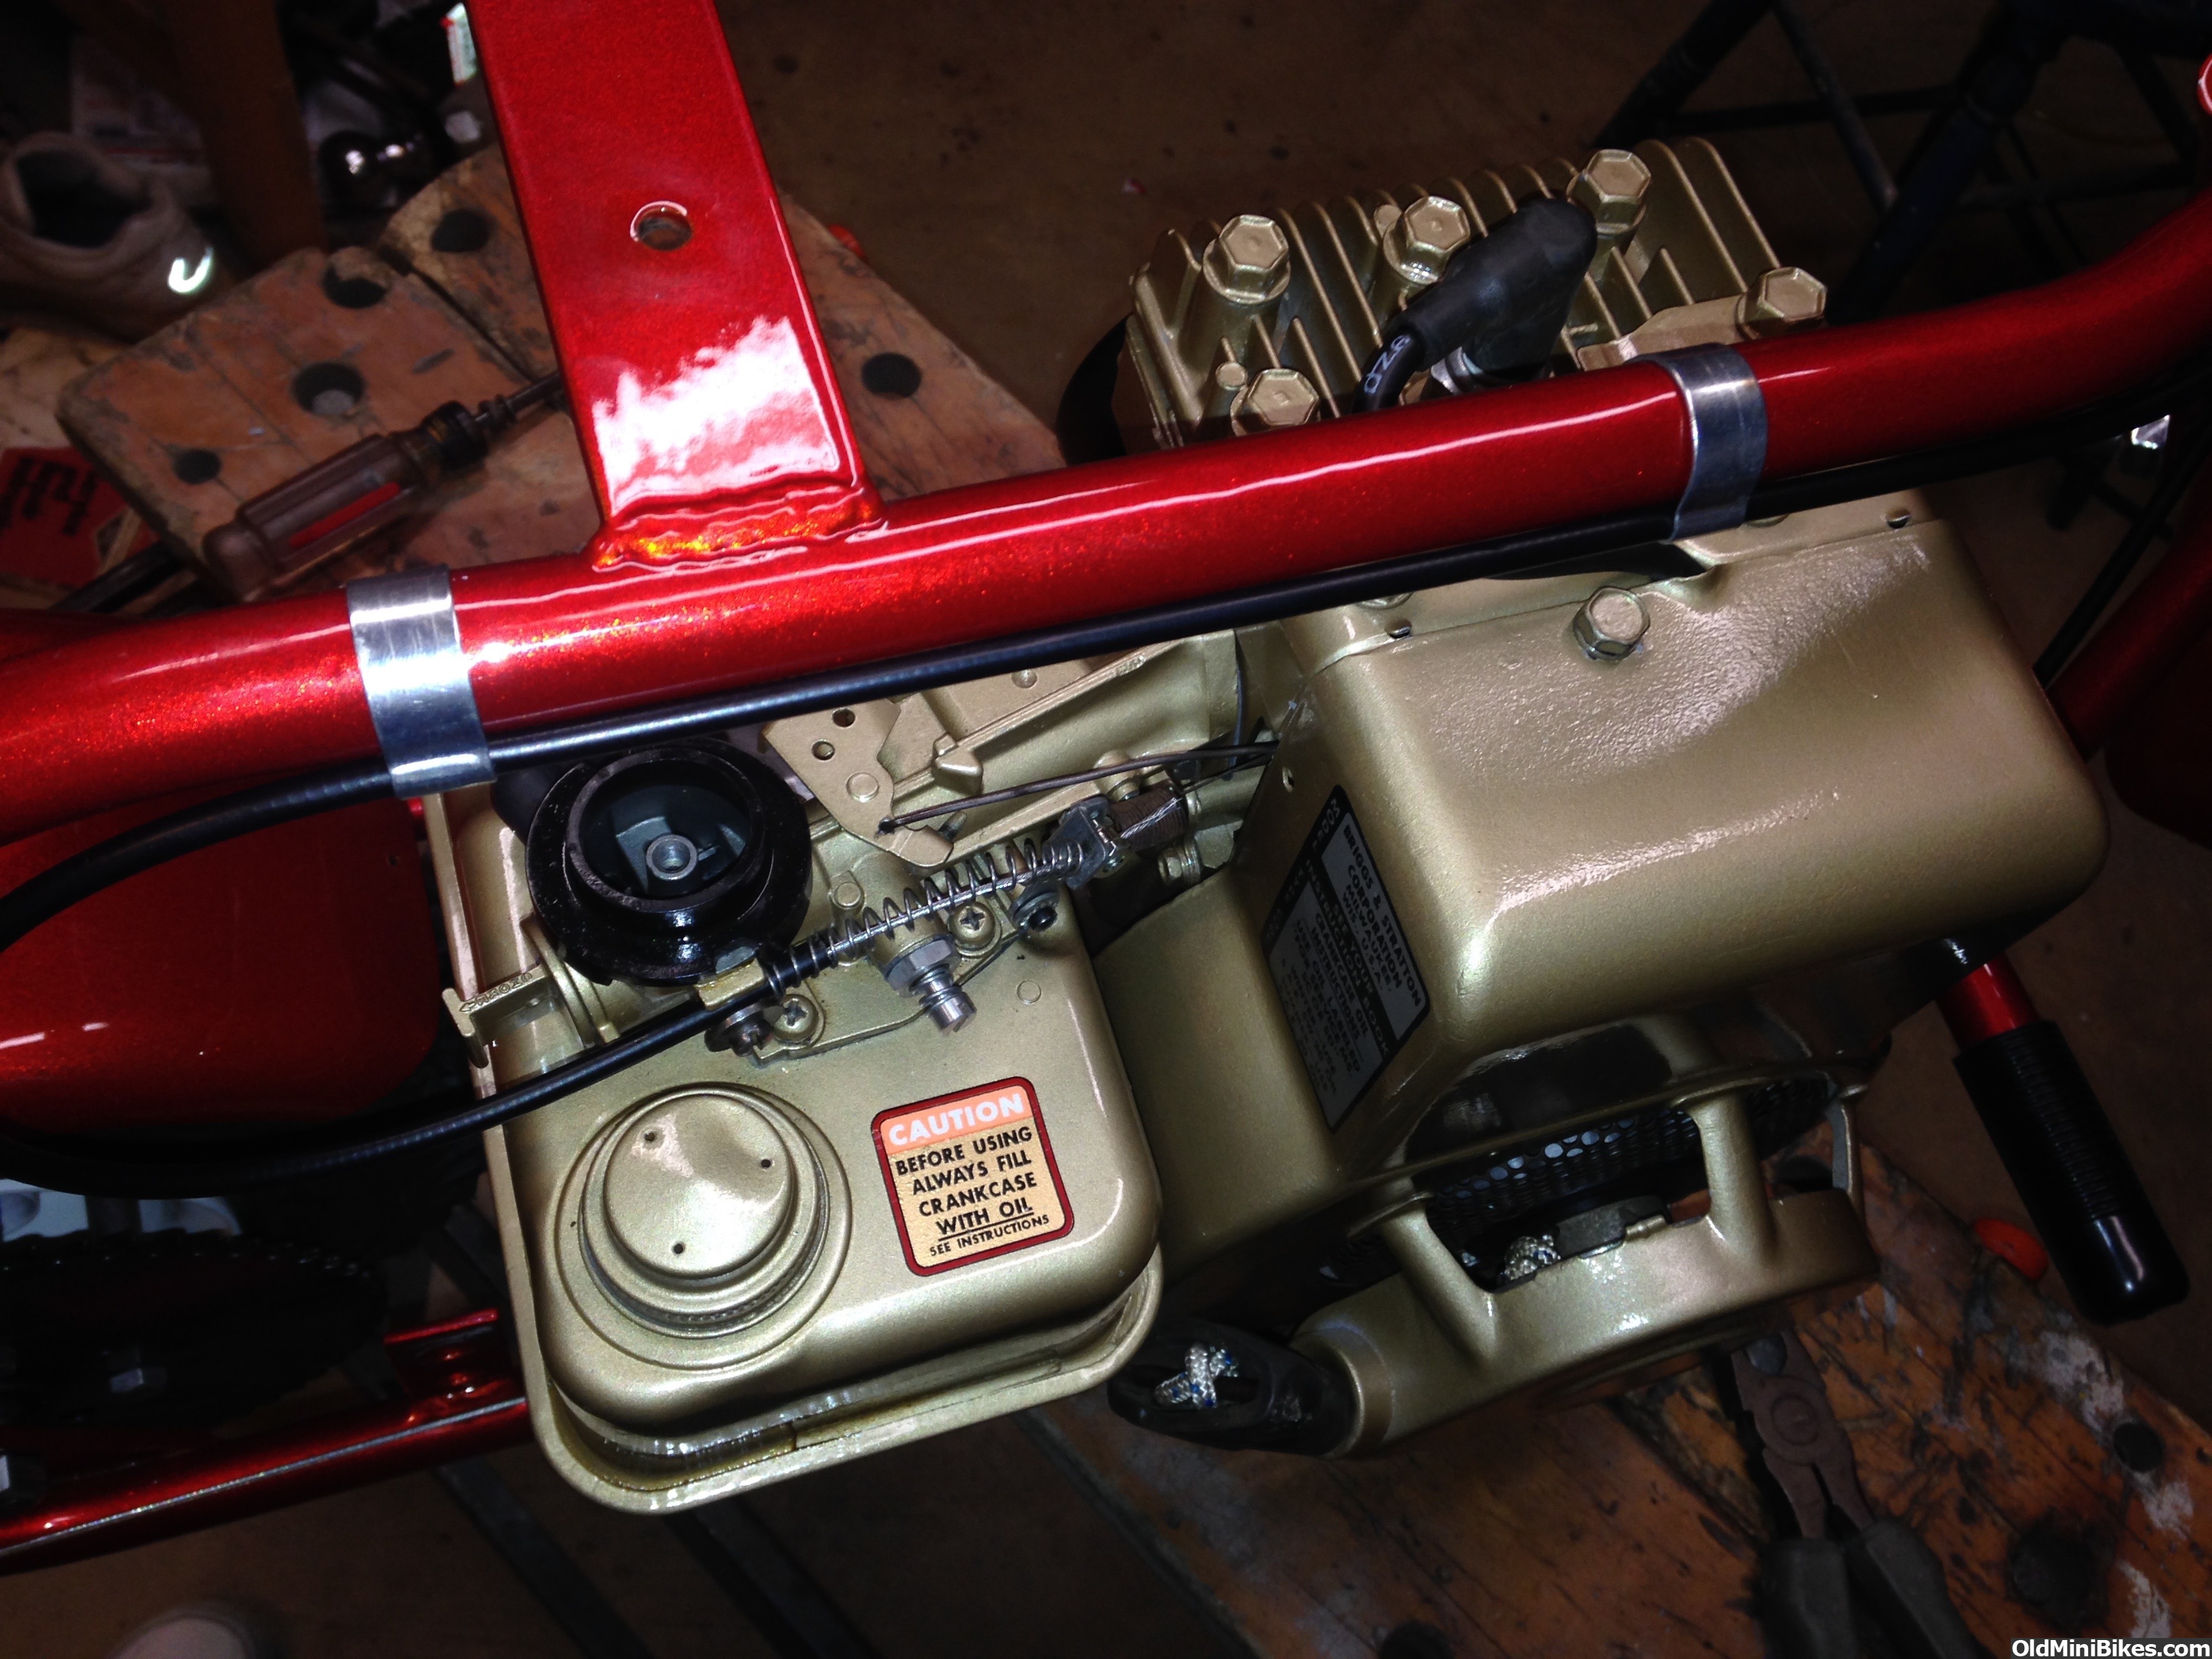
I set up the throttle today. Rather than using the original return spring approach, I chose to use a compression spring. To me, it's cleaner and prevents any interference with the governor rod or the lightweight spring connecting the throttle control to the governor vane. This particular set-up eliminates the choke-a-matic assembly (no real loss!).
The sheath was cut to length and can be adjusted to and fro to adjust the throttle control.

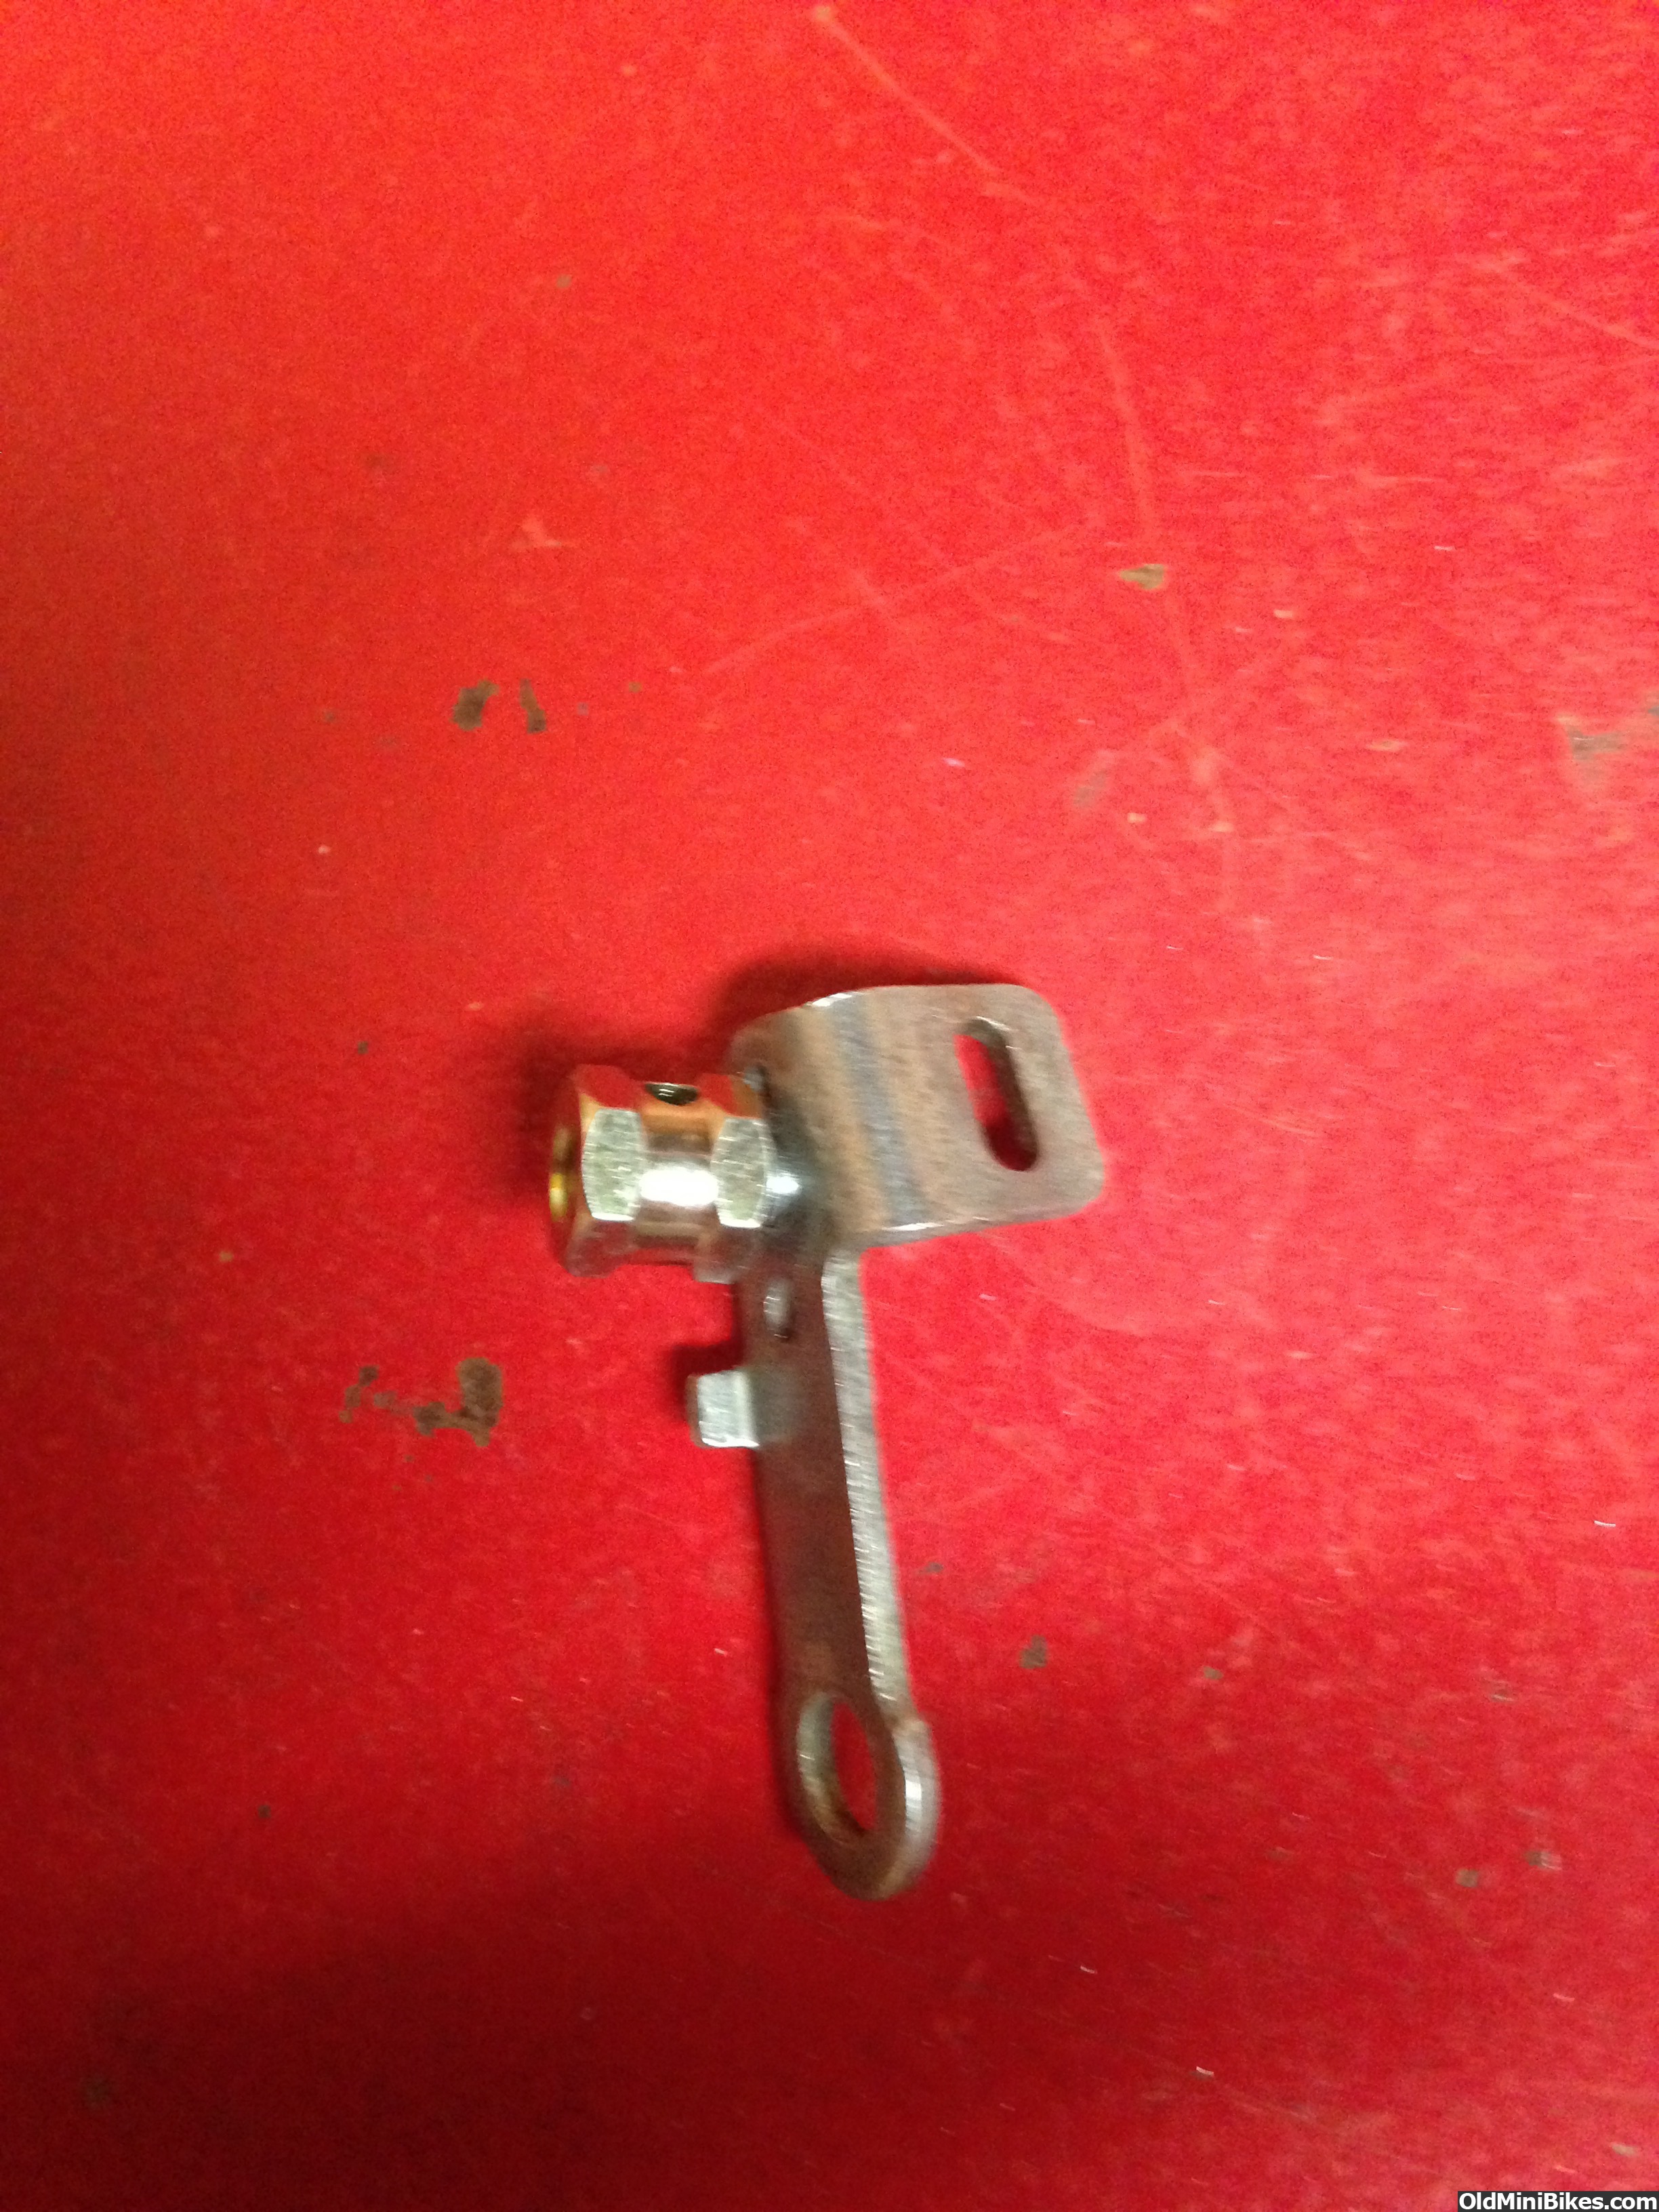
I enlarged one of the holes in the throttle control to accept the screw for the cable stop. The screw will act as a pivot for the cable, so it was shortened accordingly. Note the washer which serves as a spacer from the stop nut.

The stop was actually mounted opposite to the photo below.

The cable is inserted, and the the stop tightened down.

I used Lineman's side cutting pliers to cut the cable to length. I still need to take the cable back out and solder the end.

Another view: The throttle cable is out of the way. I also used more cable clamps than stock, I just hate cables flopping around.

I set up the throttle today. Rather than using the original return spring approach, I chose to use a compression spring. To me, it's cleaner and prevents any interference with the governor rod or the lightweight spring connecting the throttle control to the governor vane. This particular set-up eliminates the choke-a-matic assembly (no real loss!).
The sheath was cut to length and can be adjusted to and fro to adjust the throttle control.

I enlarged one of the holes in the throttle control to accept the screw for the cable stop. The screw will act as a pivot for the cable, so it was shortened accordingly. Note the washer which serves as a spacer from the stop nut.

The stop was actually mounted opposite to the photo below.
The cable is inserted, and the the stop tightened down.

I used Lineman's side cutting pliers to cut the cable to length. I still need to take the cable back out and solder the end.

Another view: The throttle cable is out of the way. I also used more cable clamps than stock, I just hate cables flopping around.
Last edited: