Foremost Mini Bike Resurrection (Bird/JCPenny/Sears)

#1
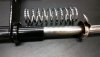
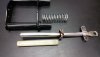
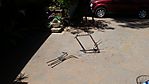
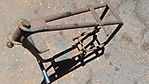
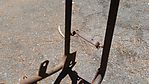
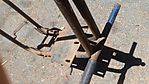
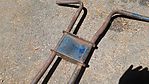
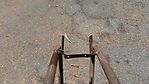
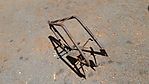
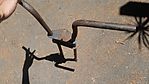
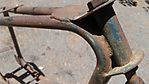
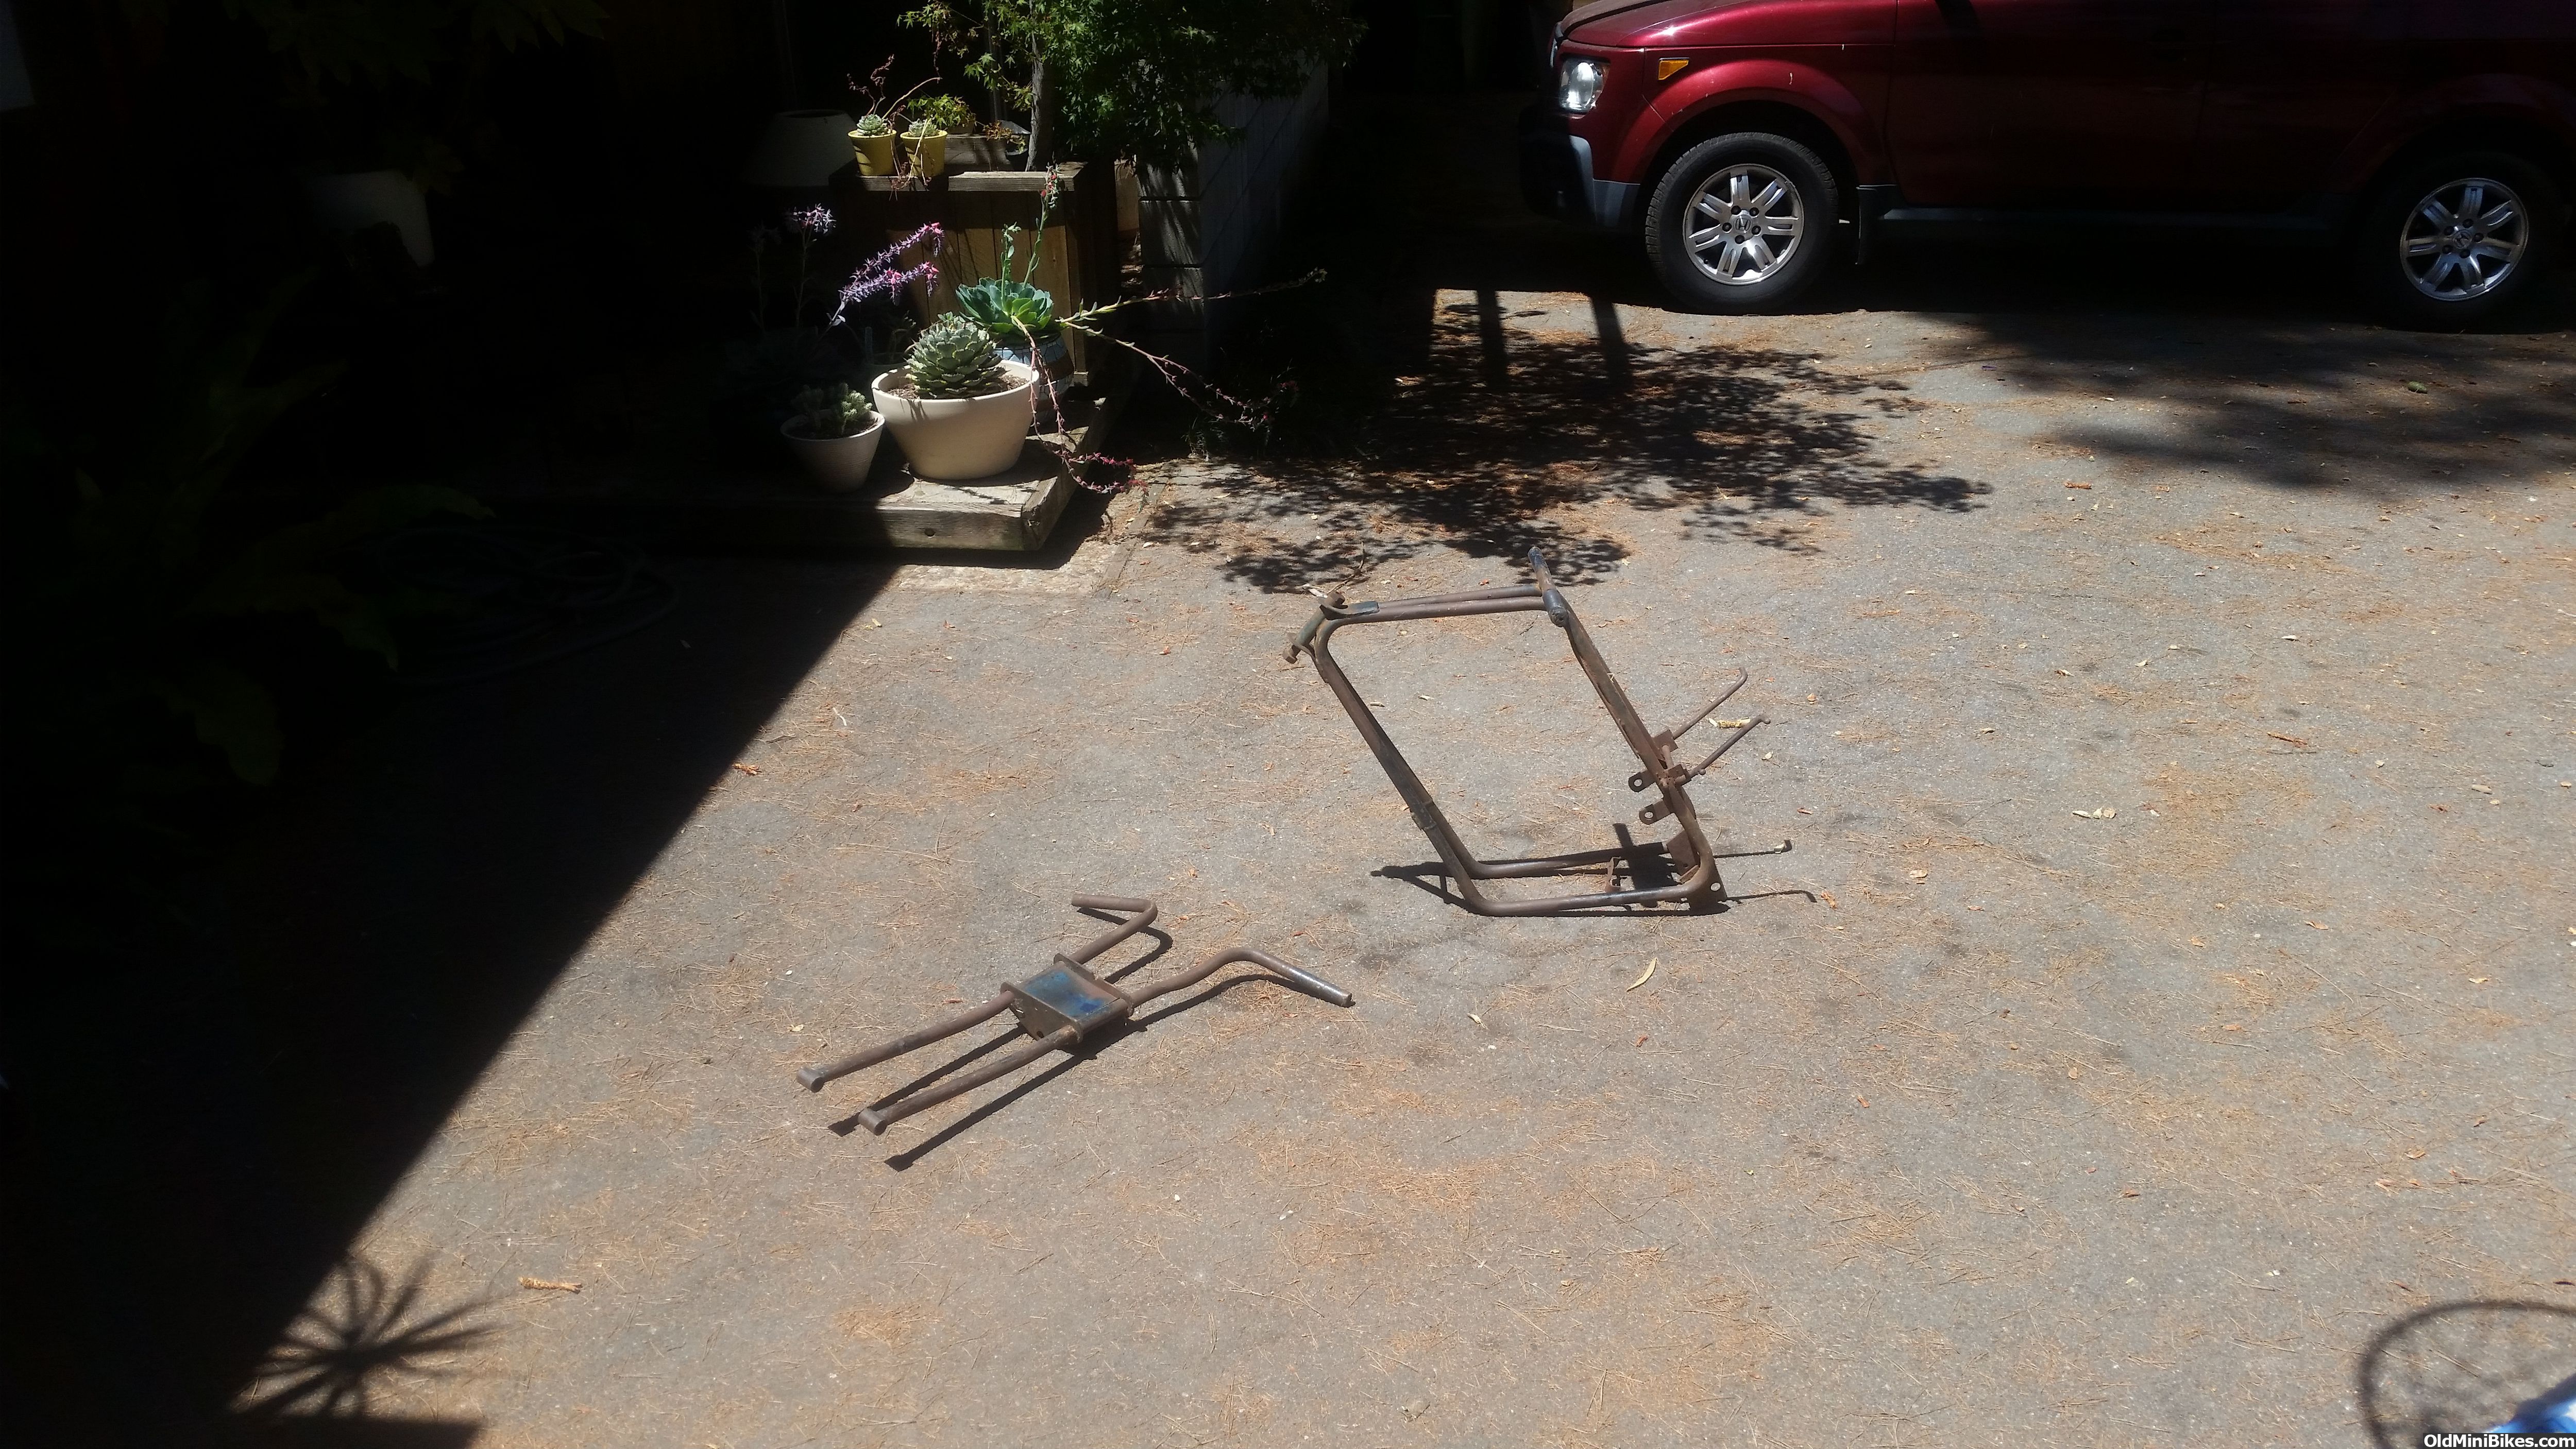
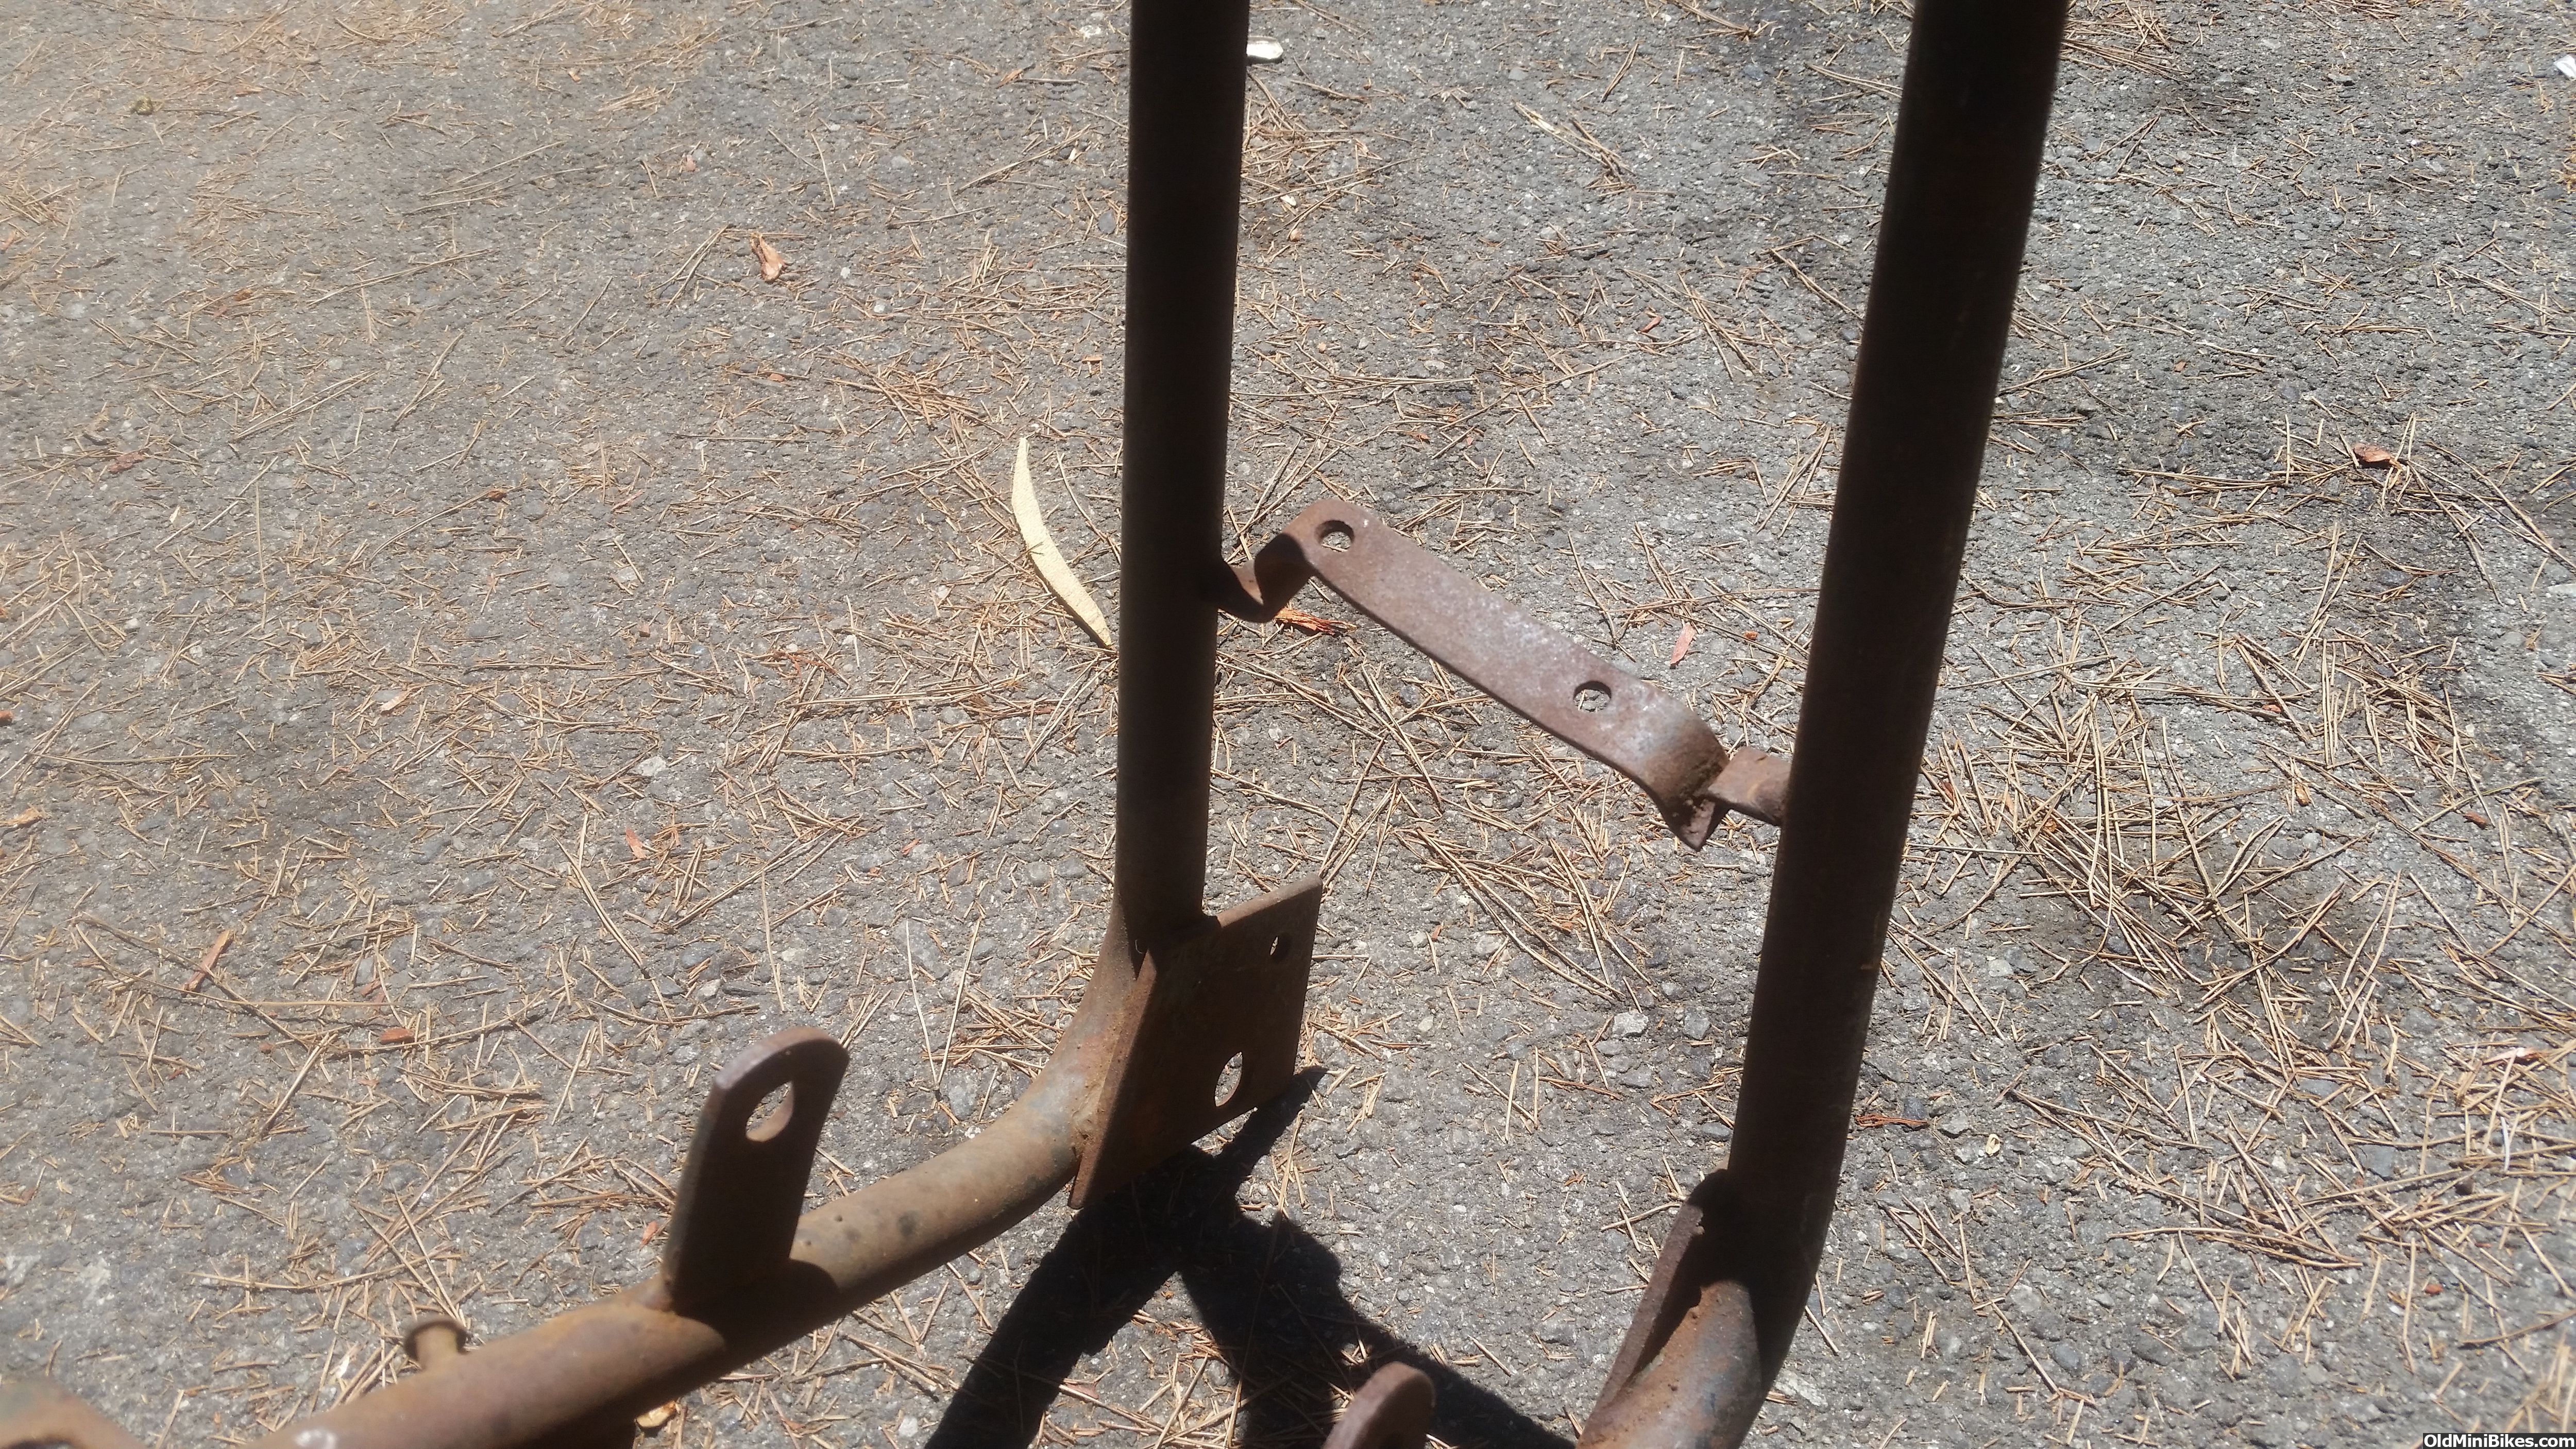
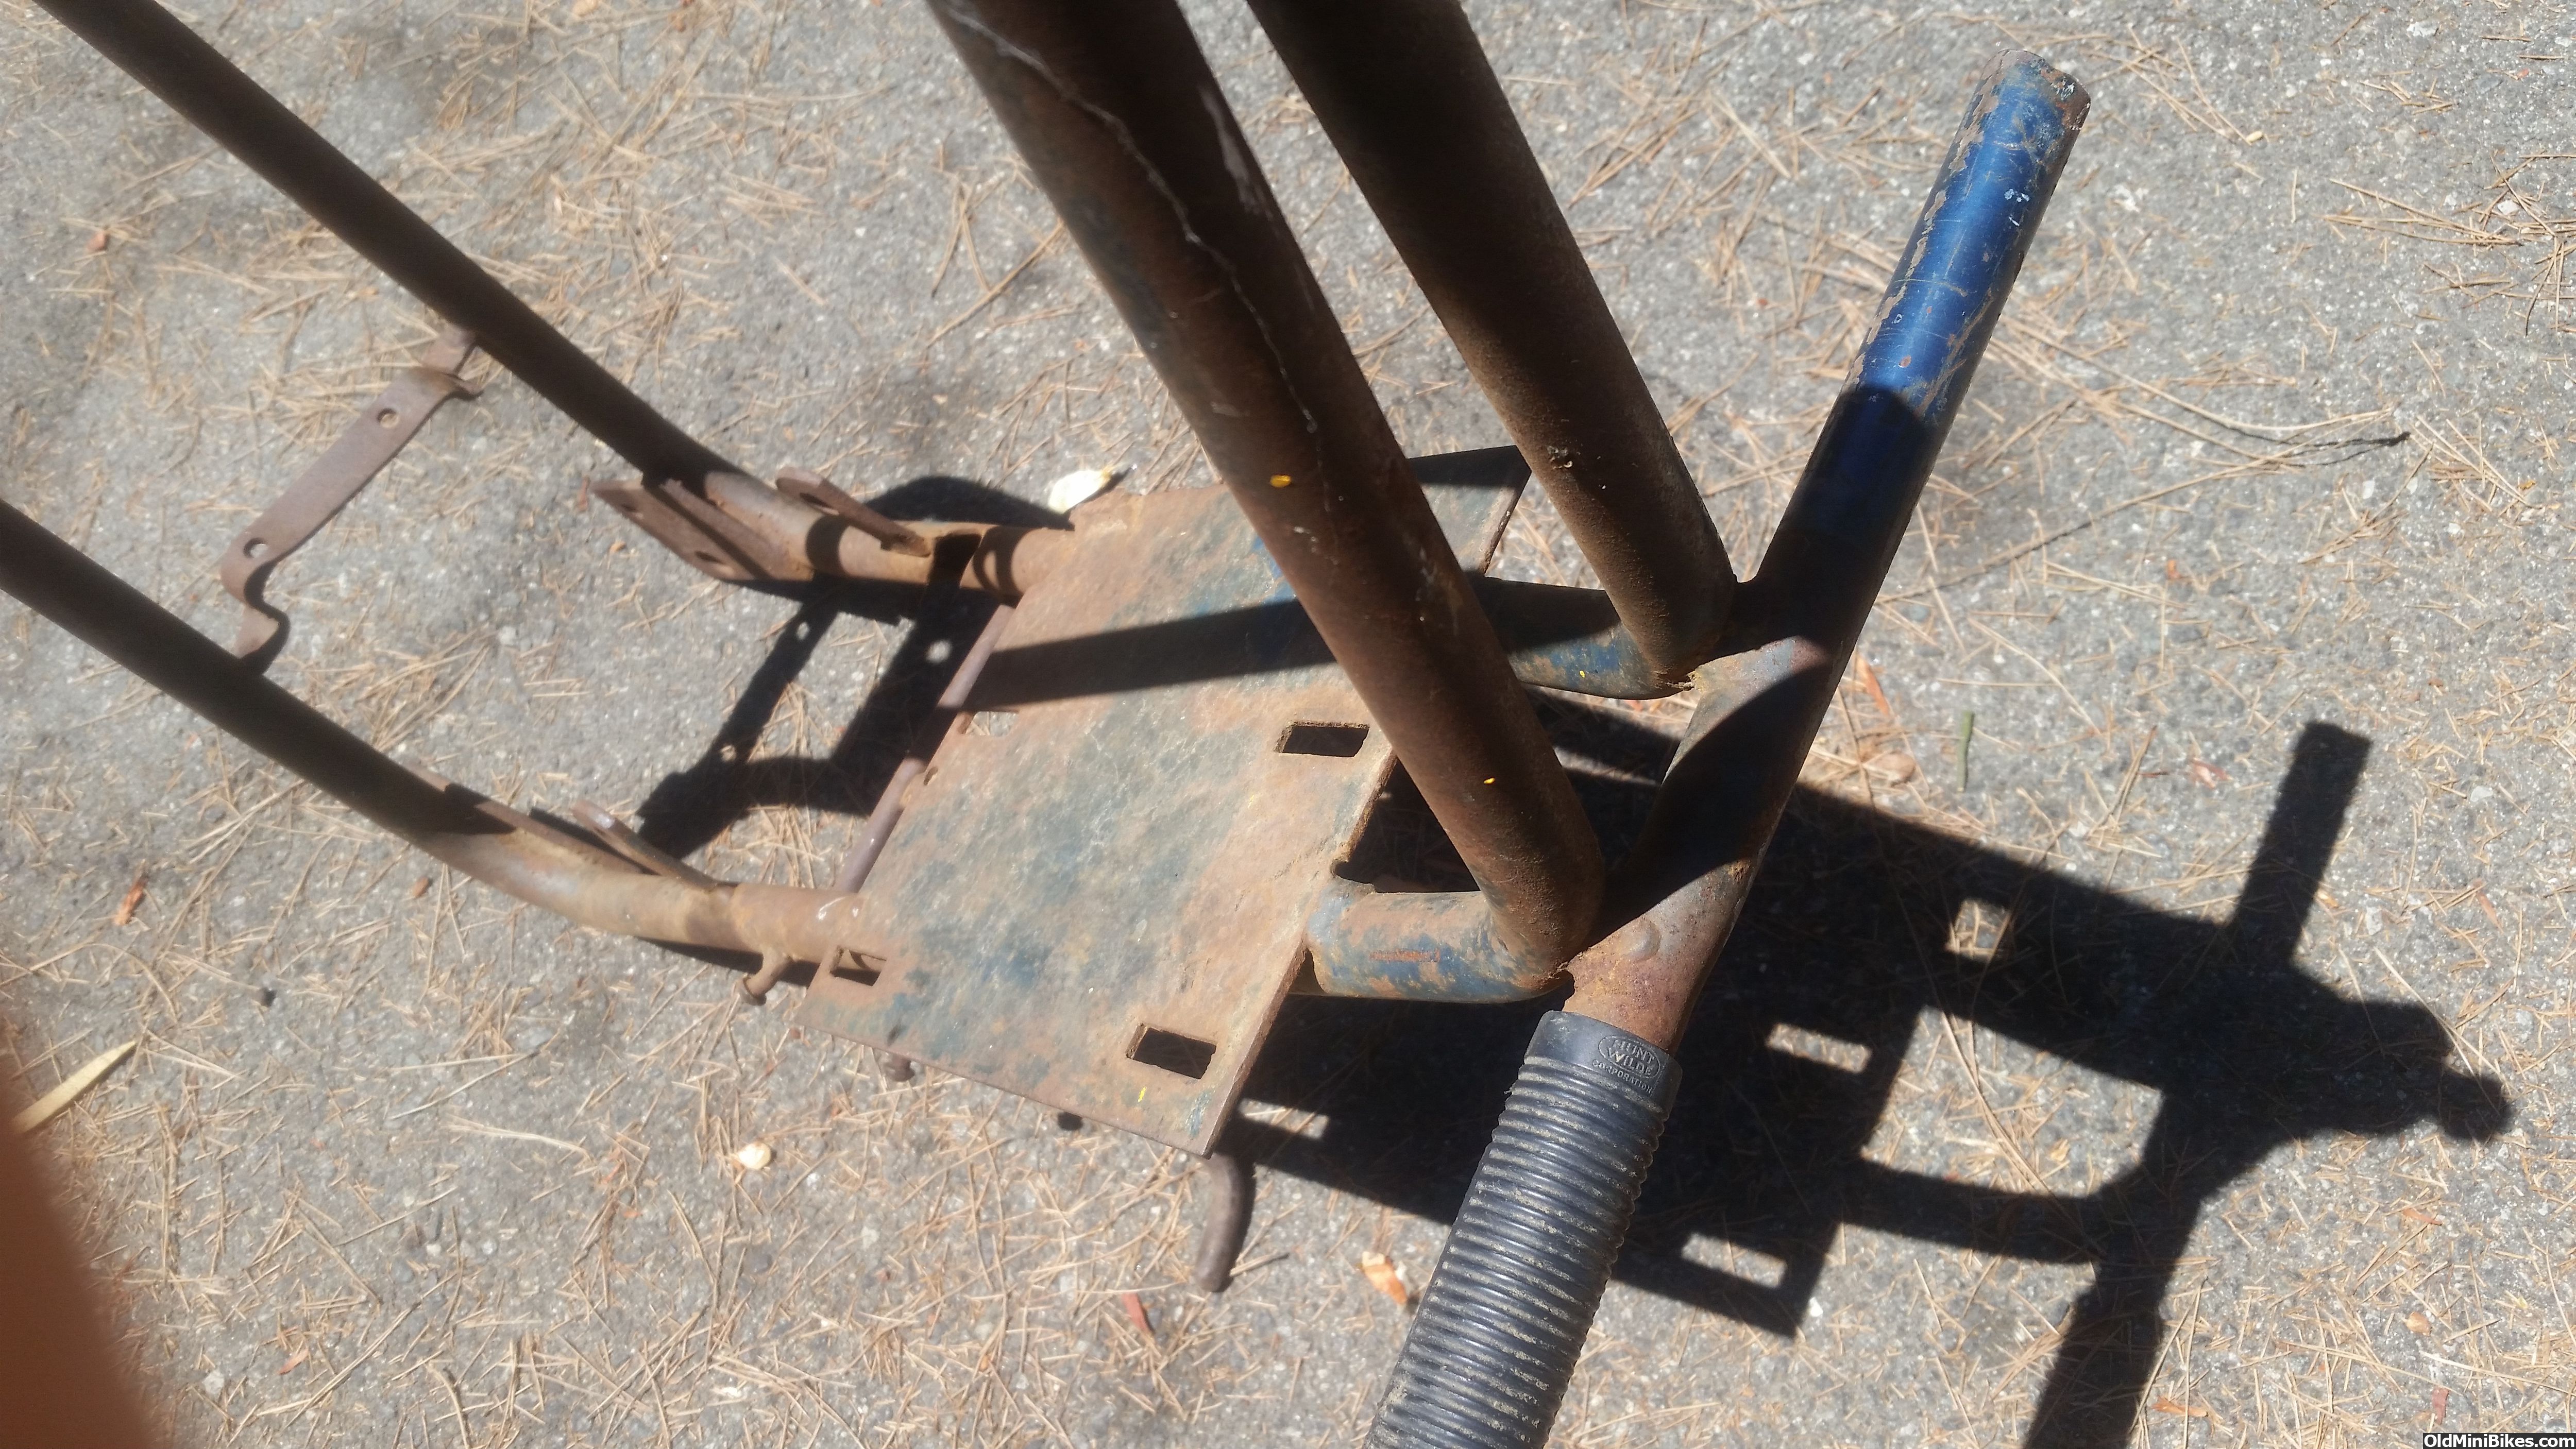
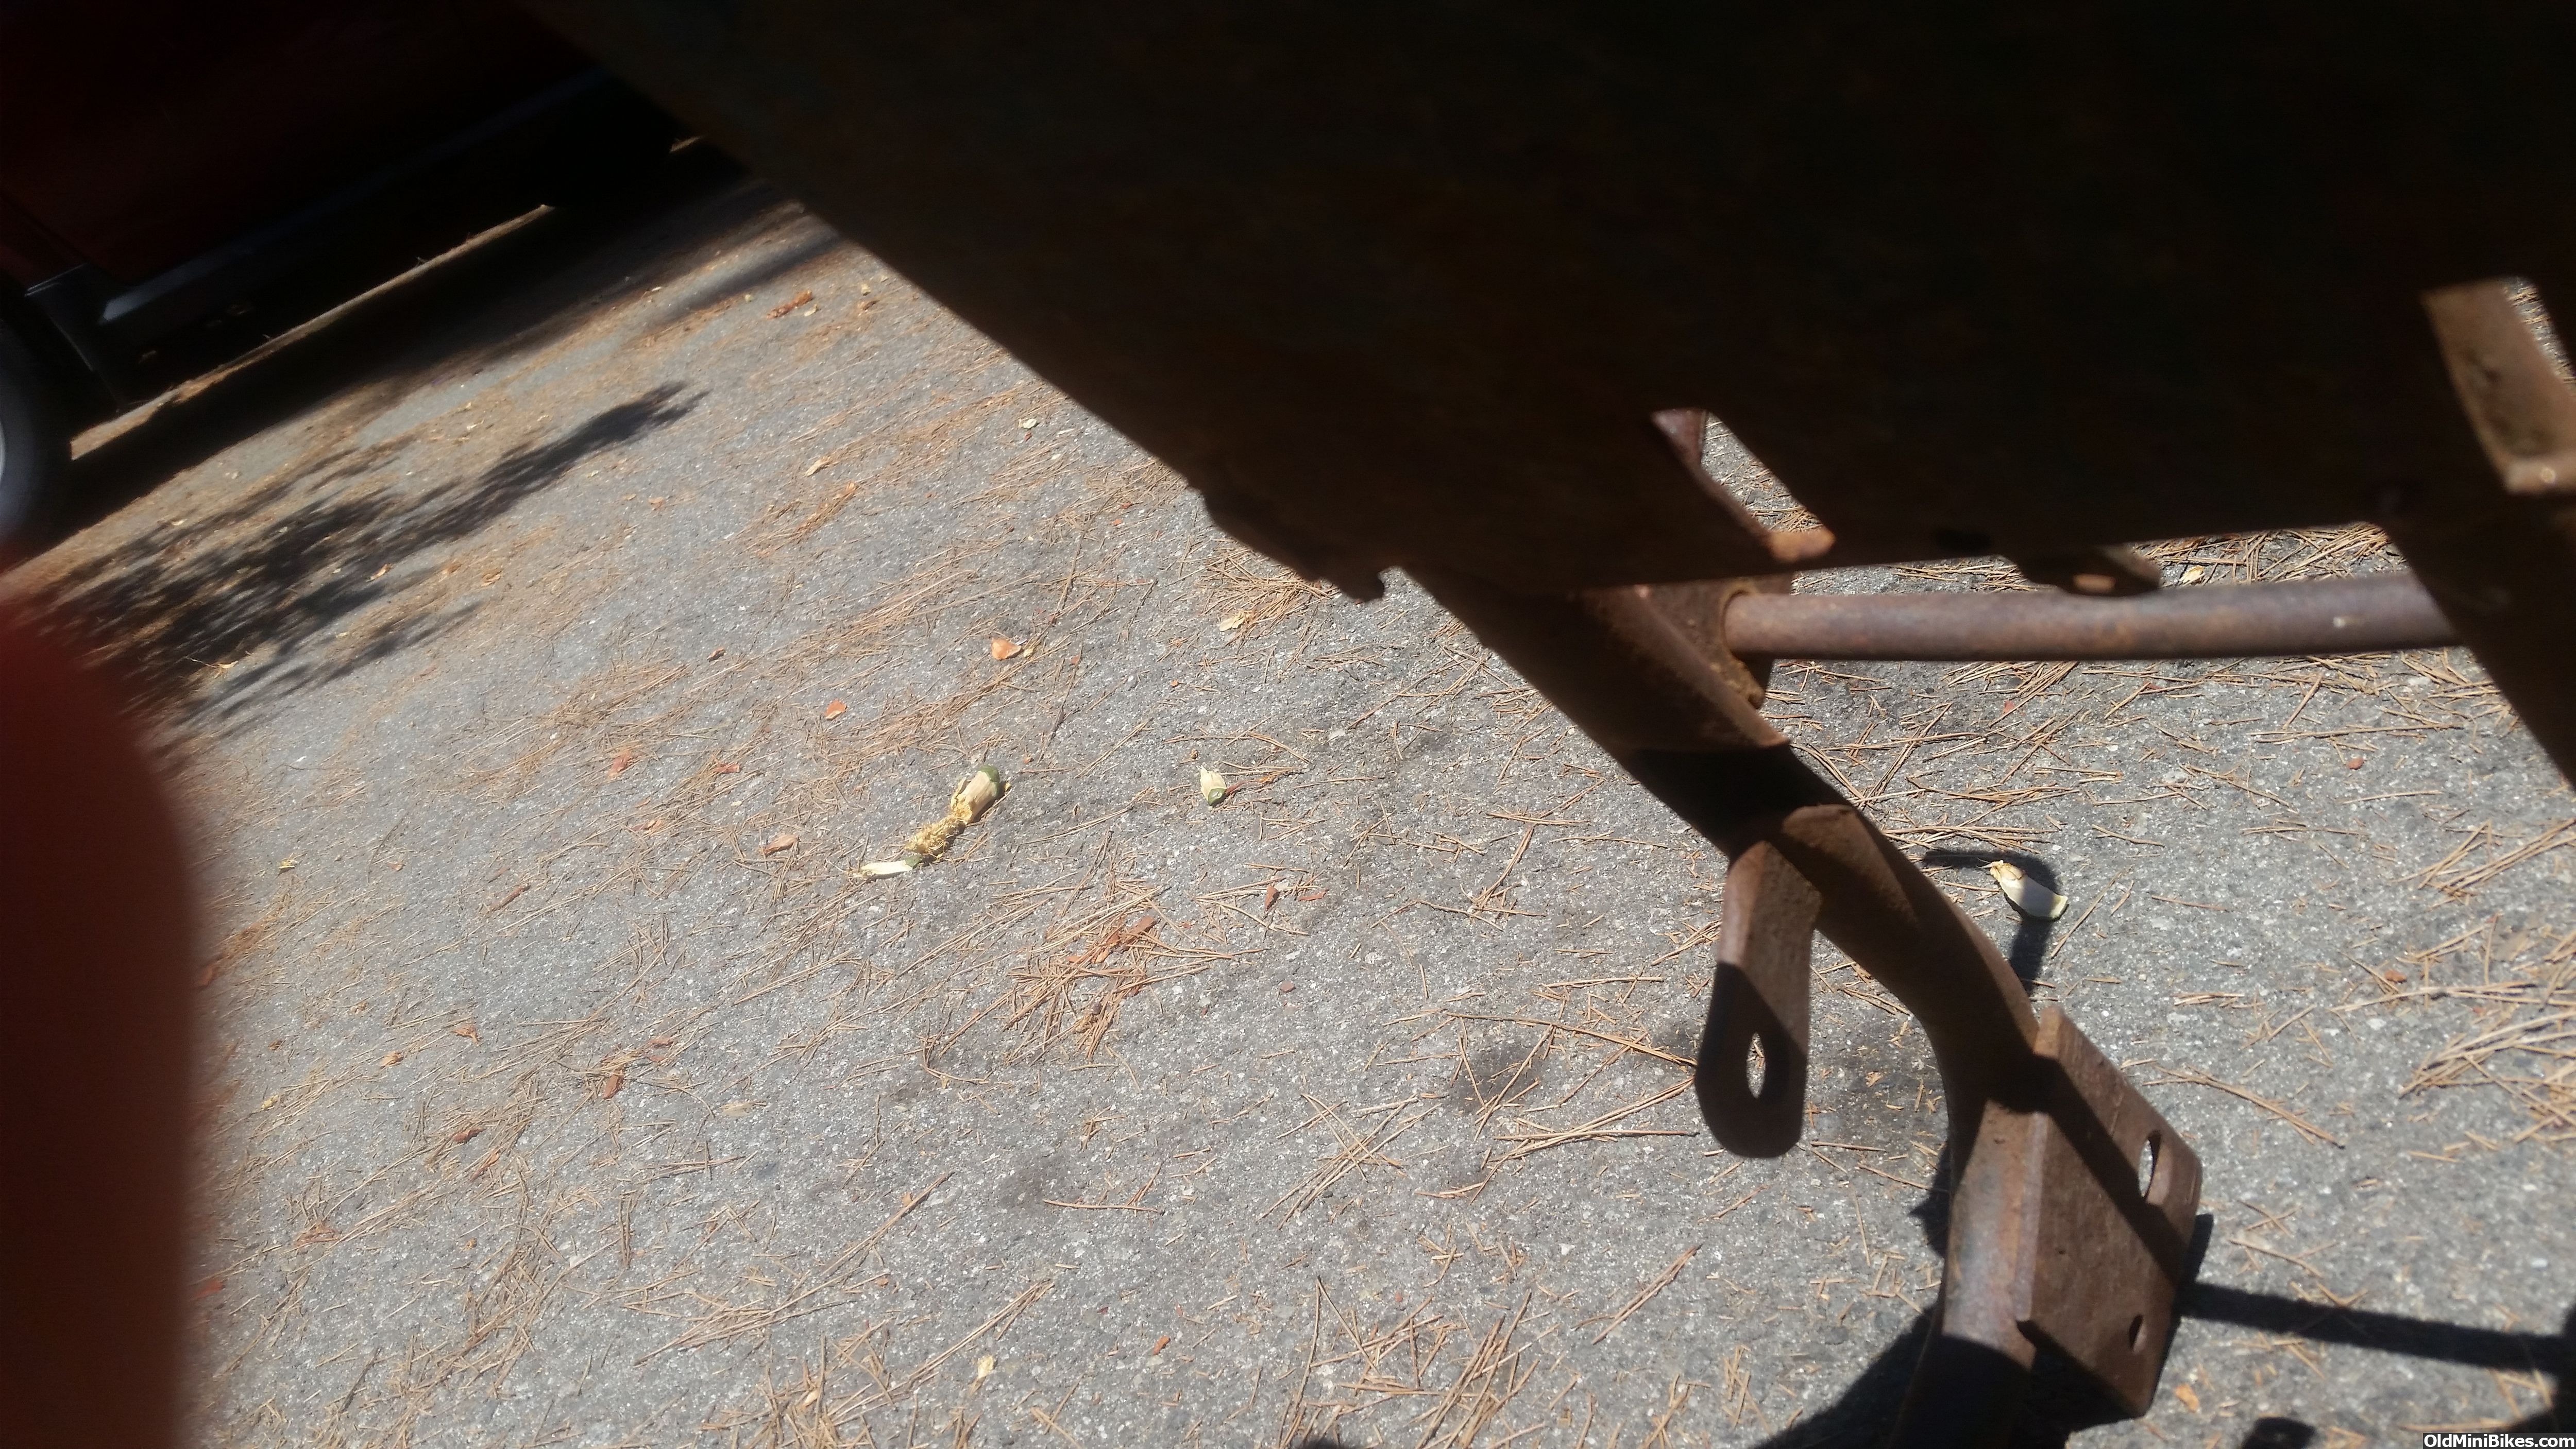
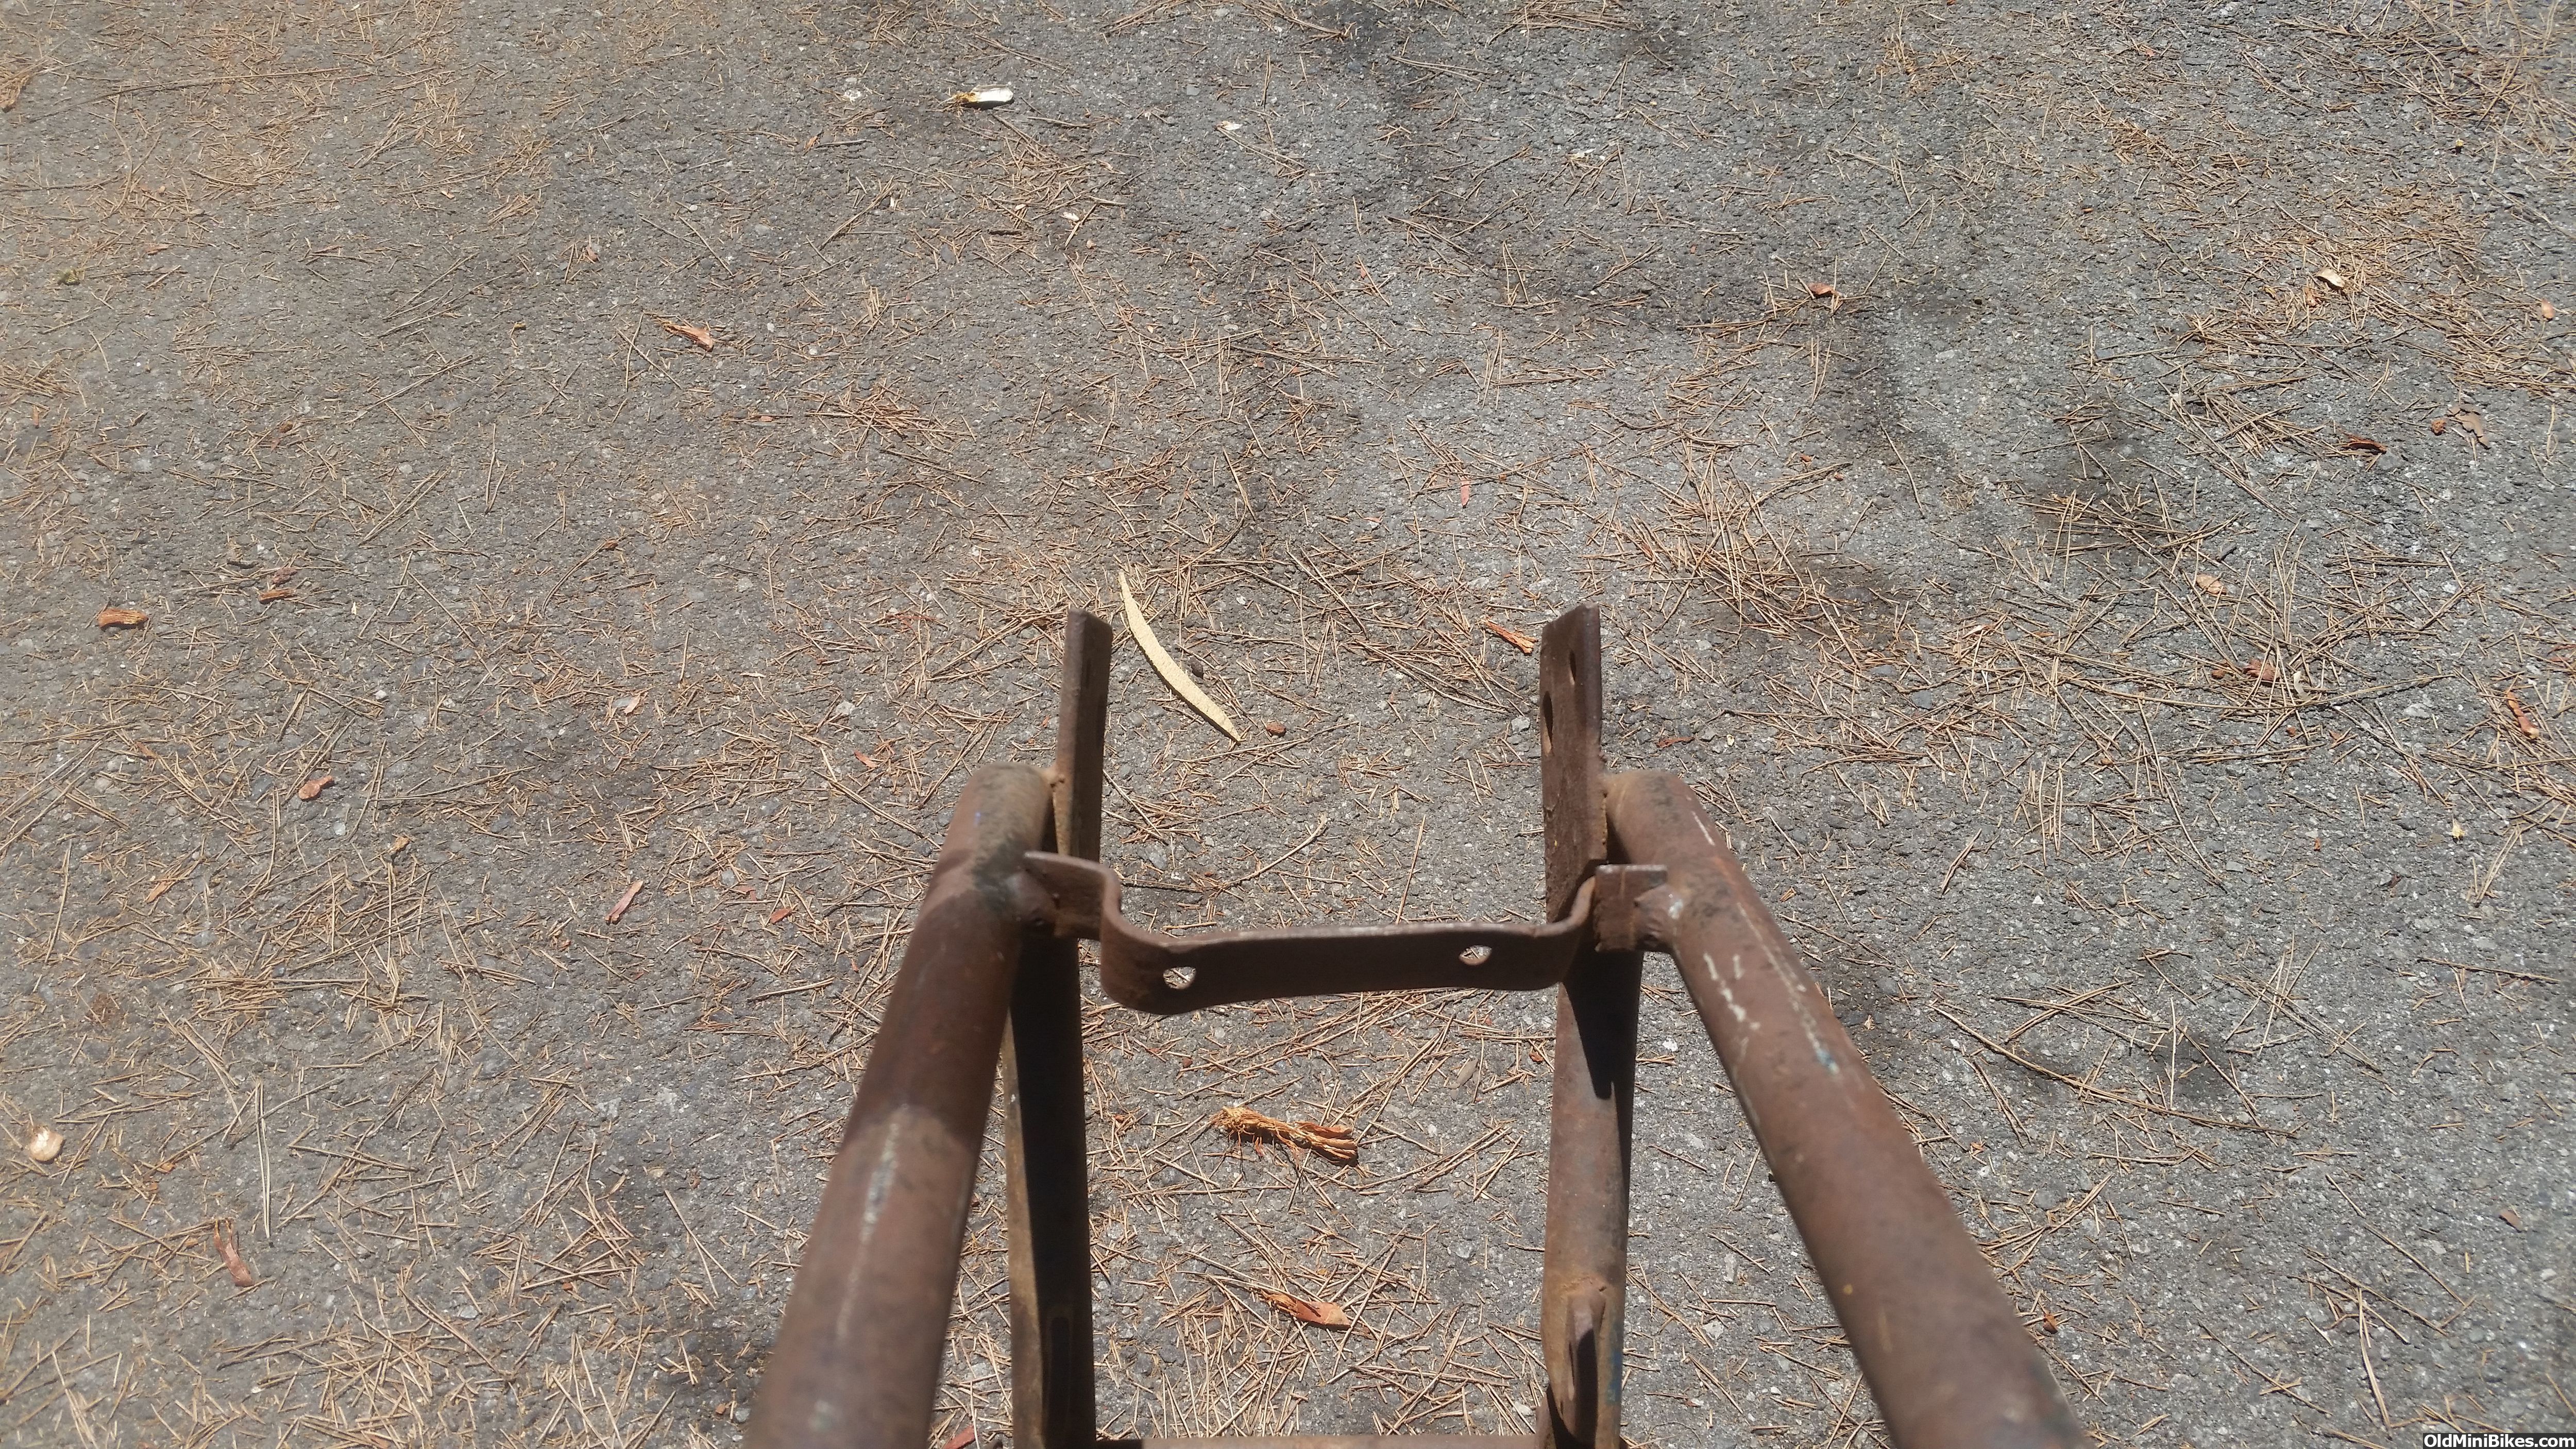
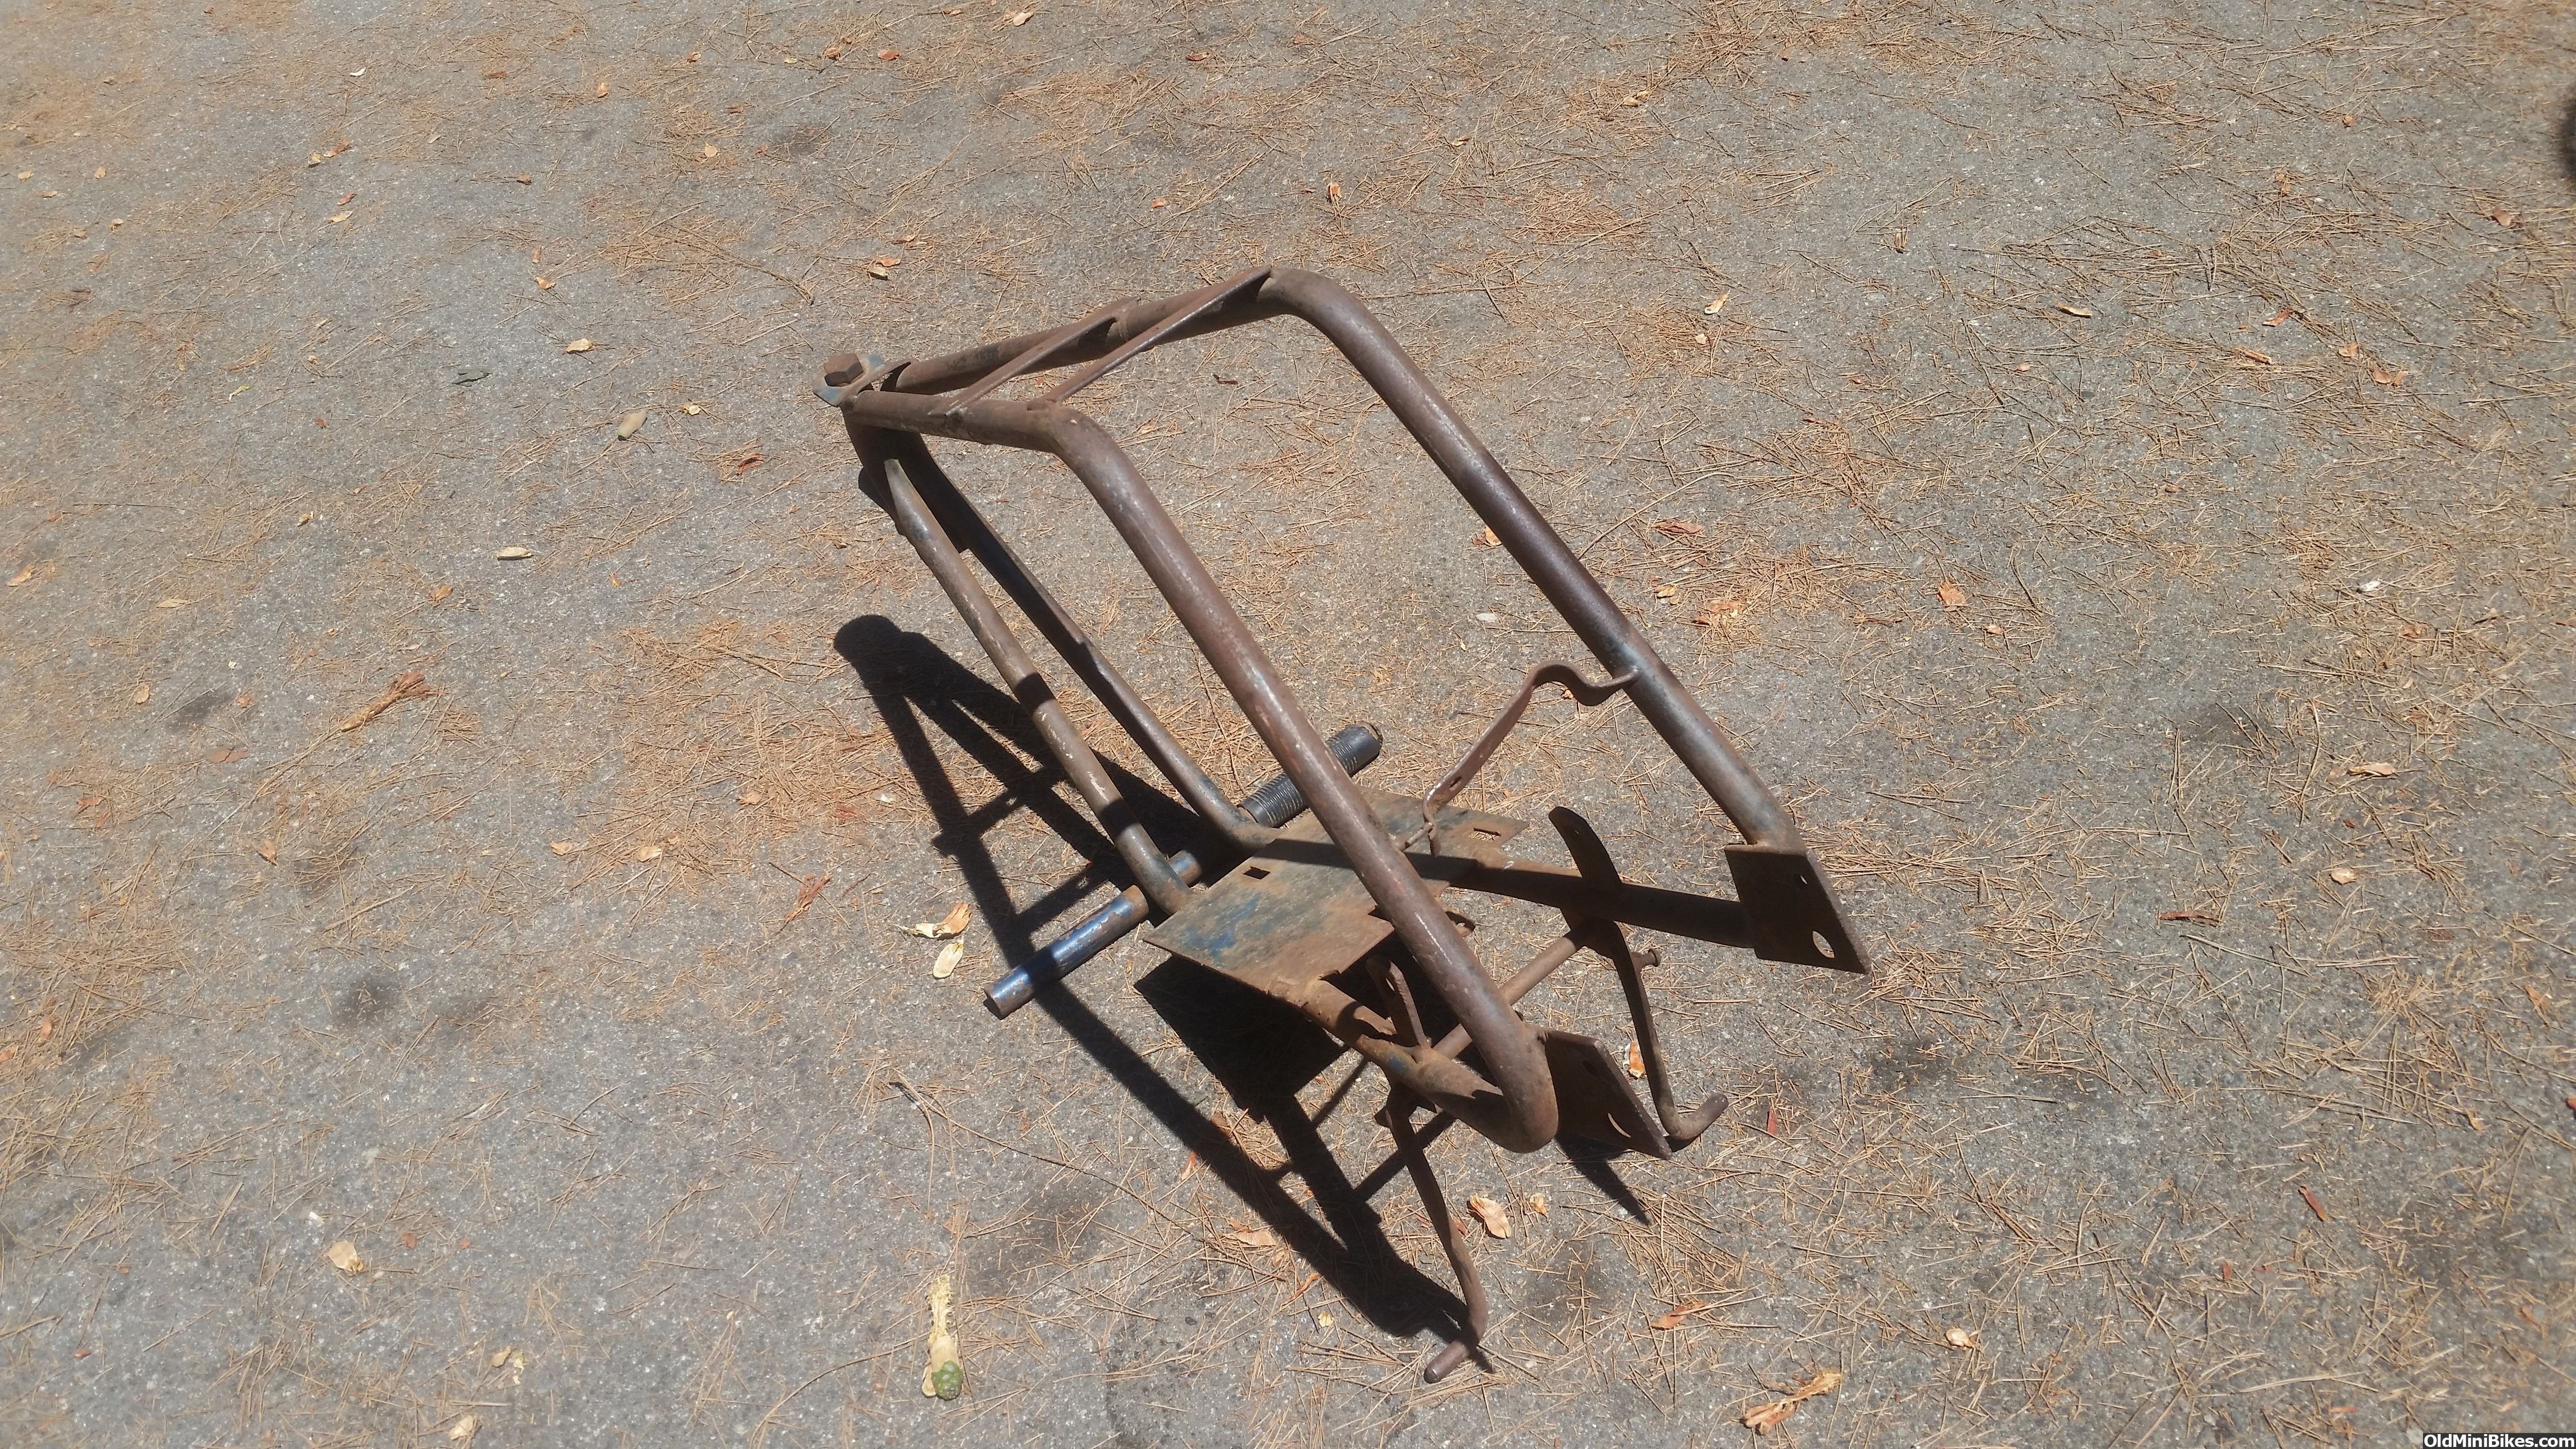
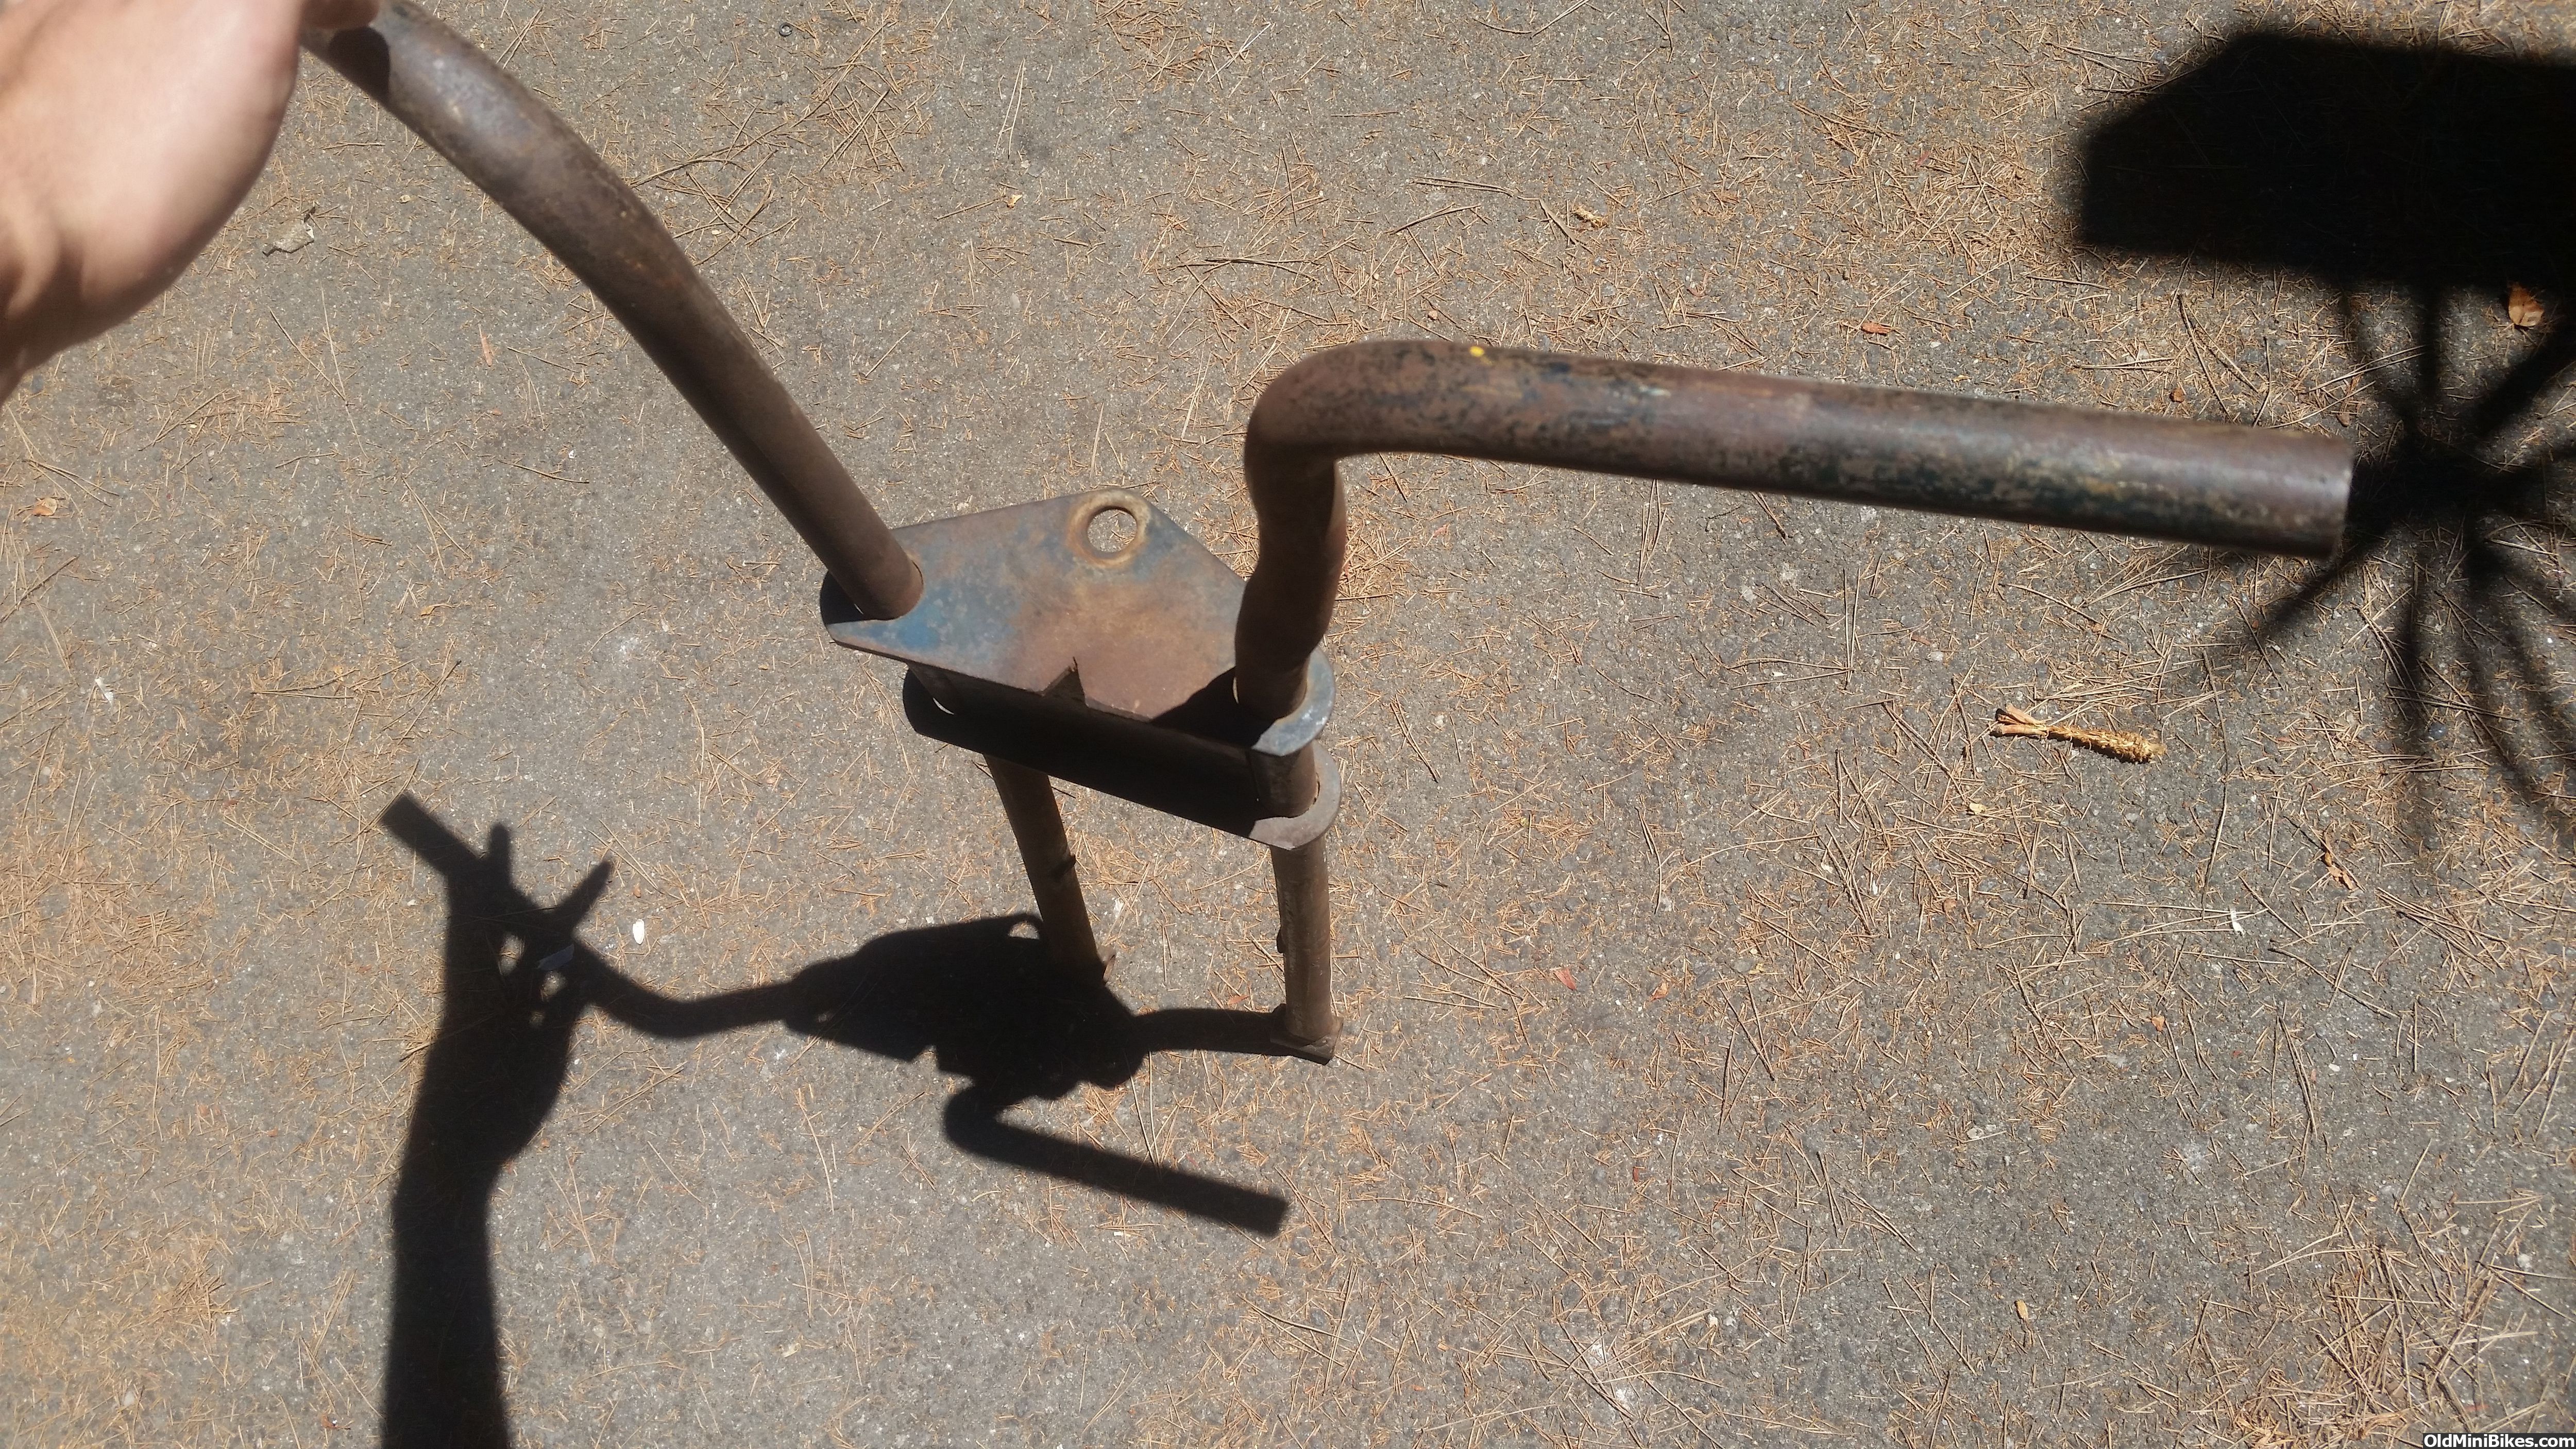
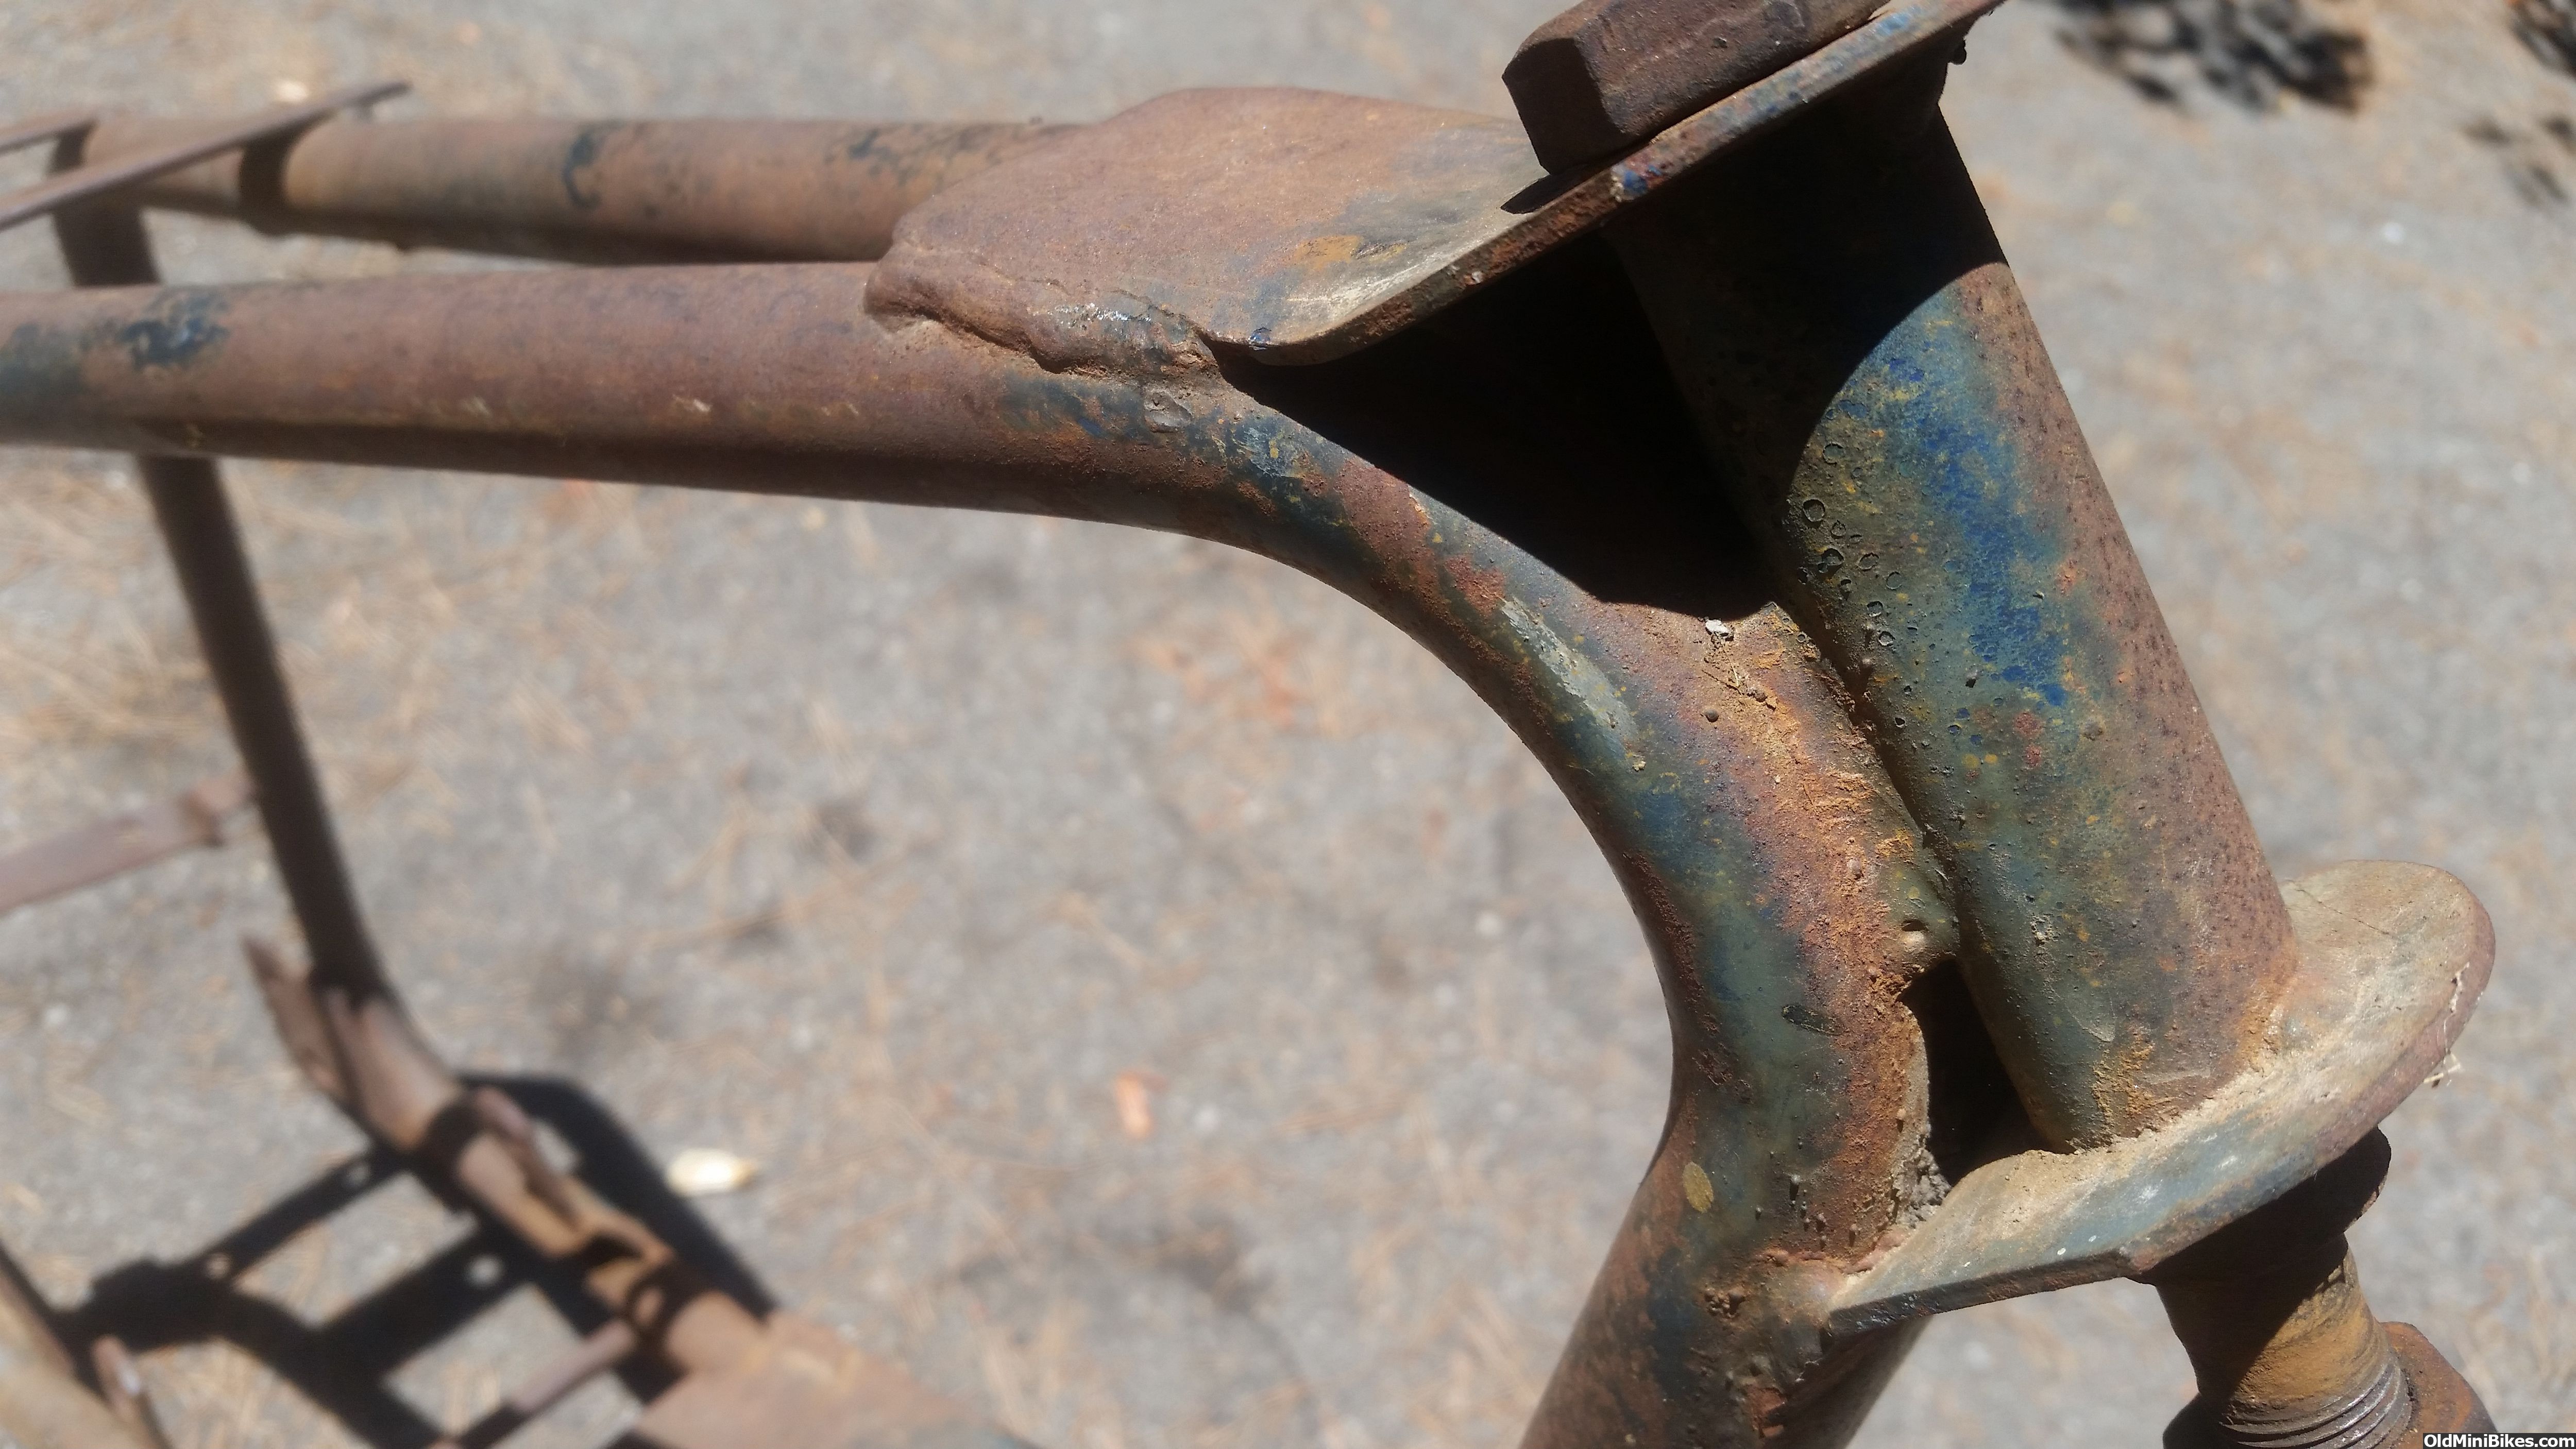
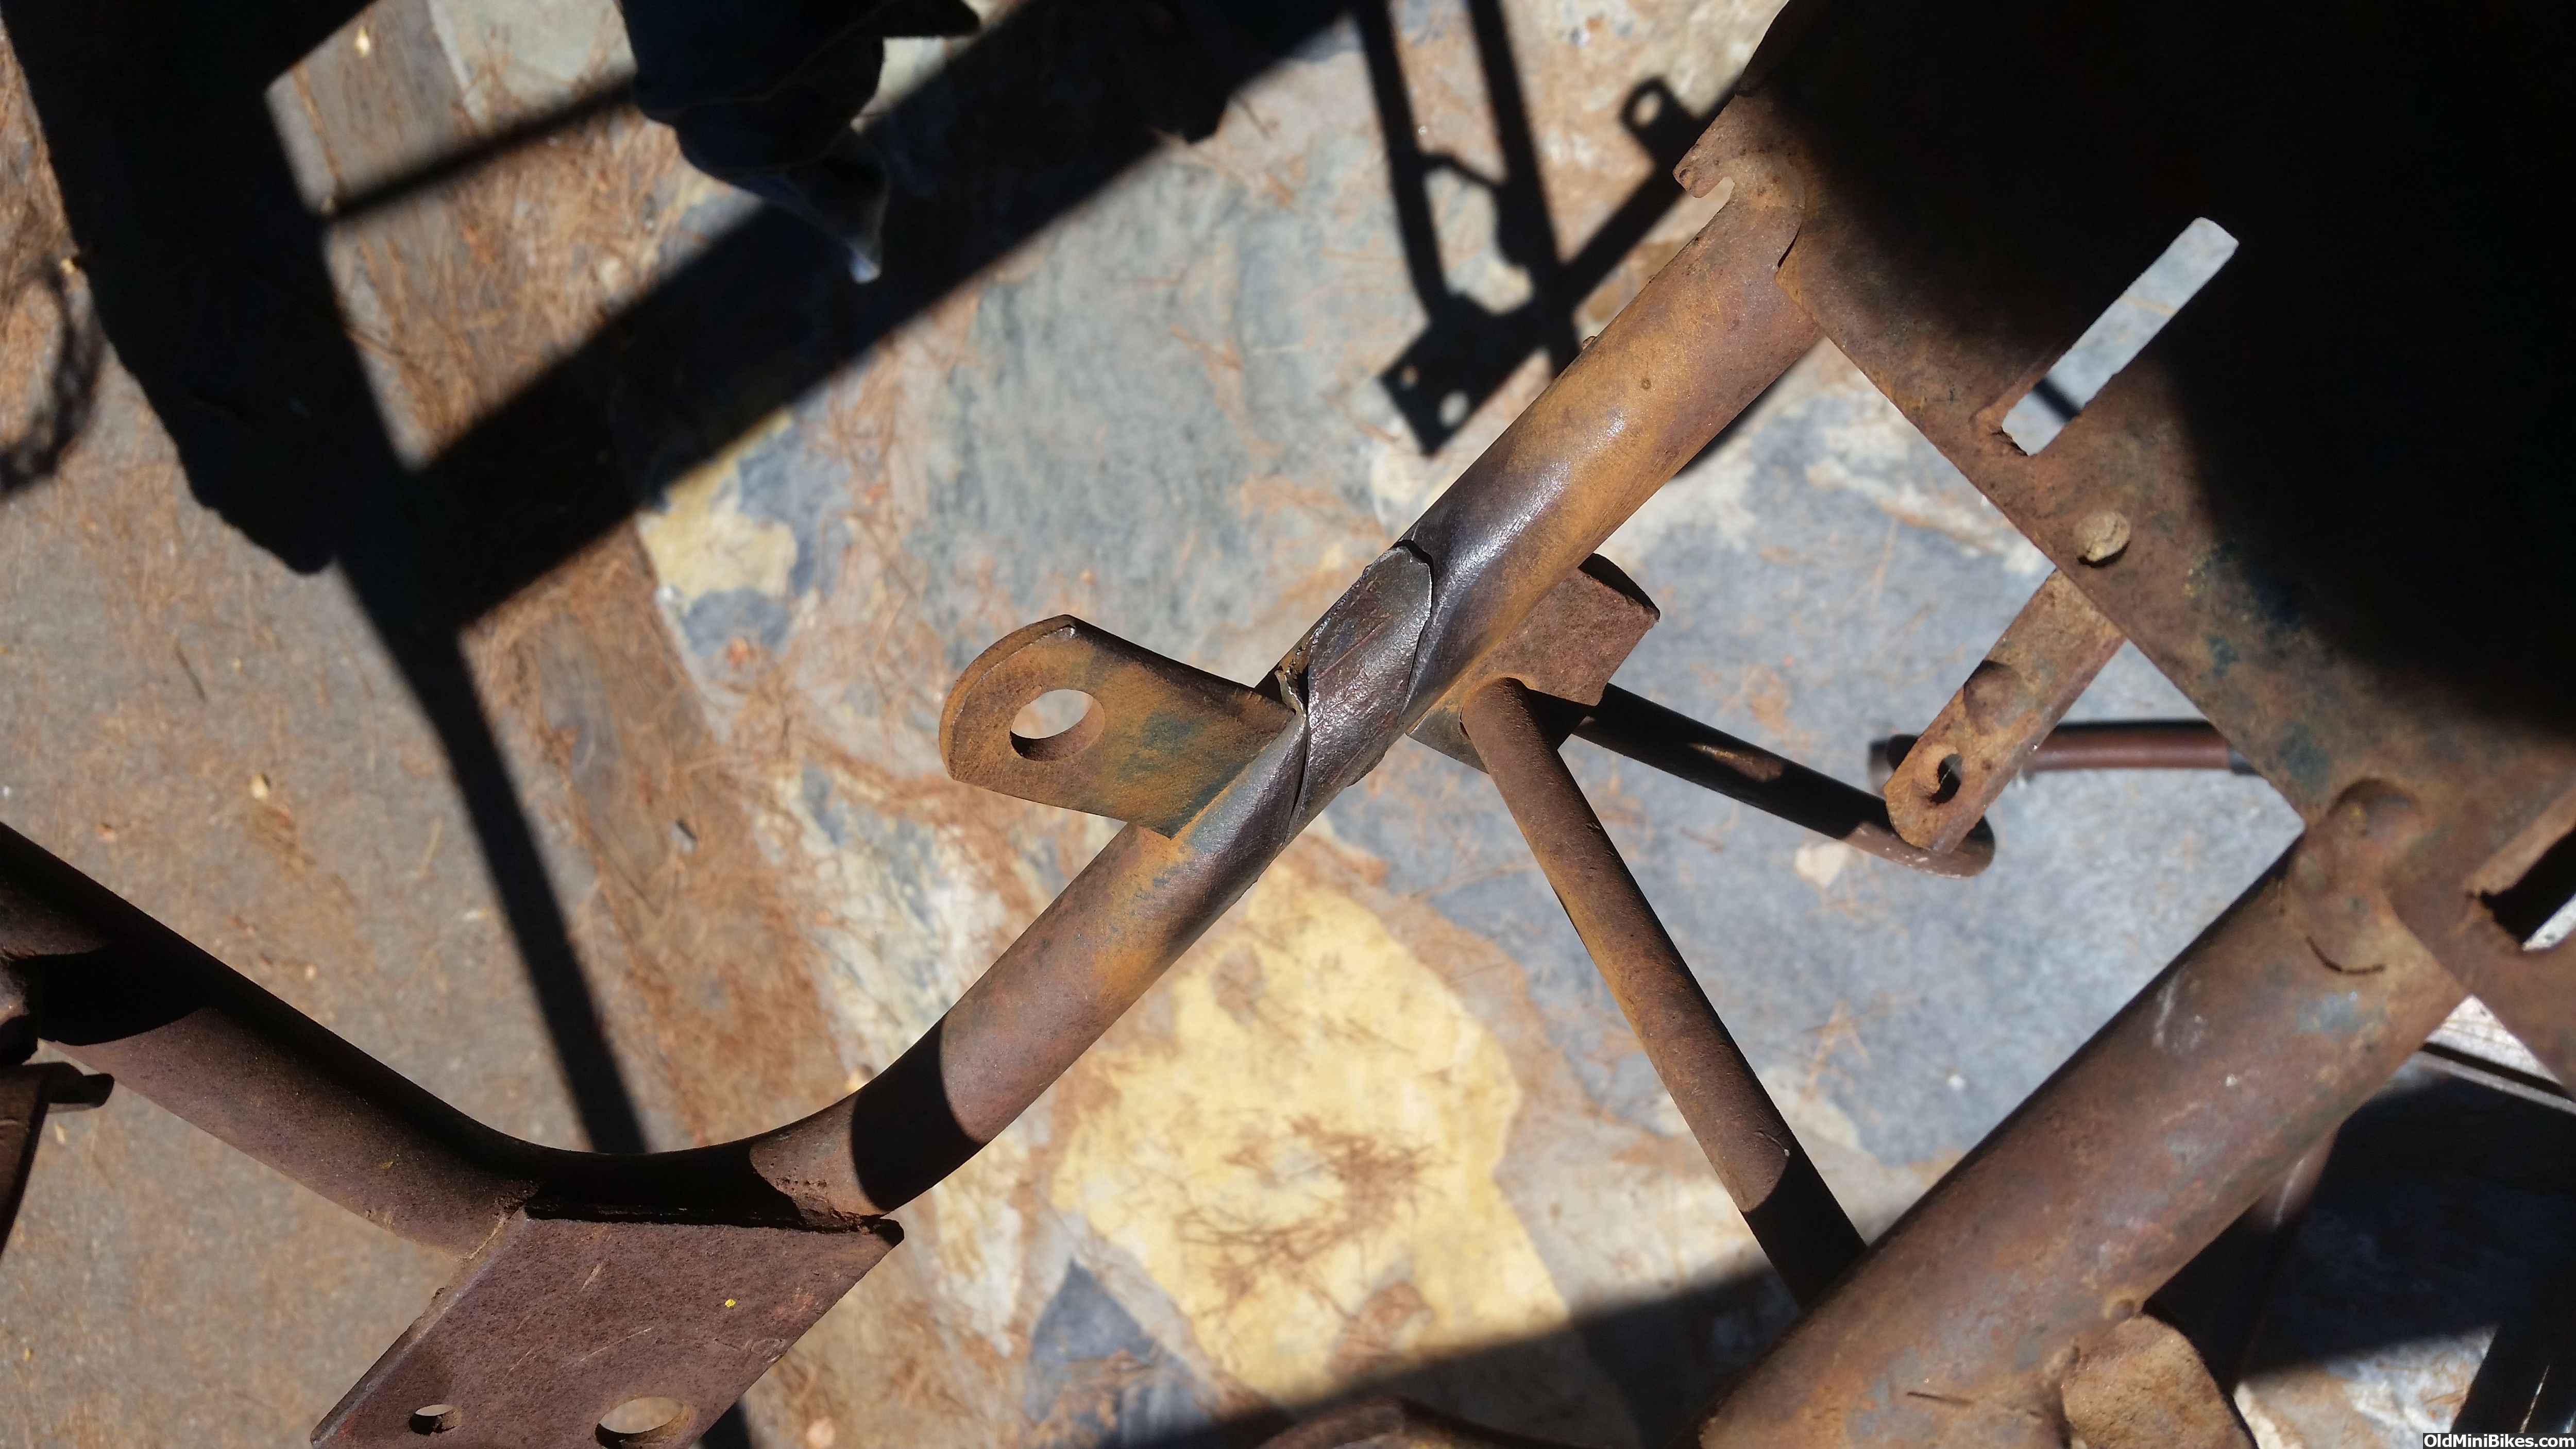
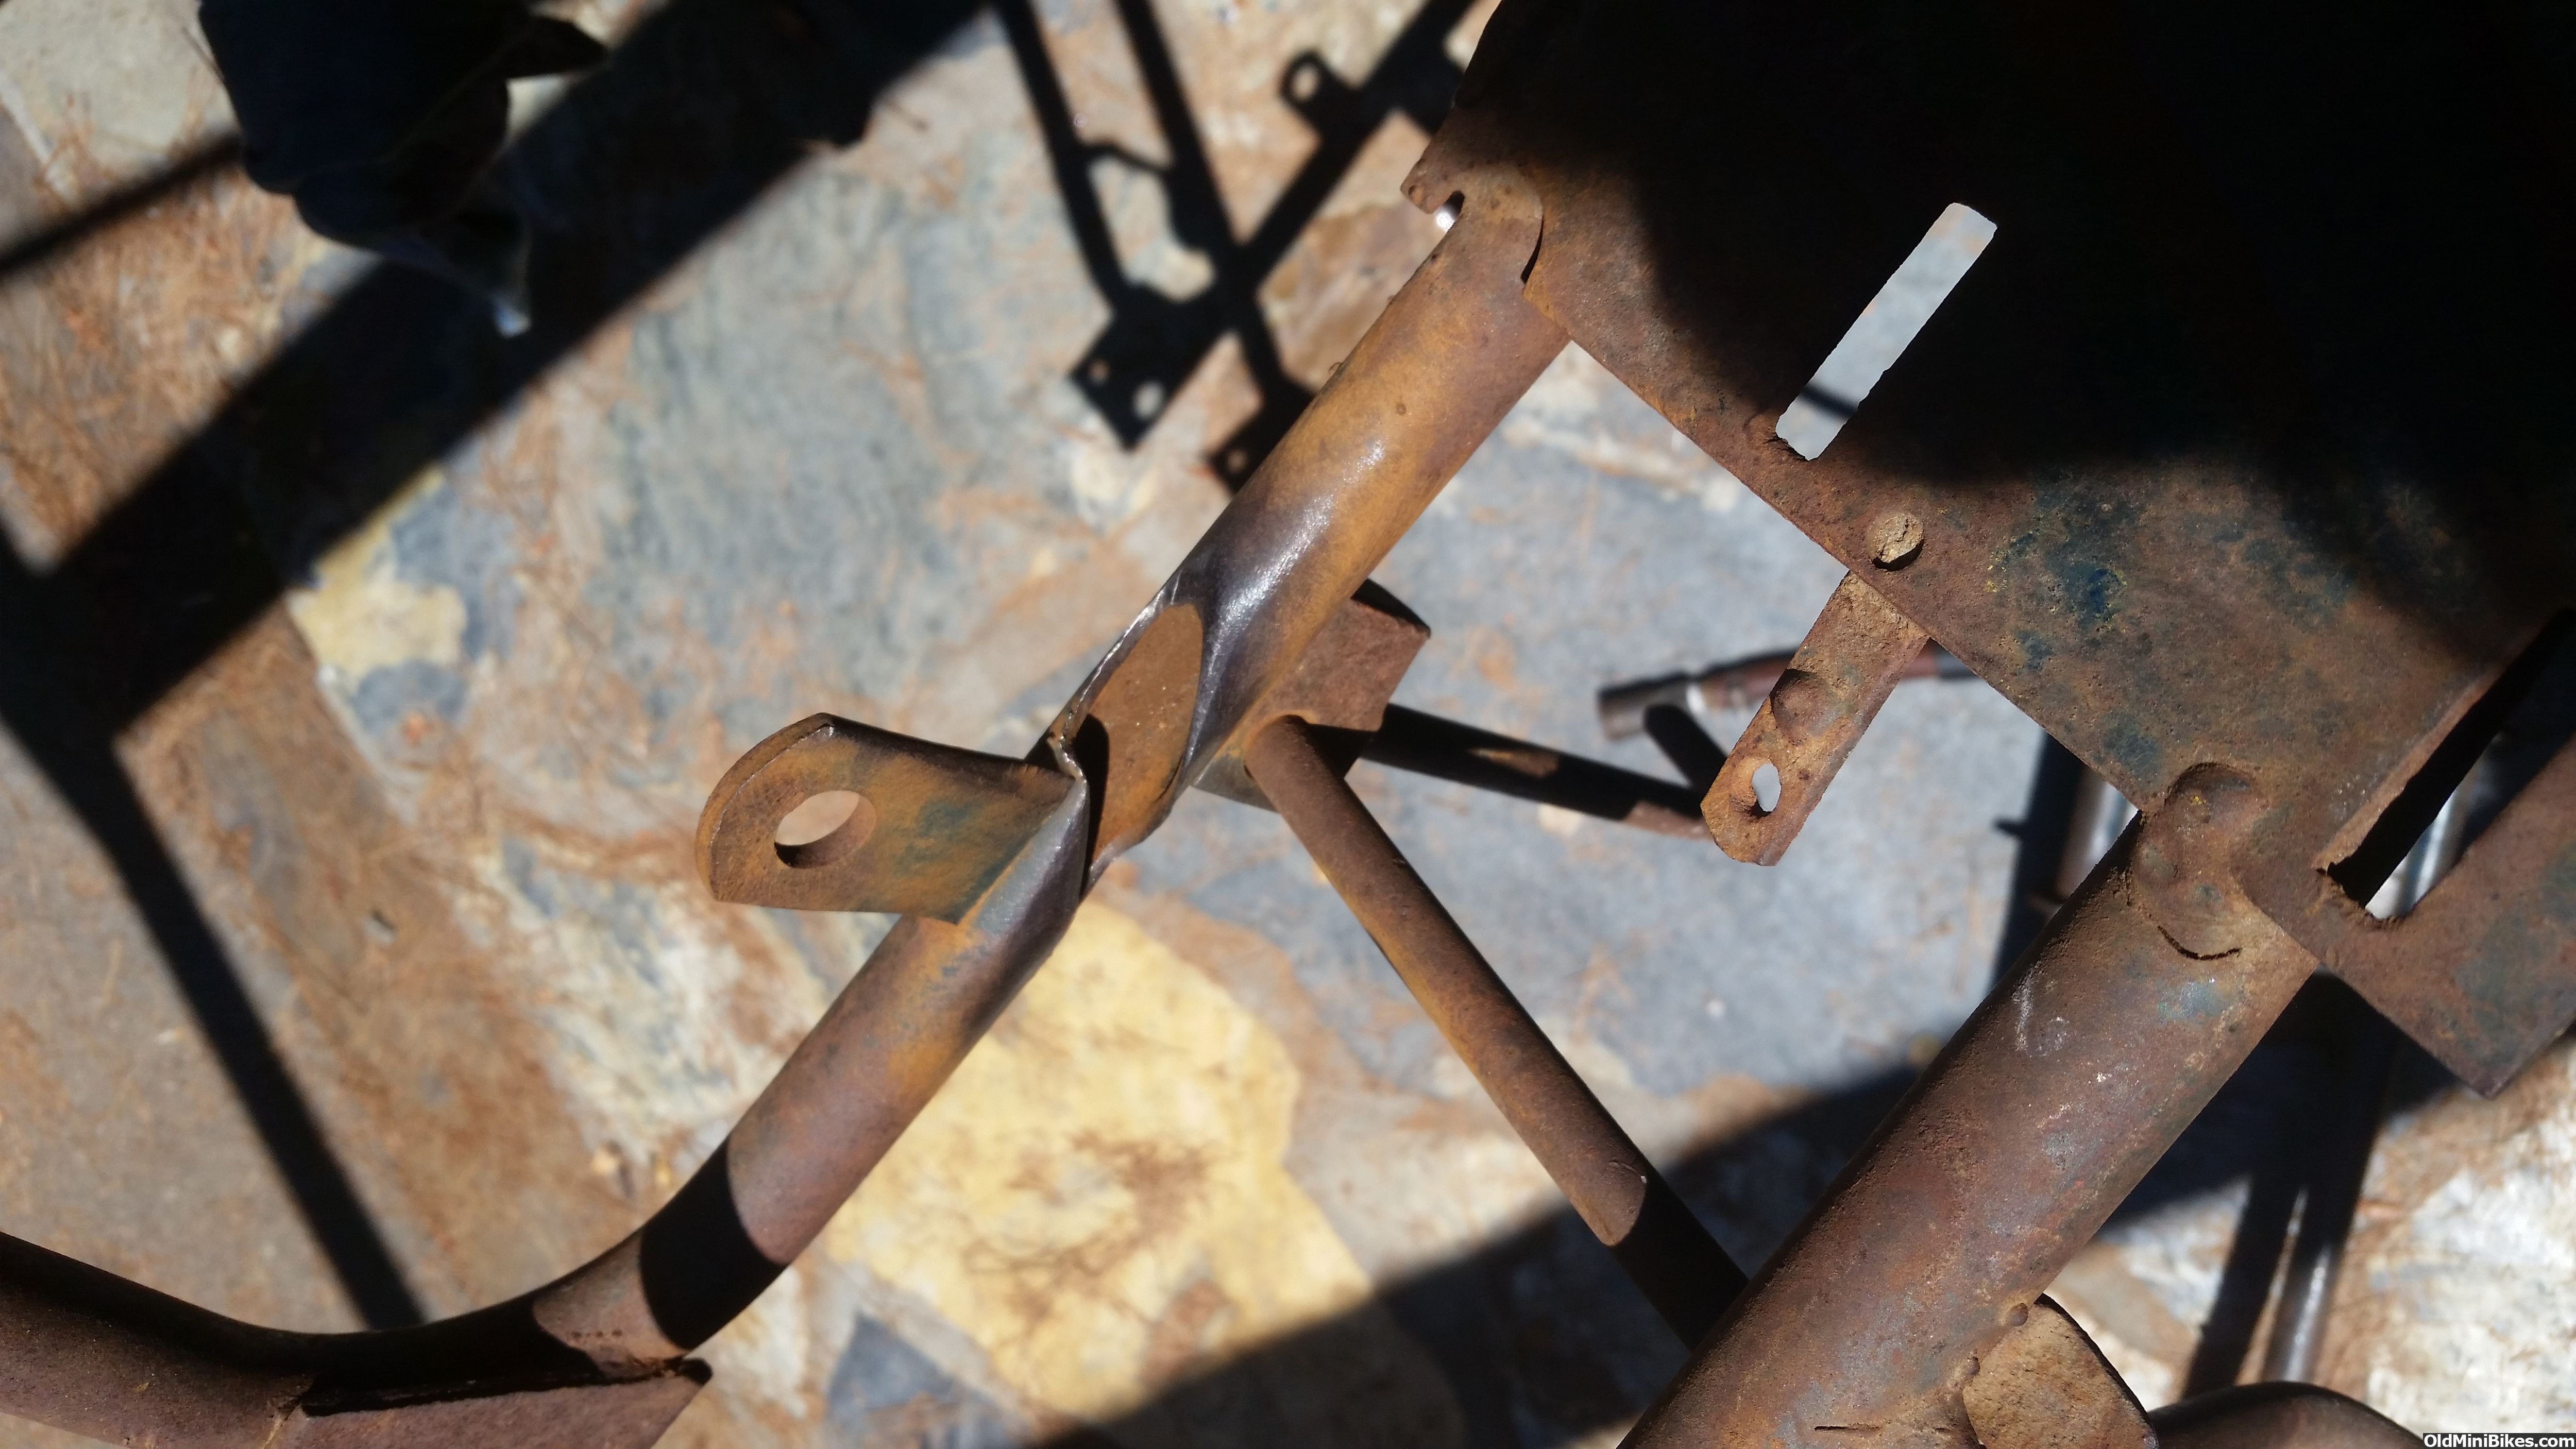
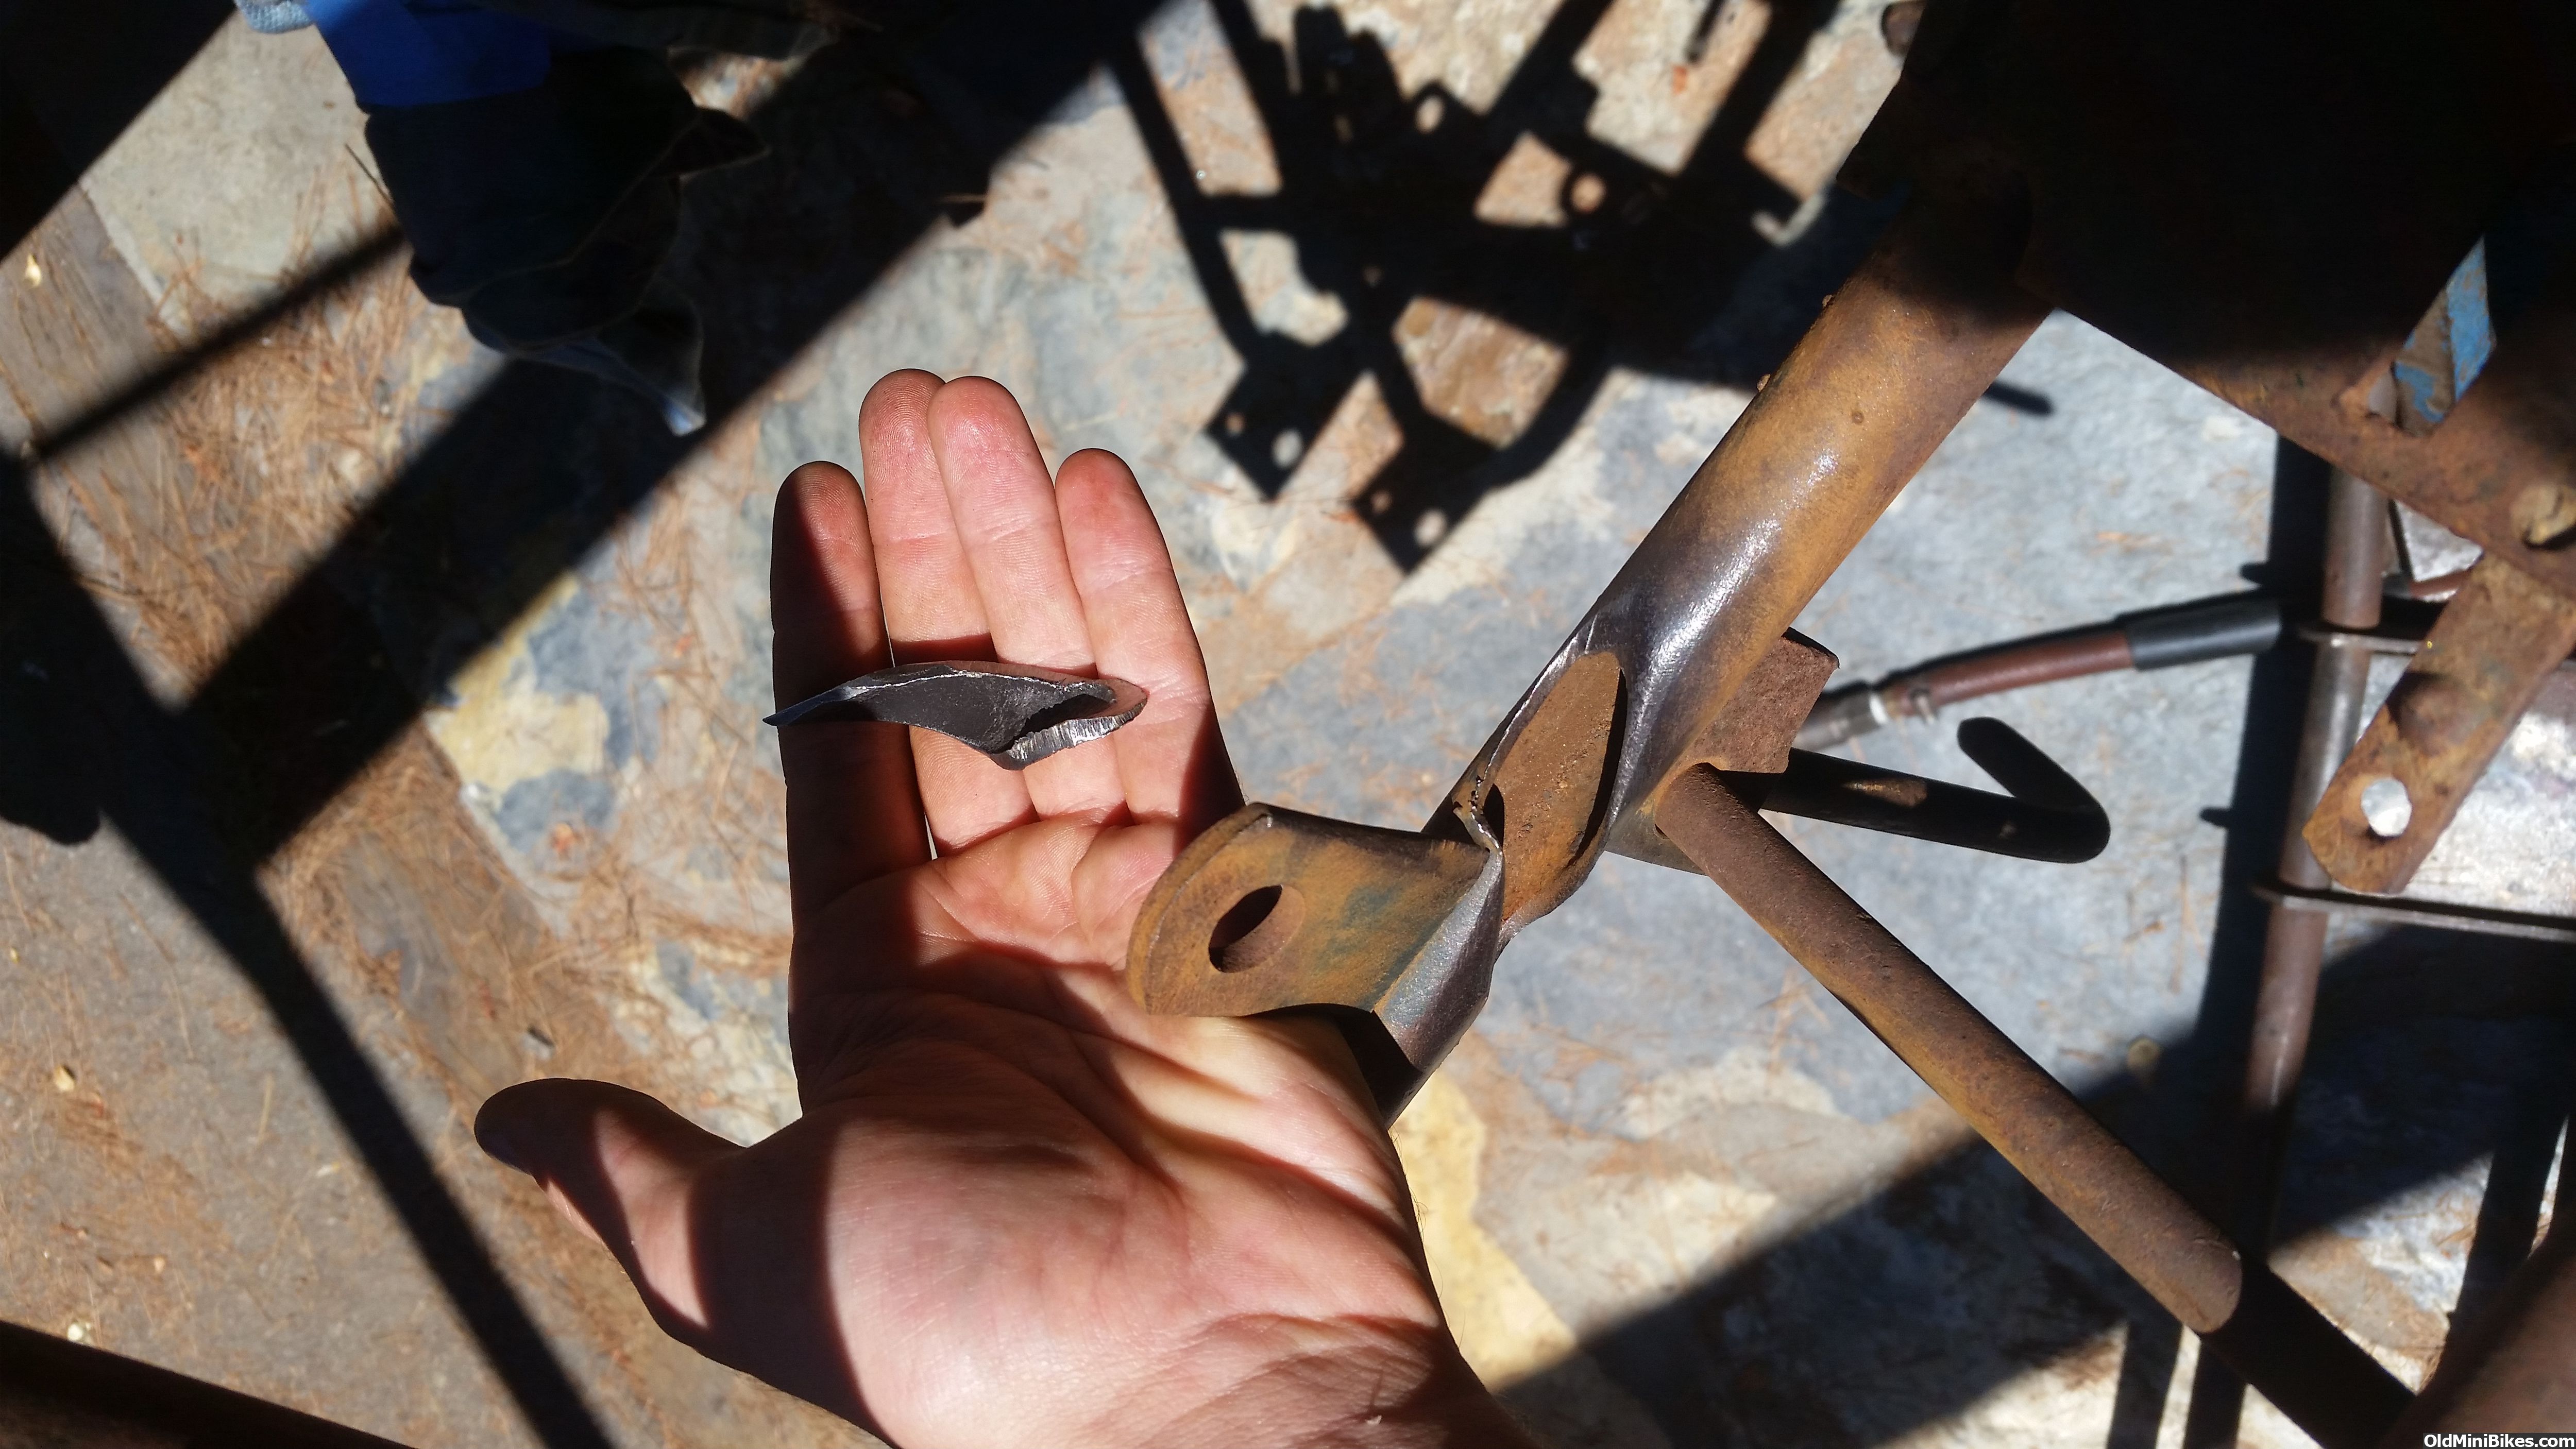
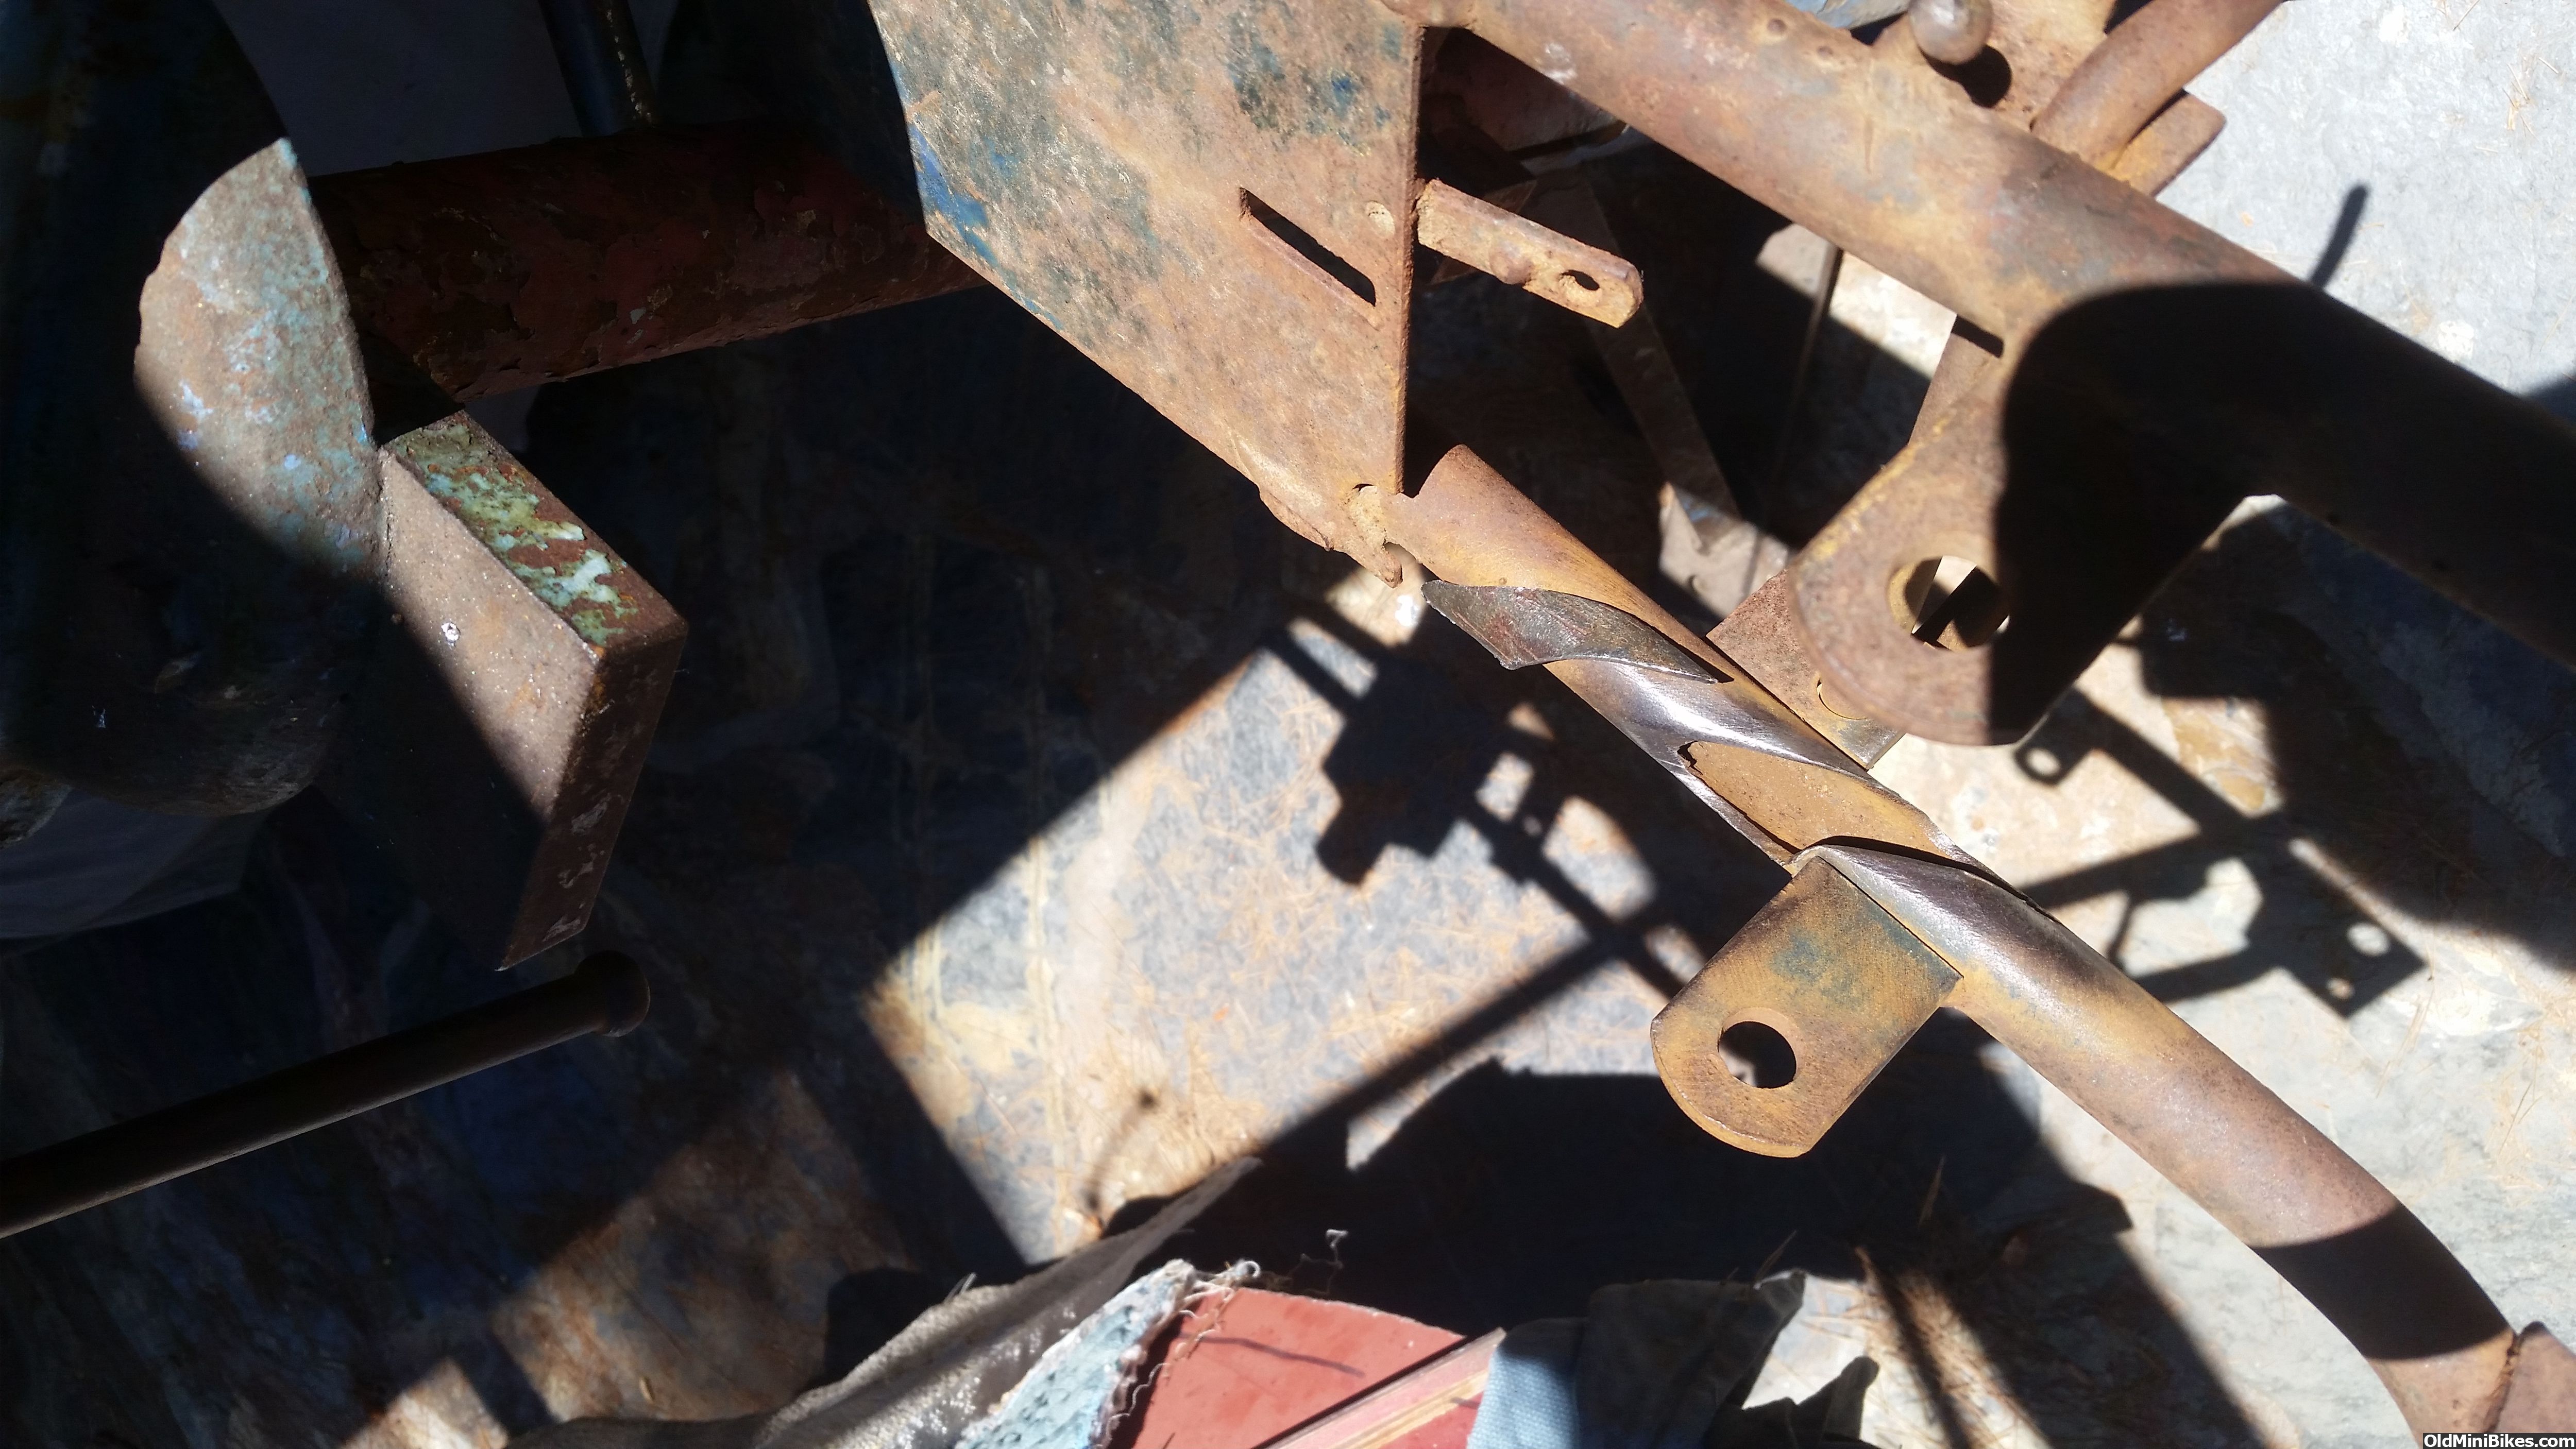
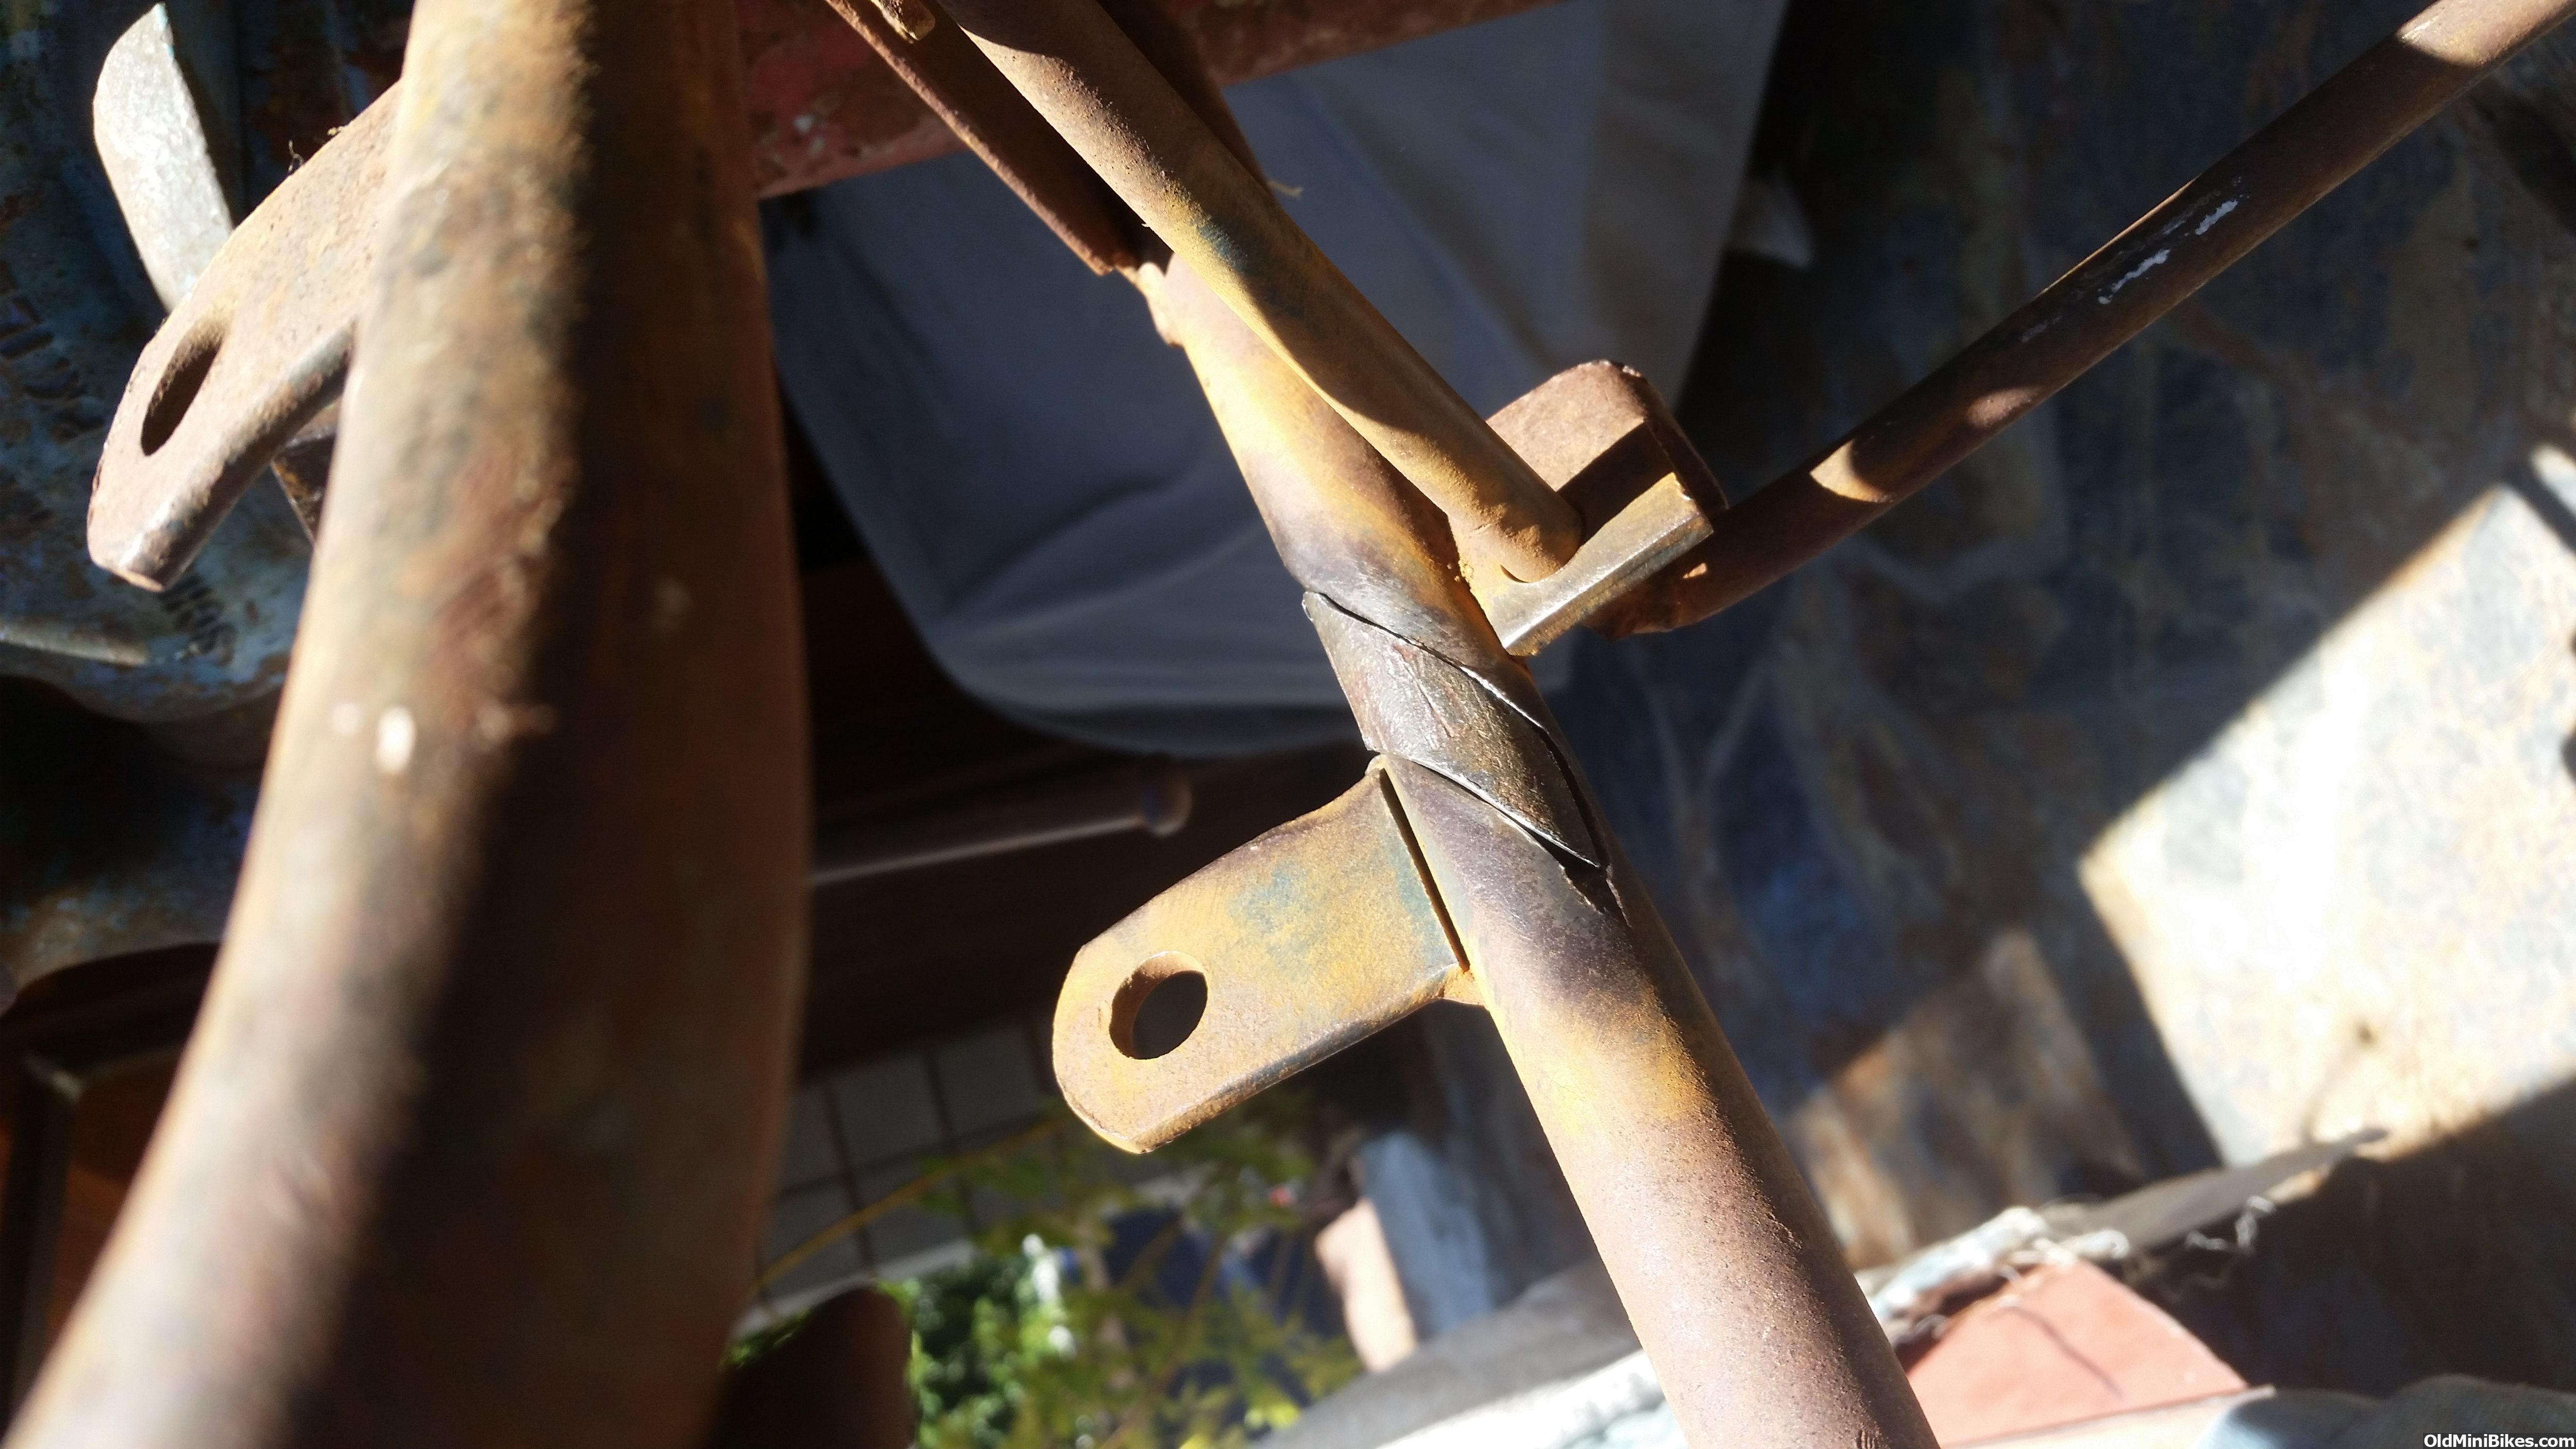
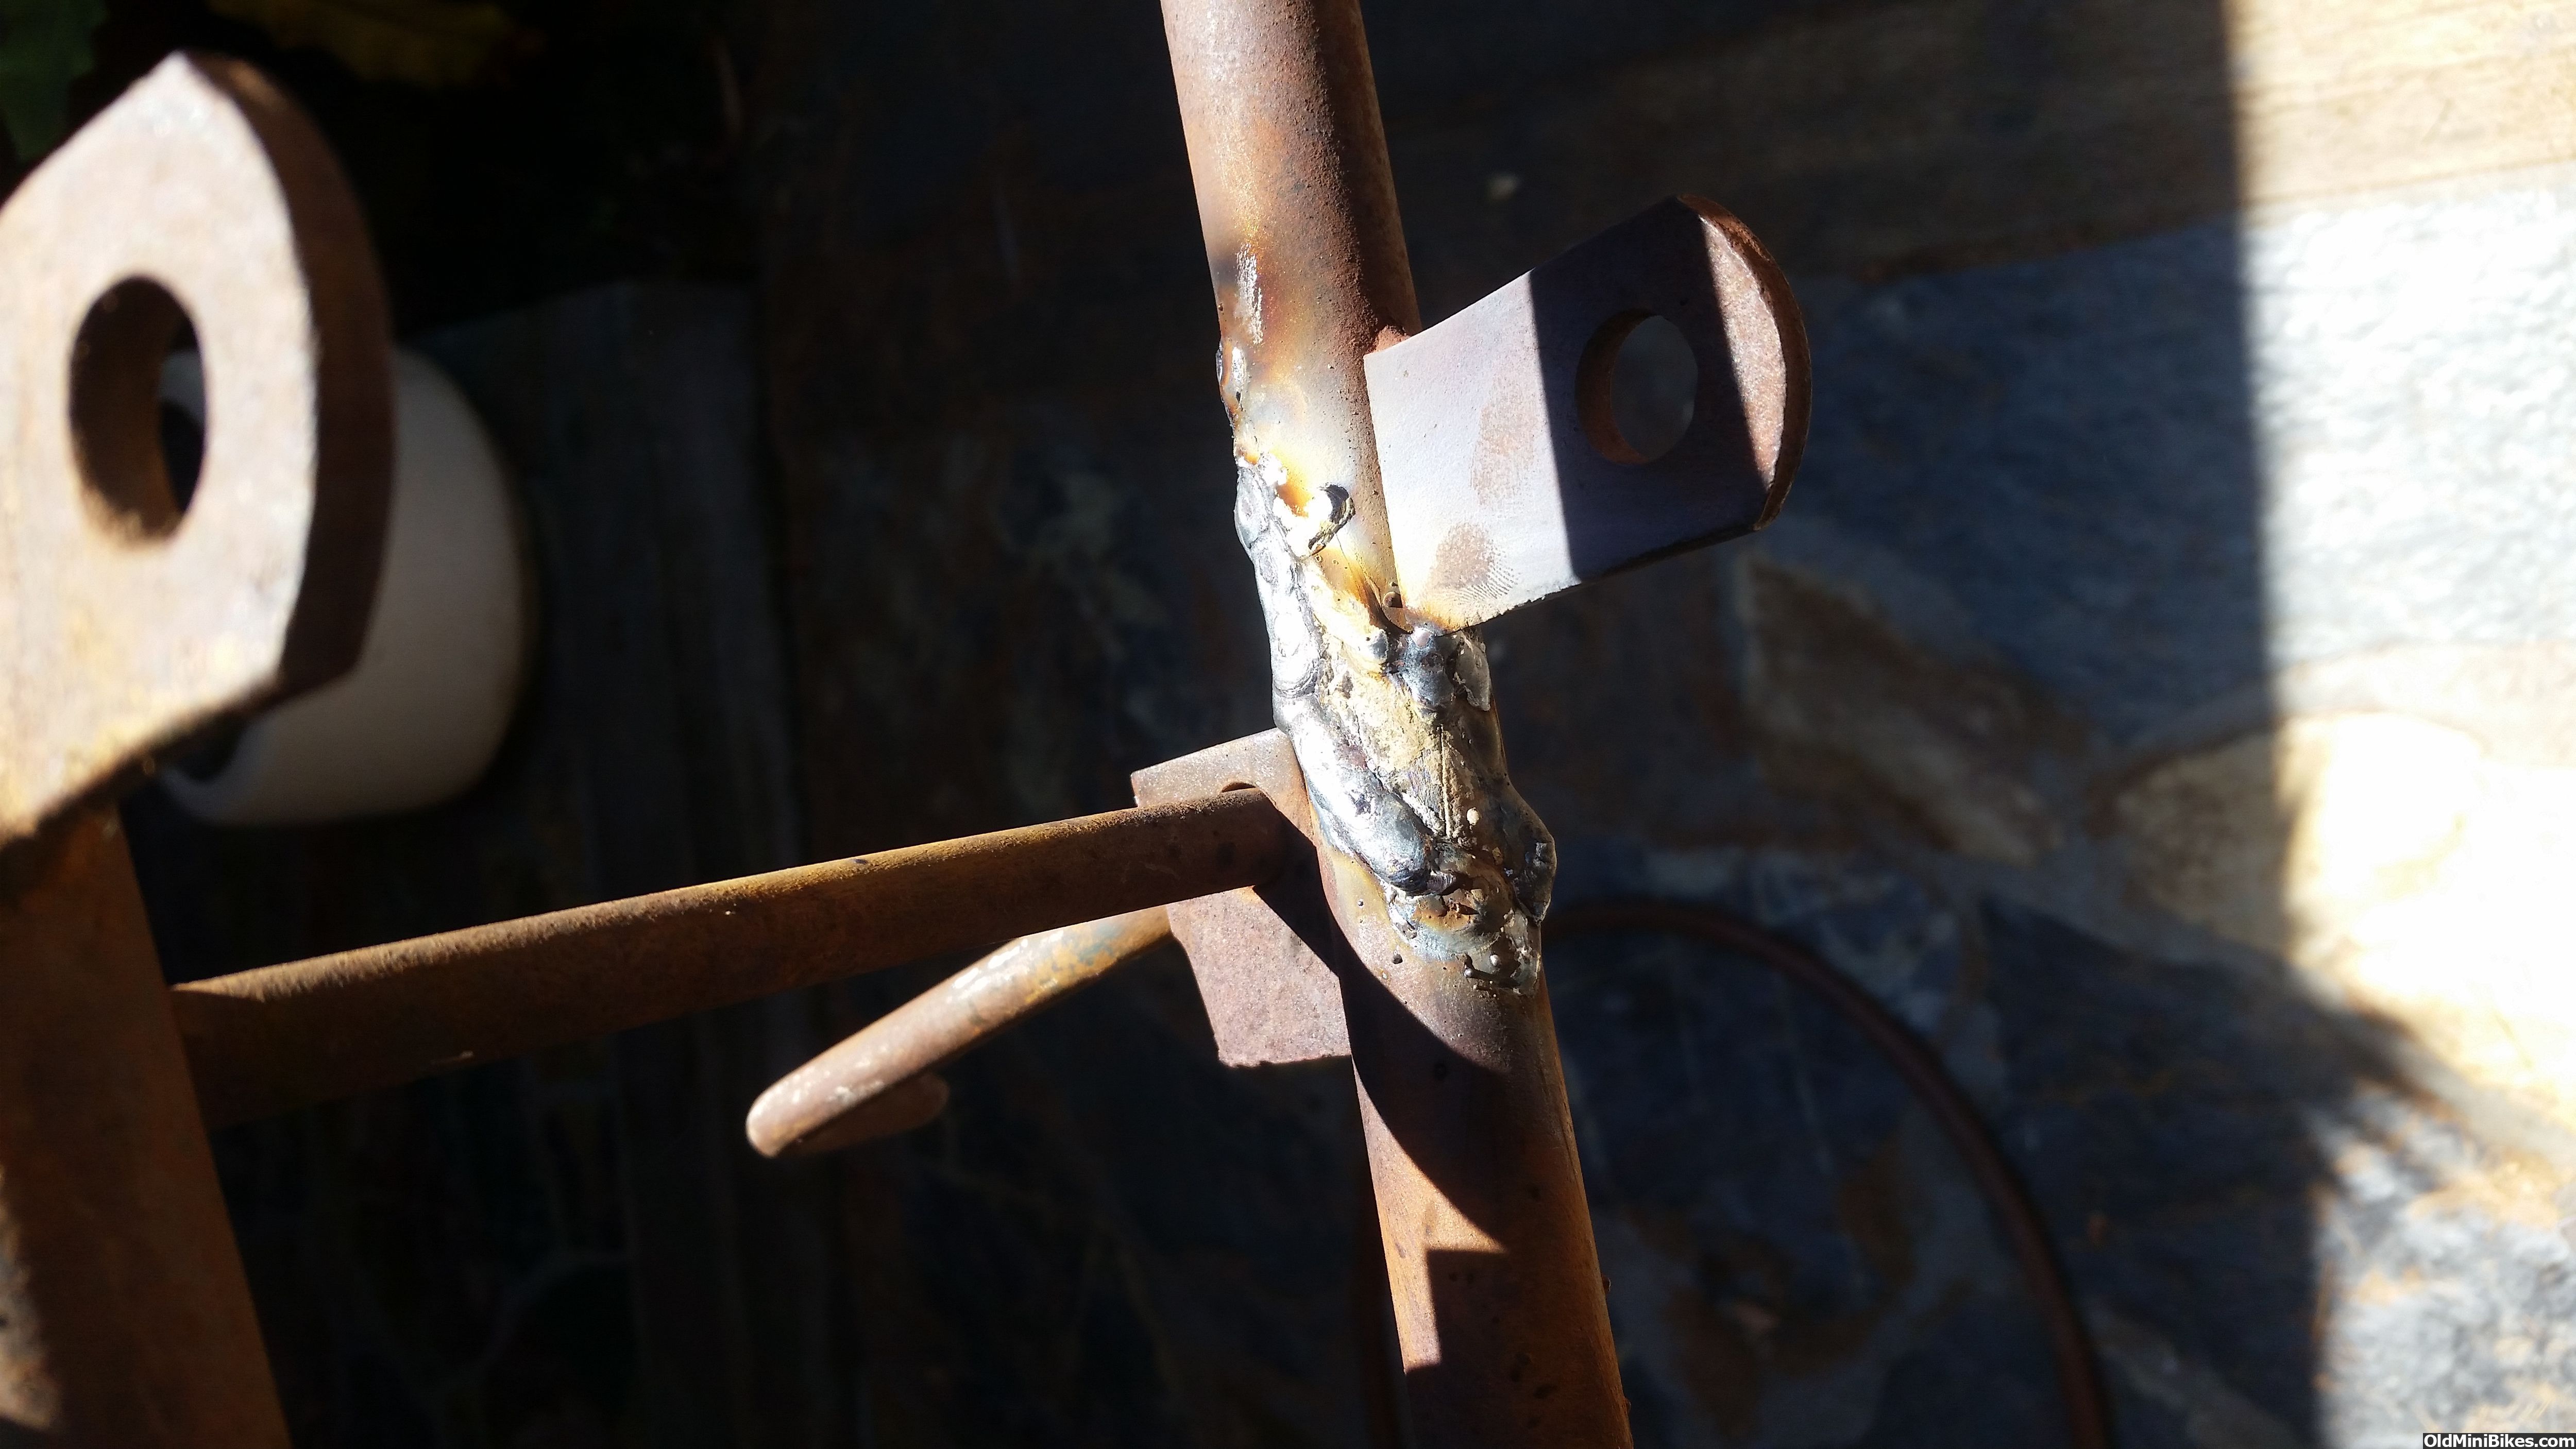
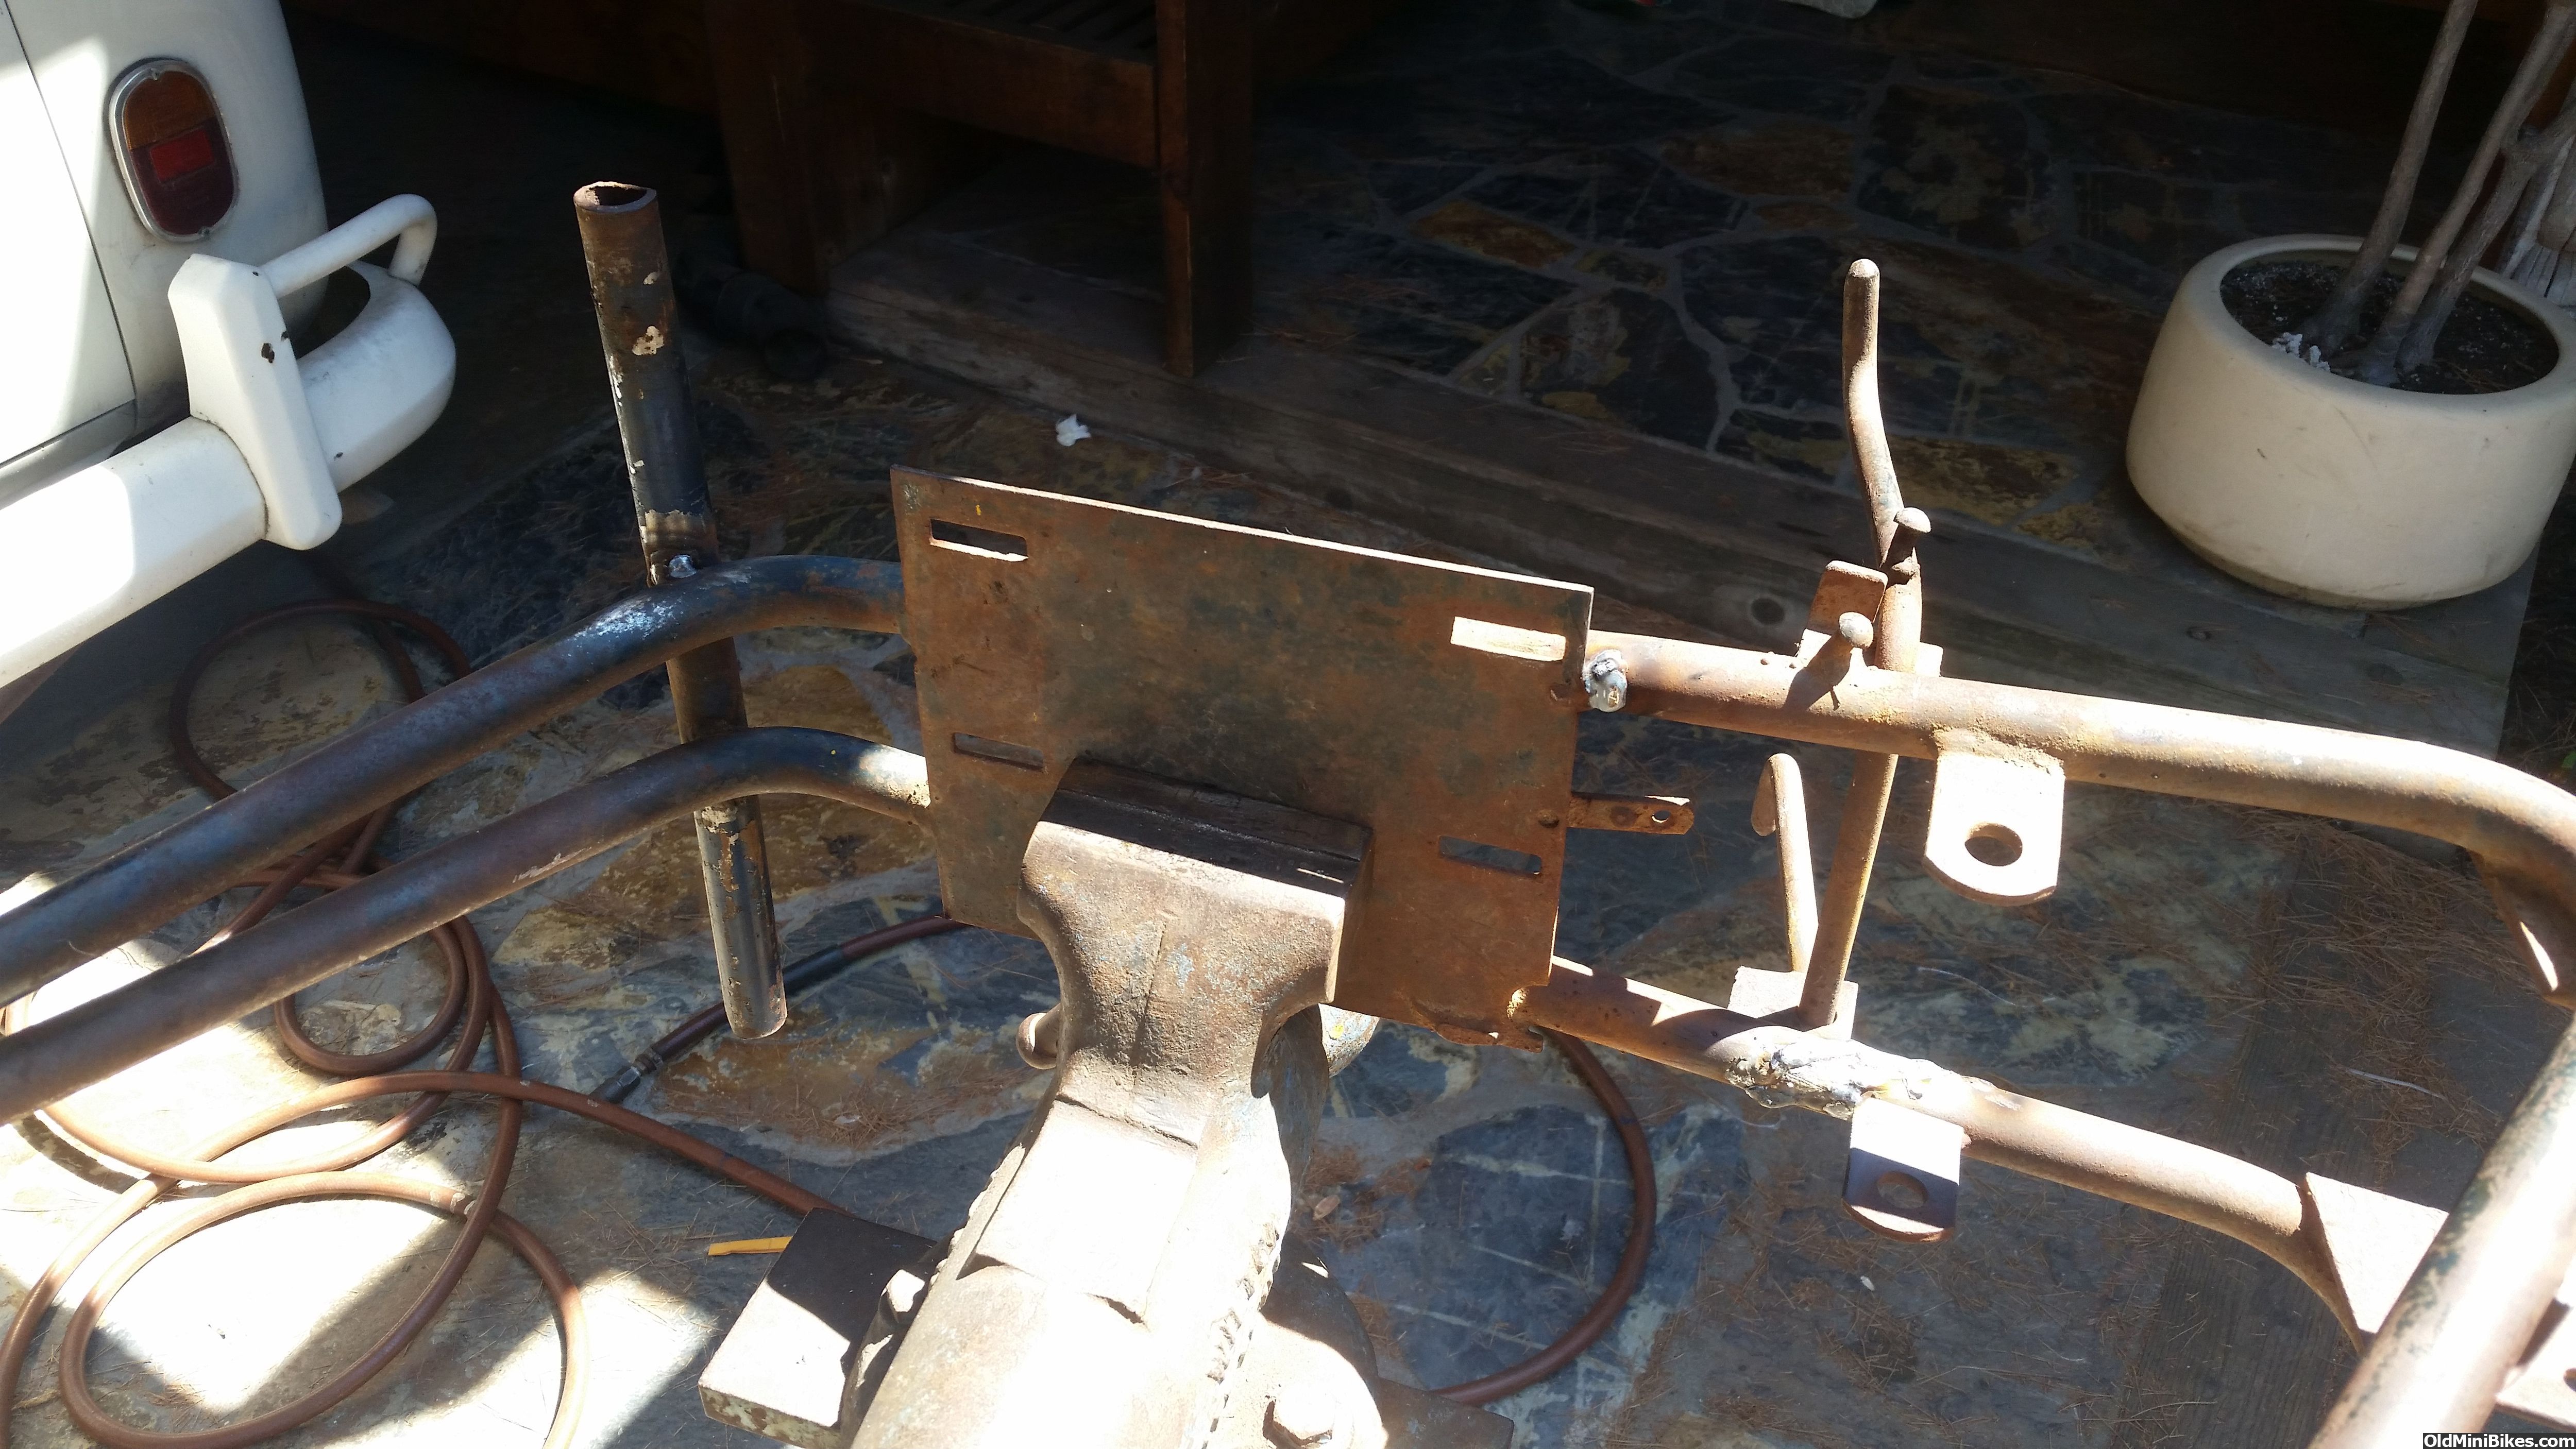
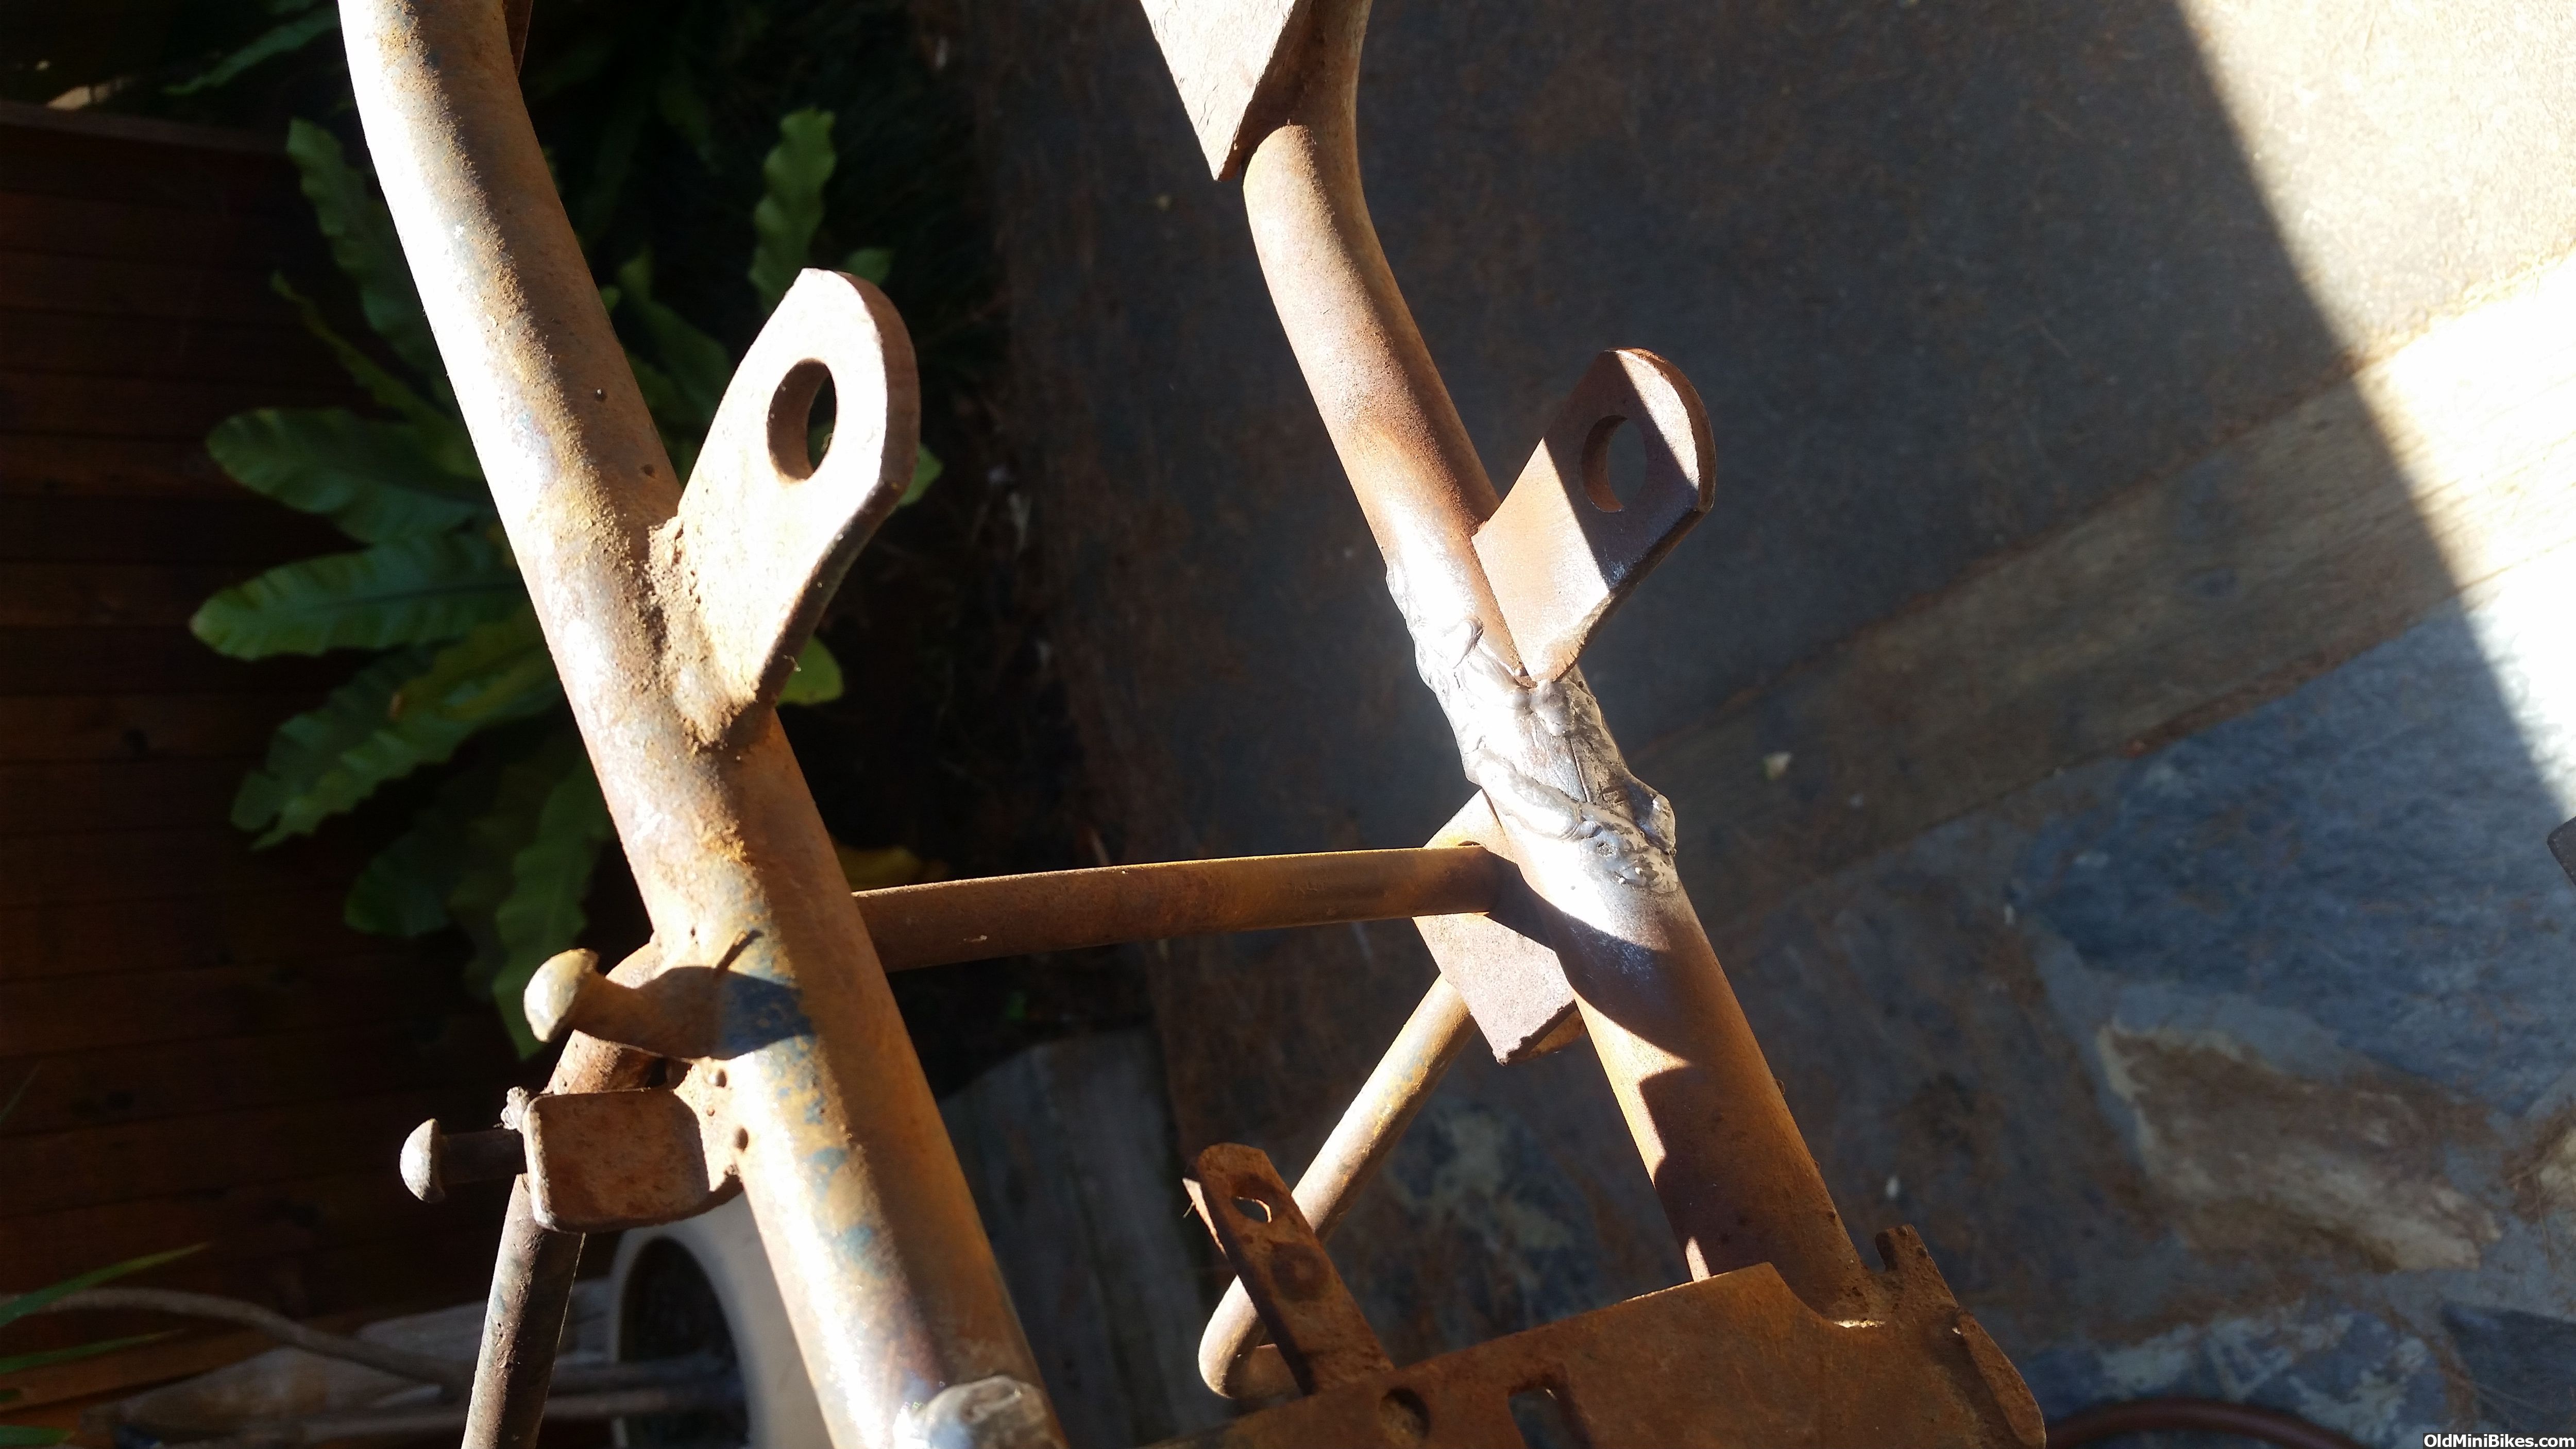
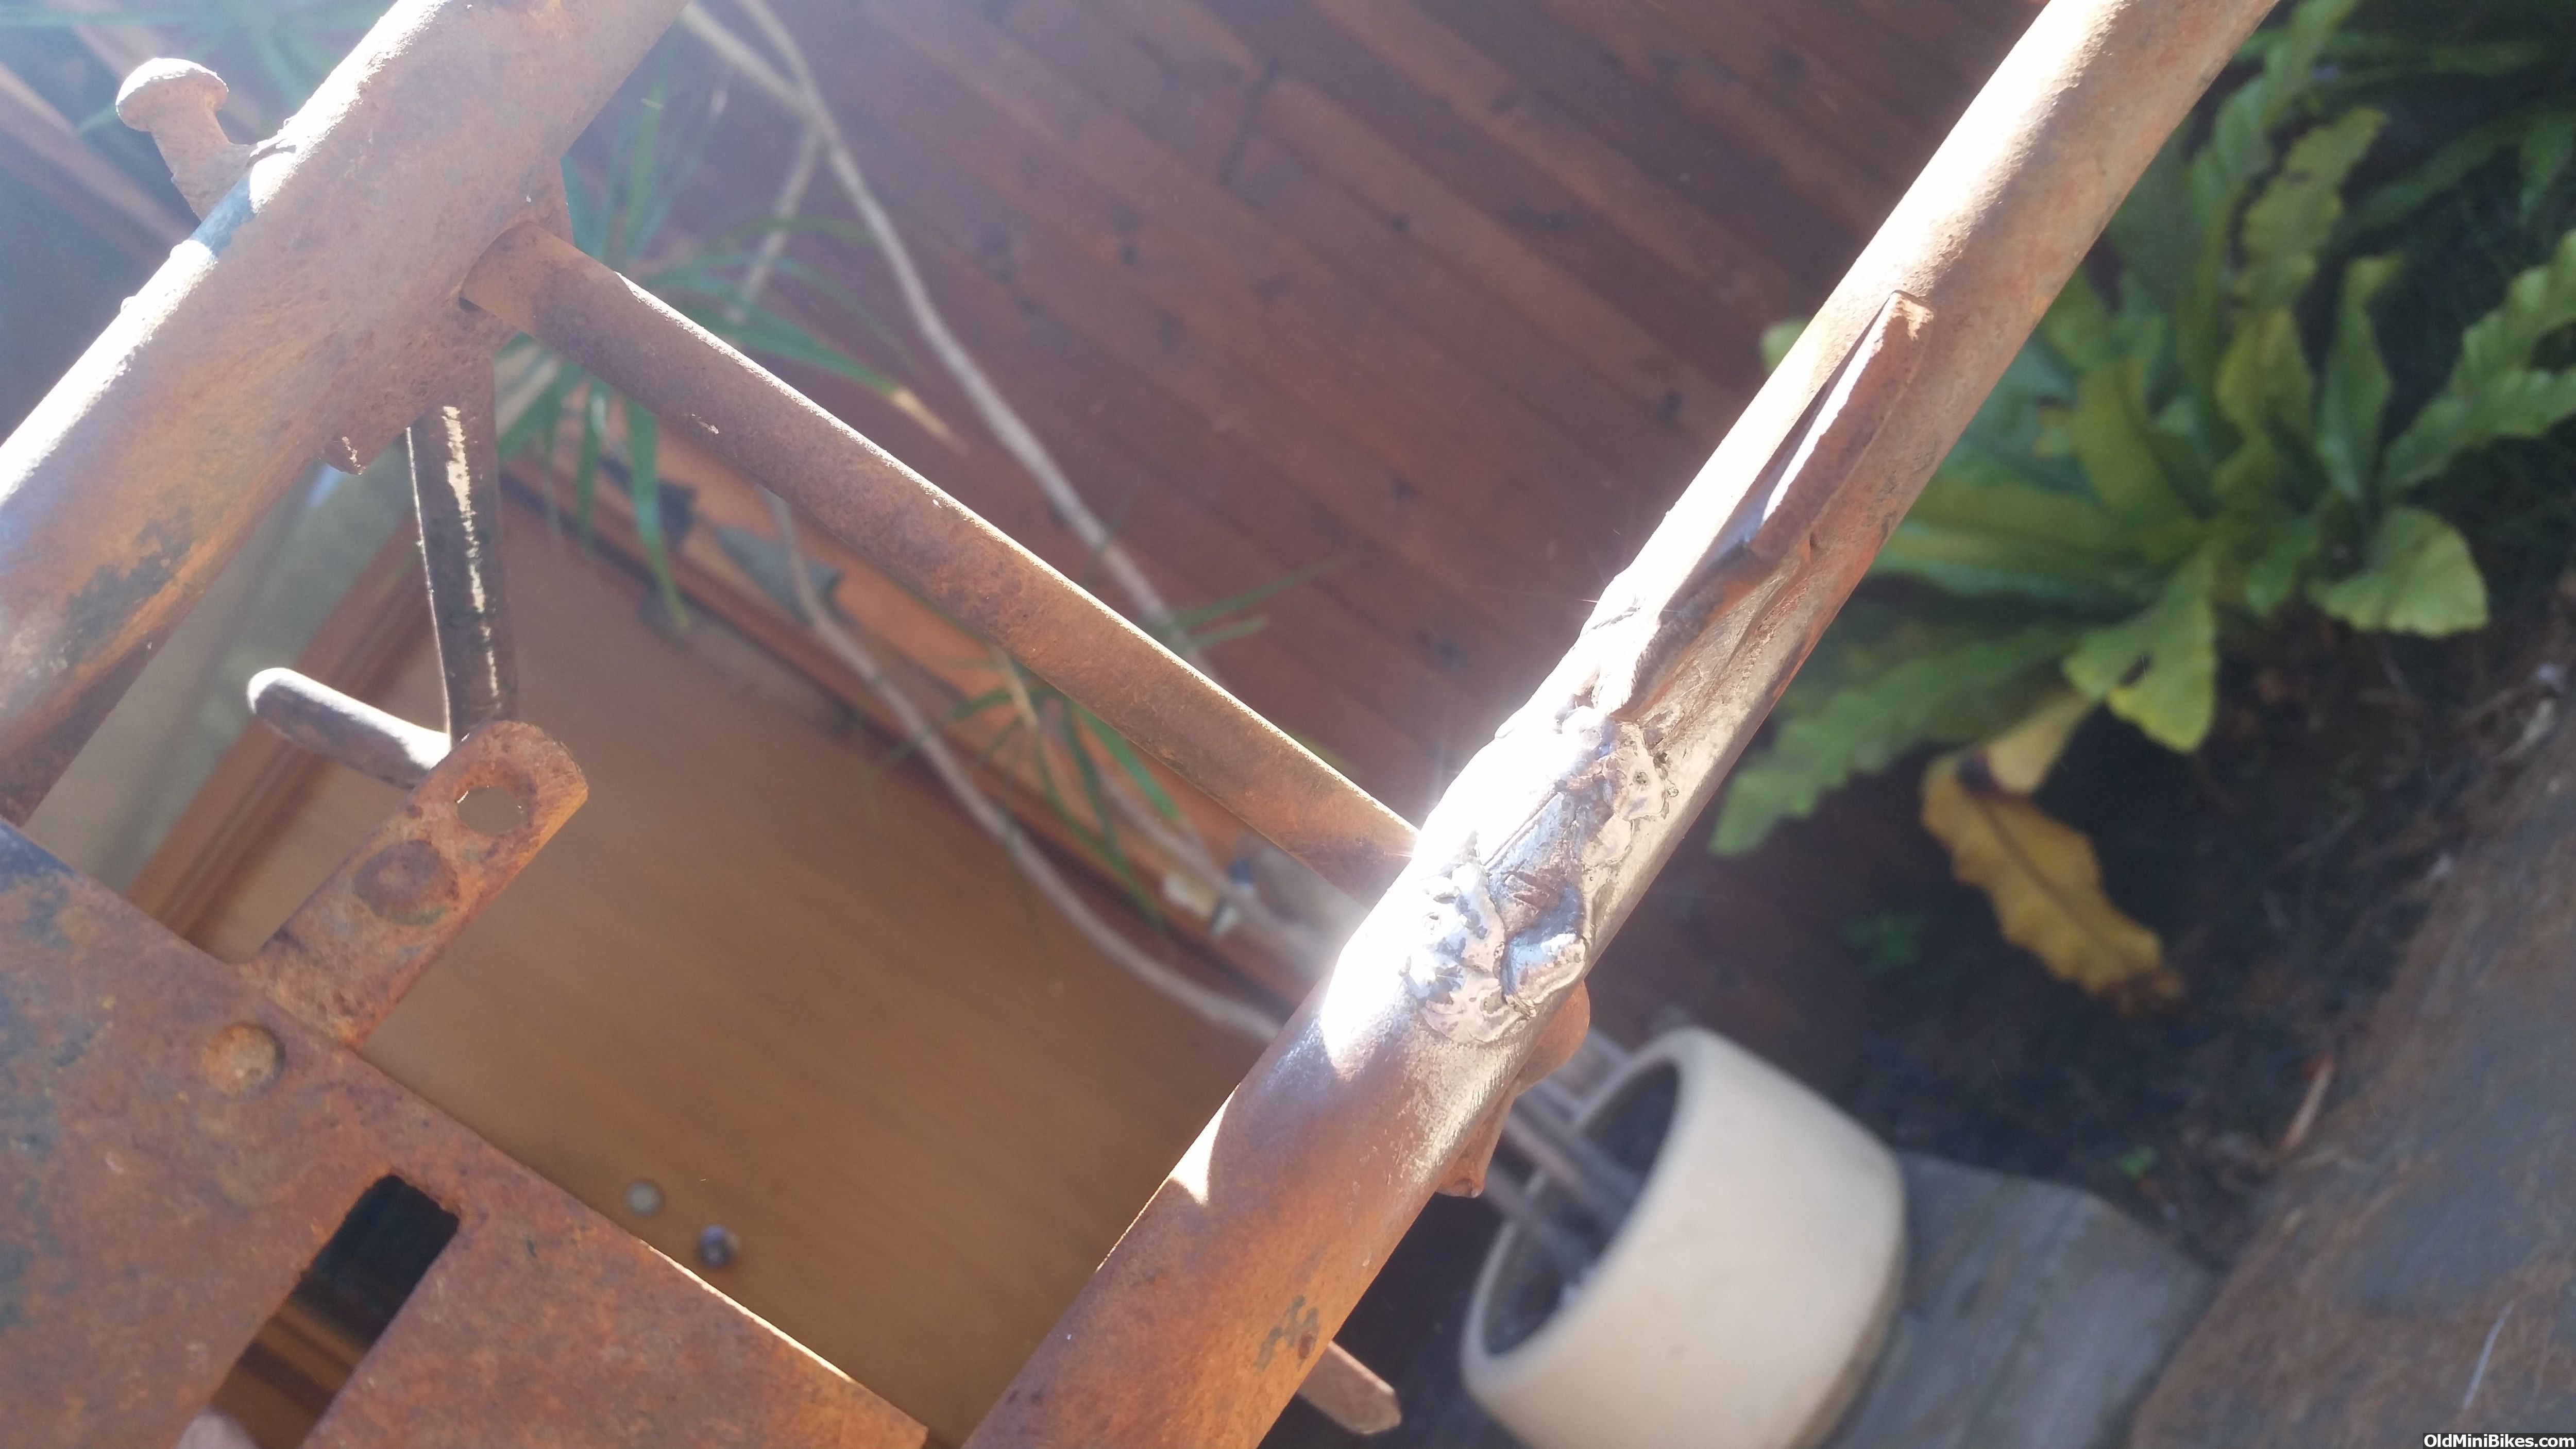
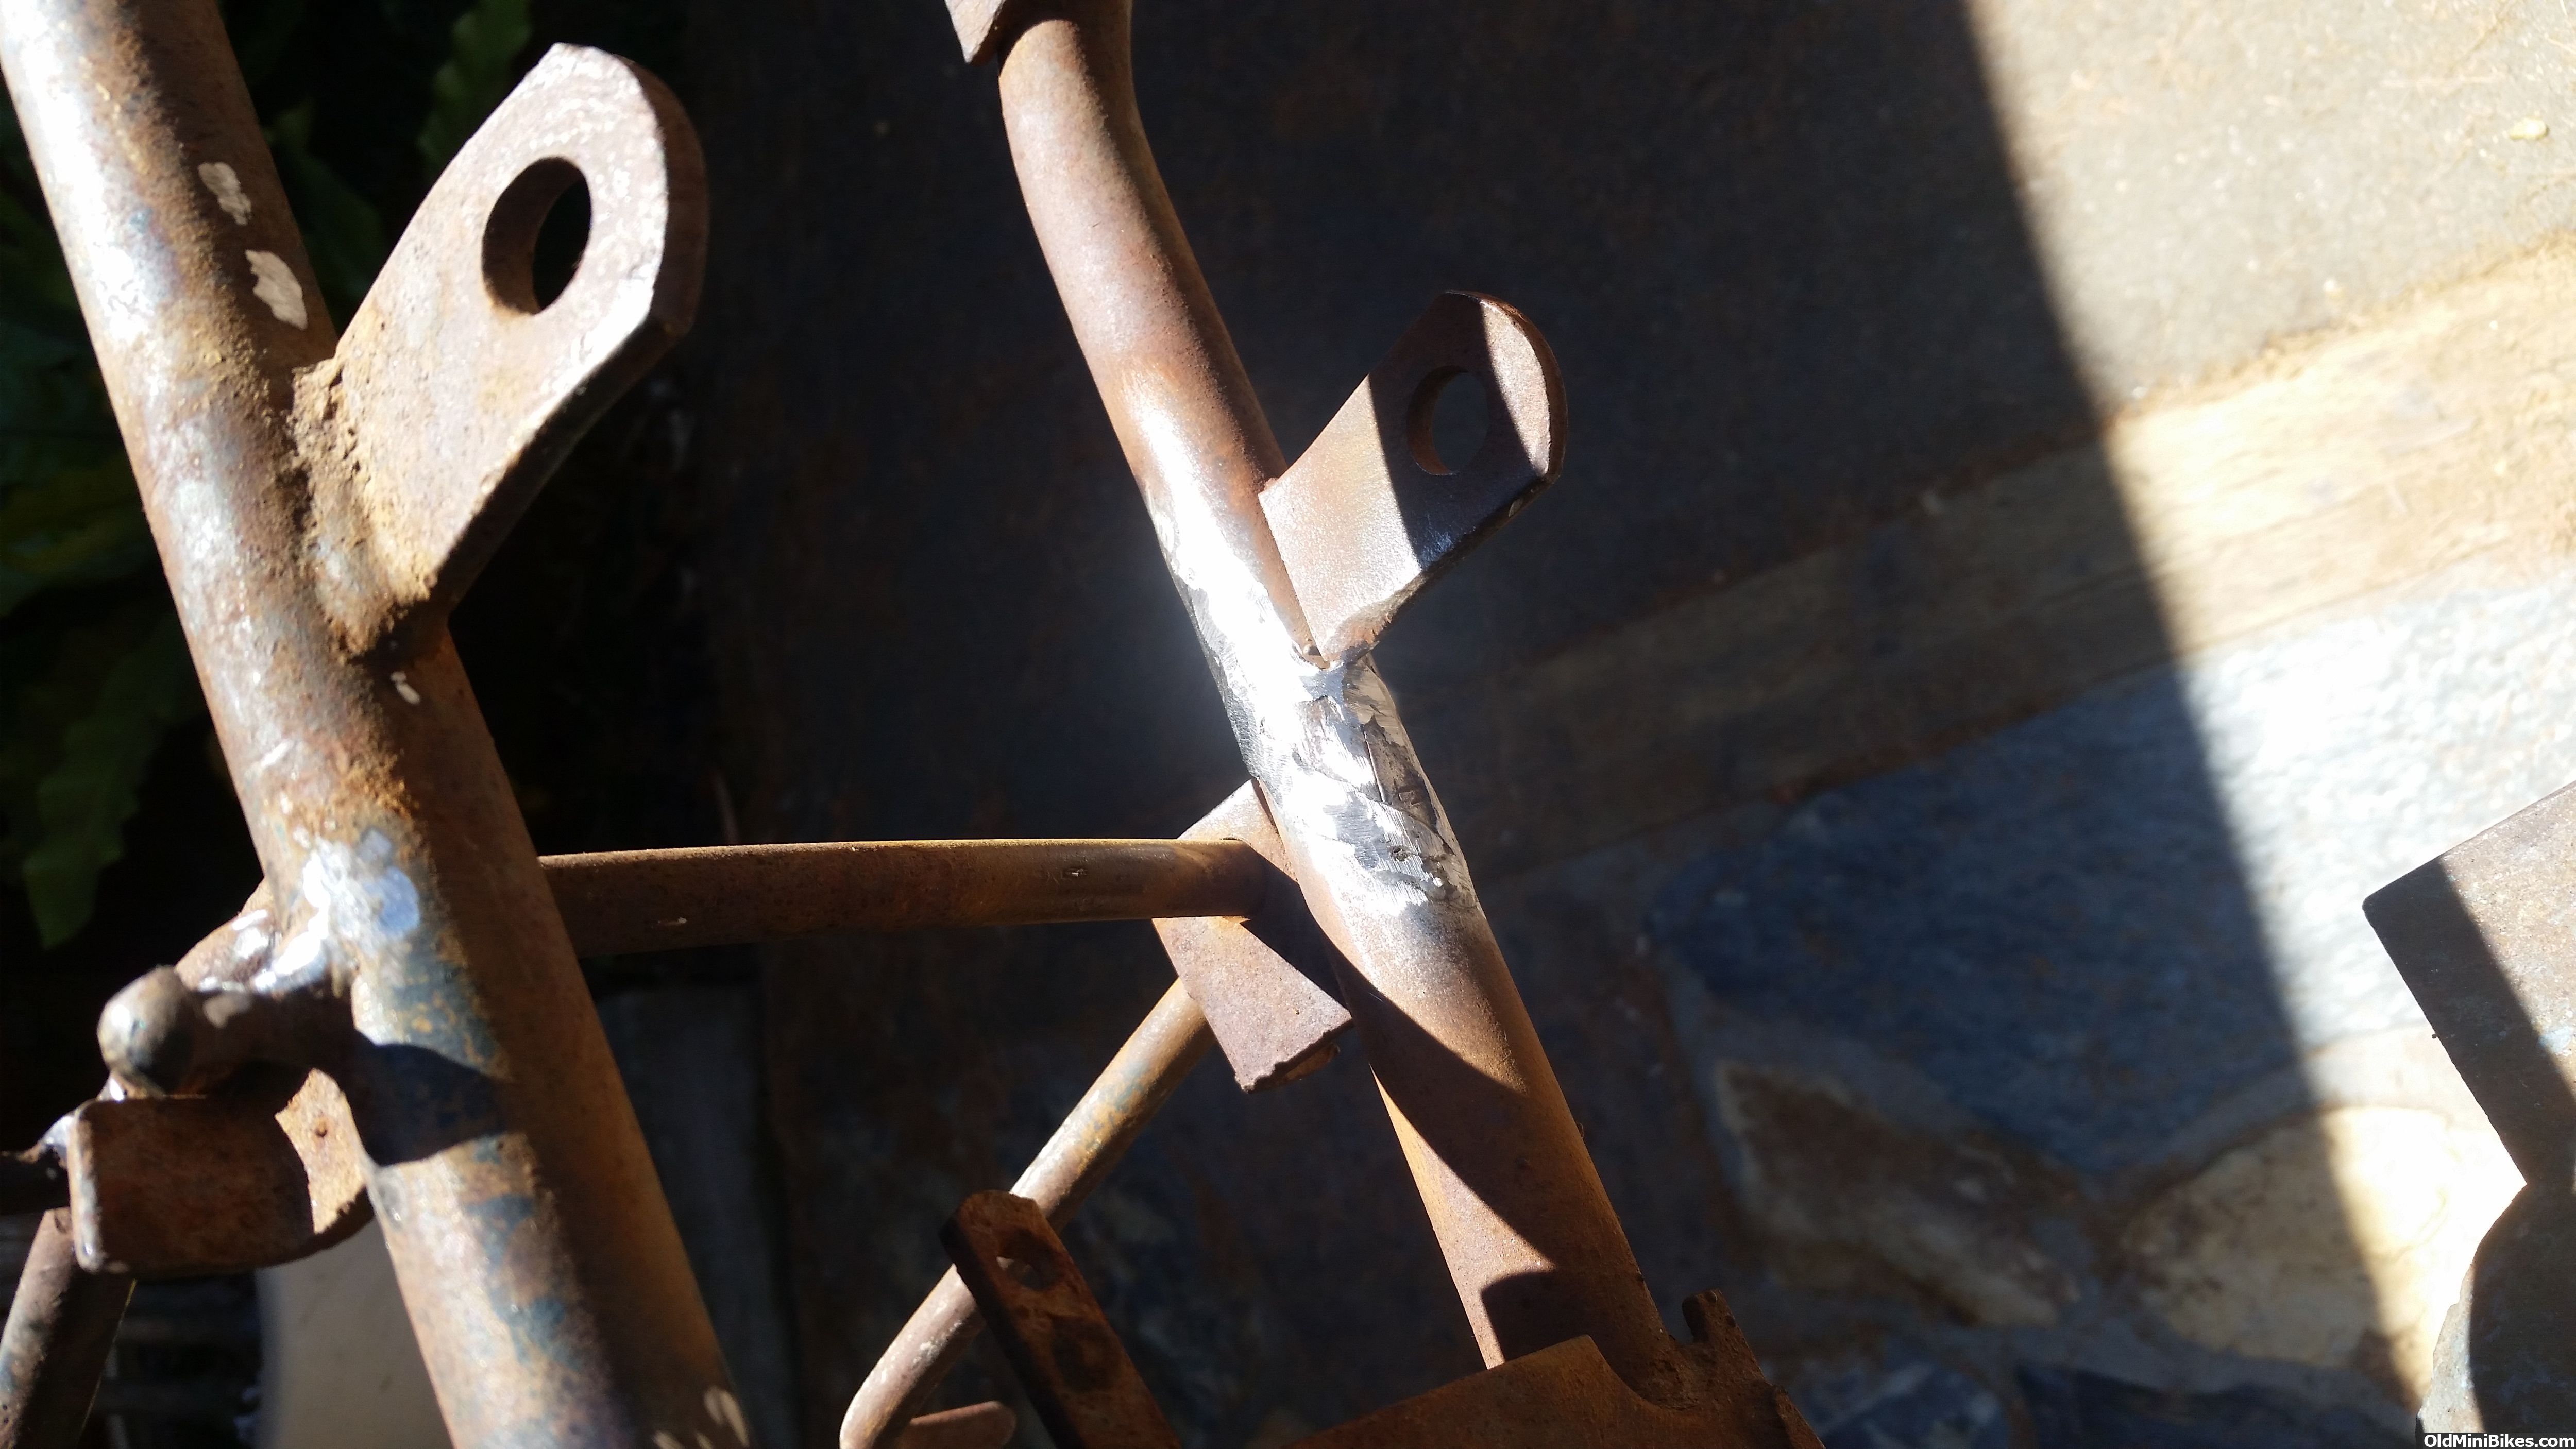
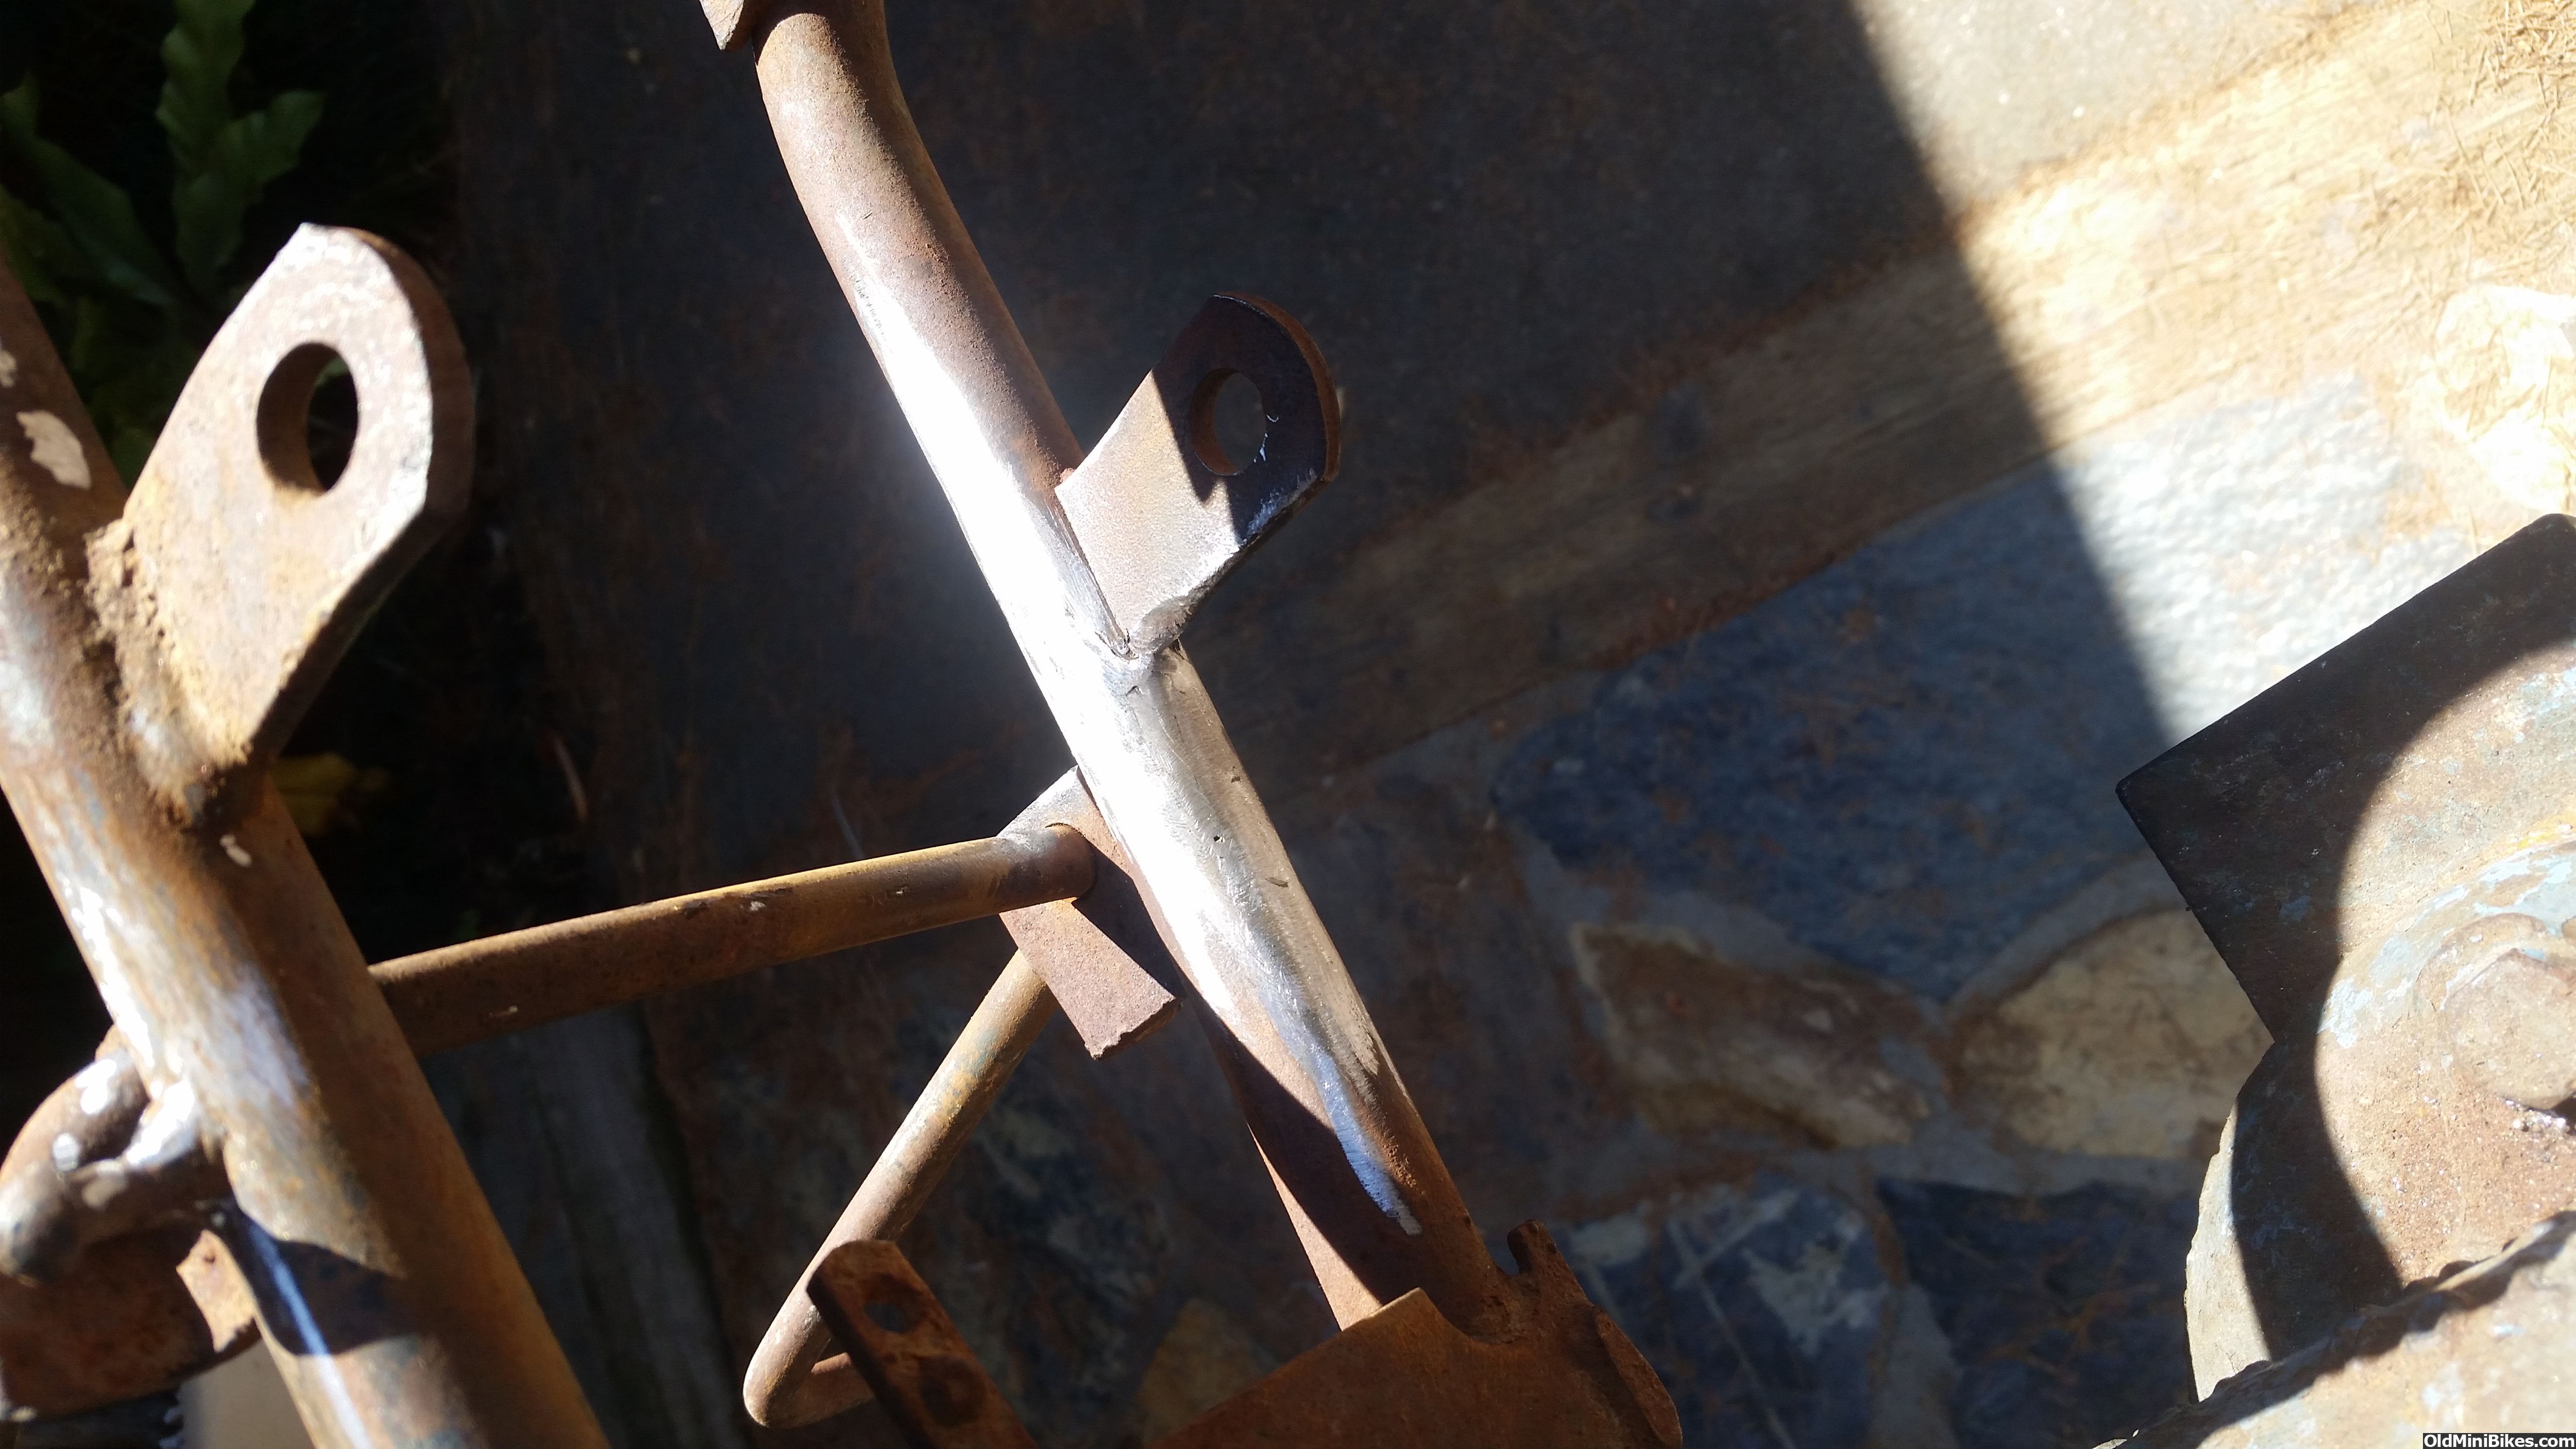
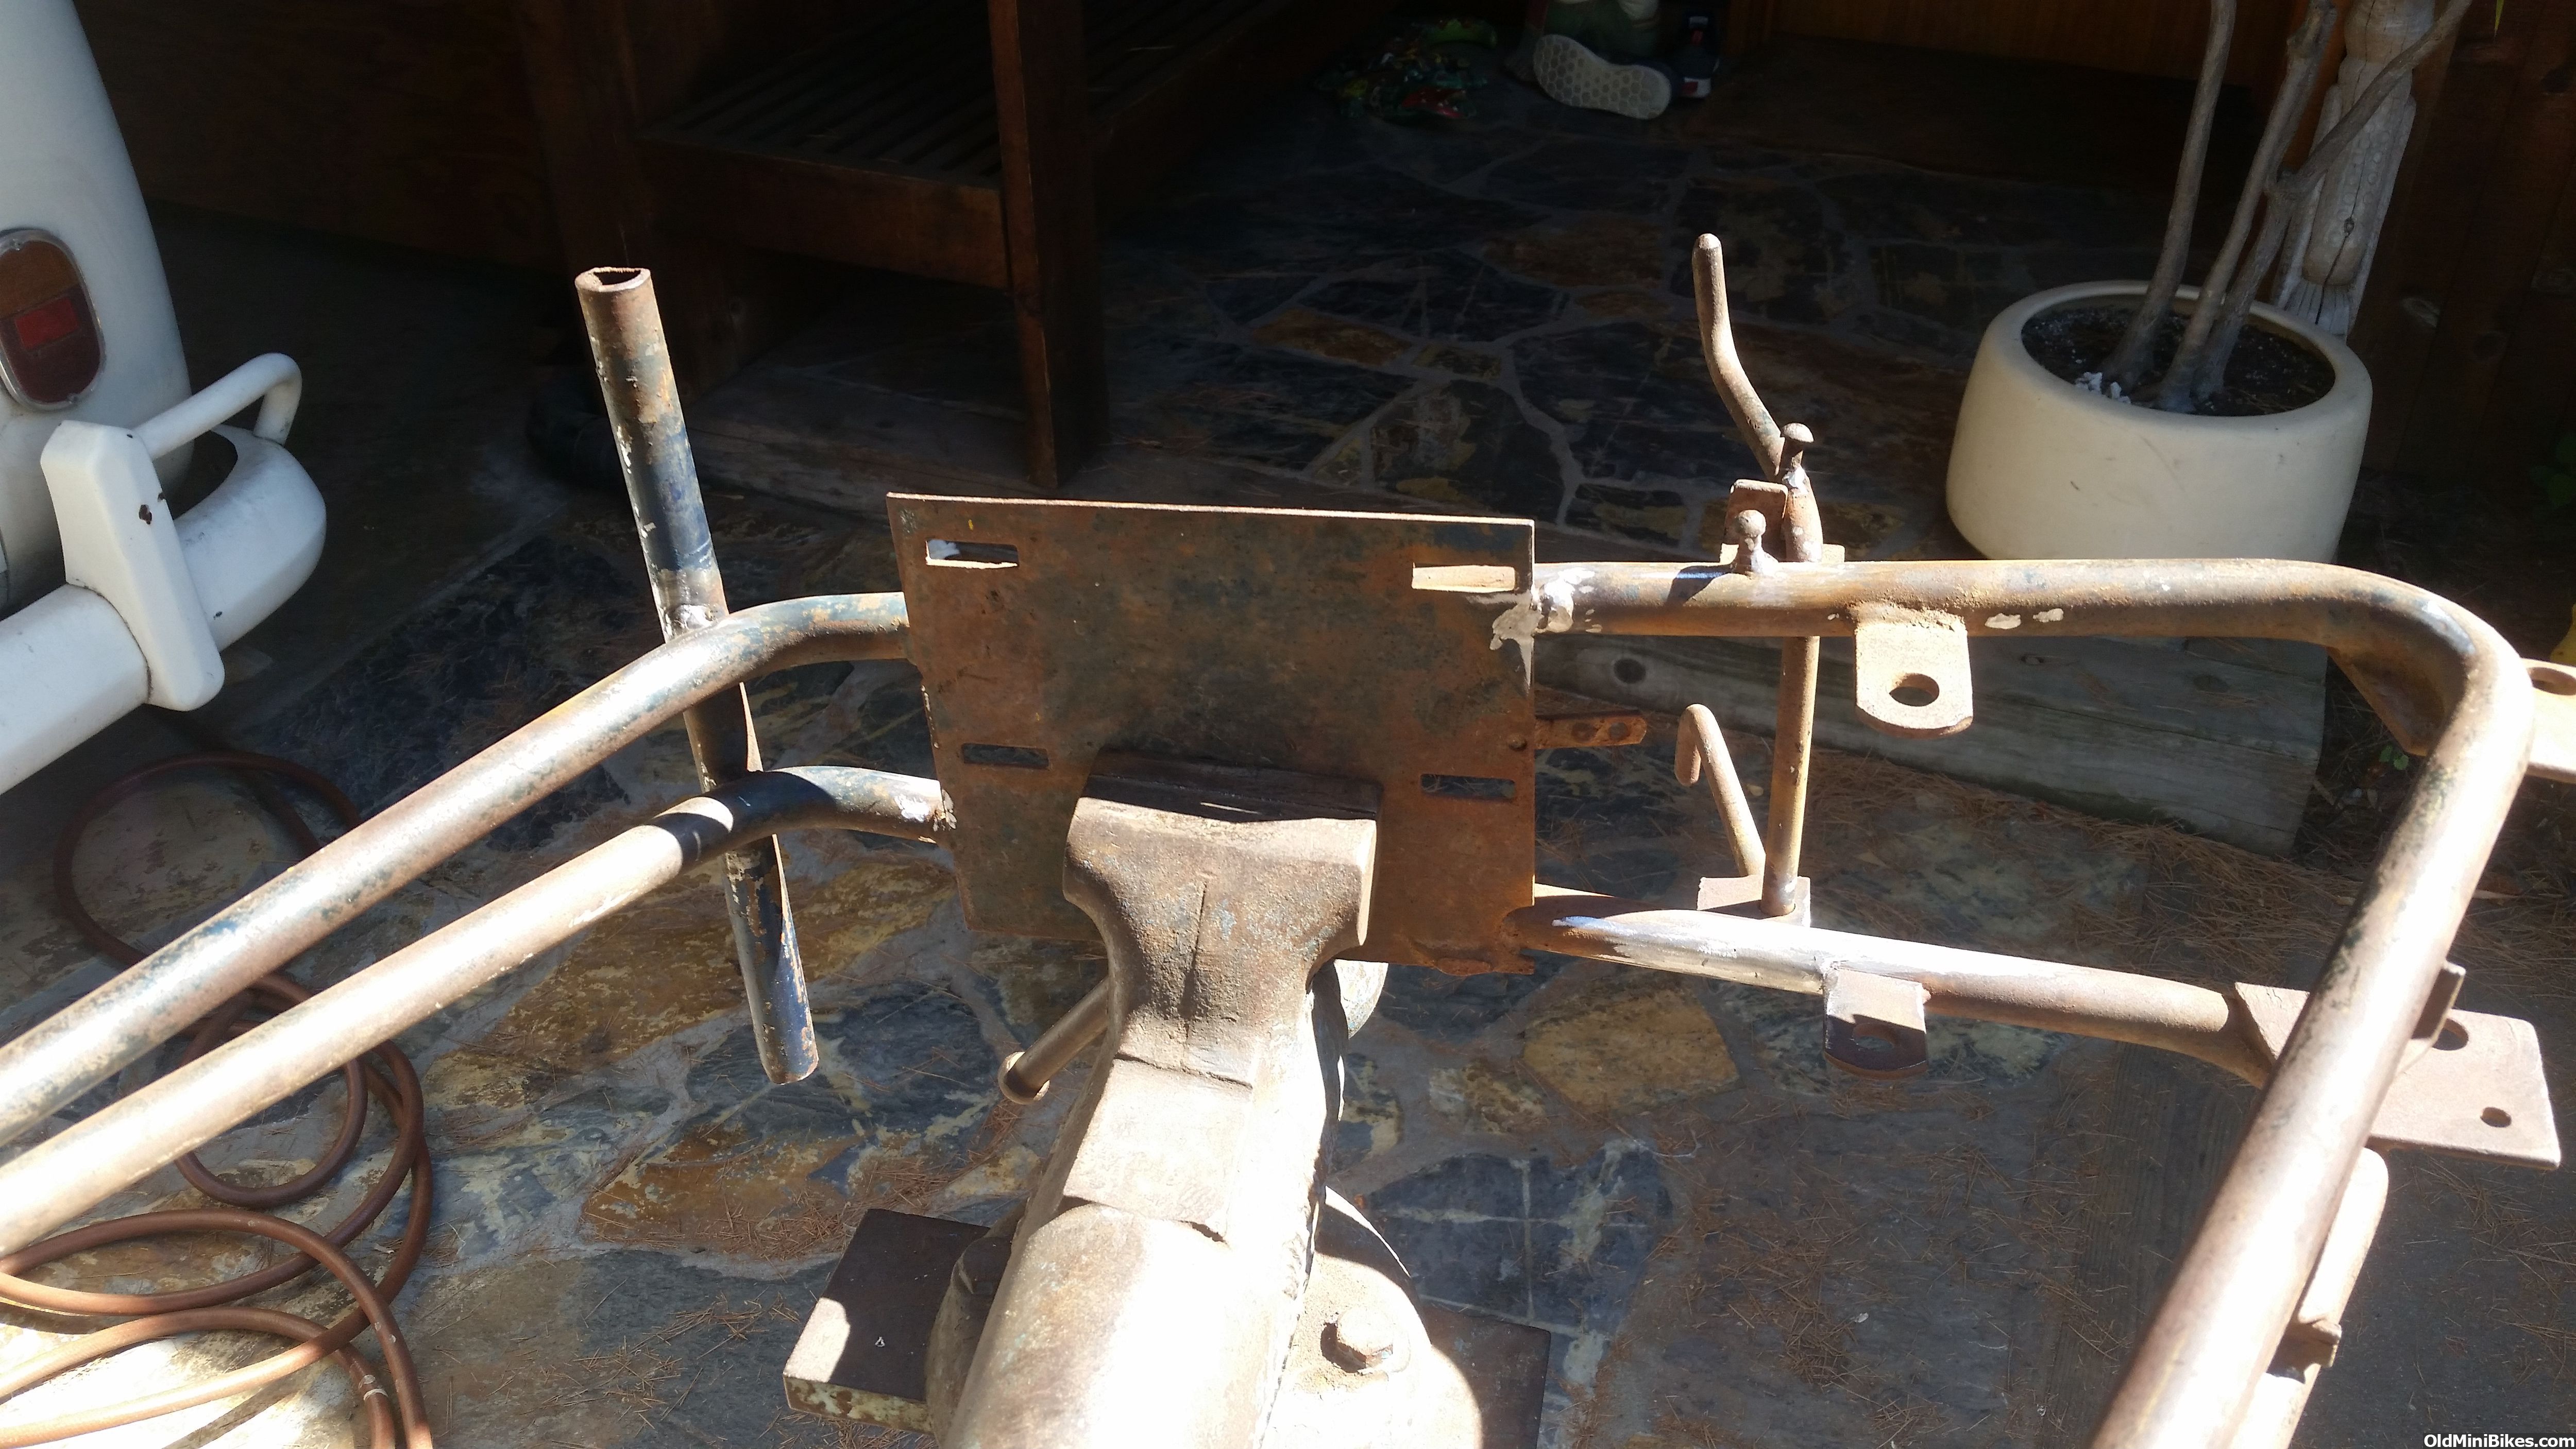
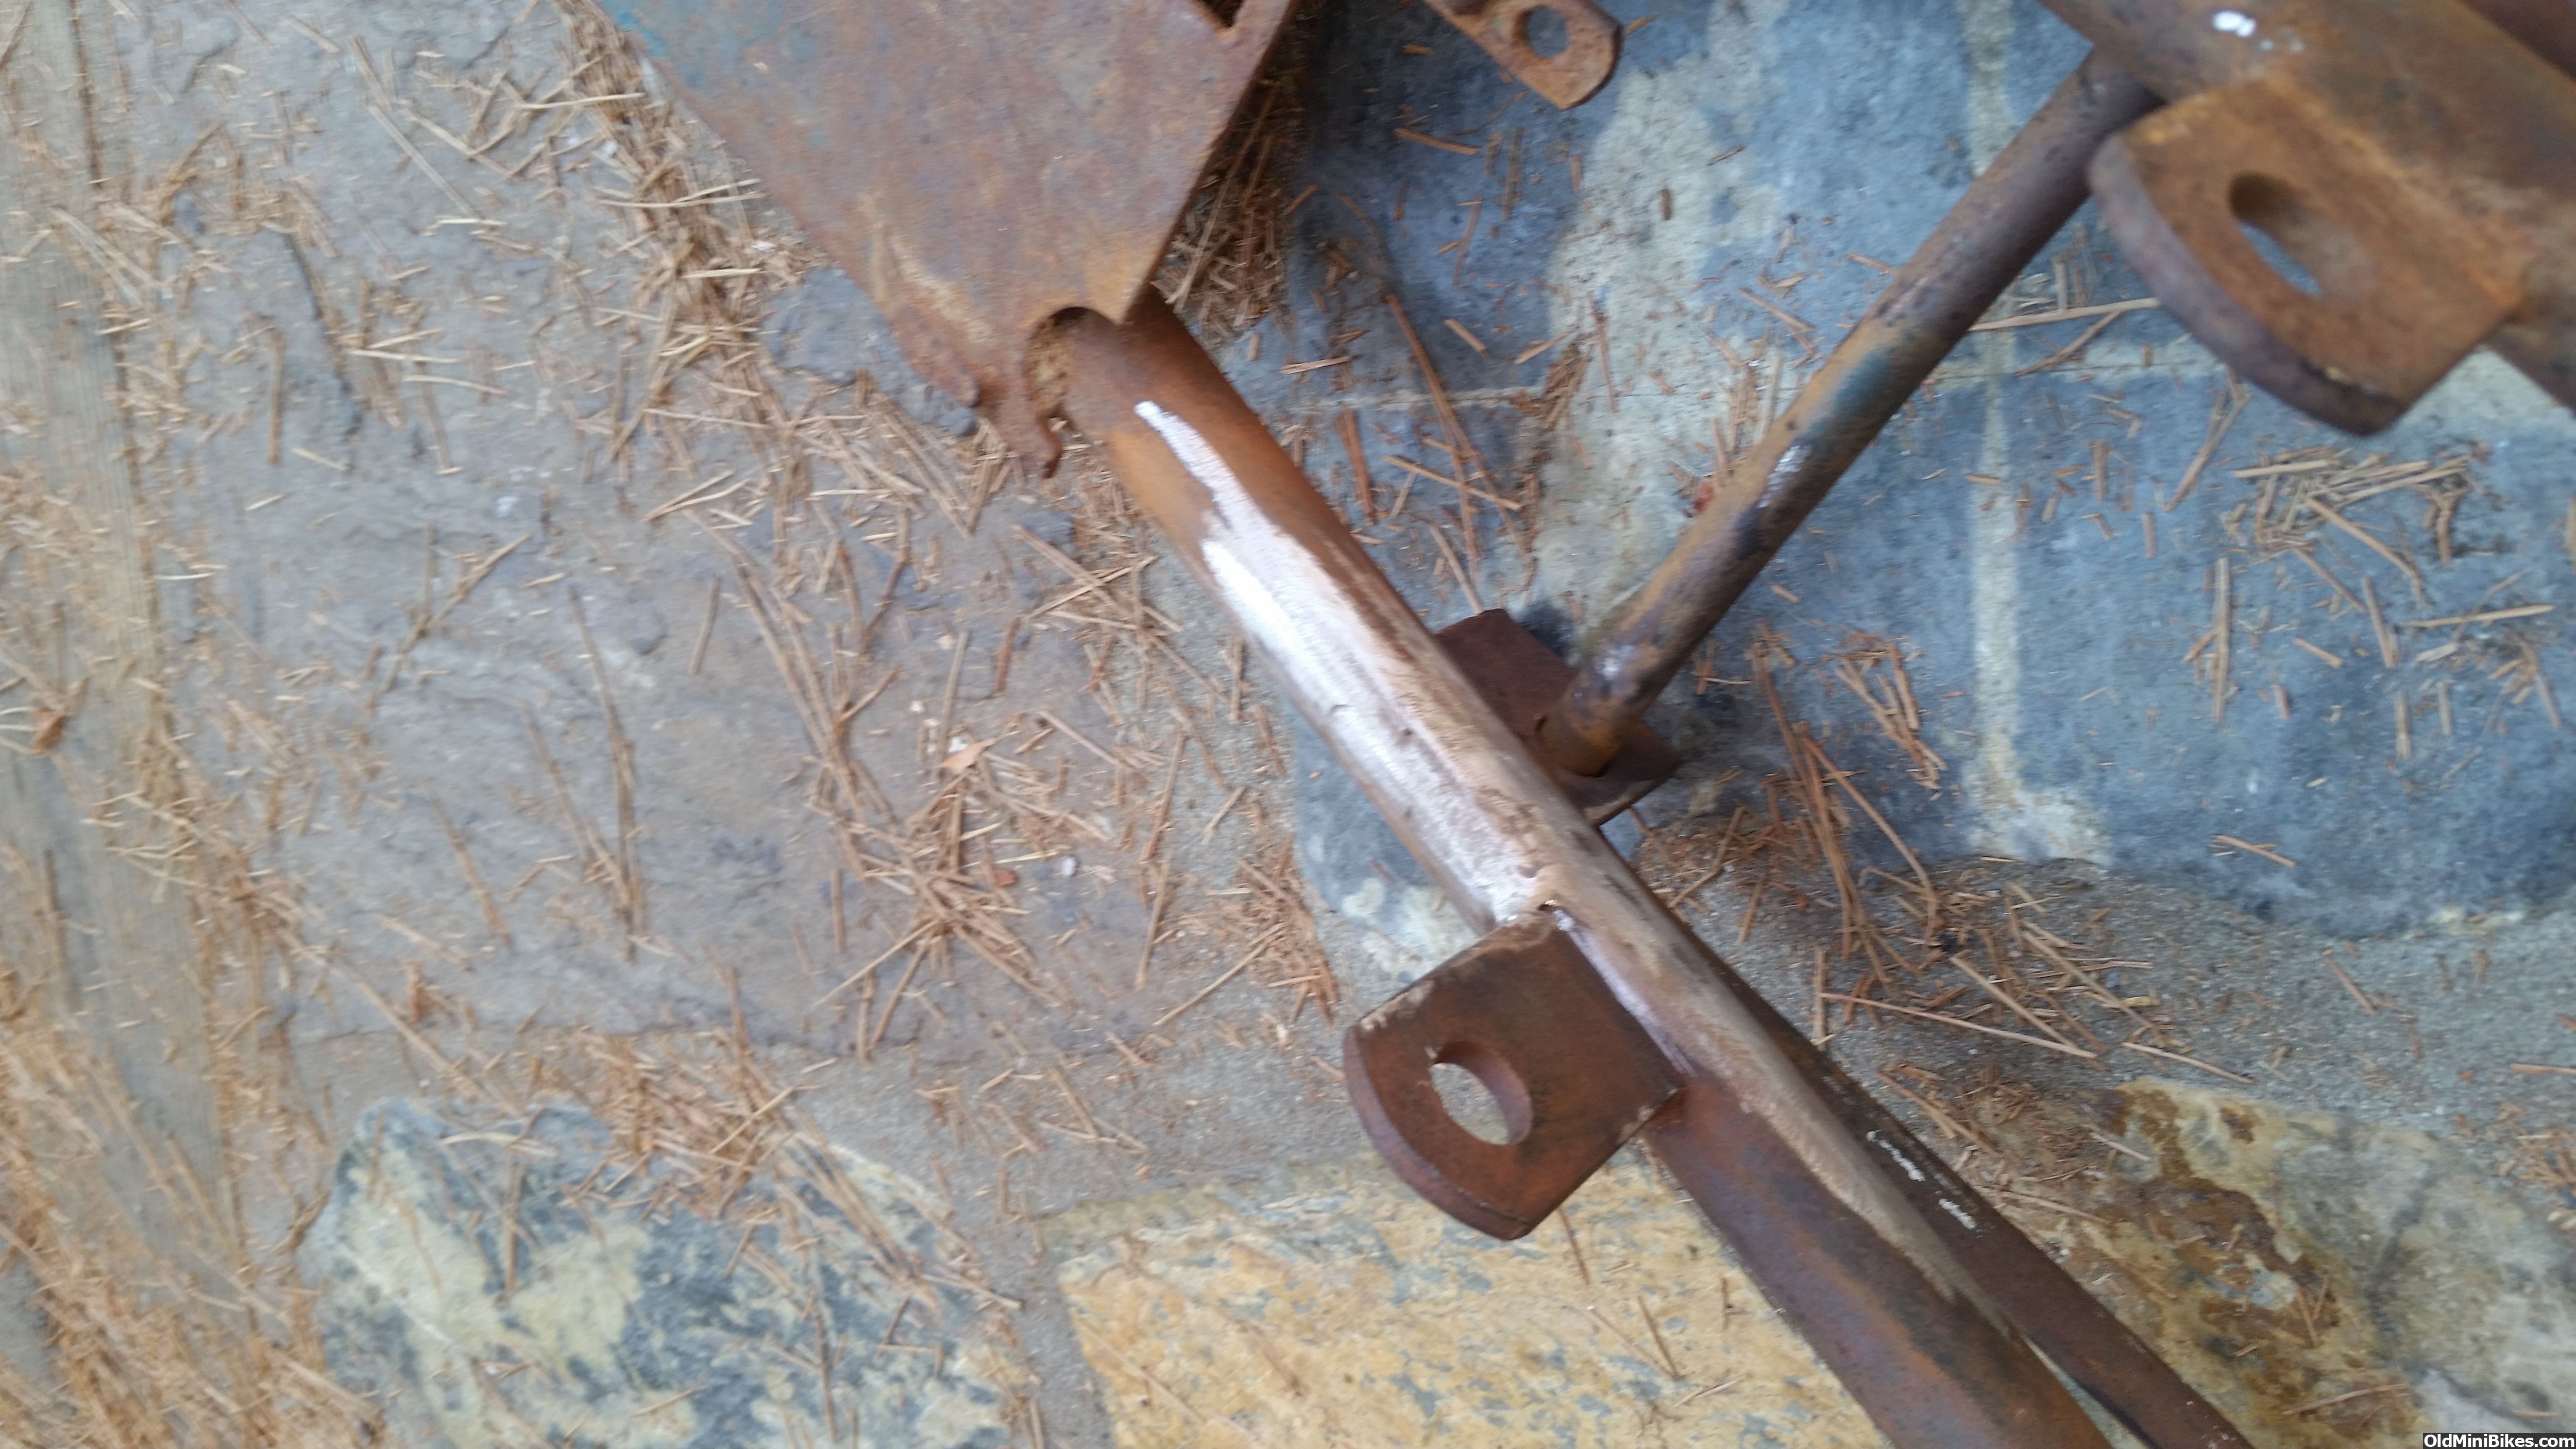
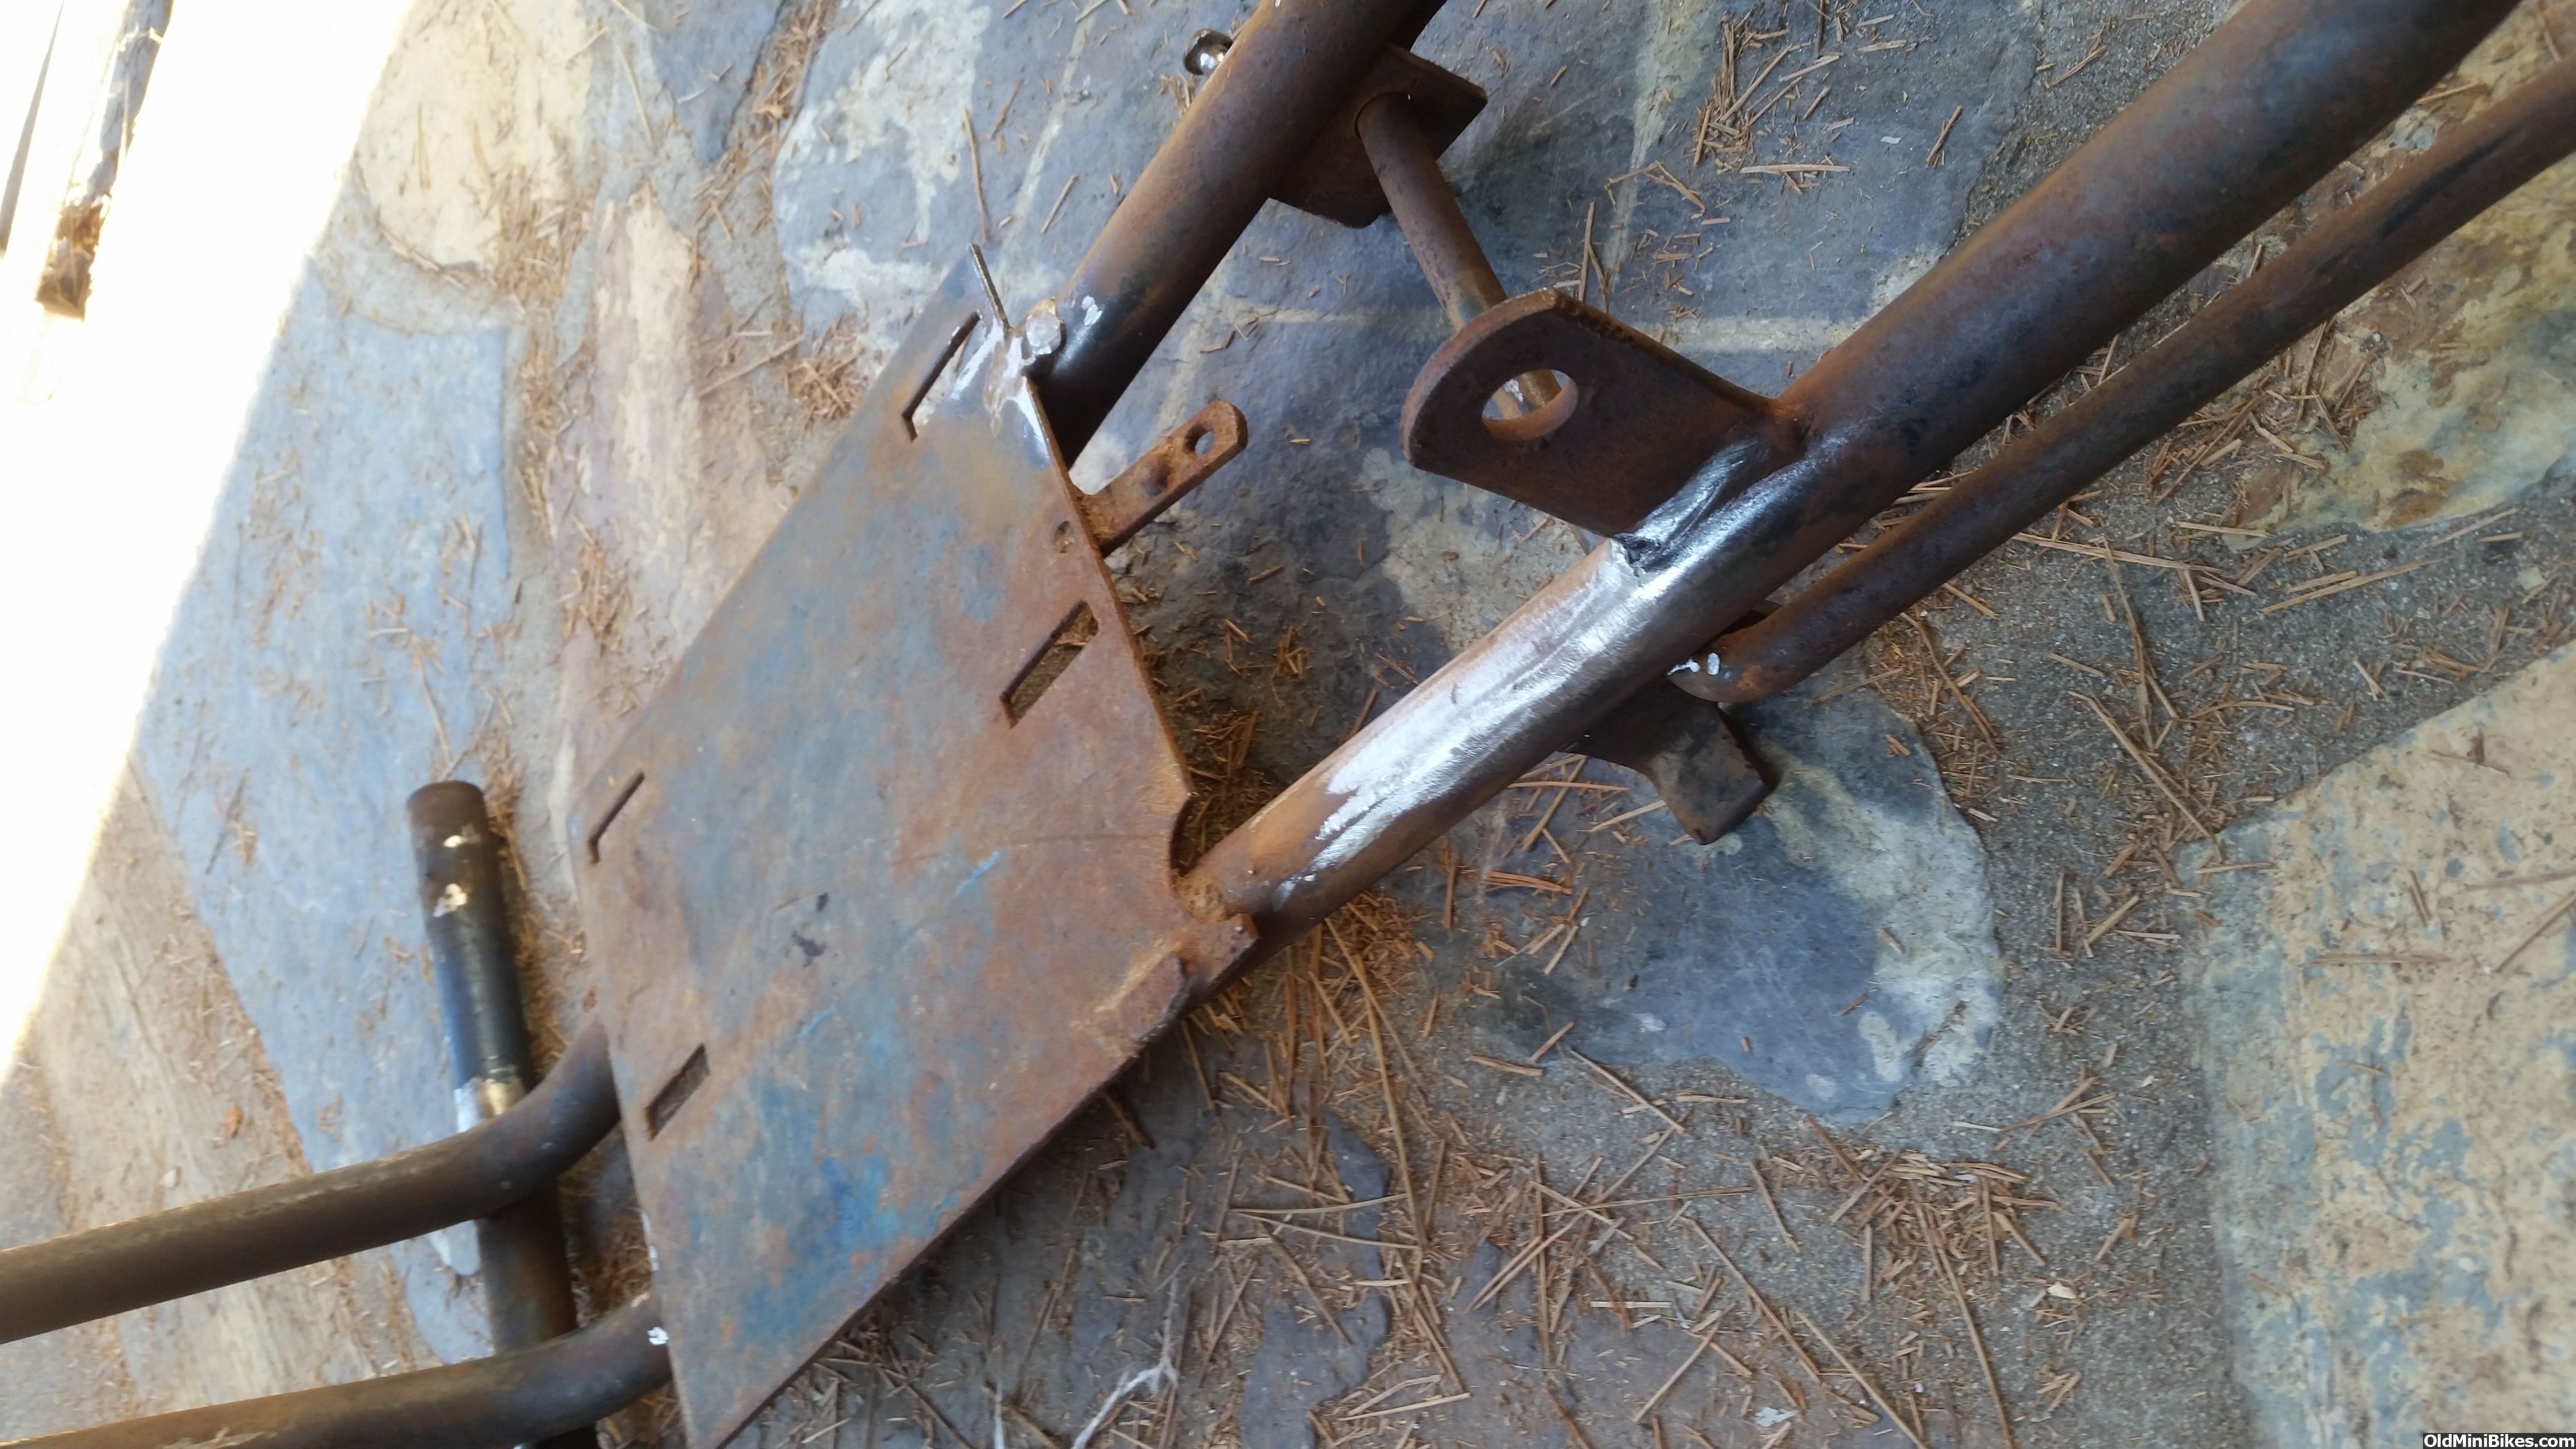
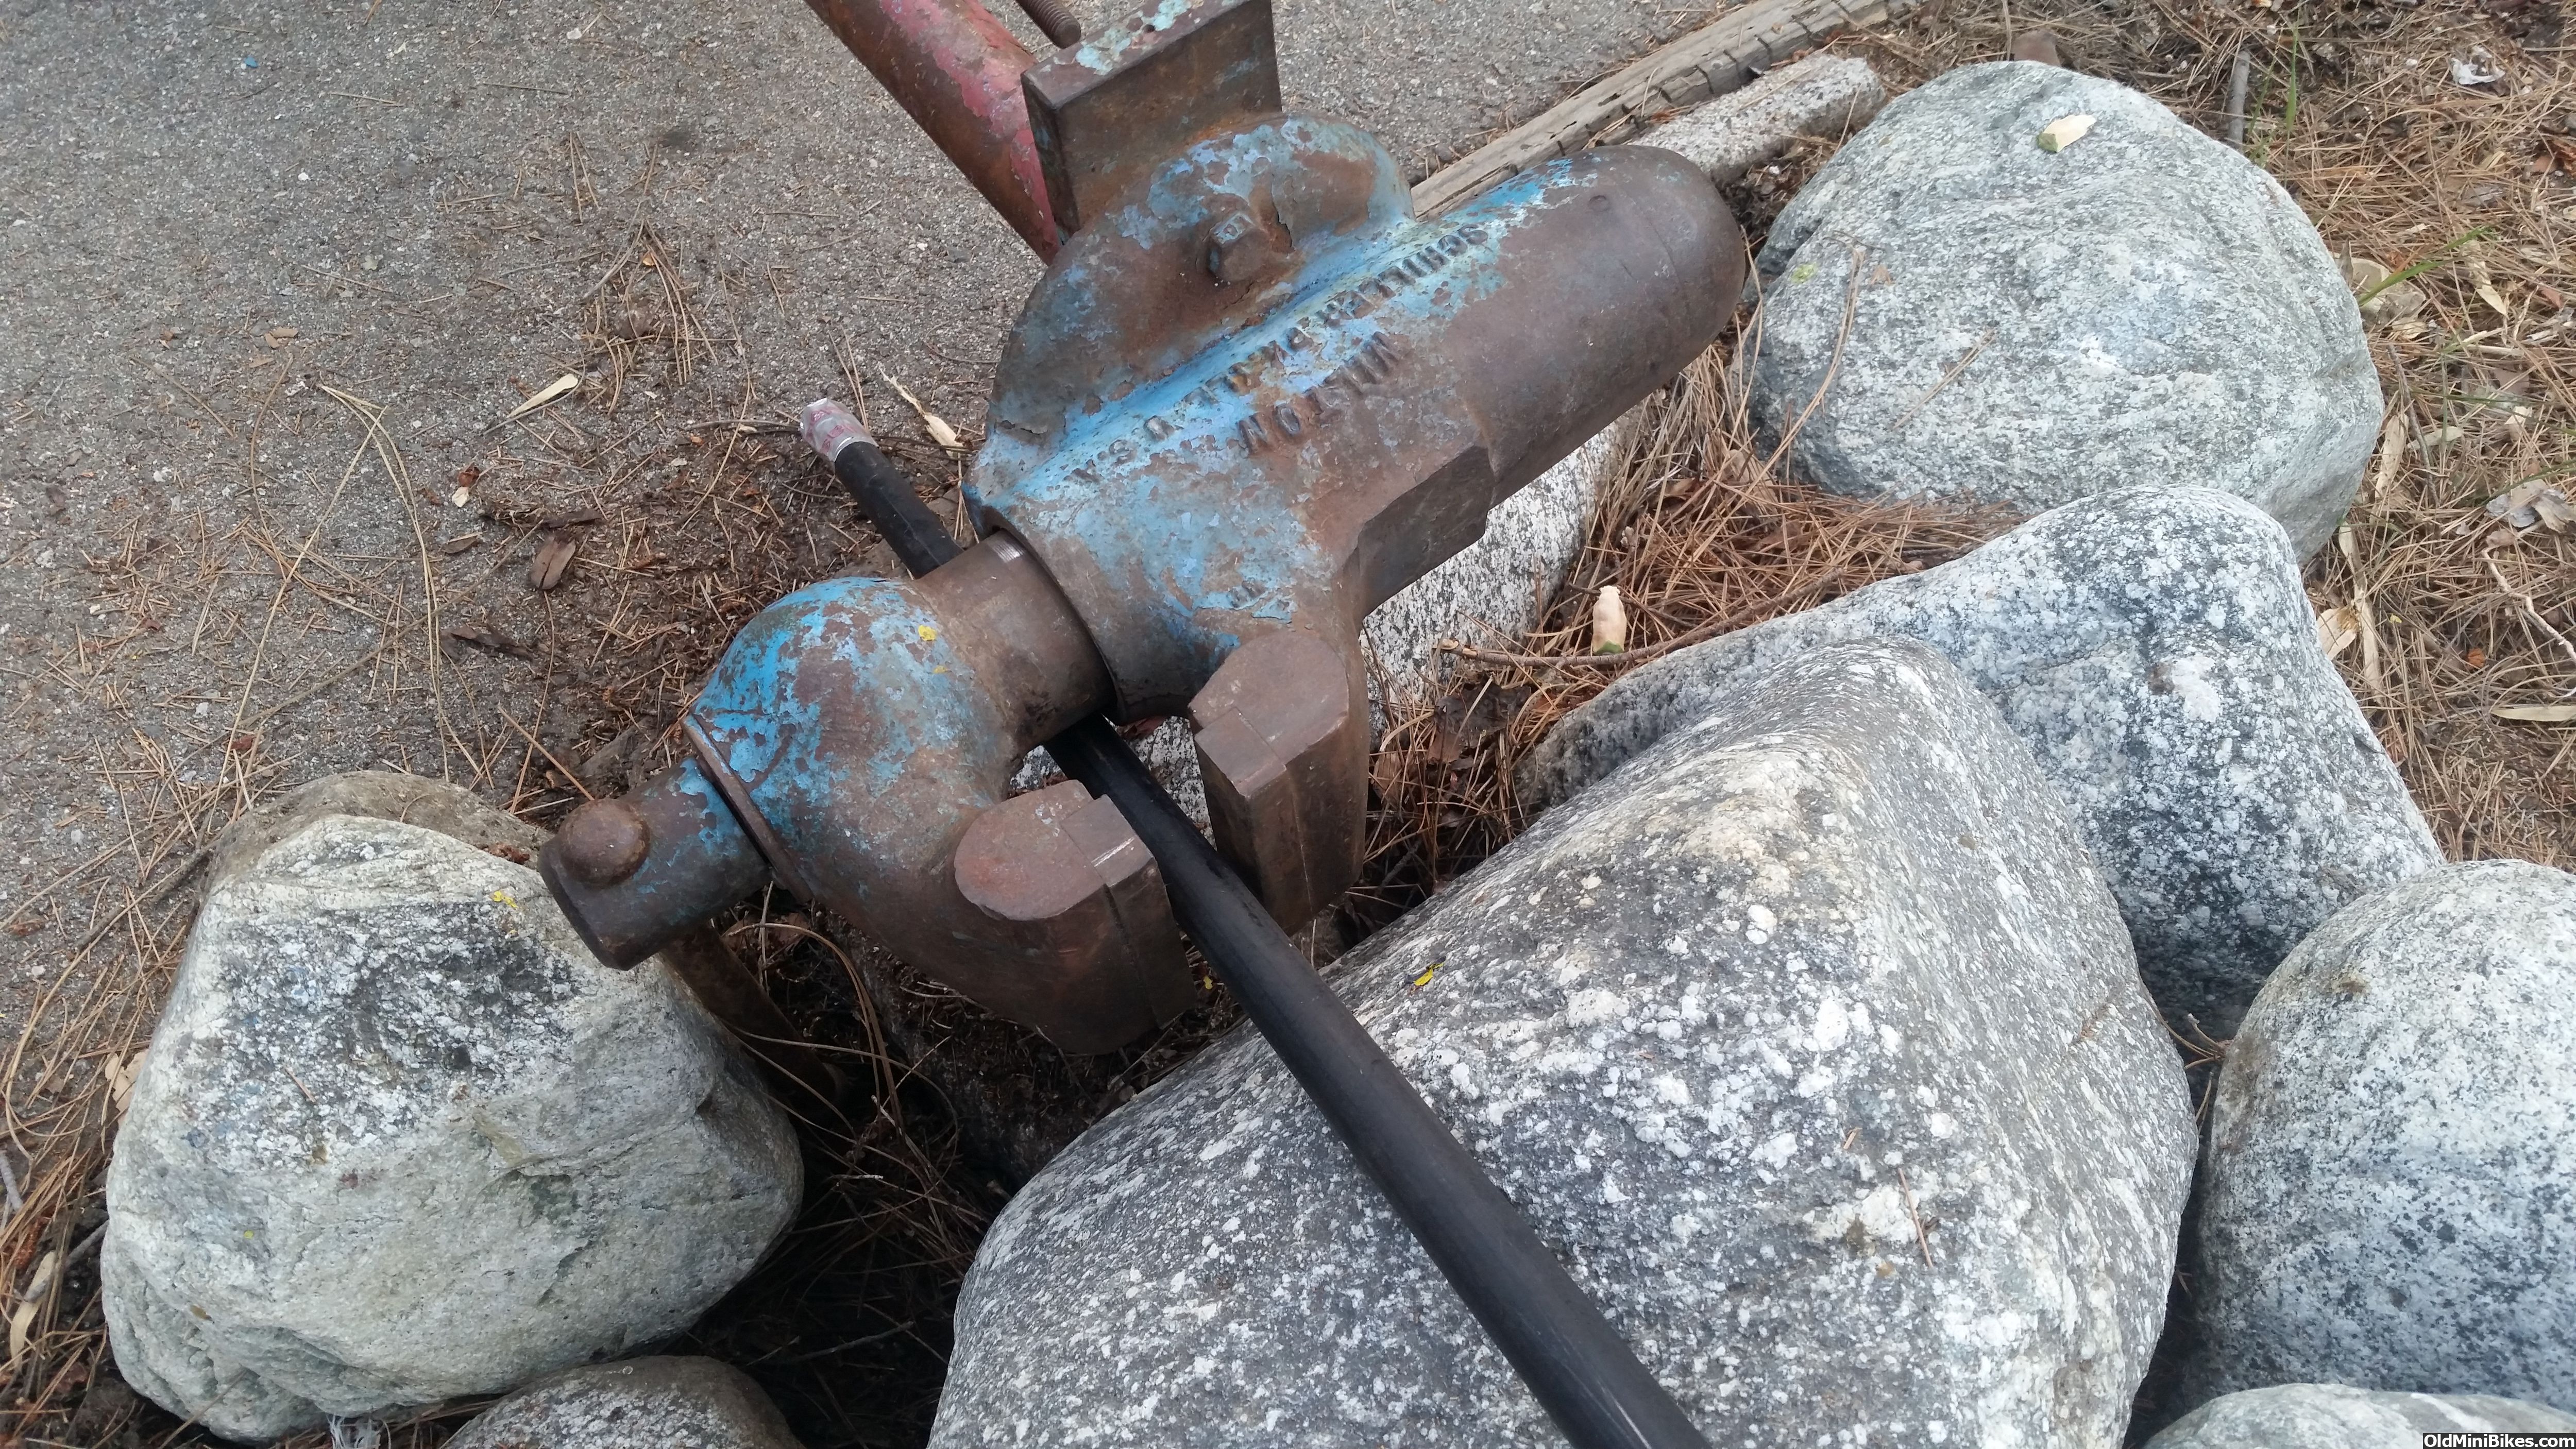
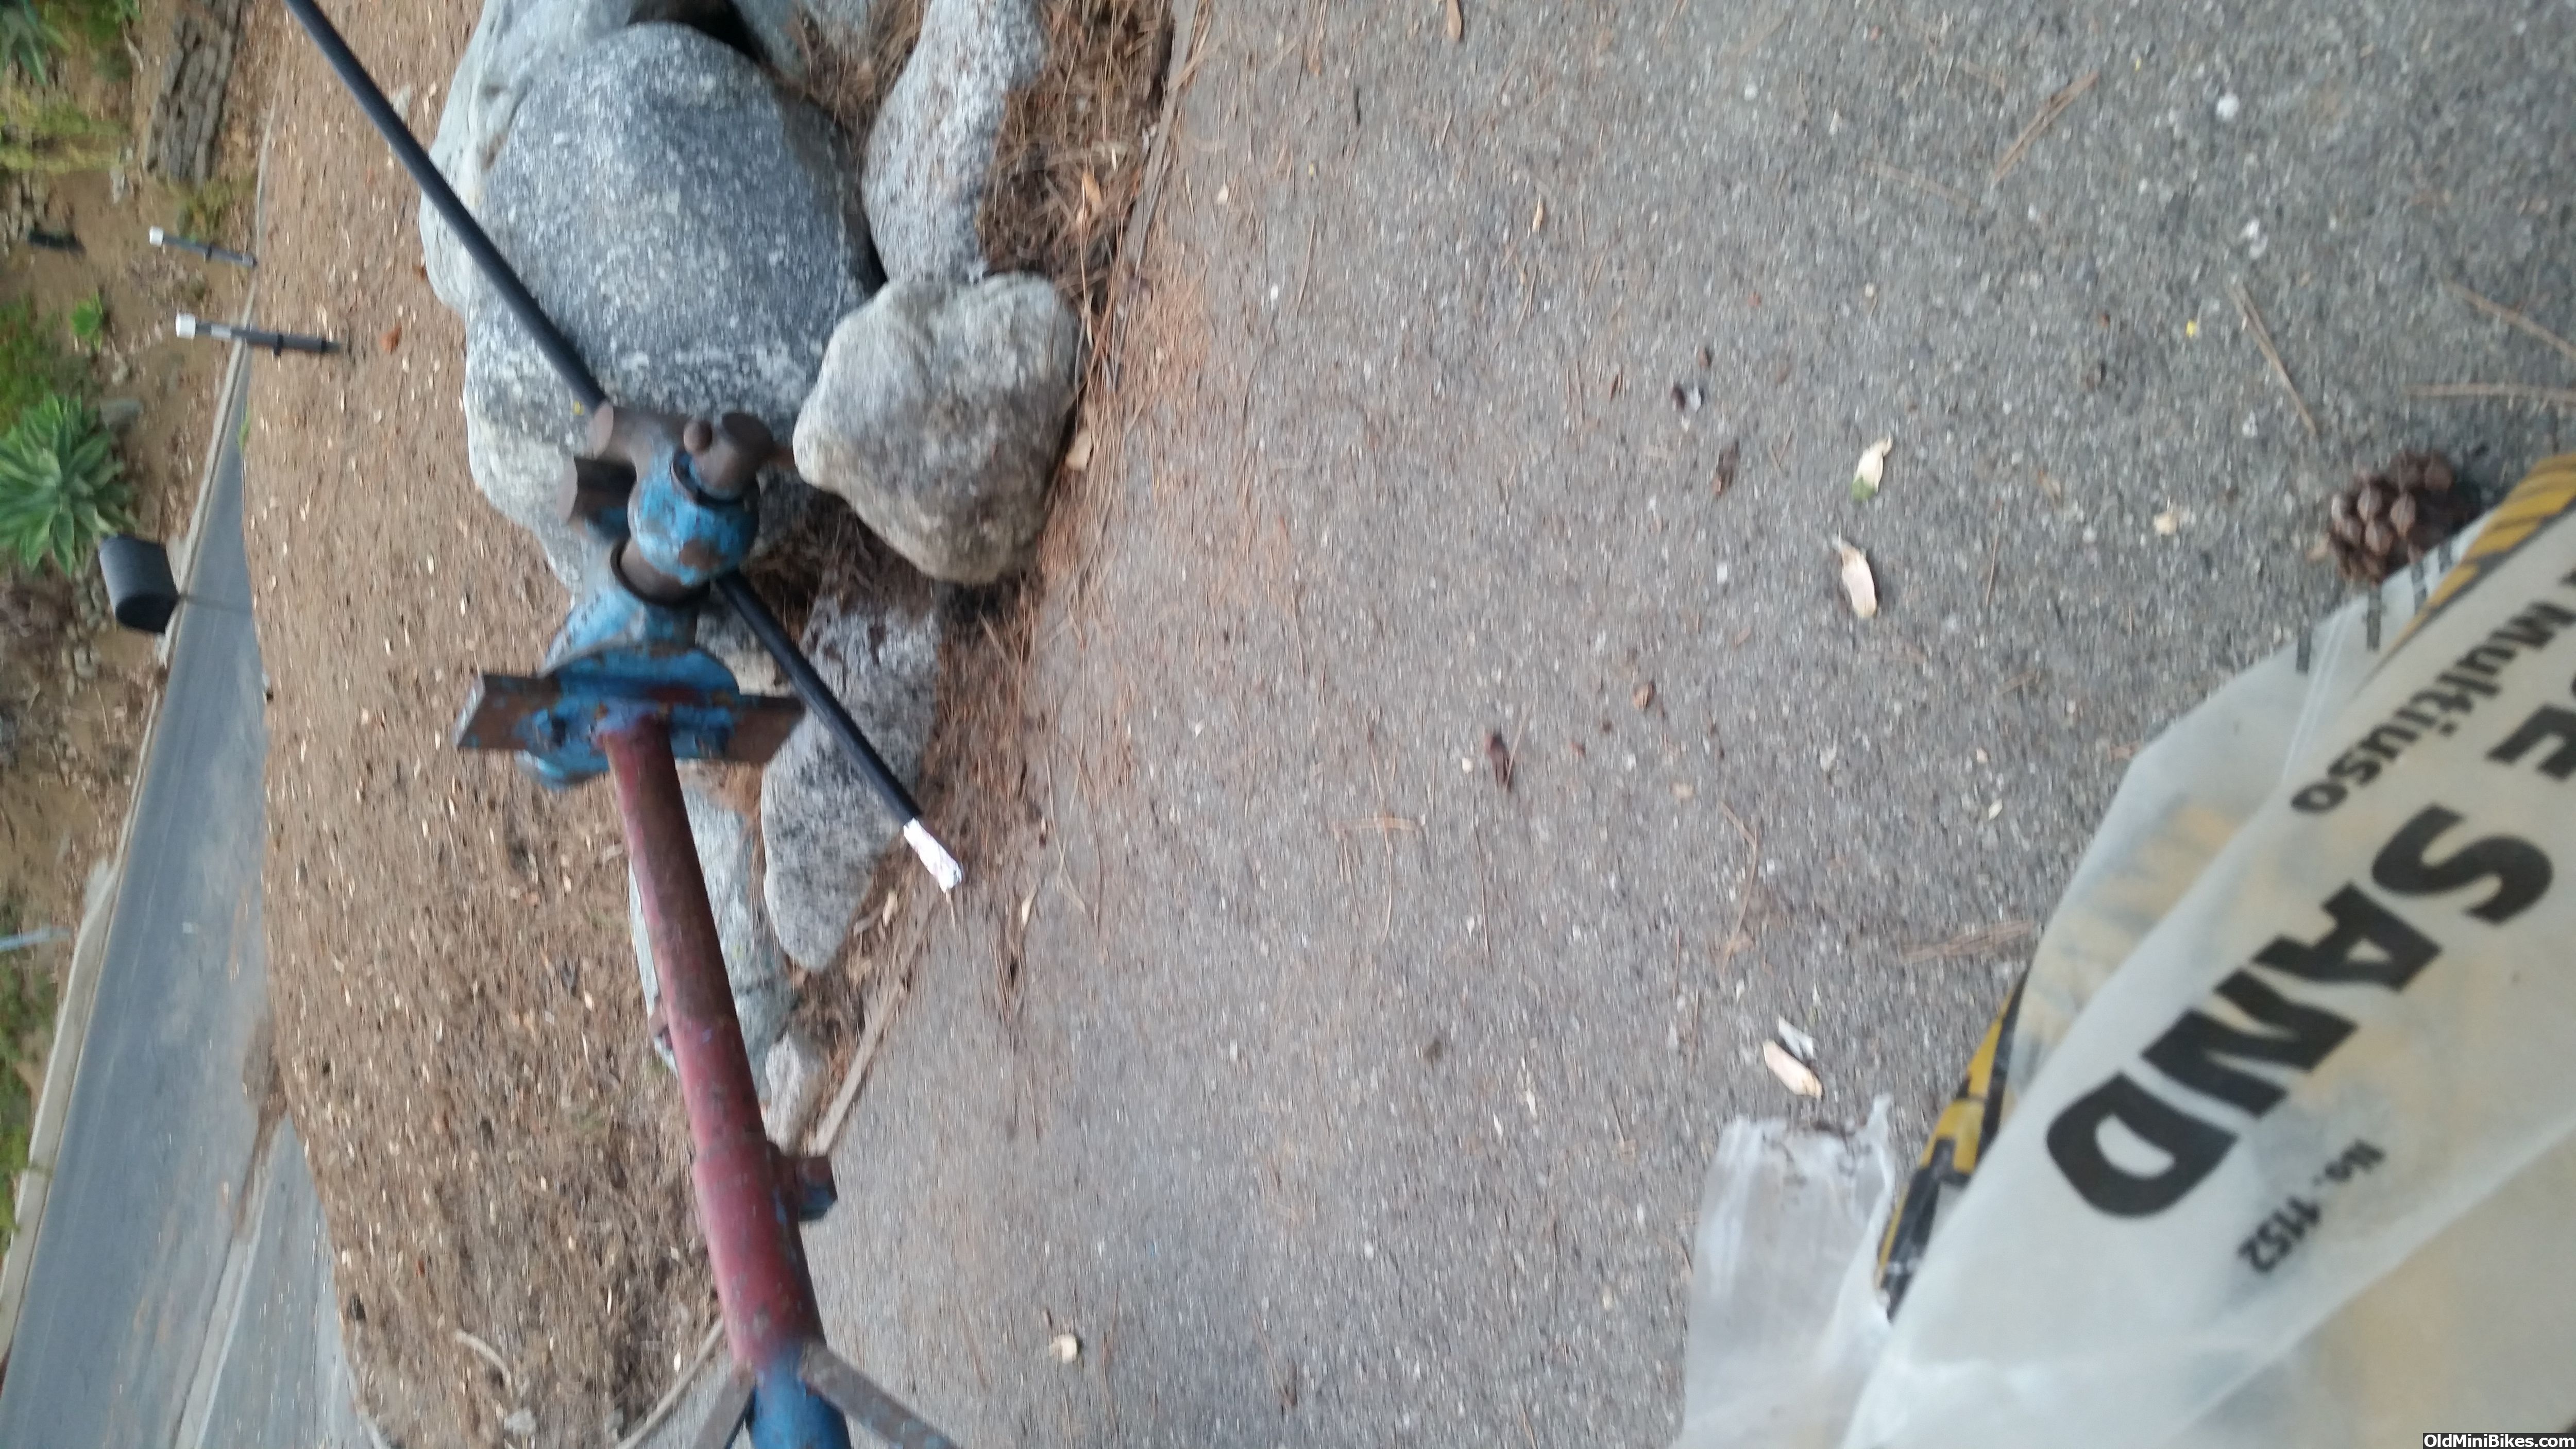
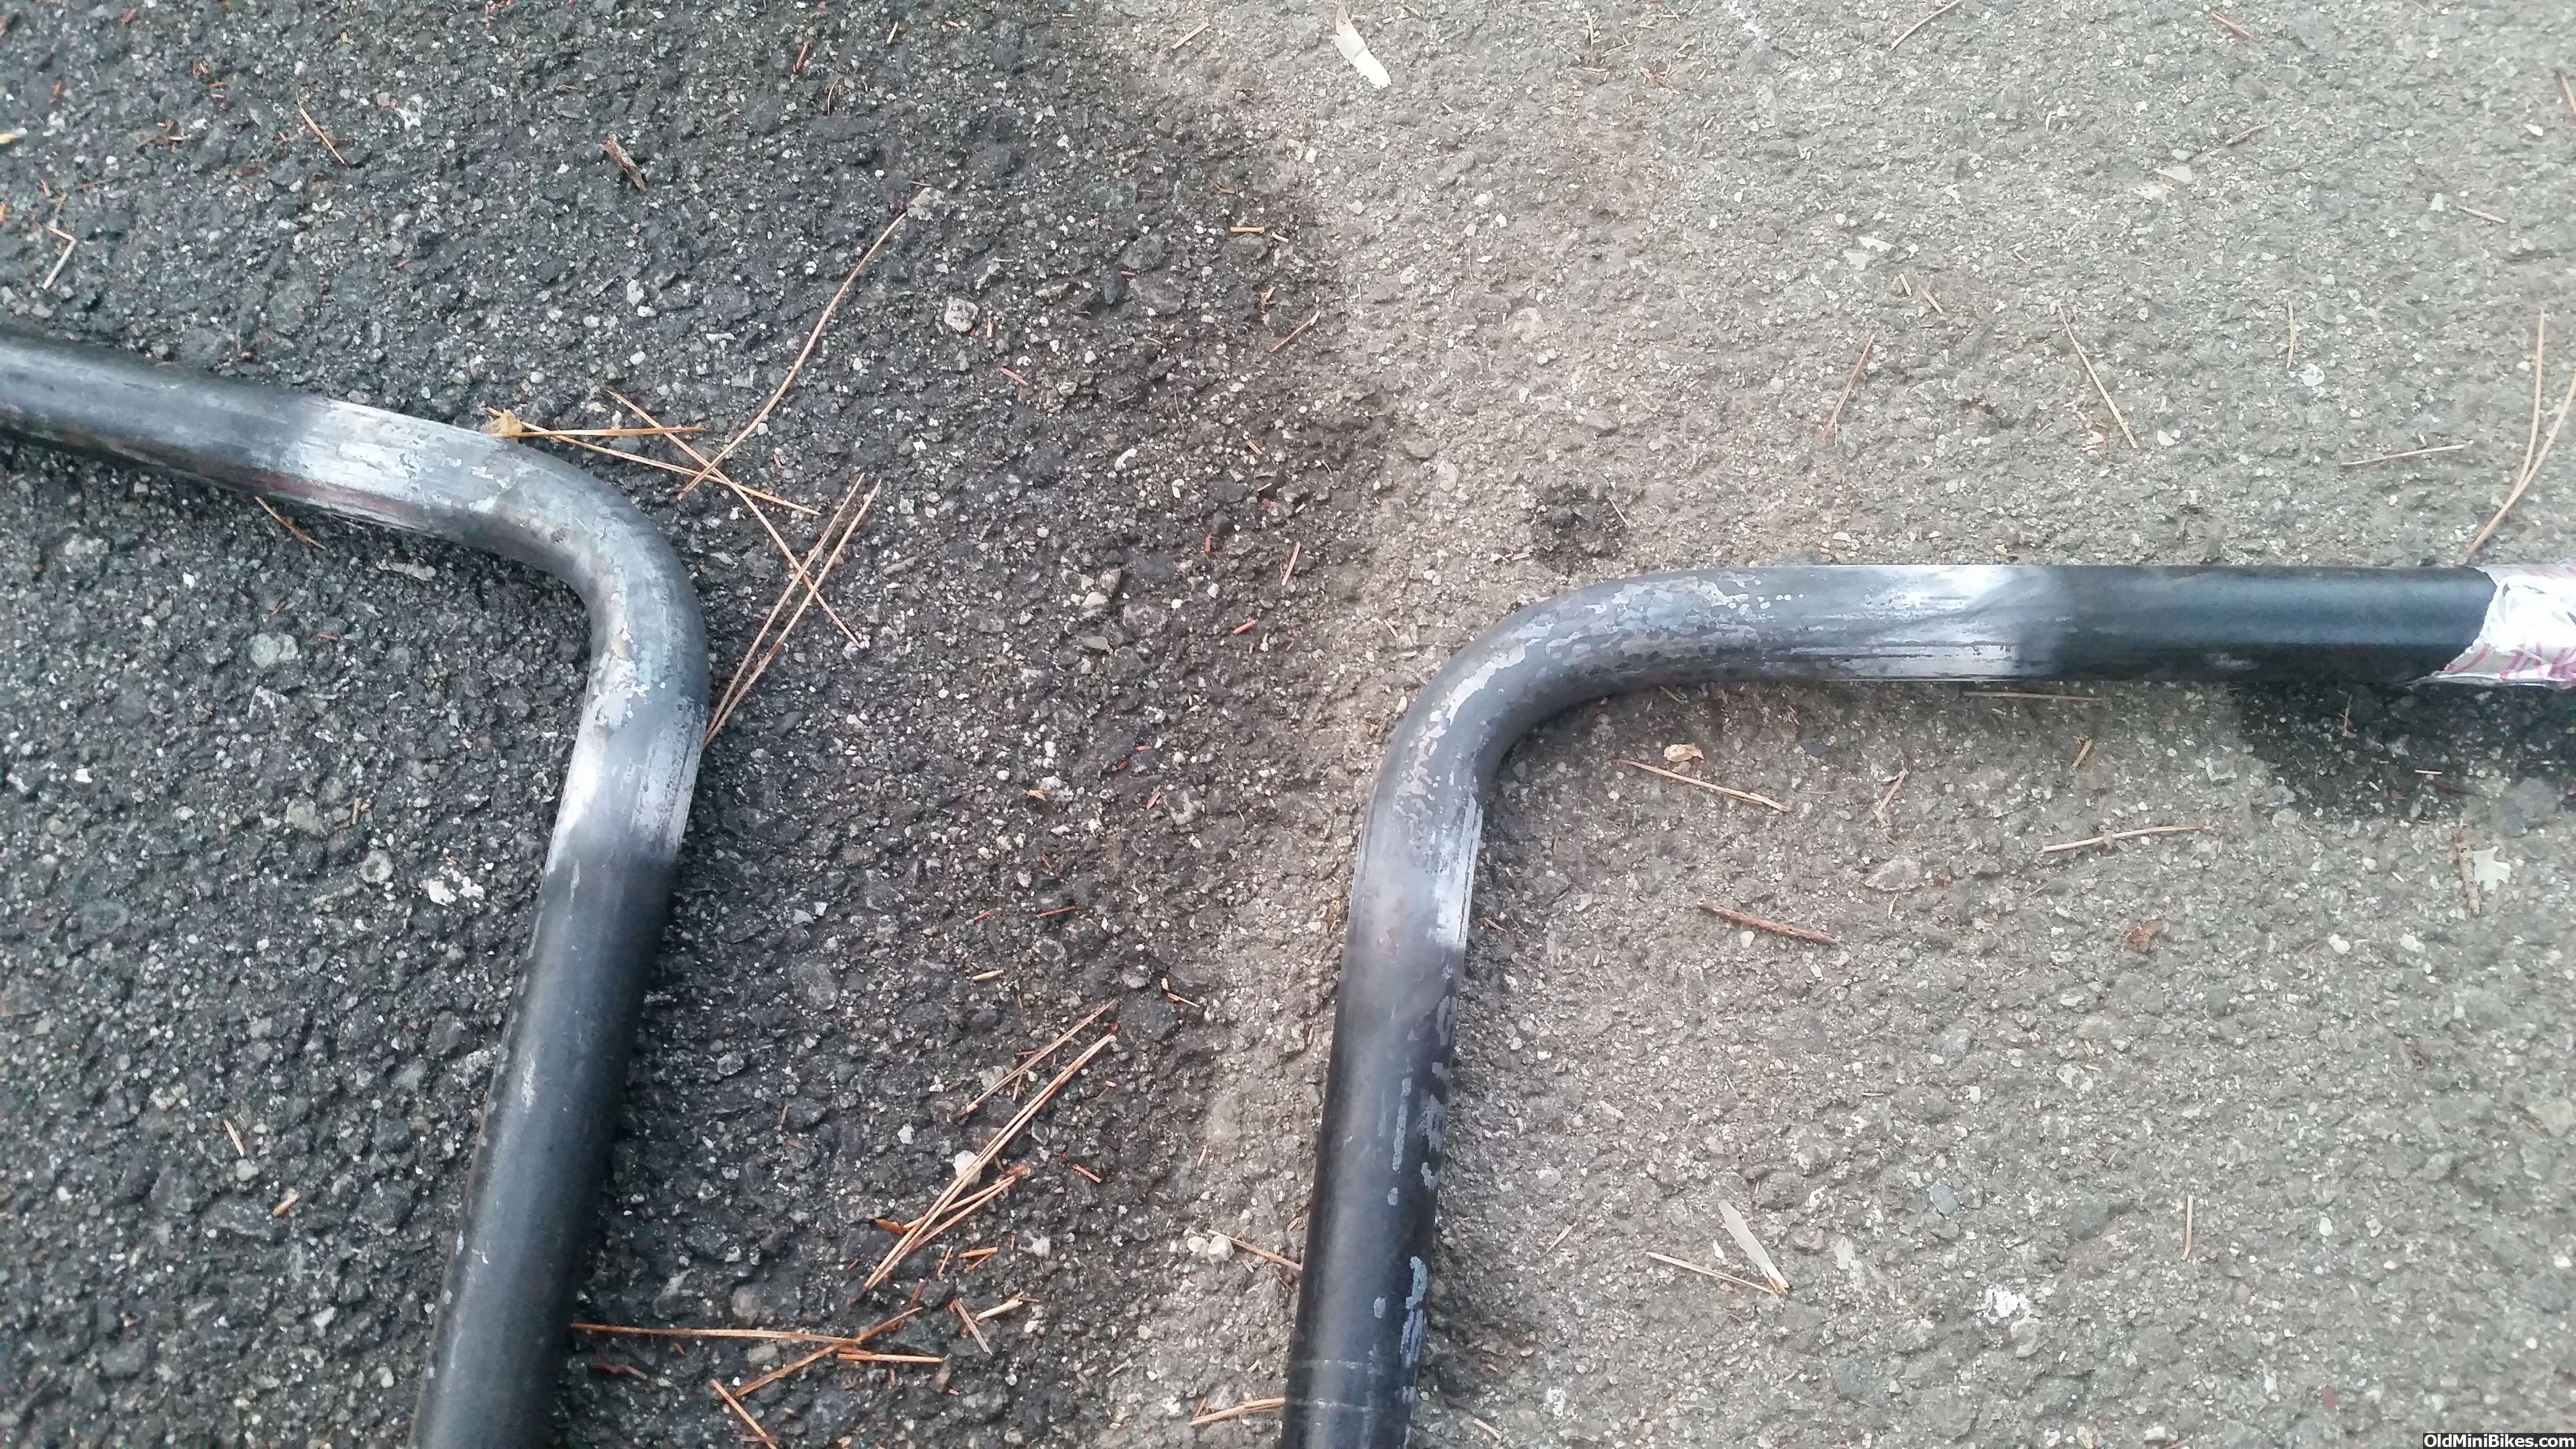
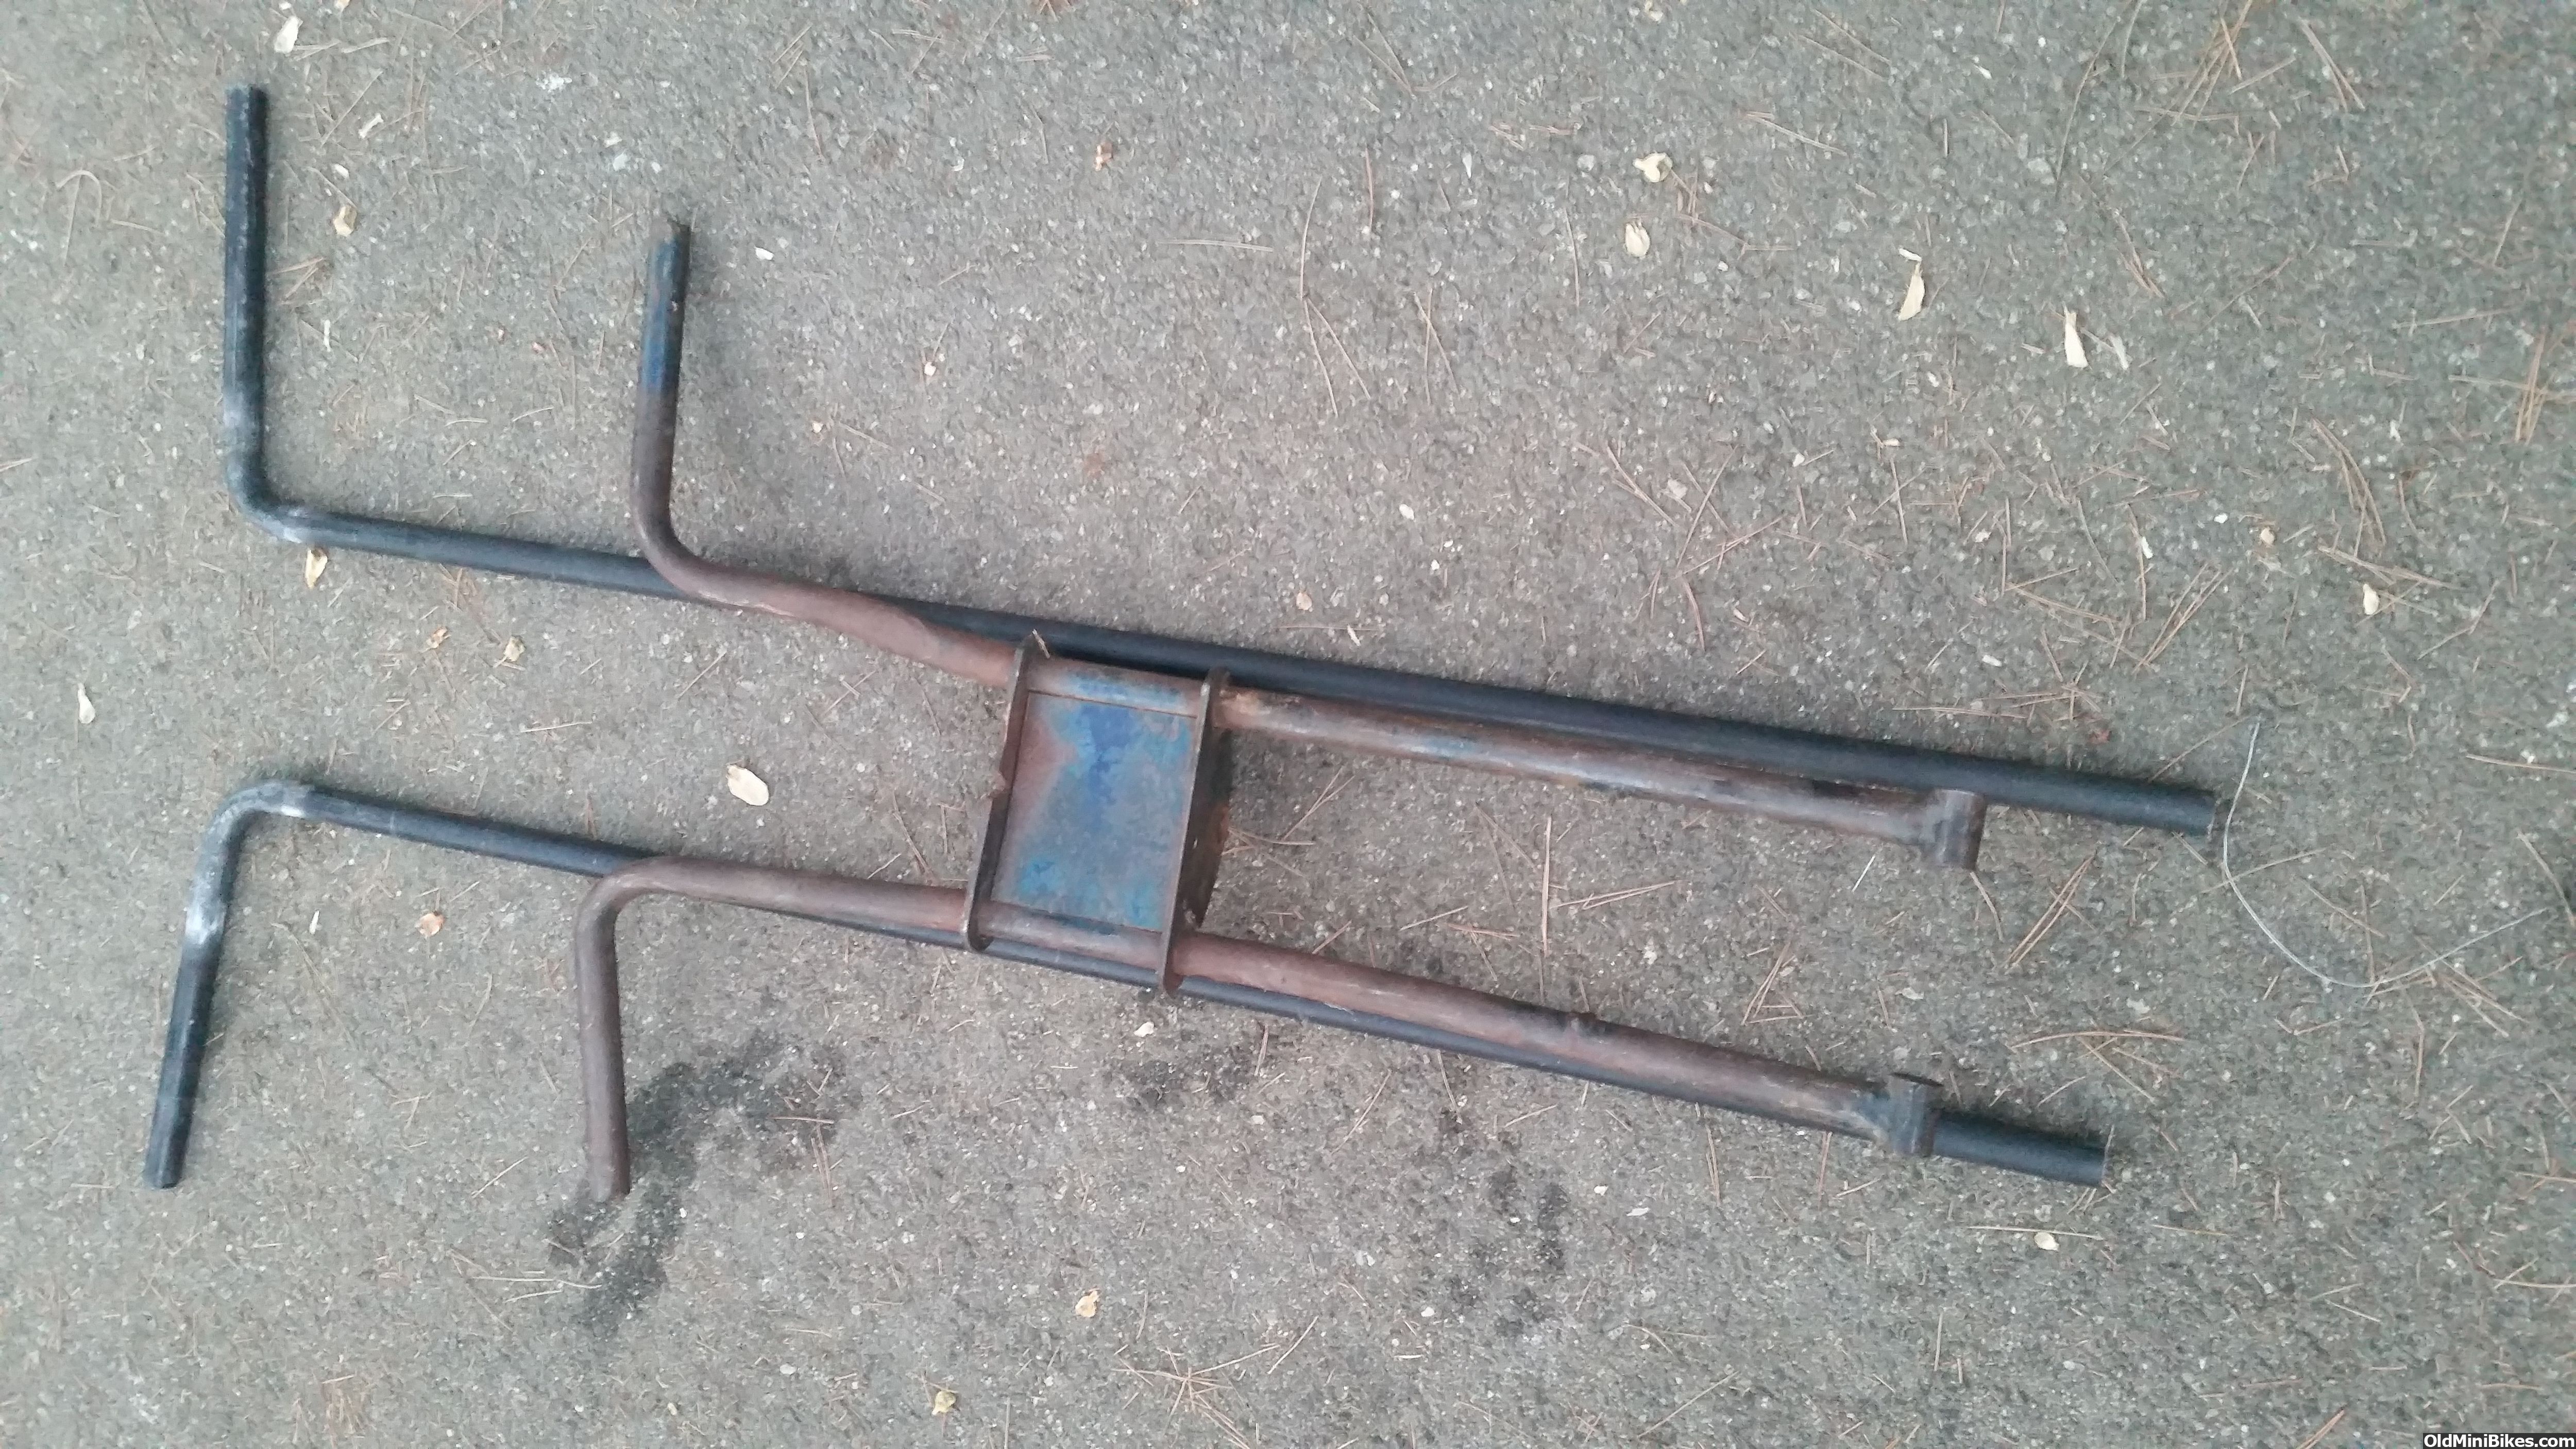
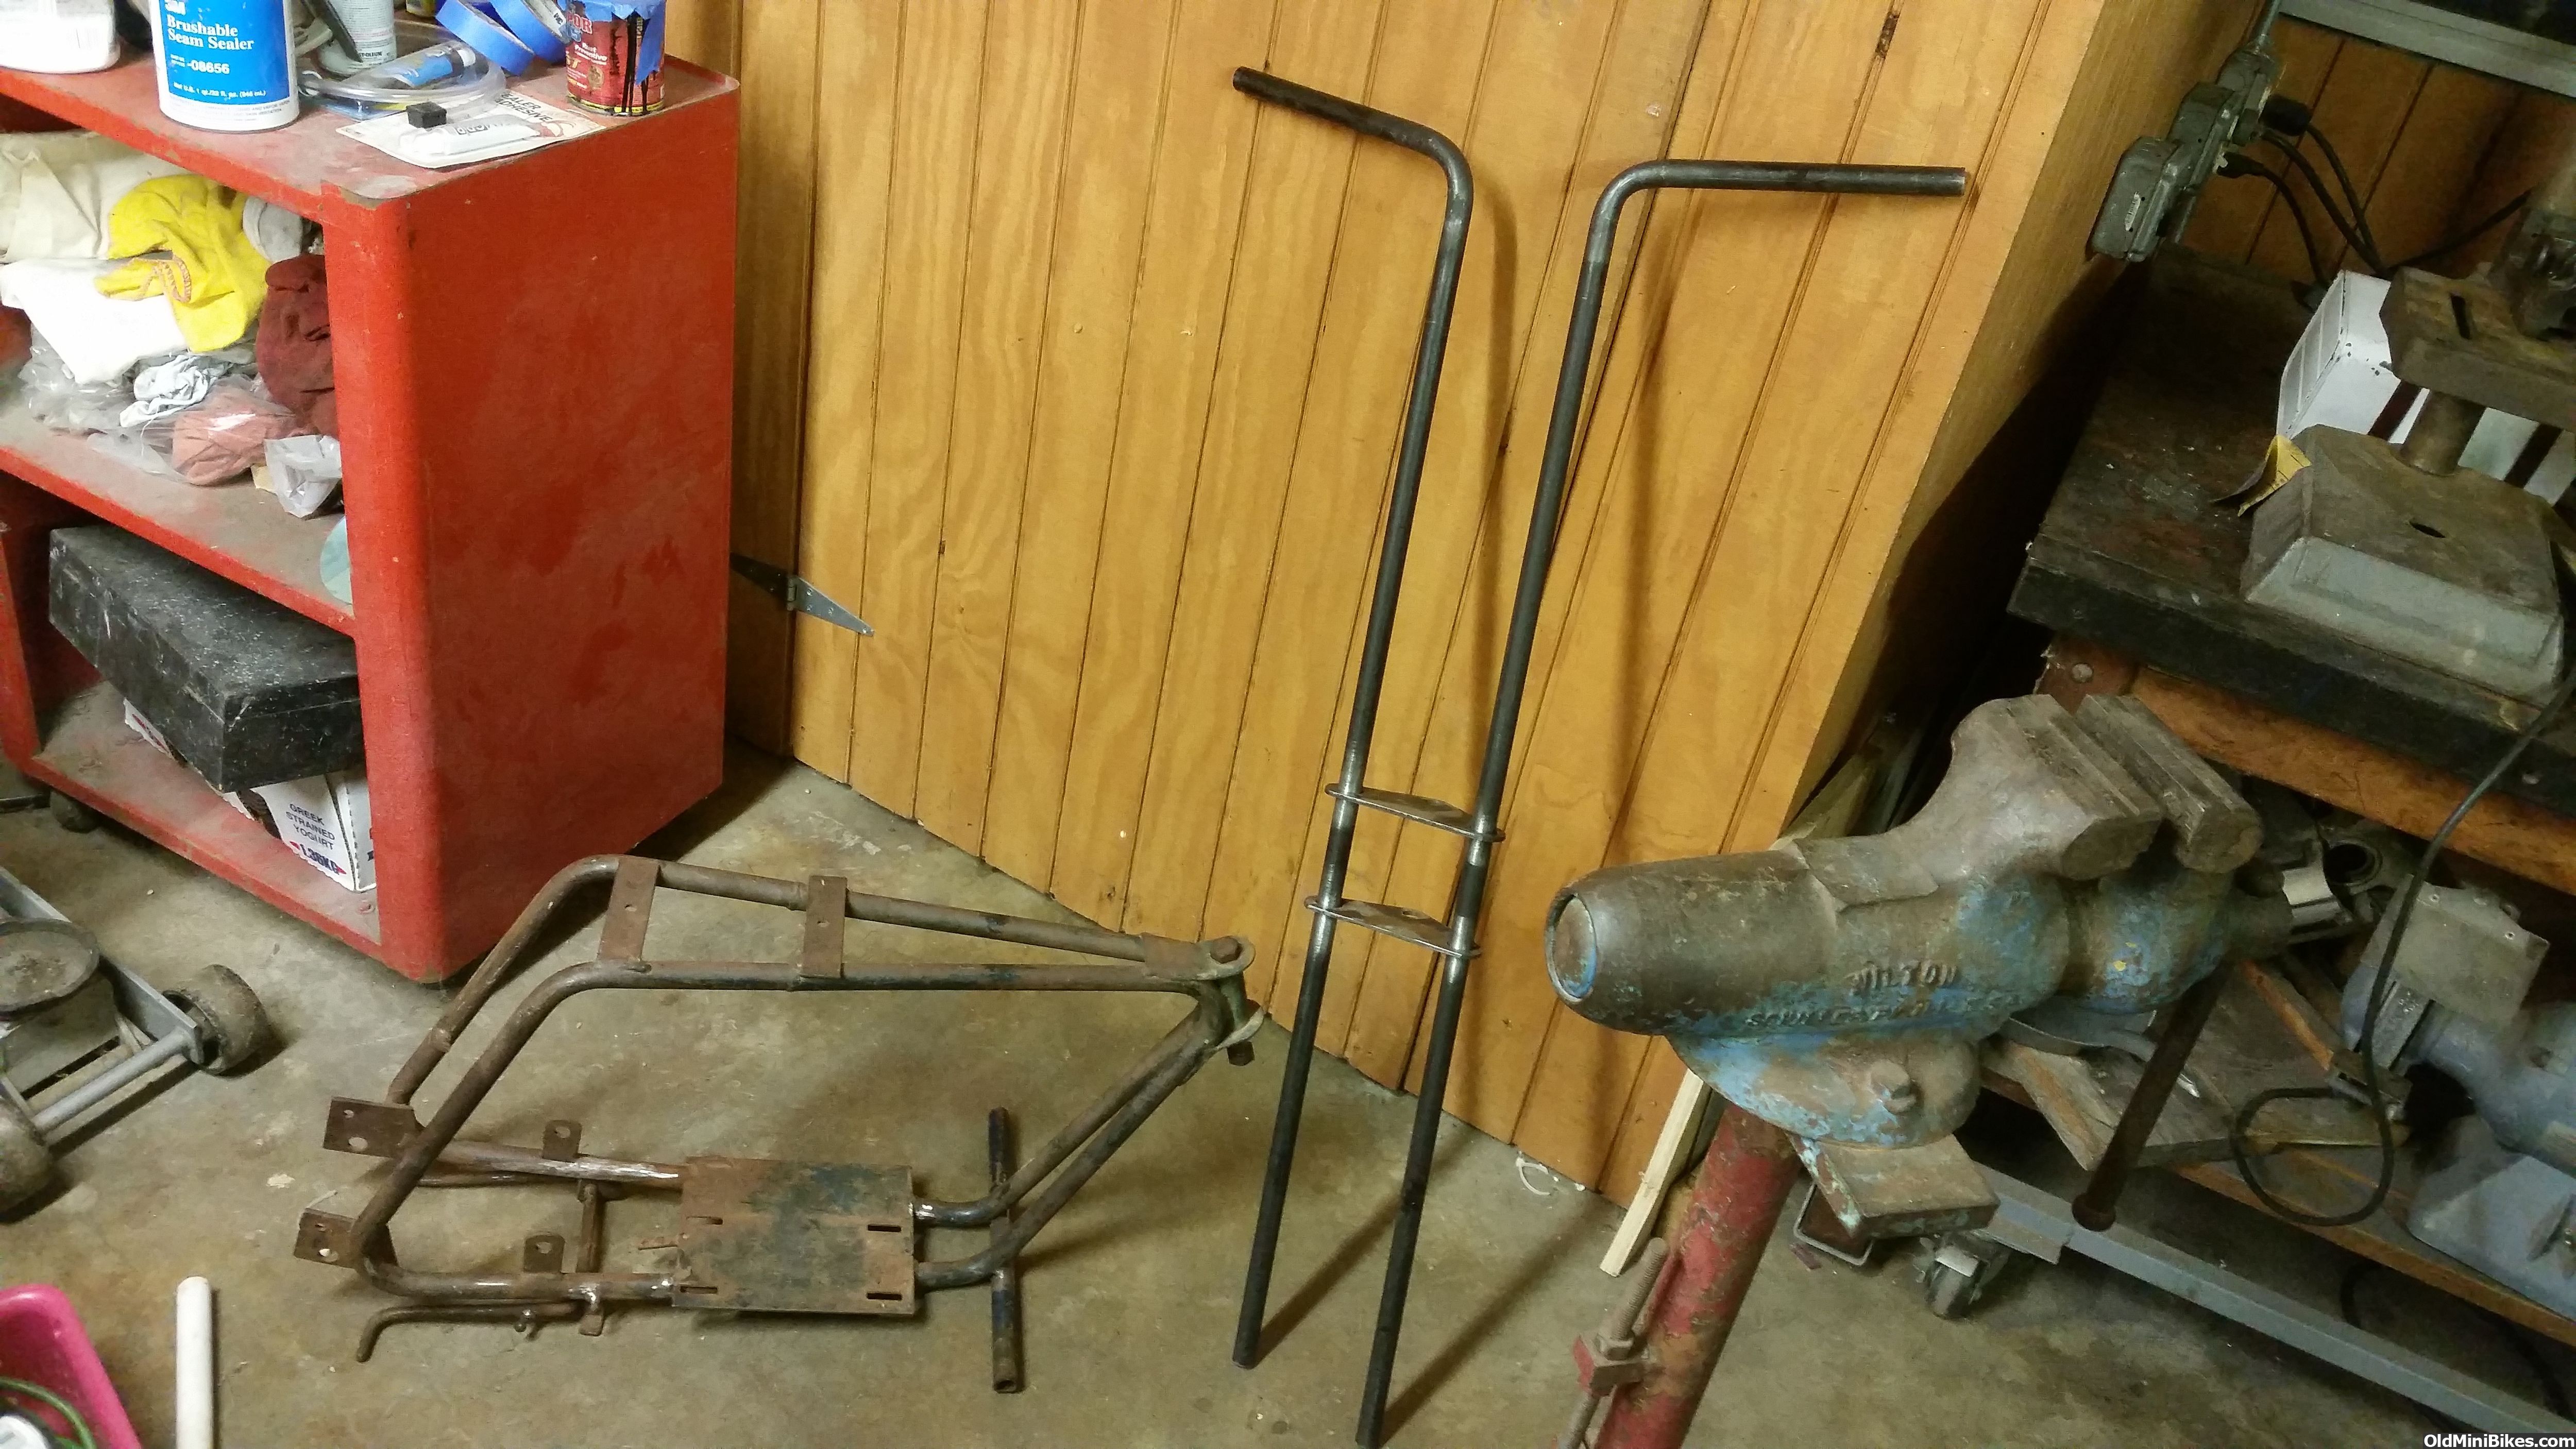
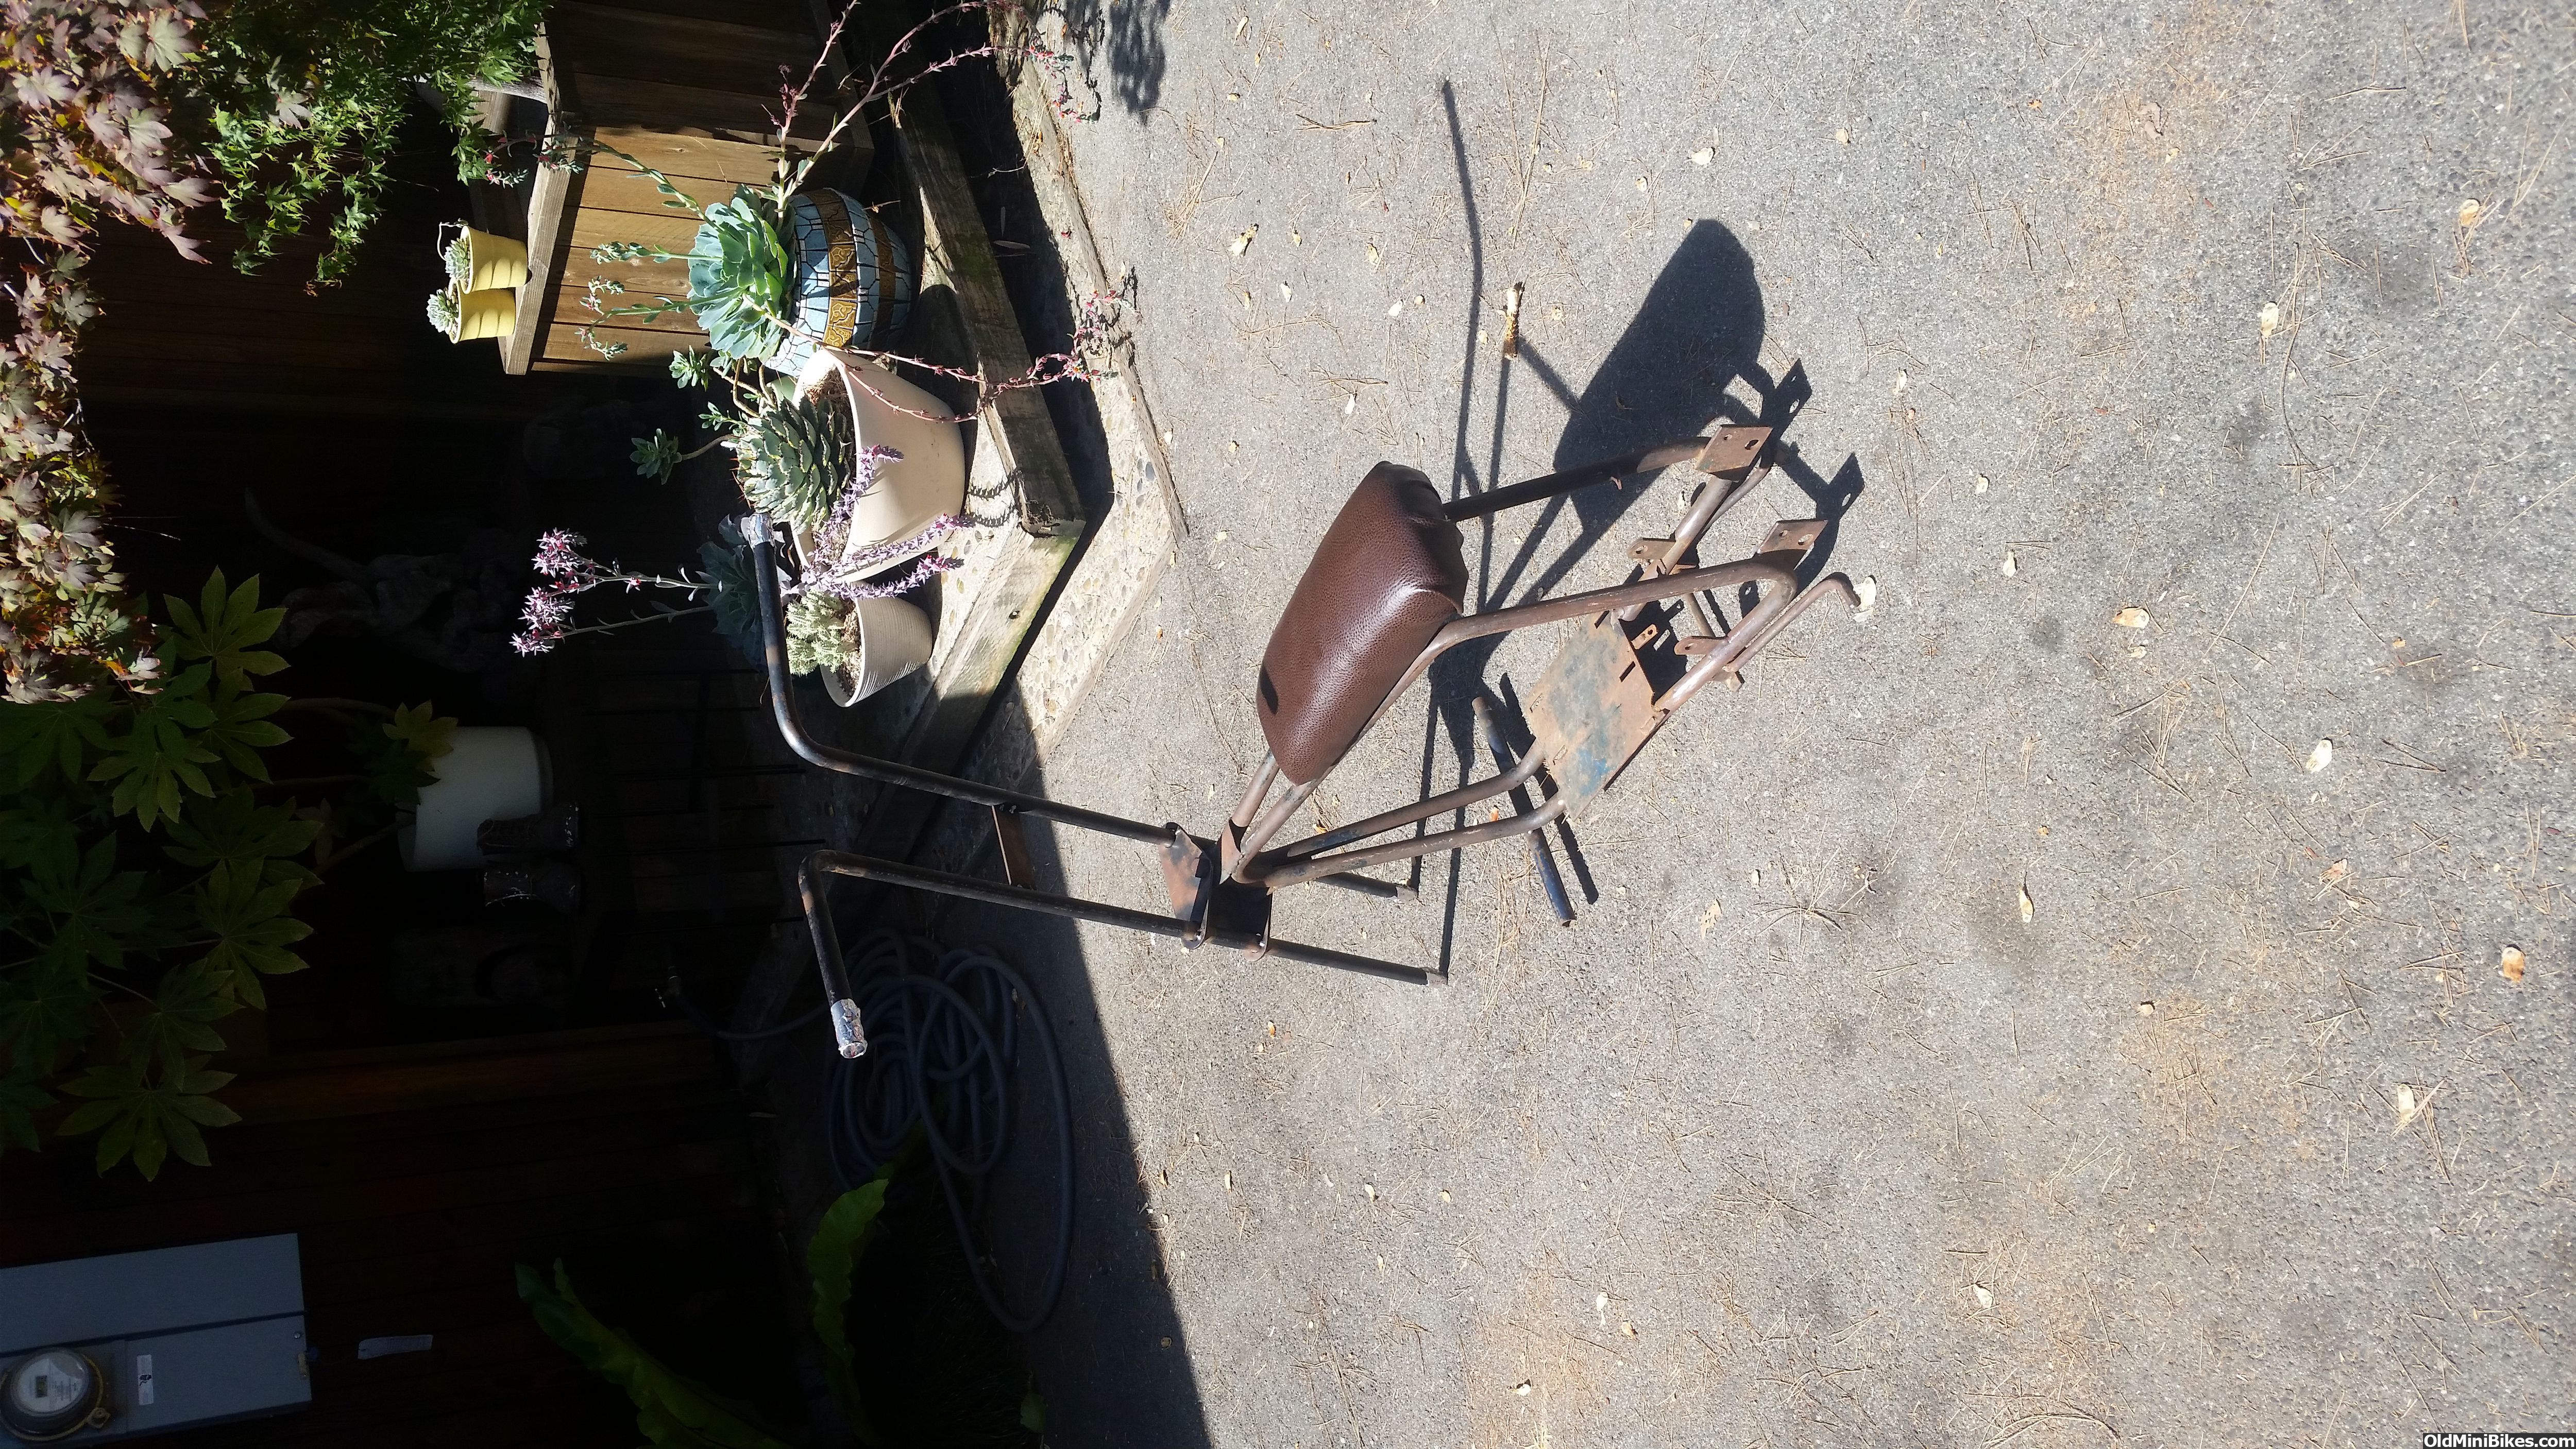
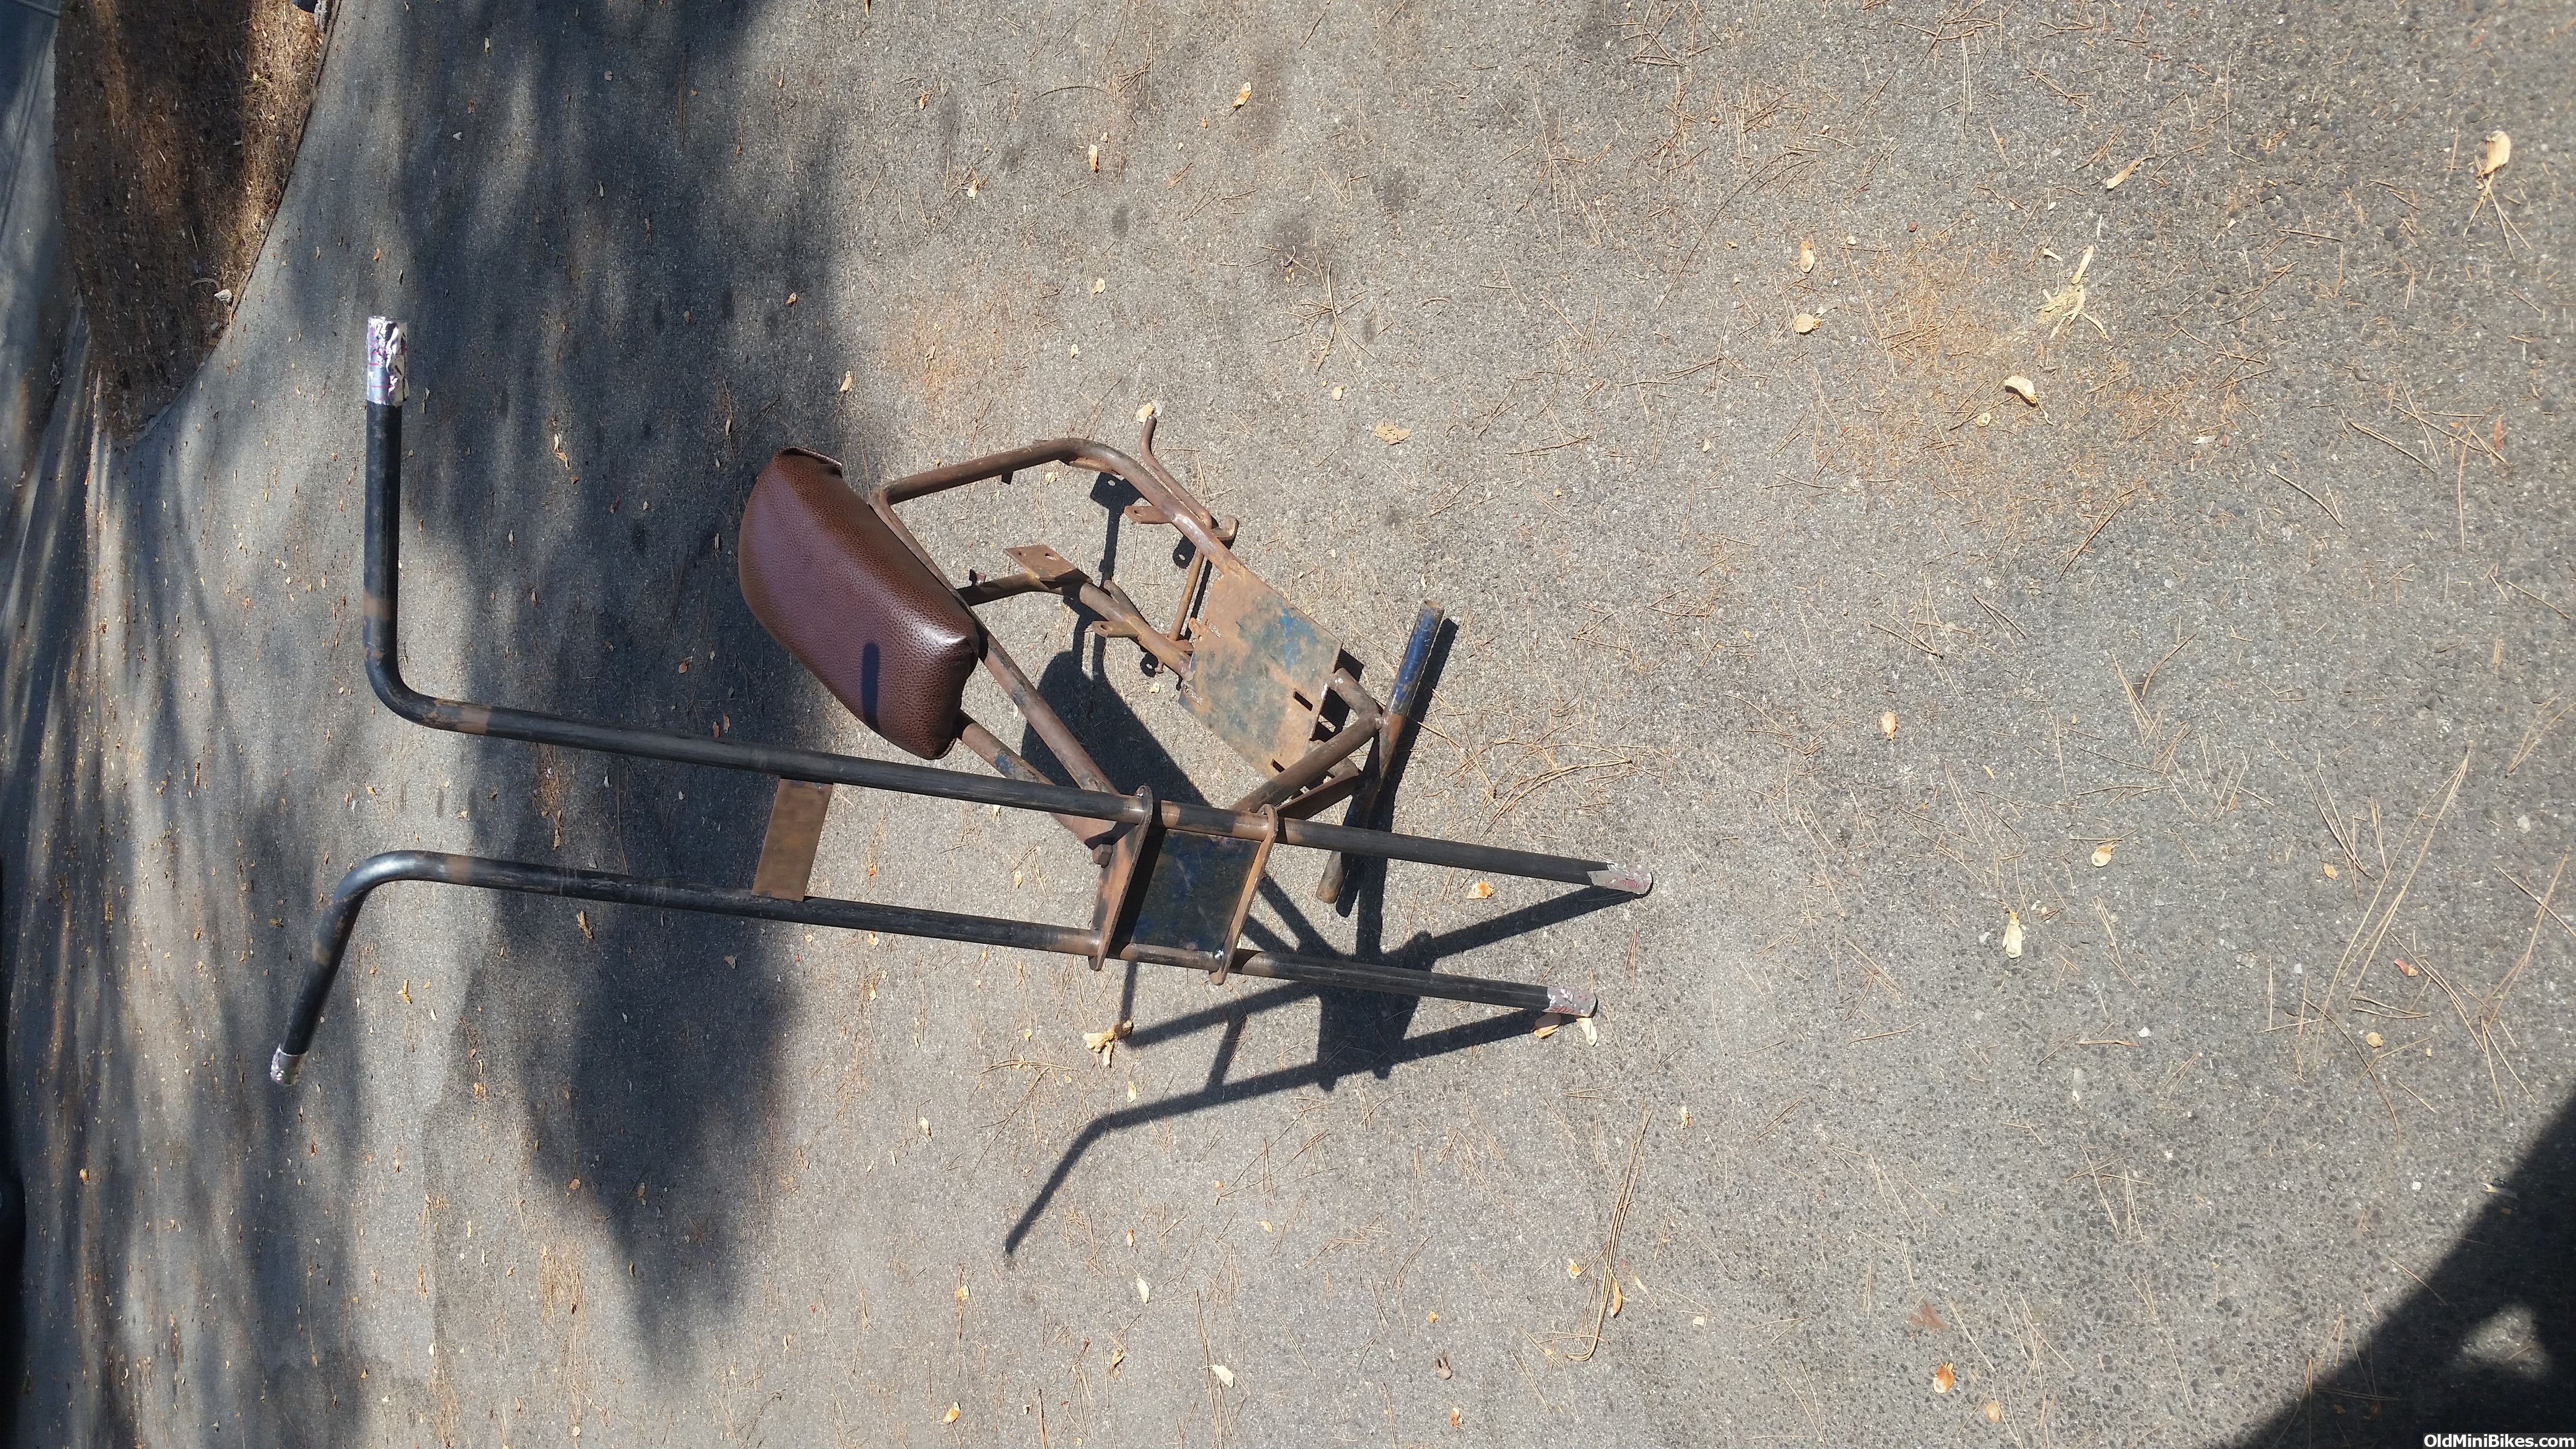
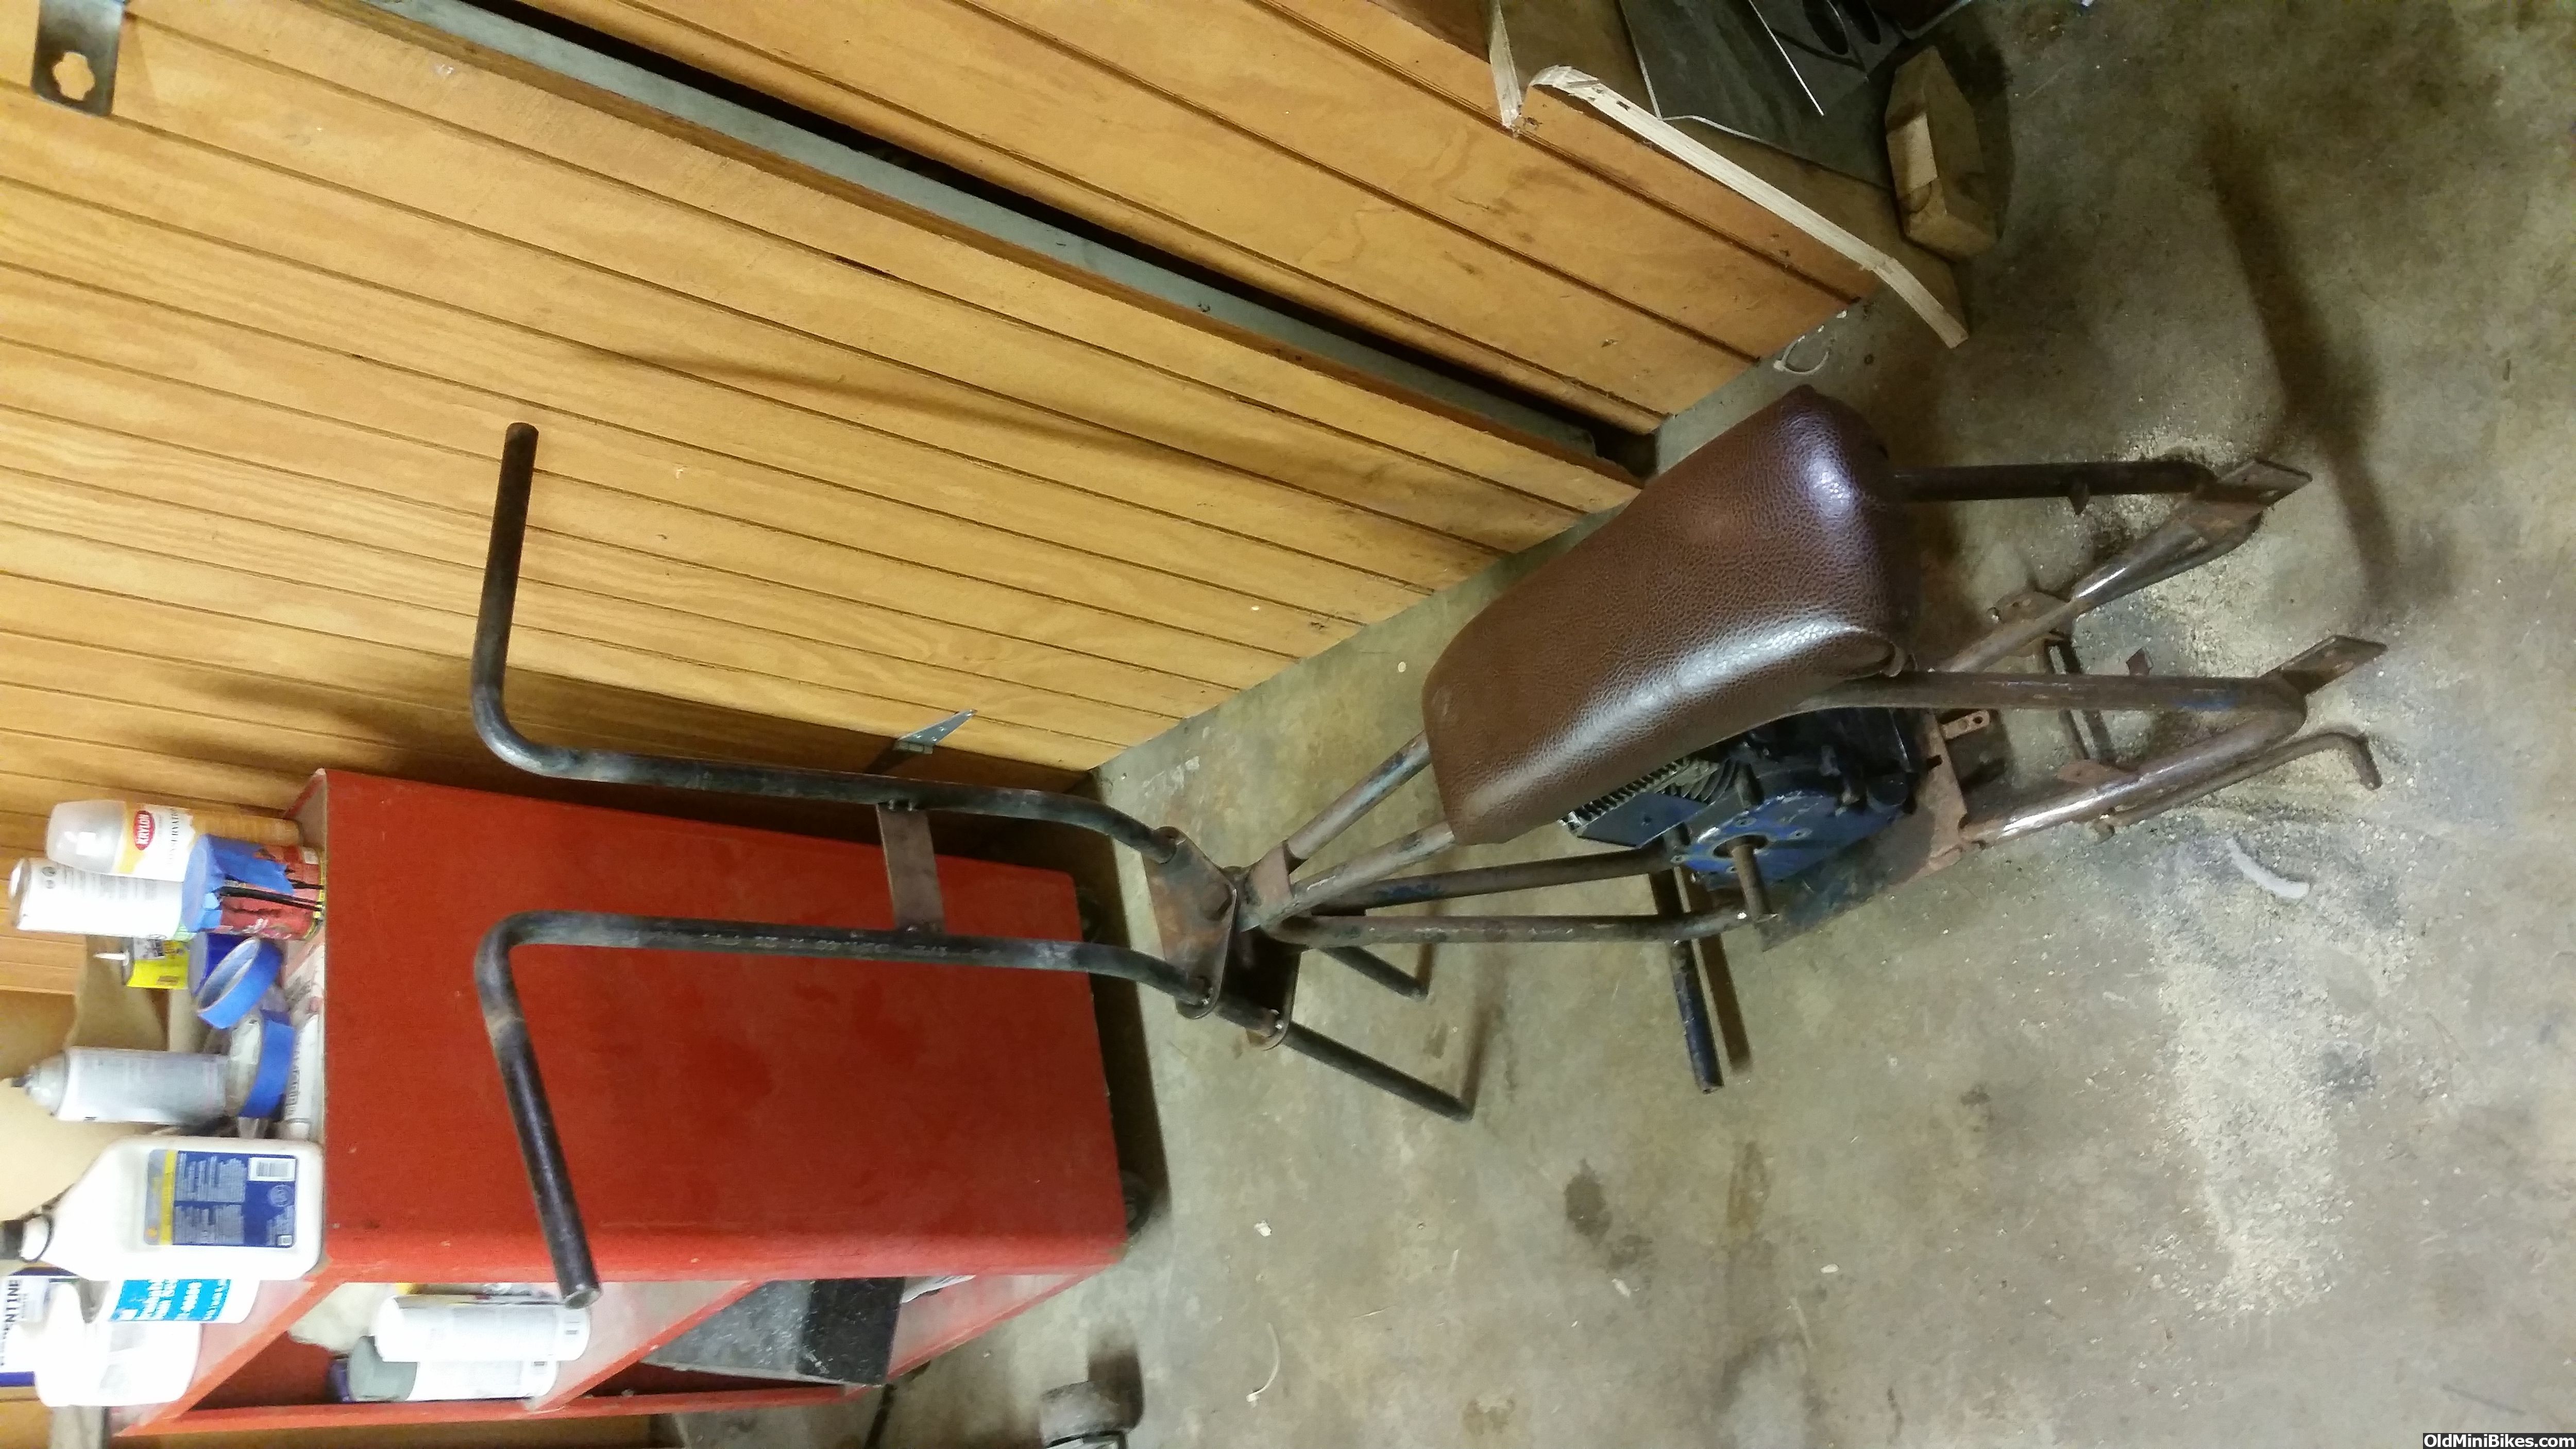
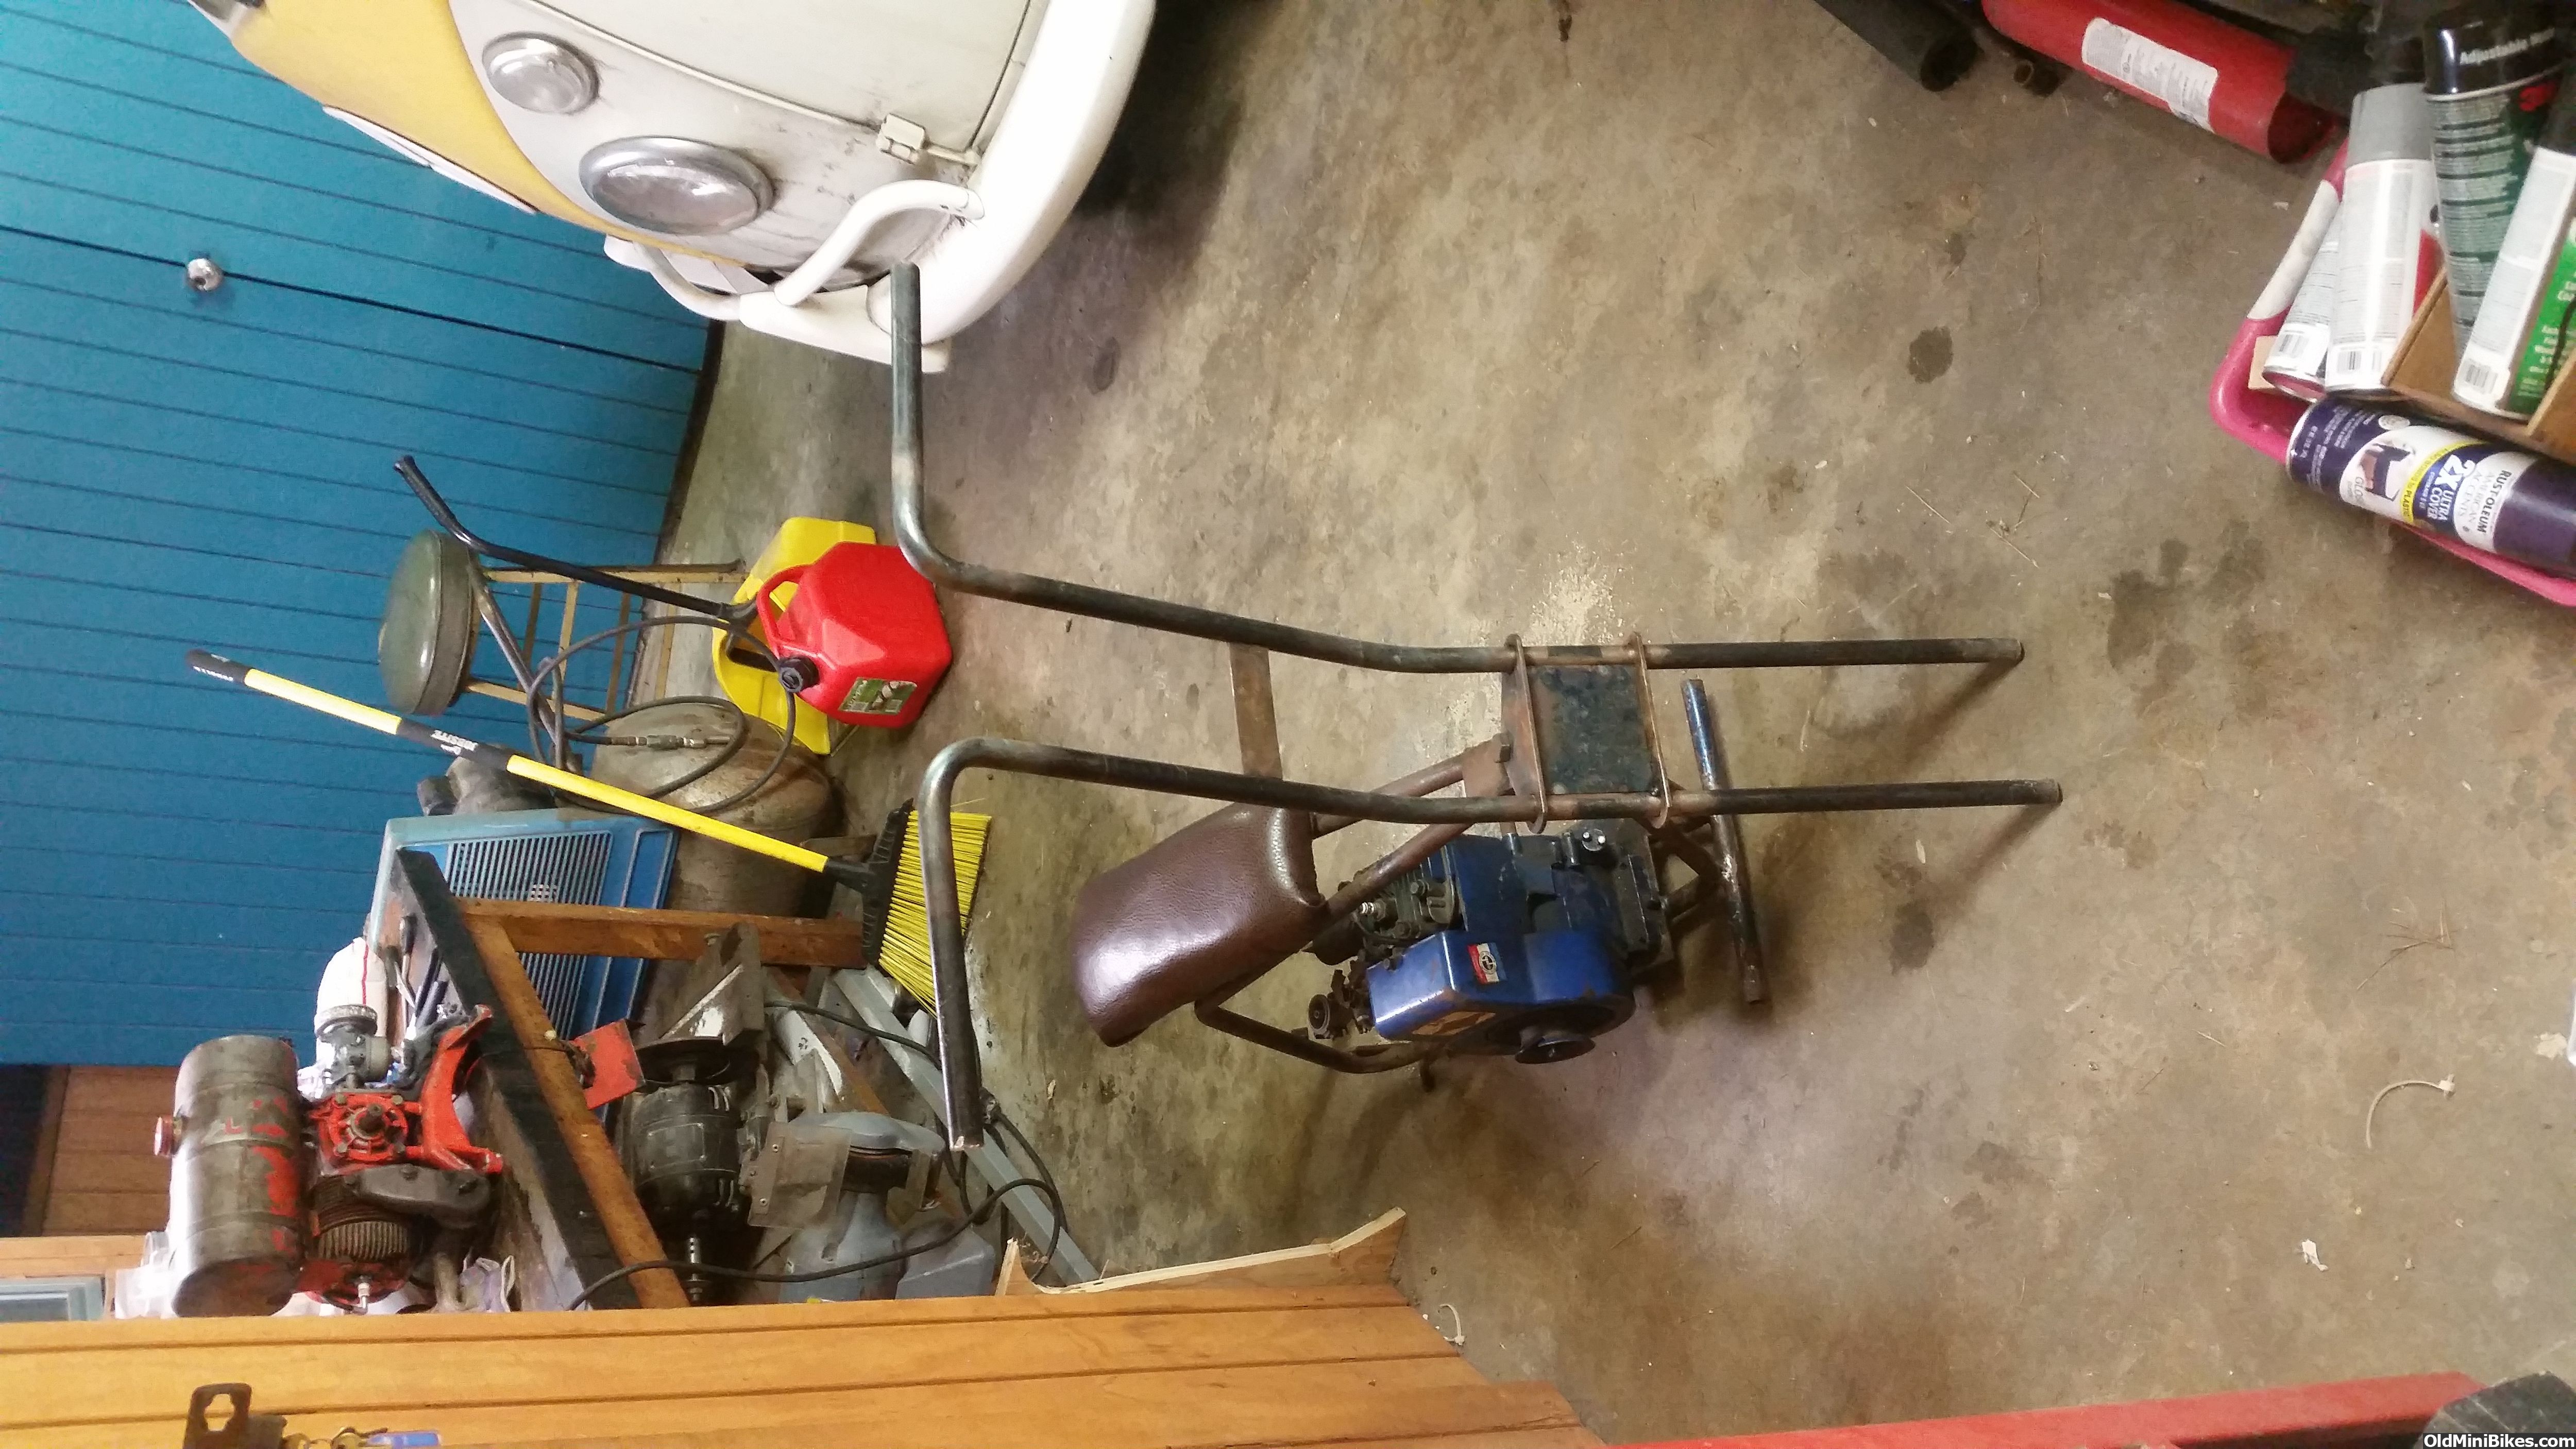
I recently picked up this mini bike frame for 30 bucks at a local motorcycle swap meet. It has issues, mainly the front fork is bent beyond repair. The main frame is straight but the kickstand is bent up, missing the scrub brake, the front fender mount missing, the rear one broken, and there is a large gouge in the tubing in one spot on the bottom of the frame (caused by a chain malfunction.) It is pretty messed up... possibly was involved in a mini crash.


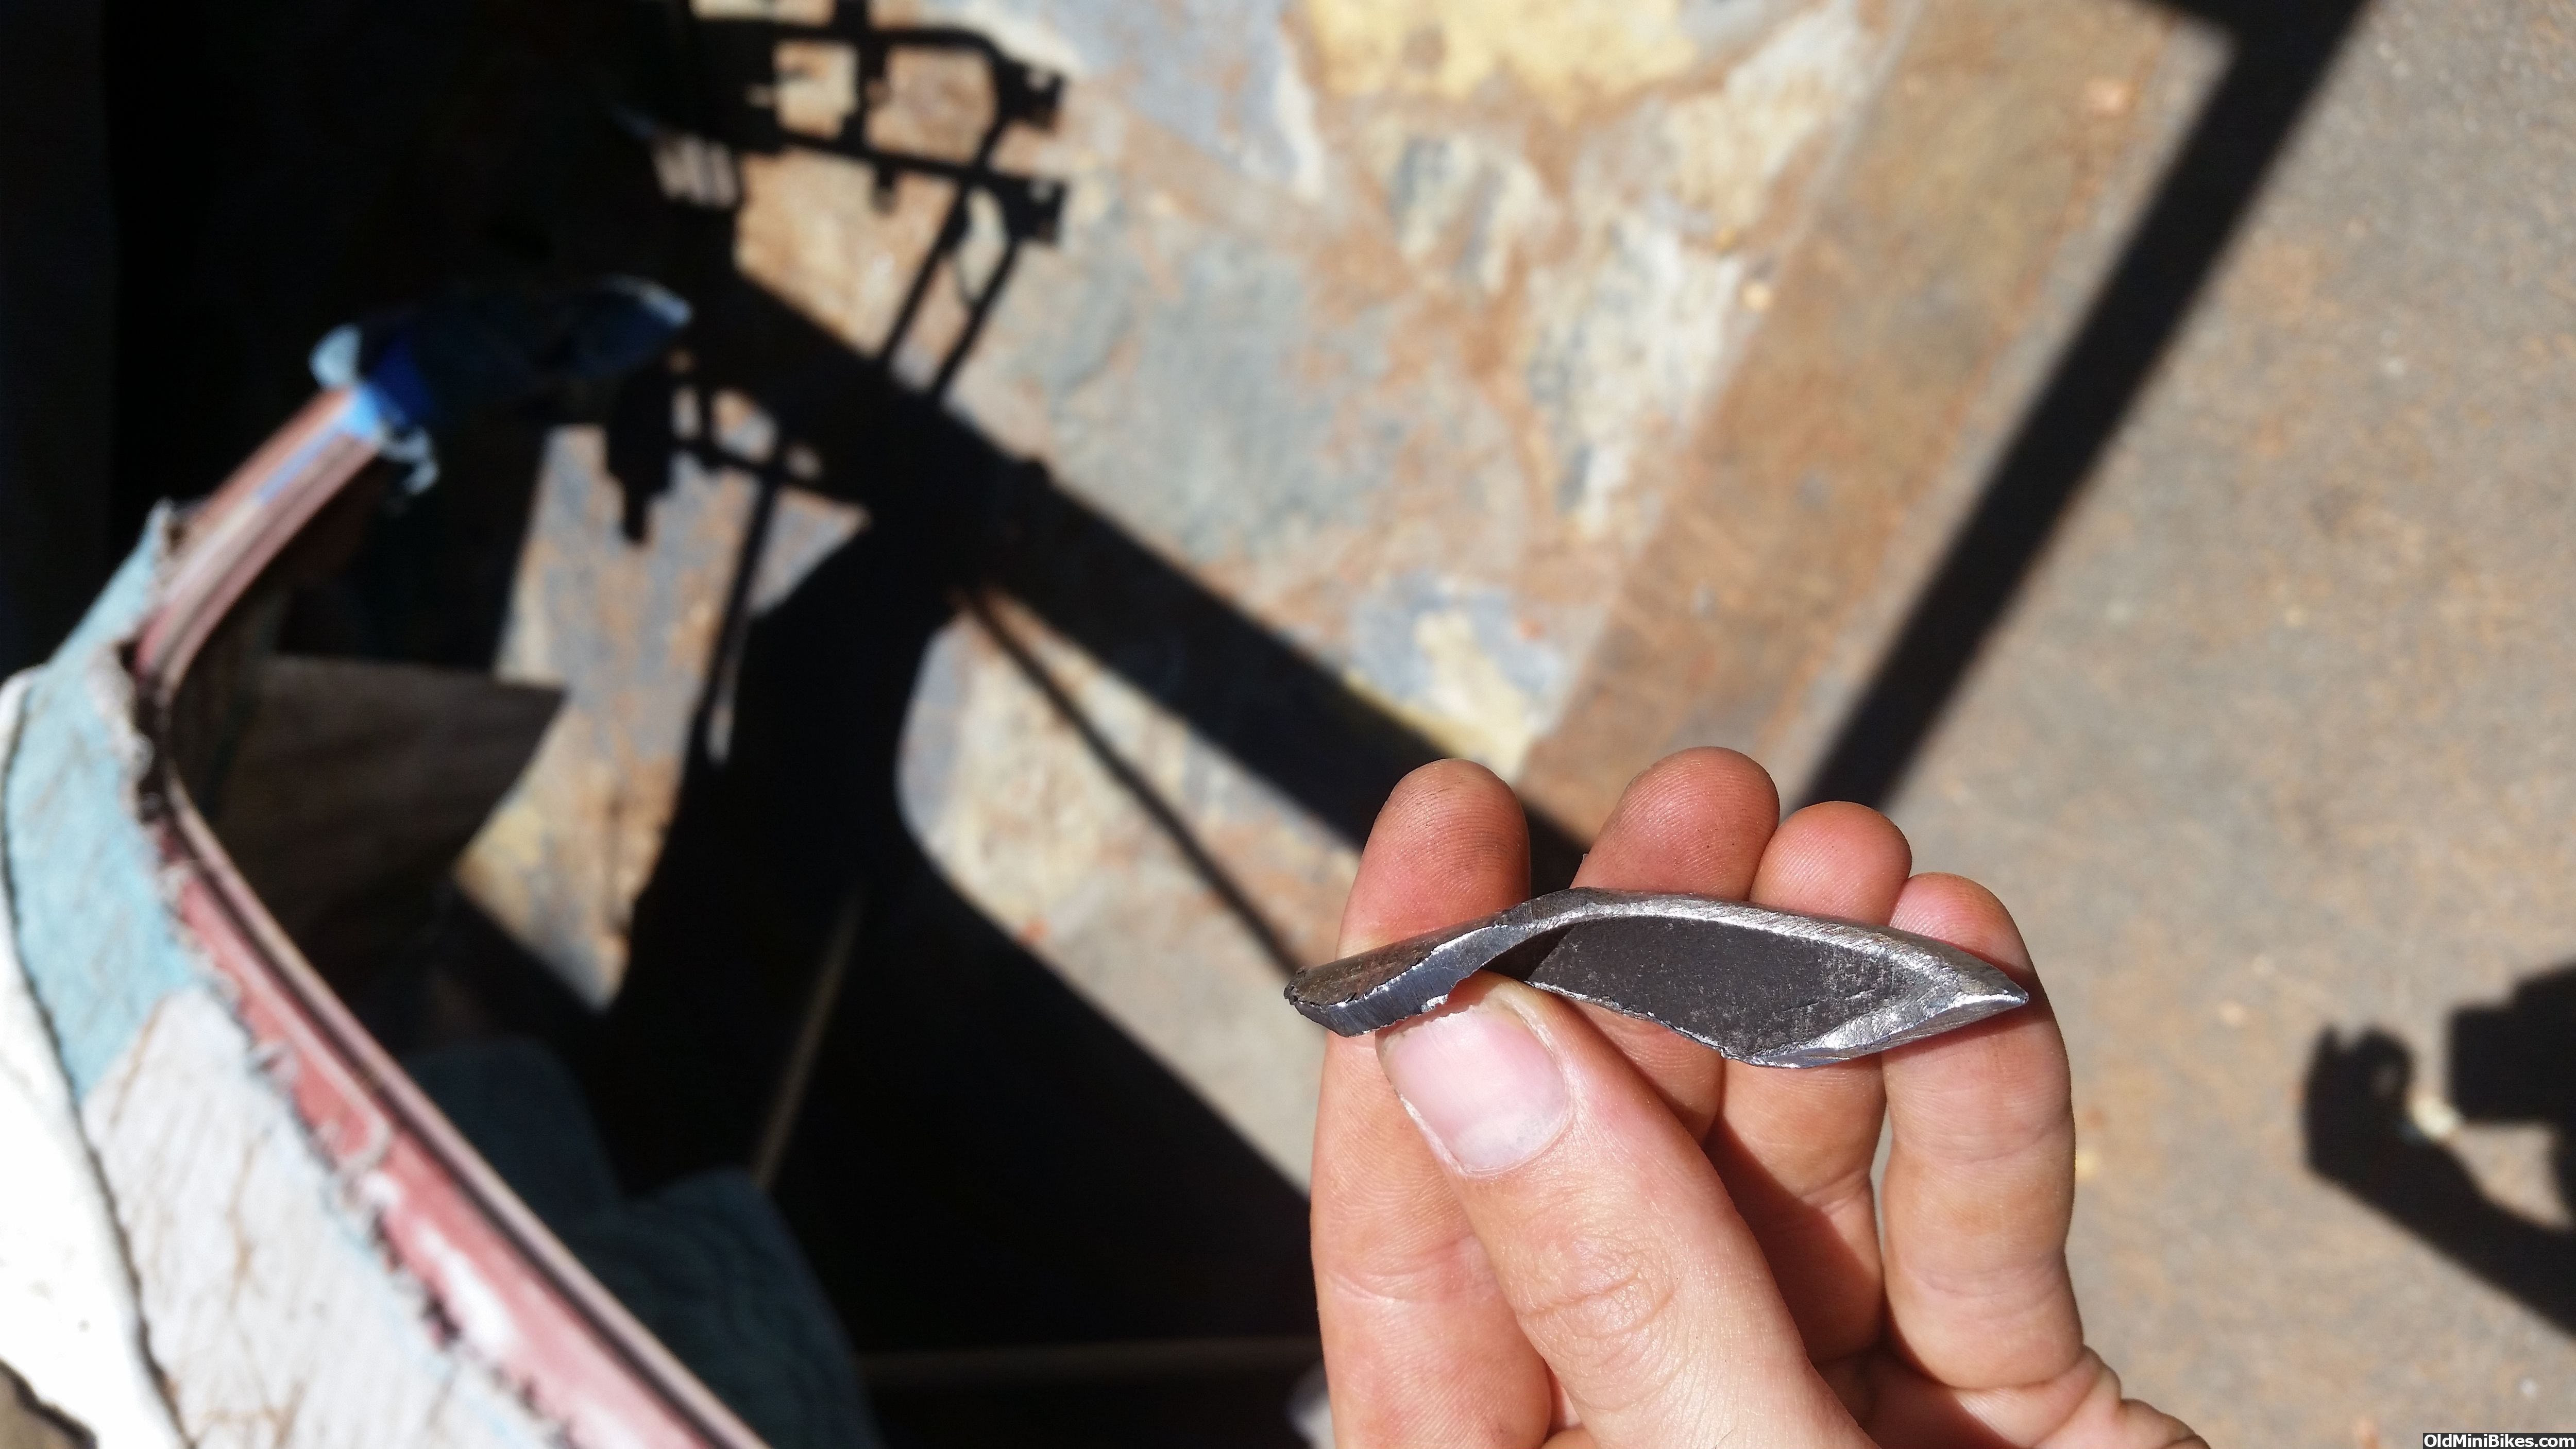
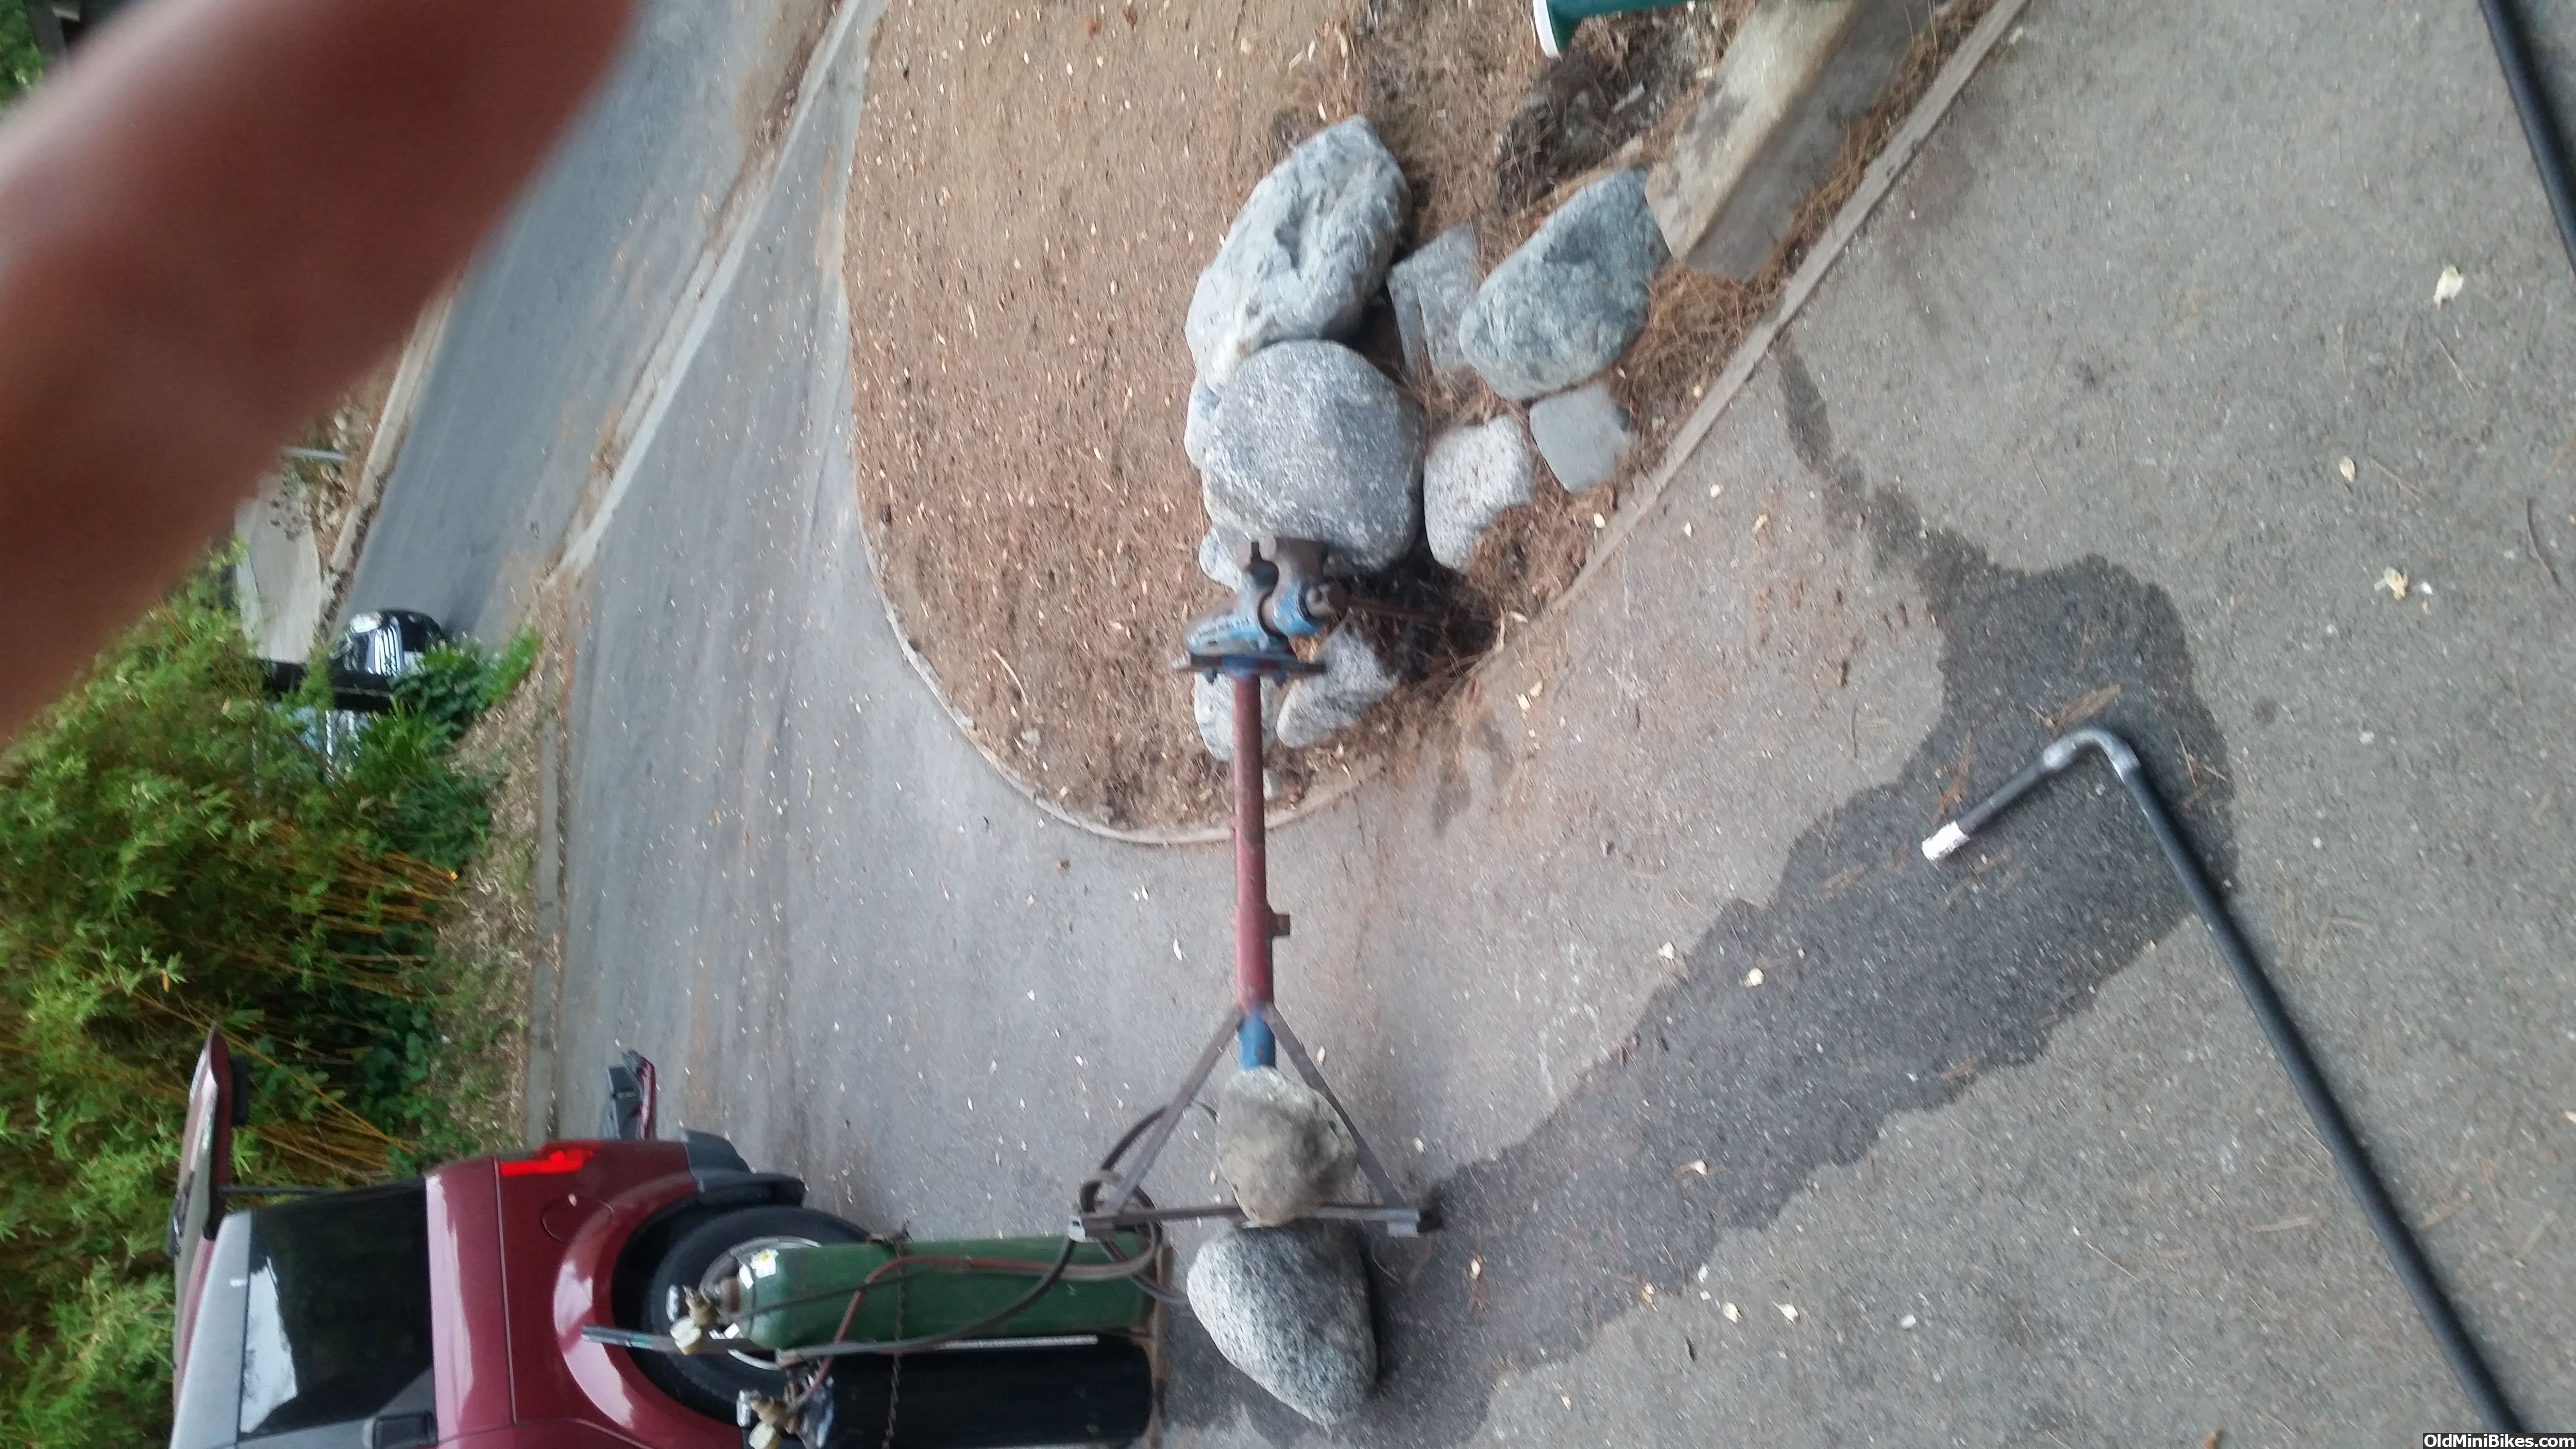
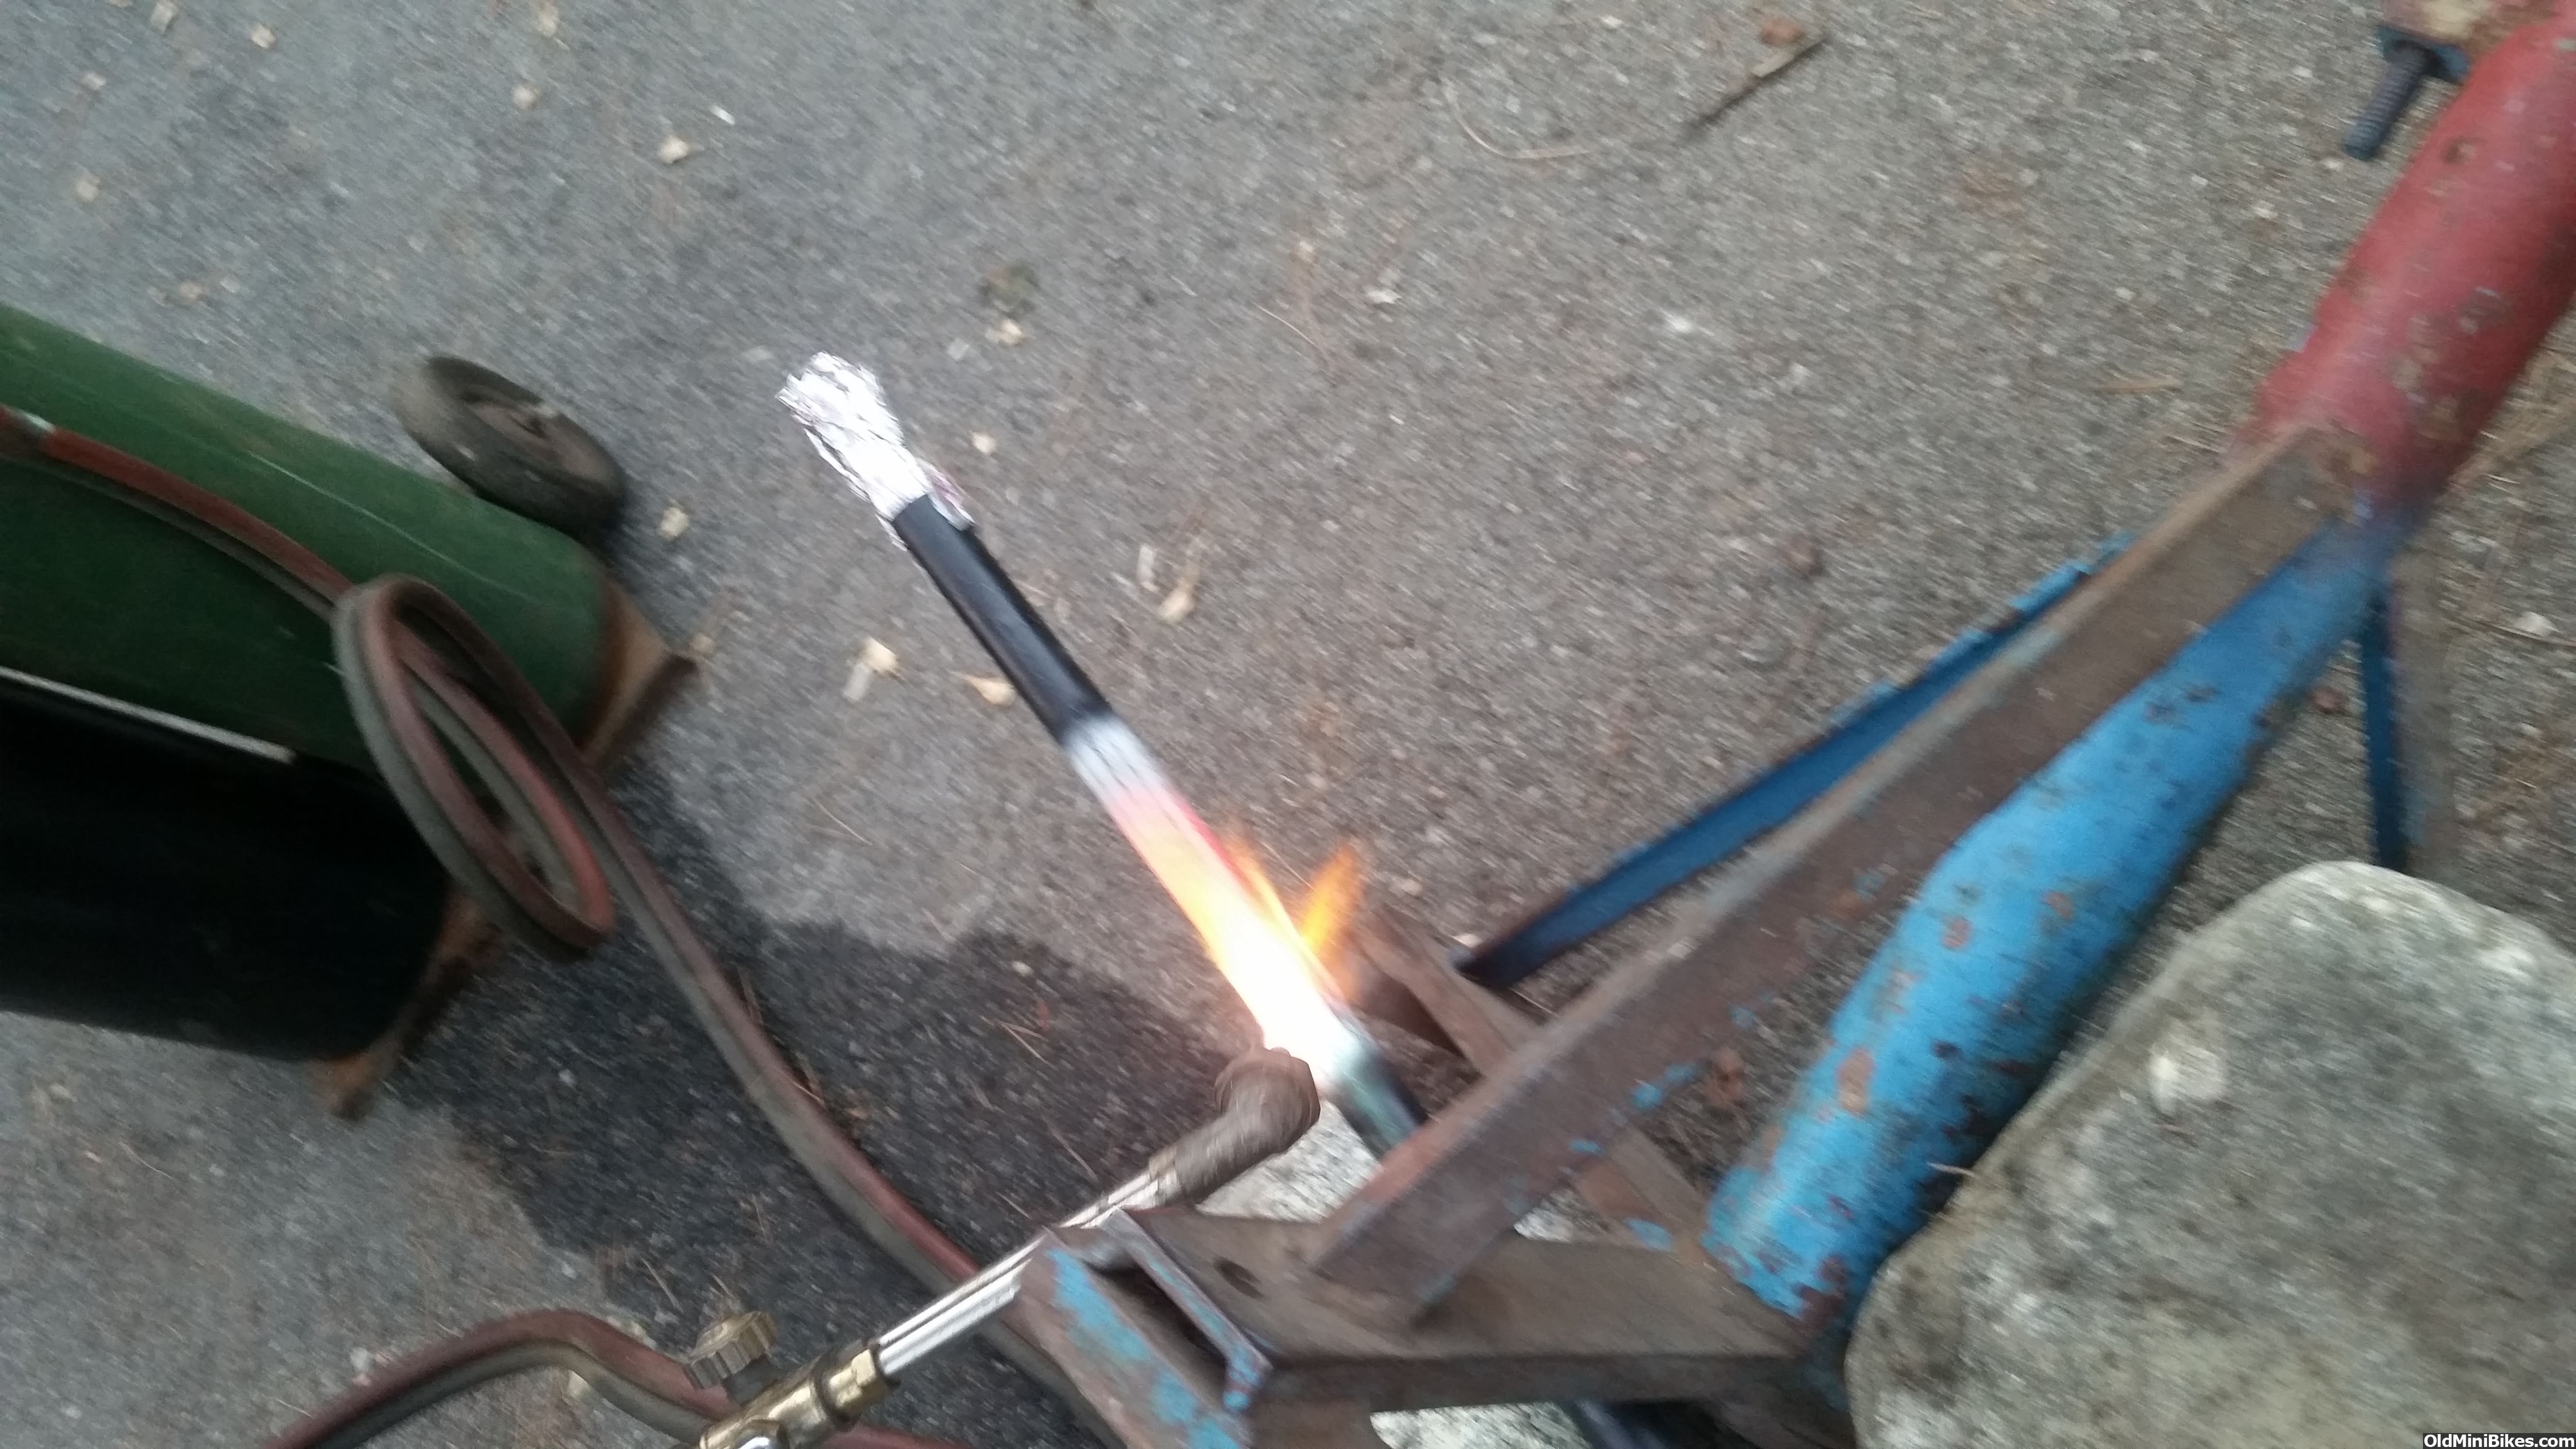
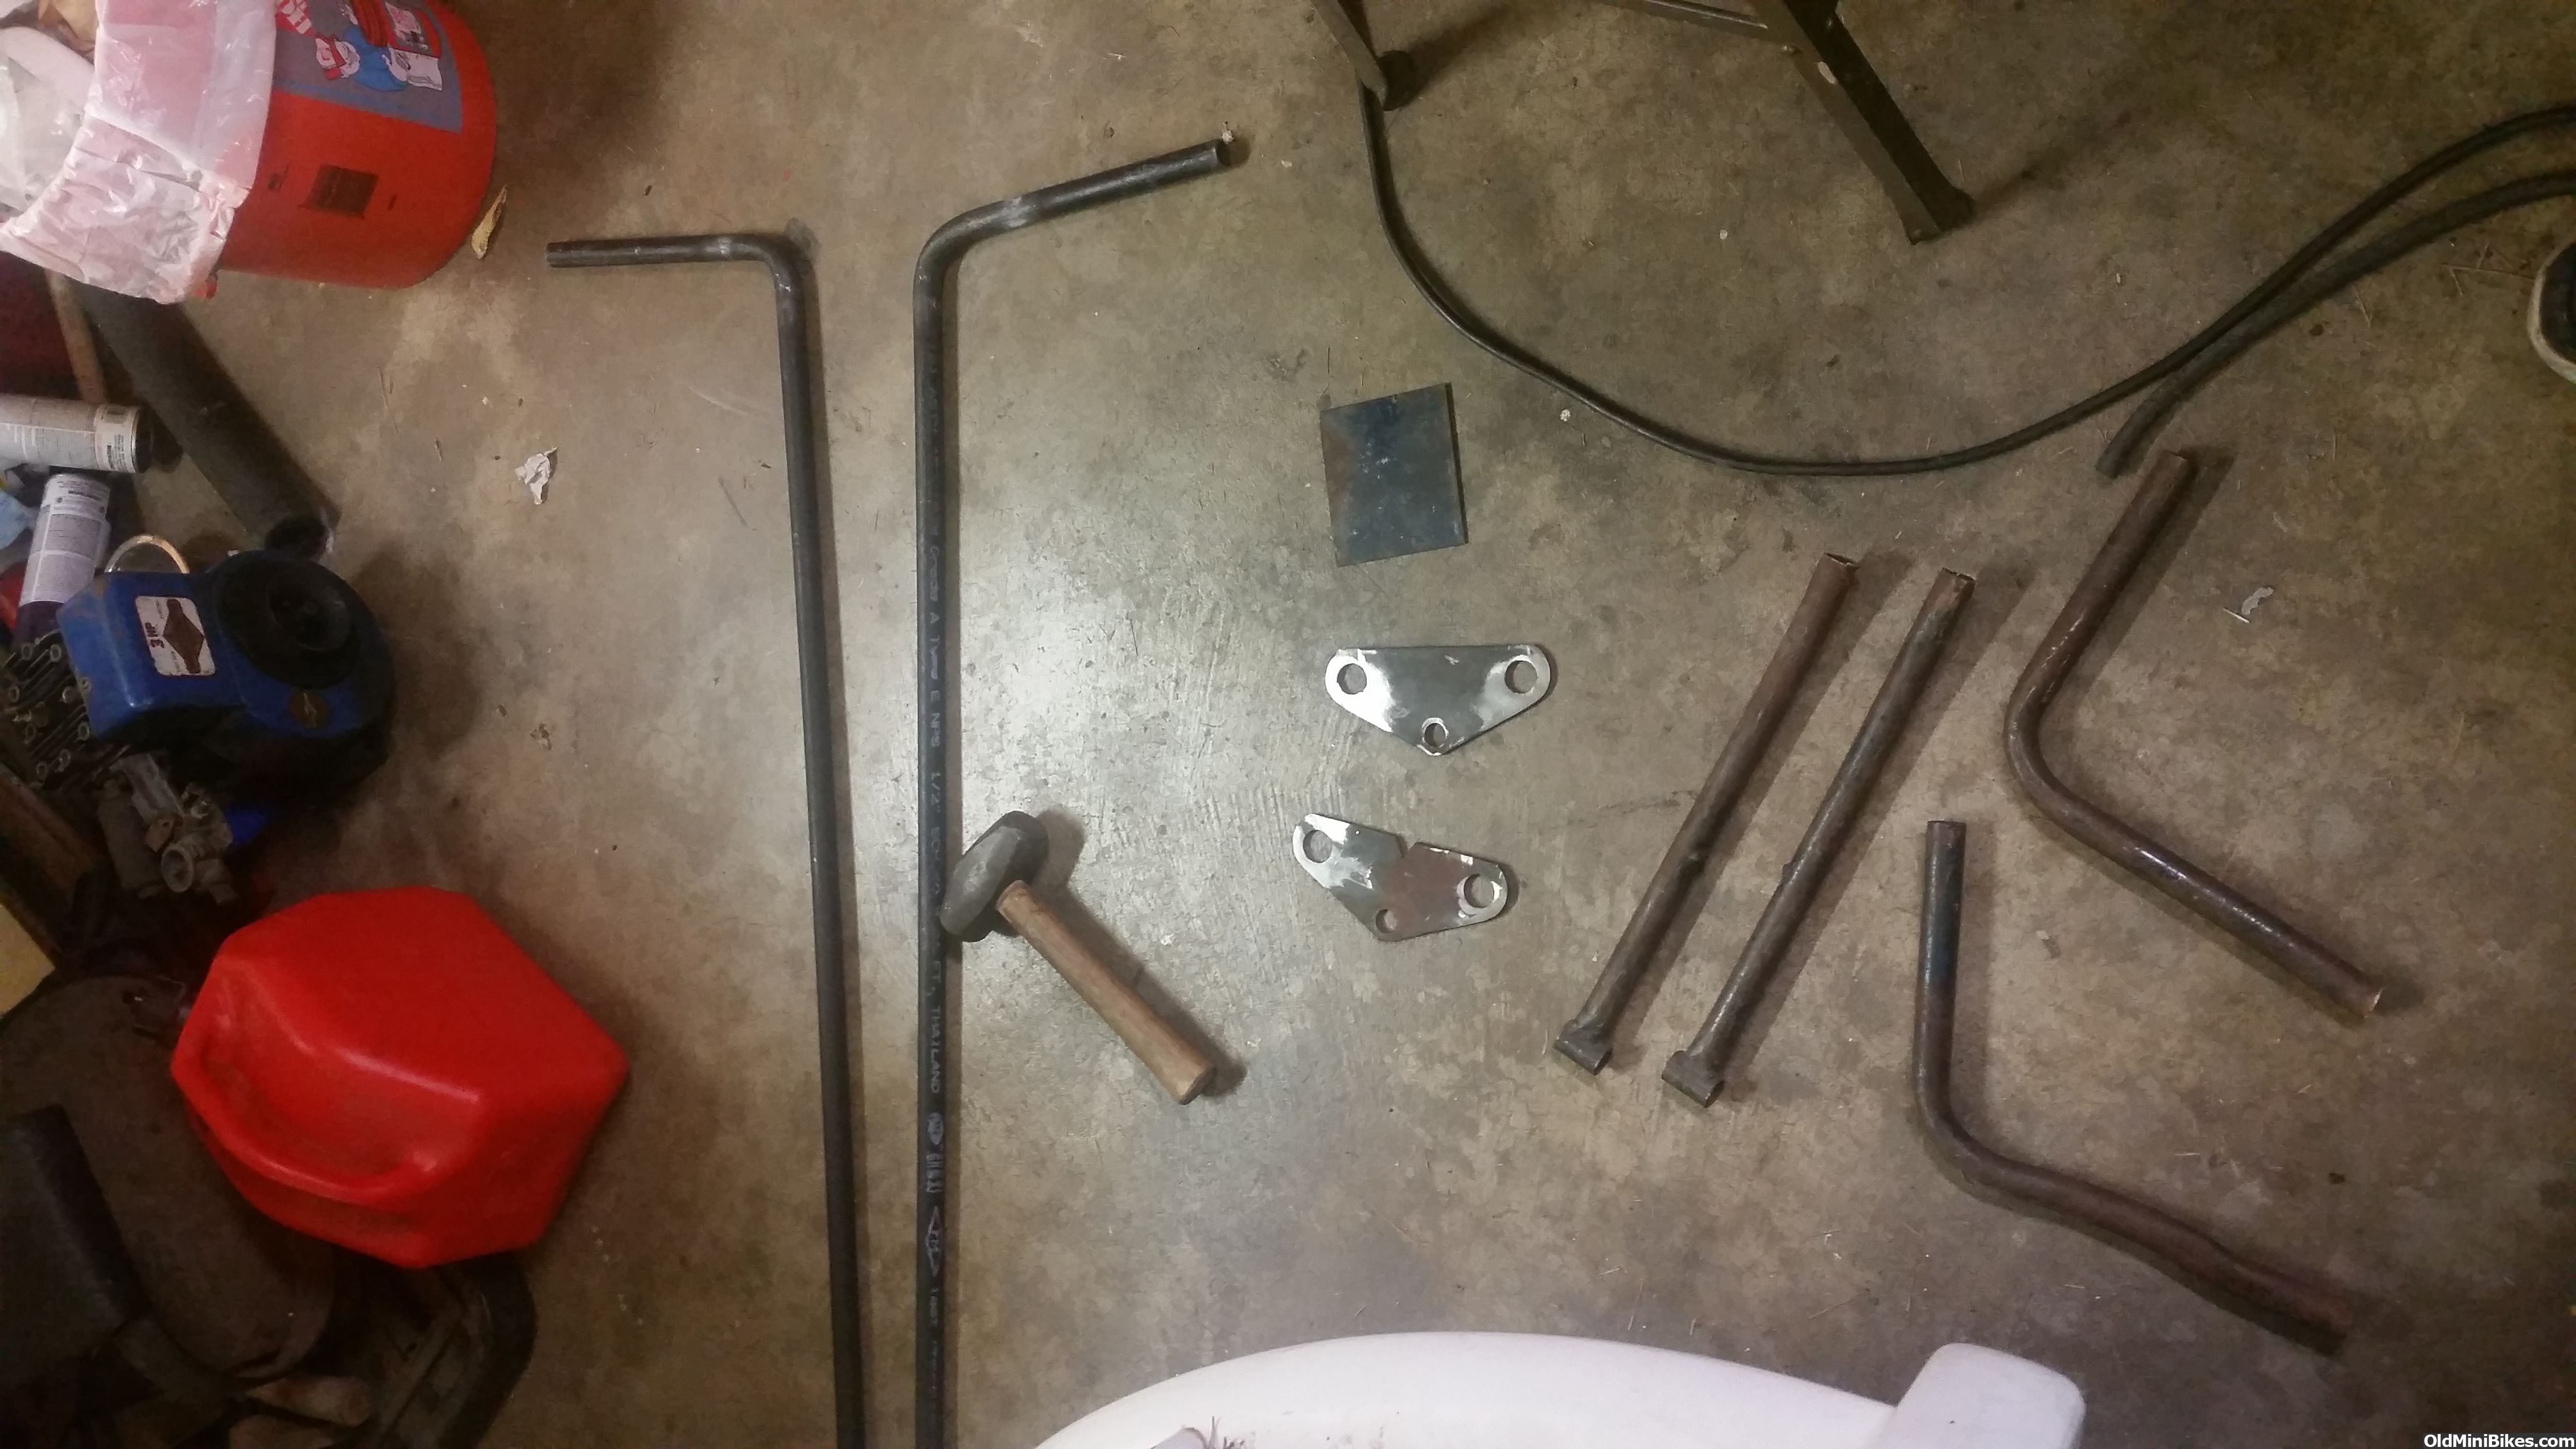
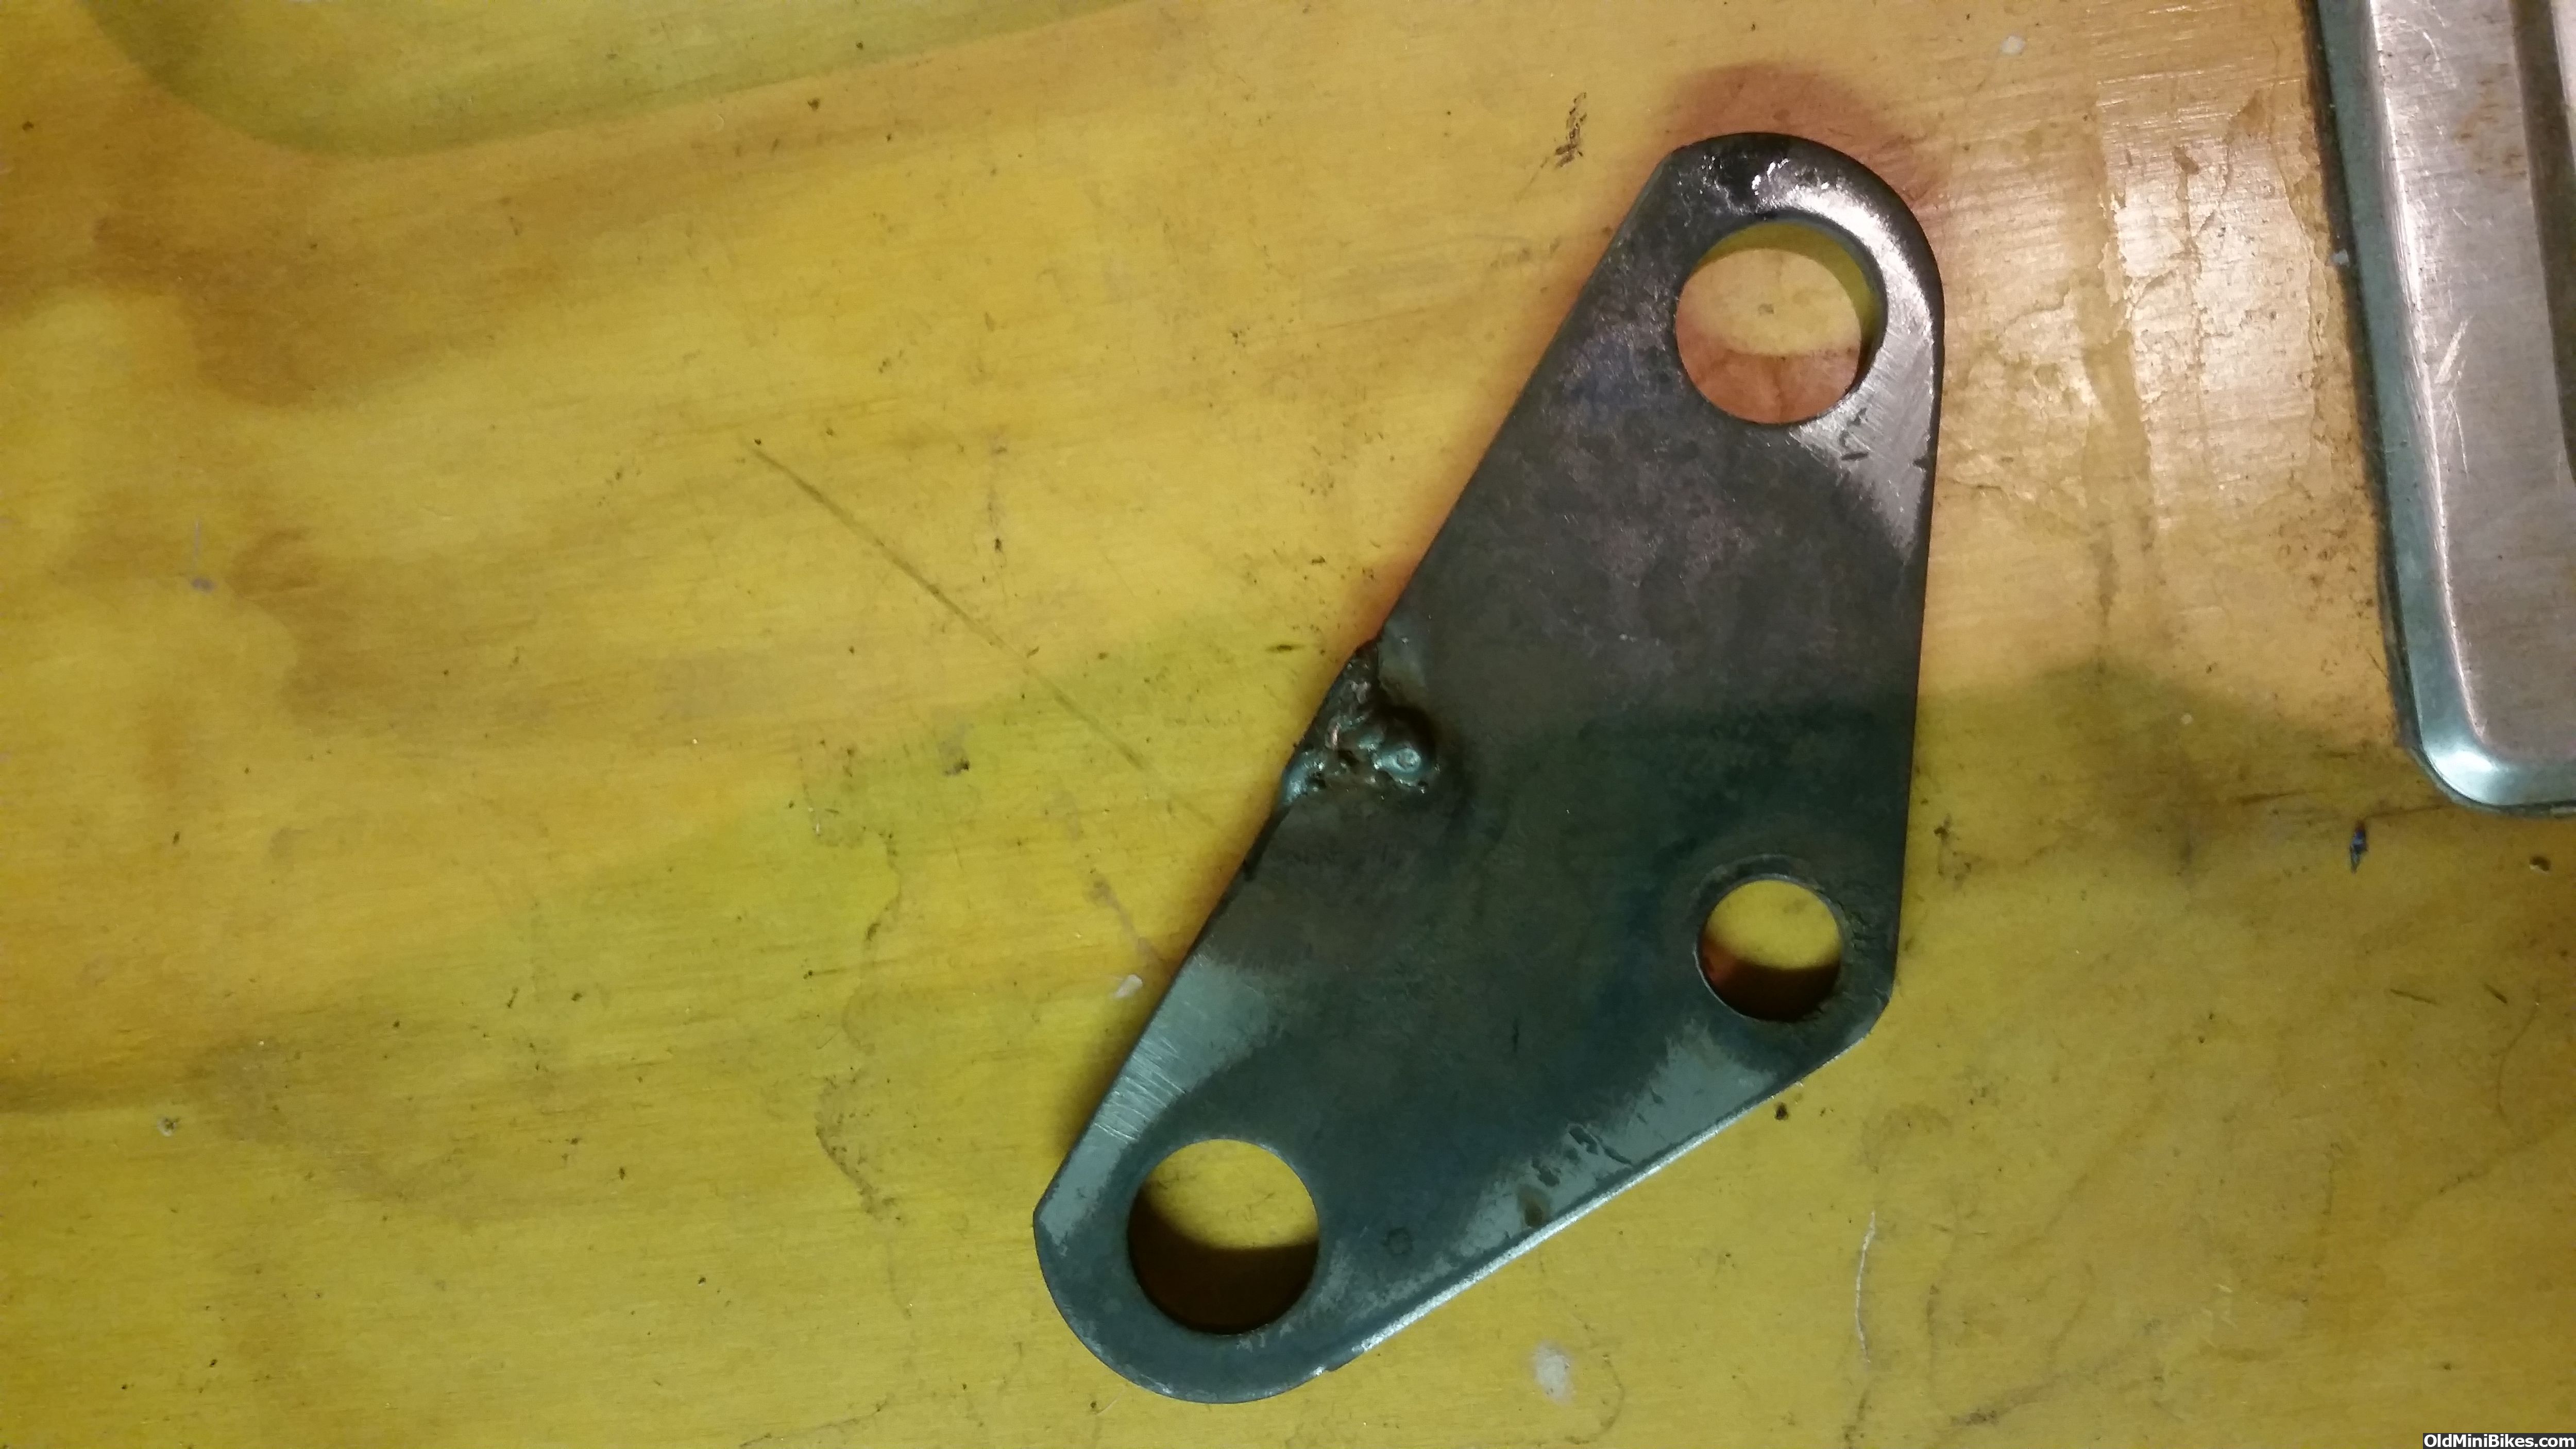
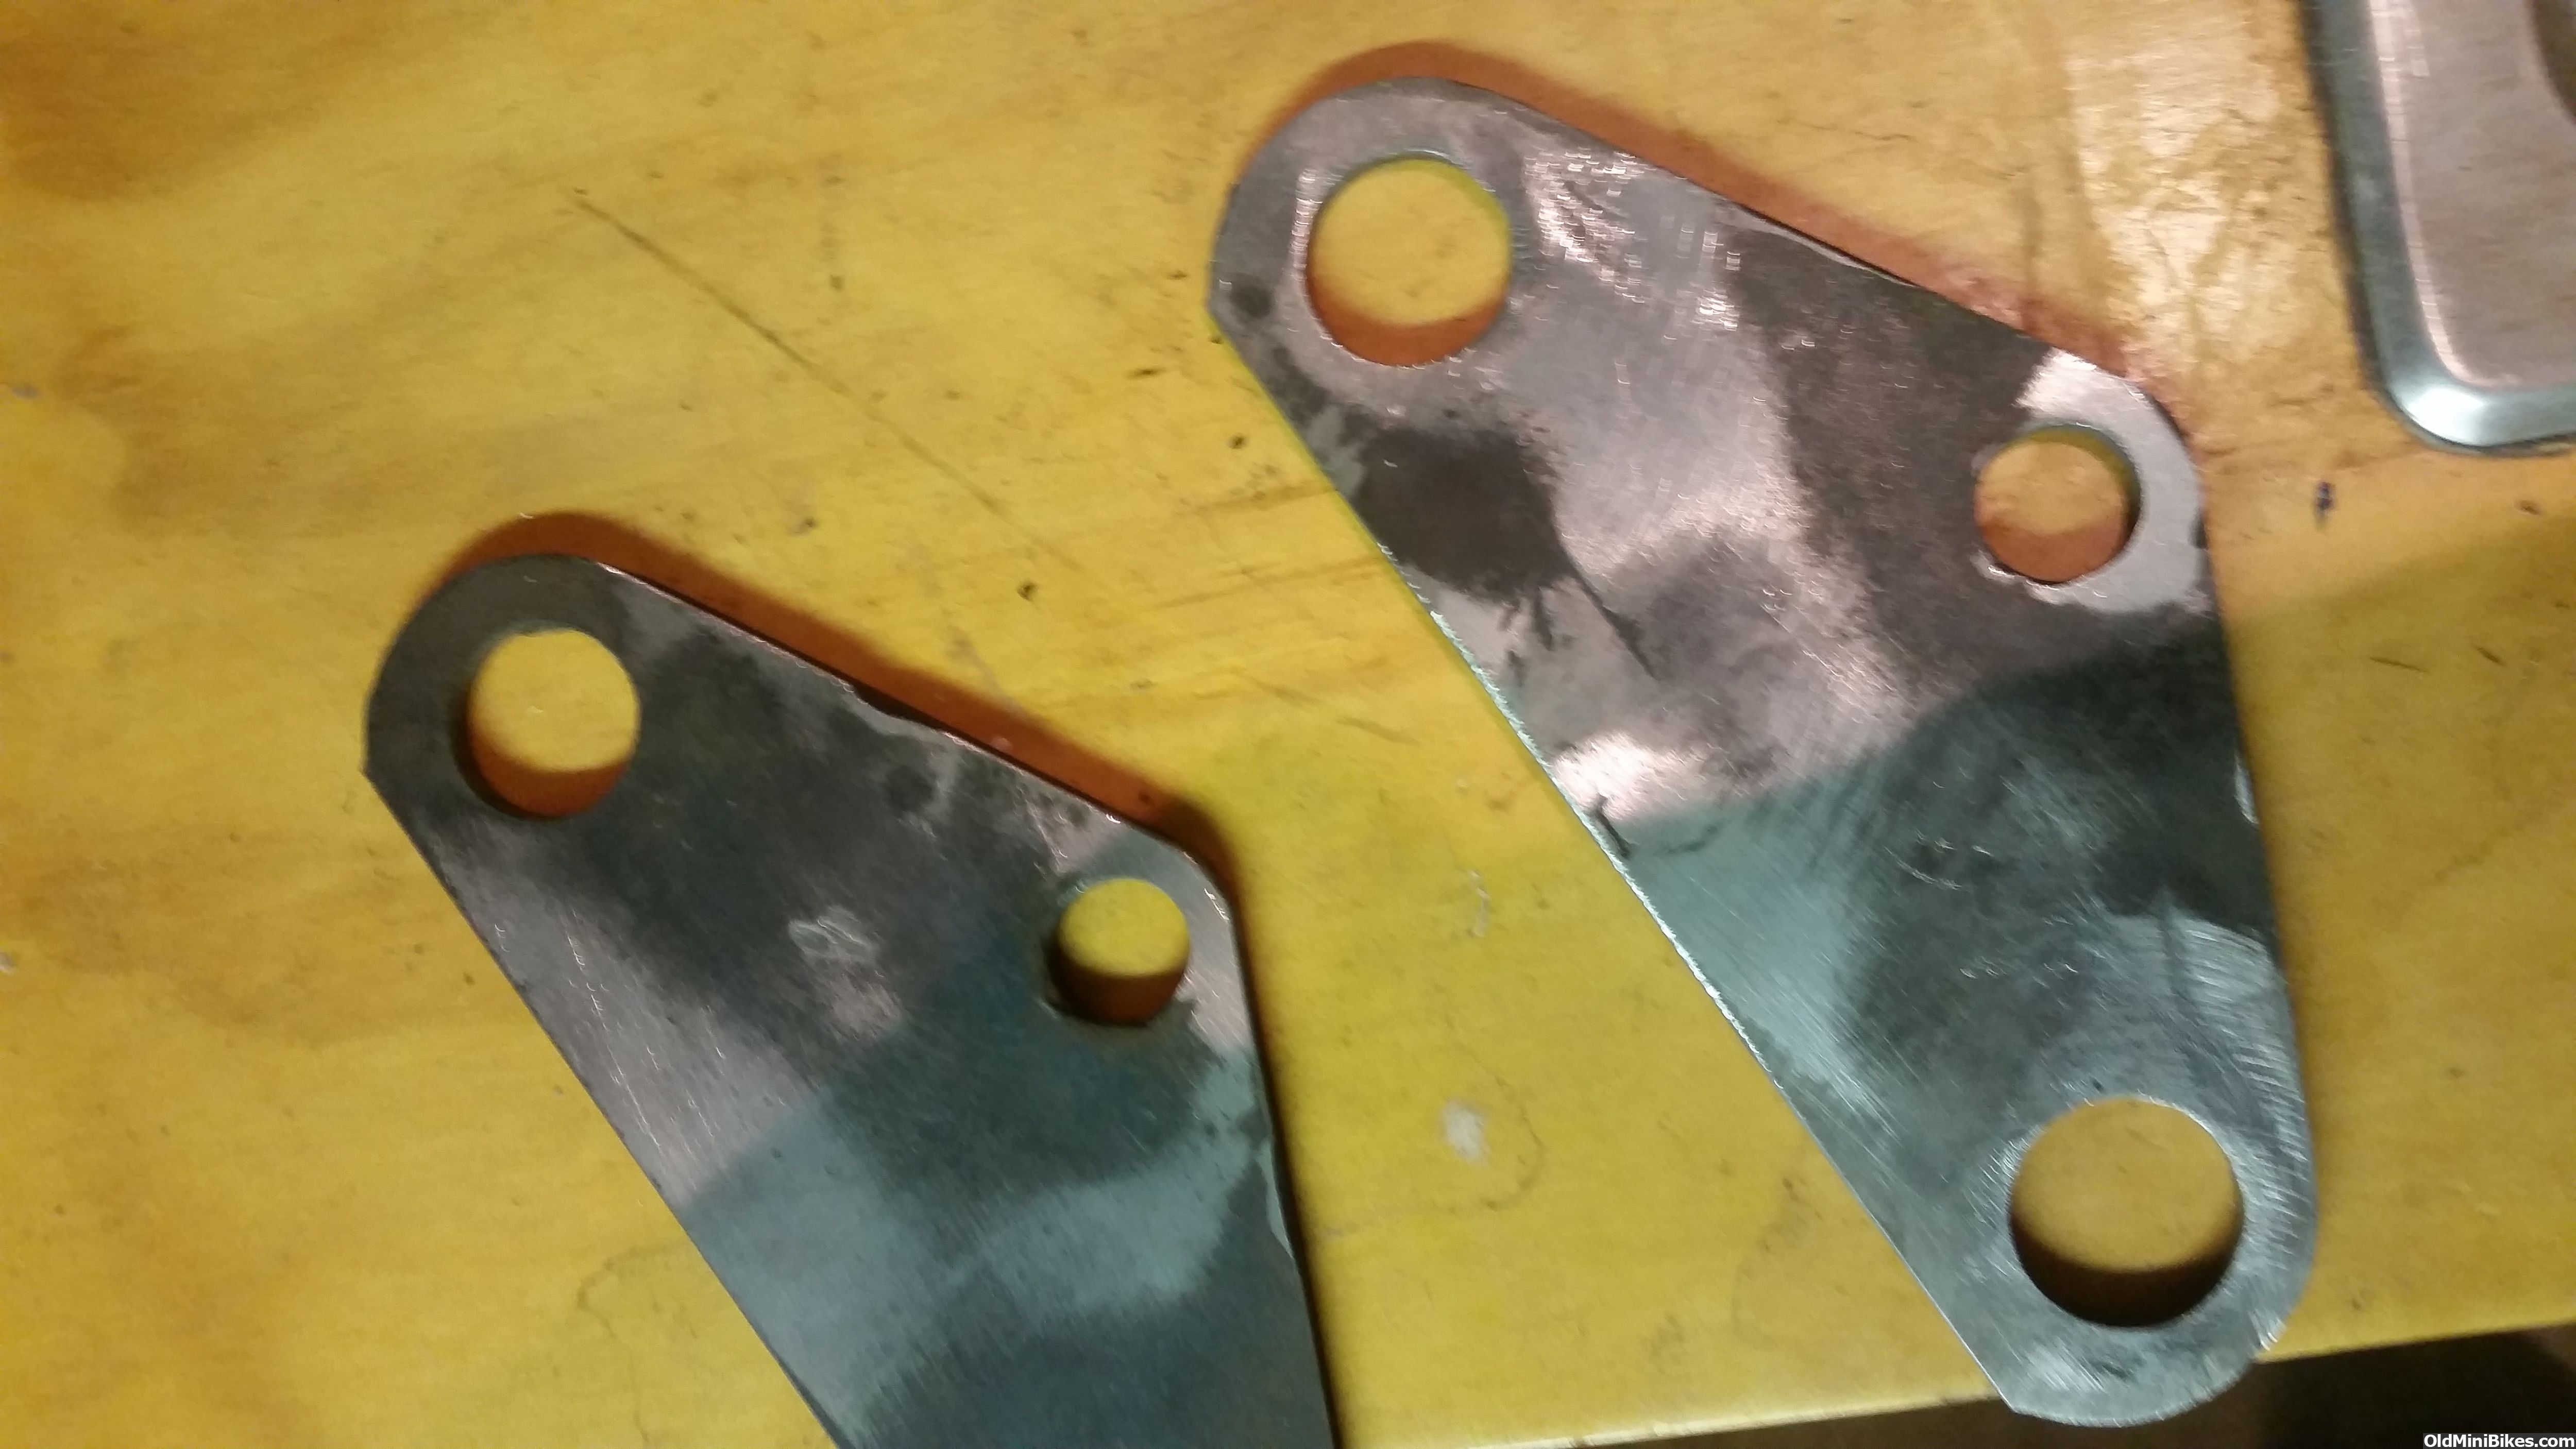
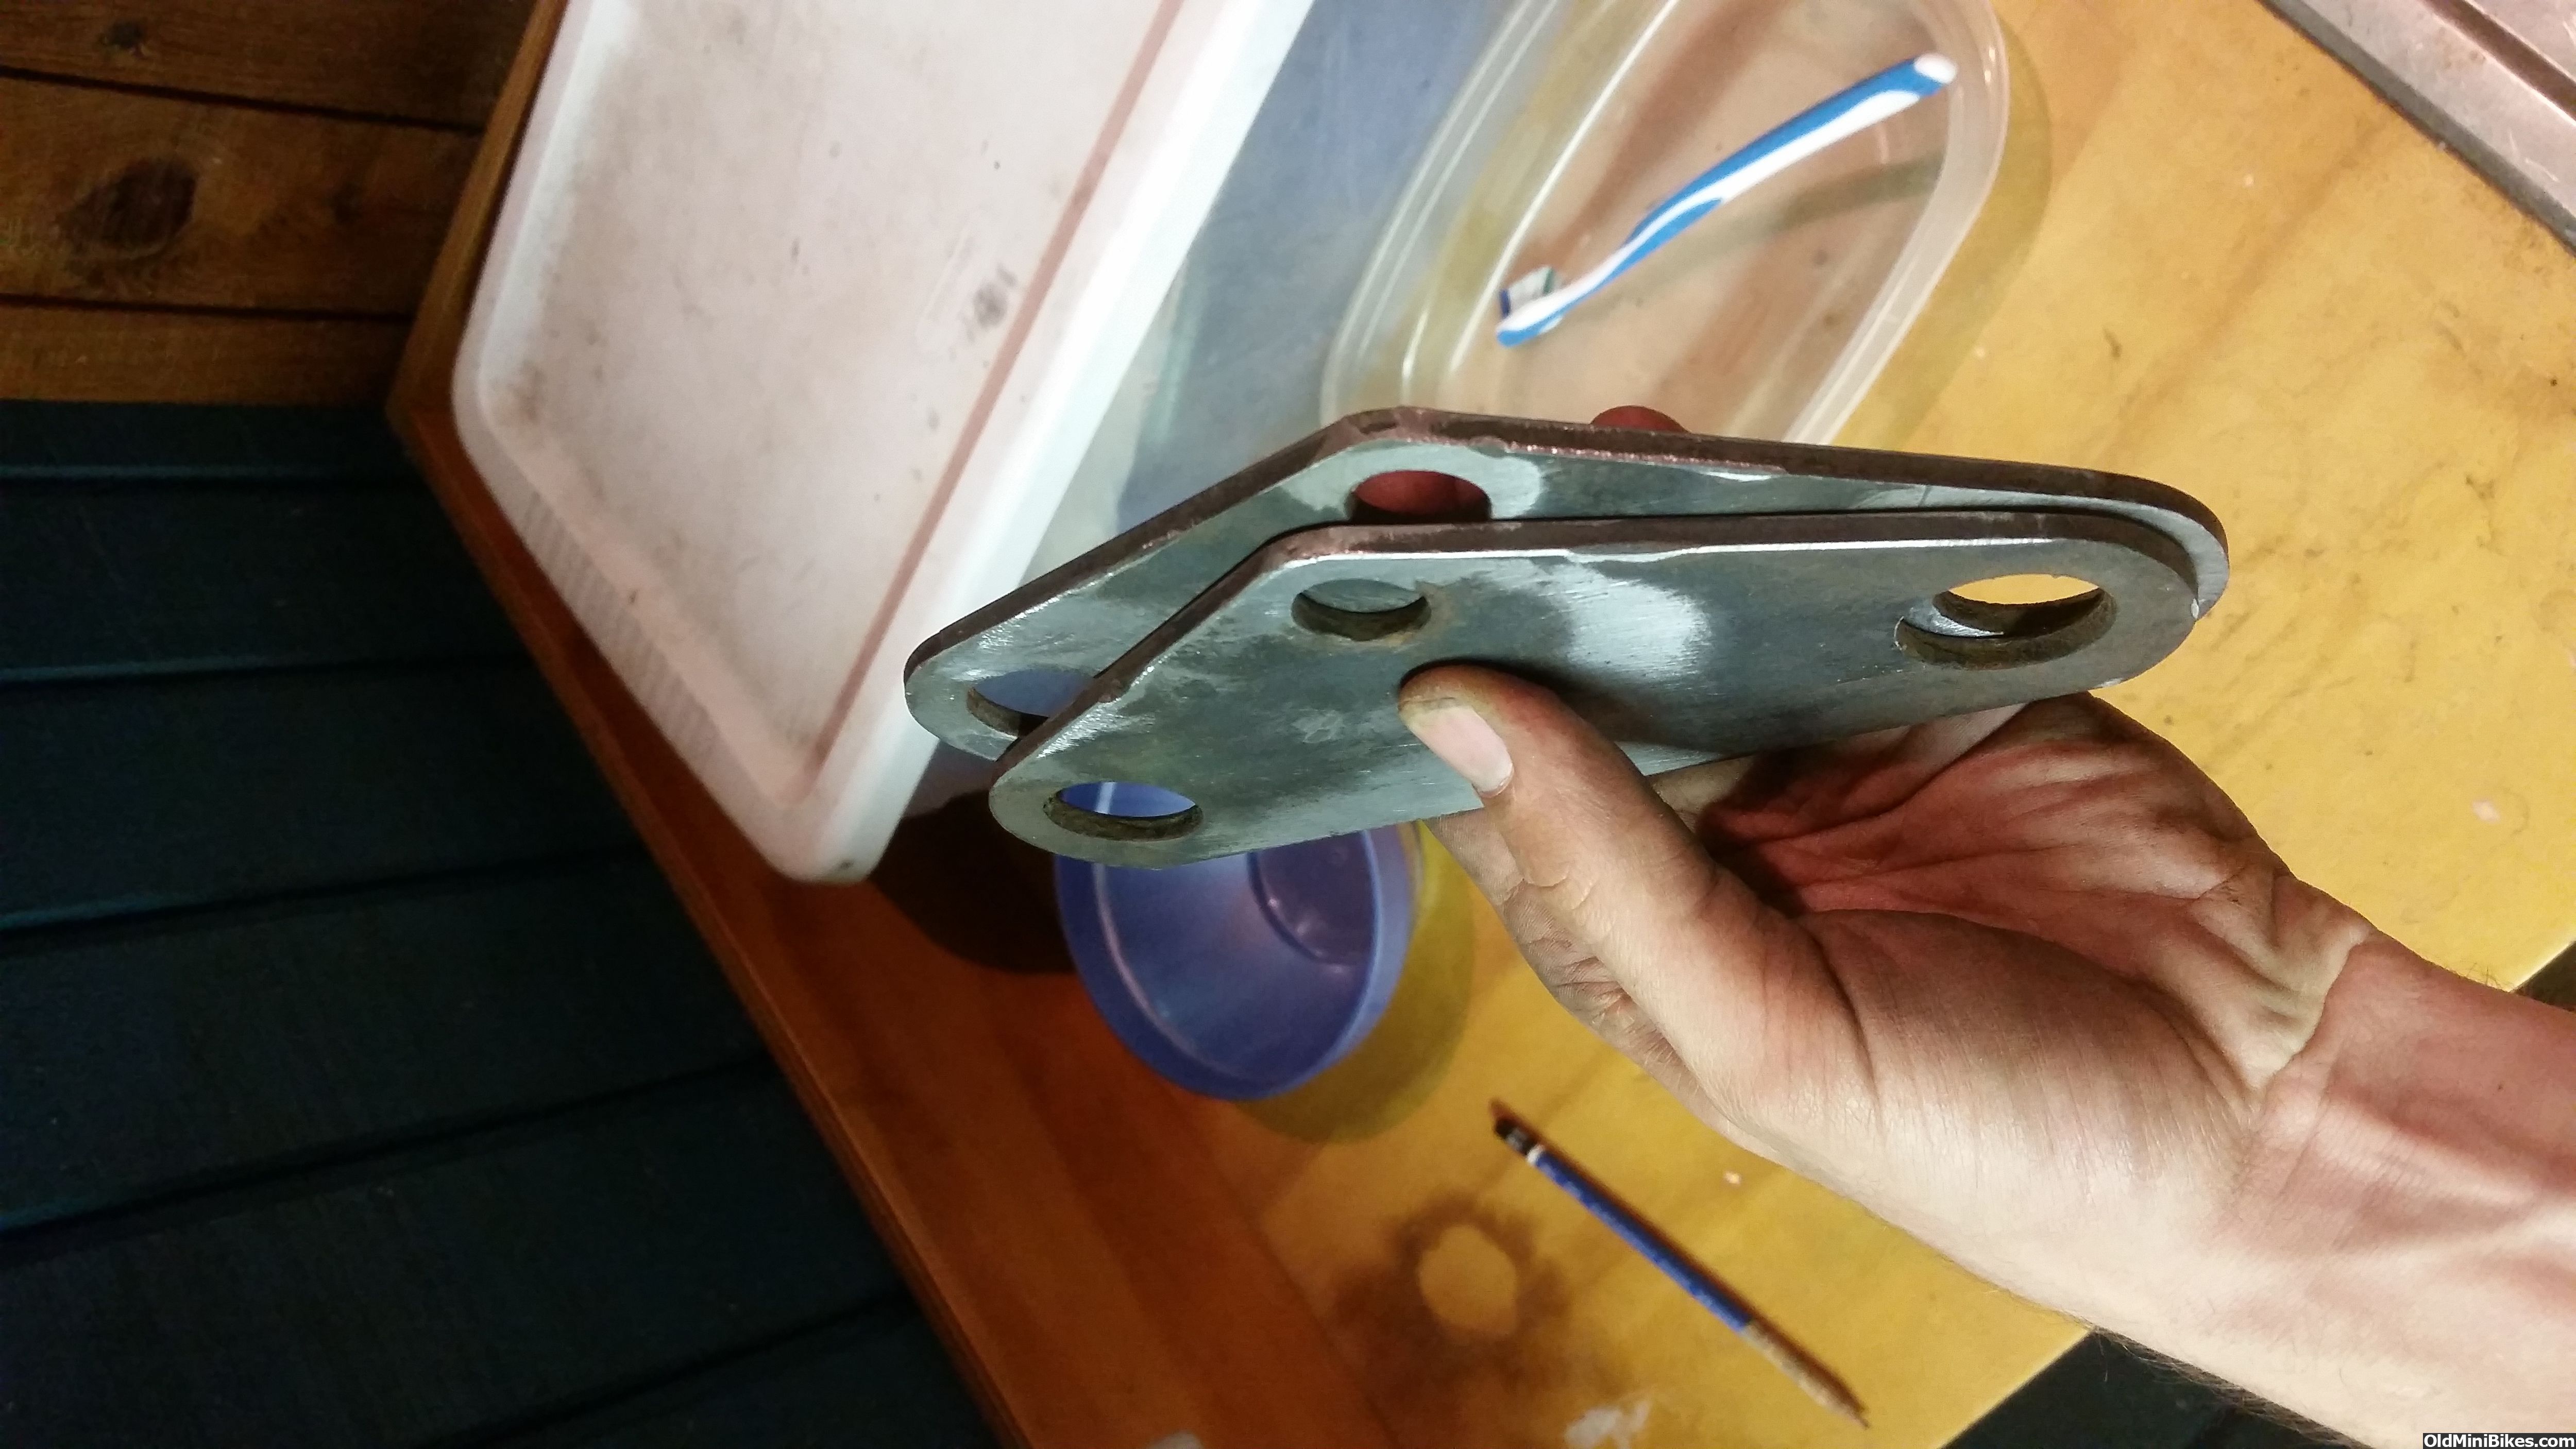
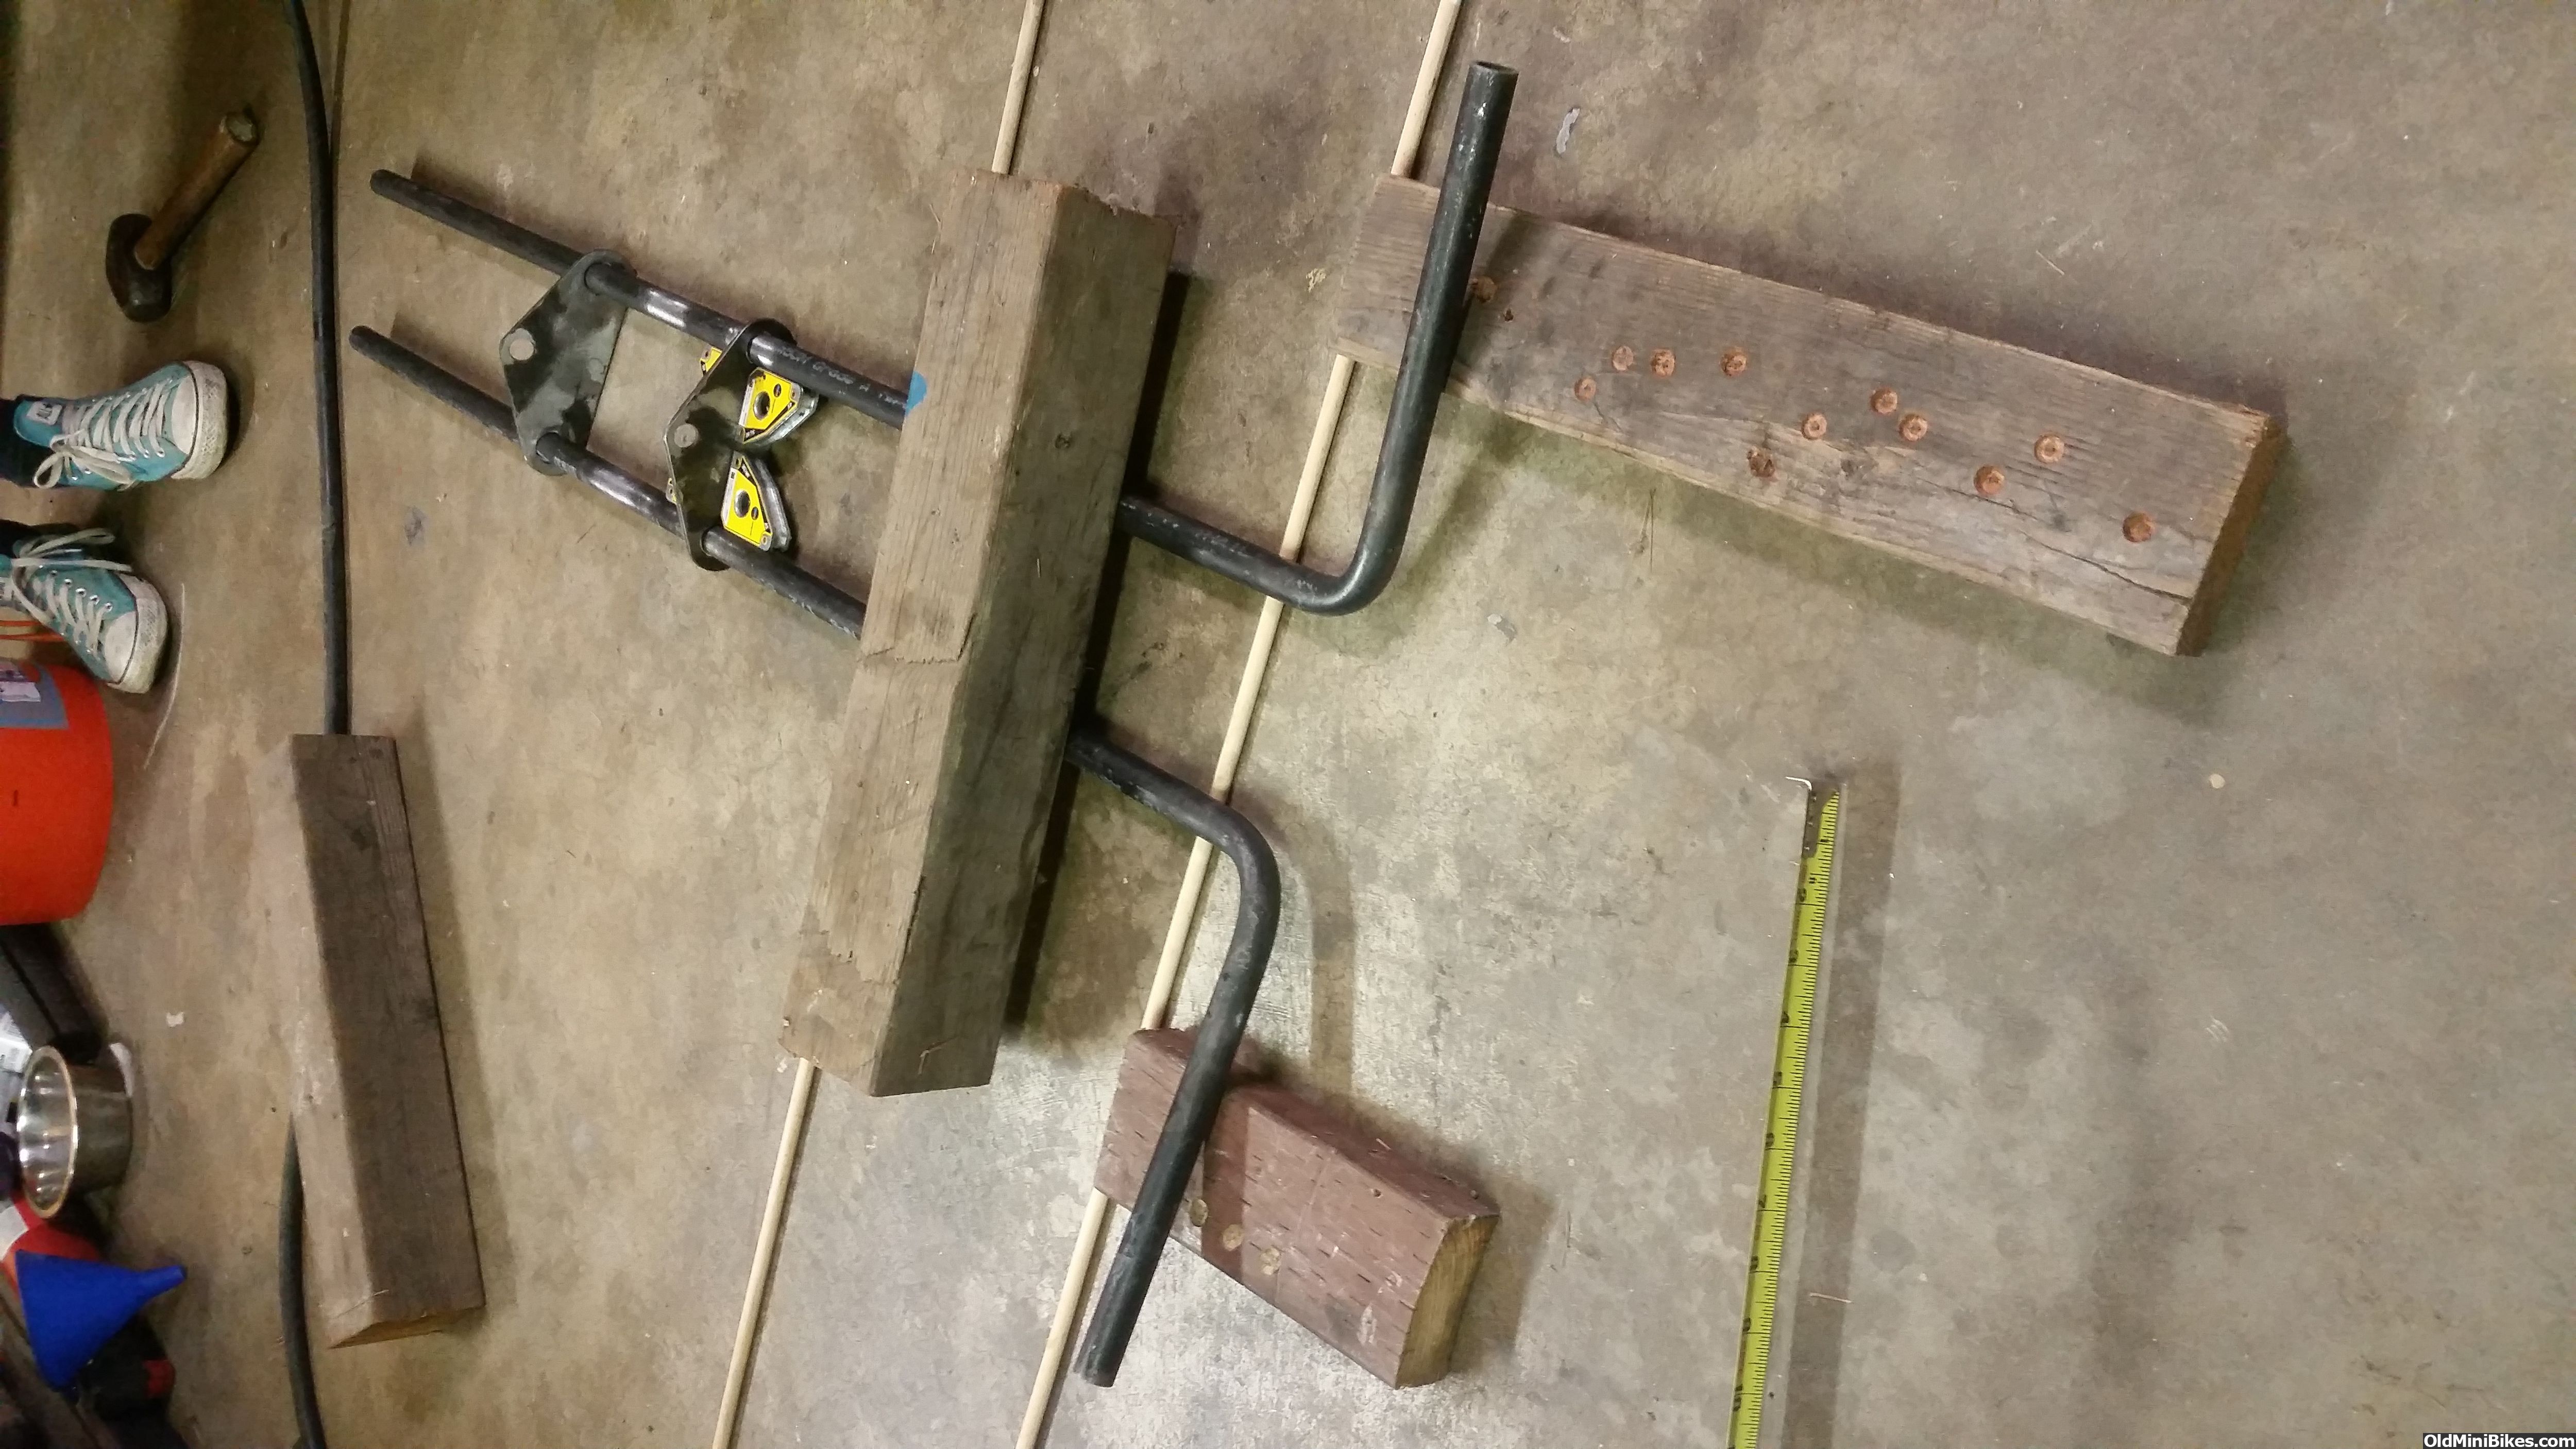
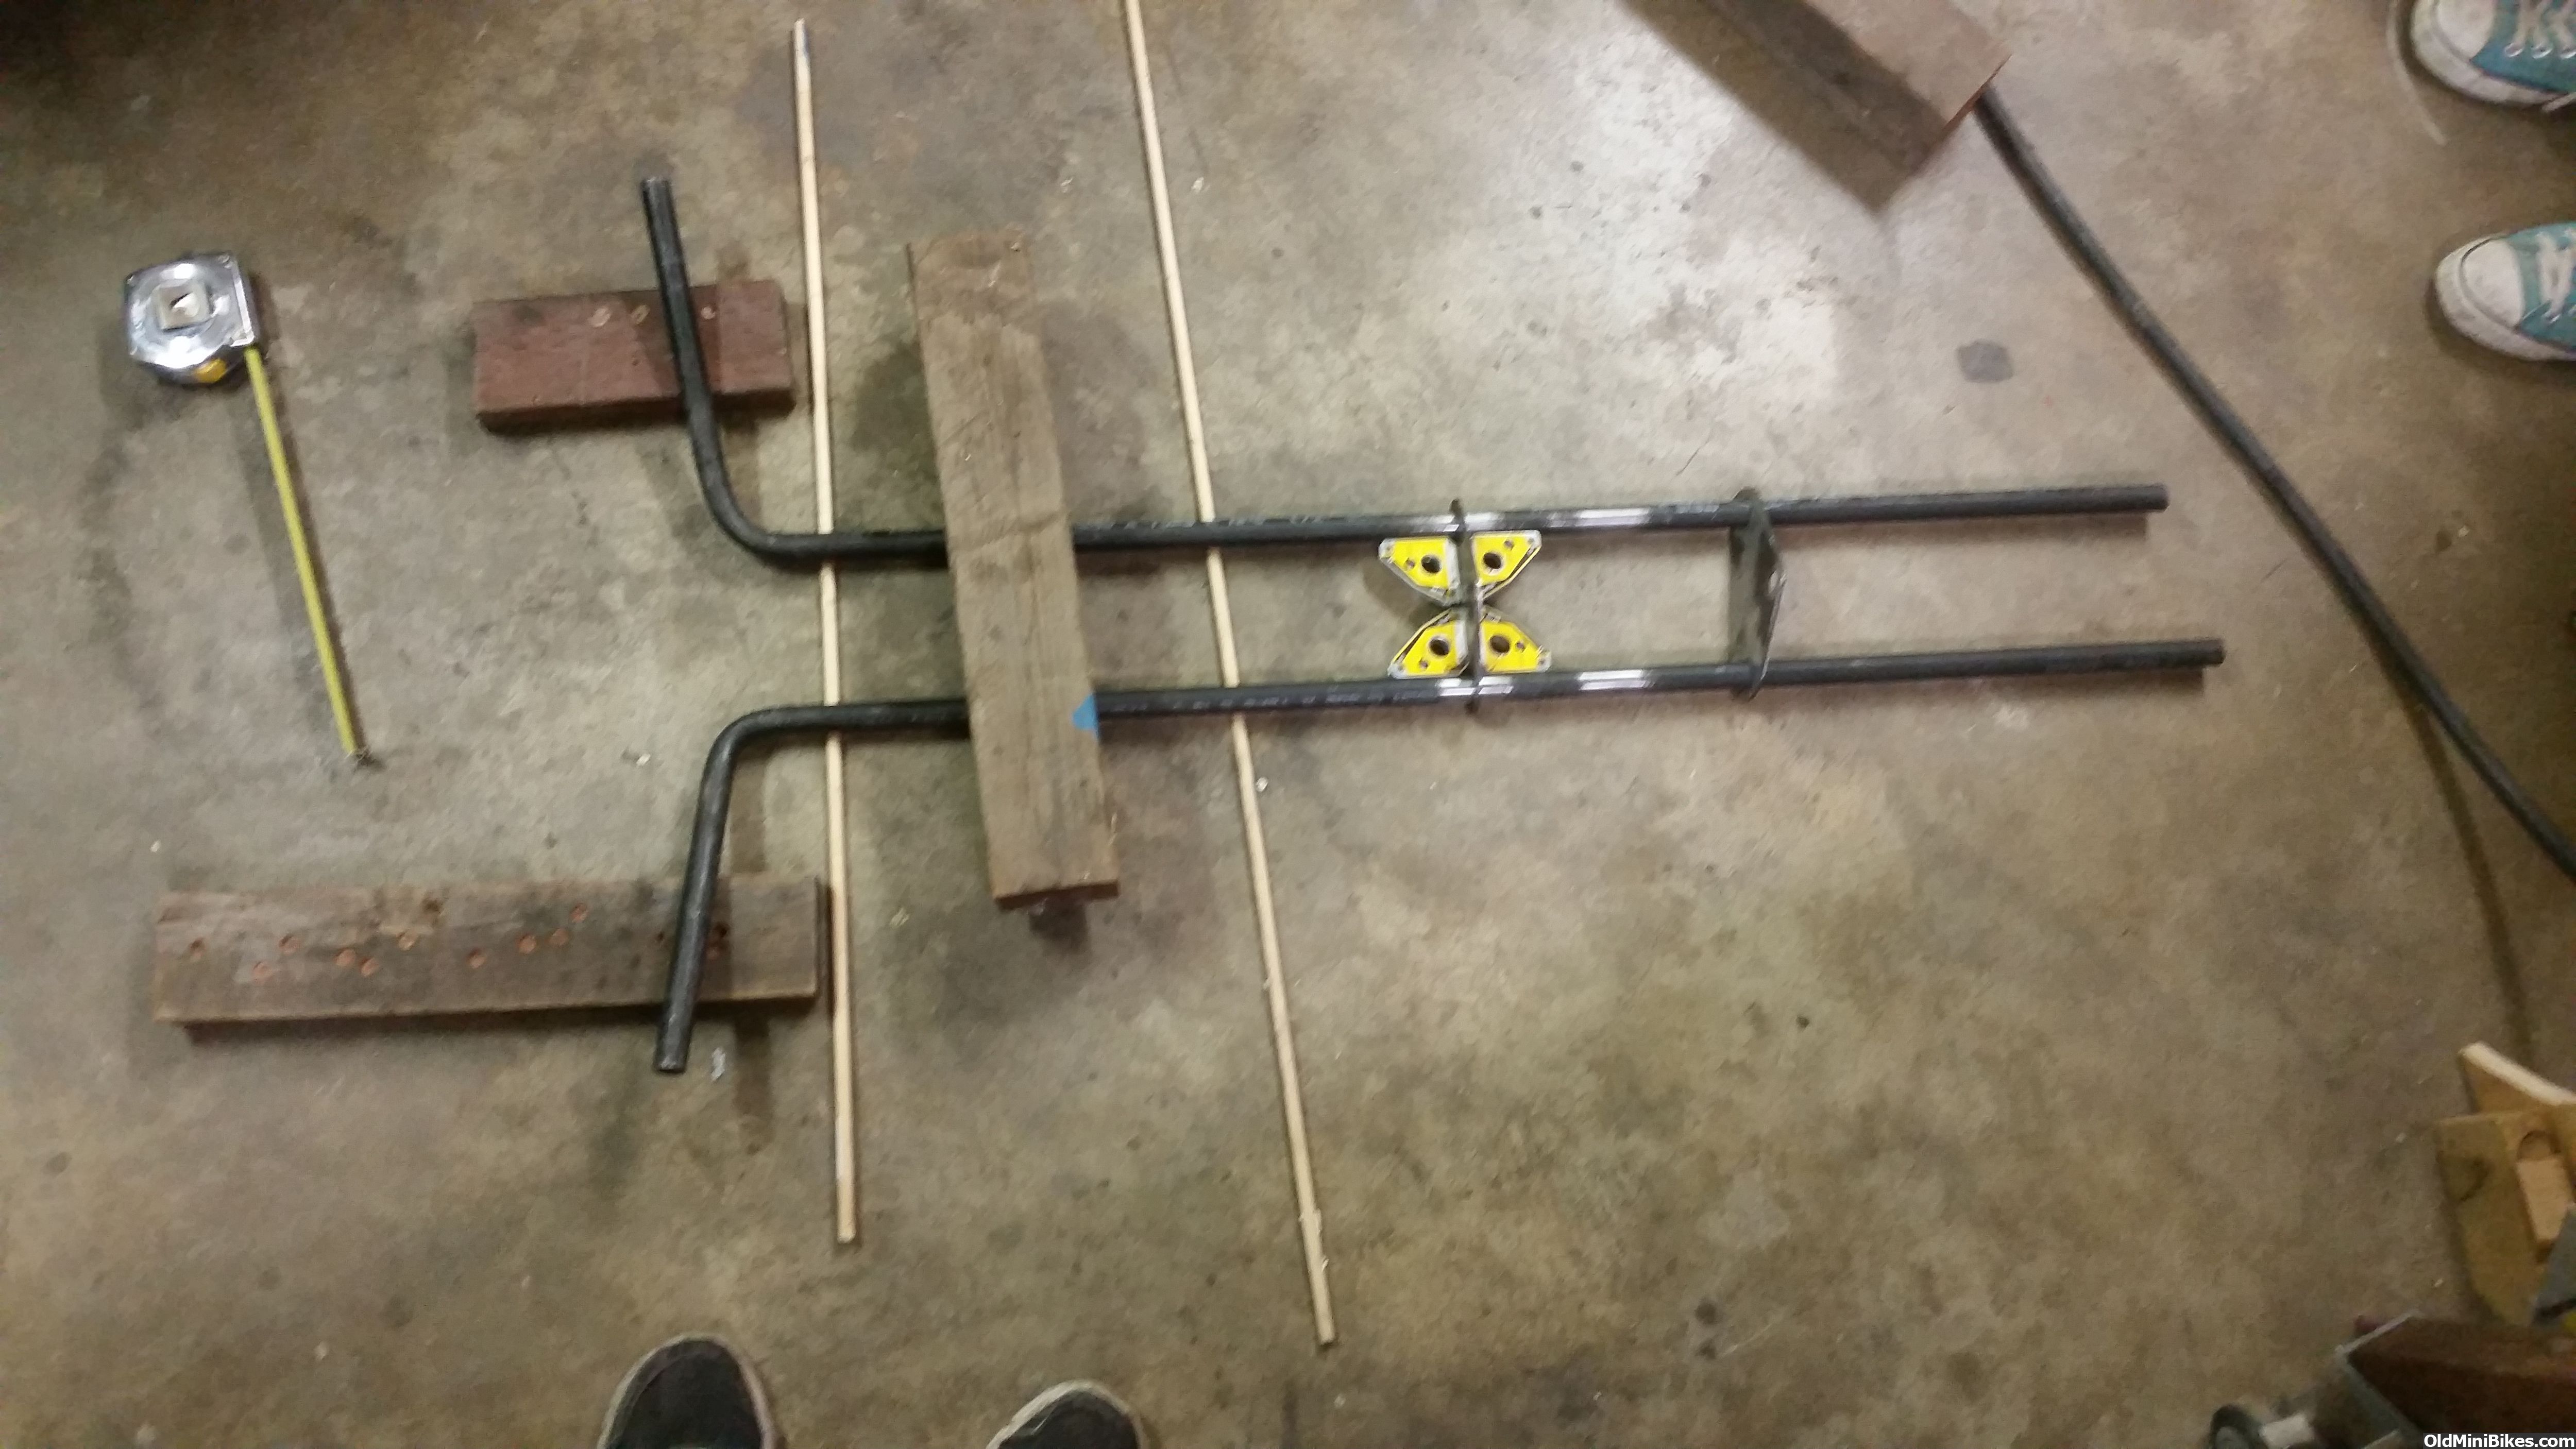
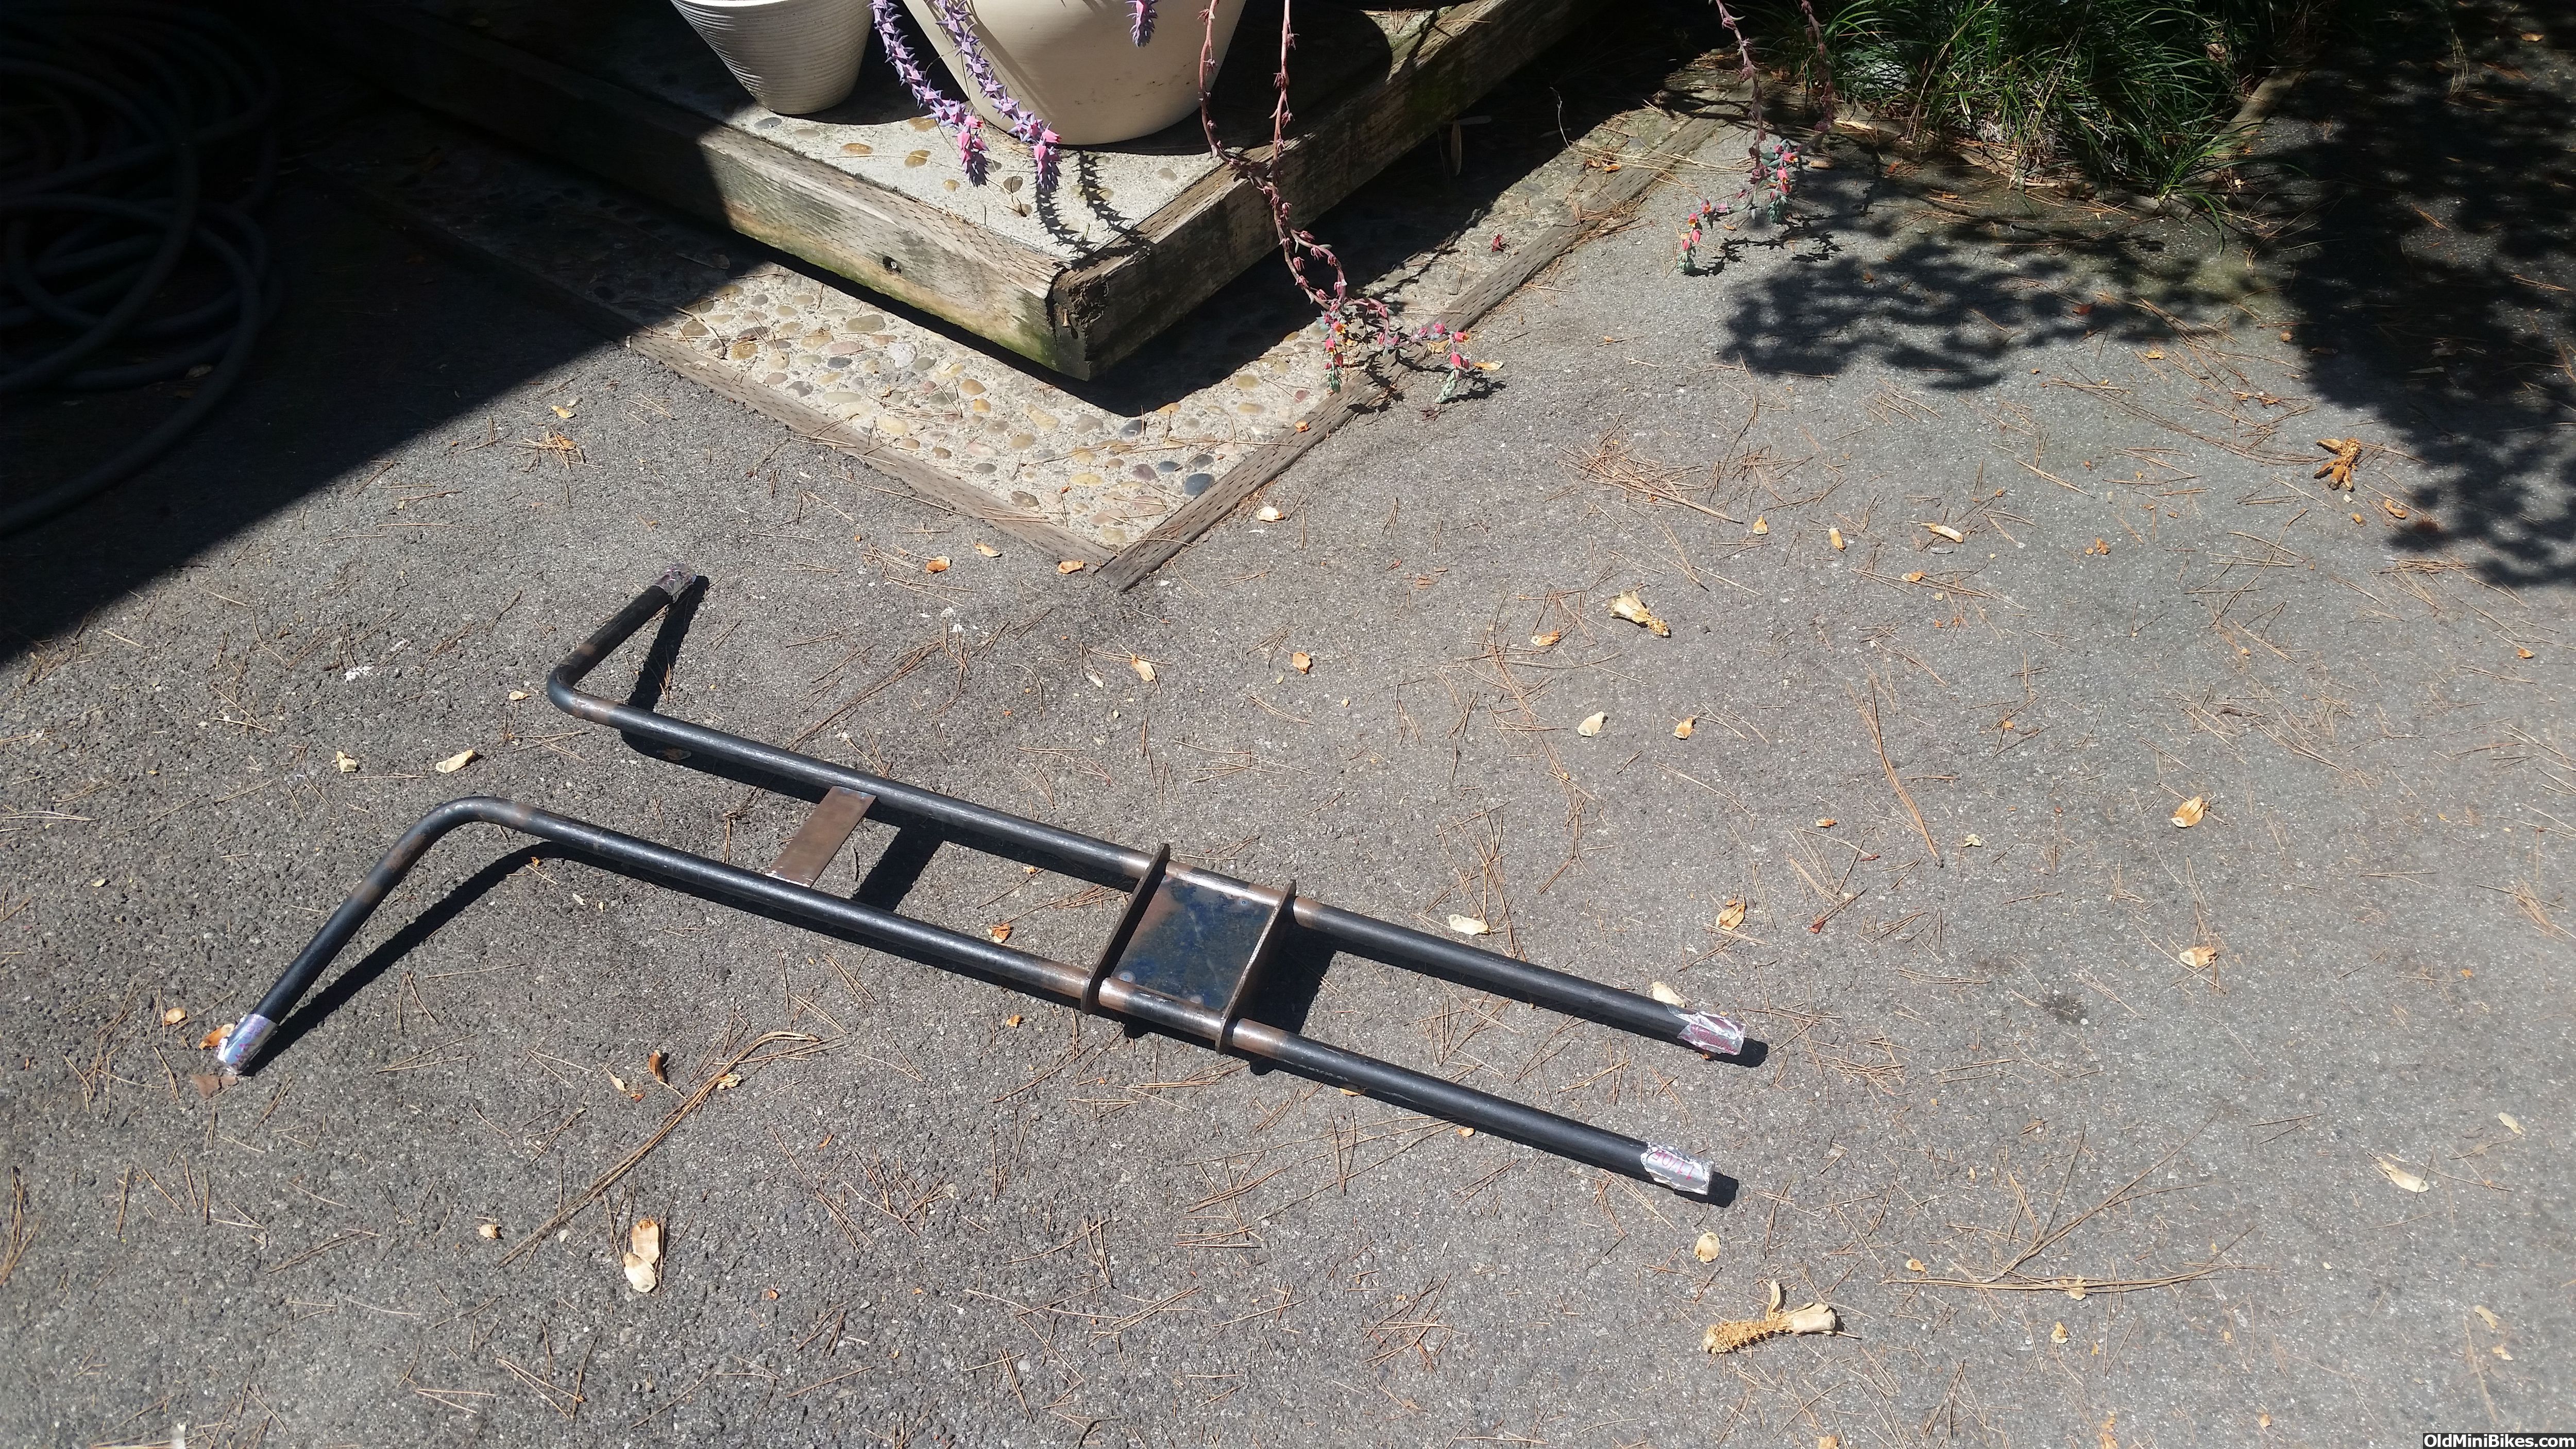
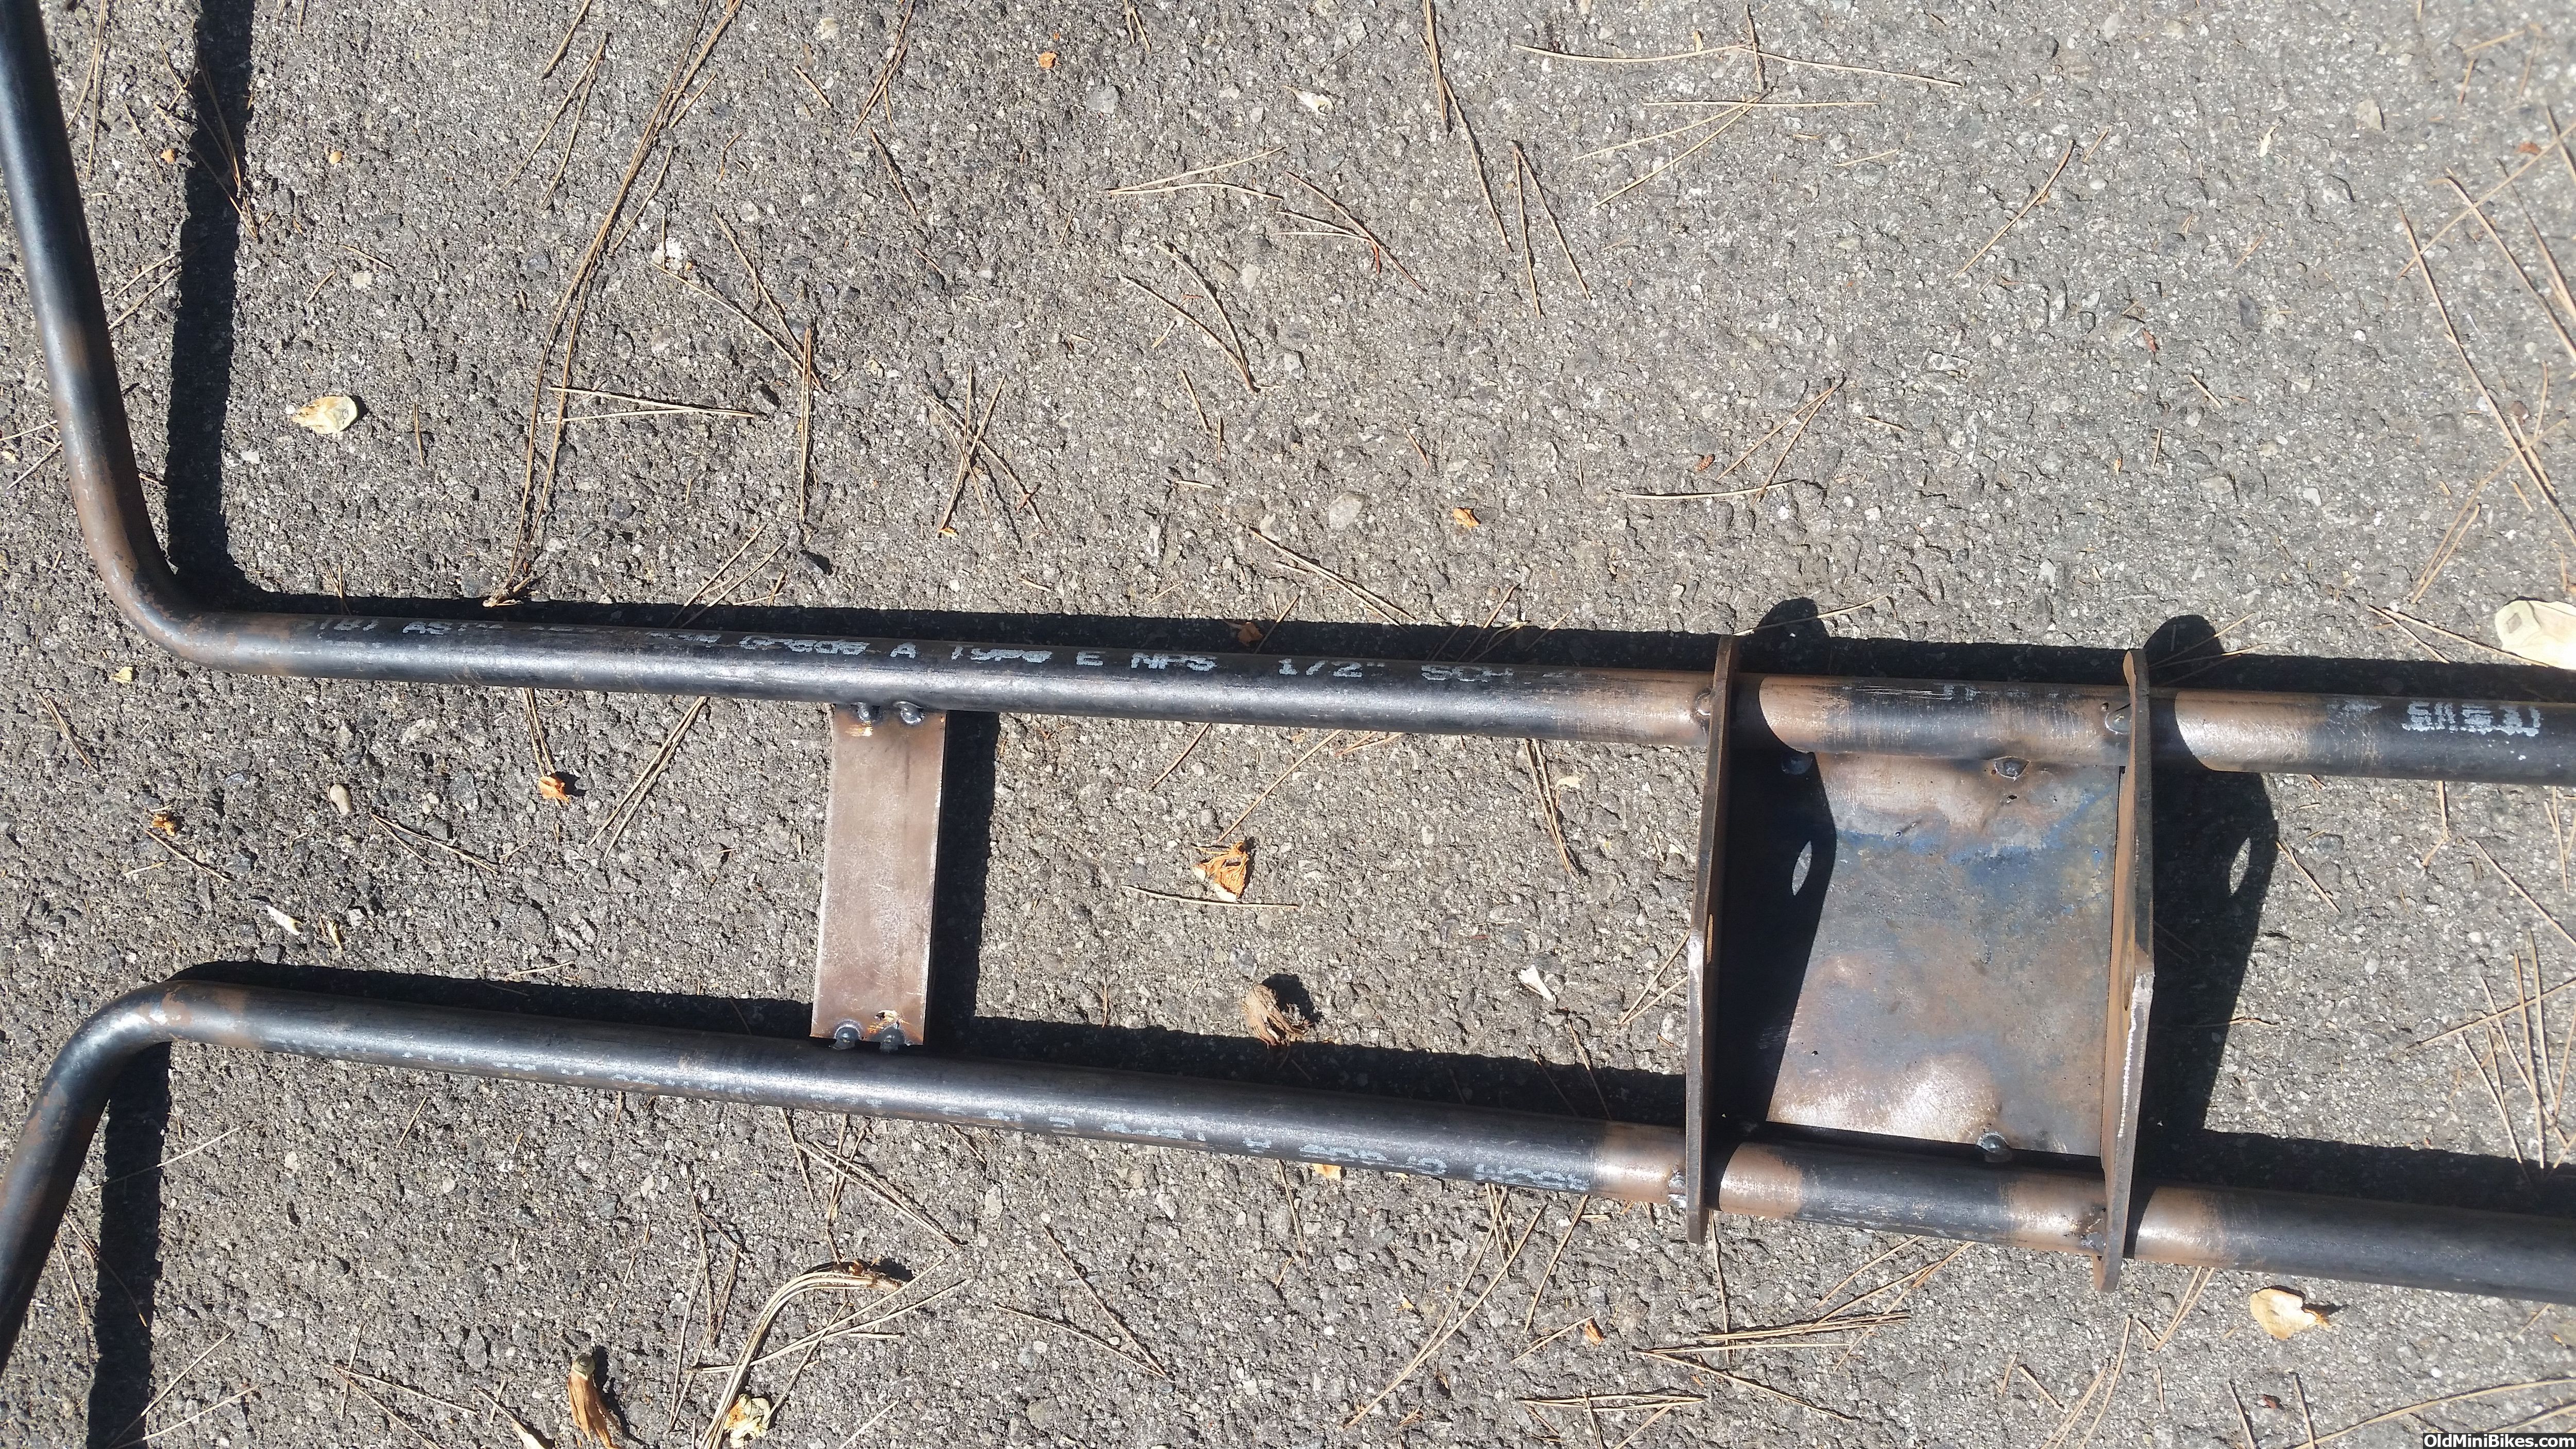
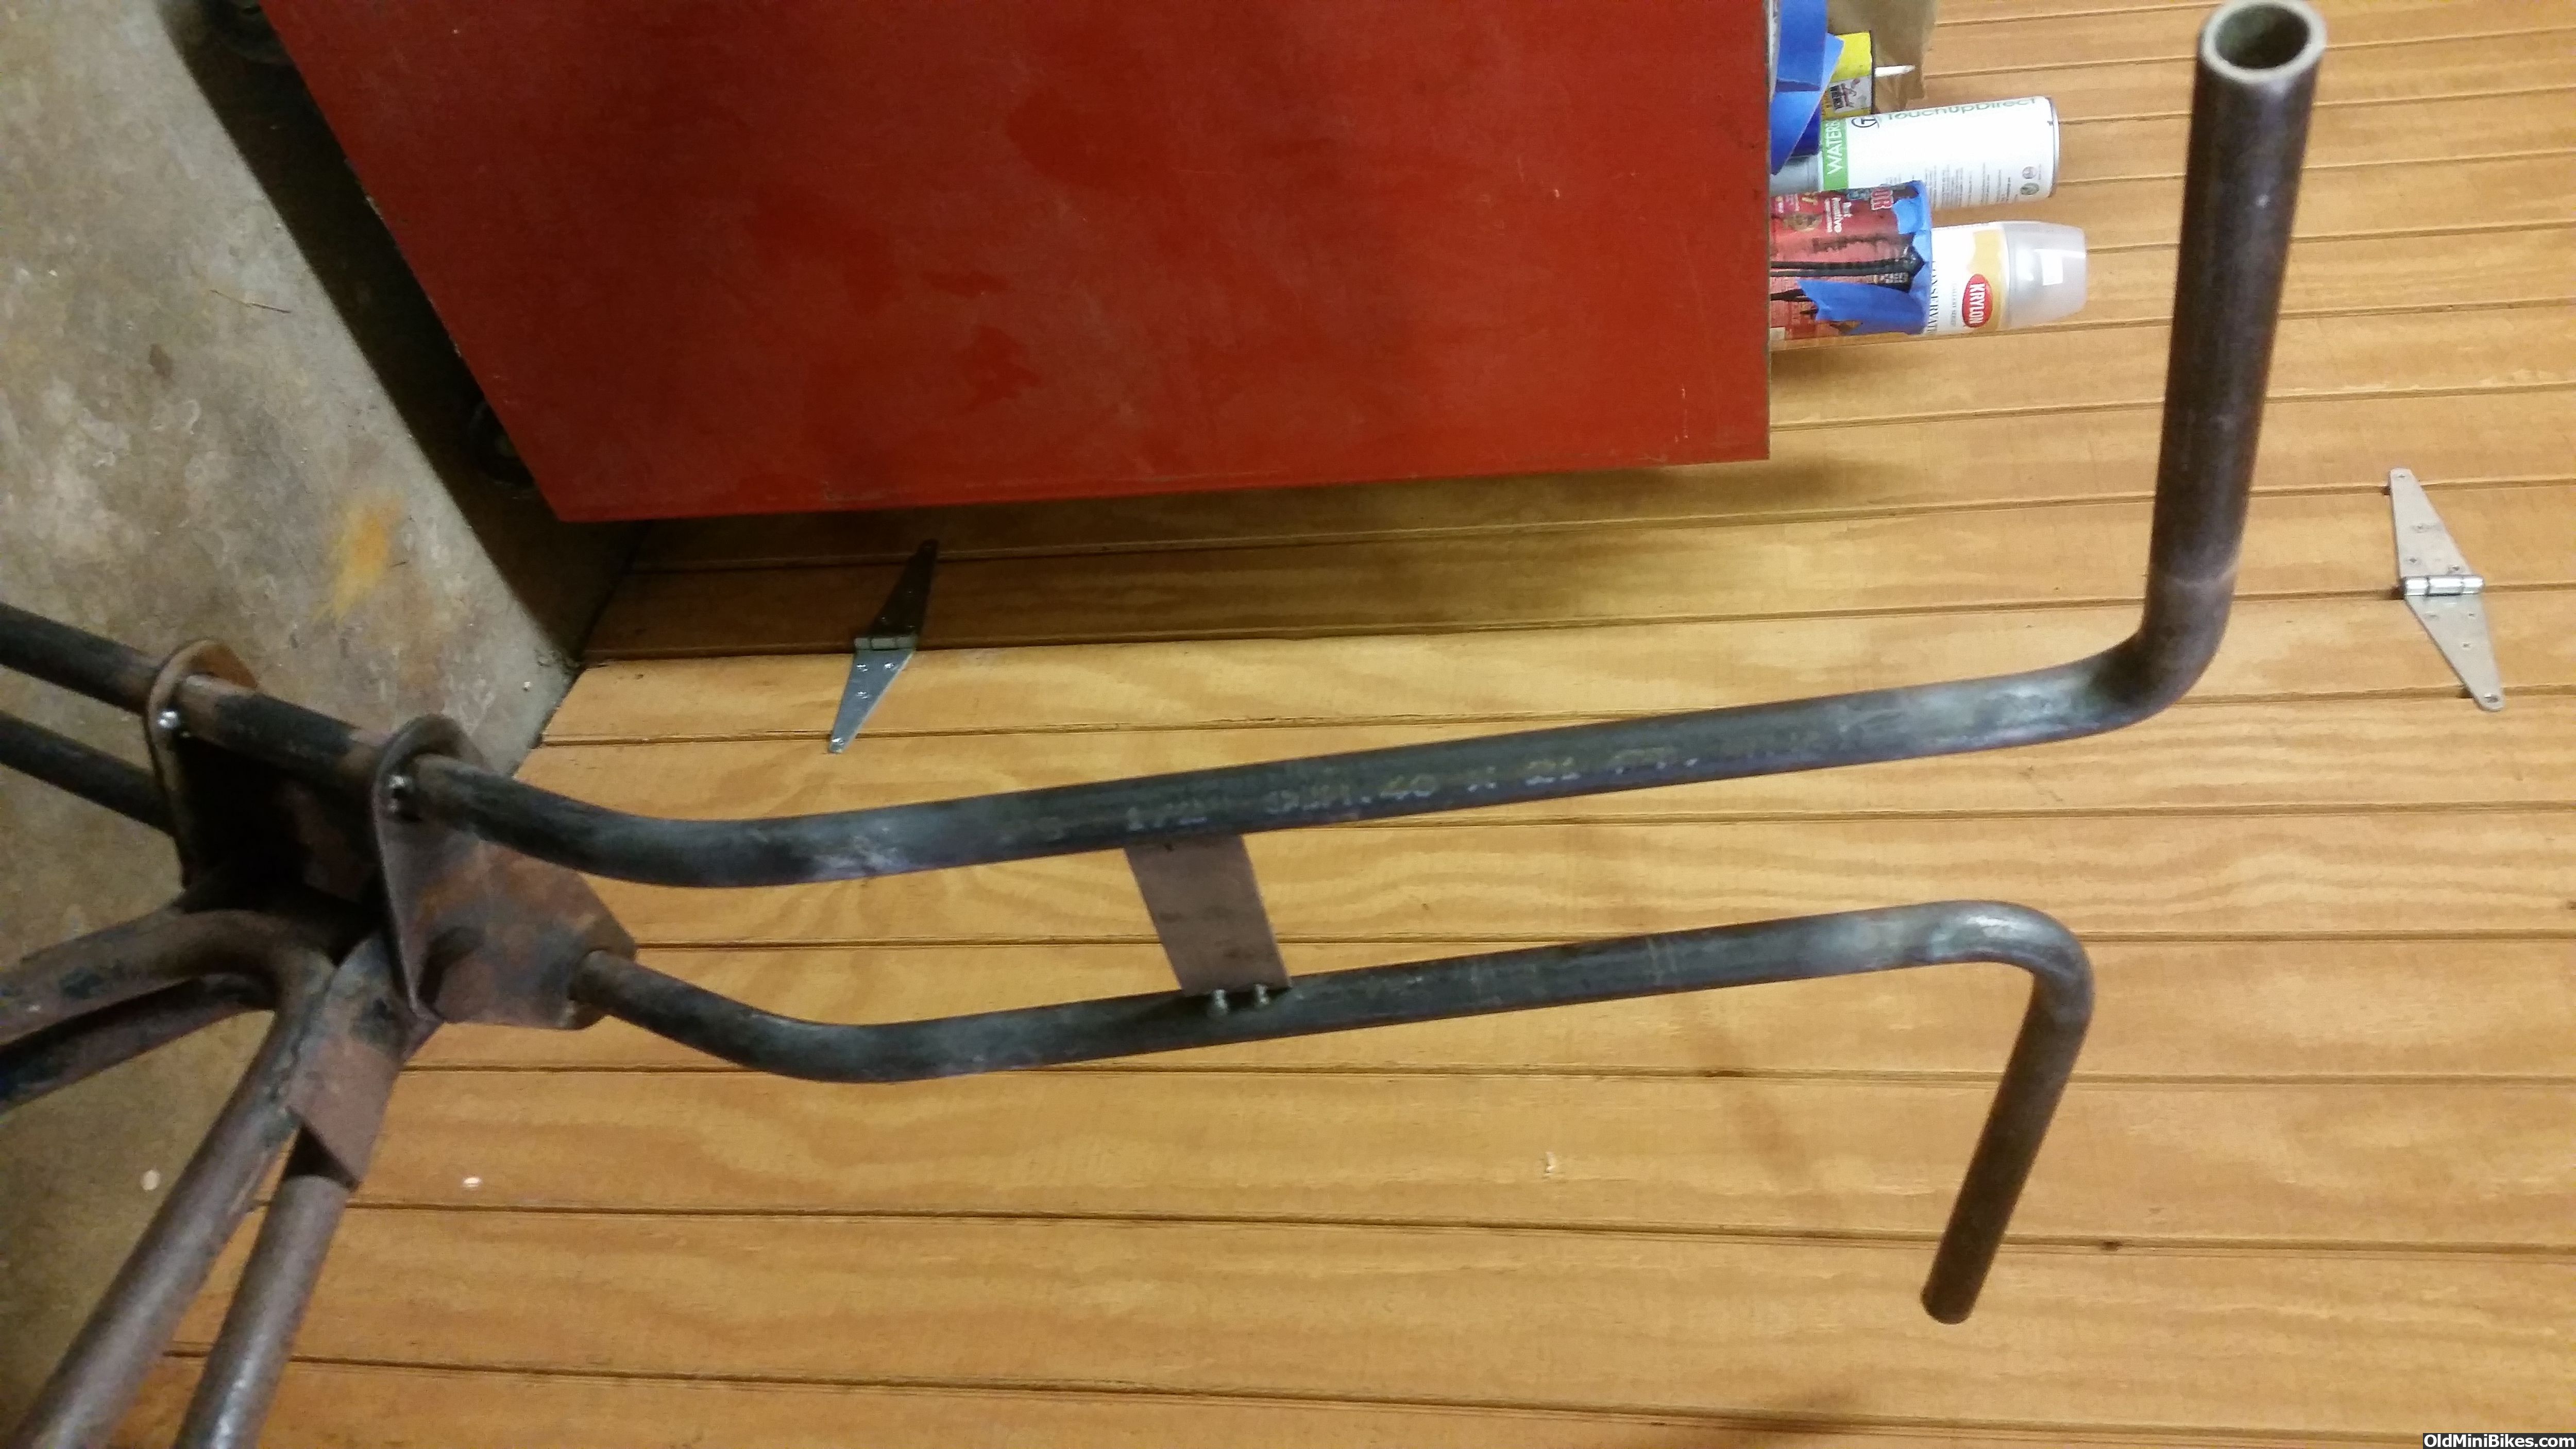
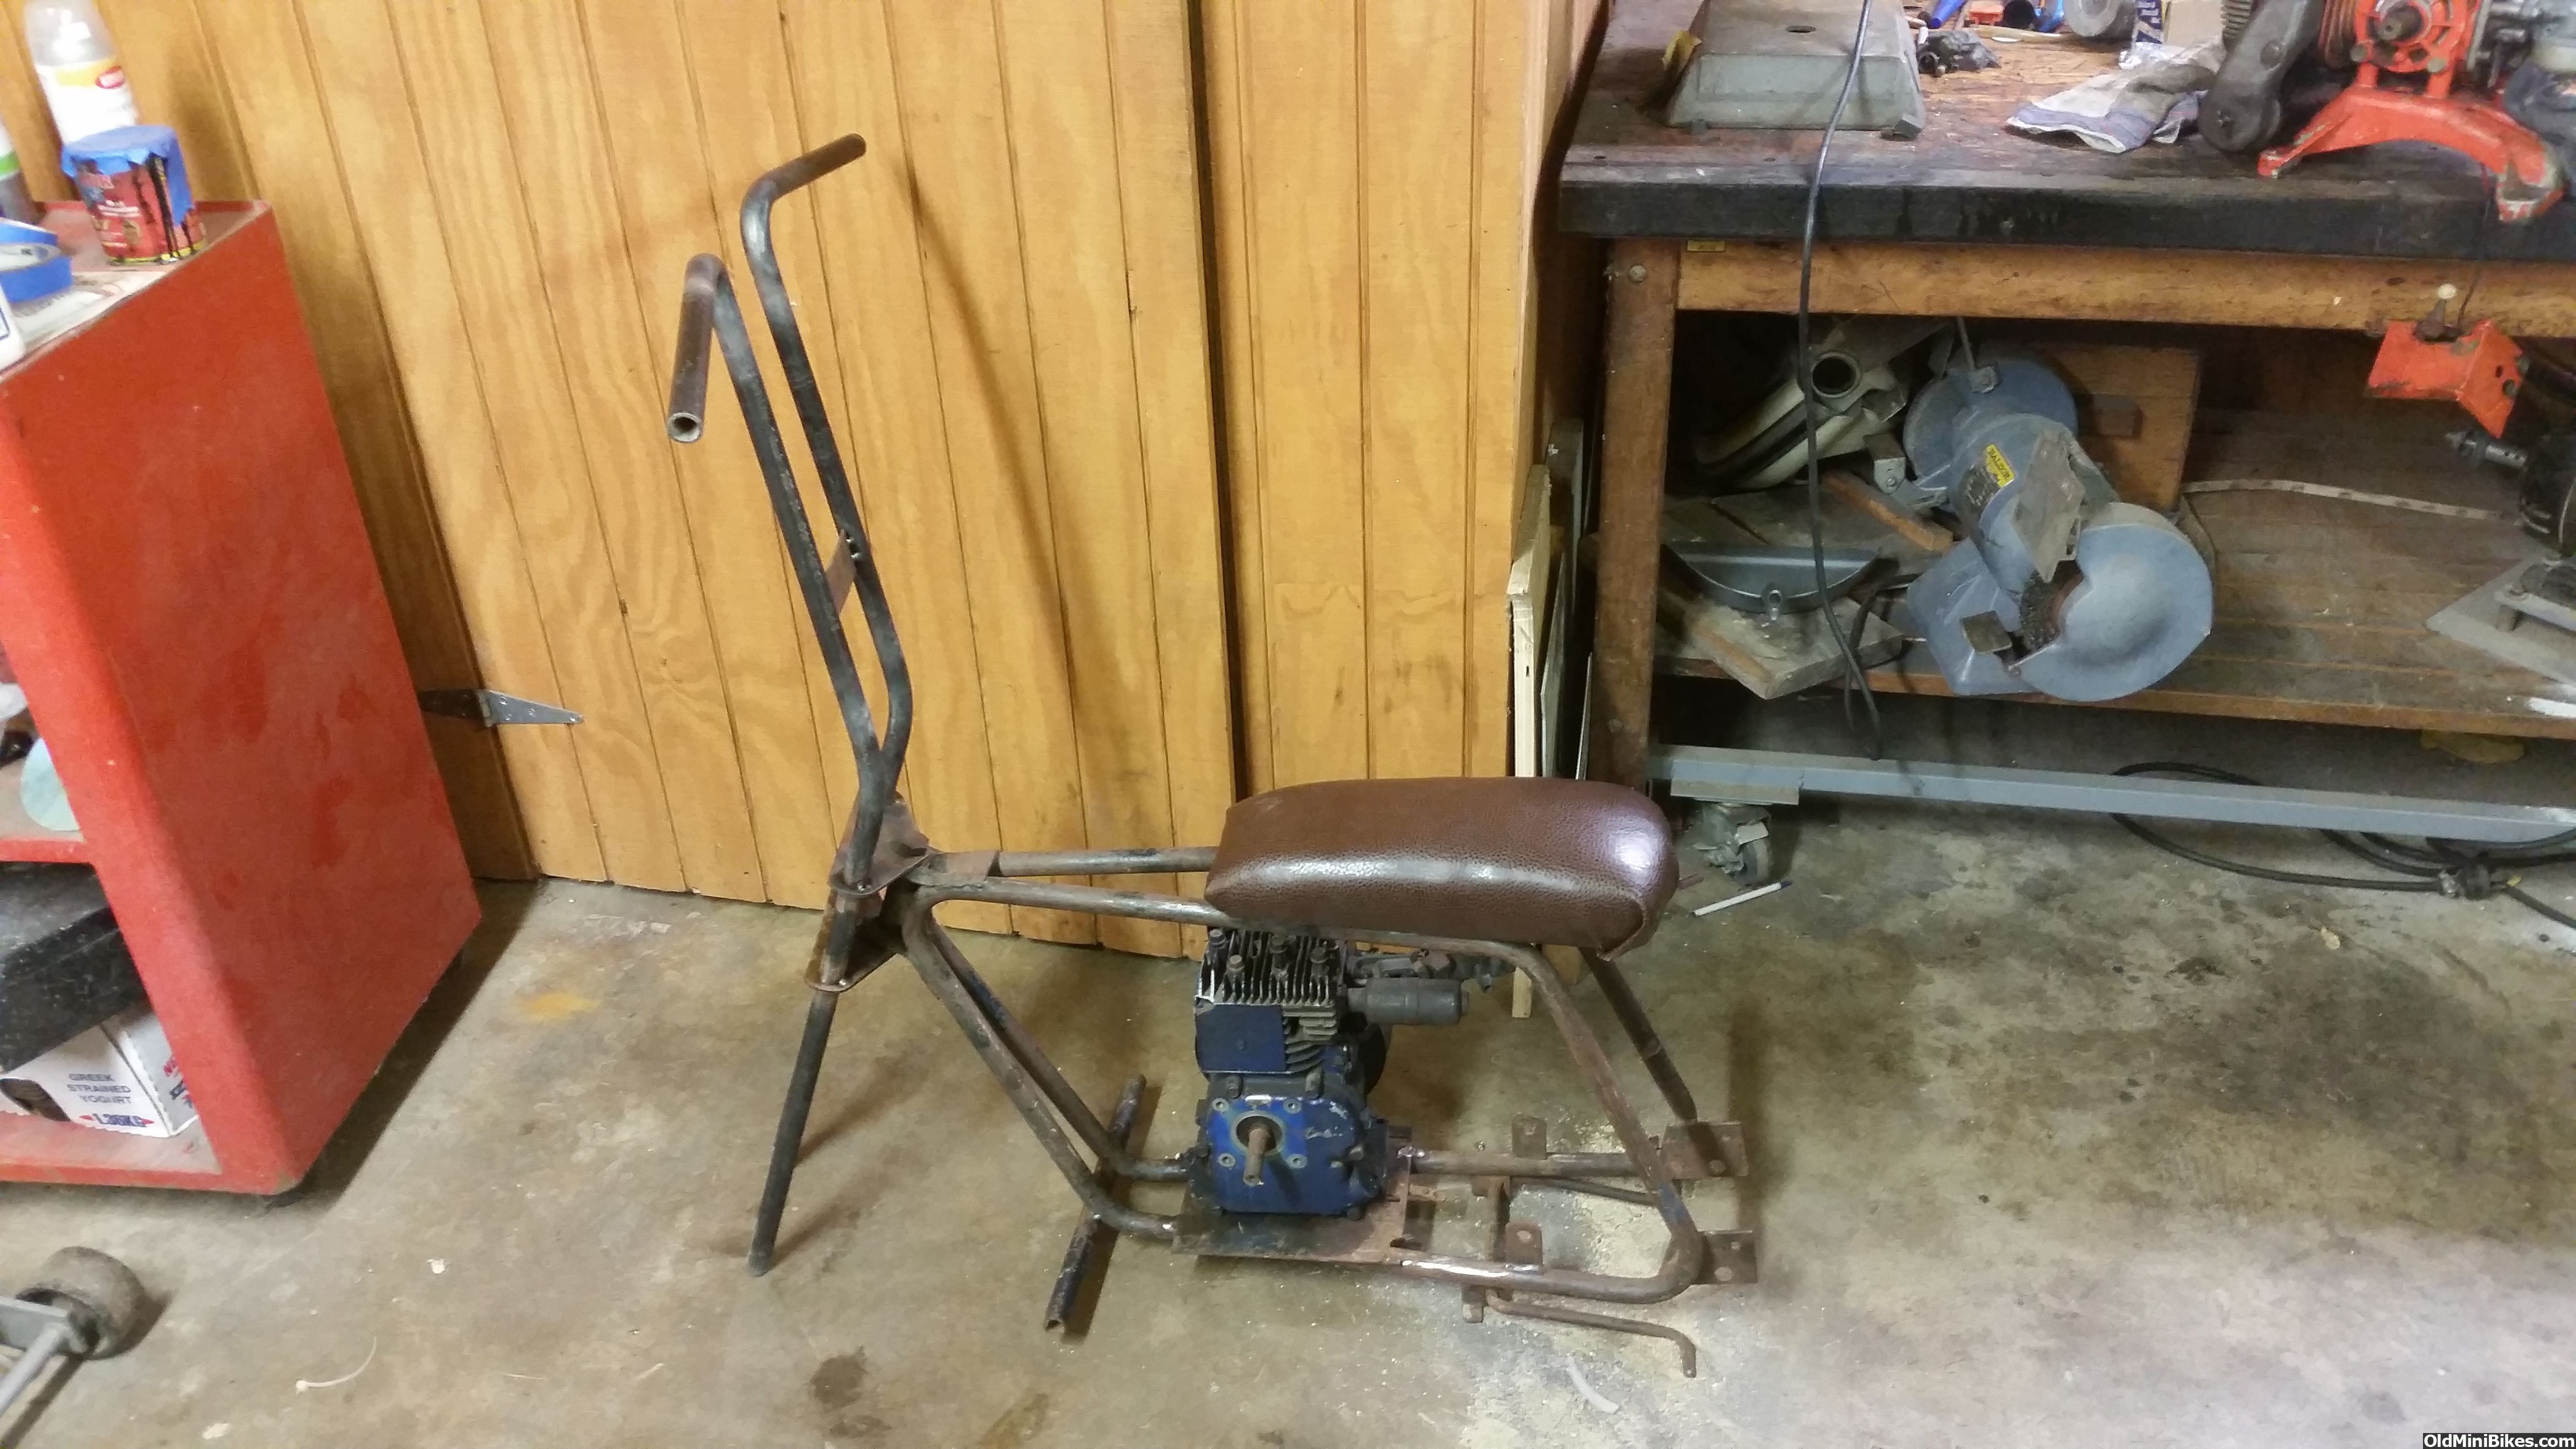
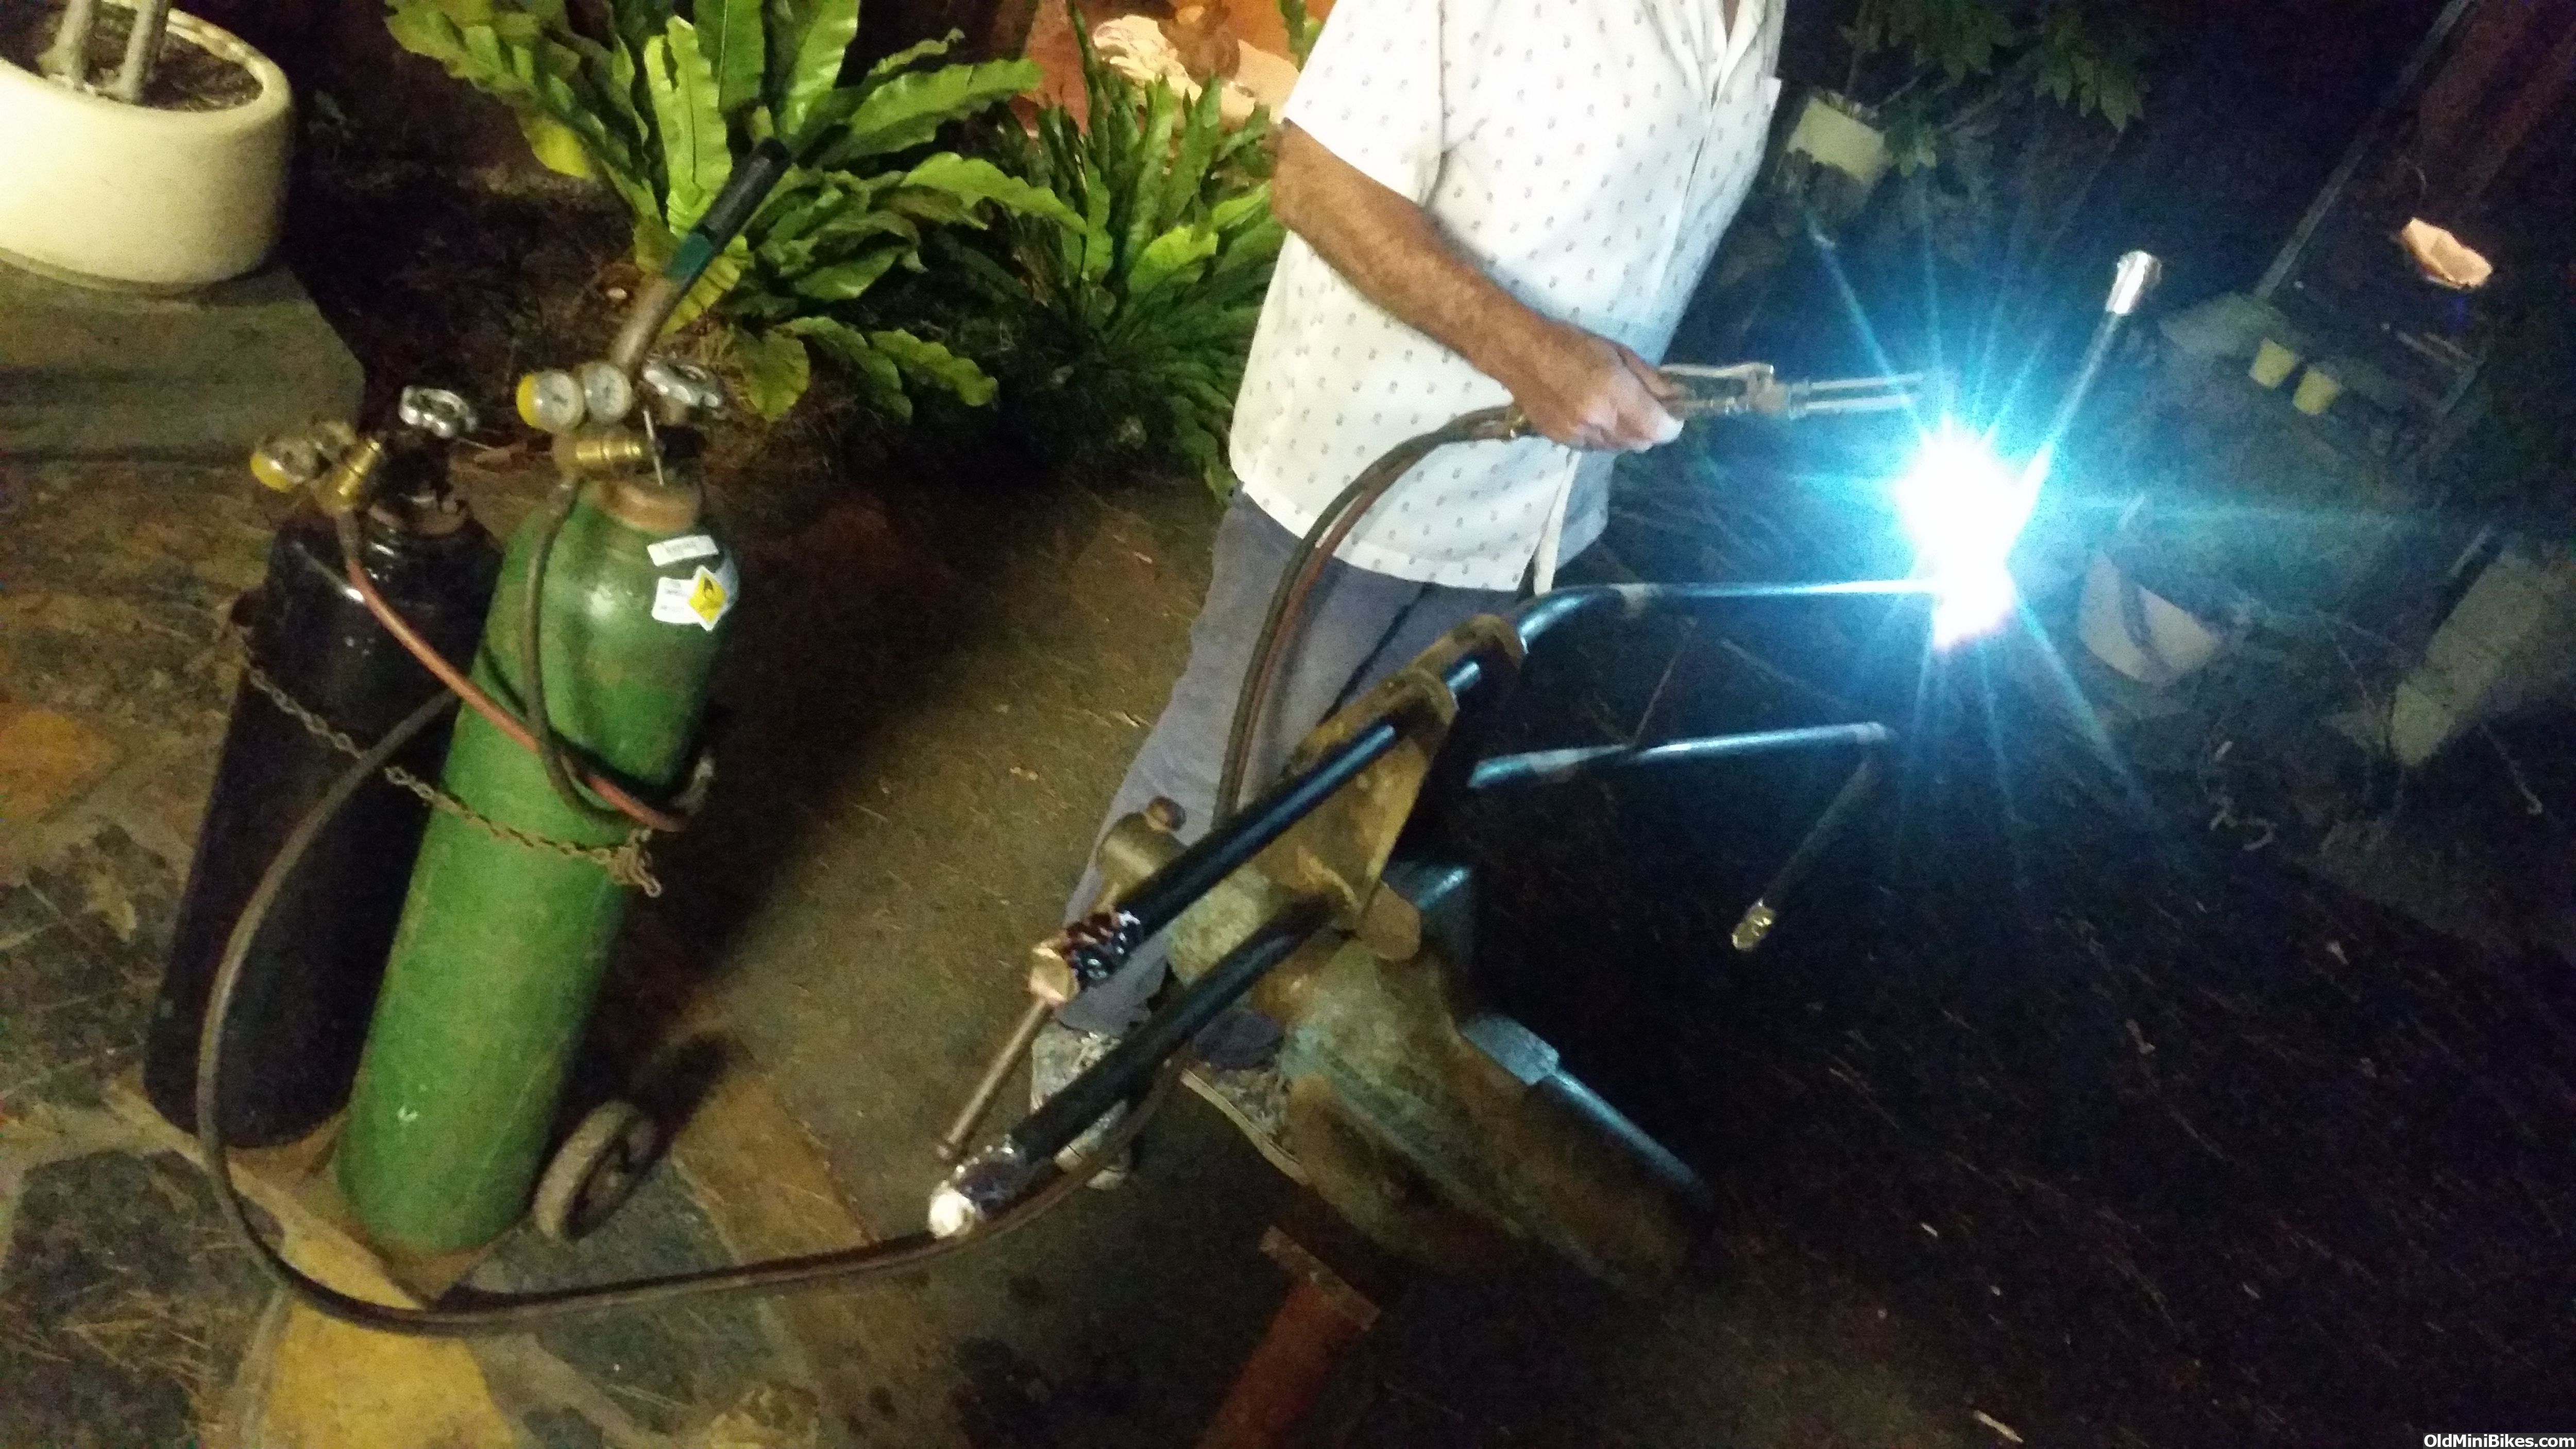
The plan is to bring it back from the dead and maybe customize it slightly. I will have to use the old fork as a guide to fabricate a seemingly identical fork from scratch. I want to make the new handlebars a few inches taller to accommodate my height (6 foot) since the old handle bars touch my knees. It might be fun to add a rear seat shock absorber as well but I'm not sure about it yet. The scrub brake will be built from scratch. I'm going to weld in a repair section where the gouge is and straighten out the smaller stuff with heat. I will probably just paint it the frame when the times comes but may go the powder coat route. I'm going to mount a 1960's 3hp briggs on it and want to try to use a (probably chinese) mikuni carburetor paired with some sort of custom exhaust setup. I'm still trying to plan it out.
 
Last edited:
#3
Sounds like a plan! Looking forward to seeing some progress!
thanks for the enthusiasm! the other day i cut a little repair section from a piece of pipe laying around. i plan to weld it on today... i'll post some pictures of the process when done.

btw the "gouge" can be seen pretty clearly in the 4th and 5th pictures. it's on the right side of the bike right under/next to one of the brackets the where the scrub brake rod goes through. my guess is that maybe the bike got into a crash where the chain came off and it was left running causing the chain to grind through the metal over the course of a few minutes?
 
Last edited:
#6
Thanks everyone. I just finished welding in the small repair section. The welds are not too pretty but I'm pleased with how it turned out. I documented the process with many photos. It involved... cutting a repair piece from 7/8 pipe, slowly grinding it down to a snug fit, hold repair section in place with vice grips, tack weld in place, weld, grind majority of weld w/ grinding wheel, and finish with roloc disk sanding wheel + hand file/sandpaper.


At this point I'm thinking about what parts I need to find. I'm going to get some 7/8 steel tube and start on the forks. I don't know yet how I'm going to bend it without a tubing bender (how do-able is this? any tips?) I don't have a bender but know of the sand method. I also thought about making straight handle bars welded across the top, but don't know if I want that look.
 
Last edited:
#9
Went to an industrial metal supply store and got some 7/8 steel pipe with 11 gauge wall I believe. I picked it from the remnant/scraps so I got just over 9 feet of it cut in half for free for only 5 bucks and some change. Someone in another thread recommended around a .09 inch thickness but I went a bit thicker, partly becuase that's the best option they had but also for strength and durability. I want the forks more sturdy than they were originally (Look what happened to them!) I also looked at different pictures of this same type of "bird" frame online and many of them have bent up, sagging forks, so possibly this was a design flaw. Hopefully my forks will hold up... if i can get them done!
 
#10
I started the fabrication of the new forks tonight... Decided to go with "ape hangers."

I started with 7/8 steel tube (11 gauge). I filled it with sand and taped off at both ends with aluminum tape I had. I got the sand packed down by banging it on the floor hard as well as using a rod to tamp it down. I am pleased with how the bending turned out, the sand and heat combo worked well along with the vice I used for a radius. No kinking at all... it's not perfect but the bends are pretty even too. Once I got the handlebars bent out I started working on the rest of the fork structure. I also decided to salvage part of the original forks, they just needed a bit of straightening. I put together a makeshift jig and tacked it all together for now.

Next, finish the forks. Complete the welds... I also plan to brace it towards the top with a band of steel for strength since my new forks are so long. I'm not sure yet but I may bend the handle bars forward a bit to allow my arms to stretch out more.

 
Last edited:
#11
Yesterday I welded on the front fork plate and also decided to reinforce the extra long handlebars so they stay strong and sturdy. I don't want to end up with a second bent fork... the bike already came with one, HA!

I was also planning to bend the handlebars forward using the sand and heat method since it worked very well for me before. My plan was to do that last night after welding the reinforcement plate but something always goes wrong... my acetylene regulator must have gone bad becuase I was getting no gas from that tank. Planning to shop for a new one tomorrow and will proceed with the project as soon as I can.

...So for now, here's a few photos

 
#13
Thank You!

Got the torch working tonight and finalized the front end. I bent the handlebars forward and also more downward (by making my initial two bends at the top sharper/acute.)

 
#14
I'm thinking about maybe adding some springs/shocks to the front fork, but don't know exactly how I would do that.

My first thought was to make to just make two sleeves with a bigger ID tubing that will slip snugly over the 7/8 tubing and then use some springs and cups... using a set similar to this ( but, likely will fabricate my own type of "cups" ) NOS Set of Two Ruttman Spyder Minibike Fork Springs with Cups, Arctic Cat | eBay

Am I on the right track here, Does anyone have any ideas for this or tips if I end up going this route?

Has anybody added springs to the front forks on a mini?

Any ideas/feedback is greatly appreciated!

Thank You!
 
Last edited:
#15
Why make the cups when the "official" ones designed to work with these springs are so cheap and ready to go? You need the tab to retain the springs. I understand the satisfaction of doing everything from scratch, but this is one case where buying the part makes sense to me.

Study the design of the Arctic bikes that use this external spring design. It's tried and true by many manufacturers and the parts are plentiful. You can still make your own lowers. Only trick you'll have are the overlap clearances and internal plastic bushing sleeves which need a groove to retain them.
 
#16
Why make the cups when the "official" ones designed to work with these springs are so cheap and ready to go? You need the tab to retain the springs. I understand the satisfaction of doing everything from scratch, but this is one case where buying the part makes sense to me.

Study the design of the Arctic bikes that use this external spring design. It's tried and true by many manufacturers and the parts are plentiful. You can still make your own lowers. Only trick you'll have are the overlap clearances and internal plastic bushing sleeves which need a groove to retain them.
Thank you for the input. My thought was that the cups might need to much modification and it would make more sense to make my own but I understand your point as well.

Also, my initial idea was to make the lowers larger than (so they slip over) the rest of the fork as opposed to smaller (the opposite of an arctic cat.) Do you see any problems with that approach?
 
Last edited:
#17
Yep, exactly. Your design is reverse of the normal way. It might collect moisture but you could try it. It's an interesting concept.

Sent from my SM-G900P using Tapatalk
 
#18
also on an arctic cat how do the cups get secured to the fork?

I know the tabs secure the springs... but how do the cups stay in place on the fork, are they welded onto the lower portion while gravity keeps the uppers in place against the fork plate section?
 
Last edited:
#19
The cups, both upper and lower, are welded in place. See the attached pics. The upper tubes have a 1" ID. The white nylon sleeves slip inside that upper tube. The raised lip of the plastic sleeve fits inside a groove about 1/8" up in the upper tube. This keeps the bushing from coming out. Reproduction sleeve bushings are available from blackwidowmotorsports, but without that machined inner groove to hold them in place, you might have trouble. If you have lathe access, no problem, machine your own. I can provide more details and measurements if needed. The lengths of the upper and lower tubes and travel distances, cup placement, etc. might be crucial to keep it moving the way it should without losing rigidity. PM me if needed.

On an Arctic, and many other similar designs, the upper tubes in the tree are 1" ID and stubby. The lower tubes are 7/8" OD and very thick-walled so they are strong. Any sort of bending in either means your sliding action stops. Note that the chrome springs have an ID that is just a bit larger than the upper tubes. I can measure if you like but you need a little gap so they don't rub as they compress. This design with the 7/8" lower, plastic sleeve, and 1" ID upper is a little sloppy, but necessary for proper action.

You'd be creating an inverted version of this. This would be dependent on your upper tubes being 7/8" OD and very sturdy to avoid bending. You will also need to polish them up with multiple stages of ever-finer sanding and buffing. You could make lowers out of 1" ID tube but you may have to experiment a bit with how your front wheel will fit. Rather than pinched bottoms, maybe you have to weld on tabs like a BMX bike. Maybe your lowers need to be cross connected like a mountain bike to keep them parallel. Maybe that would encourage binding, hard to say. My example shows how they pinched the lower ends and welded a tab on for the brake. In your case, skip the front brake and keep it simple. With a standard wheel and adjusting with axle spacers, it shouldn't be too hard to make the lowers. Getting the design to work is another story.

My biggest concern for your design will be that your upper is very spindly without much rigidity. On the Arctic, the upper is beefy and tied directly into the very short and rigid tree assembly. For you, the beefier part will be your lowers, and those will be dangling out there in the wind at the tips of your spindly forks. I hope it holds up.

It will just take a bit of trial and error. Hopefully you can do things in a way that if it doesn't work out, you can still revert to a non-sprung front end. You've shown you have the creative skills. I've used a 5' breaker bar to persuade some bent parts into straight parts without heat, but I never saw the old "vice and boulders" trick. Very creative! Good luck.

One last thing...The tabs on the cups are so that the springs "thread" into them to hold them in place. Somewhere on this site I made an old thread about how to remove springs that have been jammed/rusted into the cups over the decades. Compression on the springs actually self-tightens them, making them very difficult to remove sometimes. Since the springs need to be "threaded" on and your upper tubes are fixed, the lower tubes will need to be spun on independently to install them, so I guess there's no attaching the left and right lowers together for rigidity or it would be impossible to assemble...or you assemble, then weld. Permanent. A non-sprung front end should be looking more attractive to you by now. :)

fork1.jpg
fork2.jpg
 
Last edited:
#20
Thank you your in depth response about how the front shocks work on an Arctic Cat and some other bikes. It has helped me understand the concept more clearly. Highly appreciated!

I have done some research and the shocks on Arco models such as the Bushwhacker and Buccaneer were reverse of the Arctic Cat. That is the way I'm going to do it... The front end with skinny uppers and larger lowers that slip over. Also, it is possible that Arco forks did not utilize a replaceable nylon bushing/sleeve, instead they were greased and fit snug with no gap. Check out this thread where someone asks if a pair of Arco forks are steel on steel https://www.oldminibikes.com/forum/baja-mini-bikes/35359-homemade-suspension-fork.html

I decided I'm going to try this with no bushing but lubrication instead. Yesterday, I got some sections of steel tubing from remnants at a metal supply store. Its sturdy but not too thick and fits tightly over my 7/8 fork with a very slight gap, just enough so they slide well. All I need is the spring and cup set to put it into motion. For now, I'm on the hunt for some used wheels so that I can figure out what size I need to order my axle spacers (I want to order all my parts together to save on shipping and a front wheel/tire would be nice to have as reference while I finish the fork)
 
Top