First, hopefully this can be in the Doodlebug Forum :thumbsup:
When I started looking for Doodlebug info i looked here first. :smile:
Well where do I start....
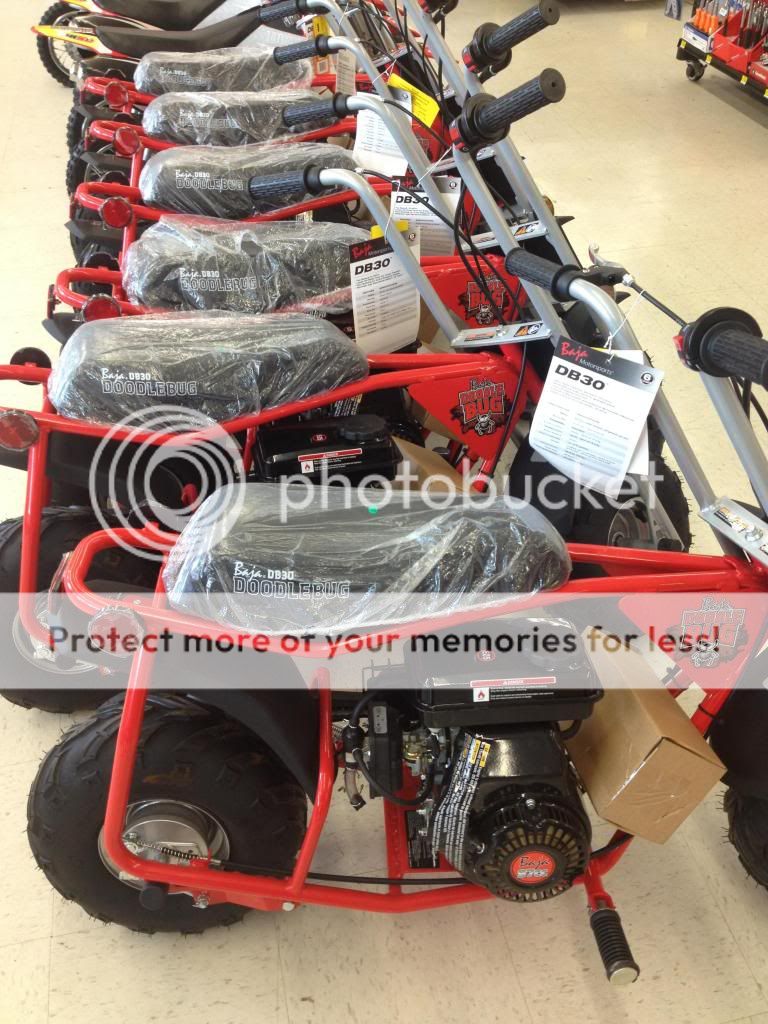
I guess it started when I wanted something to run around the pits at VIR ( Home | Virginia International Raceway ) when I ran my car there a few times a year. I needed a pit bike I’ve looked at tons of things, but just couldn’t find the right thing. Then a friend of mine showed me his little minibike...w/ a monster motor in it (Predator) lol .... I think I decided pretty quickly that that was what I needed. I had never had a minibike before and never ridden one, didn’t even drive his. So, 2 days later I went and bought a Predator motor...but something was missing.... I still didn’t even have a minibike LOL ! So the next day the wife and I stopped by Pepboys and rolled out a new Doodlebug. :thumbsup: Now I have my own minibike.
I then scanned this forum all week to figure out how I was going to make all this work!
Pics before the start...
At the store
In my van


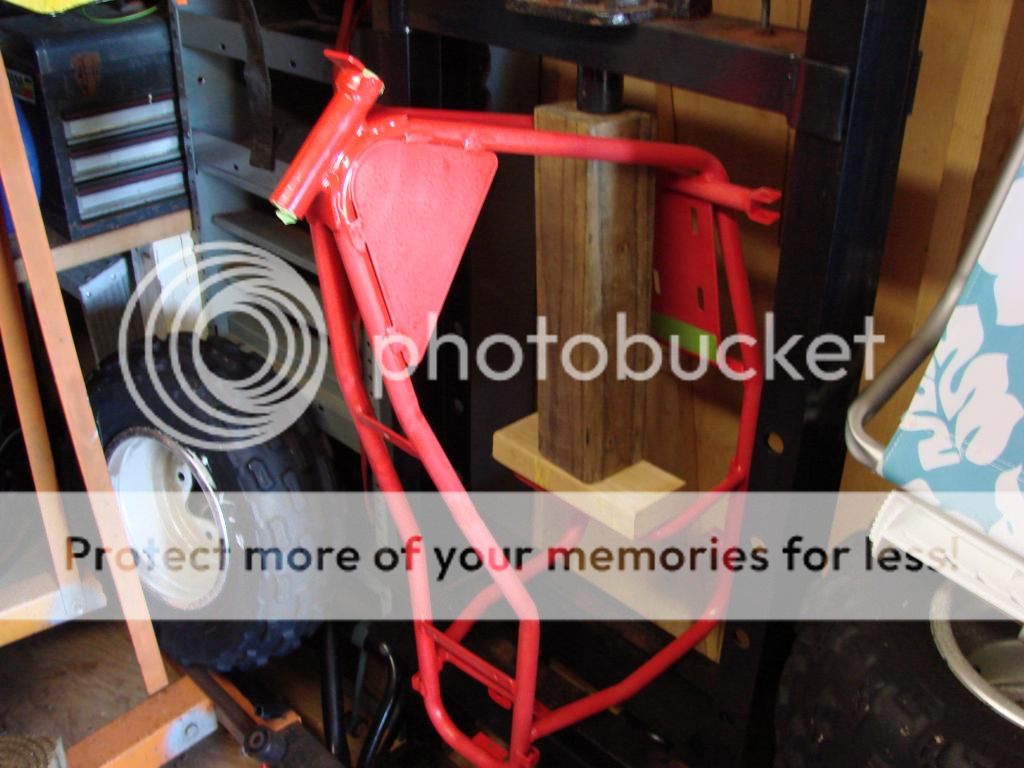
So the next weekend first thing I did was completely disassemble it, never rode it, never even started it. lol Then I proceeded w/ the build. I had an idea for the paint scheme, but had to plan things out a bit so I didn’t have to backtrack and fix stuff I missed. First thing I did was order all “The Stuff”.
The tear down...


For sale :wink:


List of stuff...
12T Max torque Clutch
PMR Motor Mount
Header Pipe
RVL Silencer (muffler)
Heat Wrap (for pipe)
Crankcase Breather
#35 Chain
Braided Hose
Billet Rod
Billet Flywheel
Pred Carb Bolt
Uni Air Filter
Air filter Adaptor
Vac Hose
Oil
Gaskets (Head, etc)
Performance Spark Plug
Jet Kit
Choke Lever Retainer
PMR Clutch Cover
New “metal” front and rear Fenders
A ton! of paint, and I’m sure I missed something....
When I started looking for Doodlebug info i looked here first. :smile:
Well where do I start....
I guess it started when I wanted something to run around the pits at VIR ( Home | Virginia International Raceway ) when I ran my car there a few times a year. I needed a pit bike I’ve looked at tons of things, but just couldn’t find the right thing. Then a friend of mine showed me his little minibike...w/ a monster motor in it (Predator) lol .... I think I decided pretty quickly that that was what I needed. I had never had a minibike before and never ridden one, didn’t even drive his. So, 2 days later I went and bought a Predator motor...but something was missing.... I still didn’t even have a minibike LOL ! So the next day the wife and I stopped by Pepboys and rolled out a new Doodlebug. :thumbsup: Now I have my own minibike.
I then scanned this forum all week to figure out how I was going to make all this work!
Pics before the start...
At the store
In my van
So the next weekend first thing I did was completely disassemble it, never rode it, never even started it. lol Then I proceeded w/ the build. I had an idea for the paint scheme, but had to plan things out a bit so I didn’t have to backtrack and fix stuff I missed. First thing I did was order all “The Stuff”.
The tear down...
For sale :wink:
List of stuff...
12T Max torque Clutch
PMR Motor Mount
Header Pipe
RVL Silencer (muffler)
Heat Wrap (for pipe)
Crankcase Breather
#35 Chain
Braided Hose
Billet Rod
Billet Flywheel
Pred Carb Bolt
Uni Air Filter
Air filter Adaptor
Vac Hose
Oil
Gaskets (Head, etc)
Performance Spark Plug
Jet Kit
Choke Lever Retainer
PMR Clutch Cover
New “metal” front and rear Fenders
A ton! of paint, and I’m sure I missed something....