Sears Roper Build

#1
I picked this frame and wheels up from Cheezy1 a couple of months back for 50 bucks. This was supposed to be my "Winter Build Project", but you guys know how THAT goes. I don't even think I had it home and I was writing a list of everything I needed.
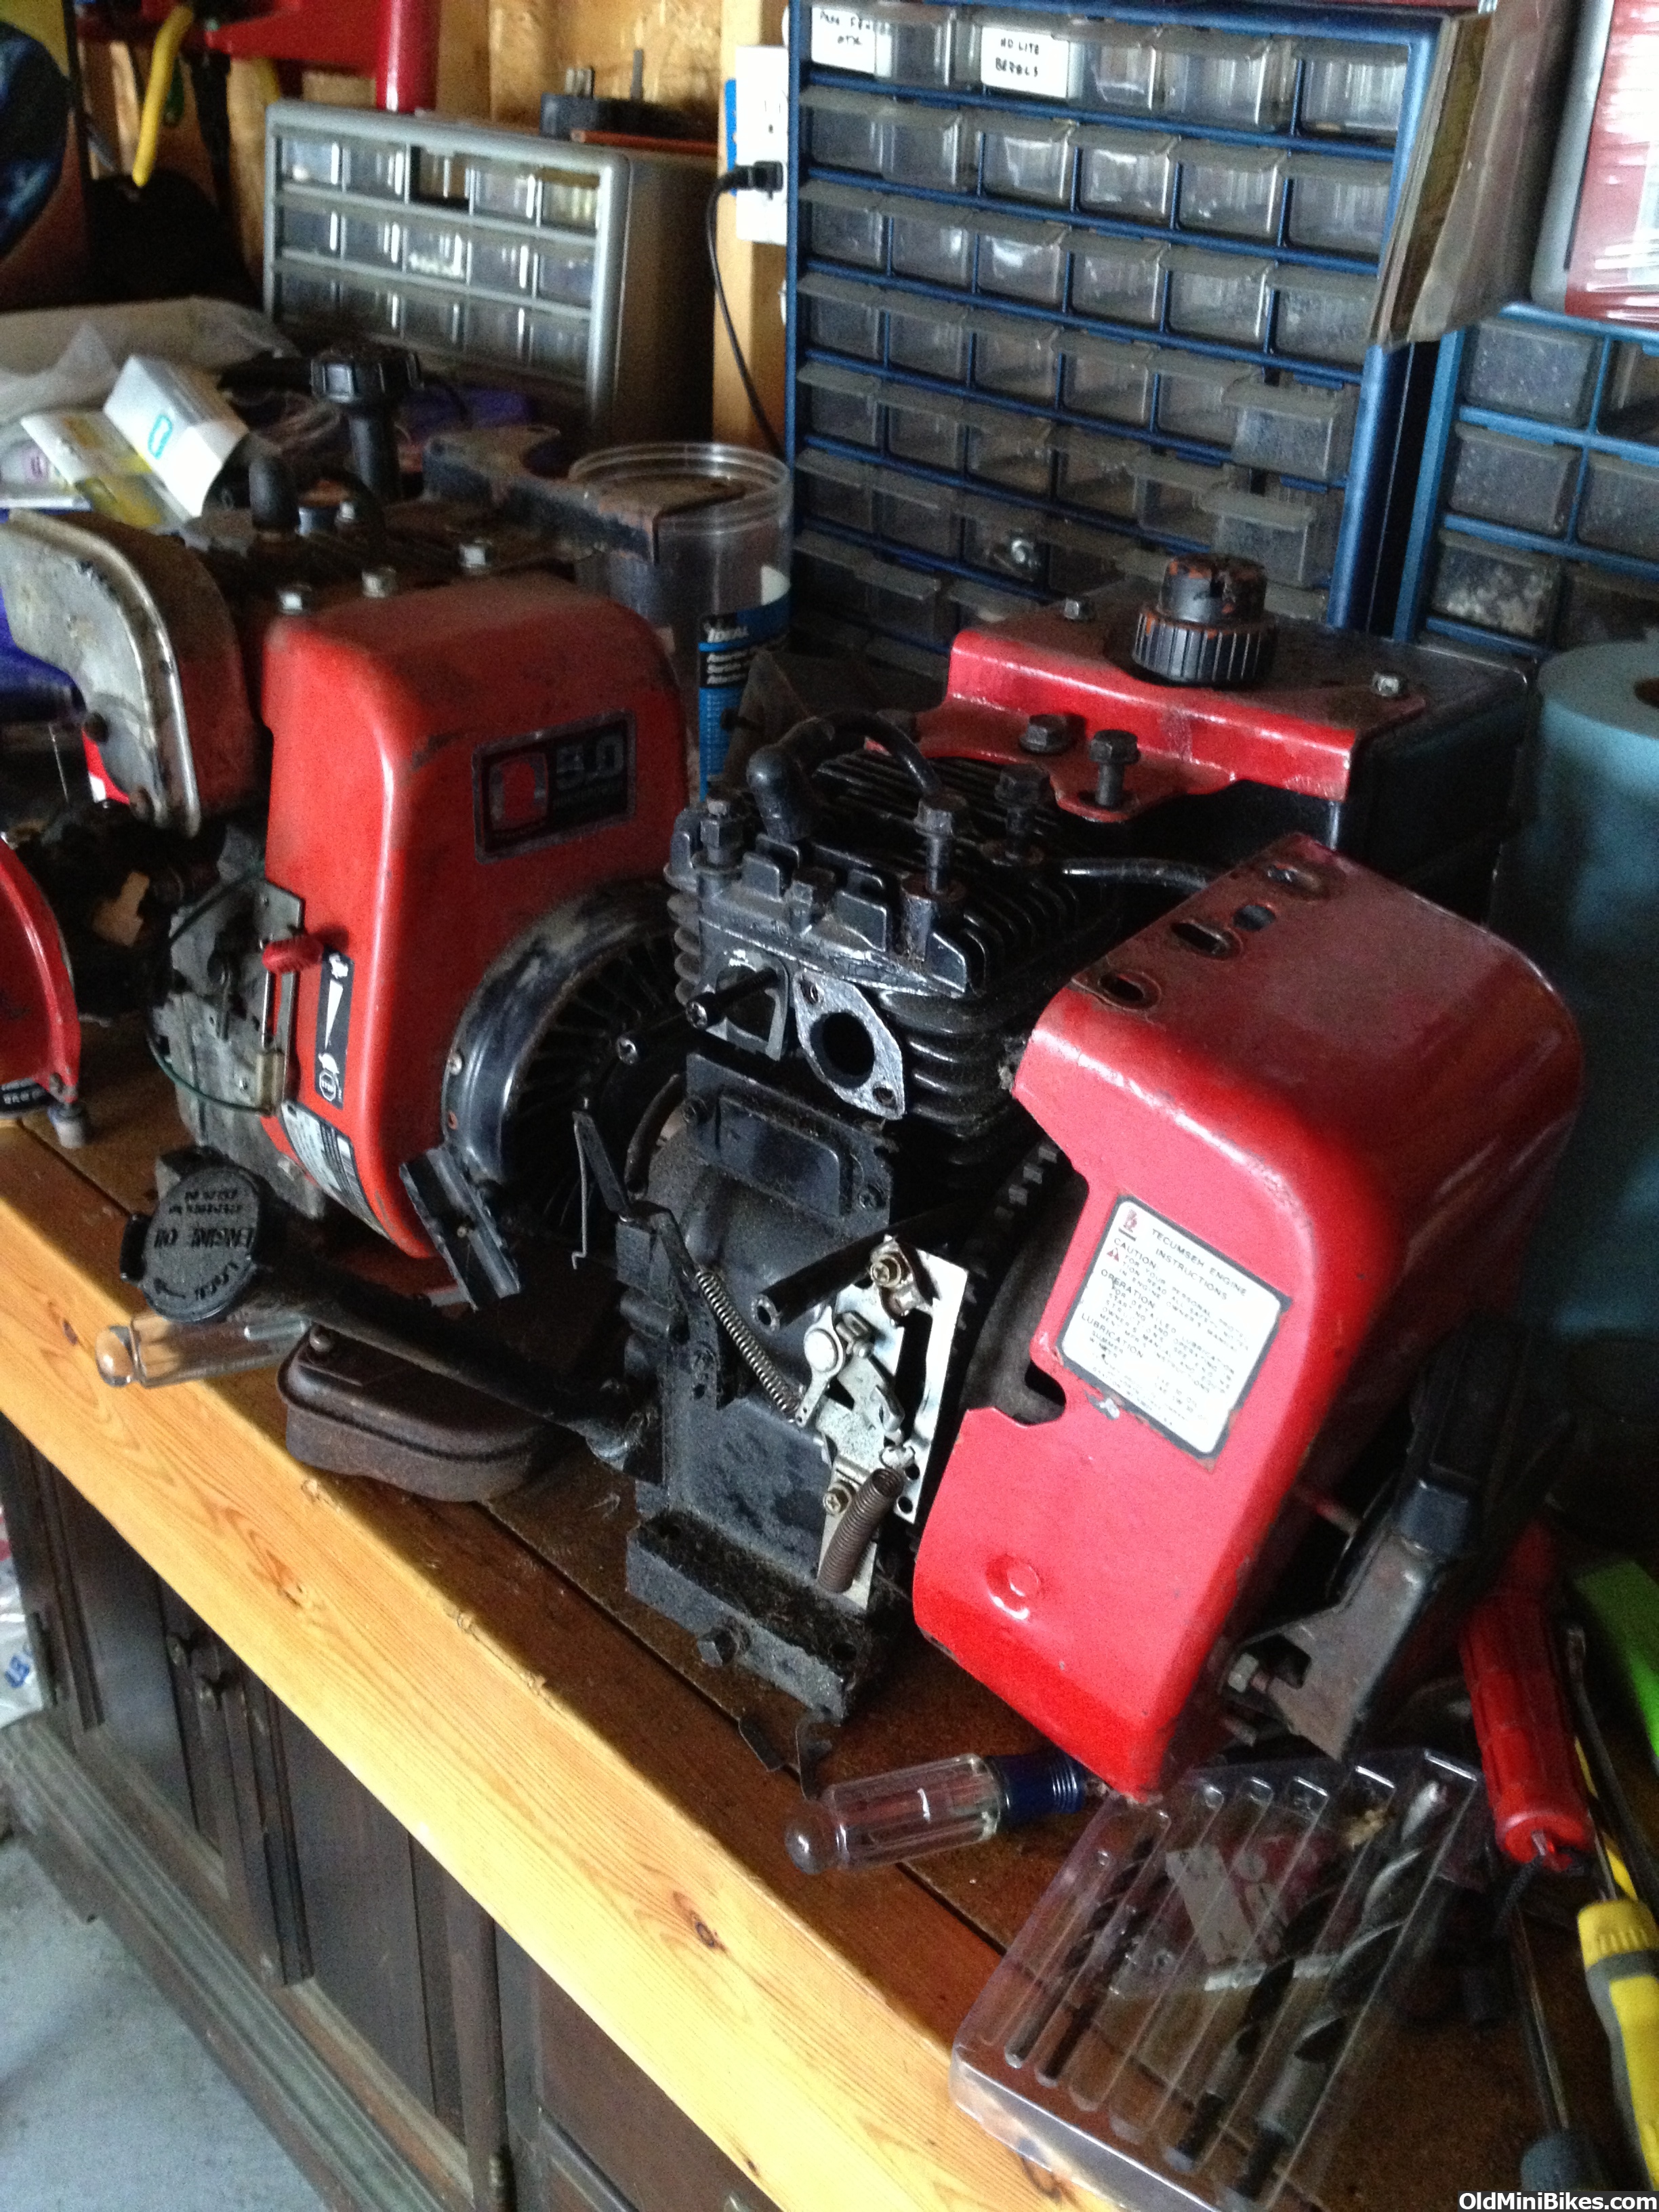
Tires, bearings, throttle, cable, shocks, primer/paint, re-cover the seat, engine, clutch, chain, rear fender, rear fender bracket....... etc, etc....


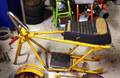
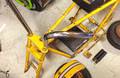
This is how I got the bike. I was originally thinking of repainting it that ugly mustard yellow but then the more I looked at that color, the more I didn't care for it.

Let The FUN Begin!!!!!:smile:
 
#2
The first thing I did was take those cracked old tires off the rims. Those were a bear to get off since they were tubeless tires. I carefully used a razor knife and cut to separate the tire into two halves then I found some steel belting inside the tire where the bead is. I used some diagonal cutters and managed to cut those belts. Tire was rusted to the rim!! Geez!

I wanted one of those Harbor Freight sand blasting cabinets for some of the smaller things like bolts, nuts, fenders, rims so on the fourth of July they had a coupon for 25 percent off one item. Picked it up for $89. I thought that was a pretty decent price.

Sand blasted the rims, primed, painted white, and assembled with some inner tubes and tires I had laying around. The rims were so badly rusted that there was some pitting on them. I think they turned out pretty good though, from the way they started out.

 
#3
I was thinking about an engine for this bike. I really don't want to mod the engine, just a decent reliable one. I DID consider a predator 212, but I wanted the "look" of the 70's for this one.

I did some looking around and picked up (2) 5hp Tecumseh engines. Come to think of it, these were from Bill too. Anyways, I kinda combined both engines into one put new fuel line and plug. Made sure this thing runs and spray bombed the engine white.


Do you think I should paint the gas tank white? Maybe with some of that plastic paint, or just leave it black.
 
#4
Ordered (4) 1 3/8" x 1/2" bearings from a guy on eBay.
Ordered (2) shocks from Surplus Center for pretty cheap. Surplus Center - COILOVER SHOCK ABSORBER ASSEMBLY
I purchased a replacement clutch pedal from the local Advance Auto Parts. Creia had mentioned that it fit pretty well on the Sears/Roper bikes' brake pedal.

Went to Suburban Bolt up the street and picked up (2) axle bolts and nuts. Front was 1/2-20 x 6" long and rear was 1/2-20 x 8" long

Ordered a 1" throttle and dummy grip from ebay.

I sand blasted the rear swingarm in my blast cabinet and painted. I sent out the frame and forks to be blasted. I pulled a "favor" and had them blasted for freeeeee. lol

 
#5
Oh, did I mention that I picked Ford Blue for the bike? :laugh:

I received the frame and forks from the sand blast shop. They had asked if I wanted the handle bars blasted, and I said, "no". I wanted to keep the chrome handle bars. Well they taped off the bars when blasting, and when I went to peel off the tape, it pulled a little bit of the chrome off with it. It already had some flaking anyhow, so it just adds character:wink:

Painted up the forks and added the wheels. Frame is in primer right now. Its been so humid out that I am afraid to paint.


buckeye

Well-Known Member
#11
Great project.

Try leaving the tank unpainted. Unless there is some good way to paint it. My experience, as lacking as it is, paint, plastic, and gas don't mix. Any spilage and paint is history. Engine looks great. You need some of minibike pauls water slide decals! Finish that engine right off.

And paint that muffler or put a header on it.:laugh:
 
#12
I'm thinking a header would be good. I want it with a muffler though.

No tank on this one. It's a plain Jane bike. Oh, never mind Buck, I get the tank thing now. Lol. I thought for a minute you meant the big ugly tank on the bike.

And I am going with the decals :)
It's not a show bike or nothin' but for a few bucks I think it will dress that engine nicely.

Thanks for the comment!!!

View attachment 55441
Looks like the one in this ad except there aren't any springs on the forks.
 
Last edited:
#13
Last night I ground off those old welds and filed and sanded smooth. :thumbsup:

Hopefully this evening I can get the old mig welder out and fill in those holes. Anyone ever done that before? I am not a pro welder but I am thinking that just pecking at the hole until it builds up is the way you do it? Any suggestions would be greatly appreciated.
 
#17
I painted the frame tonight. I didn't take a pic of it, but I will tomorrow when I get home from work.

I also am messing around with a sheet of stainless steel which I salvaged from a BBQ grill. What I want to do is attempt to make a clutch cover similar to the original one. I'm just going off of pics, but doesn't look too difficult.
View attachment 55511
 
#18
Ok so here's my progress for the day. I traced a scaled up photo from eBay onto my sheet of stainless. Used my Matabo, pneumatic shears, and tin snips to cut it out. Filed down to smooth and I made a simple metal brake and bent the flange. I still have to finish it up and polish but here's a pic so far.
View attachment 55527
 
Top