
You are welcome Clay :thumbsup:
Congrats on your acceptance to school, I'm very happy for you!
Onward....
The end is near :blink:..... Thank God!!!!!
I now have electrical contacts..... The cables now hook up to something other than air :shrug: I still don't have the rear brake hooked up though. Besides......Who needs a brake any ways :shrug:.... I'll just down shift to slow down :helpsmilie:
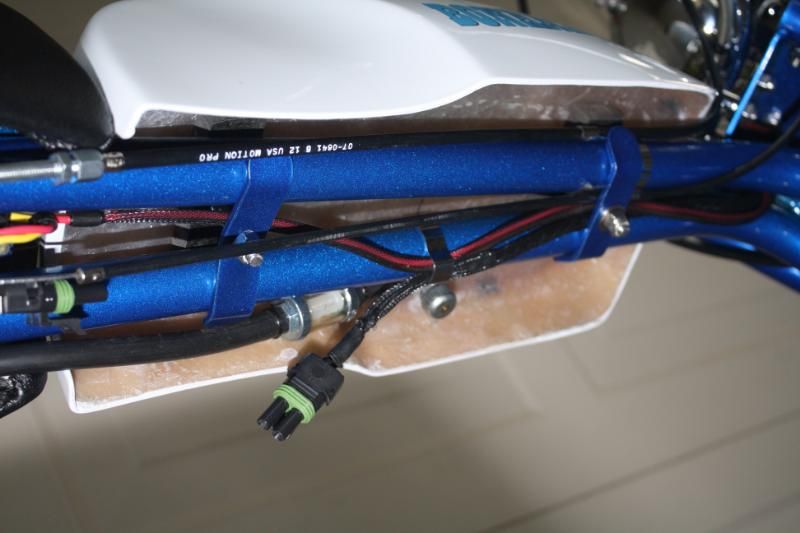
I hit up McMaster & Carr once again for these weather tight connectors.....

I started on the engine's wiring harness first and worked my way towards the wiring harness on the frame. (with the engine all the way to the back of the mount) After I got done installing the nylon sheath all over the place, and melting the Raychem tubing in place......
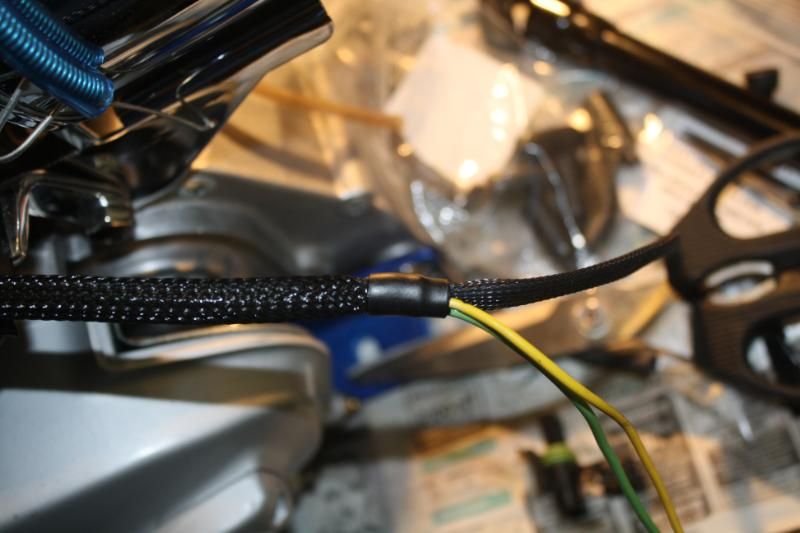
I installed the pin and sockets of the weather tight connectors to the wires, then I crimped them a tad and then soldered them to the wires, for a positive connection ....
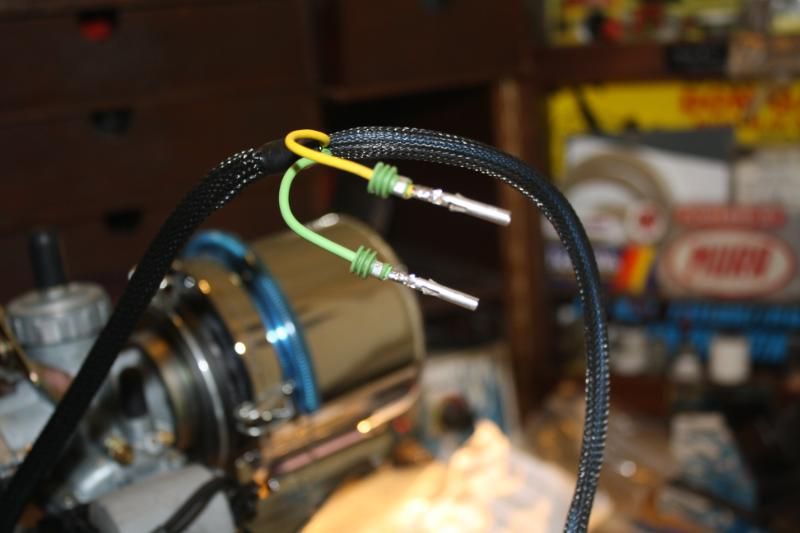
All done with the engine's wiring harness..... Ready to go.....
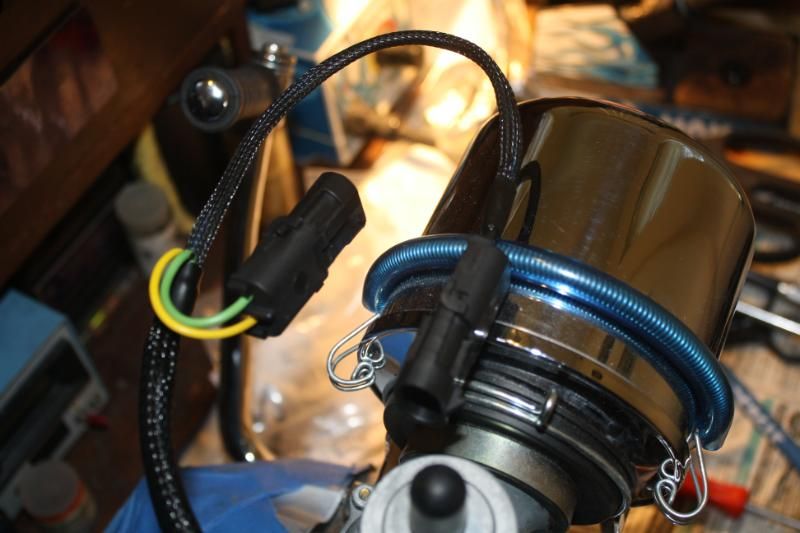
I could spend a lot of band width here on the art of wiring :doah: to make it simple, I always leave a loop (slack) of the wire before it enters the connector. I also make sure that the connector(s) are supported by the wire once in place. I.E meaning..... That I cut my wire(s) to a length that will support the connector once installed without any others means of support. Then I install clamps as needed to support the harness.....
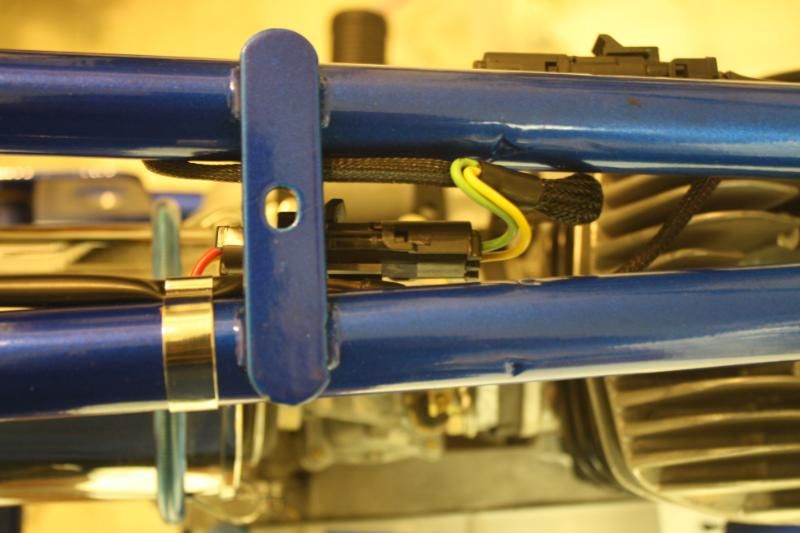
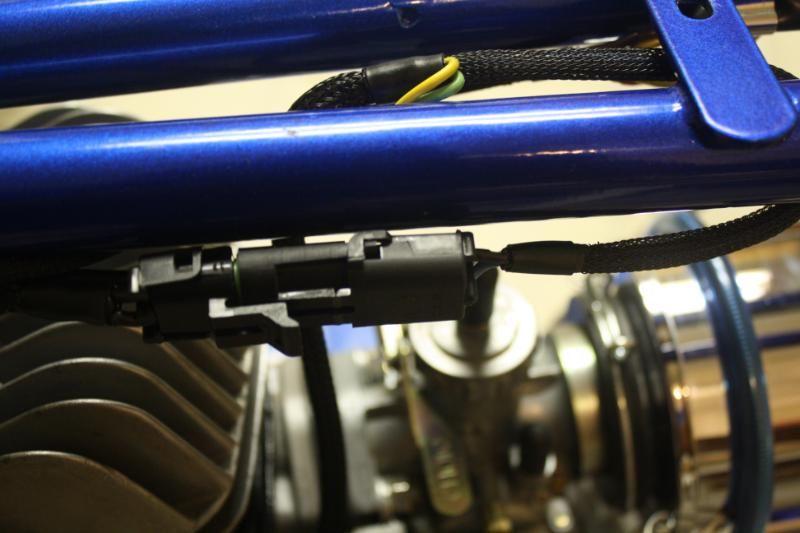
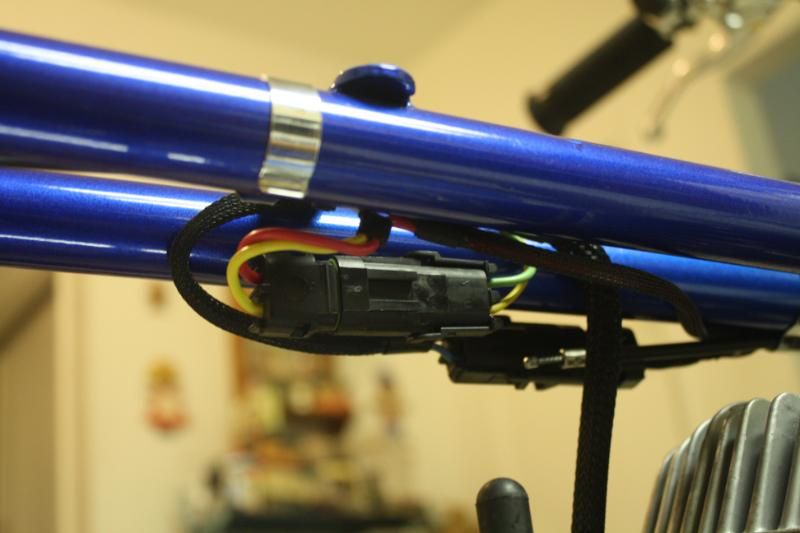
Are these type of connectors really needed :shrug: you bet they are! In my eyes, they offer a positive connection and will not come loose due to vibration, they can be taken apart and put back together again and again. Besides, I just never know .... I just might get caught out in the rain on this thing :shrug:.....
BC1500 DAVE .... Mixing up some GAS :nuke:
Congrats on your acceptance to school, I'm very happy for you!
Onward....
The end is near :blink:..... Thank God!!!!!
I now have electrical contacts..... The cables now hook up to something other than air :shrug: I still don't have the rear brake hooked up though. Besides......Who needs a brake any ways :shrug:.... I'll just down shift to slow down :helpsmilie:
I hit up McMaster & Carr once again for these weather tight connectors.....
I started on the engine's wiring harness first and worked my way towards the wiring harness on the frame. (with the engine all the way to the back of the mount) After I got done installing the nylon sheath all over the place, and melting the Raychem tubing in place......
I installed the pin and sockets of the weather tight connectors to the wires, then I crimped them a tad and then soldered them to the wires, for a positive connection ....
All done with the engine's wiring harness..... Ready to go.....
I could spend a lot of band width here on the art of wiring :doah: to make it simple, I always leave a loop (slack) of the wire before it enters the connector. I also make sure that the connector(s) are supported by the wire once in place. I.E meaning..... That I cut my wire(s) to a length that will support the connector once installed without any others means of support. Then I install clamps as needed to support the harness.....
Are these type of connectors really needed :shrug: you bet they are! In my eyes, they offer a positive connection and will not come loose due to vibration, they can be taken apart and put back together again and again. Besides, I just never know .... I just might get caught out in the rain on this thing :shrug:.....
BC1500 DAVE .... Mixing up some GAS :nuke:
Last edited:
Thanks for your kind words Clay & Mopar 70 :thumbsup:
There's some VERY TALENTED builders here on this site :thumbsup: I just go about my "RAT KILLING" to my liking Mopar 70.....It's cool that you enjoy my building methodes :thumbsup: .....
I've got the fuel petcock & the fuel filter/fuel line installed......

What's so special you ask :shrug: ...... It's the placement of the filter. I've seen way to many builds here on OldMiniBikes with the filter placed RIGHT BEFORE the carburator. This is not a good thing :doah: With the fuel leaving the filter, it is in a aerated form. I.E. meaning that it's foamed up and entering a warm/hot carburator.... The results are obvious :mad2: I choose to put the filter as far away as I can from the carburator.
Something else that I was taught to me by my dear friends, Louie Aruda & Manule Romero, may they R.I.P. :bowdown::bowdown::bowdown:
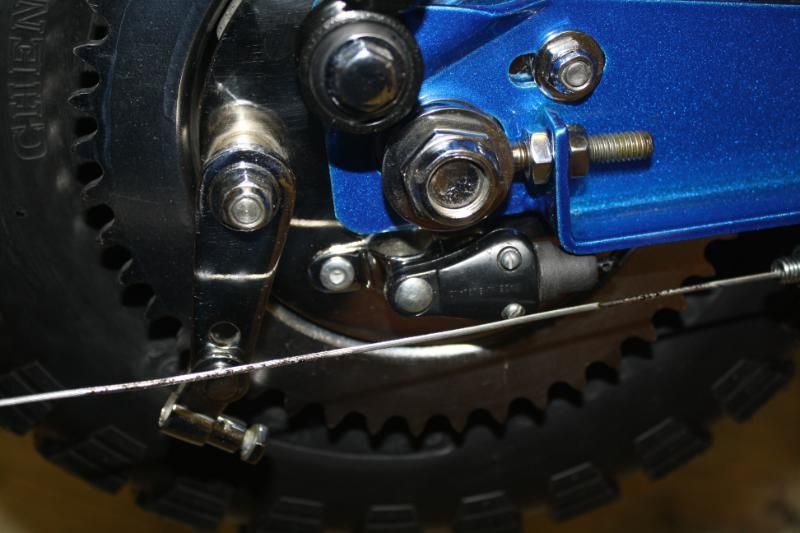
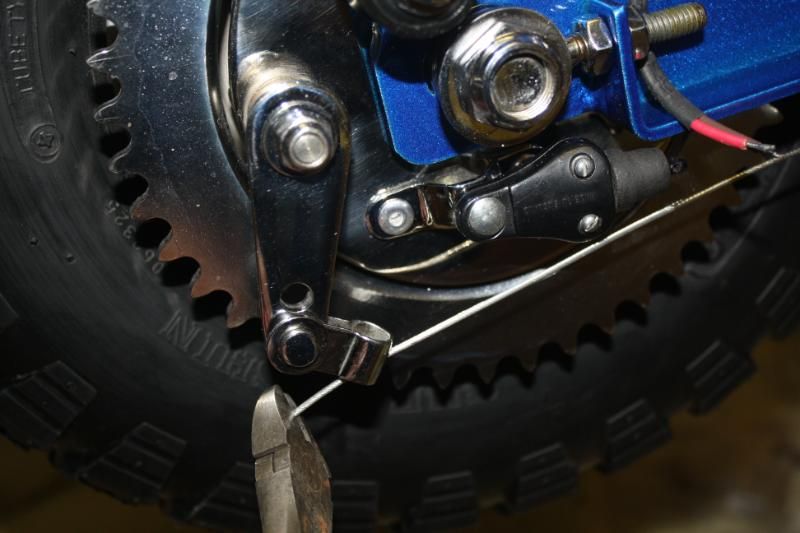
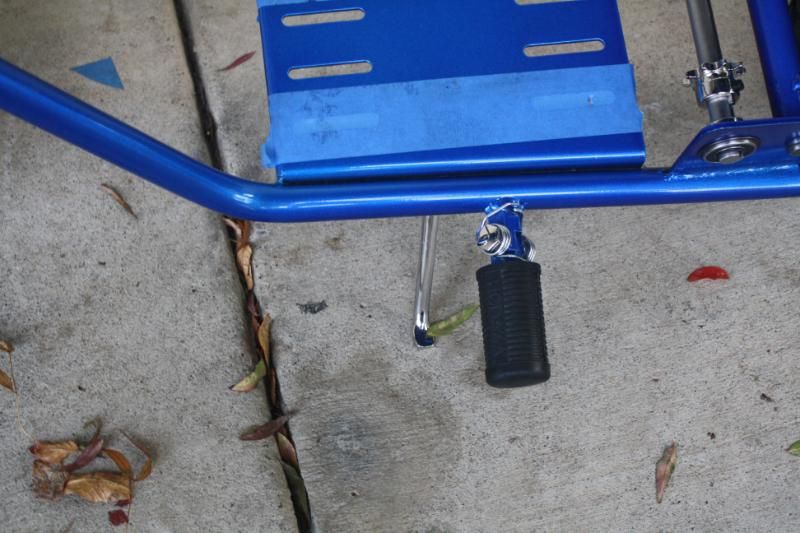
Is the soldering of cables that need to have a crub screw/bolt screwed into it to hold a lever(s) or whatever else in place. By soldering the cable in the area where you are going to tighten something into it.... The cable doesn't get all bent/frayed/broken and after time ..... will not hold a adjustment :shrug: ......
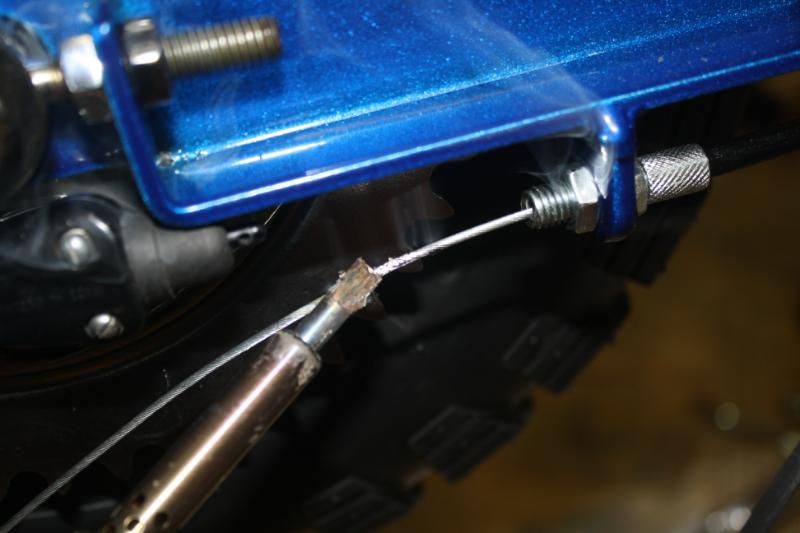
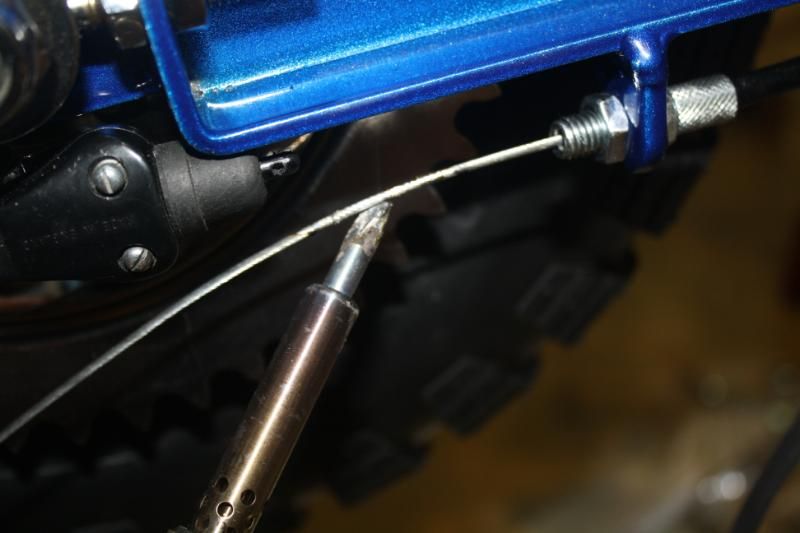
I use plenty of soldering acid & solder....you can see the black areas where I apllied the solder.....
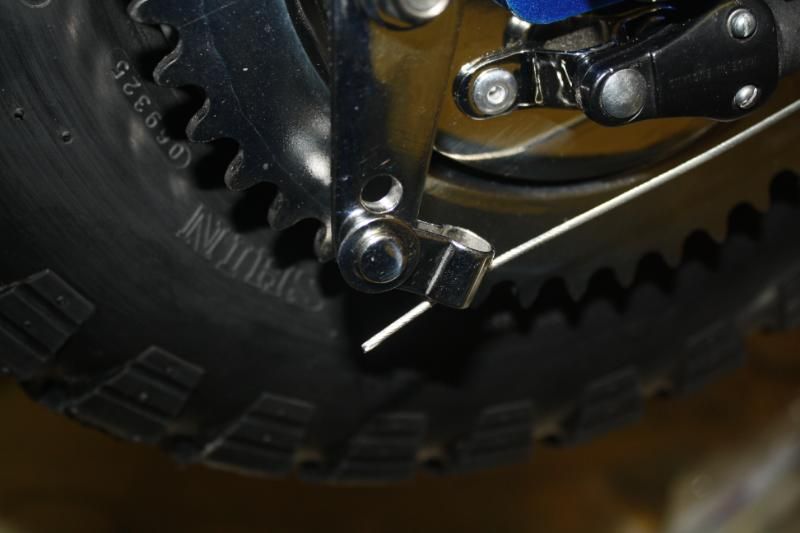
What's also cool about doing this soldering gig..... Is you can take a pair of side cutters.....
.... And make a nice clean cut through the cable....With out any issues :thumbsup:
Sum mitch..... I have a roller....
Sorry about the crappy photo.... I was out the door and the sun light was gone.... But not all the way. So I grabbed the bike and used the good old I-Phone.... I'll take some better pictures when it's day light. I have few loose ends to tend to on the bike in it's roller frame of mind ut:
ut:
BC1500 DAVE :thumbsup:
There's some VERY TALENTED builders here on this site :thumbsup: I just go about my "RAT KILLING" to my liking Mopar 70.....It's cool that you enjoy my building methodes :thumbsup: .....
I've got the fuel petcock & the fuel filter/fuel line installed......
What's so special you ask :shrug: ...... It's the placement of the filter. I've seen way to many builds here on OldMiniBikes with the filter placed RIGHT BEFORE the carburator. This is not a good thing :doah: With the fuel leaving the filter, it is in a aerated form. I.E. meaning that it's foamed up and entering a warm/hot carburator.... The results are obvious :mad2: I choose to put the filter as far away as I can from the carburator.
Something else that I was taught to me by my dear friends, Louie Aruda & Manule Romero, may they R.I.P. :bowdown::bowdown::bowdown:
Is the soldering of cables that need to have a crub screw/bolt screwed into it to hold a lever(s) or whatever else in place. By soldering the cable in the area where you are going to tighten something into it.... The cable doesn't get all bent/frayed/broken and after time ..... will not hold a adjustment :shrug: ......
I use plenty of soldering acid & solder....you can see the black areas where I apllied the solder.....
What's also cool about doing this soldering gig..... Is you can take a pair of side cutters.....
.... And make a nice clean cut through the cable....With out any issues :thumbsup:
Sum mitch..... I have a roller....
Sorry about the crappy photo.... I was out the door and the sun light was gone.... But not all the way. So I grabbed the bike and used the good old I-Phone.... I'll take some better pictures when it's day light. I have few loose ends to tend to on the bike in it's roller frame of mind
ut:BC1500 DAVE :thumbsup:
Thank you guys for your kind words :thumbsup:
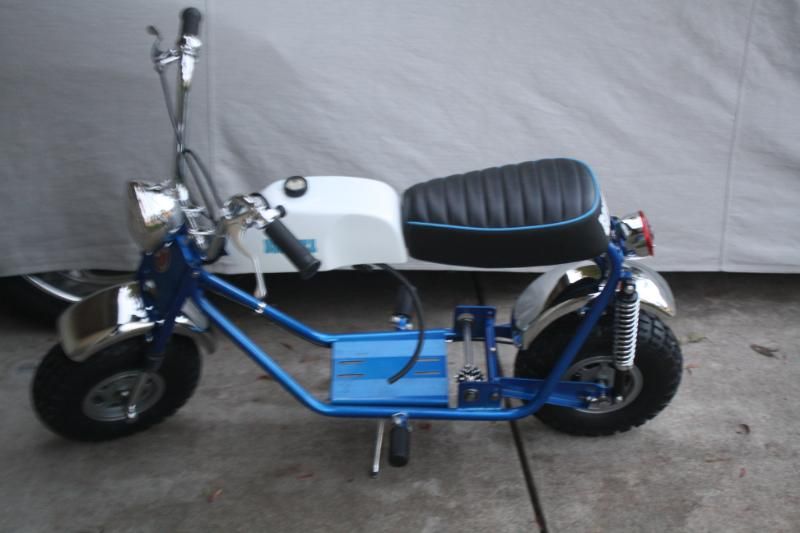
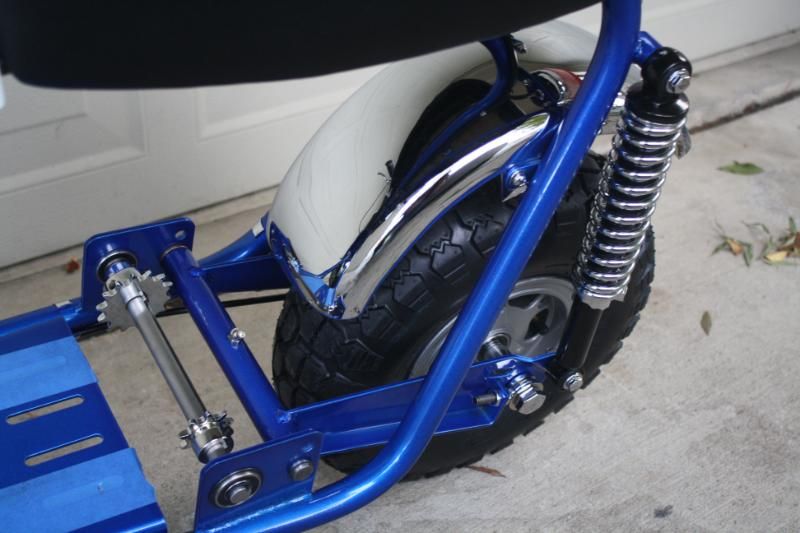
I've got a few things that need to be finished and corrected in my eye's.... I took some better pictures today.....
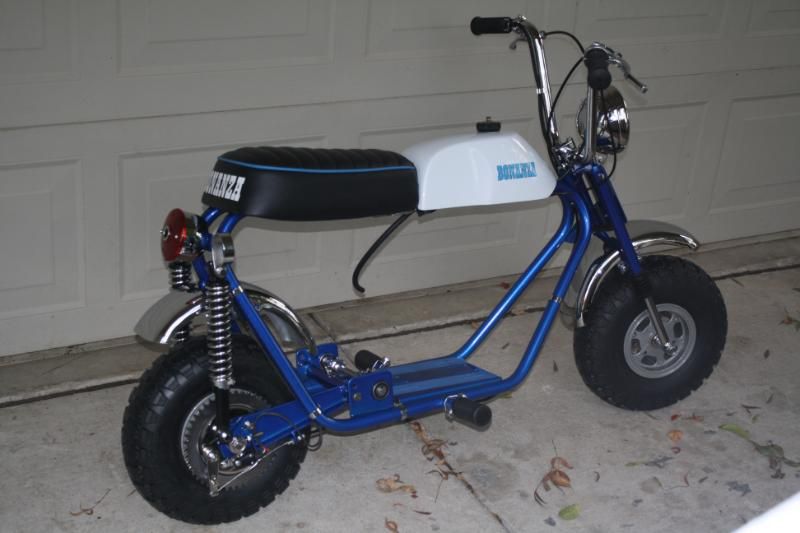
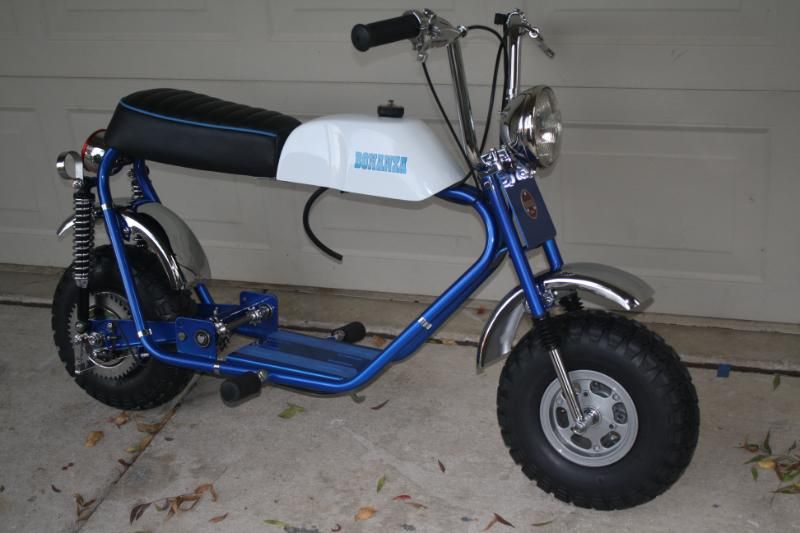
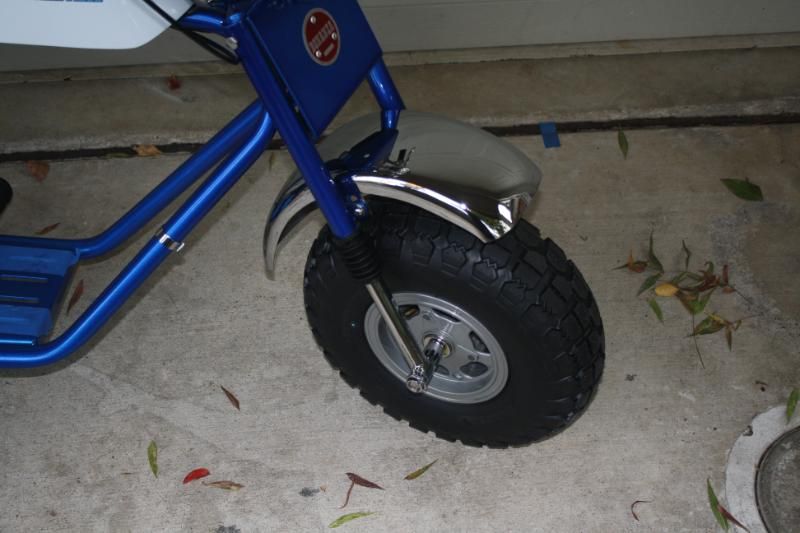
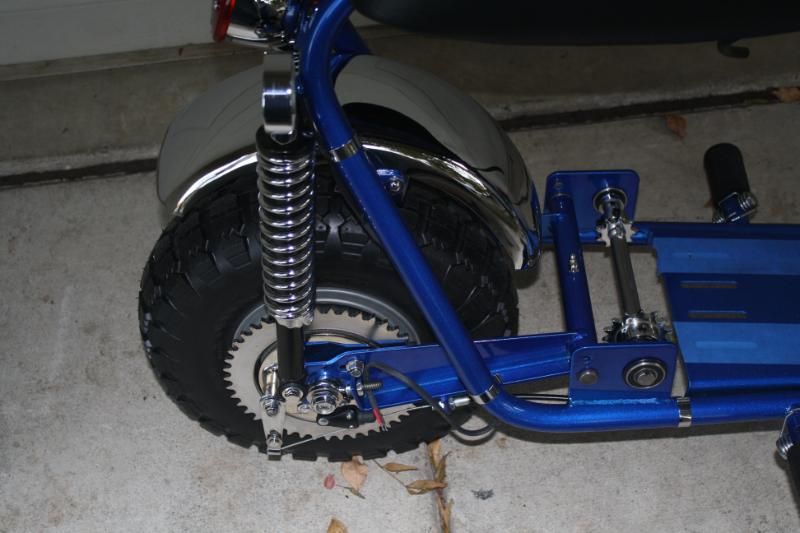
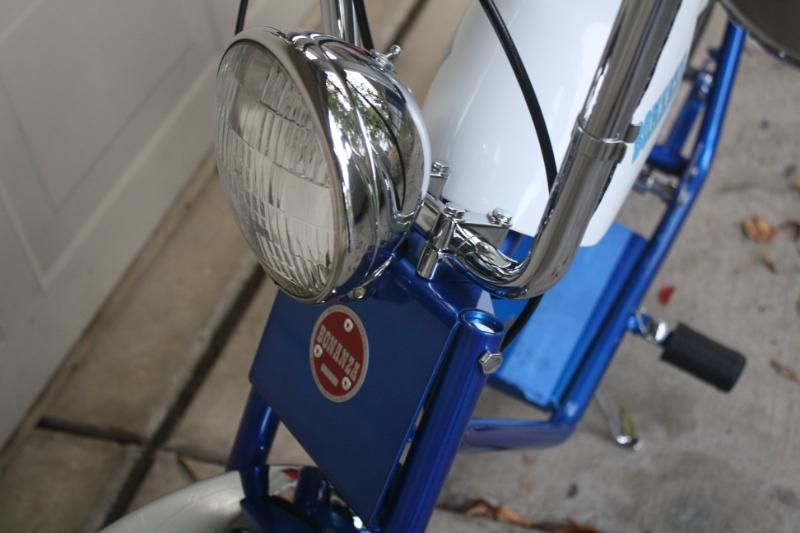
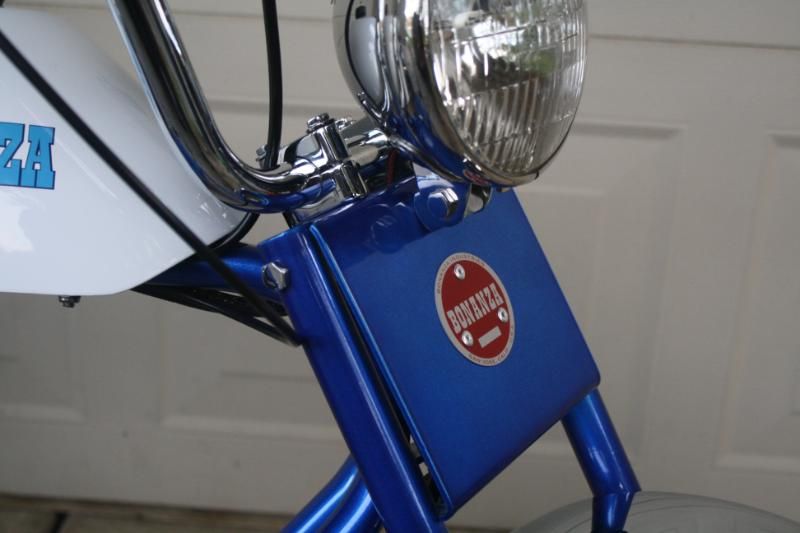
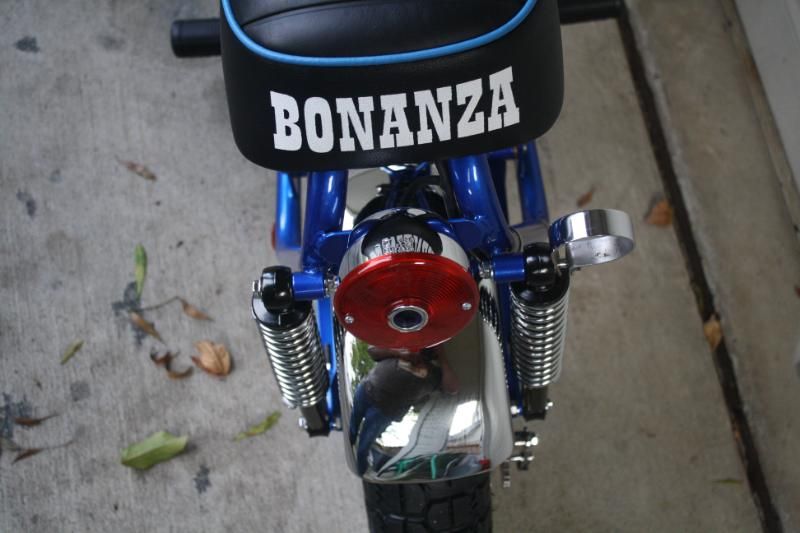
The J/S need's some attention.... I'm not liking the way it's held in there, and the side slop that's in it. I'm working on making it right..... At least in my eyes. When it's done and in working order..... I will coat the shaft.... I'm not into the rust look.....At least not on this bike.....
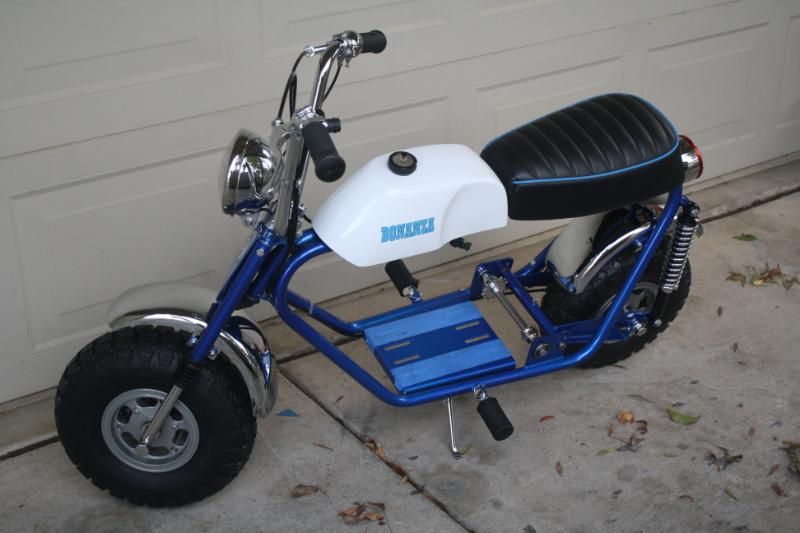

It's raining here today and most likely it will be tomorrow.....So I won't be testing them weather tight connectors just yet. I'm looking forward to firing up the engine though.... I'm going to get it installed tonight and ready too blow some smoke :huh:
BC1500 DAVE...... Mixing up some GAS :nuke:
I've got a few things that need to be finished and corrected in my eye's.... I took some better pictures today.....
The J/S need's some attention.... I'm not liking the way it's held in there, and the side slop that's in it. I'm working on making it right..... At least in my eyes. When it's done and in working order..... I will coat the shaft.... I'm not into the rust look.....At least not on this bike.....
It's raining here today and most likely it will be tomorrow.....So I won't be testing them weather tight connectors just yet. I'm looking forward to firing up the engine though.... I'm going to get it installed tonight and ready too blow some smoke :huh:
BC1500 DAVE...... Mixing up some GAS :nuke:
Yeah couple of things I see too. There is a speck of dust on the headlight.:laugh:
That is just fine,fine,fine. Just splendid crafsmanship Dave. Hard to find anything wrong with that at all. I need a chromer like you have. Man, it just pops.
You certainly raise the bar for anyone here that builds a bike.:thumbsup:
That is just fine,fine,fine. Just splendid crafsmanship Dave. Hard to find anything wrong with that at all. I need a chromer like you have. Man, it just pops.
You certainly raise the bar for anyone here that builds a bike.:thumbsup:
