Tri Sport TS 150 shakedown drive

#21
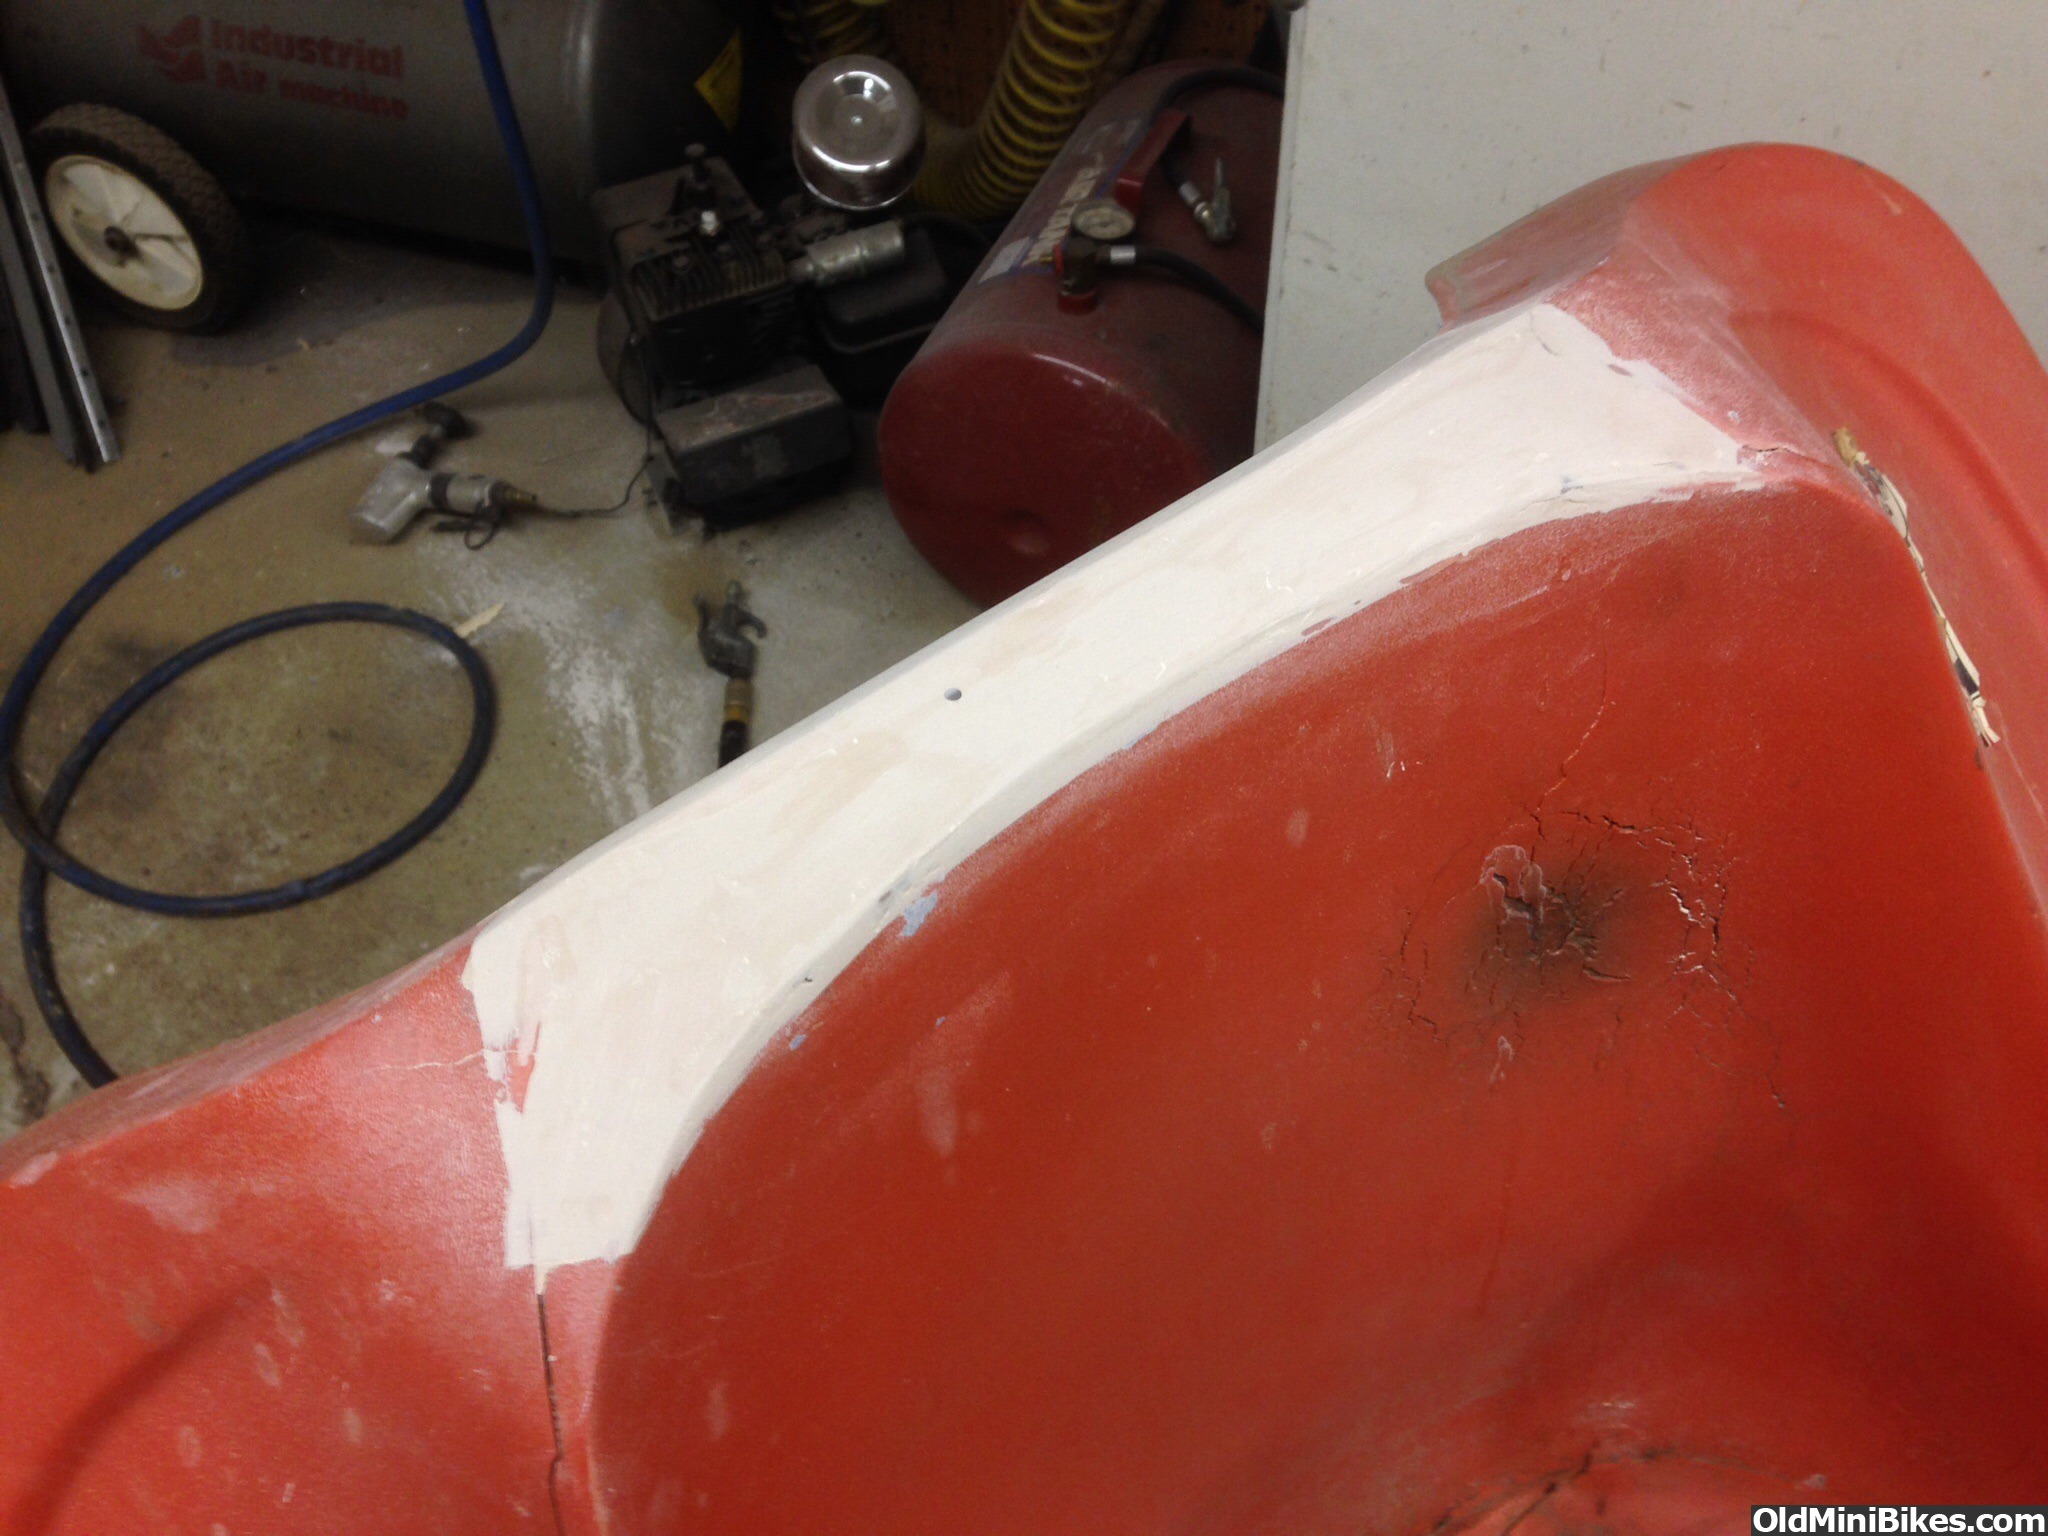
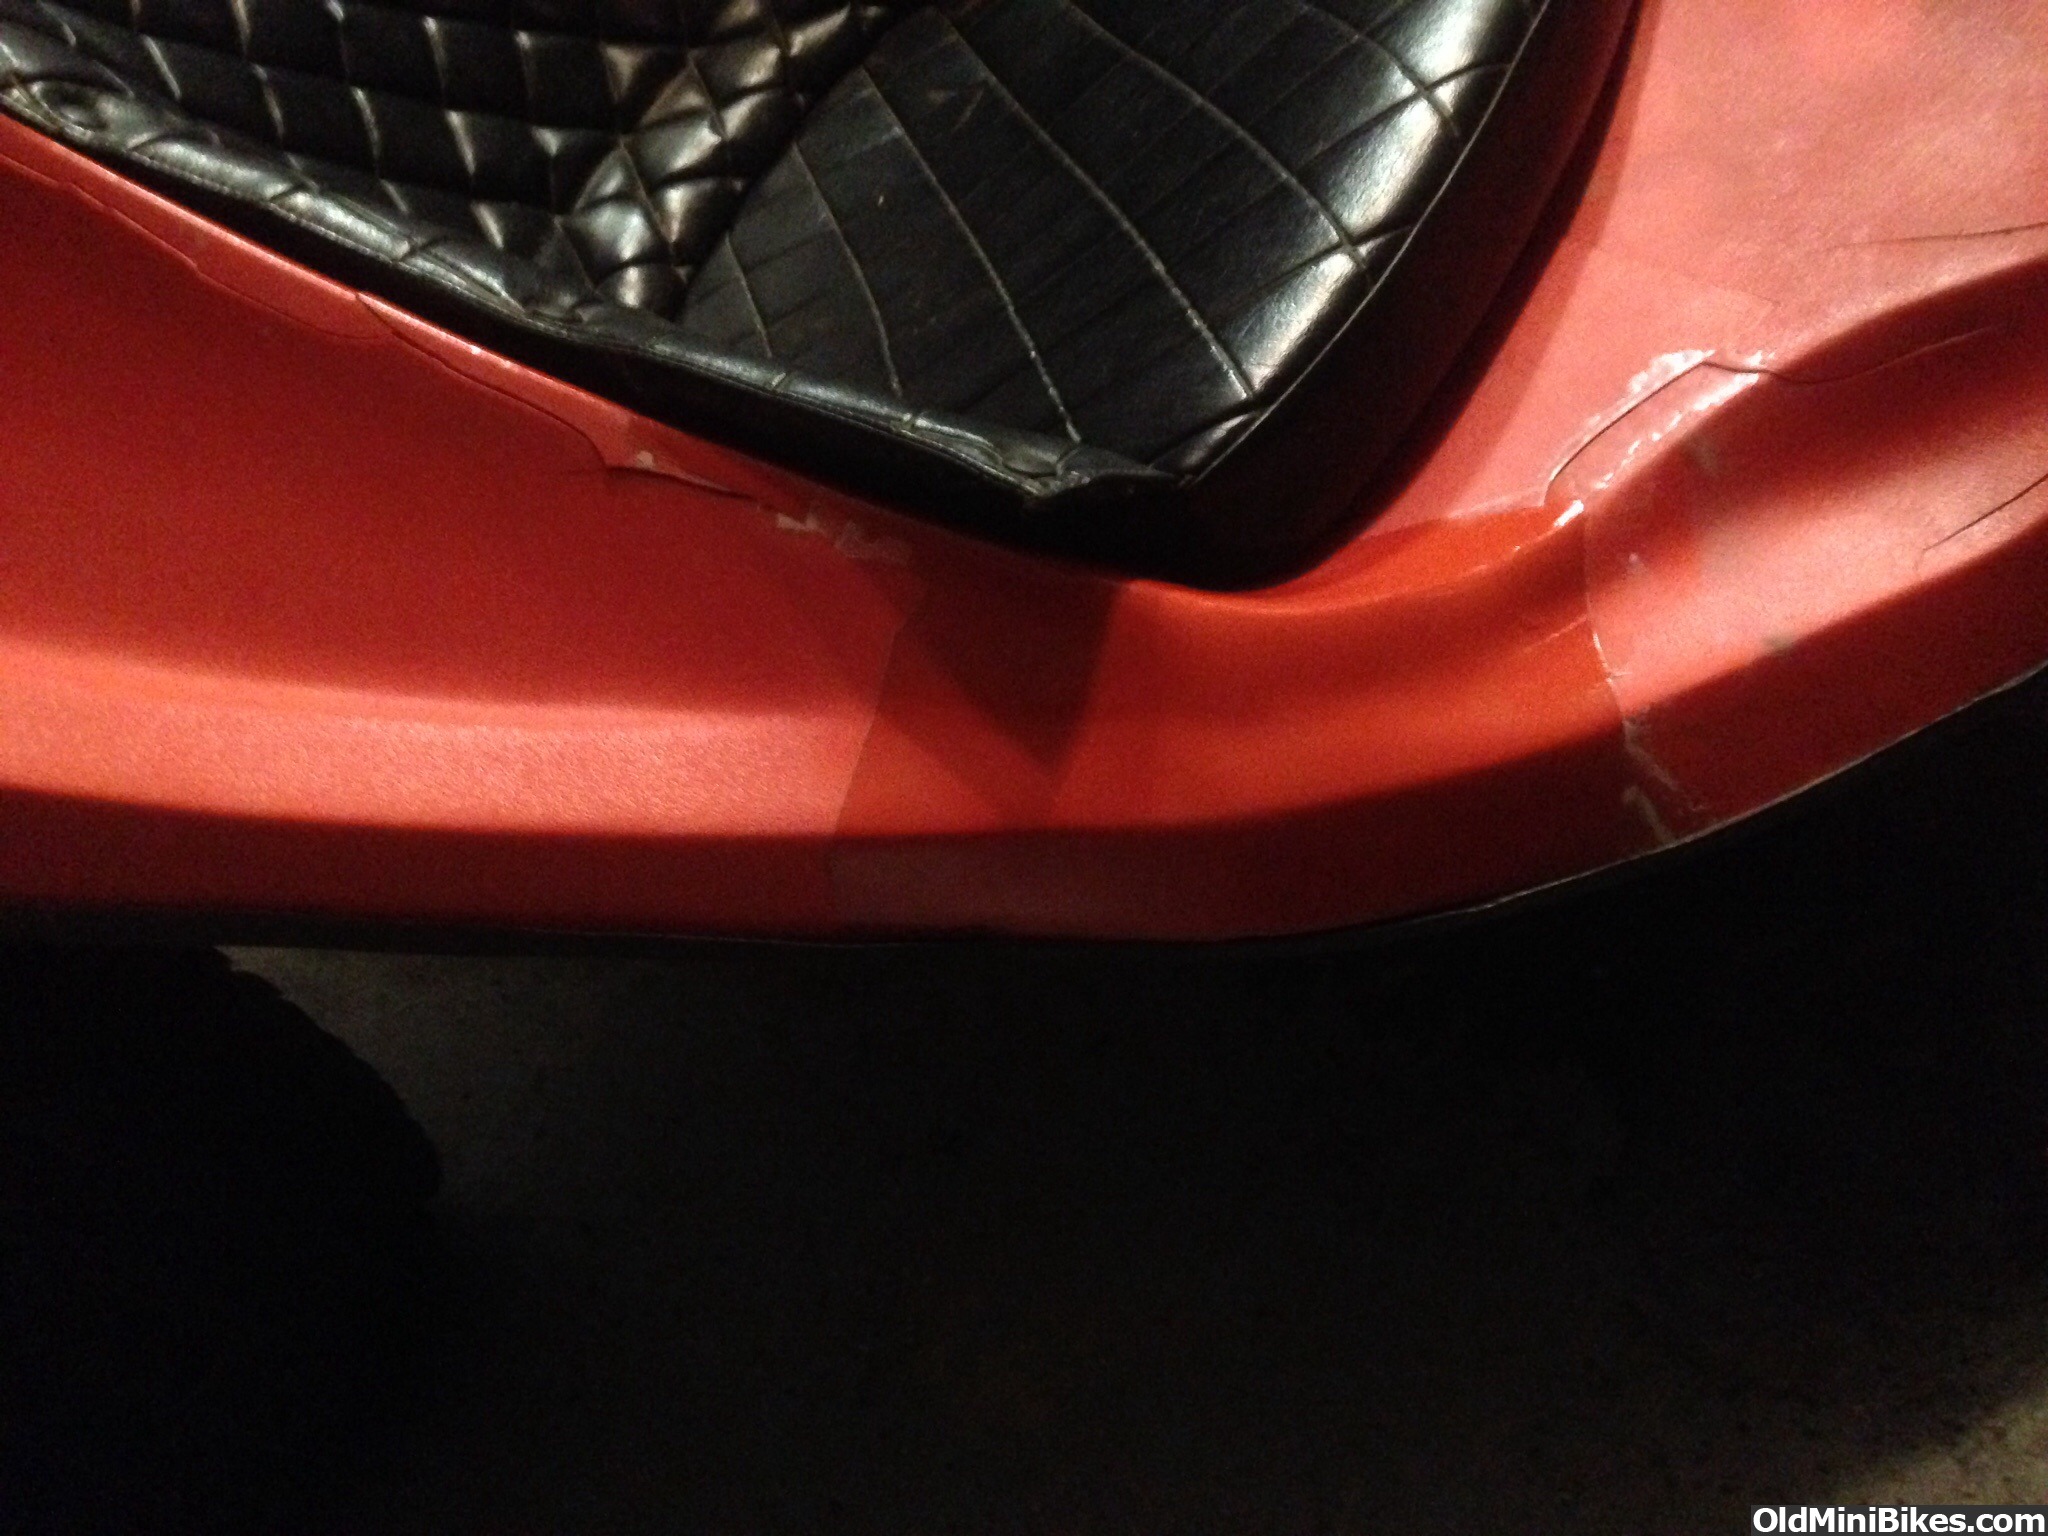
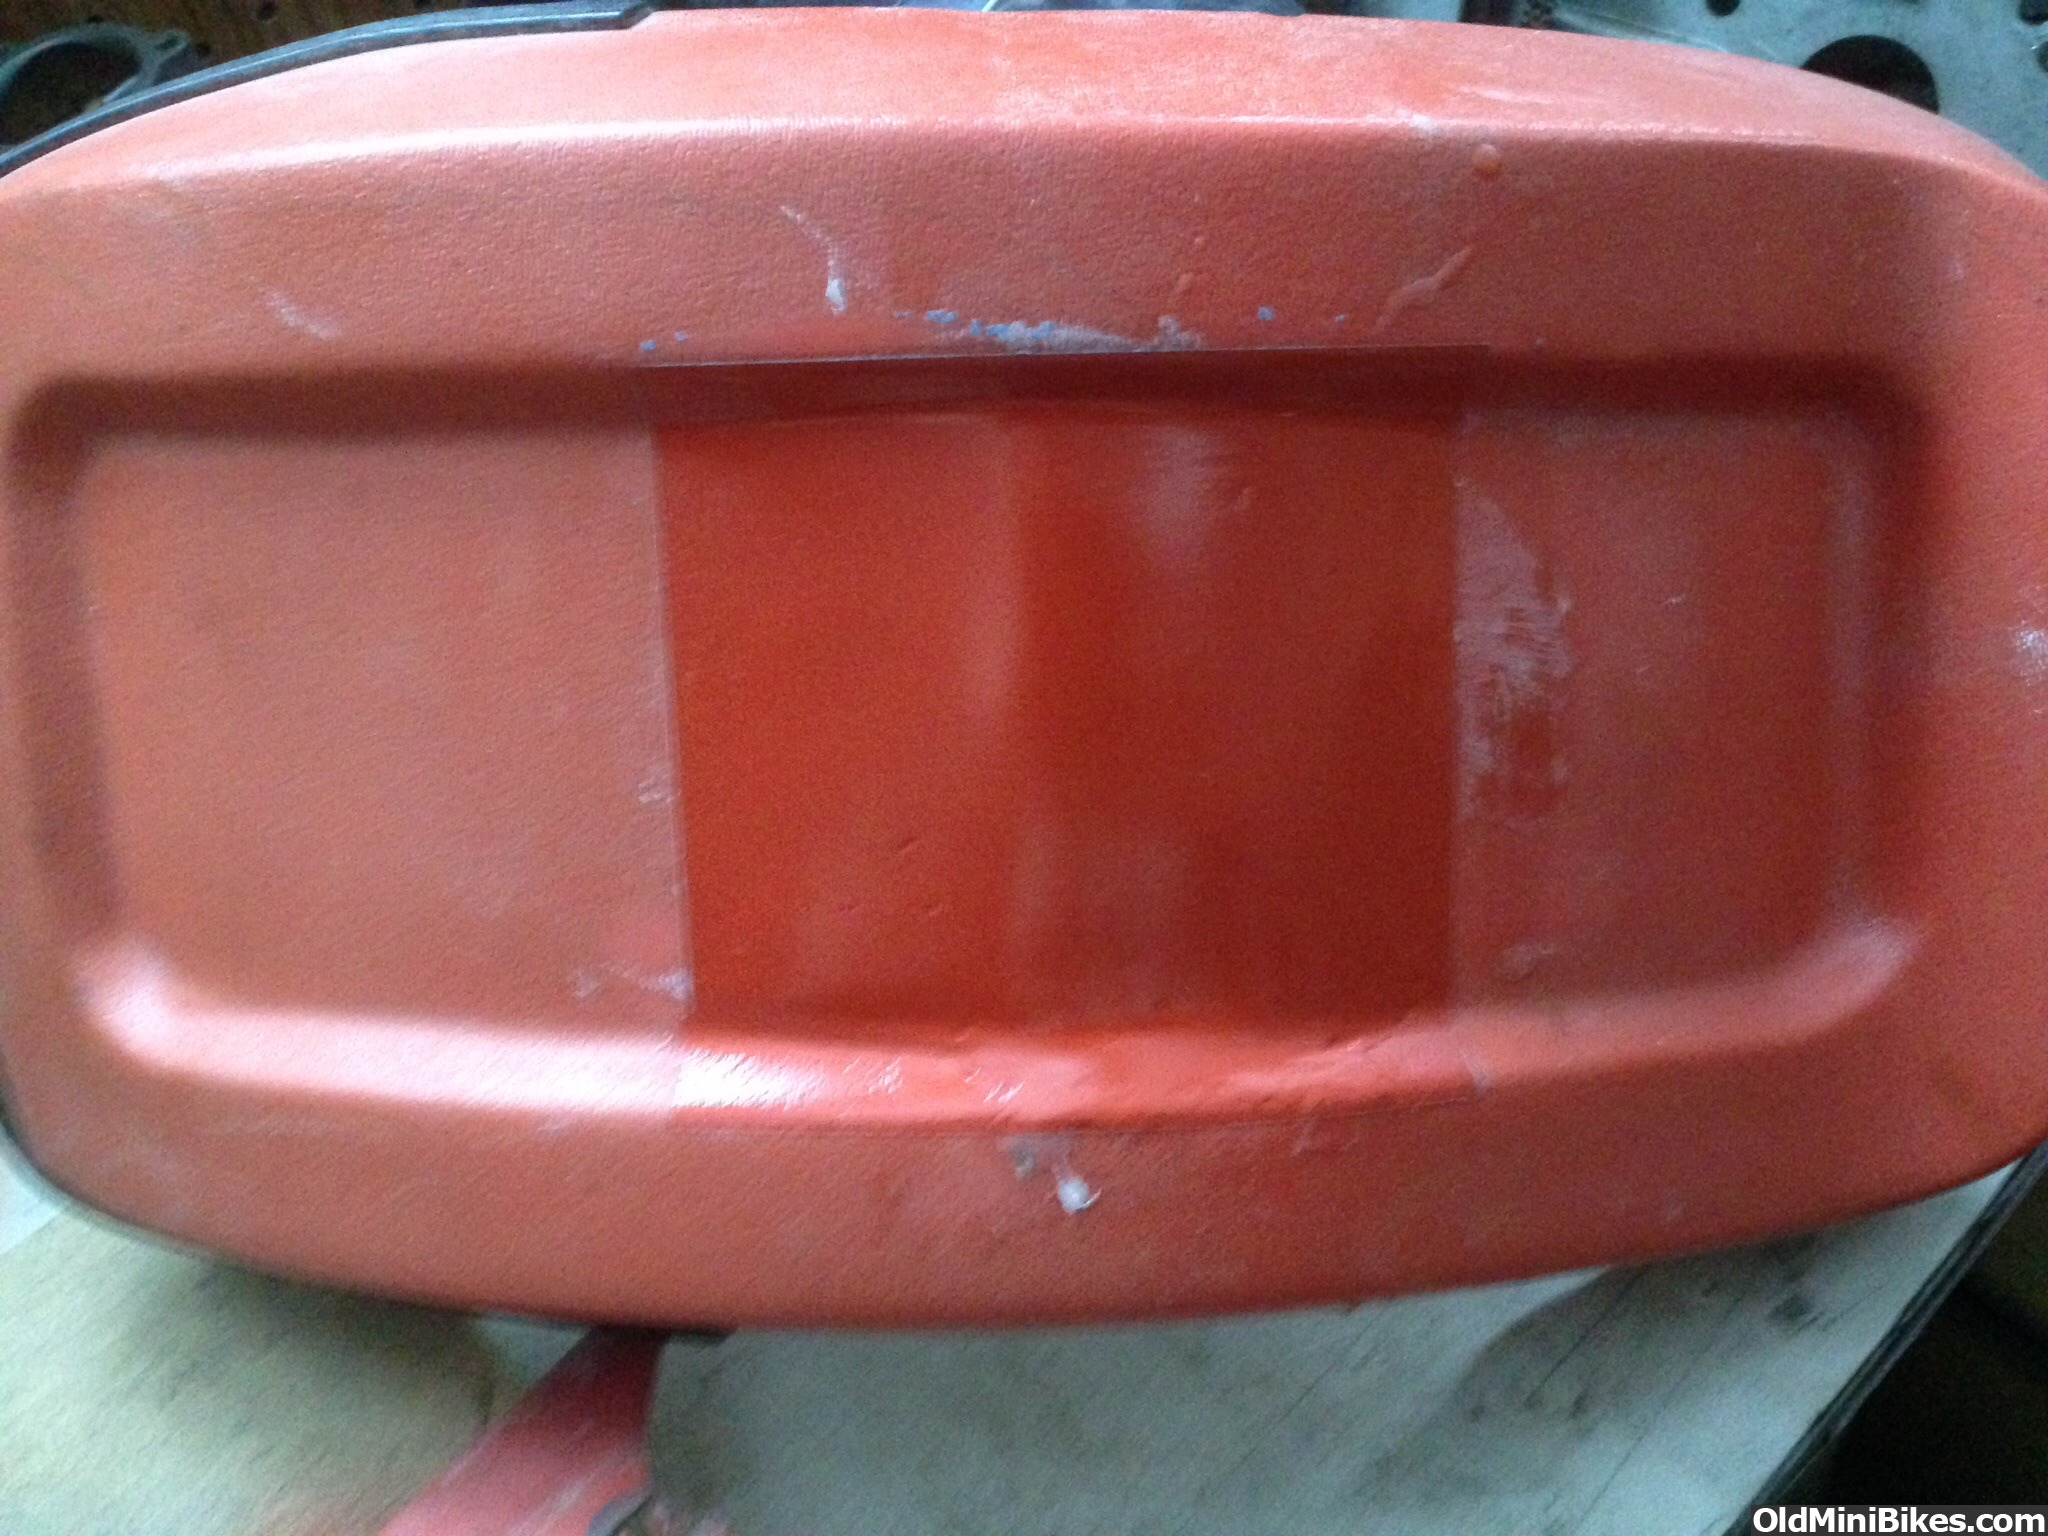
I have some knowledge on bodywork but haven't laid any fiberglass since the late '70's. I made a crude jig to hold the seatpan while I began to clamp and stretch it back into its original shape. WOW I about :001_9898: my pants when I saw how much was missing plus the area behind the headrest/rollbar was holding on by a thread.
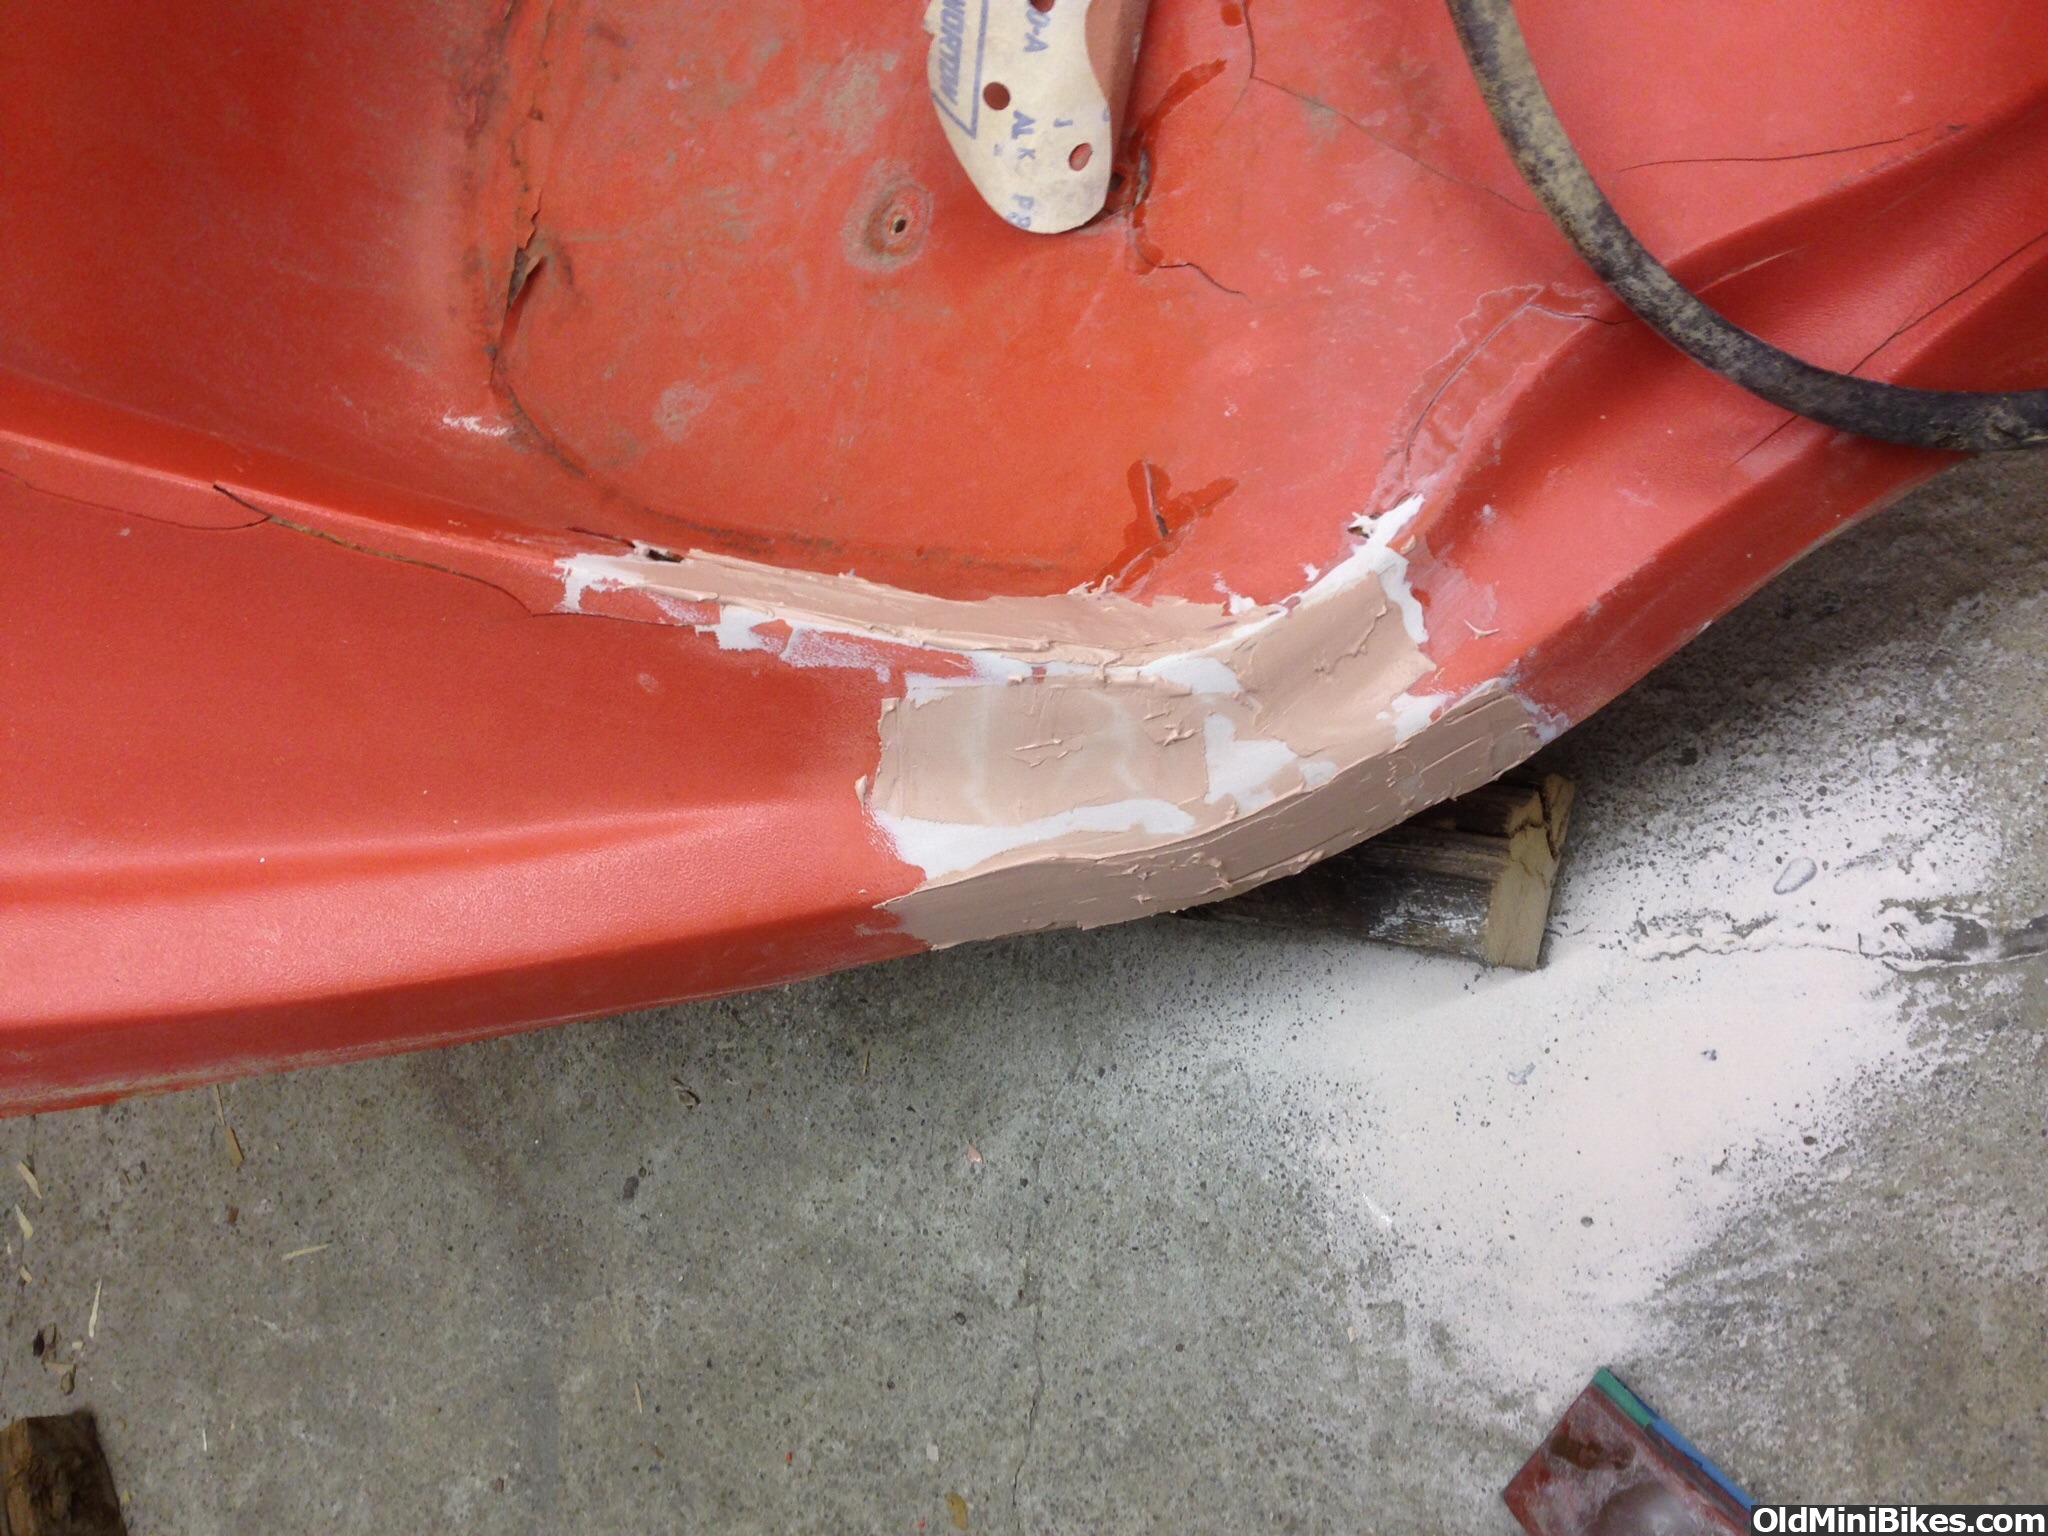
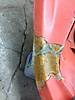
I began cutting and fitting my glass matting,then mixing batch after batch of resin. I also used the resin to bond the plastic overlay back,then used it to seal-fill those cracks.
 
#22
Now I'm ready to put on my "Bondo Warrior" headband lol:punk:
Things are beginning to take shape and I came close to original contours with the fiberglass matting so all in all I am pleased that it won't require a ton of mud. Two very thin skim coats and on to spot putty.

 
#23
Then this past week it was sand-prime-repeat ...but really started showing a solid repair. I know I can't match the texture of the plastic overlay but I just wanted to repair these areas to make the trike more presentable. I really wanted to leave it its original orange without repainting the entire tub too.
Had a few set backs with my heater taking a dive so curing anything was out of the question :doah:
Finally got heat back and in between primer coats and sanding I was able to address the frozen brake cable (jackshaft band) and run a wiring harness since I mounted a headlight & taillight ( yes the JLo has a lighting coil )
Here's the finished repair before paint......not too bad :thumbsup:
 

wjustice

Well-Known Member
#29
I ask because my ccw and kohler both put out a/c. They are externally regulated. I had to work on mine for a while because i wanted d/c to run a battery and electric start. The also get up to 50-70 volts at higher rpms. More then enough to burn out any bulbs you have connected.
 
#32
OK,so back to progress on this body work. Got all the primer smoothed and most on the air pockets filled,sanding scratches ect. Had some aerosol paint for '60's Johnson boat gas tank that turns out is pretty darn close...with the exception of the gloss. Laid down the paint and was very pleased ! The whole seat bucket is solid now,no more flexing...firm.
One more thing I left out,the underside of the actual seat pan/mounting area was worn so thin you could read a newspaper thru it. I laid down 4 layers of matting there also. There really is a weight difference in this thing now...really!
 

wjustice

Well-Known Member
#34
That seat must have been loose to wear like that. I reinforced mine because of the stress cracks! The front rise area is high stress because its unsupported and the vibration is hard on it. Especially the big 2 strokes.
 
#35
You're right,,that rear headrest area that actually sits on the frame hoop or rollbar was completely broken out. All the stresses,flexing,body weight rest on that pan area and those 4 bolts. Once I unbolted everything and went to remove this you could've folded it in half !! Seriously...I had to have someone help me carry it into my workshop for fear of snapping it in two. That major chunk missing in the side was right in those contours that add strength .
 

wjustice

Well-Known Member
#37
The fibreglass fenders must have been high damage items. Many like mine were totally annihilated with the front half completely gone. Seats are often left out in the sun and weather which tears up the molded abs plastic.
 
Top