Ez's "No Fear" Project

Status
Not open for further replies.
#1
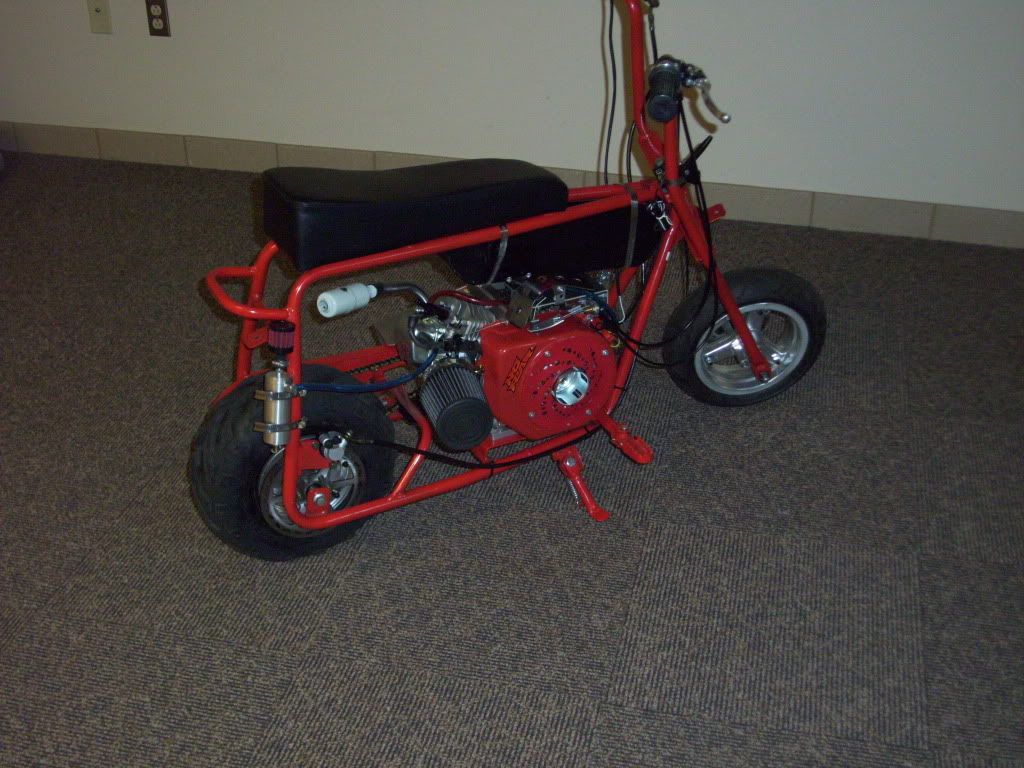
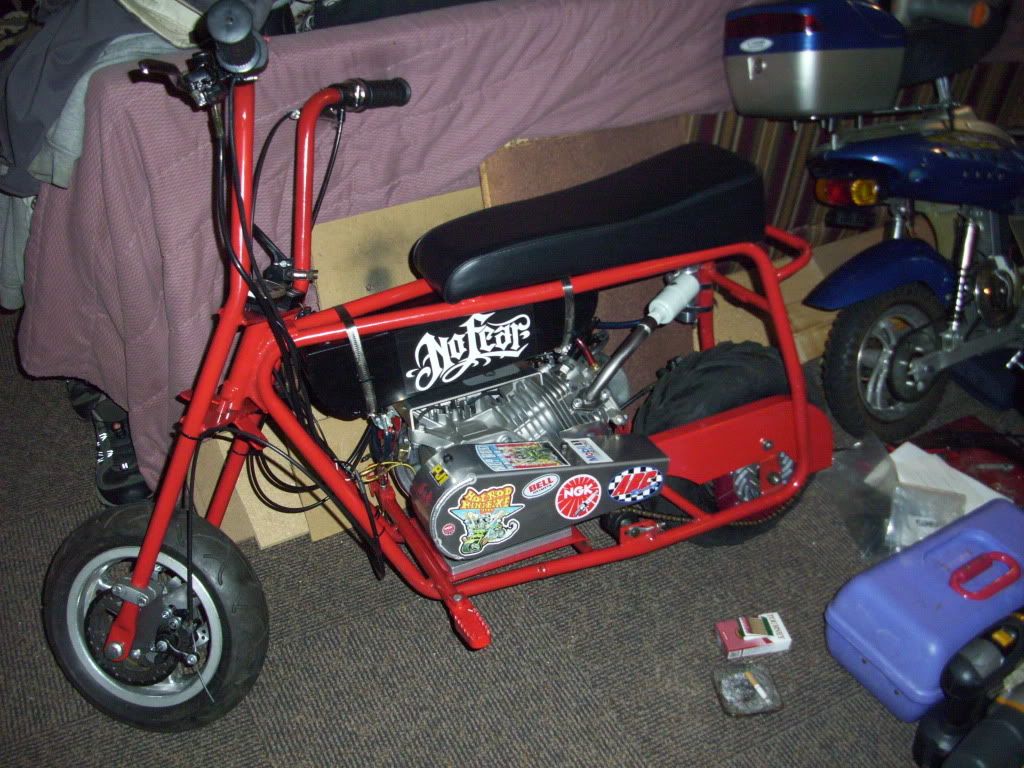
I have been working on this Project for awhile and it's finally finished.

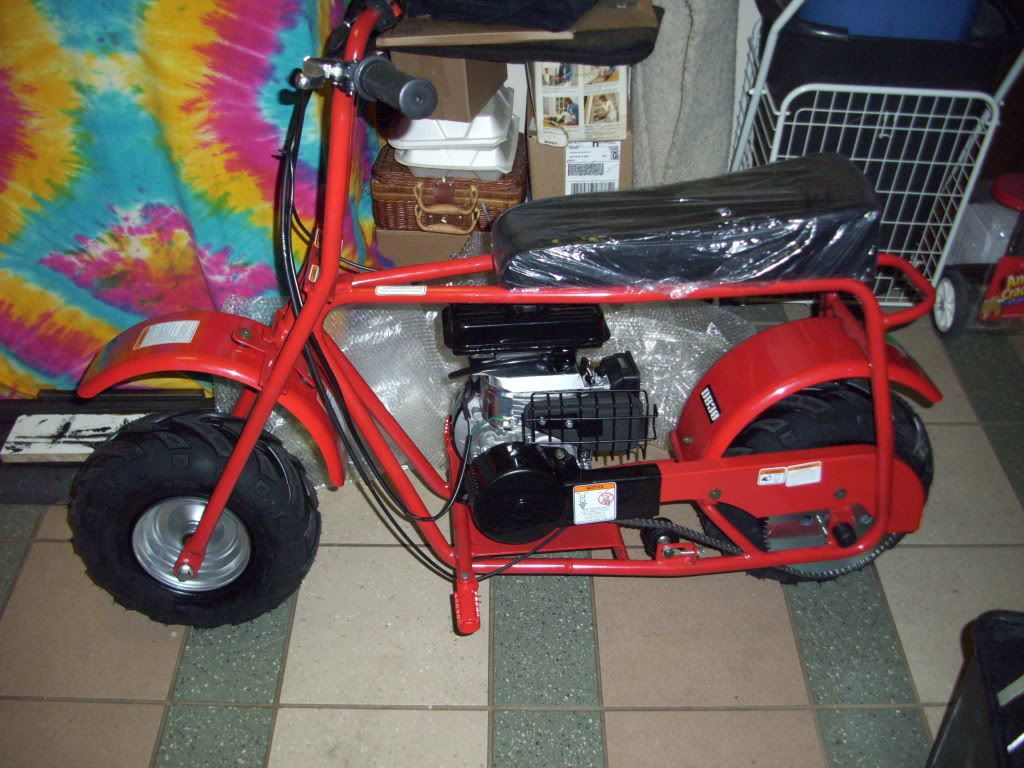
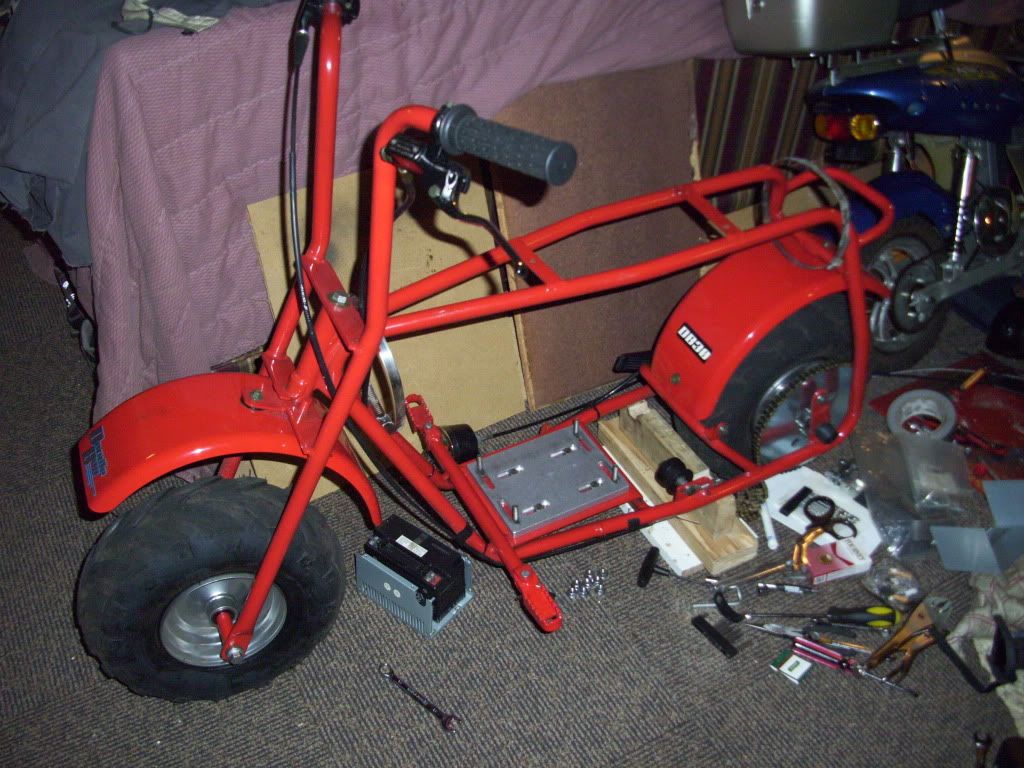
This is what it looked like when I got it.


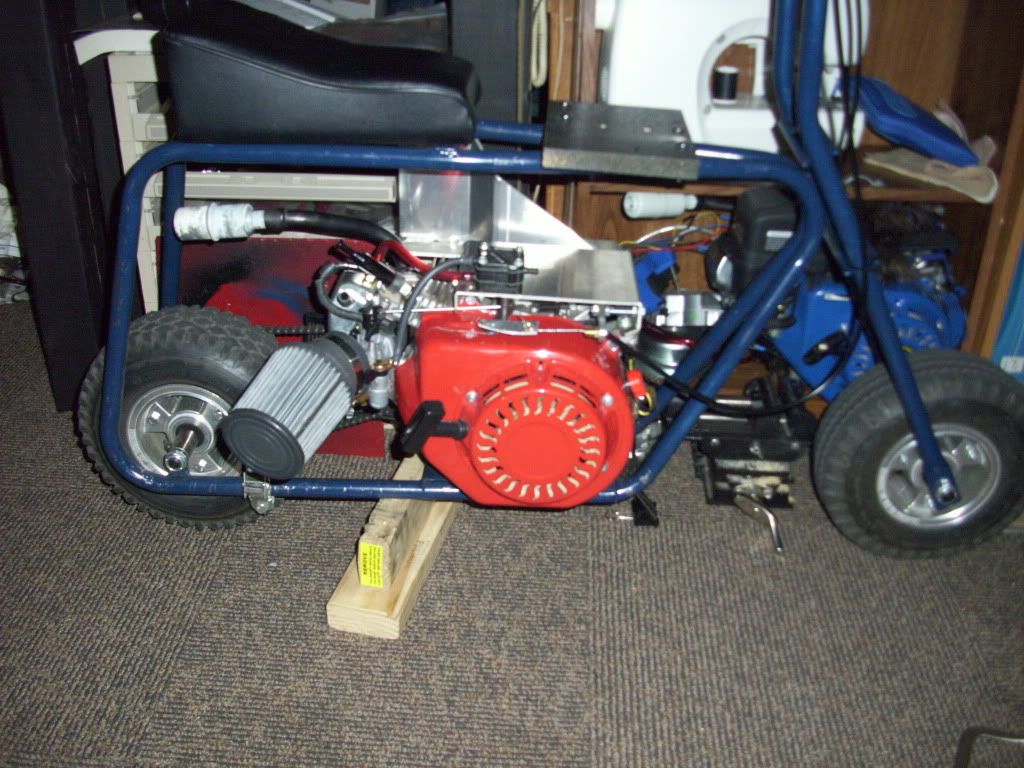
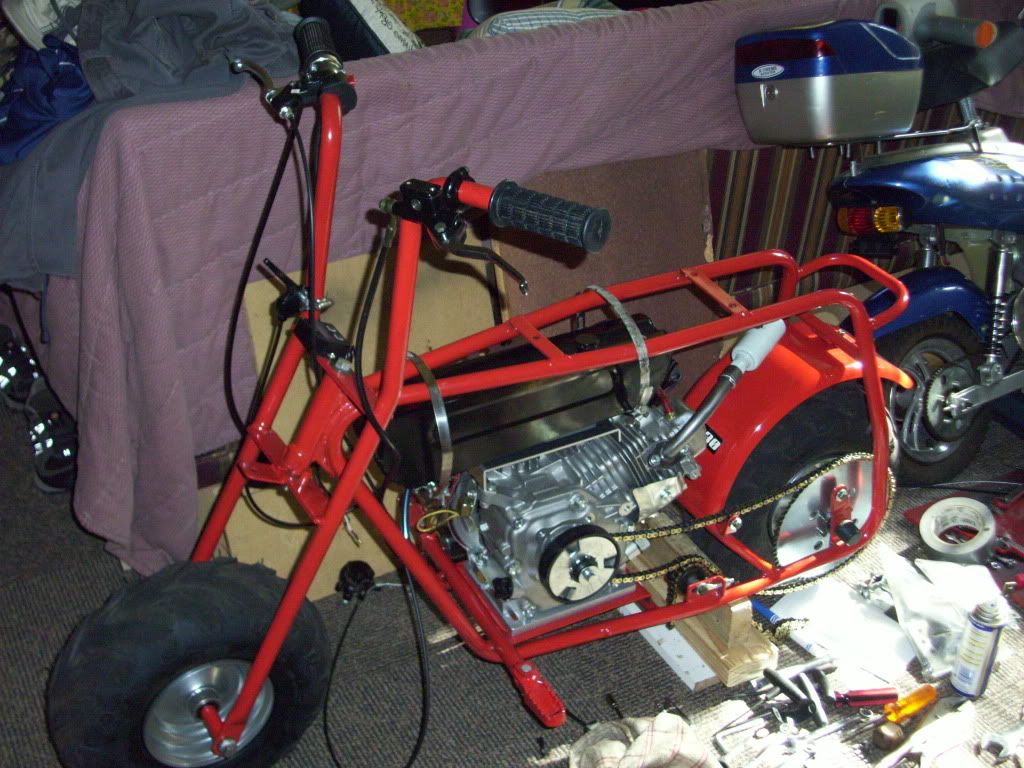
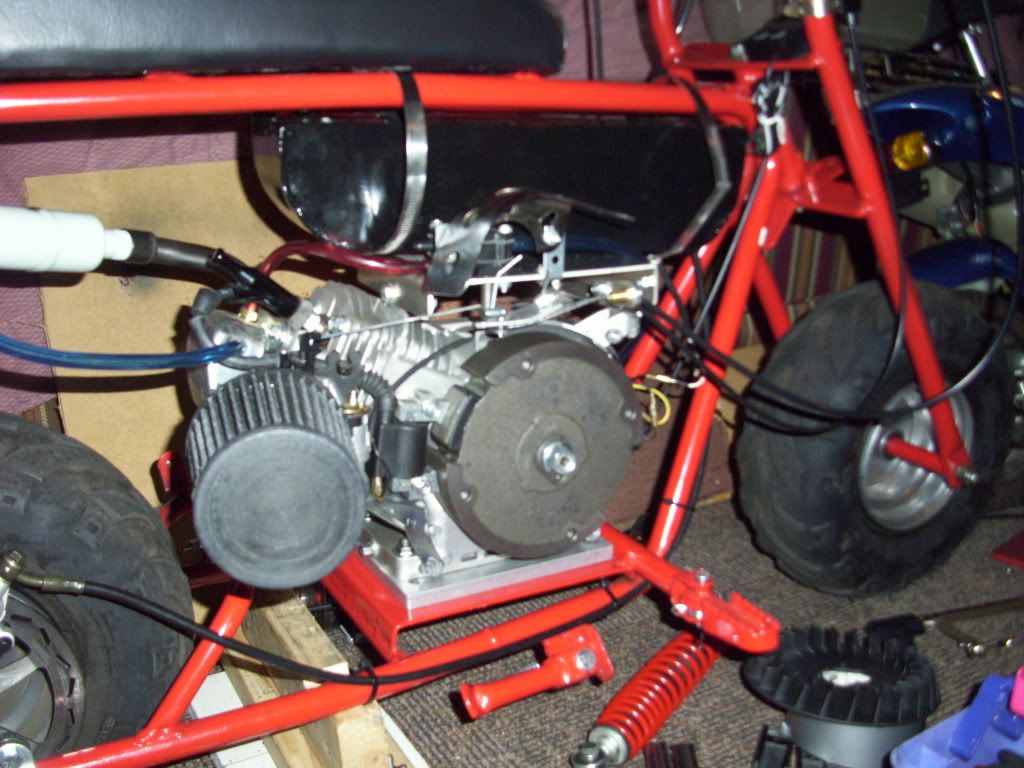
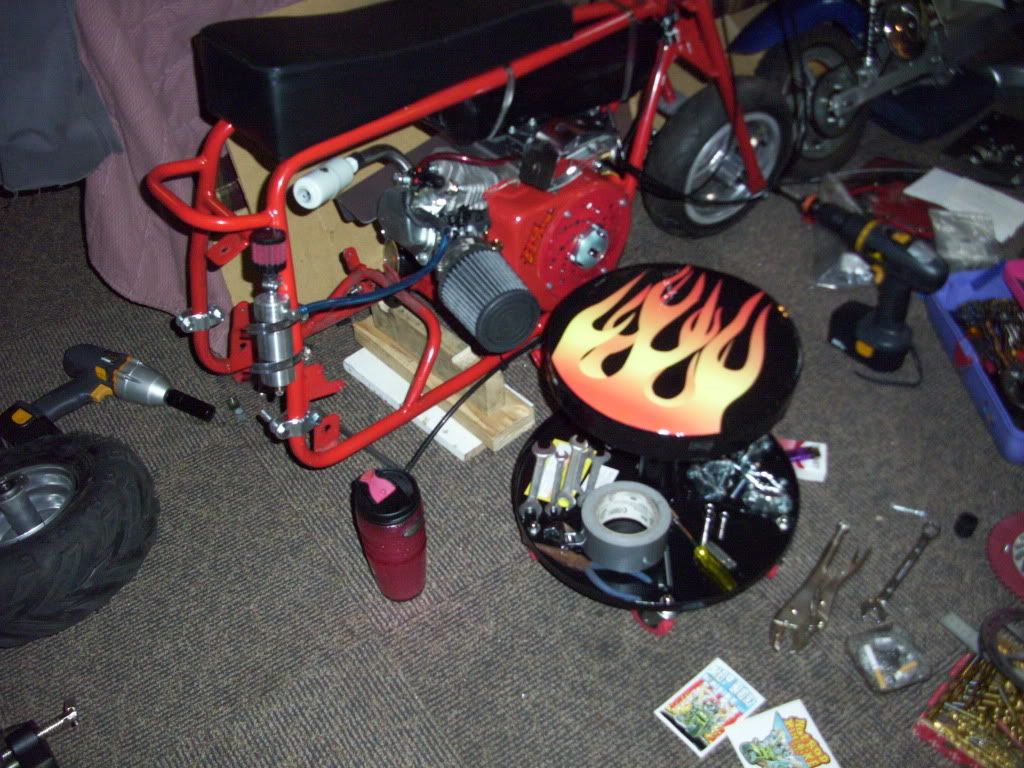
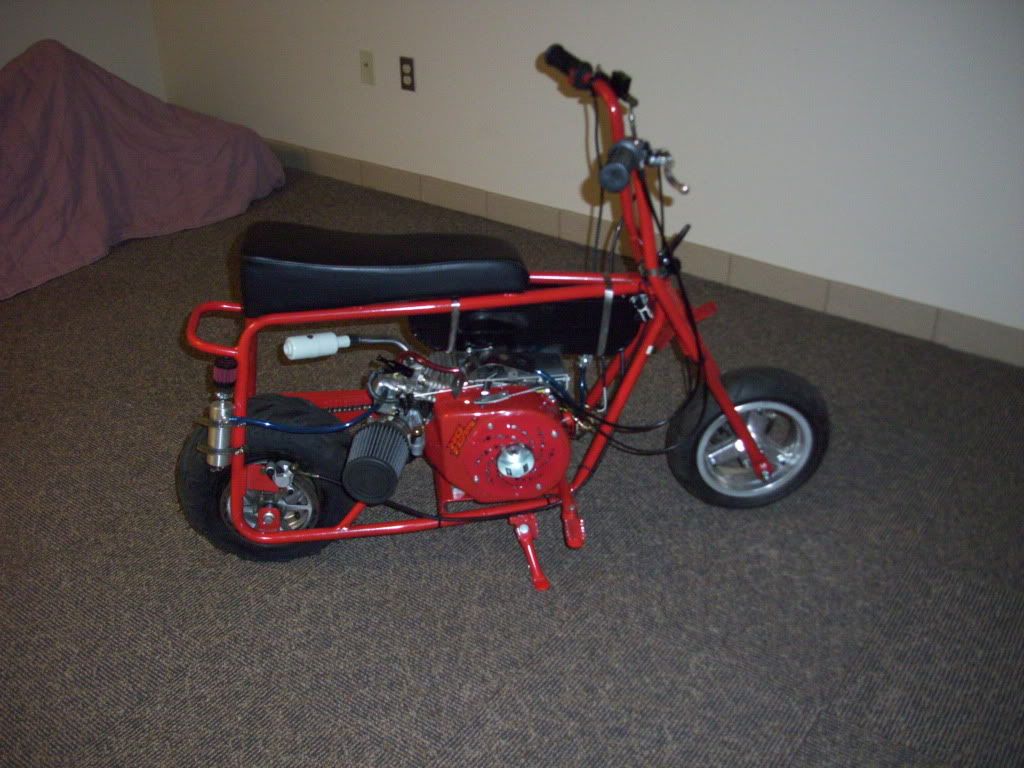
I took the Motor off of my other Mini.


I bought this Gas Tank off of Evilbay a couple of years ago and was going to put it on a push scooter project that I had, but when I decided to use it for this Project.


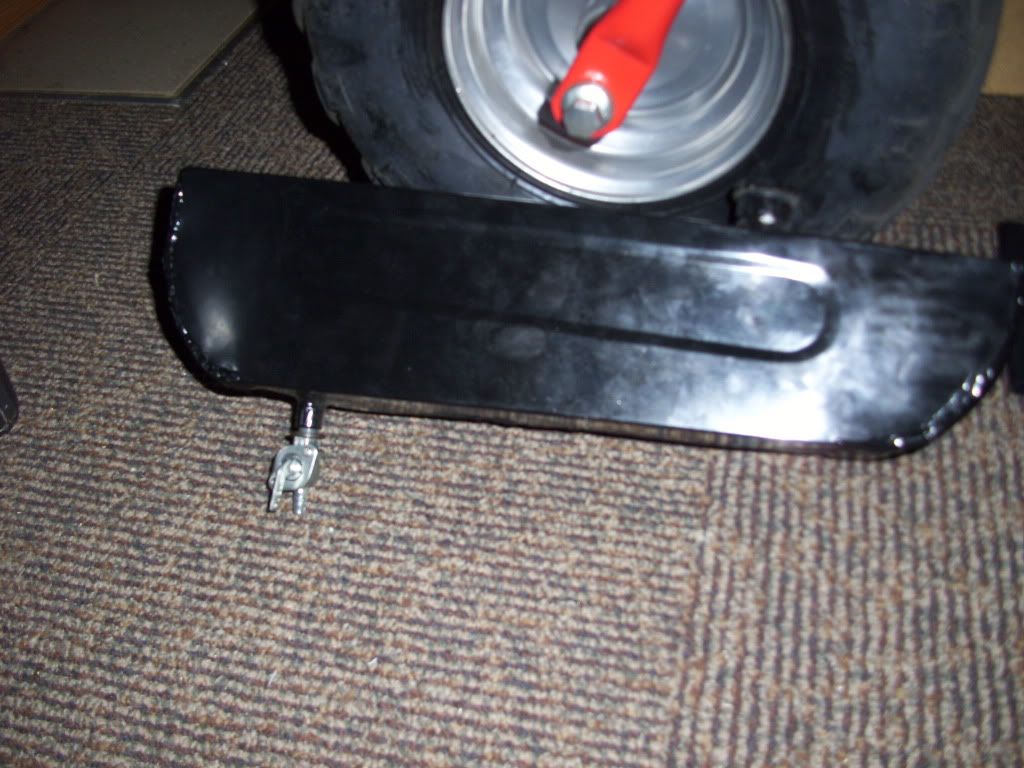
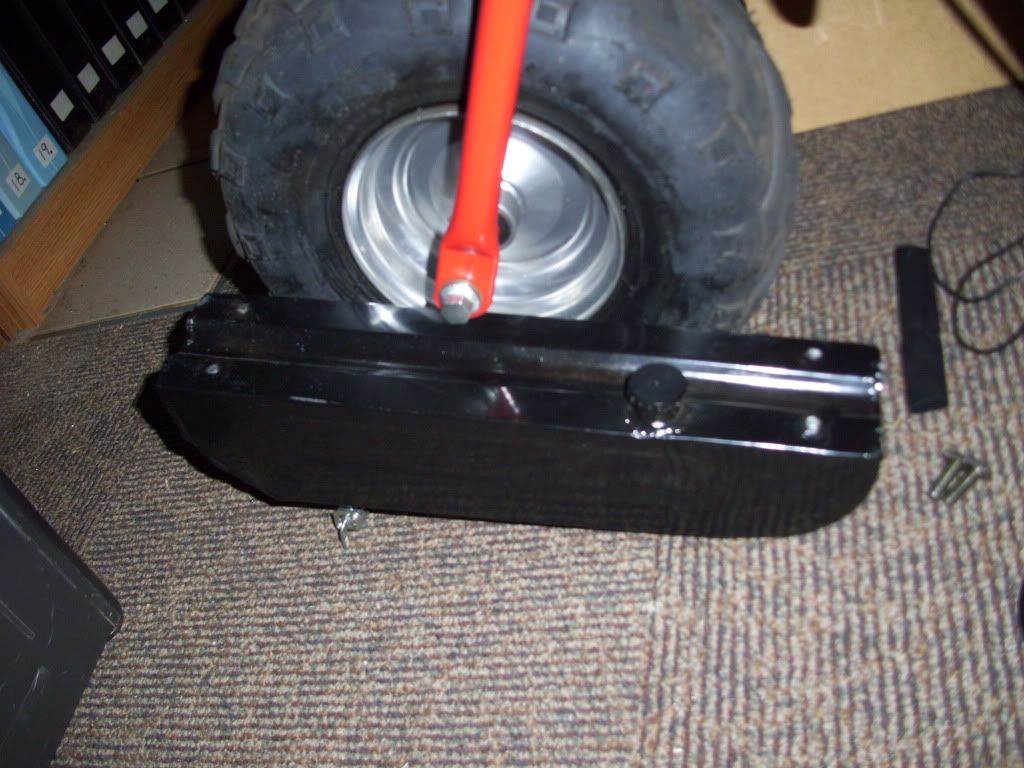
Here's another picture of the Tank. Notice how small the Gas Cap is.
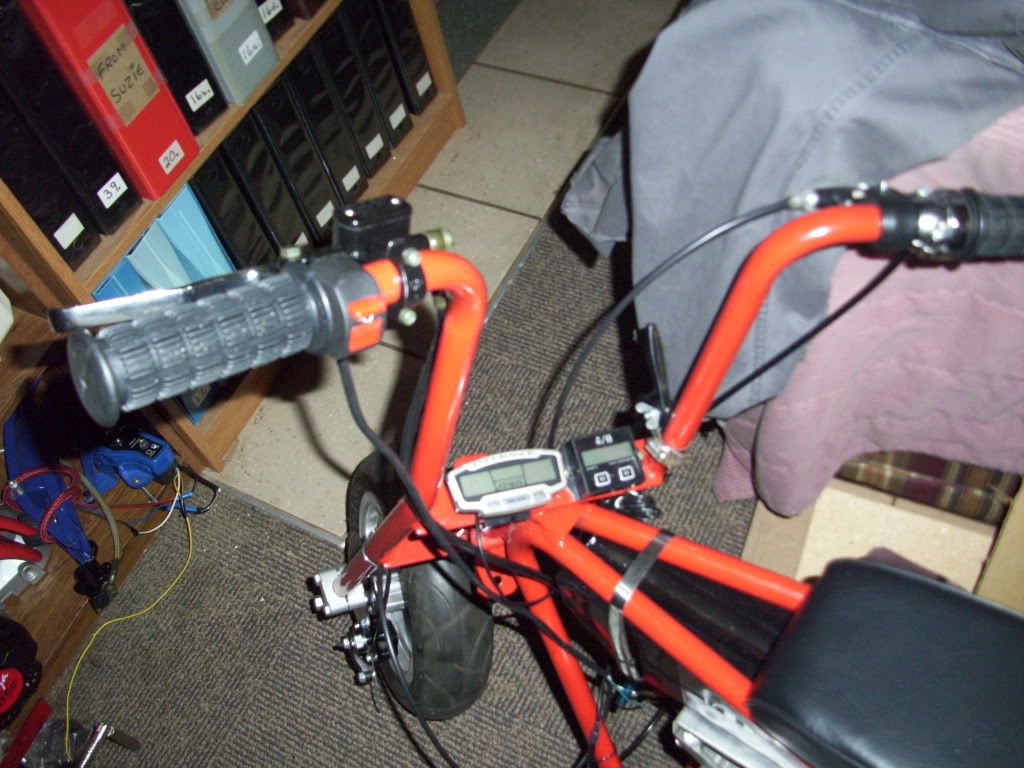


This is my Tach


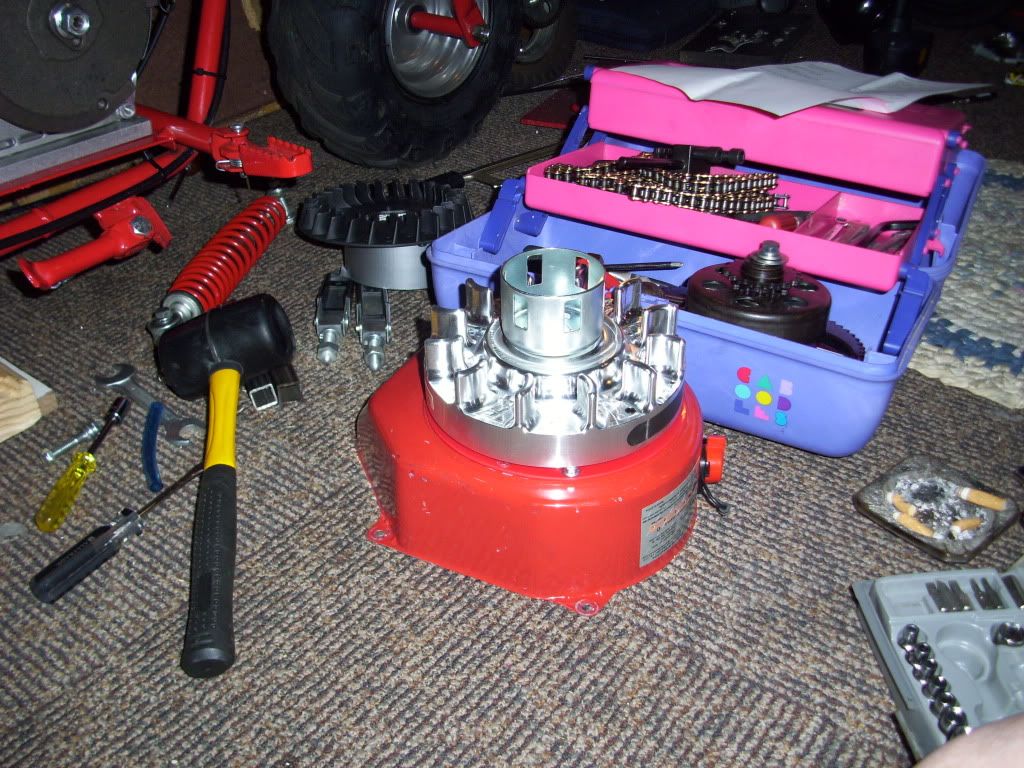
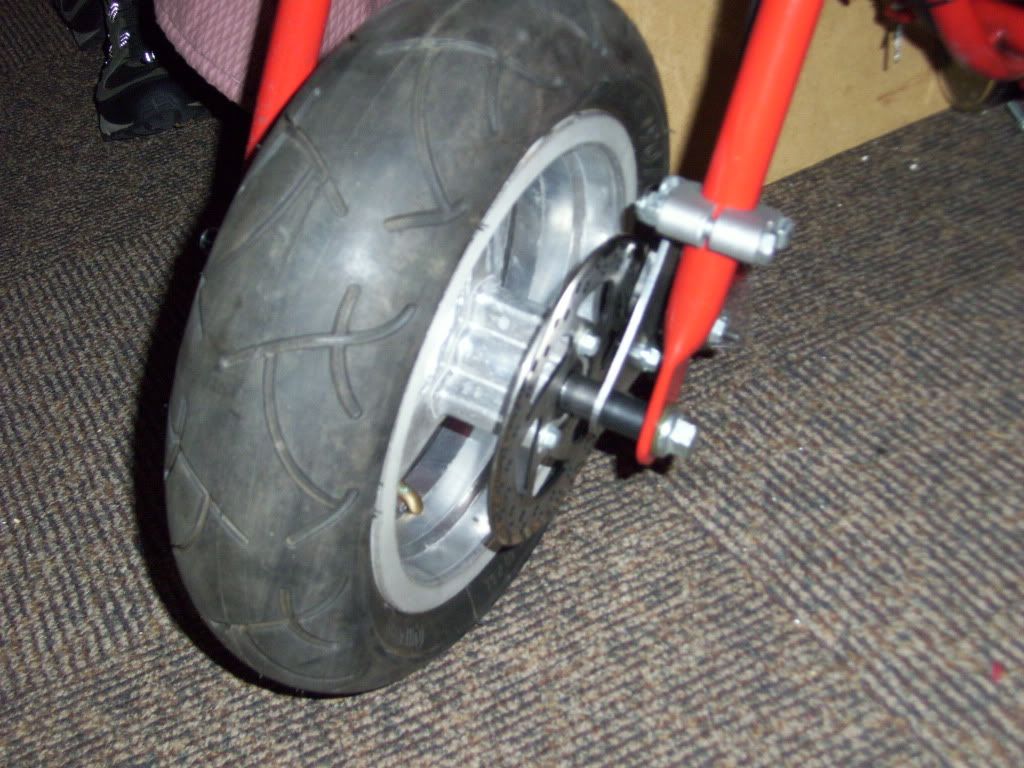
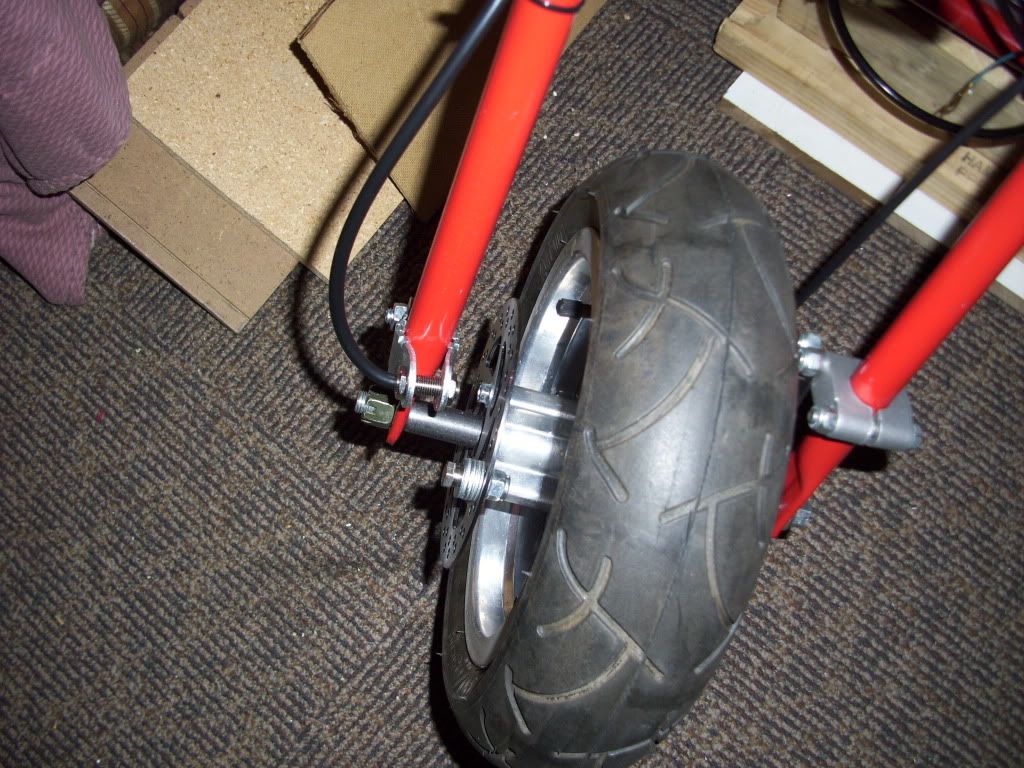
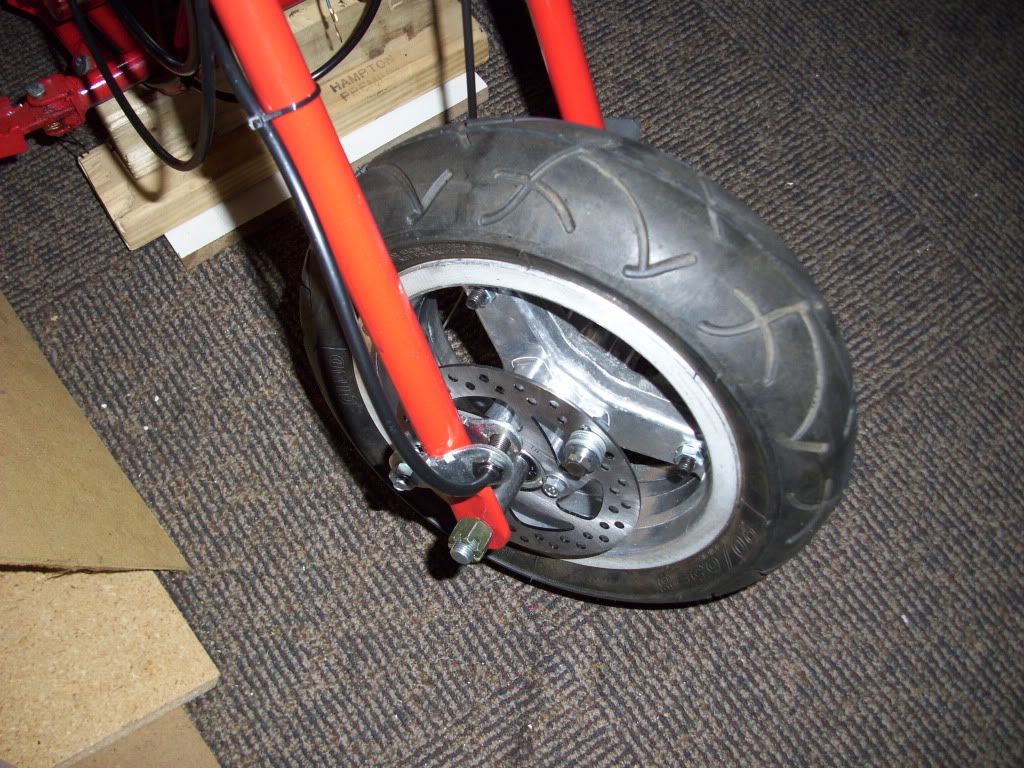
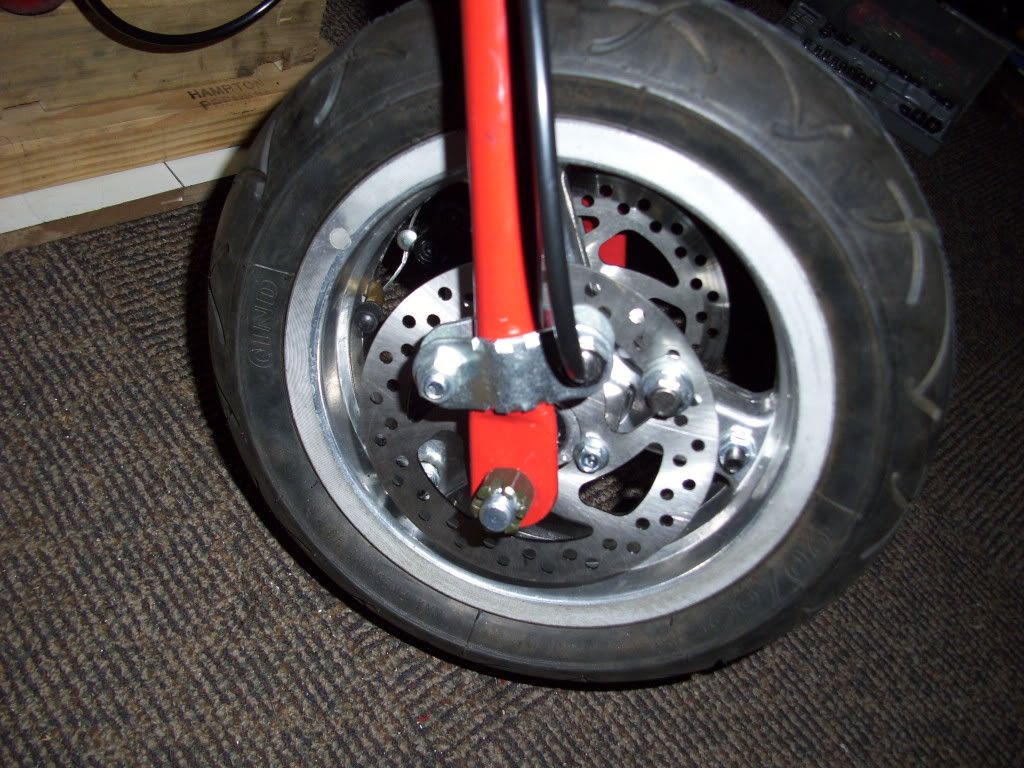
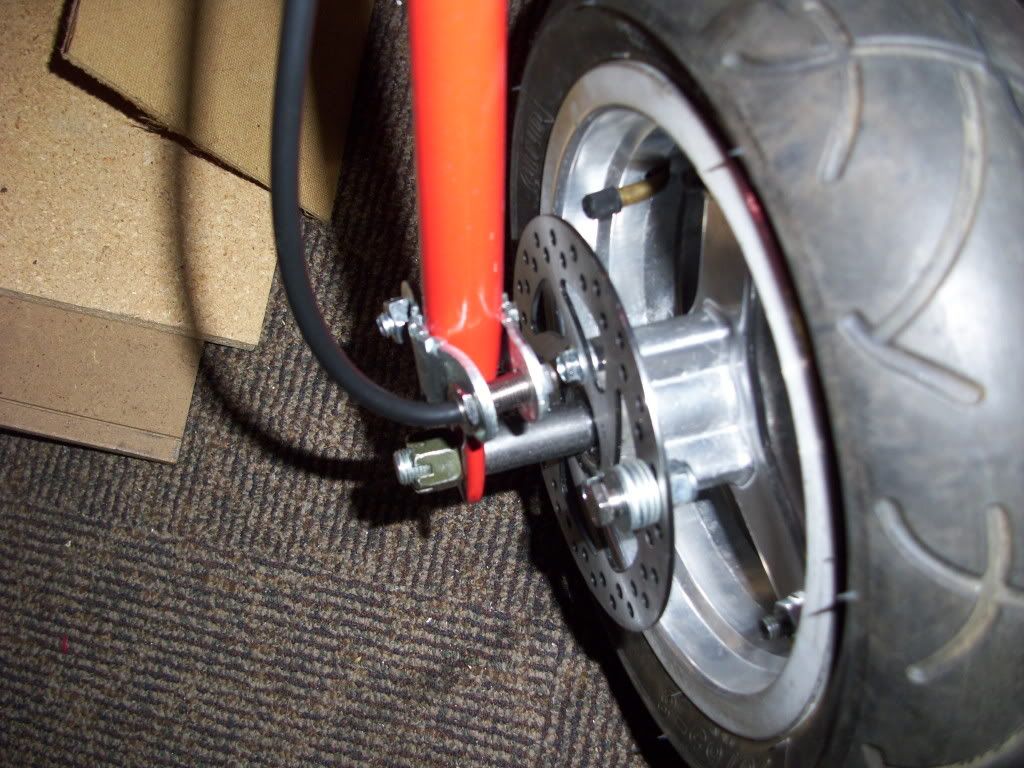
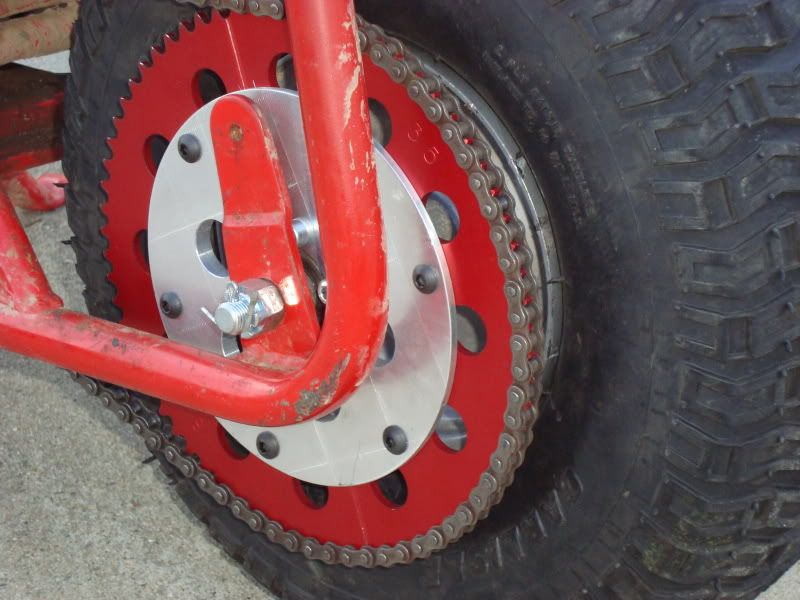
This is my Custom Disk Brake setup and New Tire and Rim
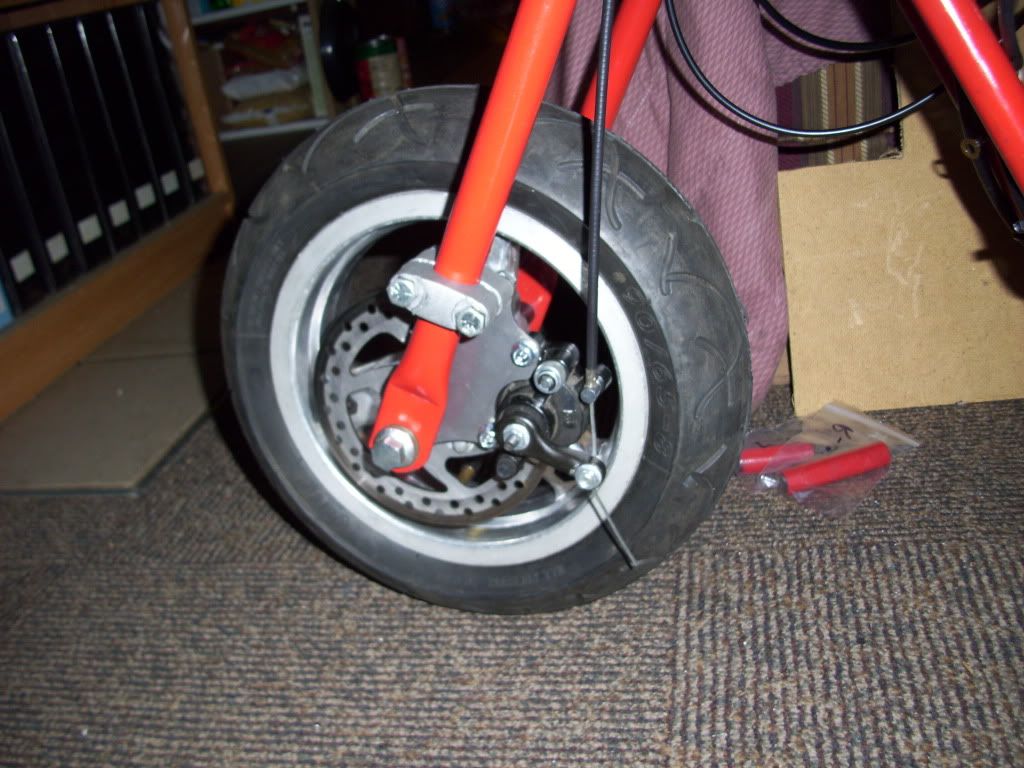


Here is a close up


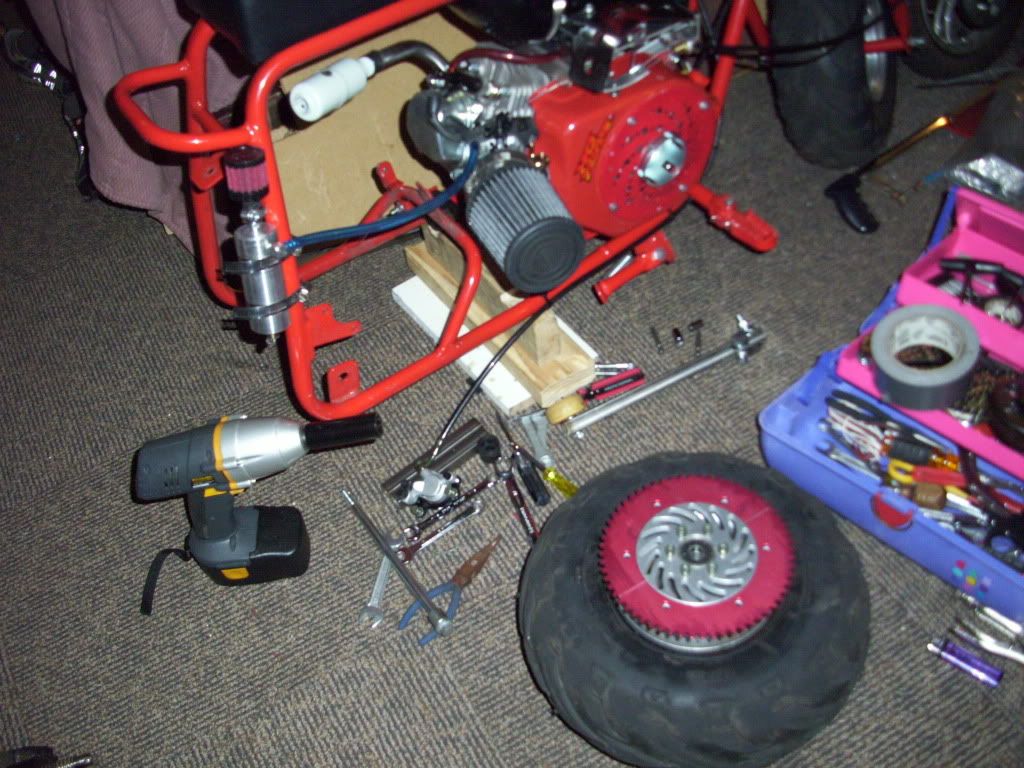
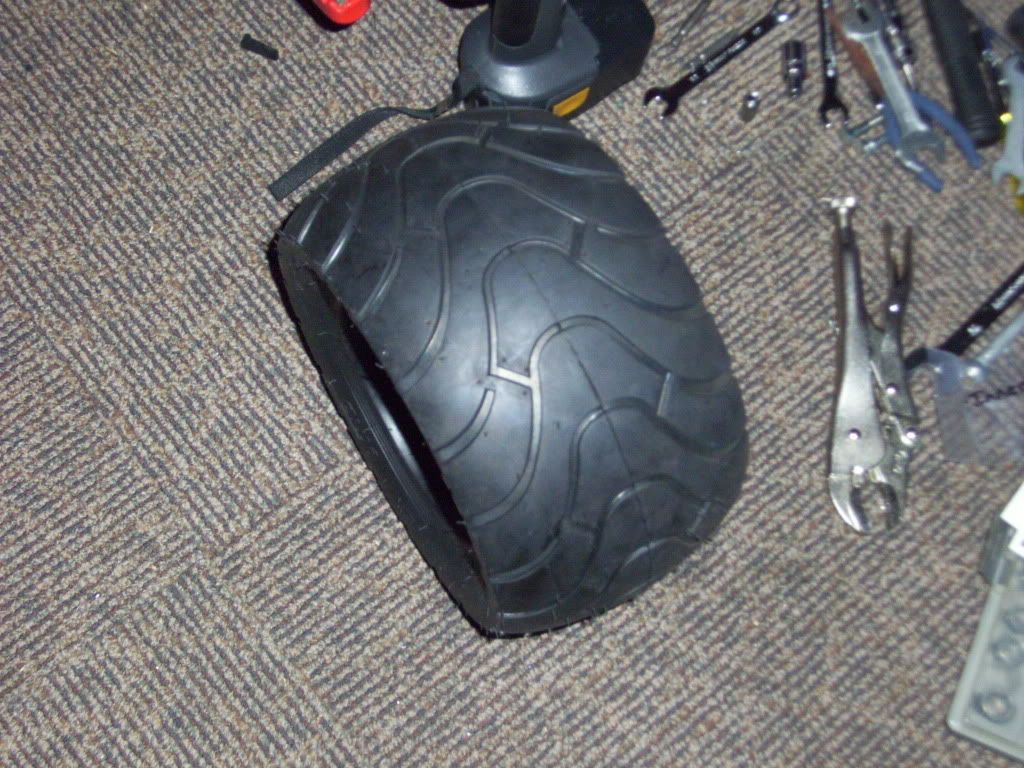
I was going to use this tire, but decided not to


I have hydraulic Brakes in the Back
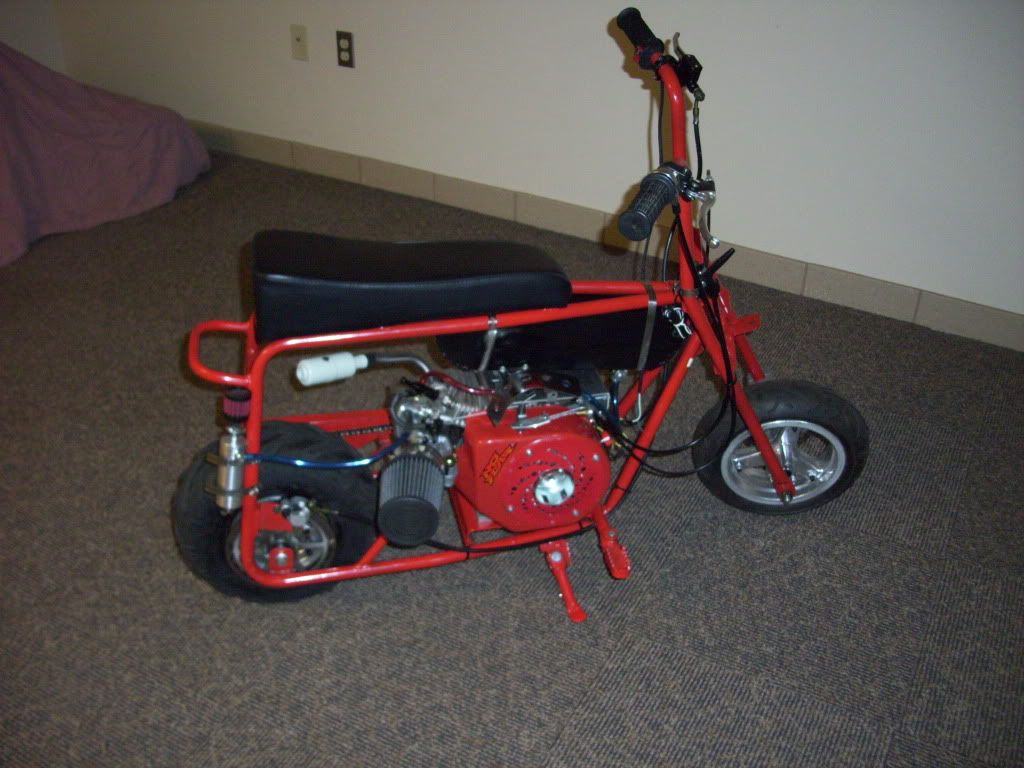


vette66_00

Active Member
#3
The adapter is suppose to go the other way to keep the stock alignment. But I guess it really would not matter if your using the adjustable engine mount.

Your project looks awesome!!!!!!!!!!


#7
The adapter is suppose to go the other way to keep the stock alignment. But I guess it really would not matter if your using the adjustable engine mount.

Your project looks awesome!!!!!!!!!!


Thanks Vette, I appreciate it. :thumbsup: I think it looks better on the outside, but It works. :thumbsup: :biggrin:
 
#10
Looks good, nice work... The X1 frt wheel looks like it should have came on the bike...

Have you riden it yet?
Thanks I appreciate it. I haven't ridin it yet. I still have a few more things to do to it. I'm sure it will get my adrenaline going. Oh yeah. :thumbsup::thumbsup: :biggrin:
 
#13
That thing is super cool, you did some really nice work! That gas tank is cool, did you build it? Looks like it bolts onto a single tube frame, but it works well for your application! A well engineered machine!
 
#14
That thing is super cool, you did some really nice work! That gas tank is cool, did you build it? Looks like it bolts onto a single tube frame, but it works well for your application! A well engineered machine!
Thanks supernova I appreciate your compliment :thumbsup: You are right about the gas tank. I cut off the bolts and it fit perfect underneath. :thumbsup: :biggrin:
 
#16
Thanks, that's a pretty nice can for 15 bucks including fittings. I'll send my jet to pick you up; oh wait, I sold the jet, sorry. :)
lmao. :lol::lol: Darn and I had my bags packed already. Oh Well, Maybe when You buy another one, then I can go. :thumbsup: Yeah, that filter on the top of the catch can cost more than the catch can itself. :thumbsup: :biggrin:
 
#17
lmao. :lol::lol: Darn and I had my bags packed already. Oh Well, Maybe when You buy another one, then I can go. :thumbsup: Yeah, that filter on the top of the catch can cost more than the catch can itself. :thumbsup: :biggrin:
Yeah, i happen to have one of those little red gizmos I paid 15.95 for. :)
So, tell us about the engine.
 
#19
Yeah, i happen to have one of those little red gizmos I paid 15.95 for. :)
So, tell us about the engine.
Ok here is what I got in it. :thumbsup:

6.5H.P.
CARROLL STREAM MOTOR

ARC Header and Muffler
ARC CNC machined top plate/throttle mechanism
ARC billet air filter adaptor
Choke hold
Mikuni Fuel Pump
Pulse inlet fitting
Angled High Flow Air Filter

Cam = Dyno “CM” Modified - .275 lift at the cam
Intake duration is 236 Exhaust duration is 236

Carb = 615 Blueprinted - Airflow has been significantly increased by opening and reshaping the Venturi using a CNC machine. The choke shaft and butterfly have been removed and the shaft hole has been plugged

Arc Billet Flywheel

Stainless steel valves, stock size & length, lash caps, 26lb springs, aluminum retainers and split keepers, 1.3 ratio rocker arms and chrome moly pushrods

Clutch = Max Torque Shoe style centrifugal drum clutch
Front Engine Sprocket = 18 teeth
Rear End Sprocket = 60 teeth

I don't know what the Horsepower is now, maybe someone can give me an estimate on this. :thumbsup: :biggrin:
 
Last edited:
Status
Not open for further replies.
Top