Gemini SST

#1
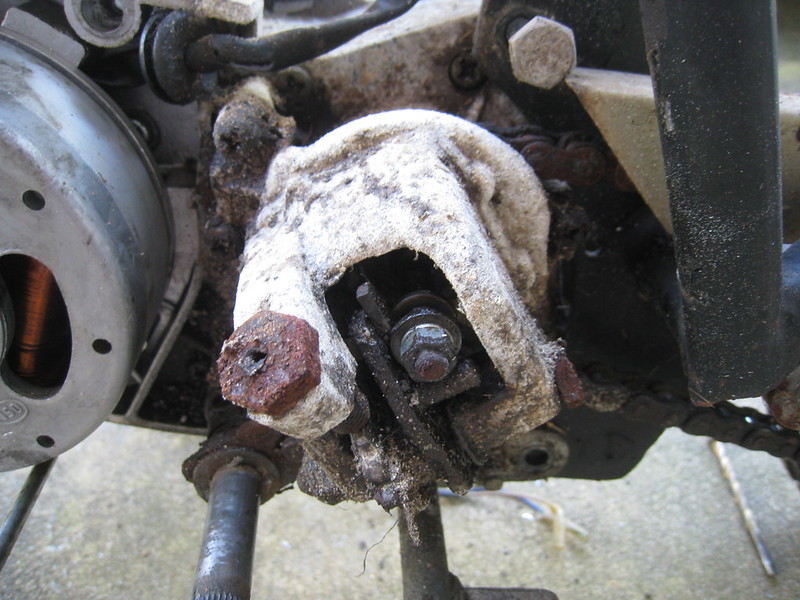
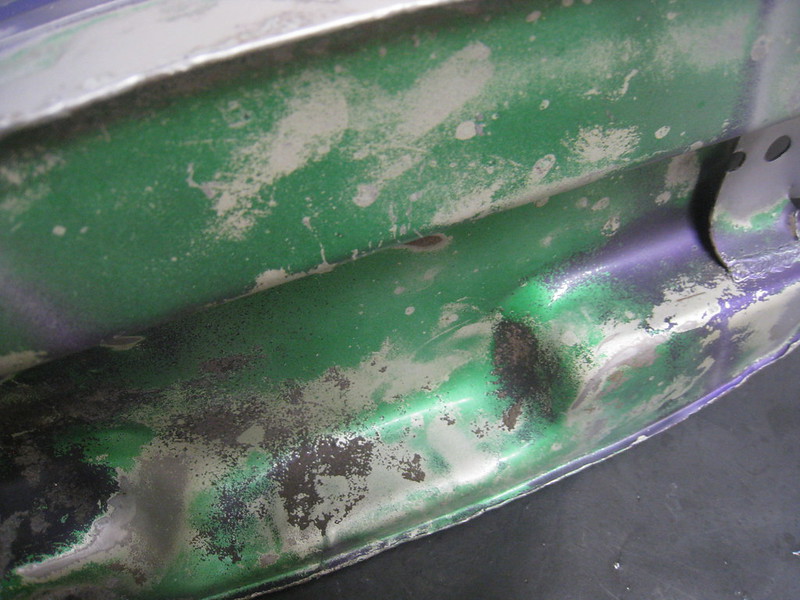
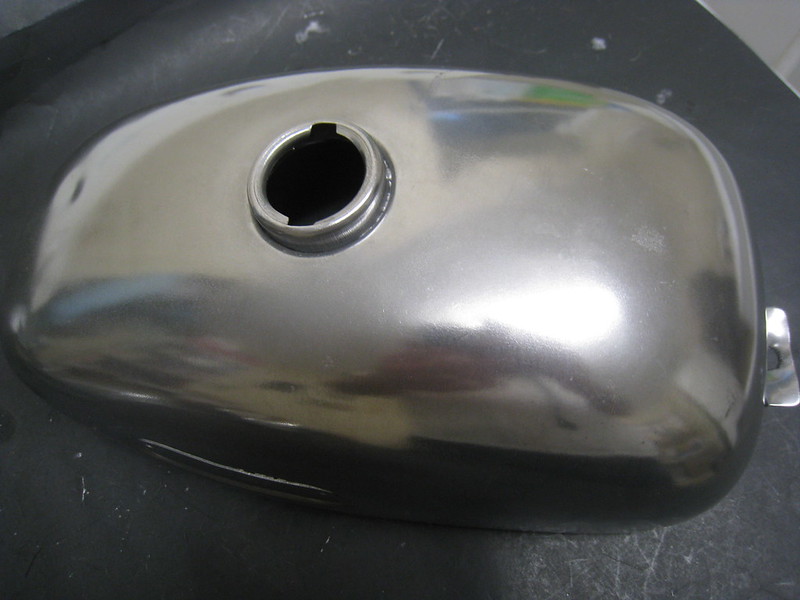
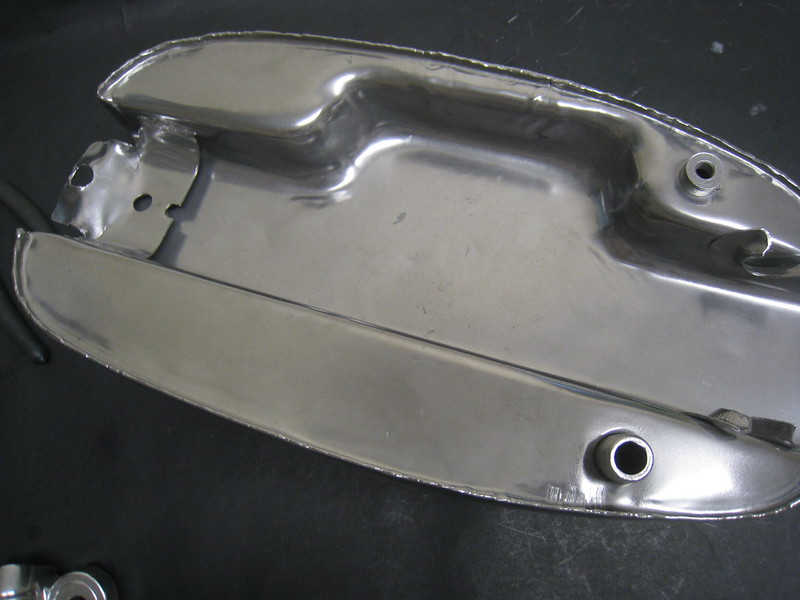
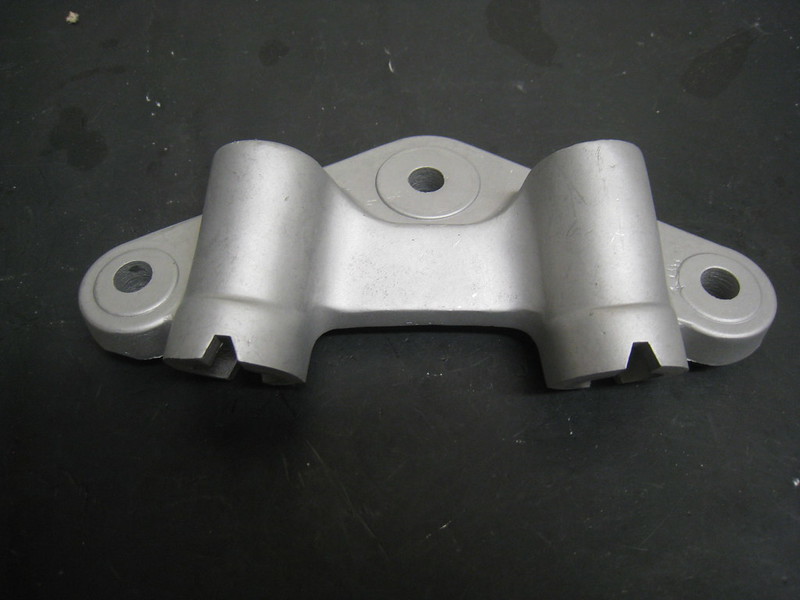
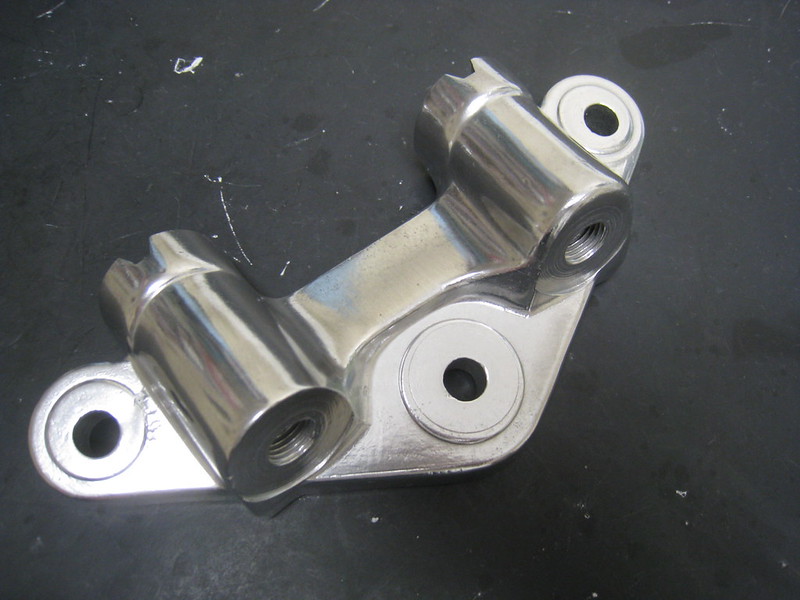
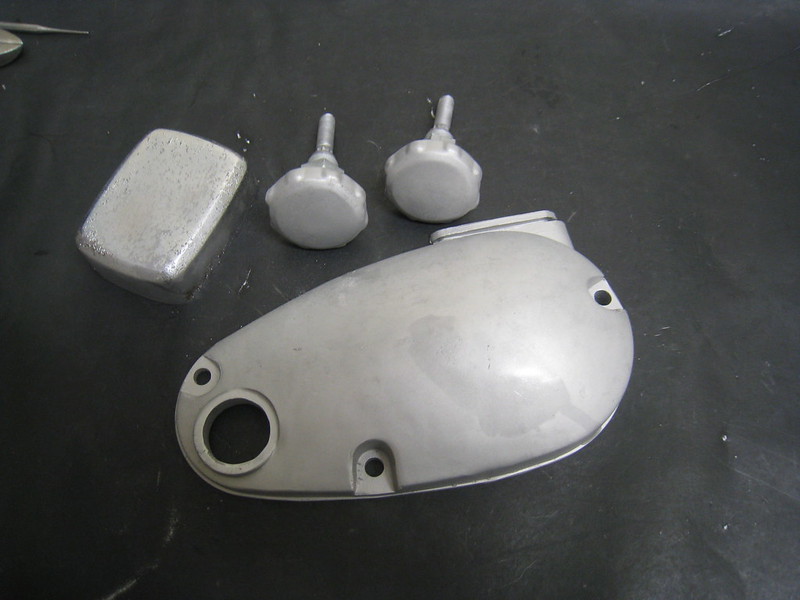
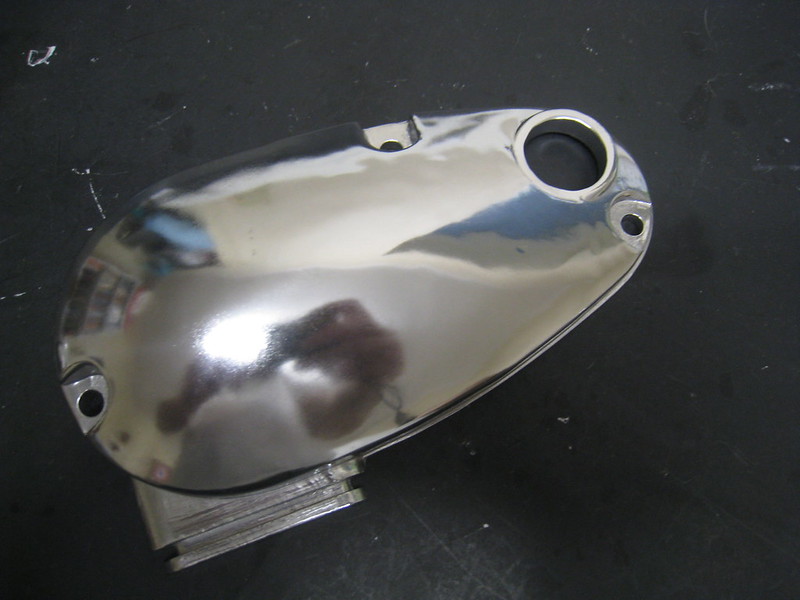
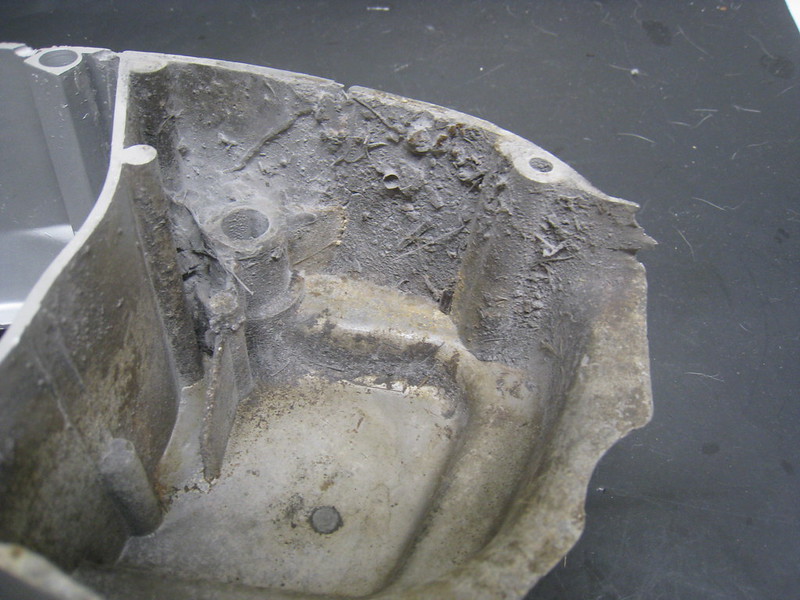
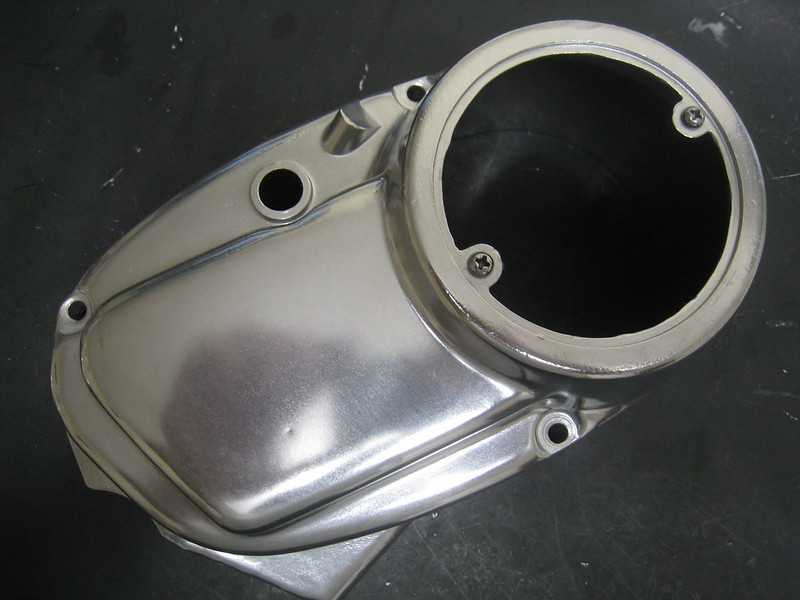
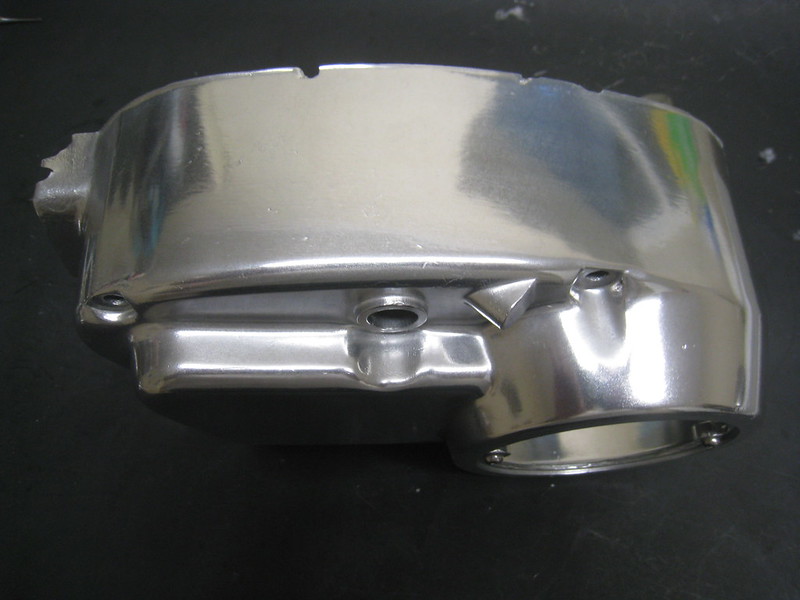
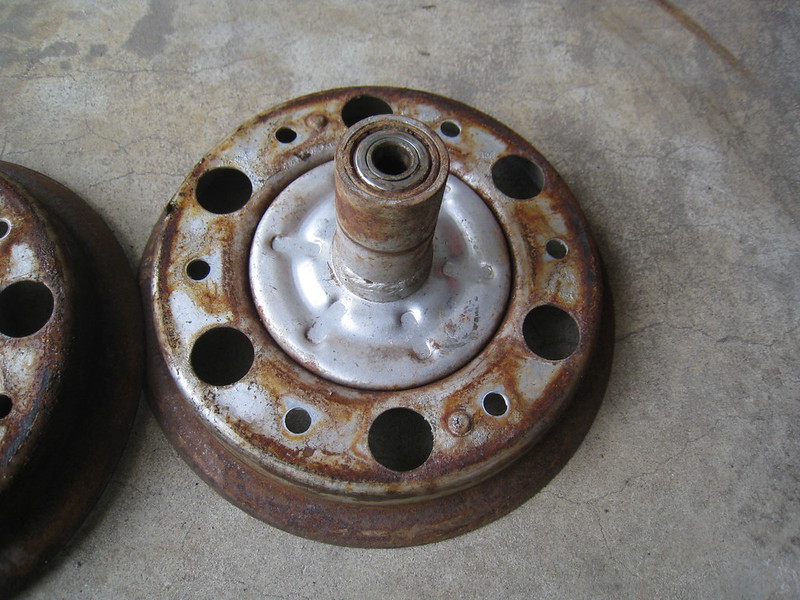
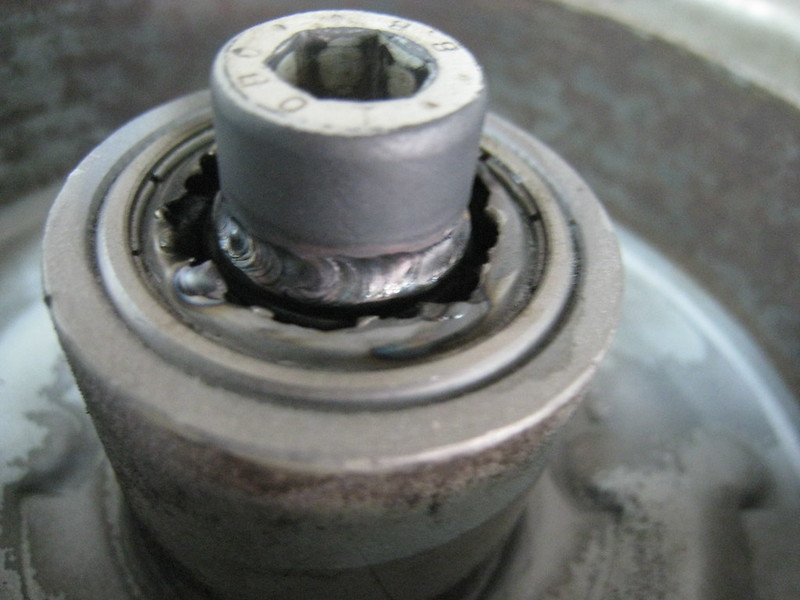
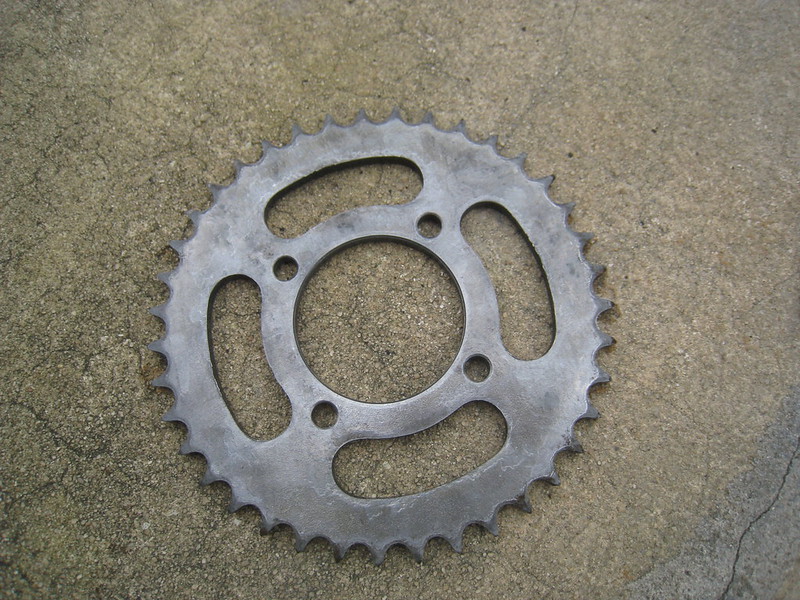
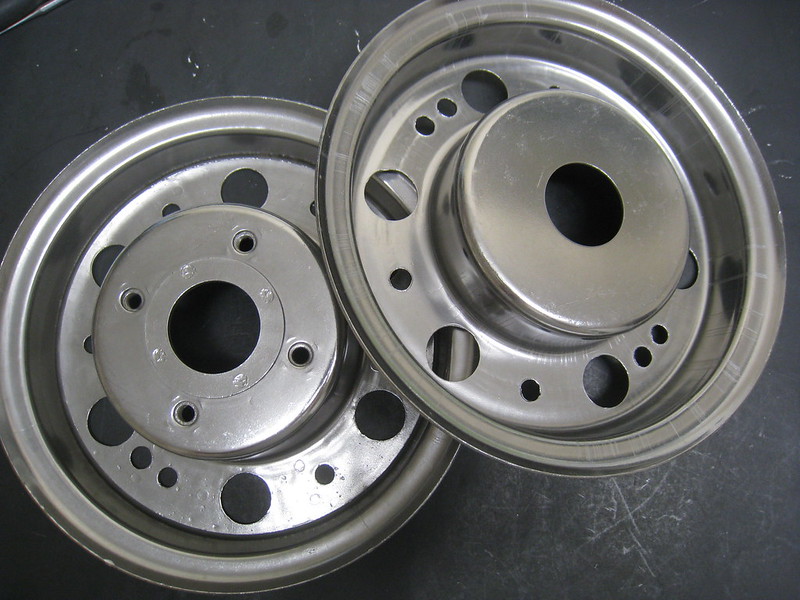
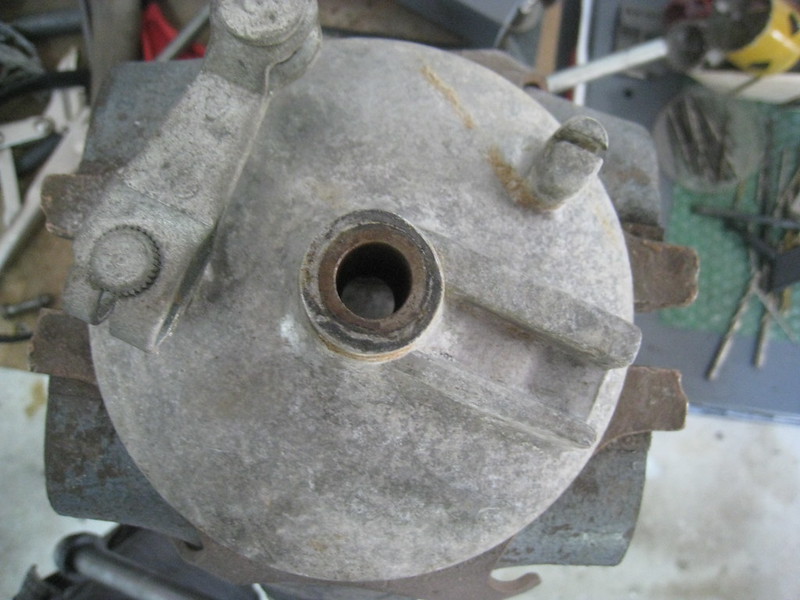
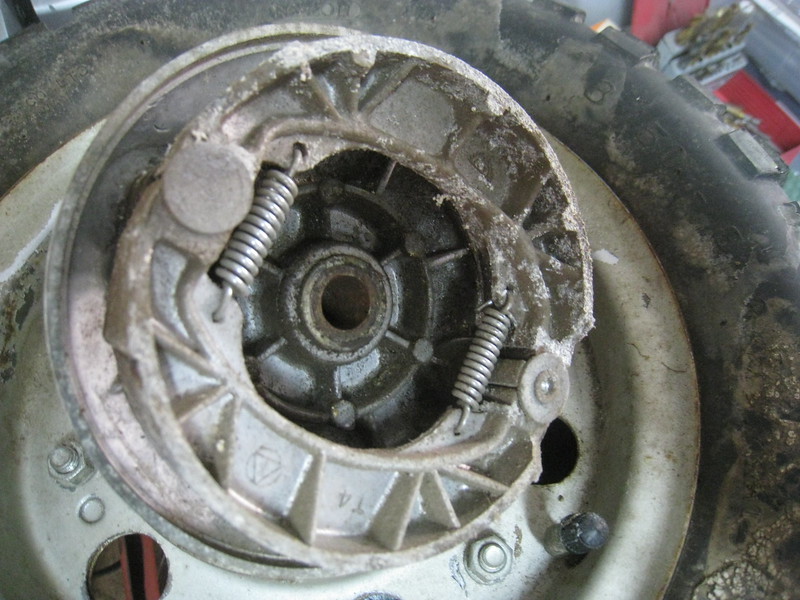
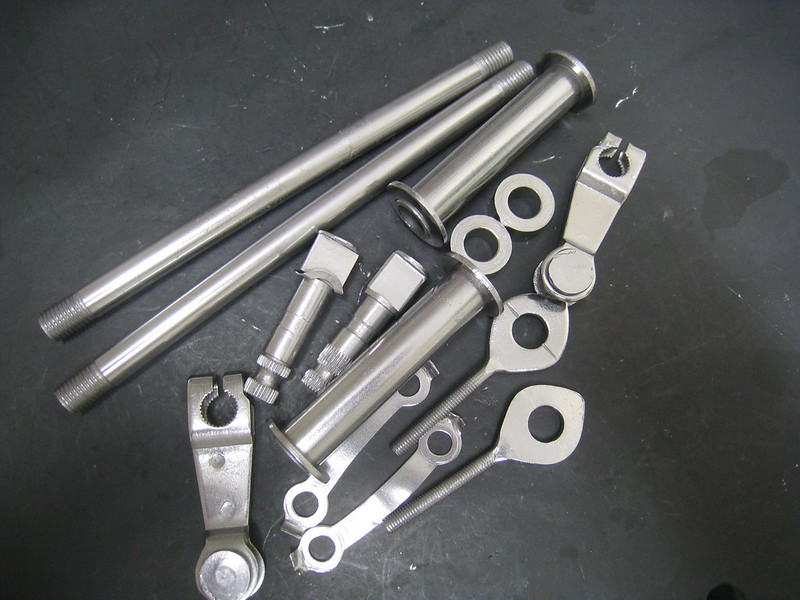
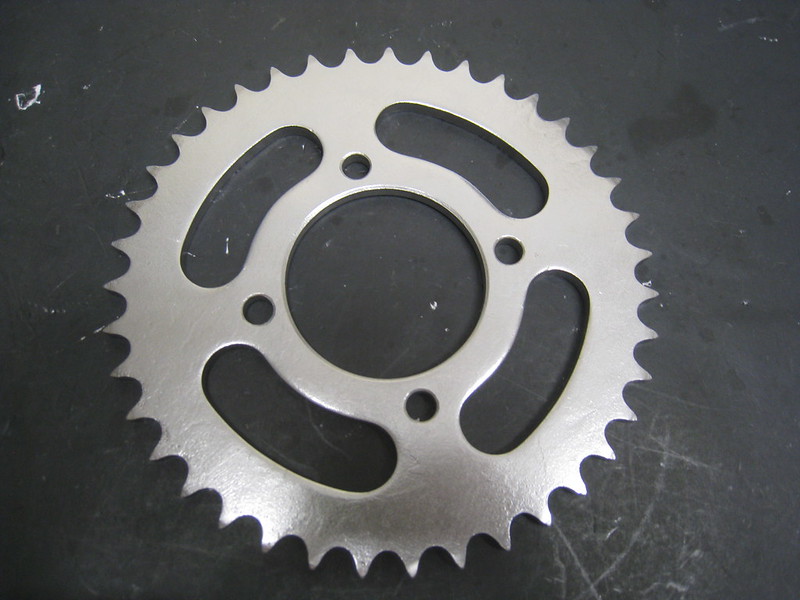
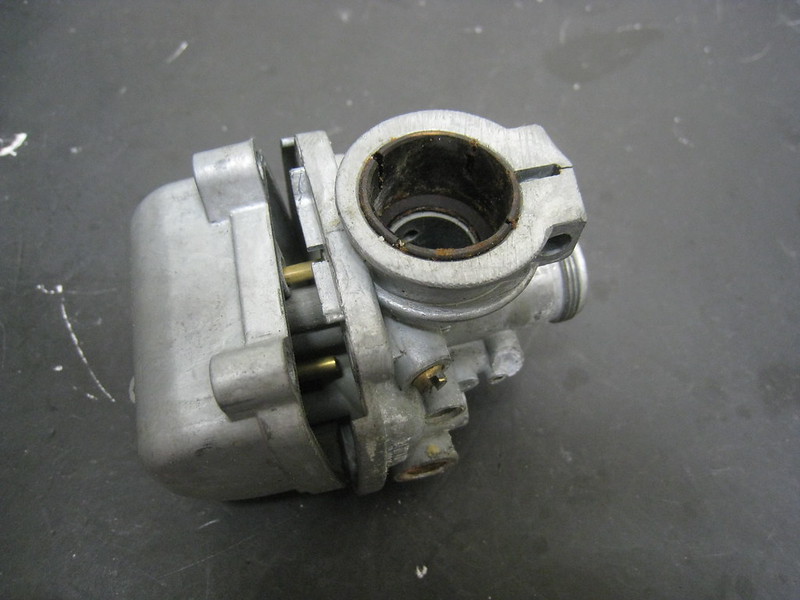
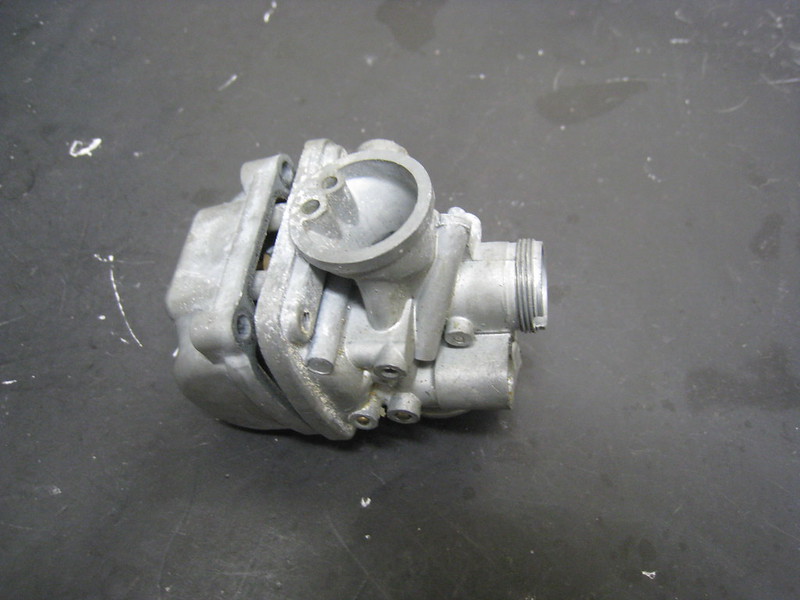
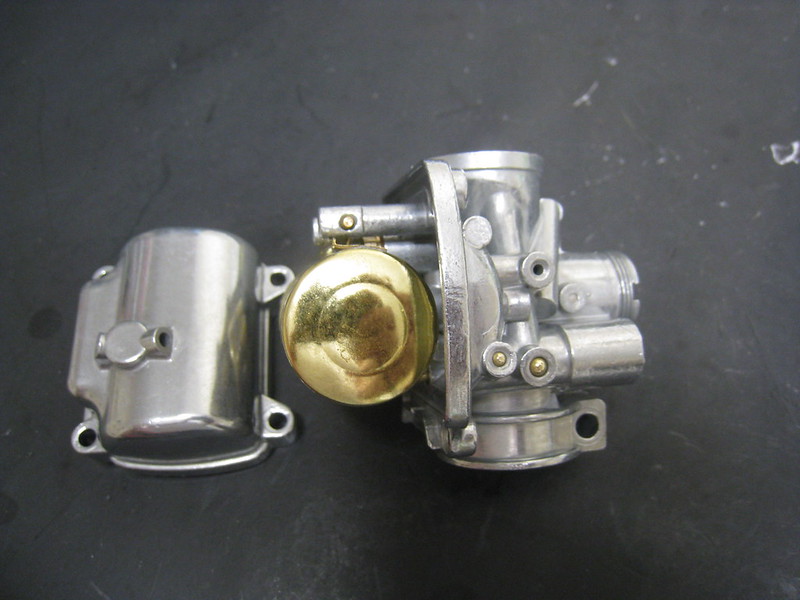
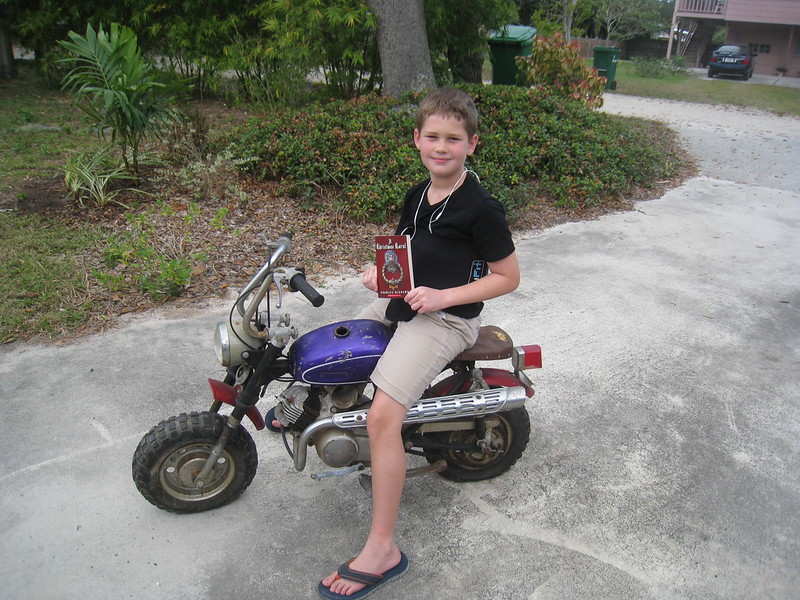
I hope this Gemini will work for the international class. I told my neighbor Maverick I was kicking around the idea of a minibike and he offered the perfect solution for my interests. It helps that my boy just turned 10 and has shown a growing interest in helping me out on the restorations. Yesterday Maverick dropped off a very nice Gemini and by dinner we had it torn apart. BTW it was 80F yesterday and the book is "A Christmas Carol".
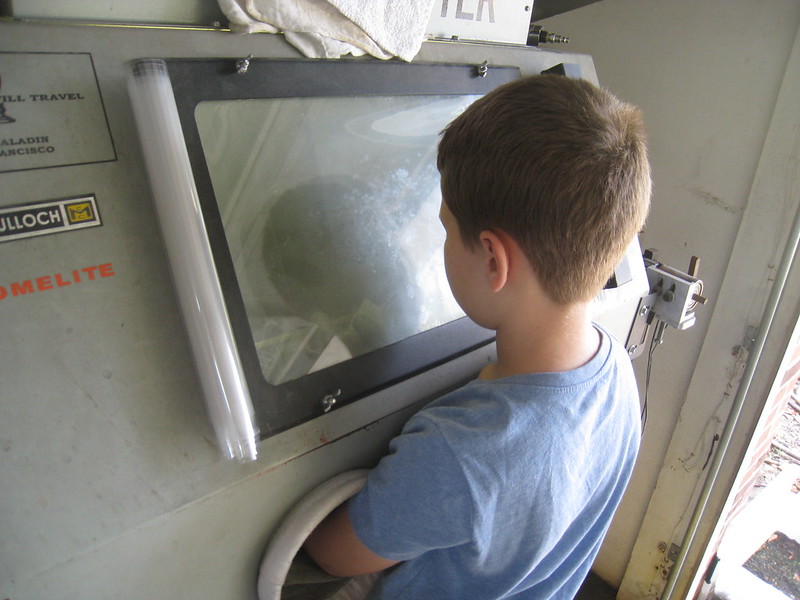
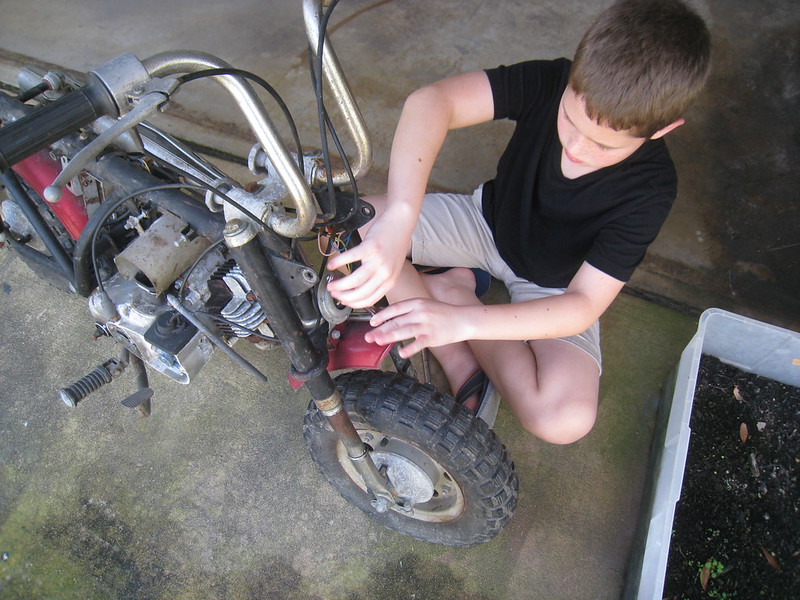
I'm doing it the way my Dad started with me around that age. No power tools, the right tool for the right job, proper documentation, and I can still hear him yelling, "hold the flashlight where I can see it, not where you're looking!" Luckily, years of therapy worked and I can hold a flashlight now.


#3
And like the Burnishing thread I have here, I plan to have some good before and afters.


I'm not sure what this is growing under the ignition cover, but it has been sent to a lab for testing.


The gas tank is in really nice shape and has just one easily reparable ding. I was blasting on it just to see what was under the factory purple. It looked like it was painted green, then got a new coat of silver base and candy purple before it left the factory. My boy spent 3 hours in the blasting cabinet on this tank and some alloy parts. This afternoon I filled the tank with the burnishing pins and sent it for a swim.


#5
My preference is polishing, but the maintenance would be awful here in FL. And as you guys know from my other thread, burnishing enhances to look of a factory cast piece without dramatically altering the aesthetics.

The triple tree had some dings which I smoothed out using a 400 grit Satin-Glo greasless compound on a sewn cotton wheel. Then I threw it in the tank.


The carb cover also some some dings, but this time used a more aggressive cutting bar before burnishing. It helped get some of the waviness out of it, but I didn't want to take it all out.
Here is after blasting.


In the process of blasting out the flywheel cover. I used a putty knife on the baked on chain sludge. Then my boy kept blasting before it went in the tank. I wasn't thrilled about the finish, so I also smoothed it out with the cutting bar on the buffer and re burnished it.


#13
Today was a little less organized. I worked on wheels, hubs, etc,.
Wheels. Overall great shape and just typical rust on the inside.


The first challenge is the sleeve between the wheel hubs has virtually the same ID as the 6201 bearing ID. I asked my boy to come up with some solutions--once he understood the problem. He described a a tool which of course I don't have. So bust out the welder.

I just used a sacrificial bolt and welded the head to the inner race. Now I could press it out from the right side.


After stripping the paint from the wheels I figured it would save me time to just acid dip them so I could work on other things. The zinc plated brake levers, sprocket, and hardware also went in the acid to remove old zinc. Here is the sprocket after the acid.


After neutralizing the acid dipped parts they went in the blaster to knock of anything left behind.


Of course I couldn't help but letting them swim in the tank with a high pH burnishing solution to make sure the HCL was dead.

 
#15
My neighbor Maverick has been such a great help. When I say neighbor I mean he's close enough to where my wife walks the dog in his neighborhood. He came by this morning, dropped off some copies of factory manuals and helped me understand the questions I had. He's been helpful and generous.


Here are some brake hub pics. Someone went through the trouble to remove the lining from the shoe for me.


I did the same semi-polish and burnish after to the brake hub. These actually could mirror polish, but the maintenance would be a nightmare.


Misc burnished parts which will be re-plated.


ugmold

Active Member
#18
Wow, great job. Does your neighbor happen have a digitized copy of that manual? Or just scans, would be easy to make a pdf of it.
 
Top