Dr. Shop Teacher's - "Lil" Indian Model 600 - (Vintage Class)

Prepping Clutch Guard for Paint--How to Layer Color
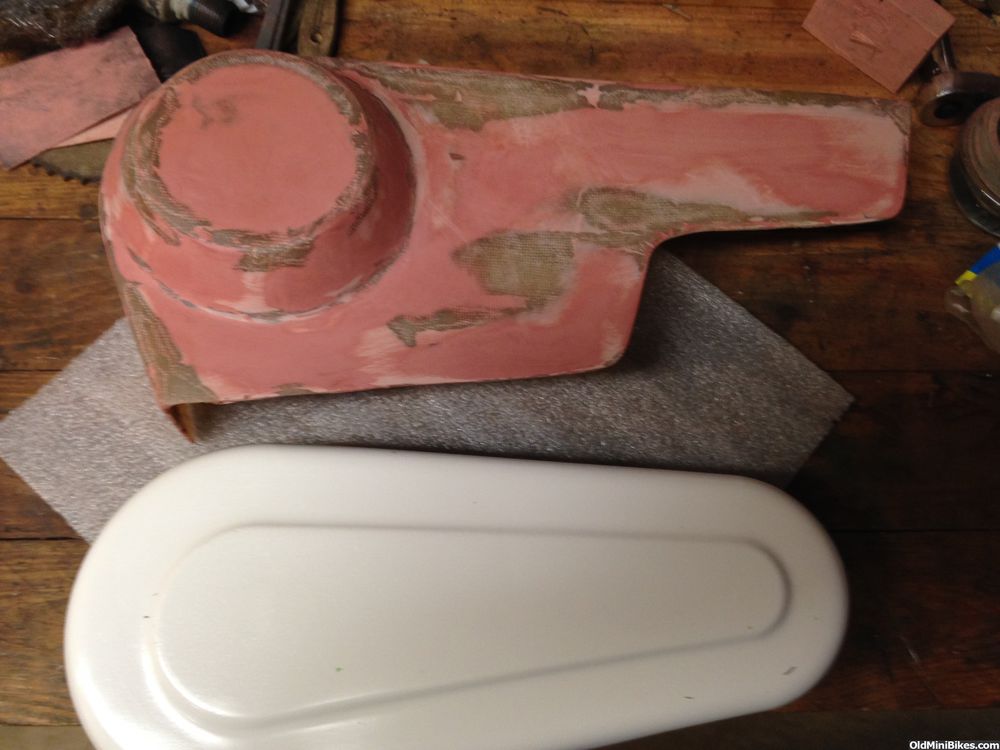
This begins a fairly short section on how to duplicate a powder coat with spray paint. Over the next couple of days, I'll document the process.
OND was kind enough to ship me a "lil" Indian clutch guard freshly re-popped out of fiberglass. Wasn't much to do other than sand in a few places and prime for the base coat. Since the bike is the same color as Copperhead, my Gilson "mule," and I had just converted to TAV20, I needed to make up a new, wider TAV cover which will need the same color treatment. I made the new Gilson cover yesterday, and did the finish sanding this morning.
Here are the pieces on their way to primer:
I used body filler and spot putty to smooth out imperfections on the Gilson cover. The "cereal" bowl shape usually makes this hard to get out of the mold. This time it came out easily.
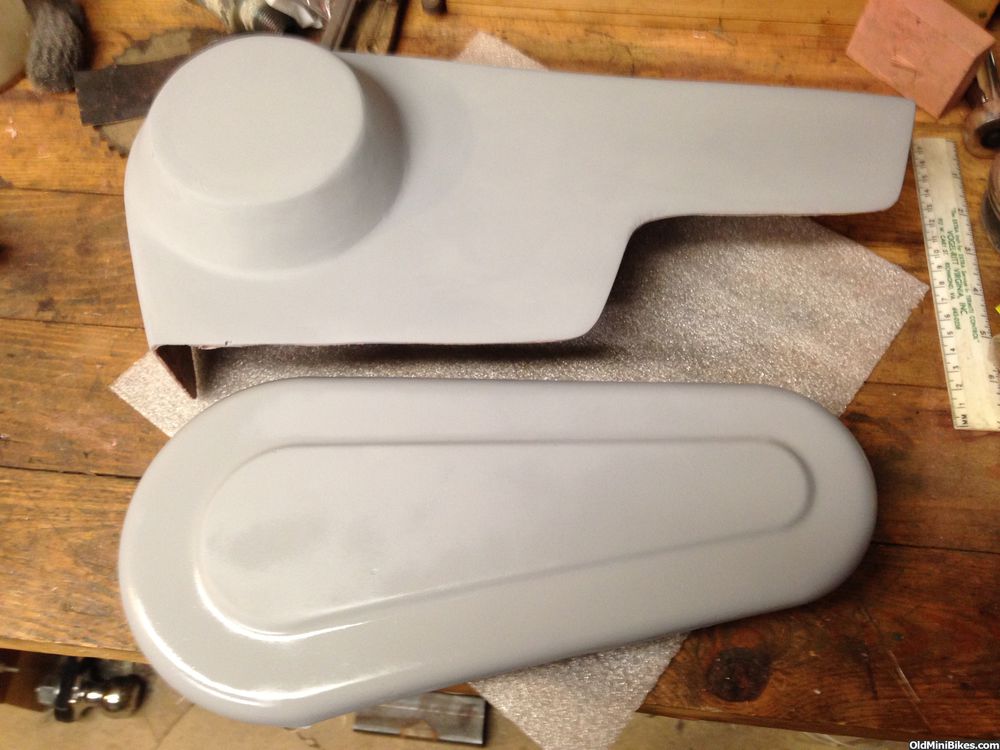
Here they are in primer:
This begins a fairly short section on how to duplicate a powder coat with spray paint. Over the next couple of days, I'll document the process.
OND was kind enough to ship me a "lil" Indian clutch guard freshly re-popped out of fiberglass. Wasn't much to do other than sand in a few places and prime for the base coat. Since the bike is the same color as Copperhead, my Gilson "mule," and I had just converted to TAV20, I needed to make up a new, wider TAV cover which will need the same color treatment. I made the new Gilson cover yesterday, and did the finish sanding this morning.
Here are the pieces on their way to primer:
I used body filler and spot putty to smooth out imperfections on the Gilson cover. The "cereal" bowl shape usually makes this hard to get out of the mold. This time it came out easily.
Here they are in primer:
Color Matching through Layering--Clutch Guard
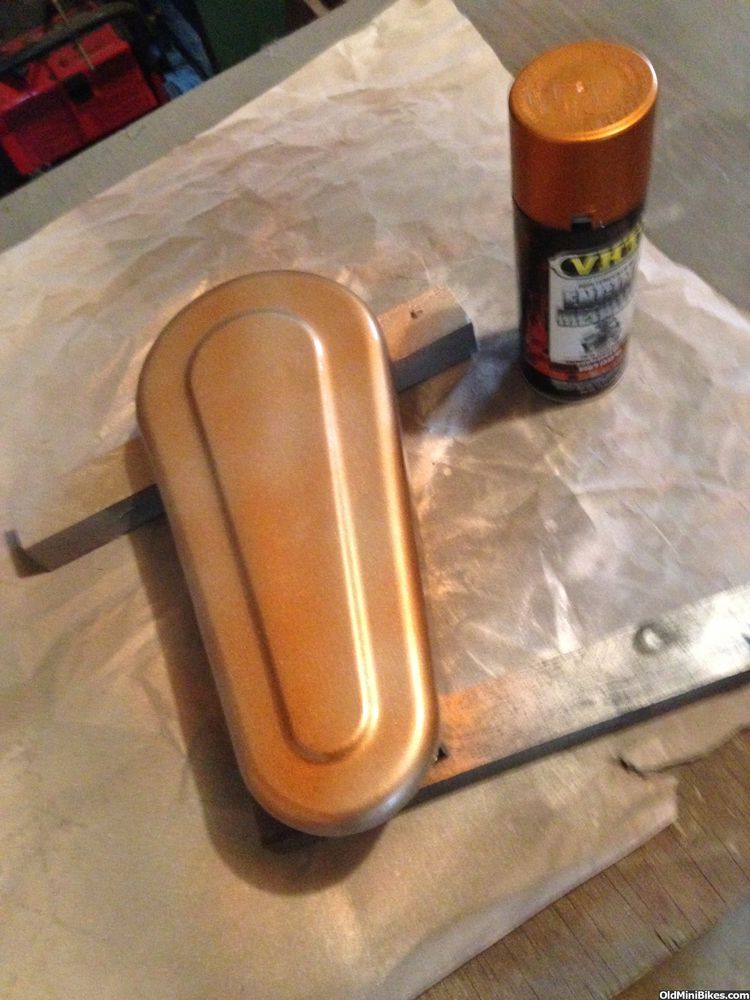
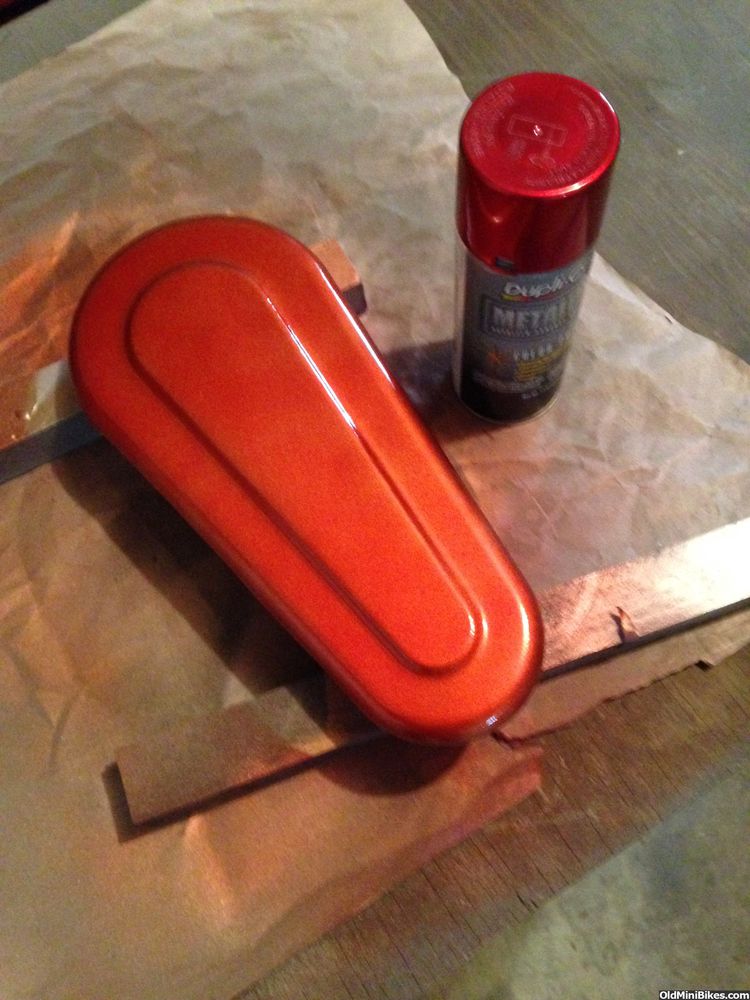
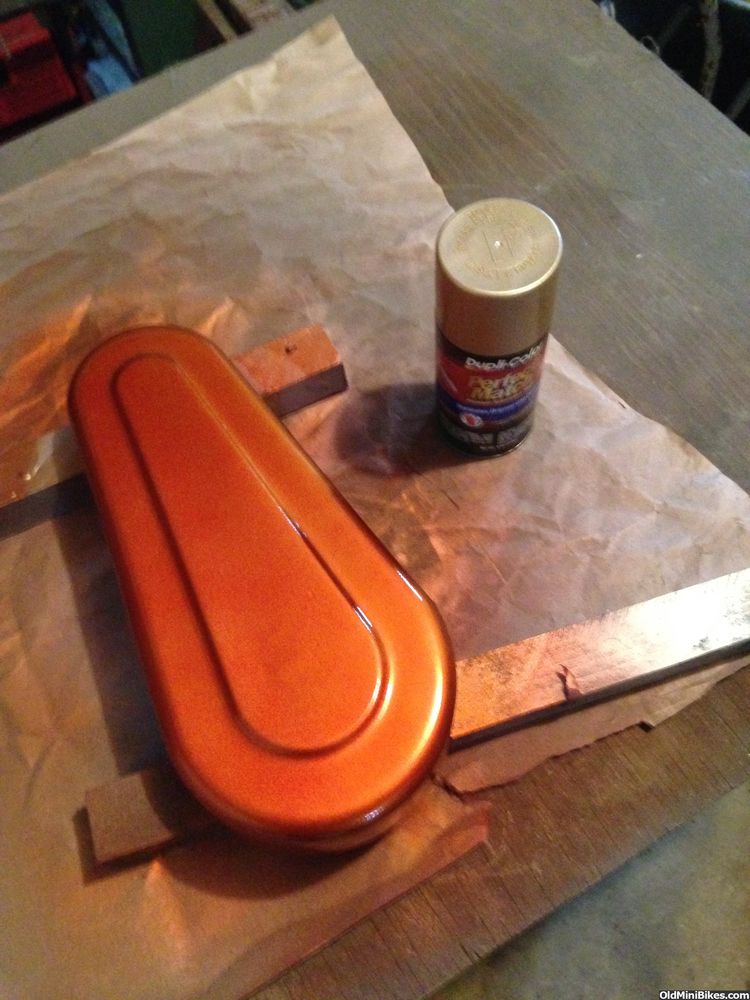
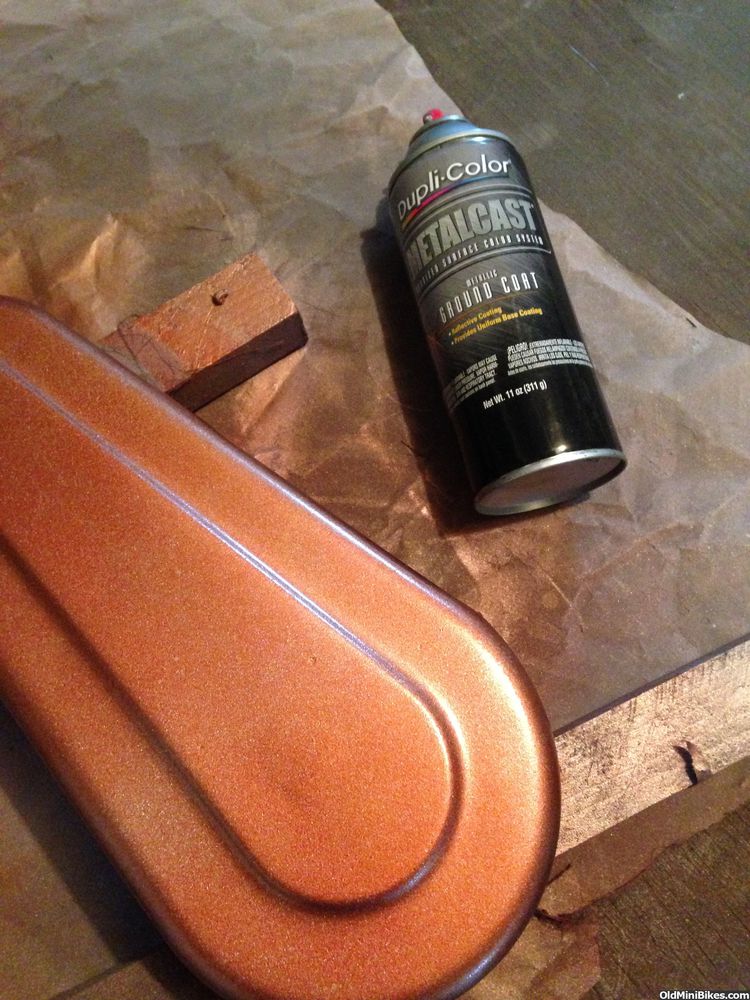
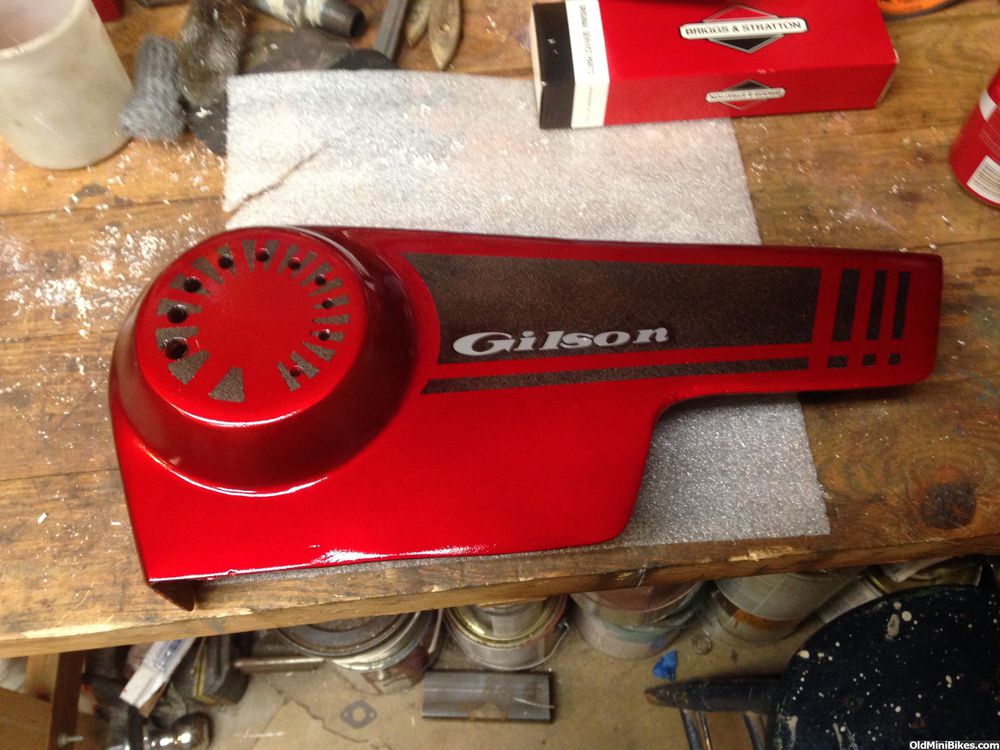
Here's the process I used to color match the clutch guard to Copperhead powder coat. Using candy or anodized colors helps but not always necessary (and you can use Testor's Model Spray paints). The key is to apply each coat lightly and about 5 minutes apart. Each coat is applied as the previous starts to flash.
1) Base coat of GM Metallic Gold--
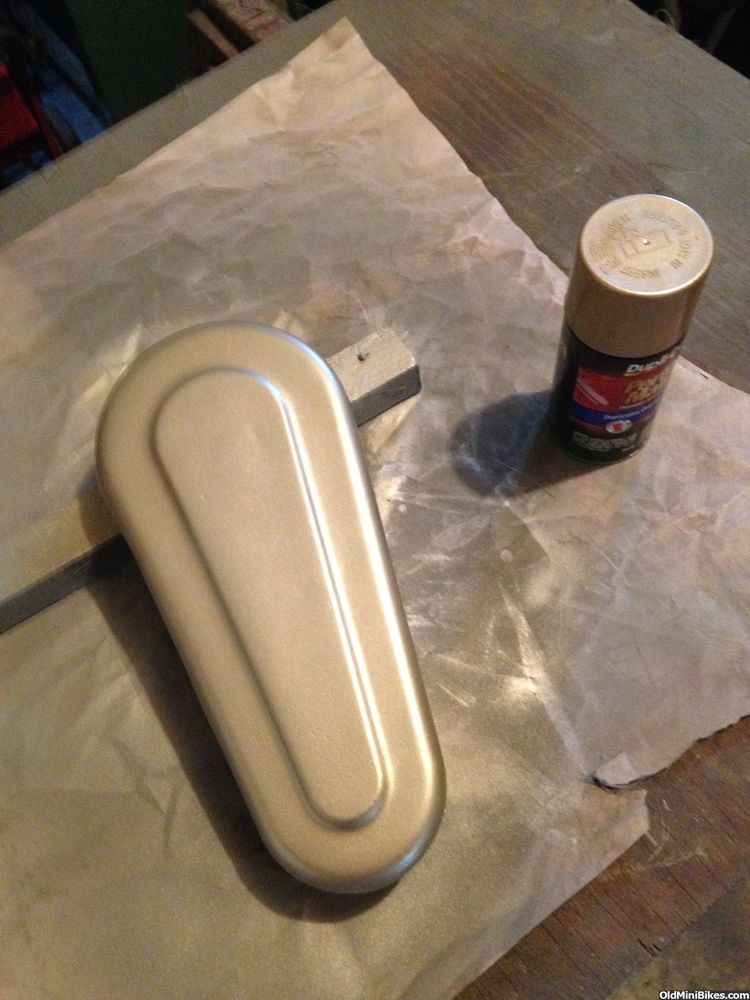
2) Followed by overspray of Metallic Groundcoat (Duplicolor)--
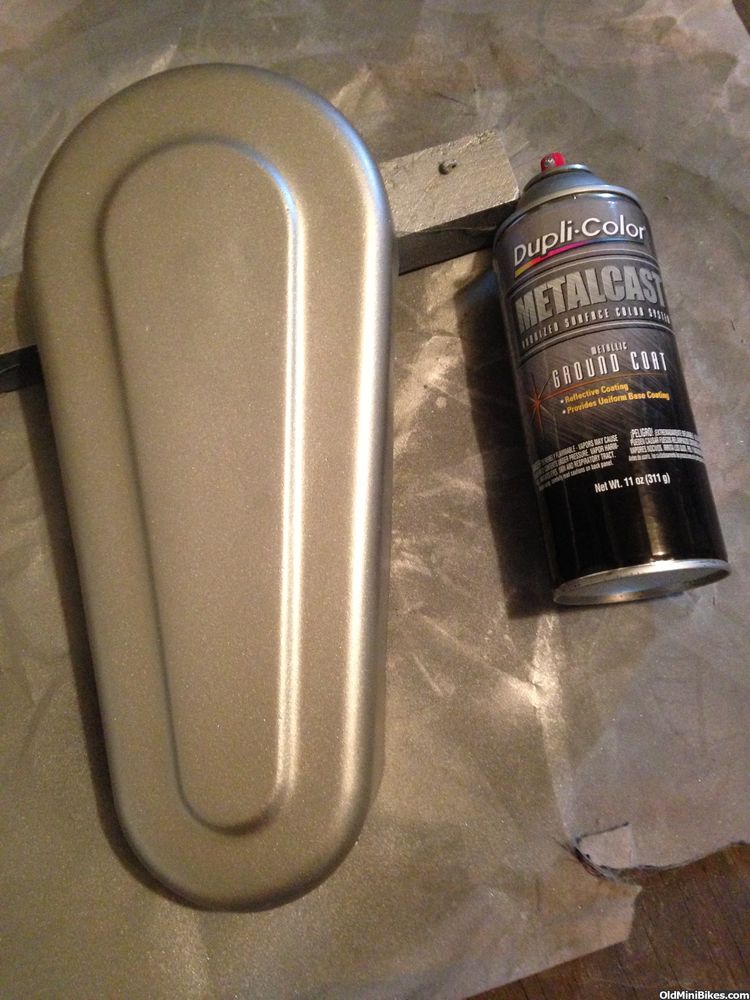
3) A light coat of Anodized Copper (VHT)--
4) First coat of Anodized Red (Duplicolor)--
5) Another mist coat of Metallic Gold--
6) Misting of Metallic Ground Coat--
7) Several Coats of Anodized Red to build to desired color depth--
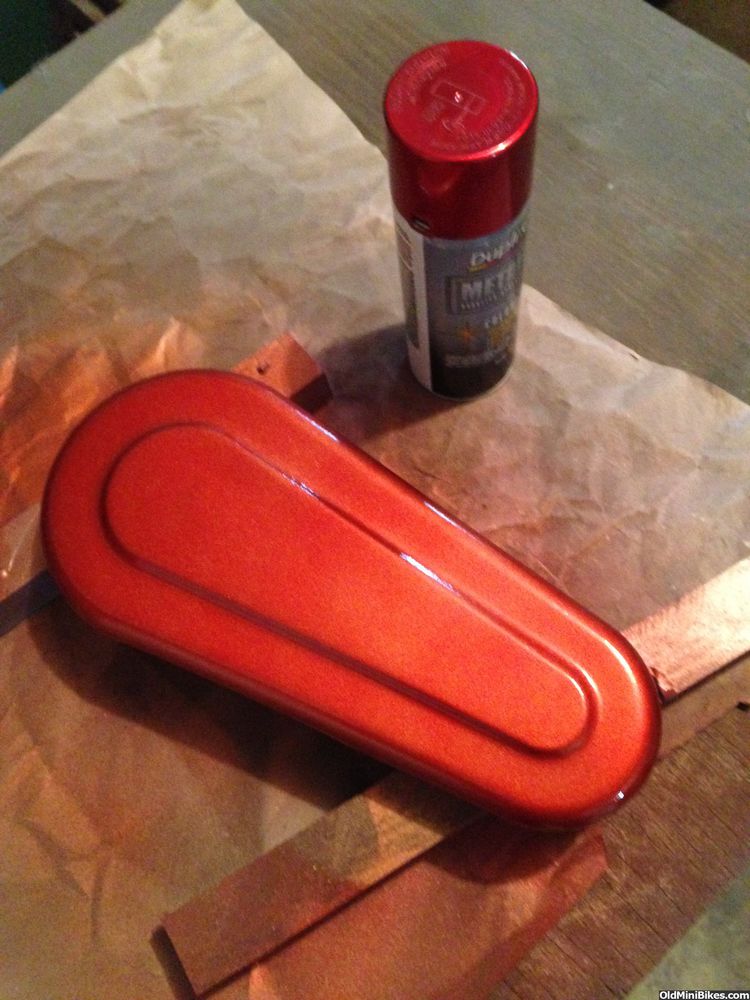
8) Final product--
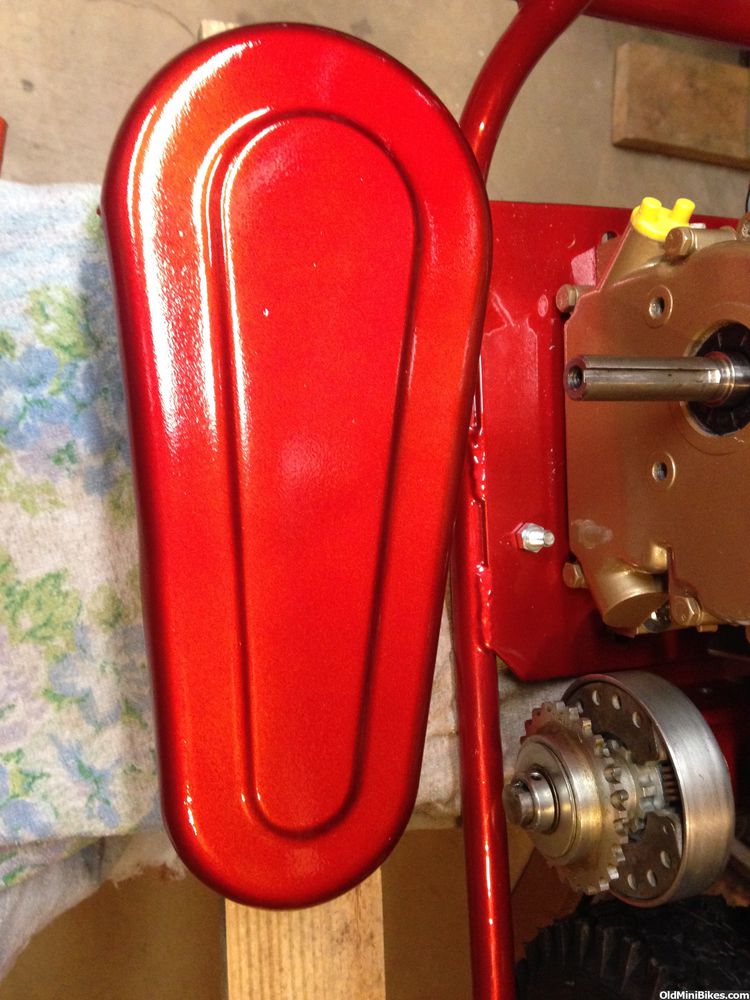

And here's the new TAV Guard for Copperhead (my Gilson)--
Here's the process I used to color match the clutch guard to Copperhead powder coat. Using candy or anodized colors helps but not always necessary (and you can use Testor's Model Spray paints). The key is to apply each coat lightly and about 5 minutes apart. Each coat is applied as the previous starts to flash.
1) Base coat of GM Metallic Gold--
2) Followed by overspray of Metallic Groundcoat (Duplicolor)--
3) A light coat of Anodized Copper (VHT)--
4) First coat of Anodized Red (Duplicolor)--
5) Another mist coat of Metallic Gold--
6) Misting of Metallic Ground Coat--
7) Several Coats of Anodized Red to build to desired color depth--
8) Final product--
And here's the new TAV Guard for Copperhead (my Gilson)--
Those glass covers are a thing of beauty. About a week ago I started playing with a wooden buck to make one for mine. So far I have so poorly done sketches on a piece of plywood.
Covers look great Pete.....very nice ! ..:bowdown:
Those clutch covers look awesome. :thumbsup: Jim at Max torque is a great guy. Its amazing how much he goes out of his way to help people.
Bracket and detailing clutch cover
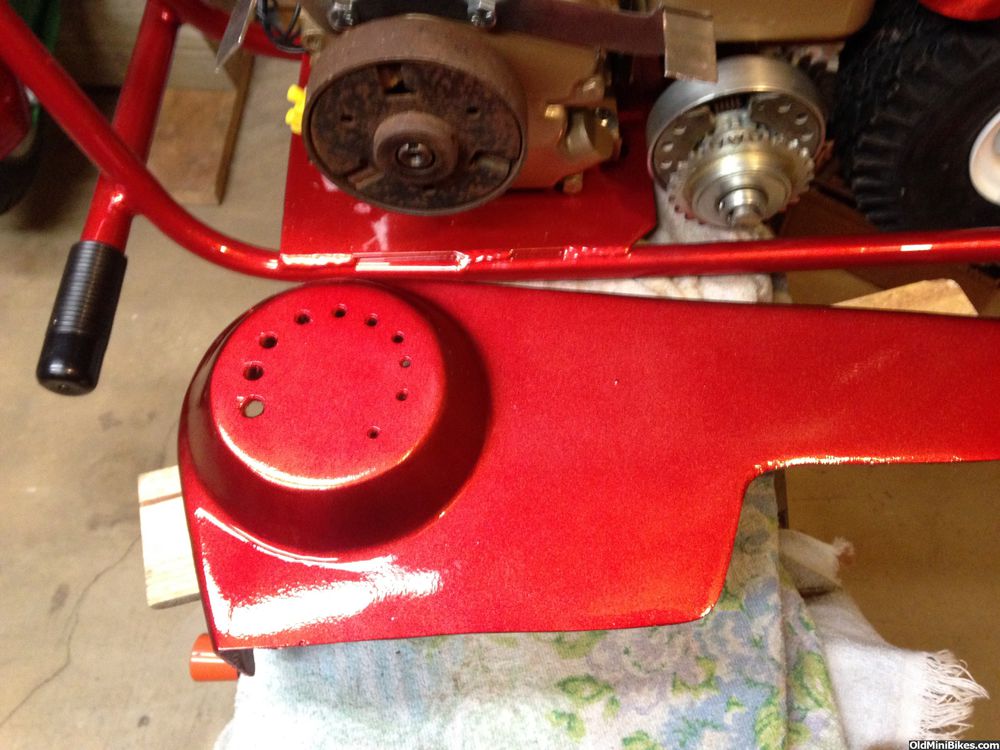
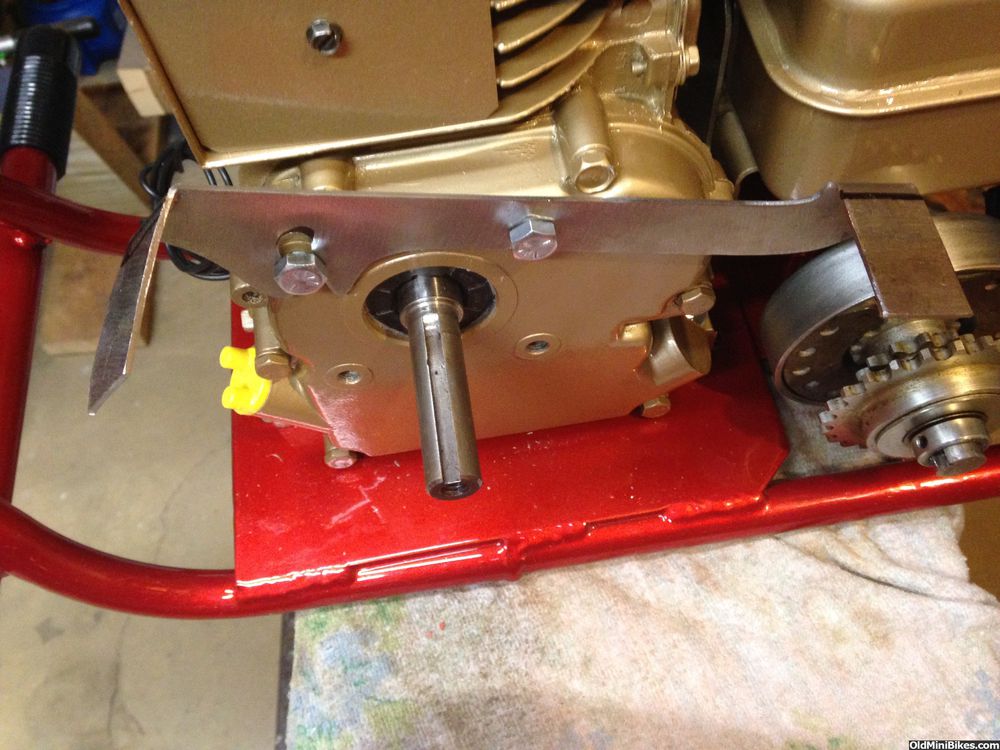
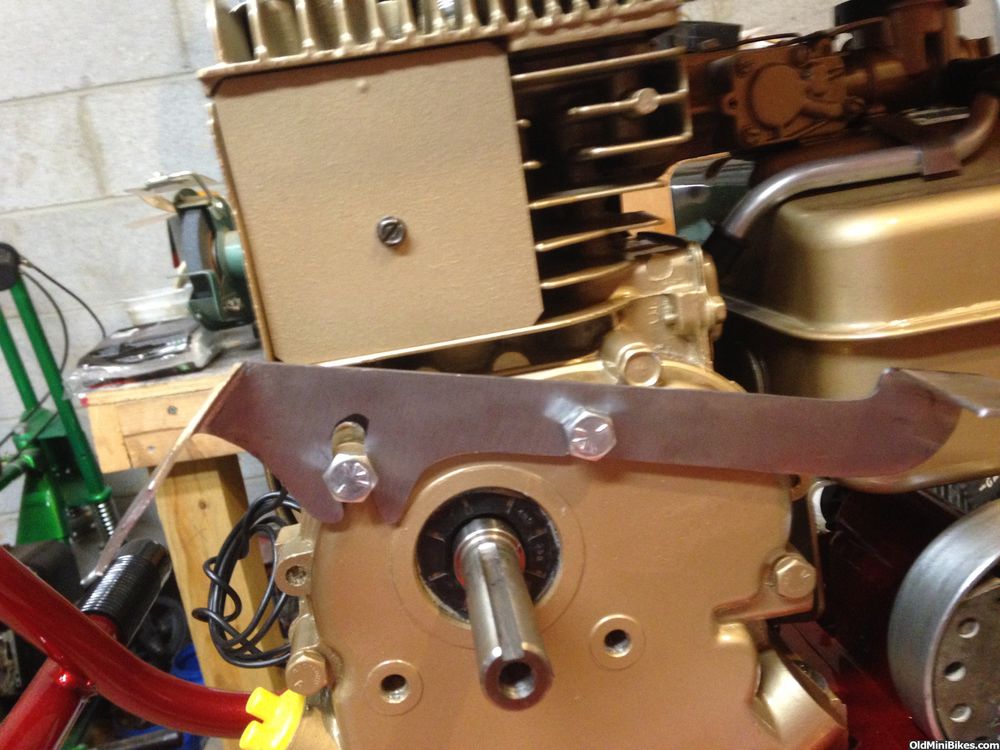
The bracket is a funky little thing. I first bent it according to the cut lines on OND (Eric's) template. Turns out that works fine for direct to sprocket chain but not so hot for the jackshaft. So, I had to re-bend a couple of times to get it close. Still needs adjustment.
I also did some detail work on both guards. Still some left to do on each.
Then, since it was in the 50s, Copperhead spent some time cruising the neighborhood. The GC190 loves the TAV.
Was that the template I sent? If it was, that template was from a model 600 like your building. What exactly was the issue?
Last edited:
Sometimes you win, sometimes you lose....
The nice and pretty Gold '64 Briggs ended up being toast. I ended up salvaging an even older block (it has 4 mounts for the coil) with a steel sleeve. You can see the thread and video of Franken-Briggs running here:
http://www.oldminibikes.com/forum/briggs-and-stratton/140746-im-stumped-3hp-start.html
Glad you got her up and running , can you not bore the engine 10 over and save it ?