DAVID WULF'S - Scratch Build - (Anything Goes)
- Thread starter David wulf
- Start date
- Tags build david wulfs


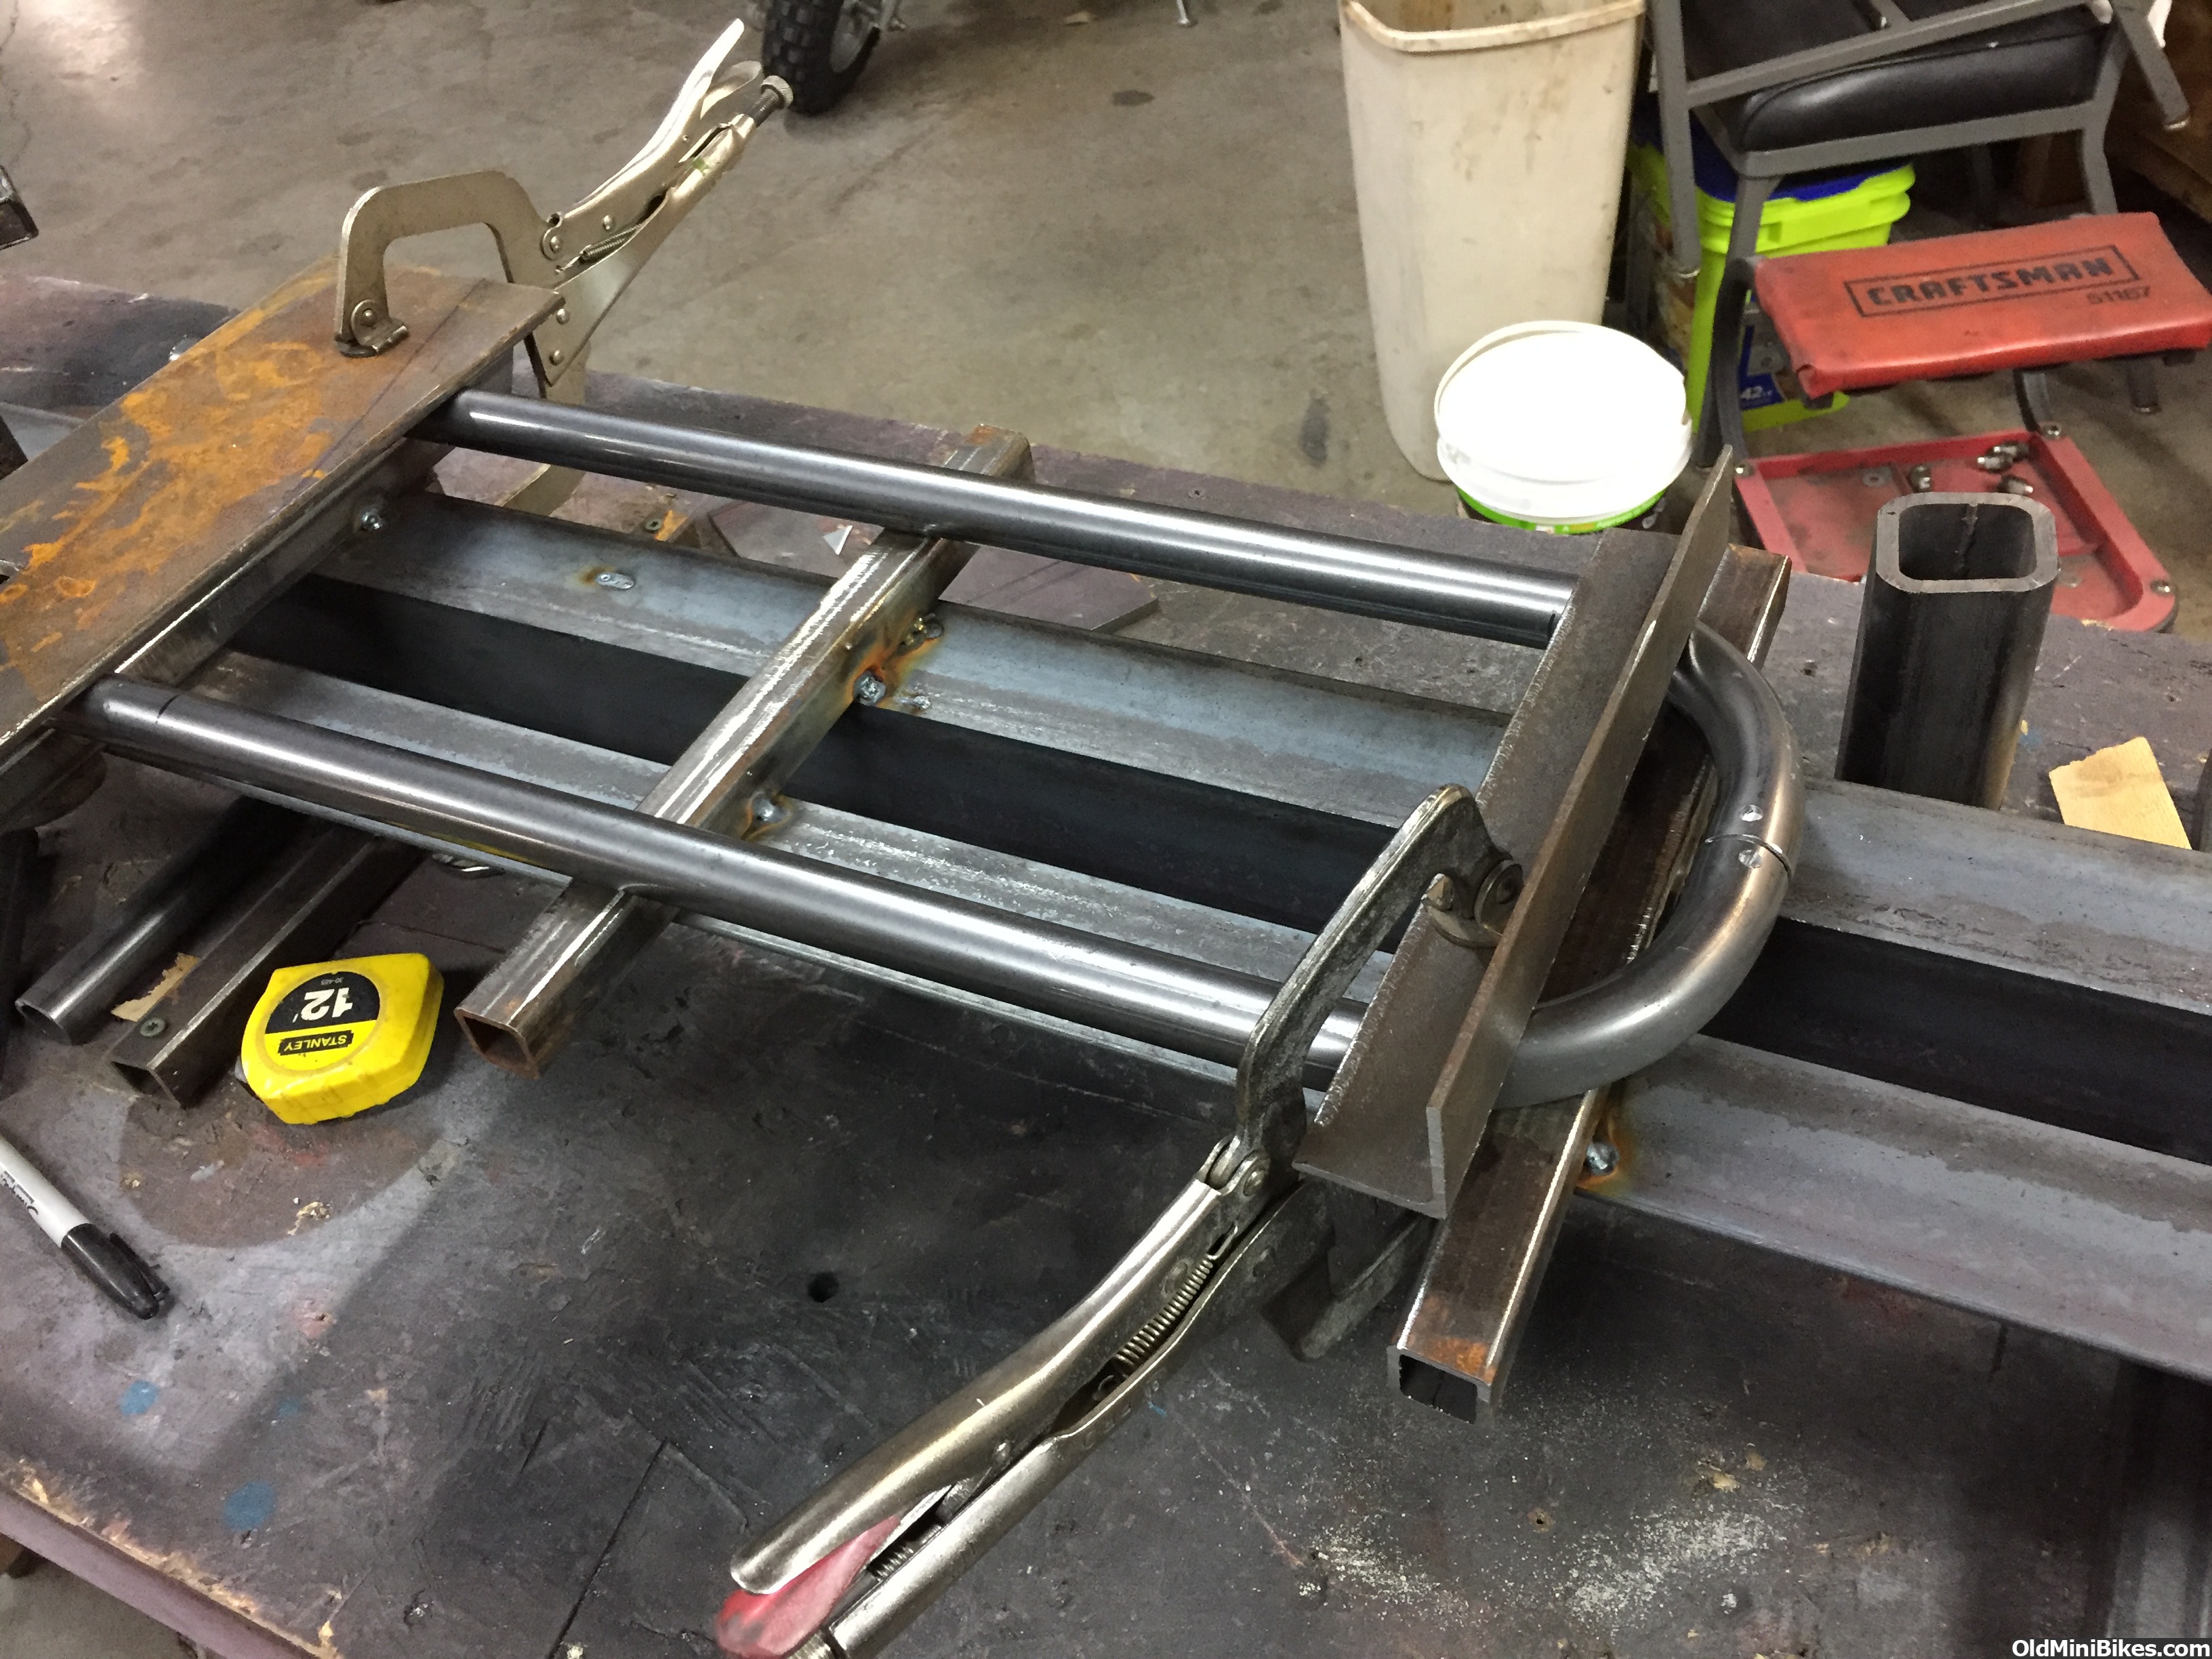
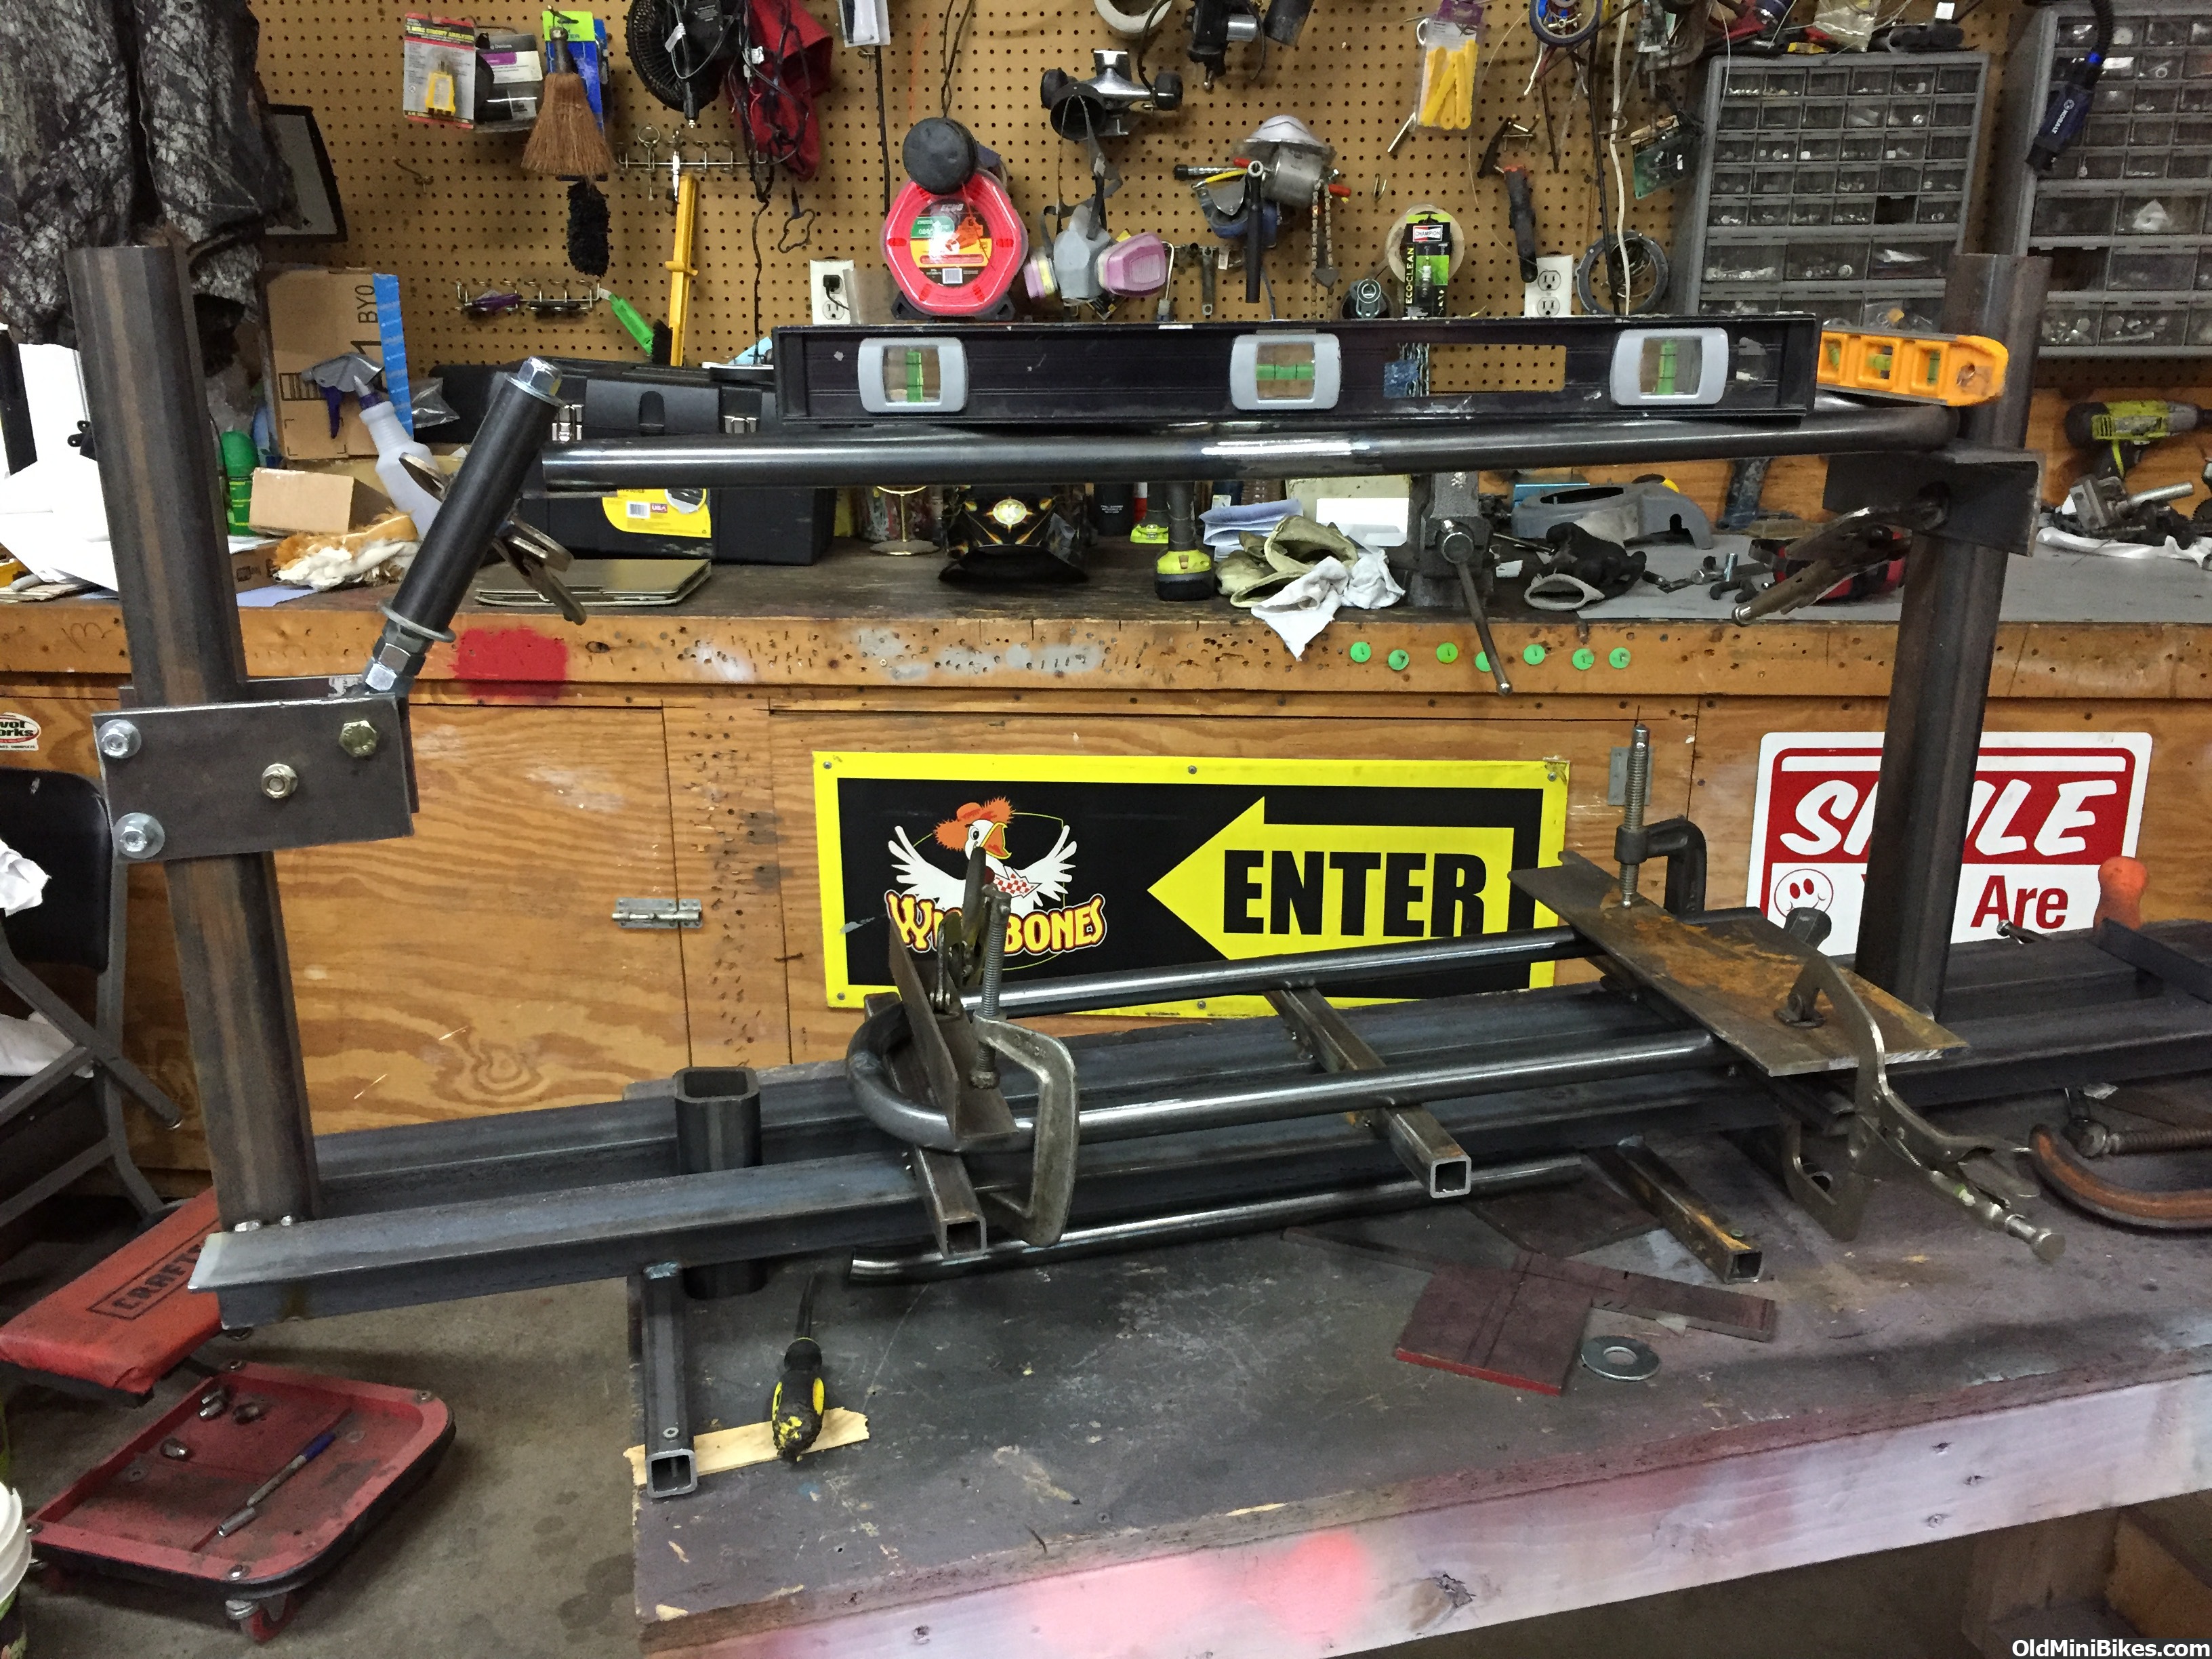
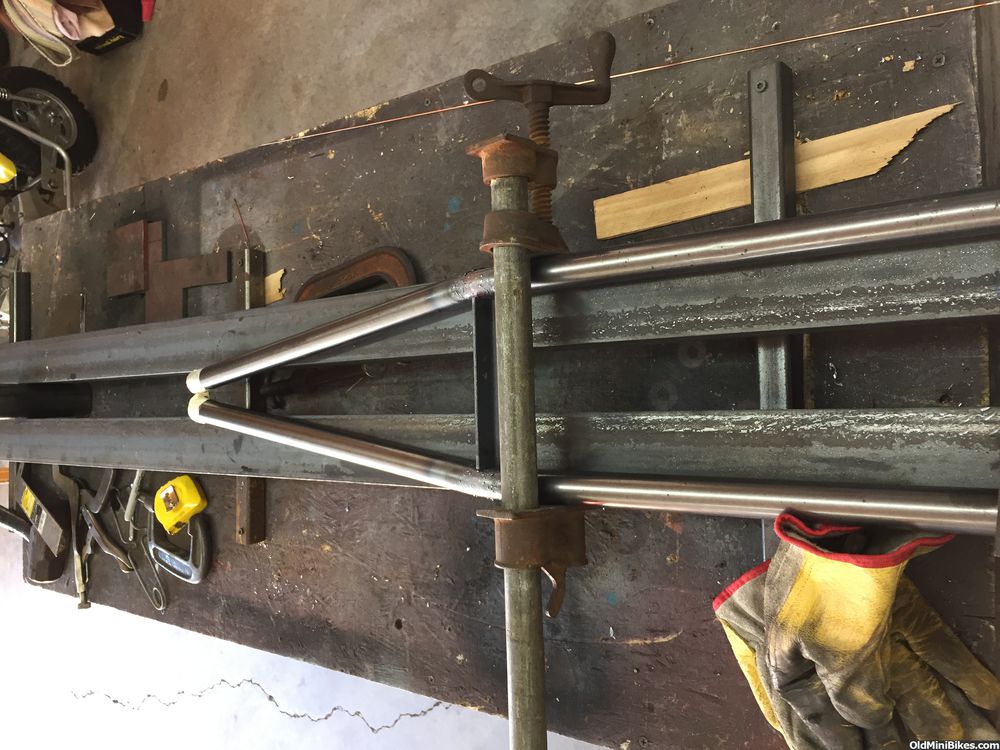
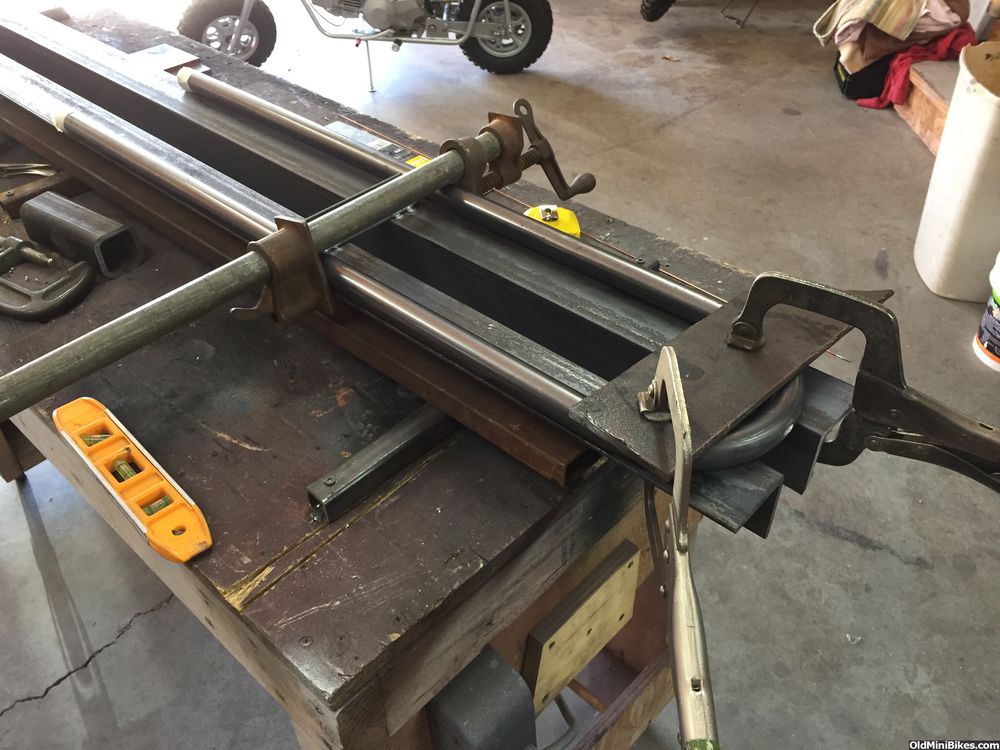
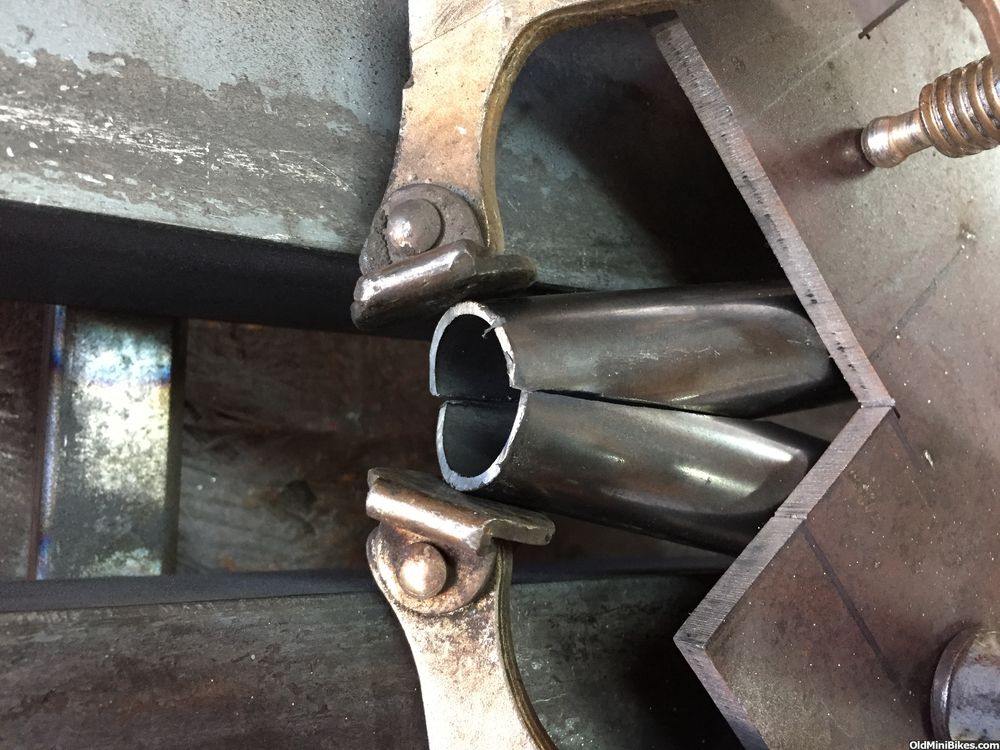
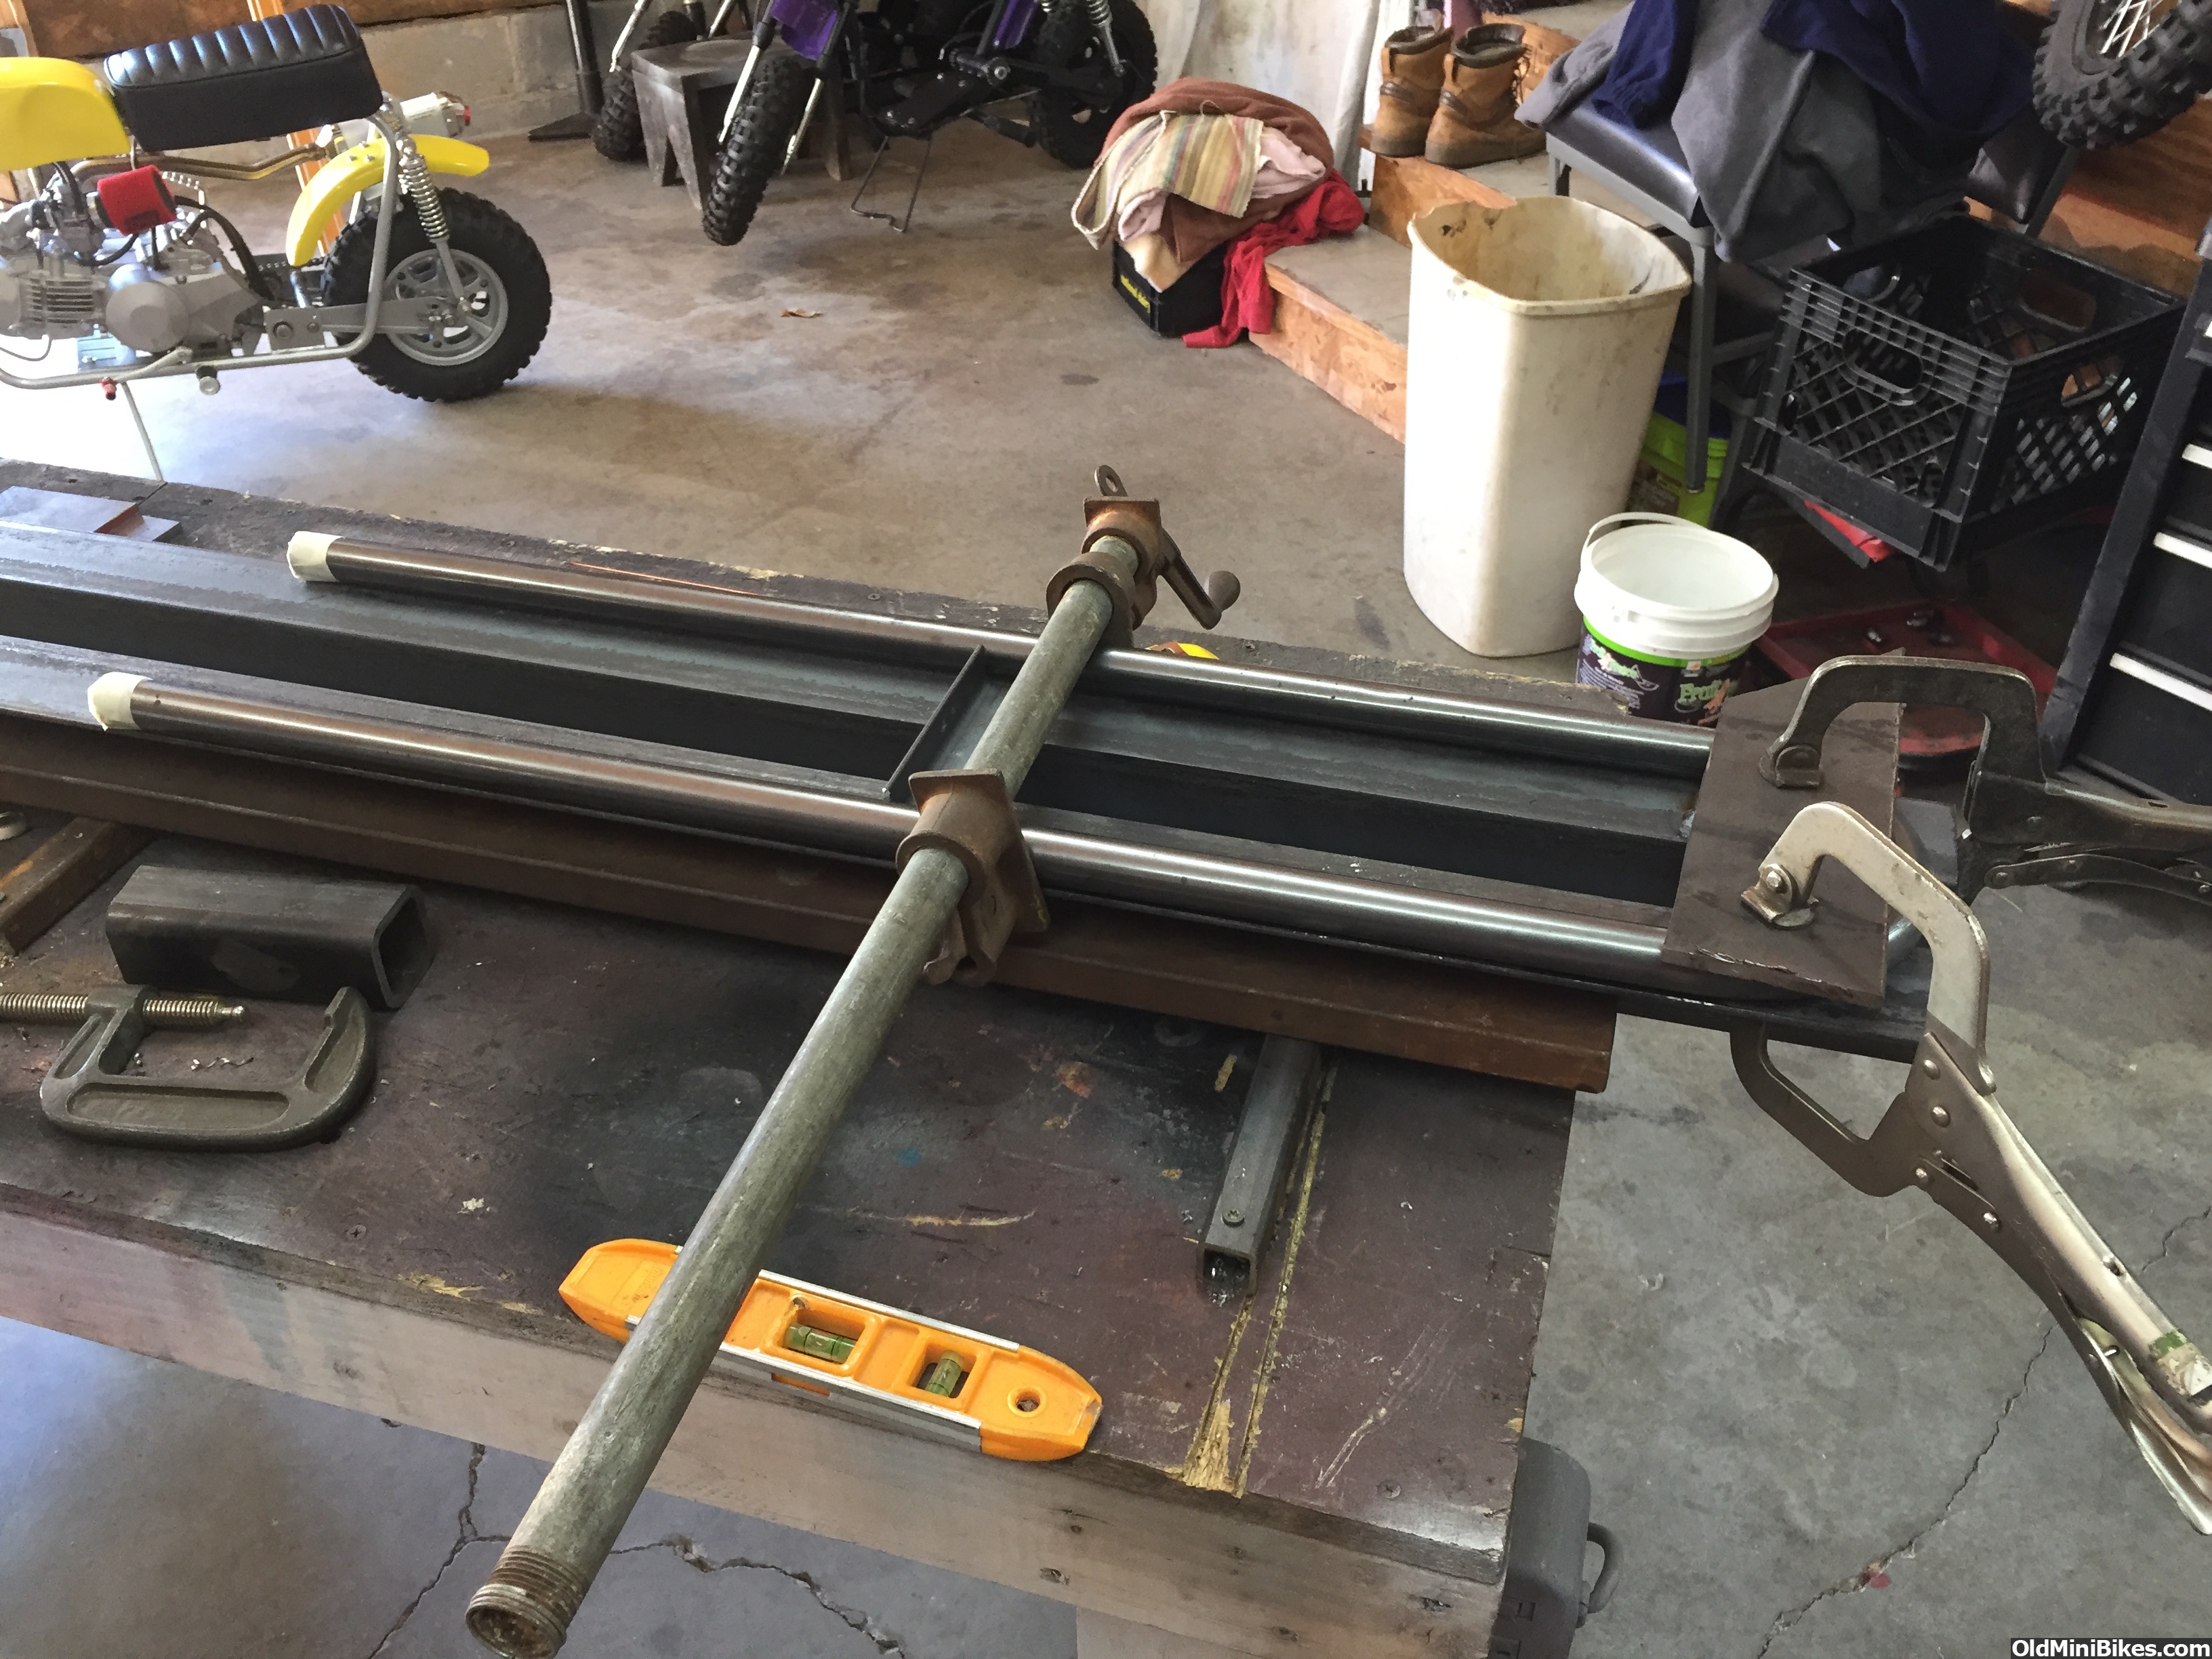
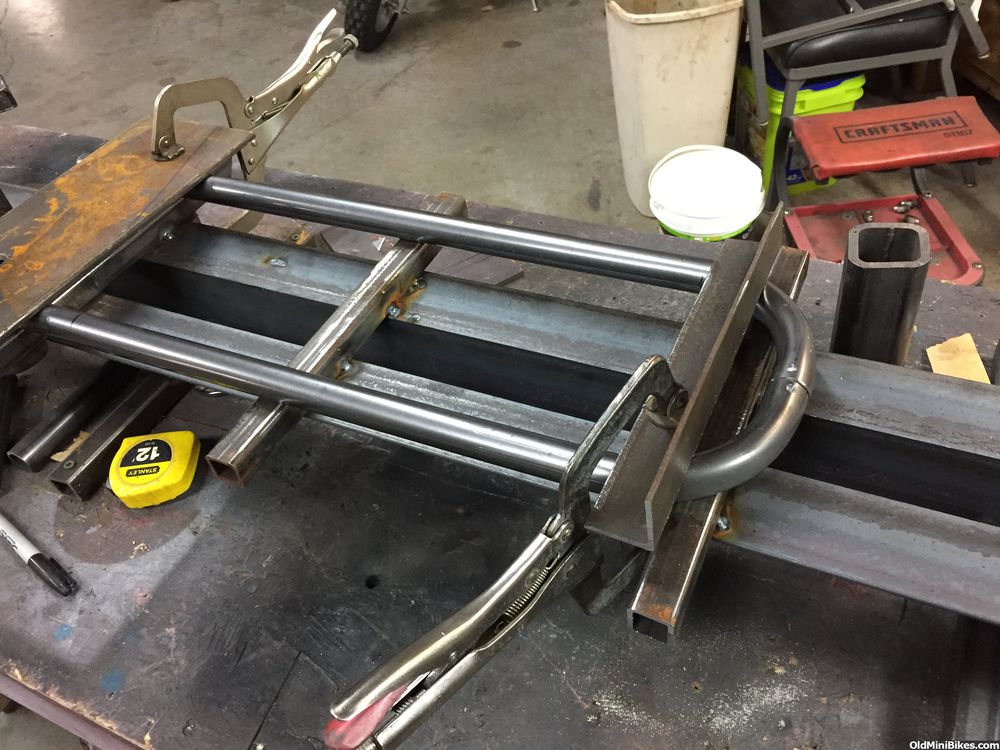
Well today I actually got to start the frame . First was to bend the top section of the frame . It started off with a 180 degree U bend , then I made a jig to hold the section in place . I then filled the section with sand and heated area to bend the tubes together .
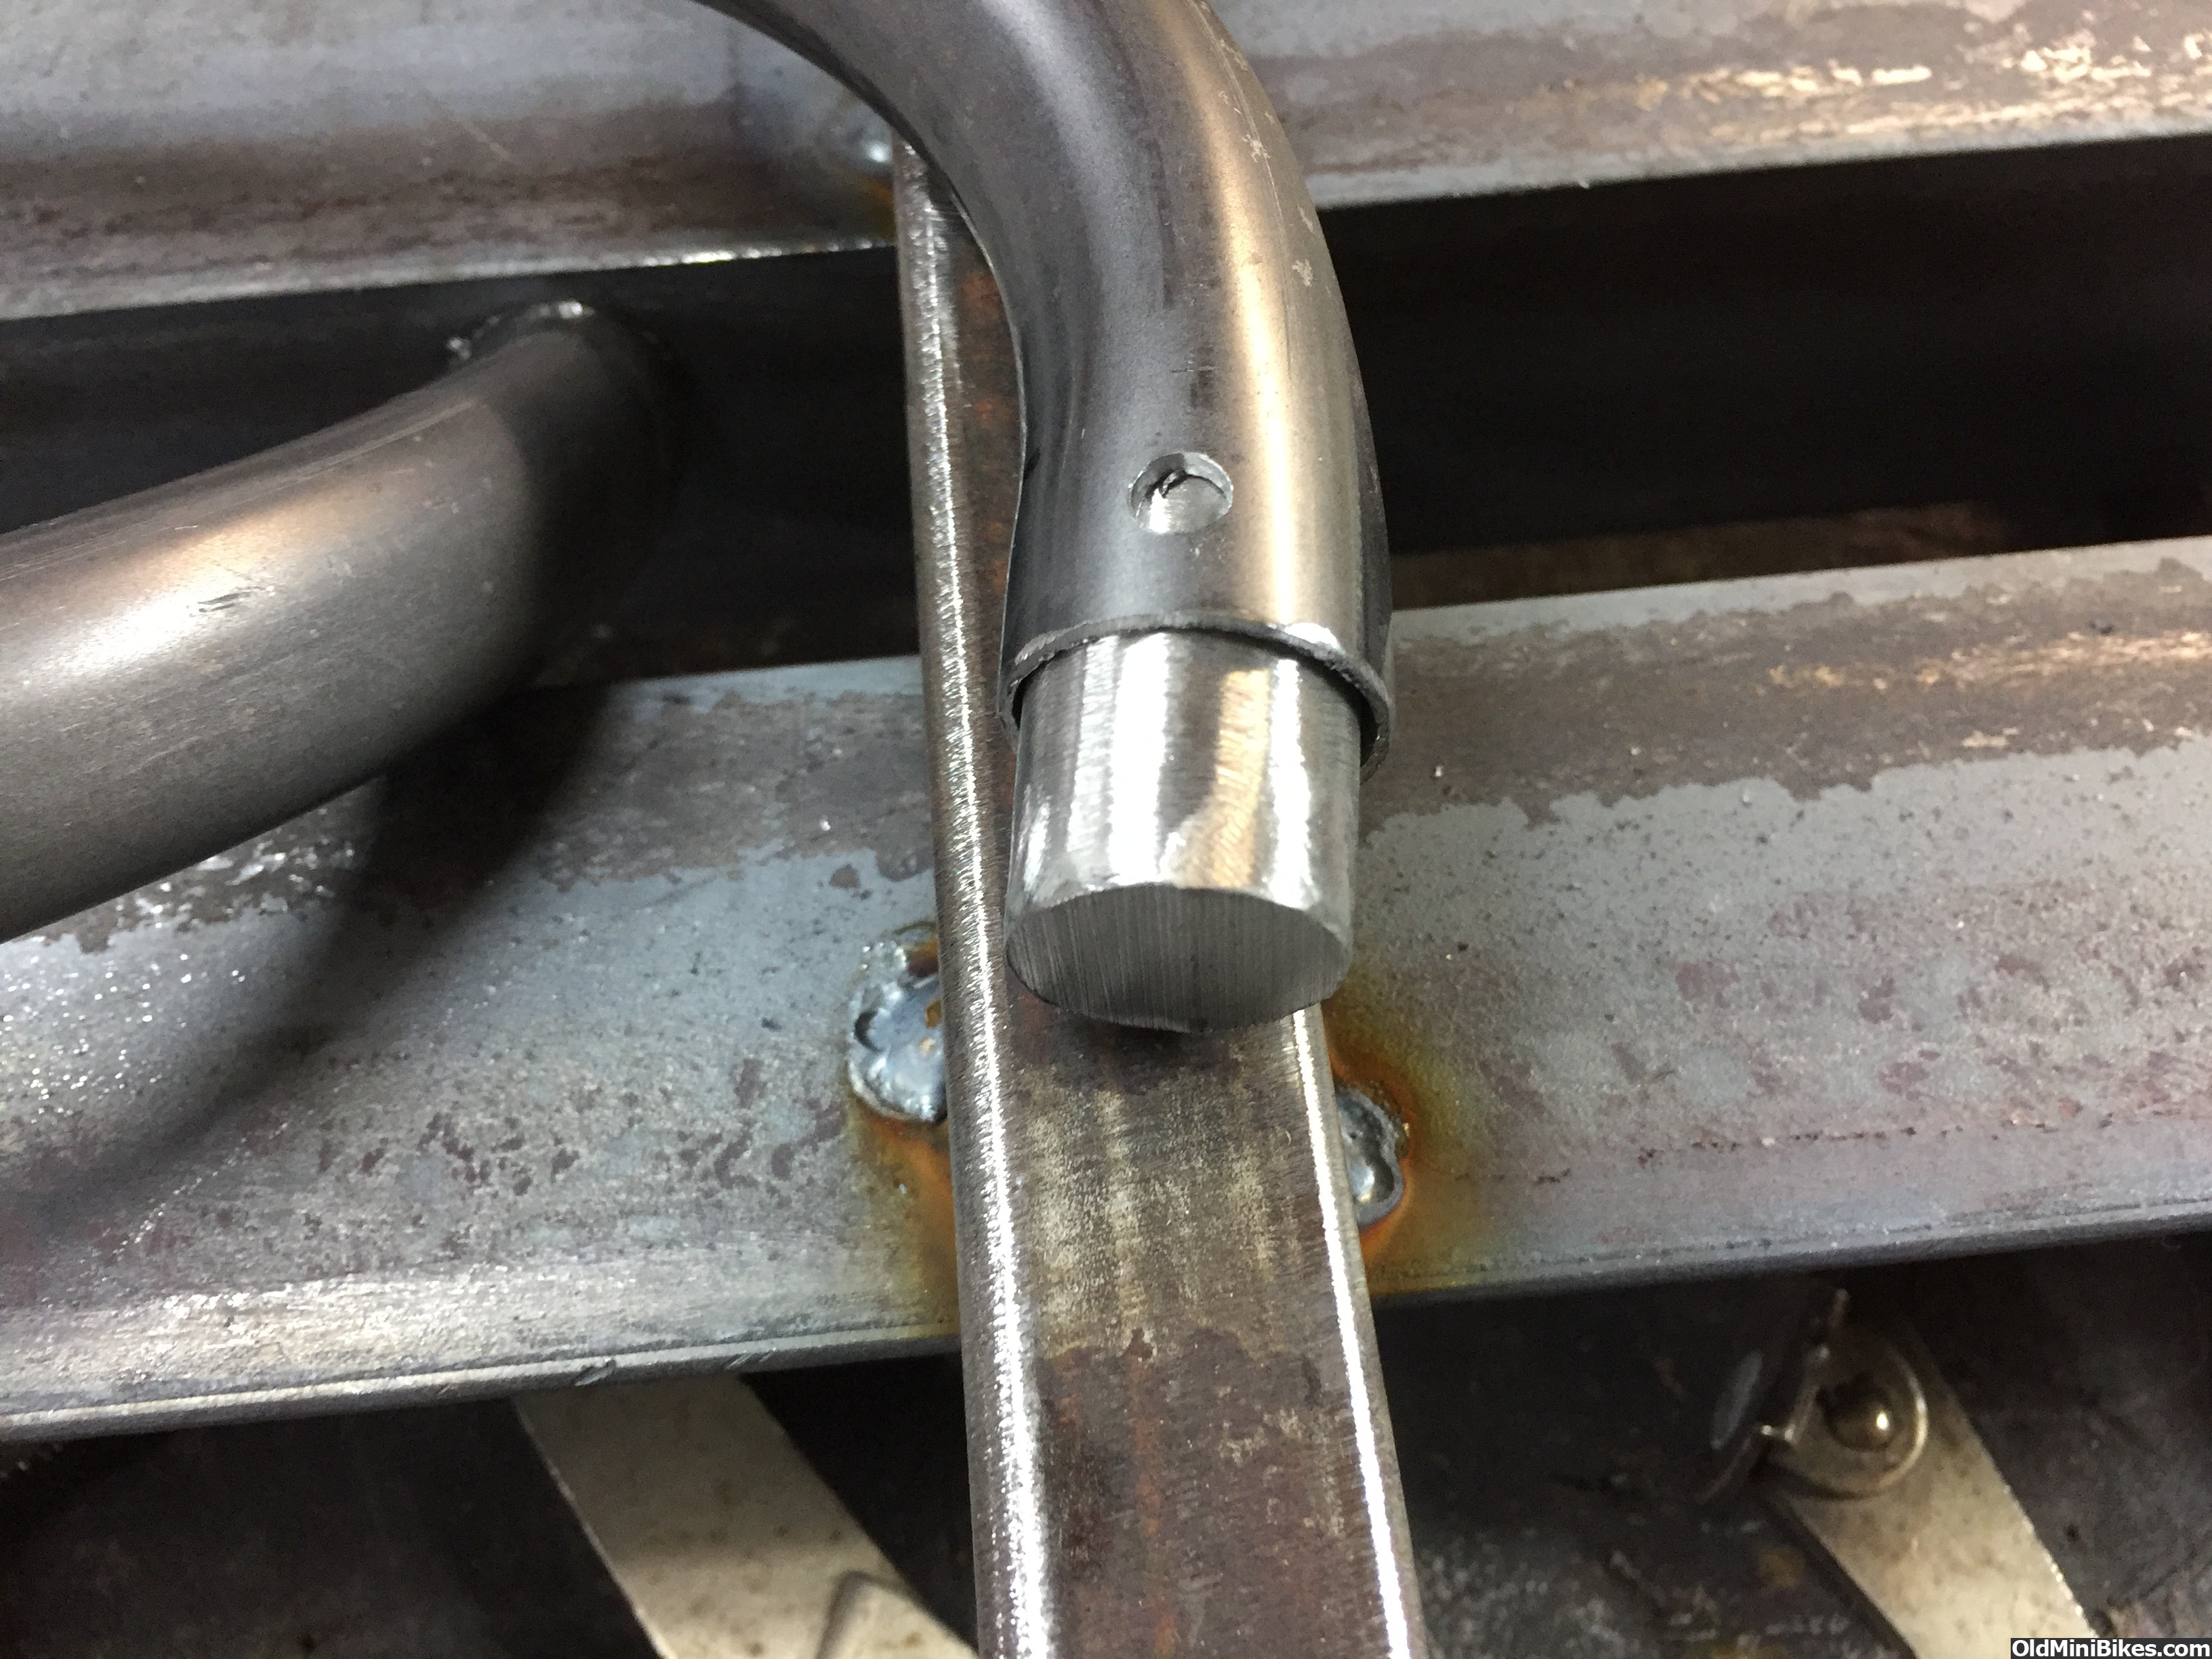
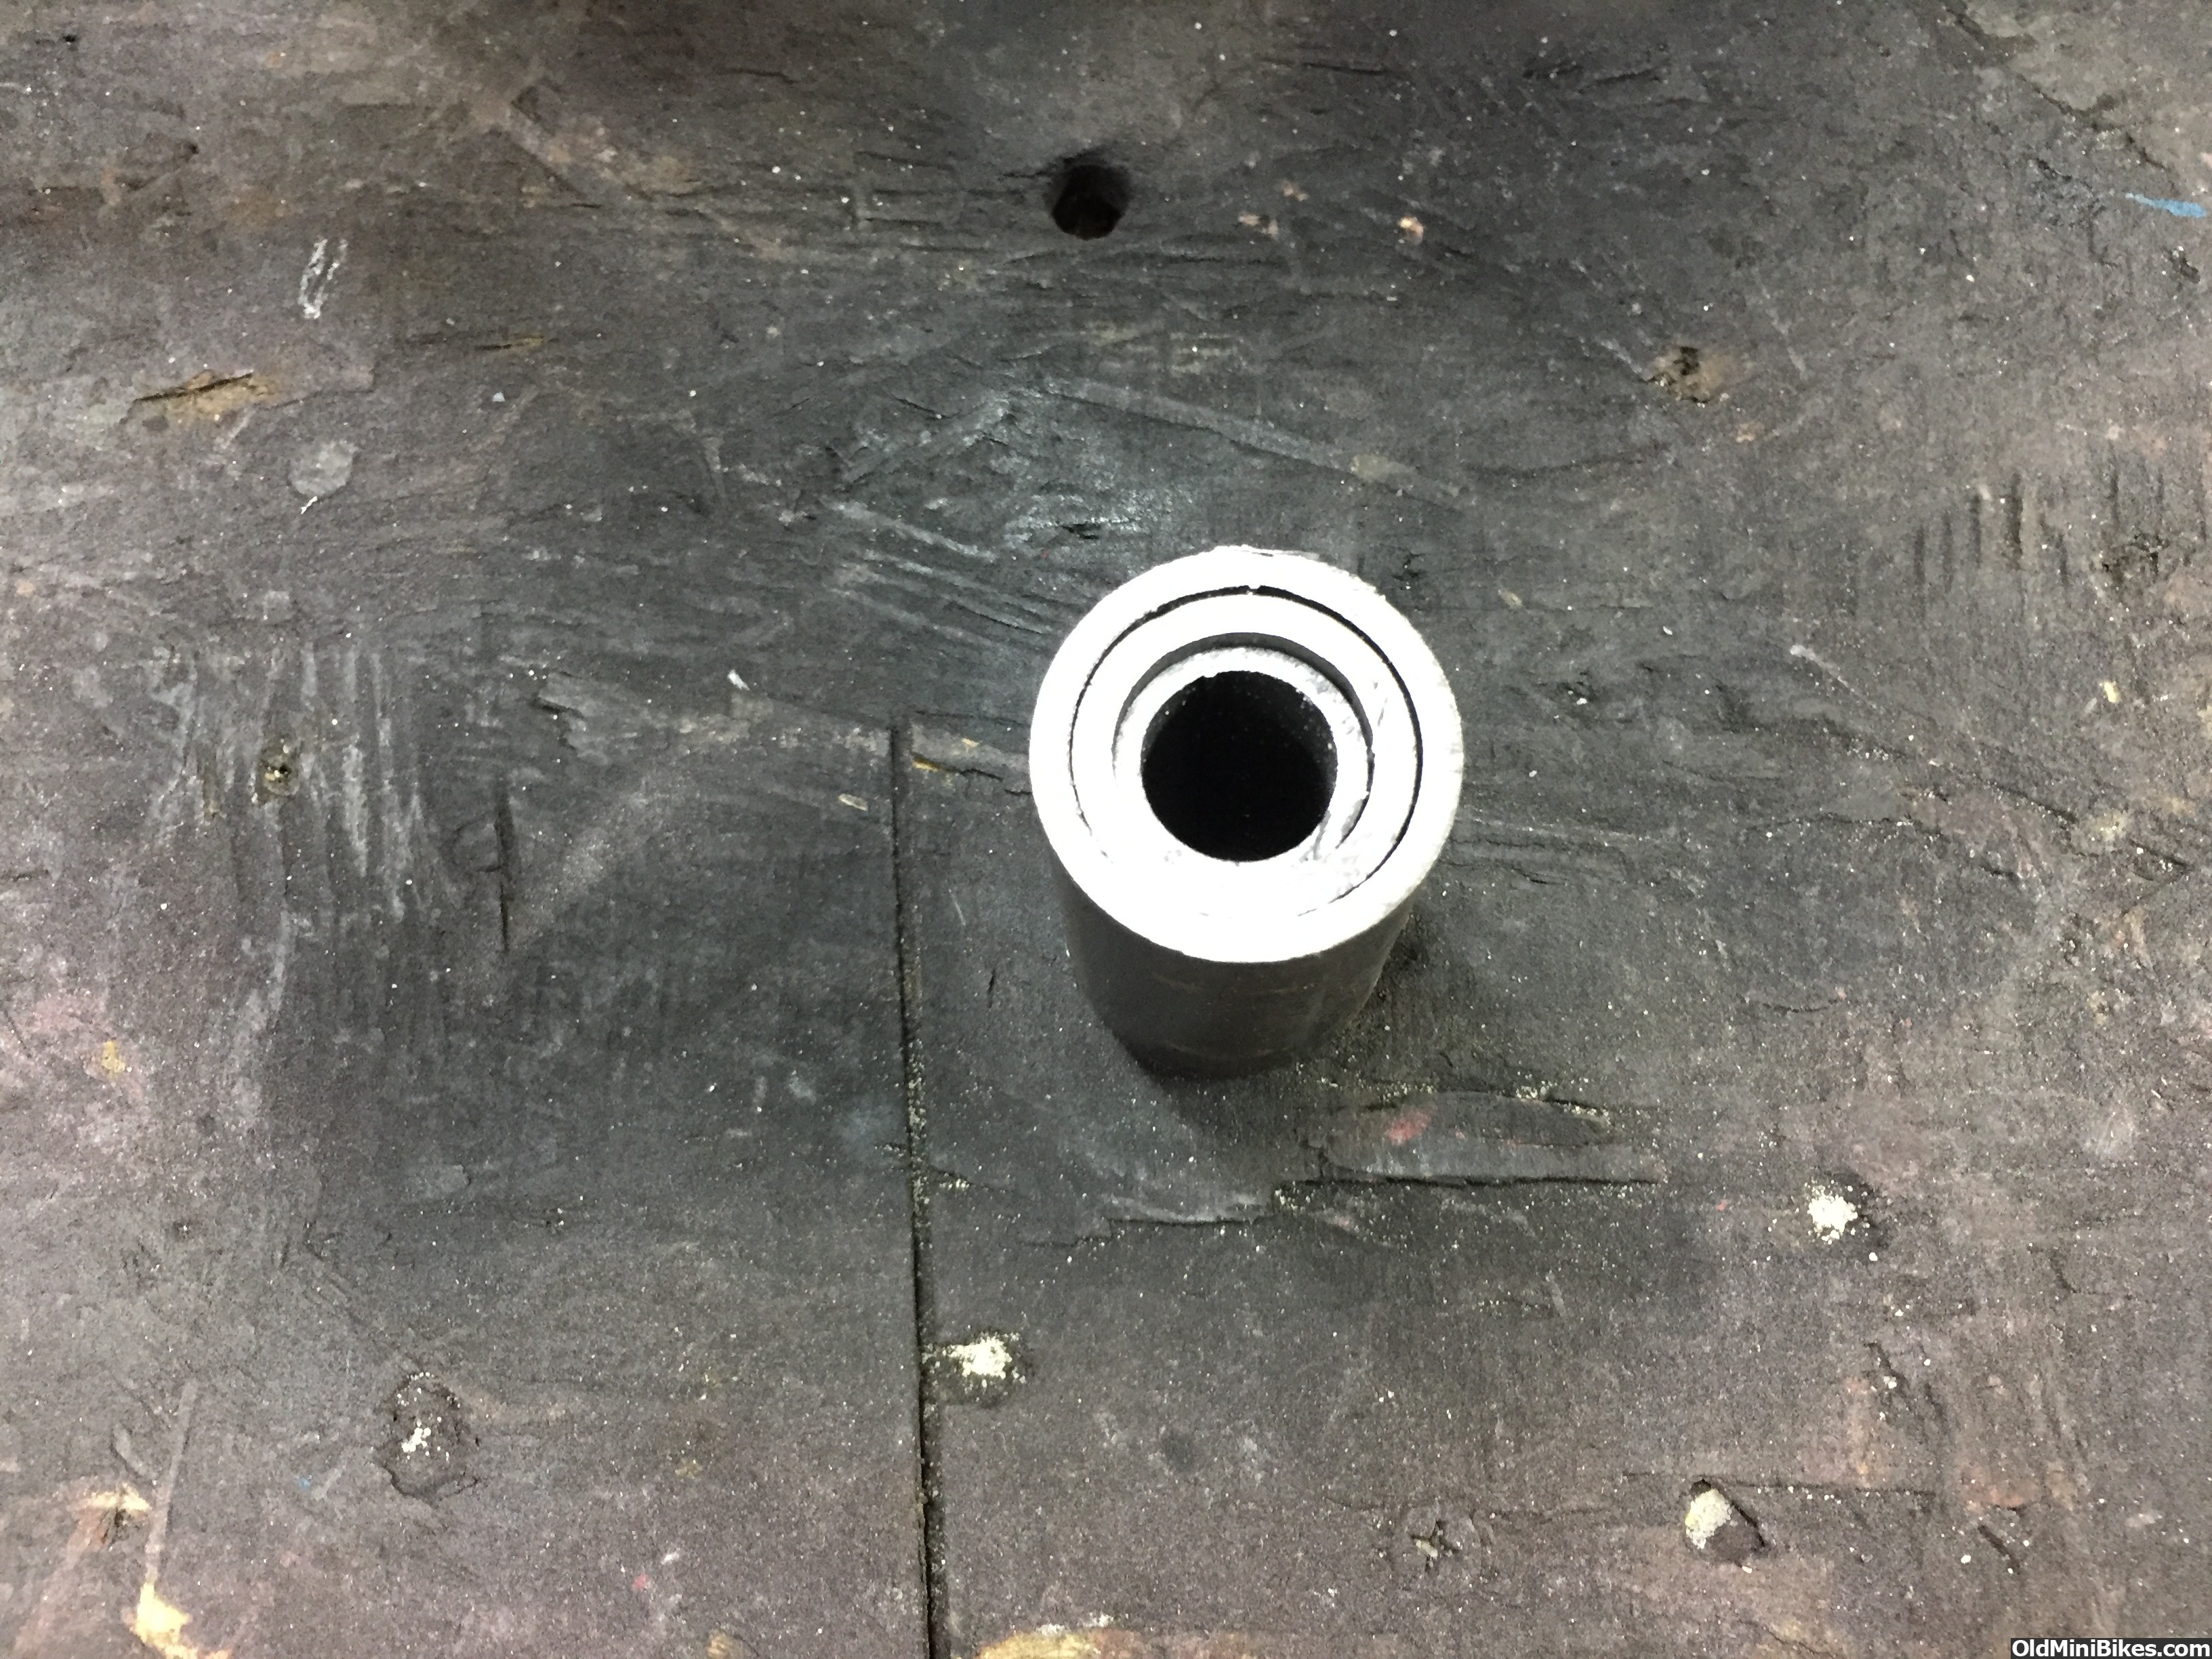
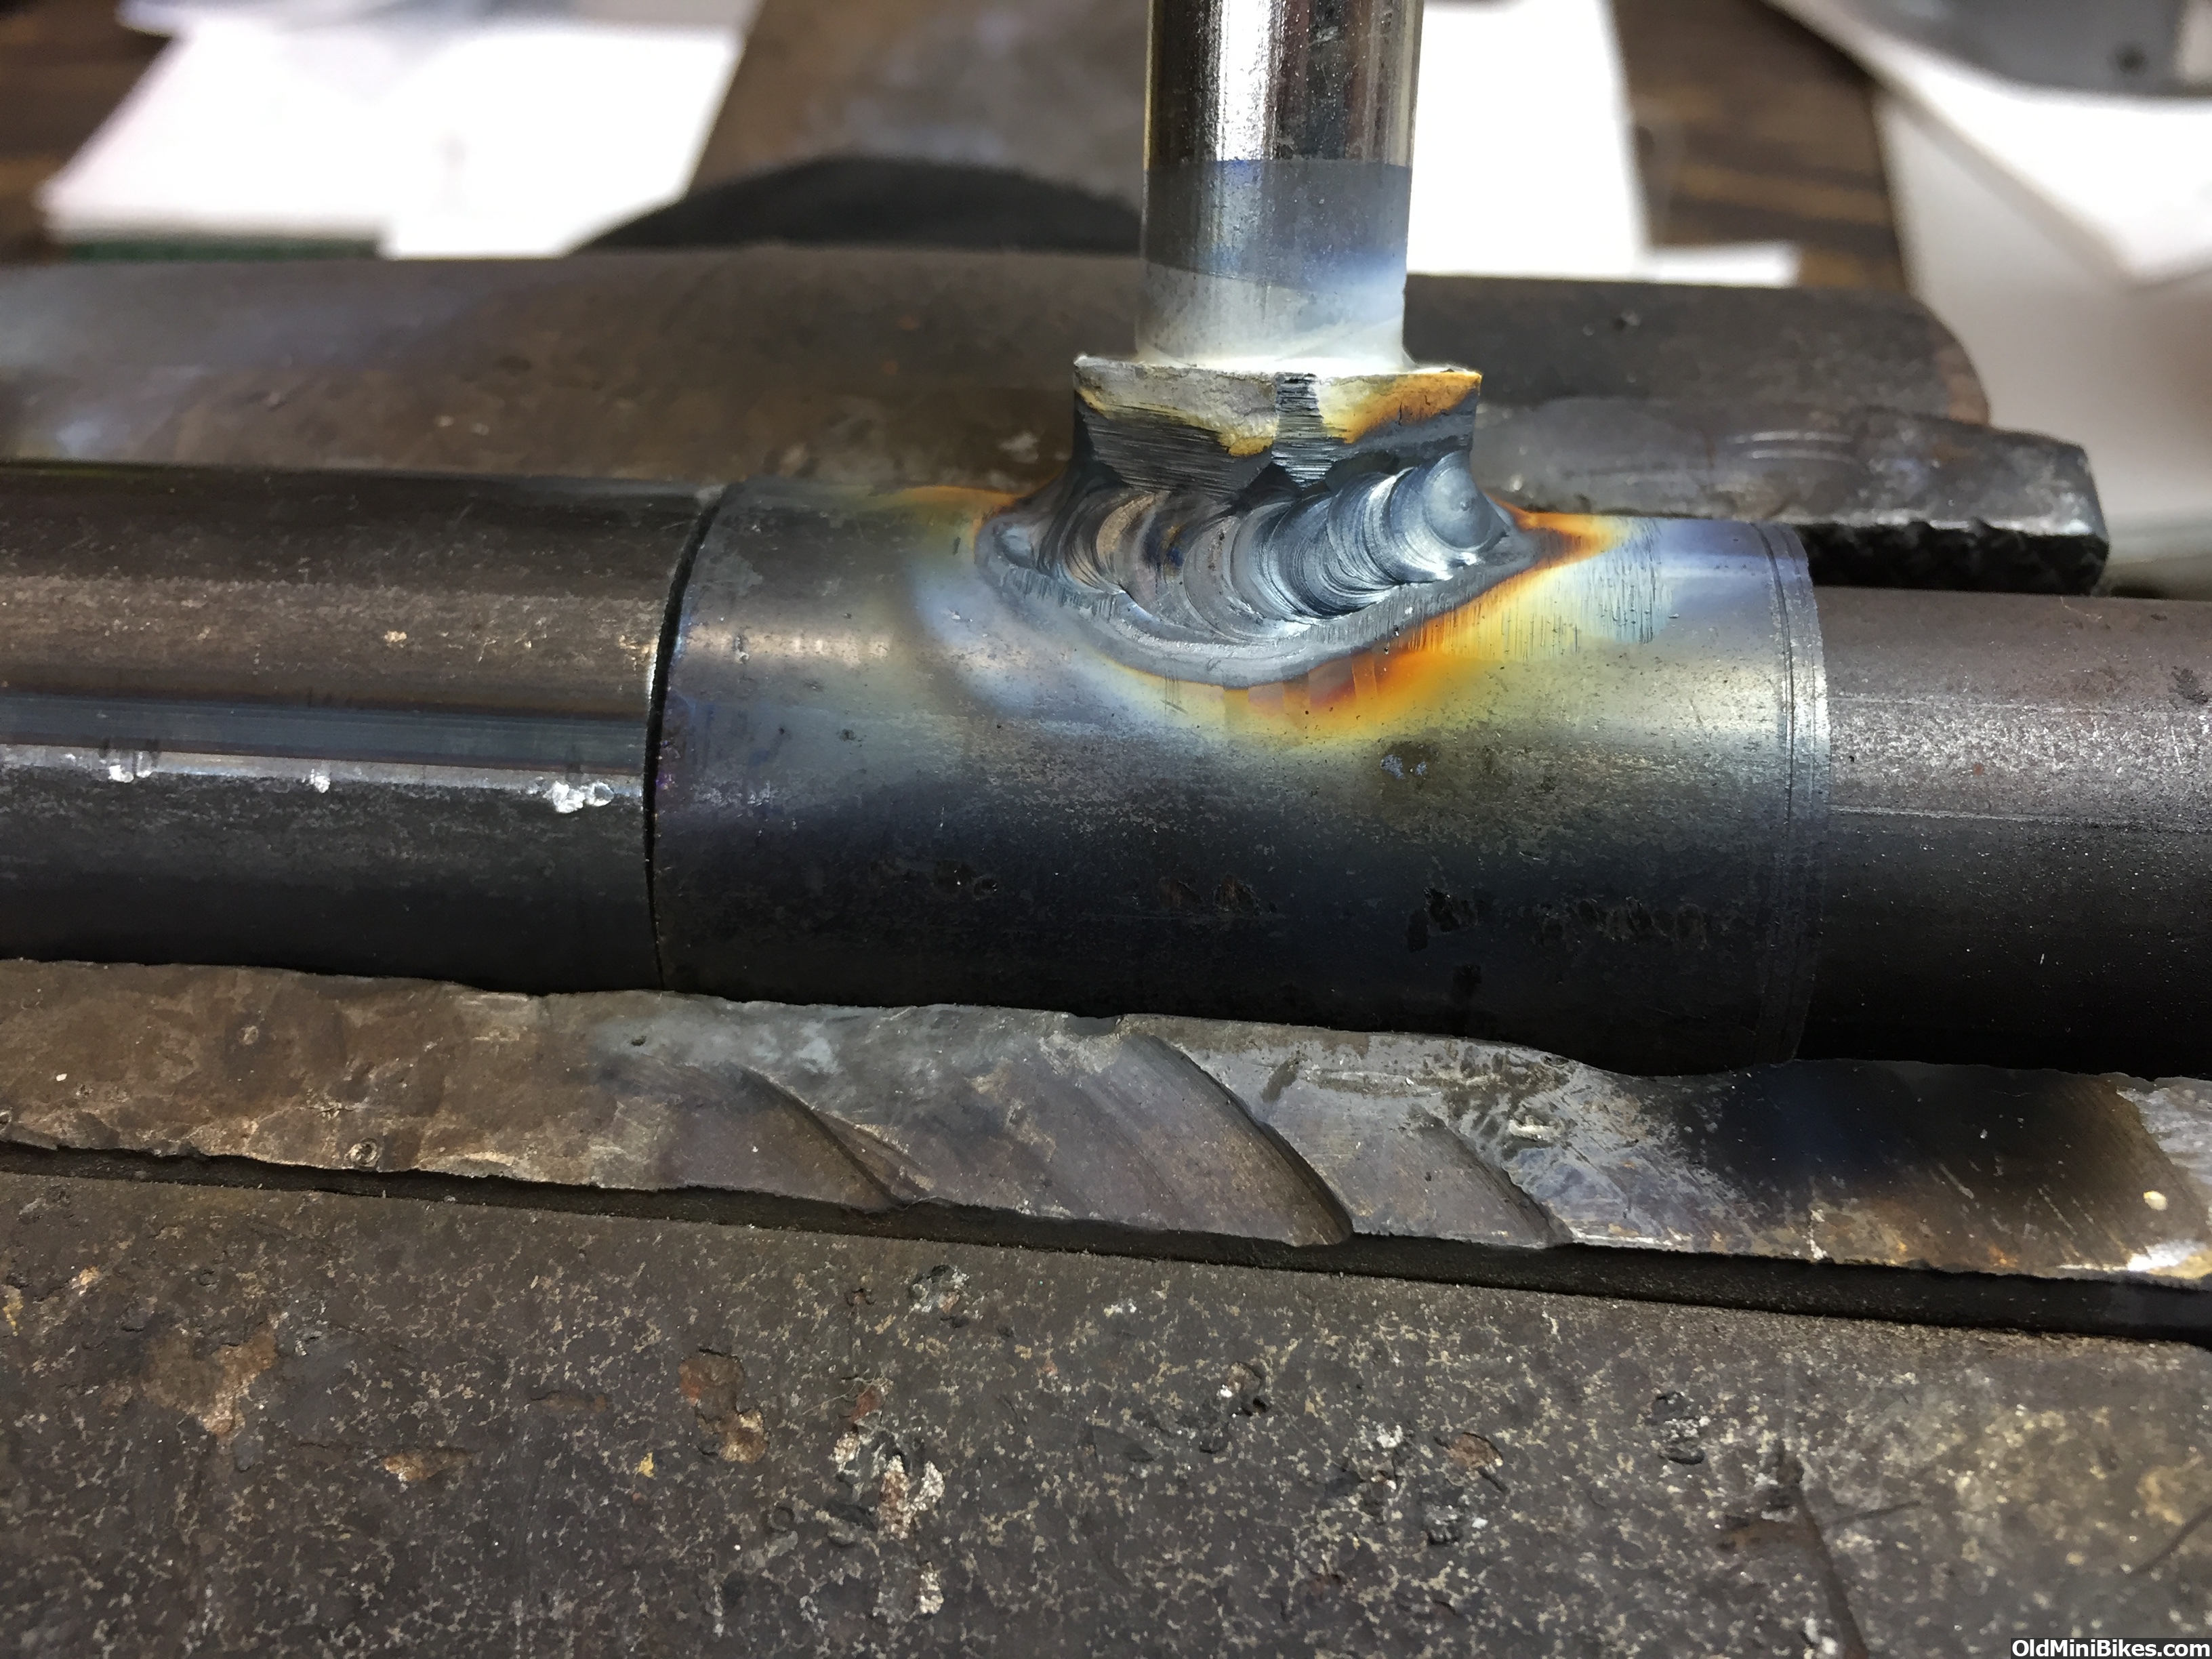
Once they were close I notched the ends so they could be joined . I have decided to use a 1 1/4 " .125 wall tube for the neck , it's stronger and the two top tubes are more easily joined .


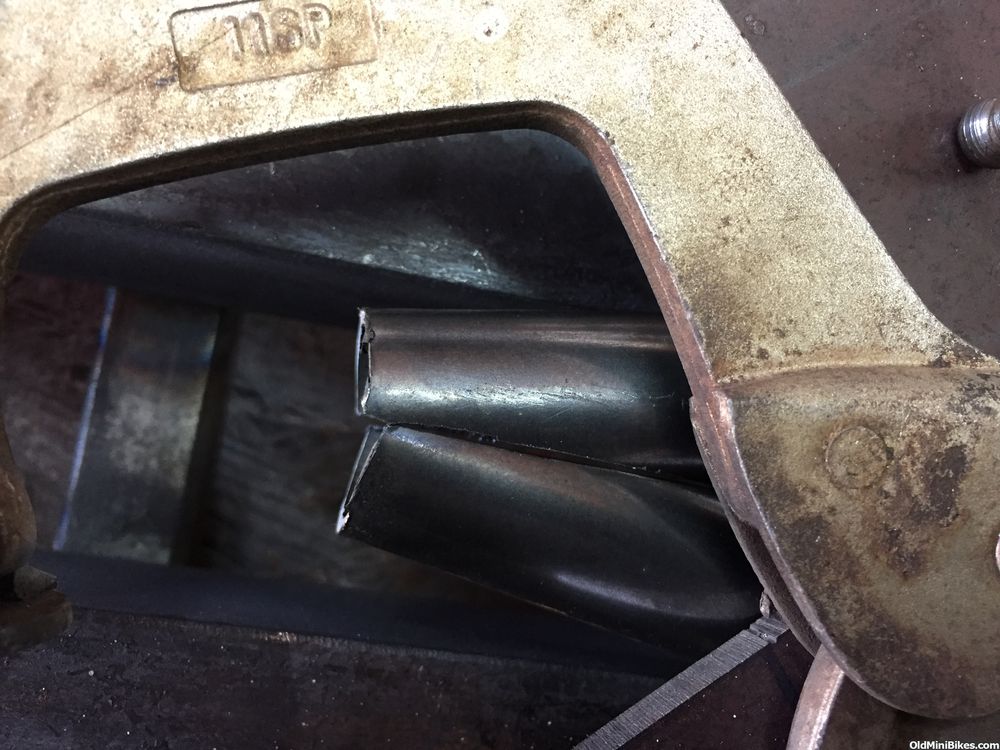
Once they were close I notched the ends so they could be joined . I have decided to use a 1 1/4 " .125 wall tube for the neck , it's stronger and the two top tubes are more easily joined .


Just want to say this also the frame will have a taco 22 upper section and a taco frijole lower section . Also I don't like flat engine plates so I am using a kart mount to hold the motor , I used this type on the super Powell when i built it . It offers two directions of adjustment . This bike will also have a jack shaft .
Well today I actually got to start the frame . First was to bend the top section of the frame . It started off with a 180 degree U bend , then I made a jig to hold the section in place . I then filled the section with sand and heated area to bend the tubes together .
Once they were close I notched the ends so they could be joined . I have decided to use a 1 1/4 " .125 wall tube for the neck , it's stronger and the two top tubes are more easily joined .
Once they were close I notched the ends so they could be joined . I have decided to use a 1 1/4 " .125 wall tube for the neck , it's stronger and the two top tubes are more easily joined .
That is going to be a killer..
Send me you address.
Great job David. I'm a rookie when it comes to bending tubes and was curious how to bend a "closed" section and still being able to get it out of the bender.
Everything I've learned so far has been trial and error. Believe me there are way more errors too.
Thank you for the tutorial!
Everything I've learned so far has been trial and error. Believe me there are way more errors too.
Thank you for the tutorial!


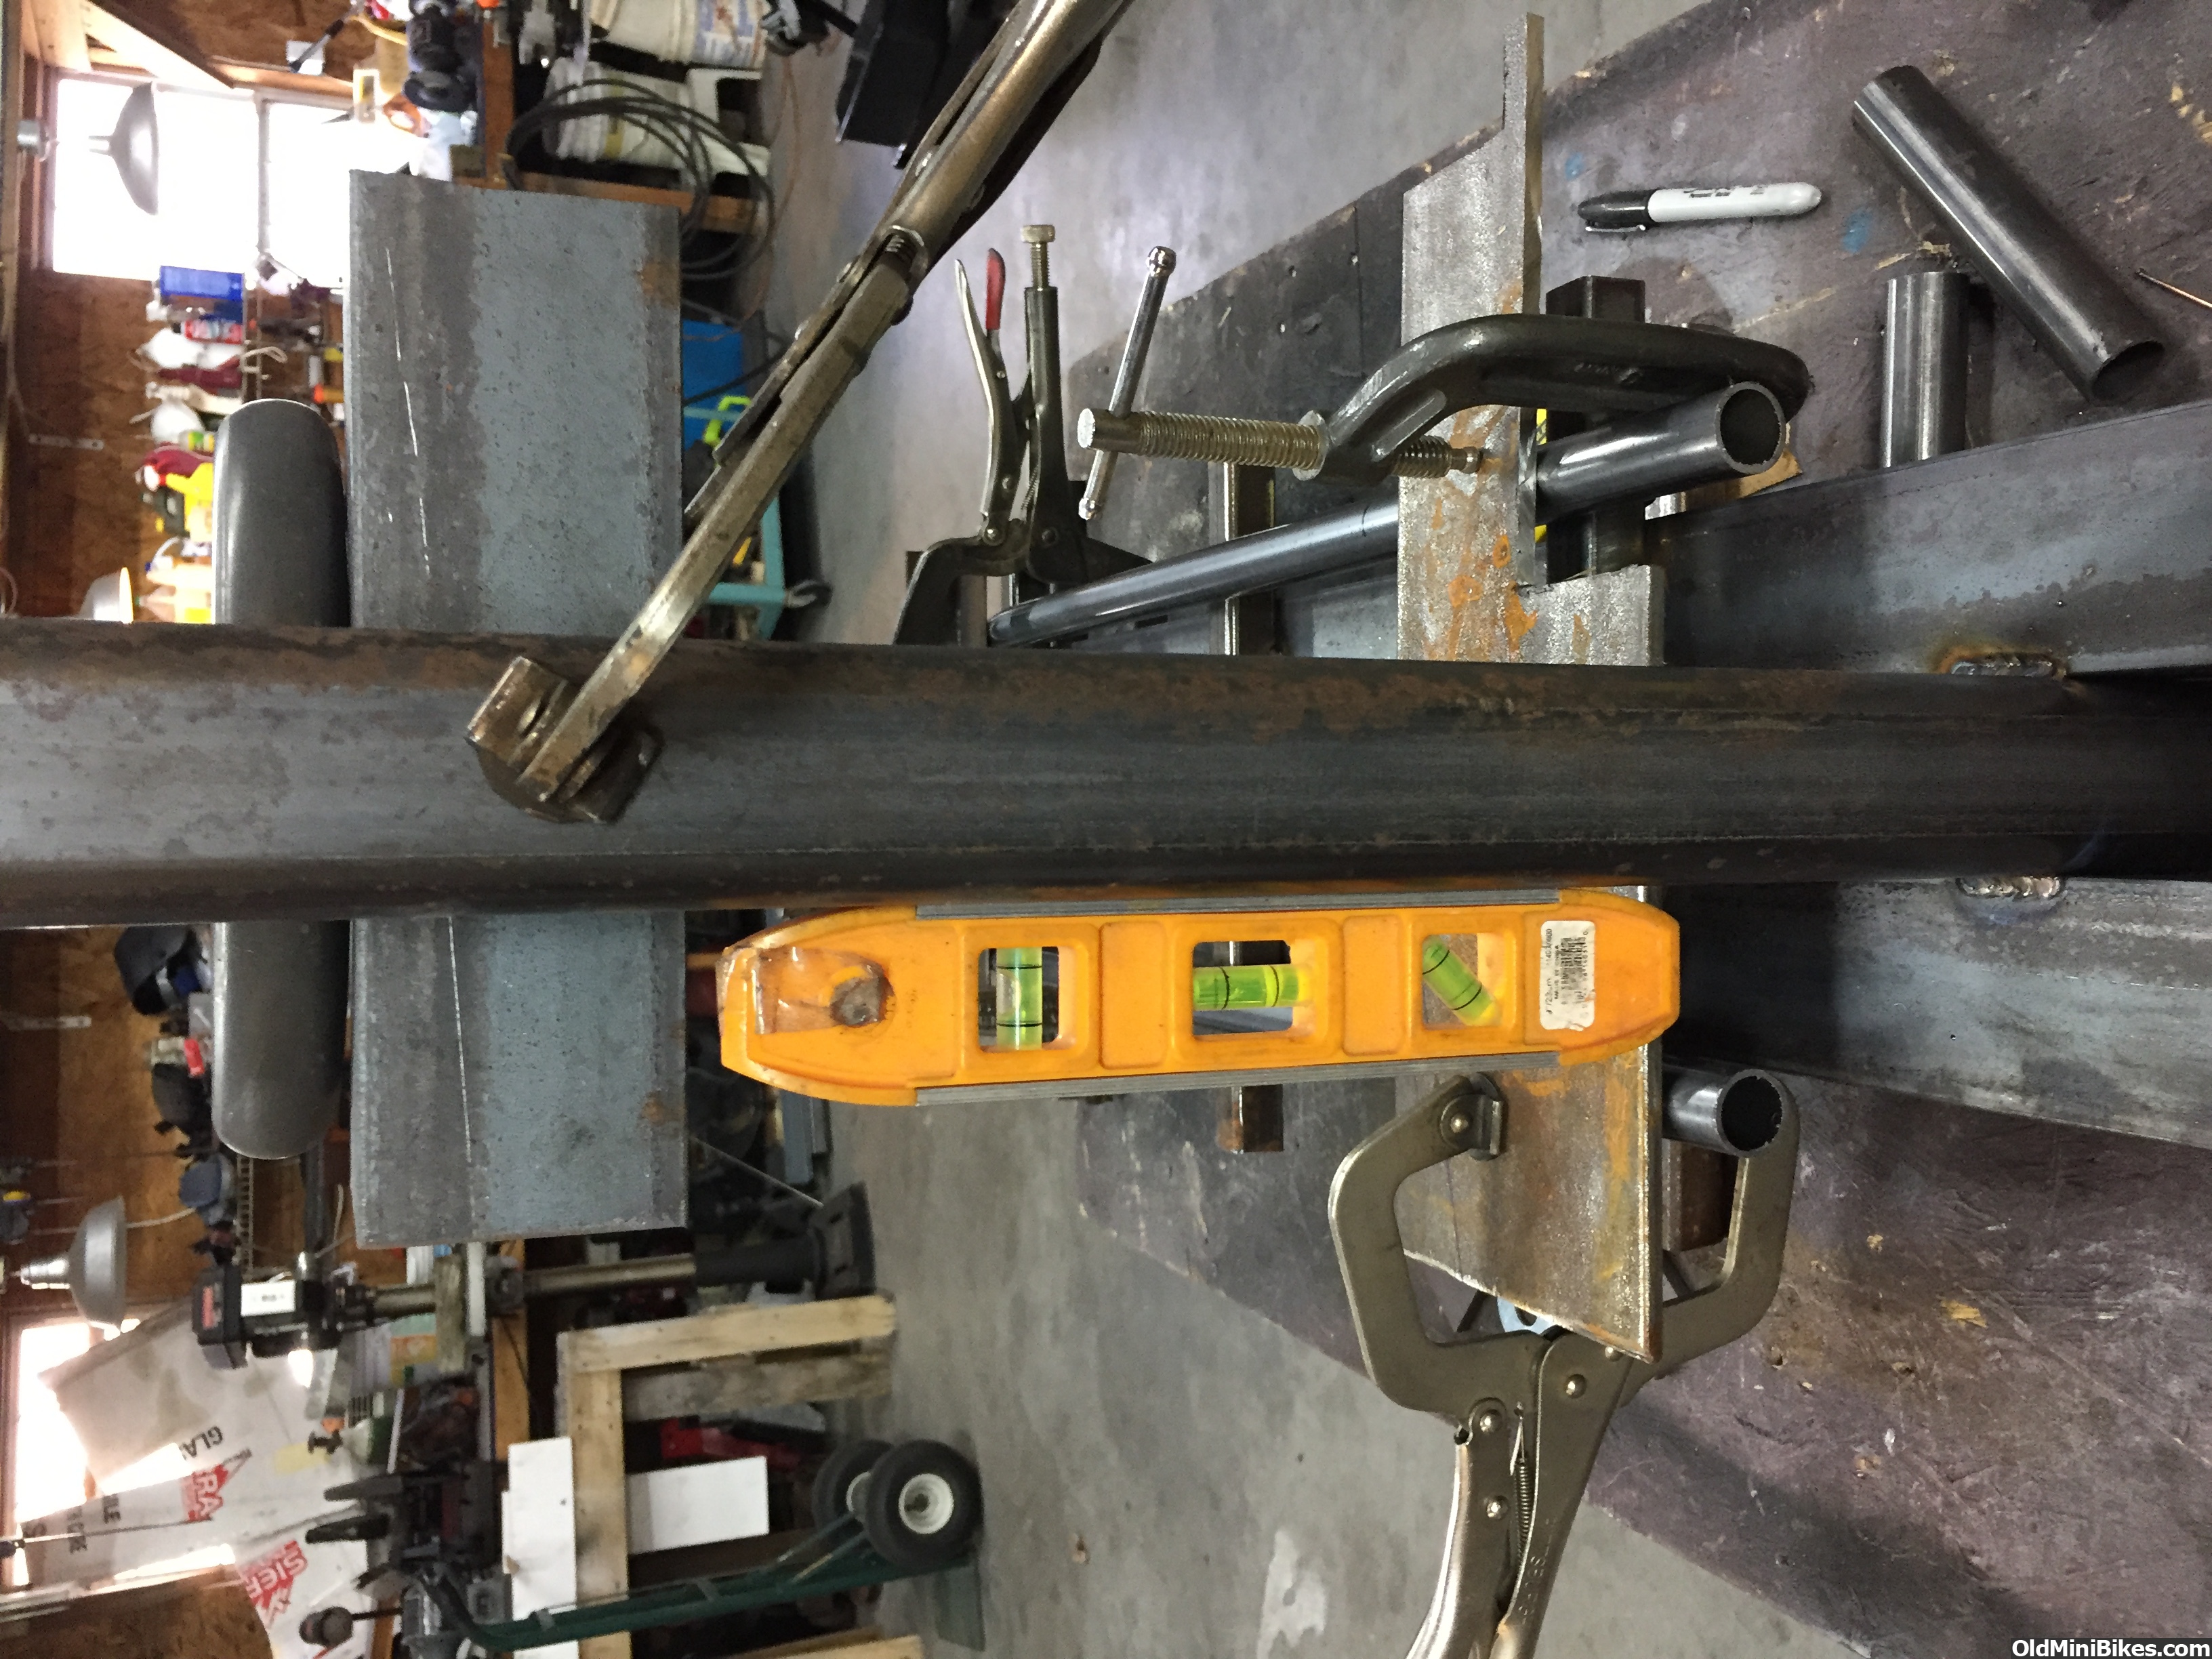
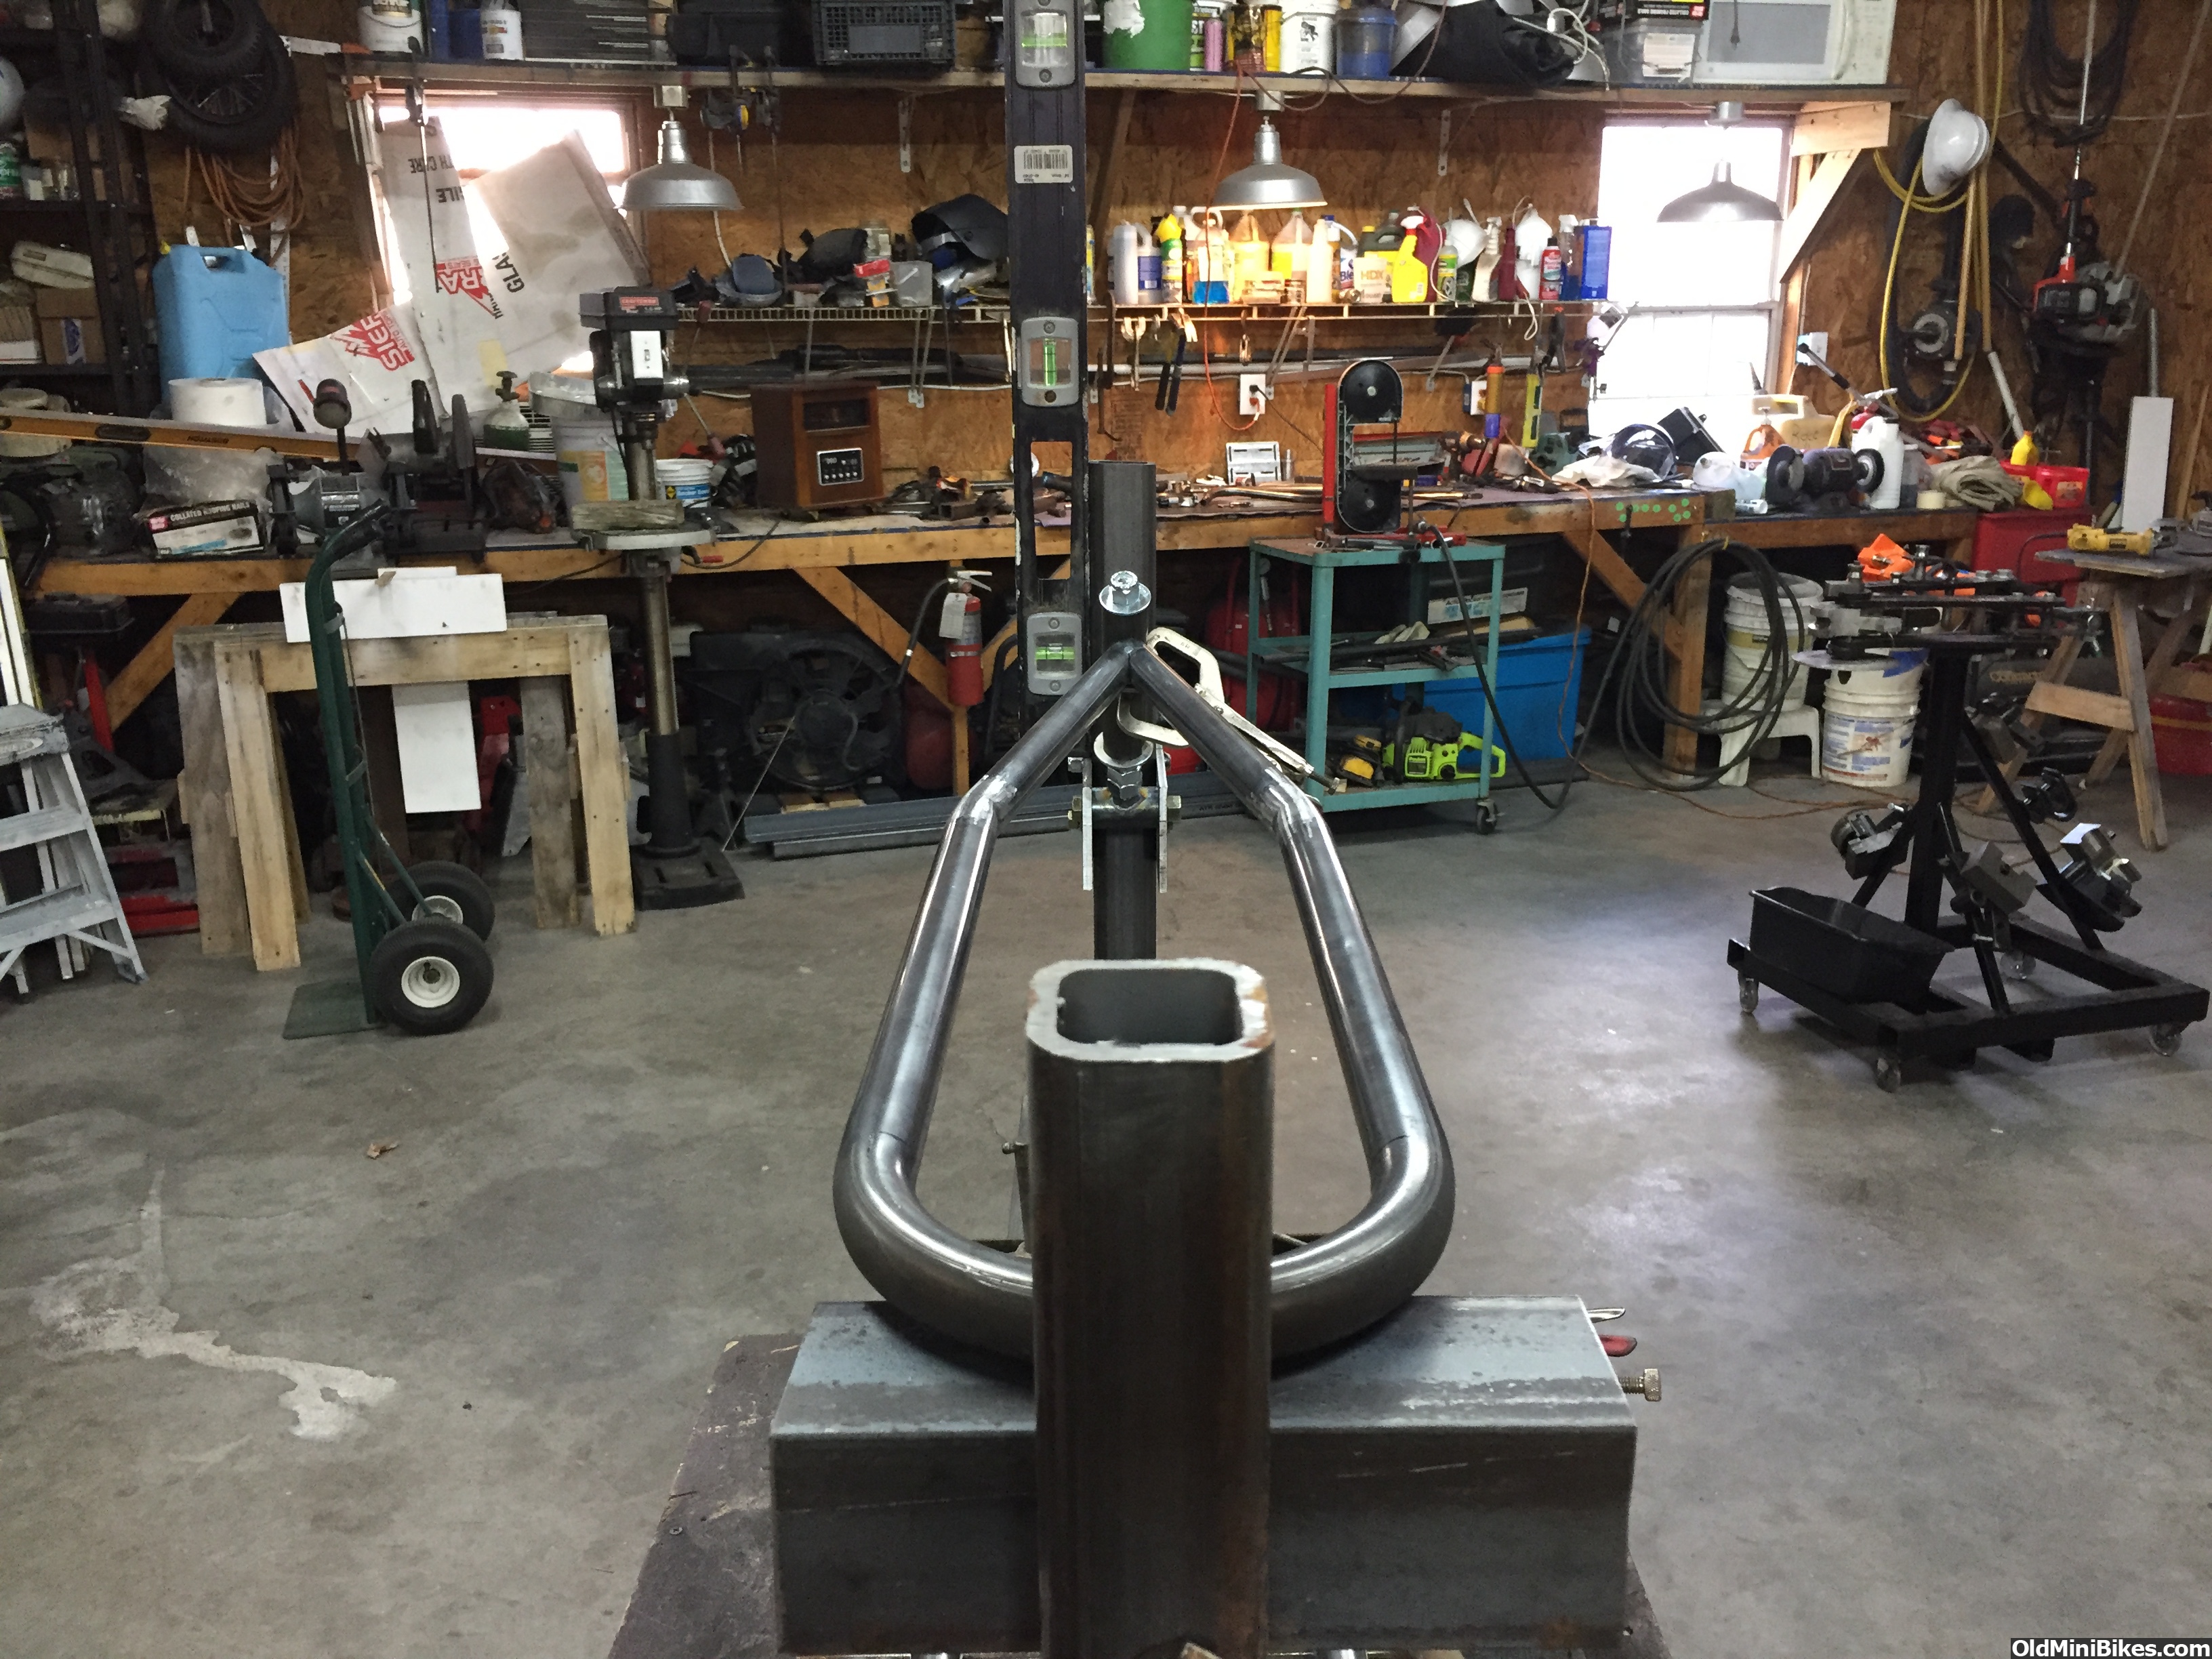
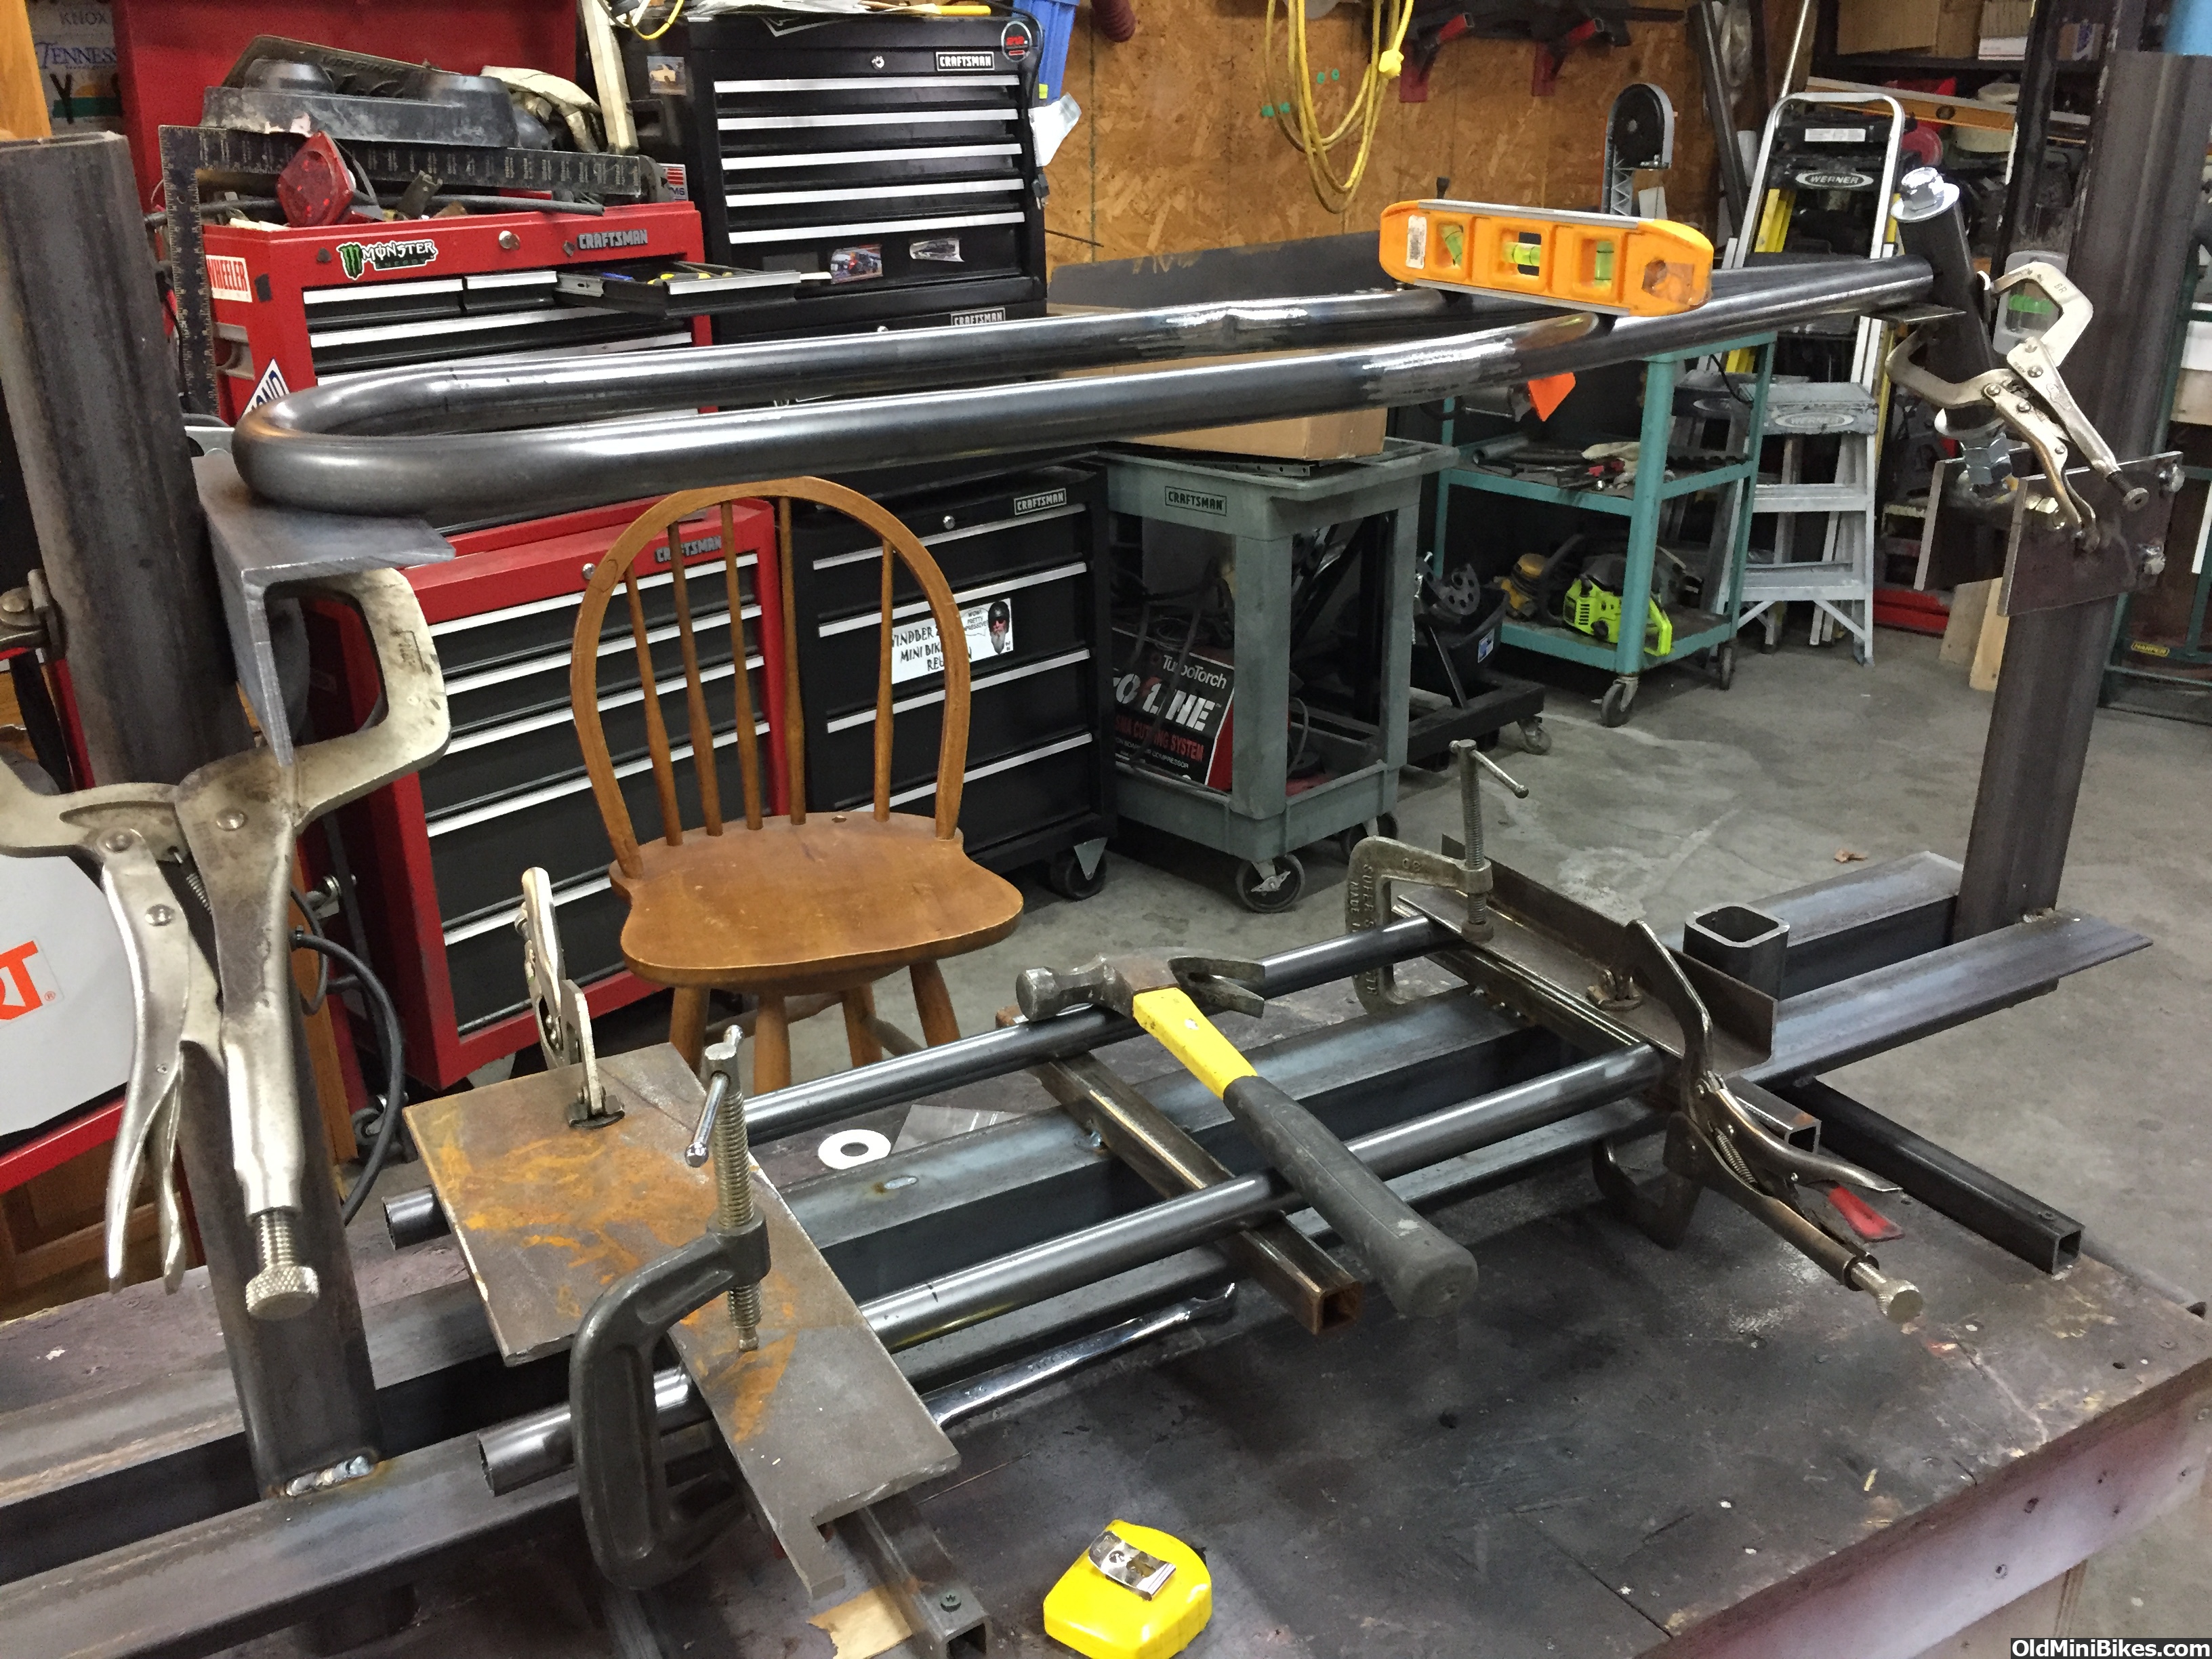
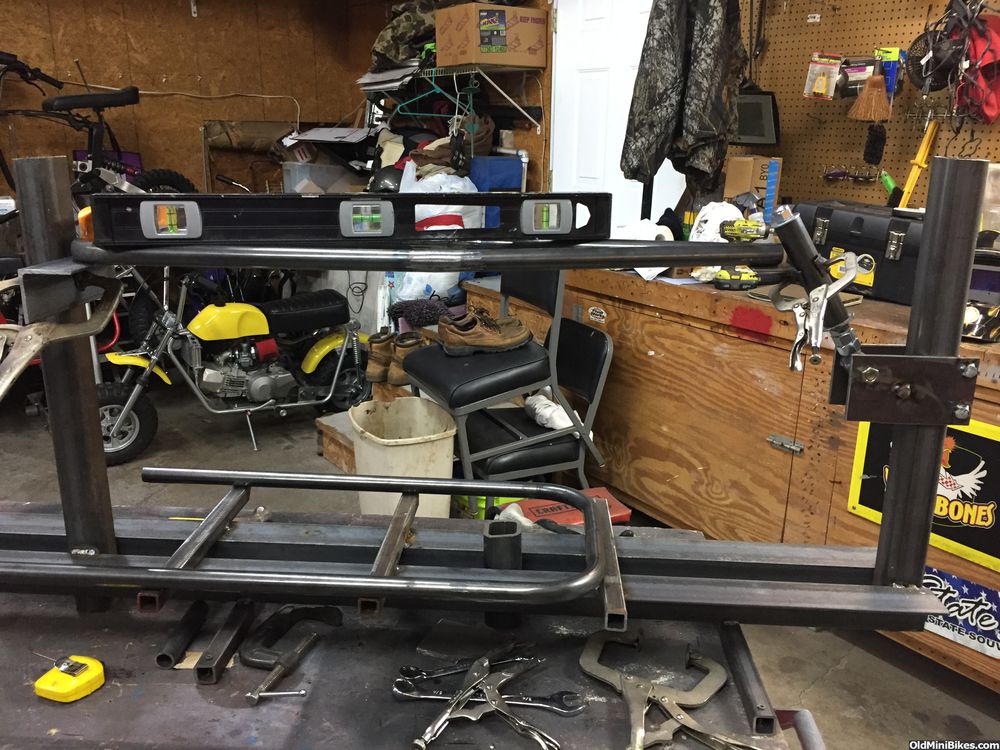
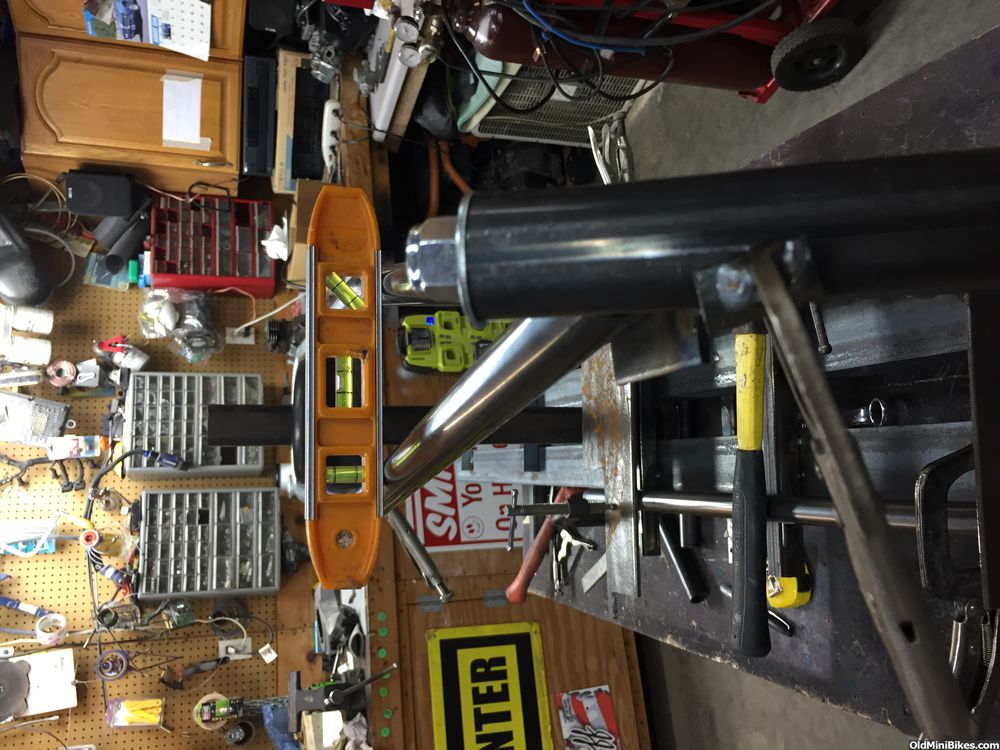
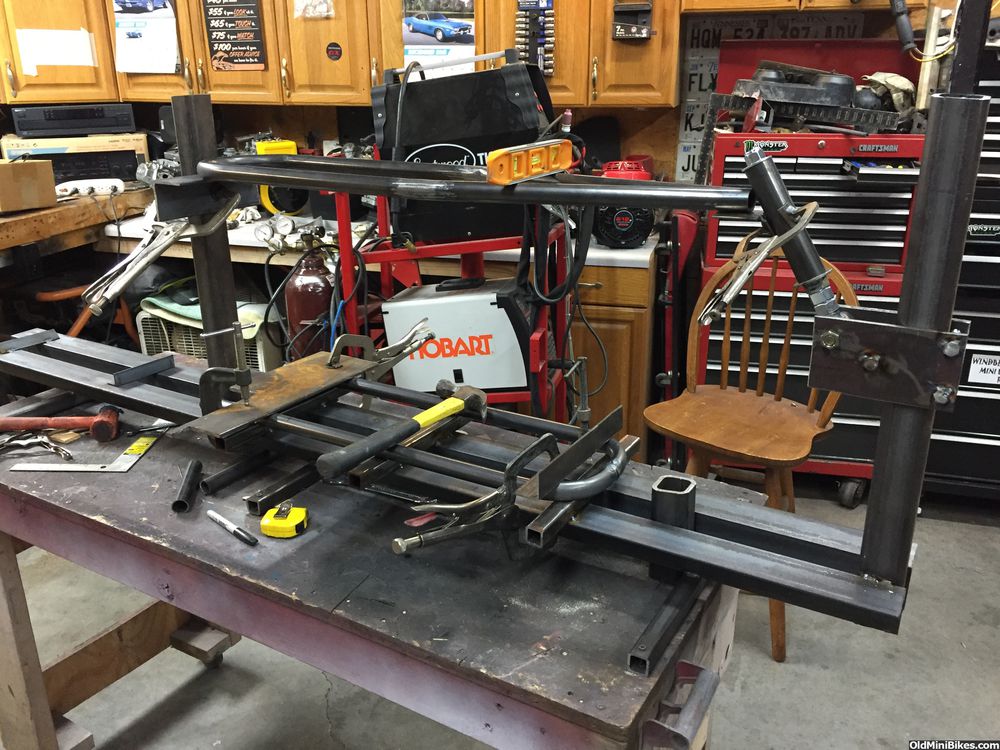
I also figured out I needed another upright tube to be able to hold the rear of the top section to be able to set the height of the frame . My plan is a 30 degree of rake which is what the MX I have is set at , and 14" in between top and bottom rails . This is about what the Powell and the MX have . As far is ride height the MX has about 7 1/2 inches from bottom of frame to road . This is what I'am aiming at , also 45-46 inches of wheel base .
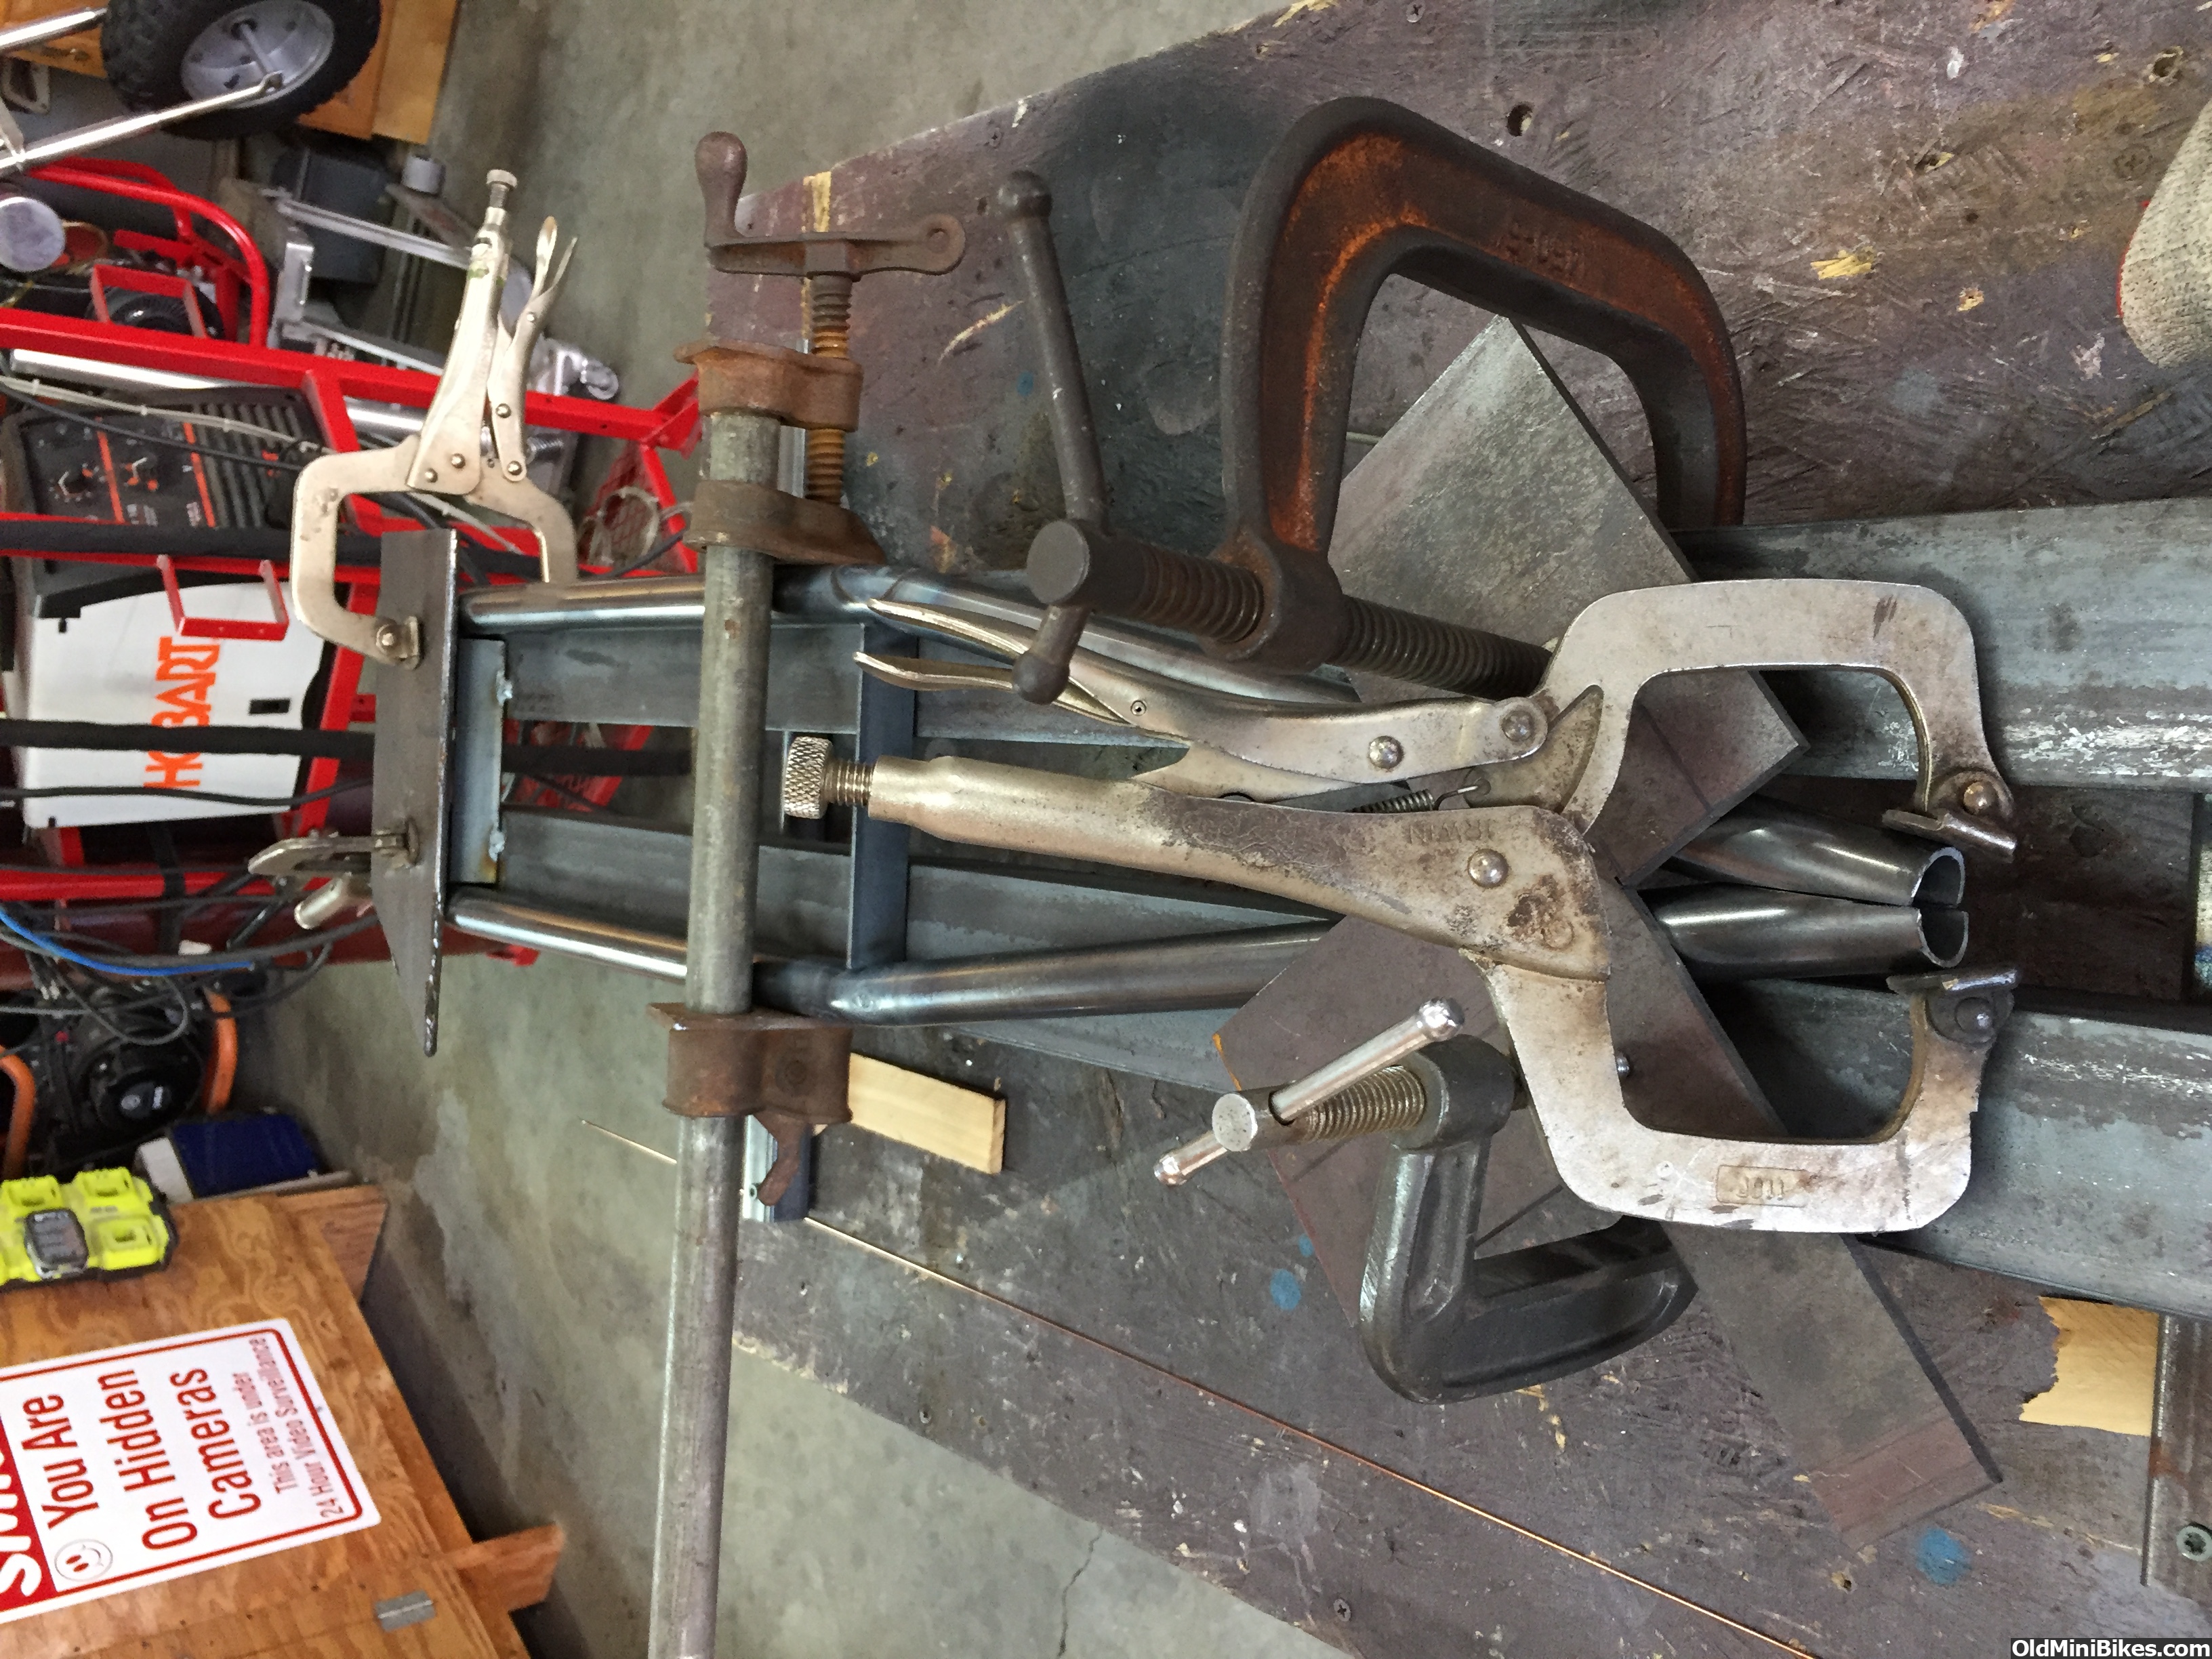
The only other jig that has to be built is on to hold the rear wheel plates in place to be able to tie the tubes into them . Here more pics .
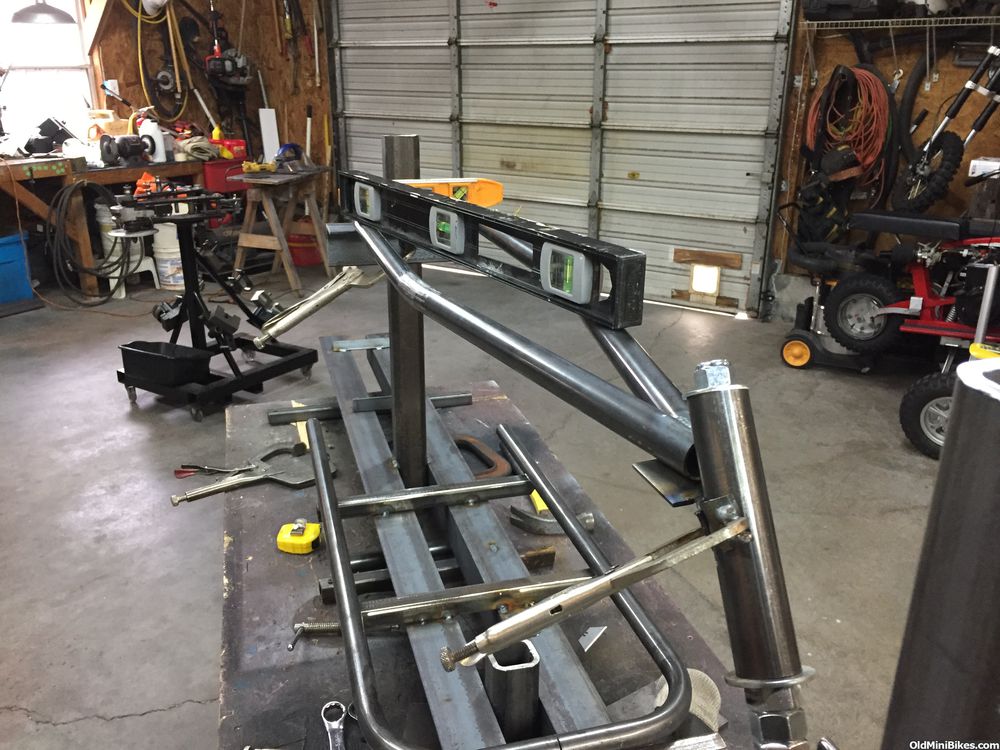


The only other jig that has to be built is on to hold the rear wheel plates in place to be able to tie the tubes into them . Here more pics .