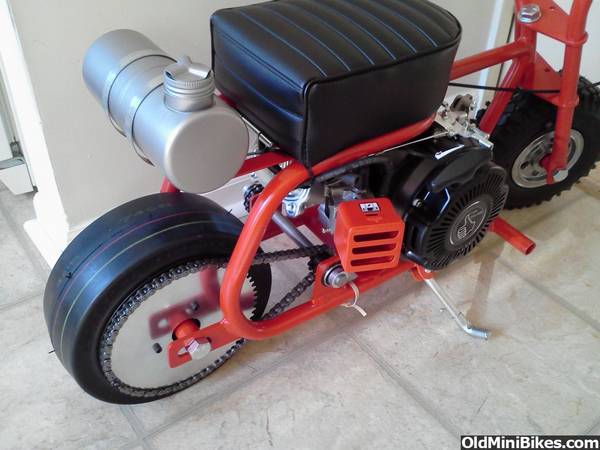
always wanted one when I was a kid, 2 friends had them and they would tear up the streets with them
anyways I finally bought one
Ive been into scooters for a while now so im familiar with how some of this stuff works
Wanted to go simple, putt around on
although not street legal where I live im planning on using this with a small bicycle trailer to haul kids around
I have done this in the backyard with a mini dirtbike but not much room
so ive taken to the streets at least we can go around the block and have fun
I will be welding on a bracket so I can attach the tralier to the bike
just want to get it on the road first make sure everything works
I ordered a bike from this site, I didnt know they had a forum so thats cool
I still need the clutch, and thats it to get it running
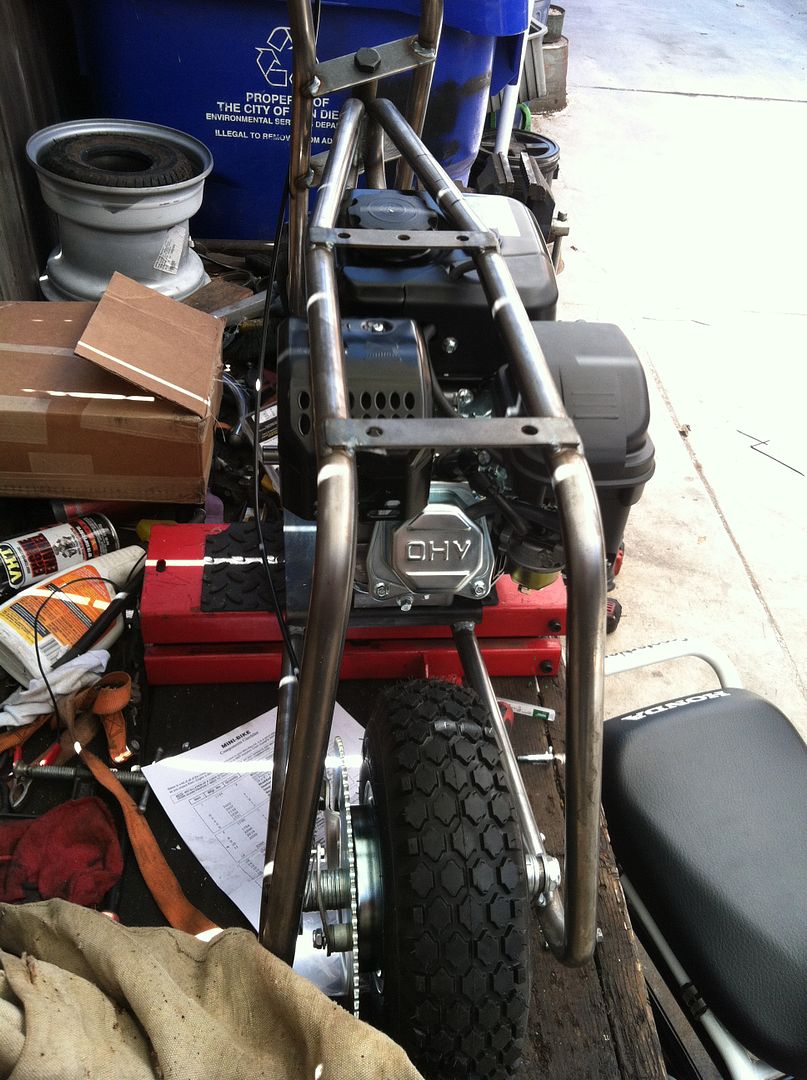
Got the engine today the 212cc from harbor freight
Some of my scooters are 50cc, 70cc, 90cc, 155cc but I figured might as well get the biggest engine I could
Im not expecting too much performance from this single gear so might as well have the largest engine I could get to battle the hills around here
and for the price they go for, why not
super cheap
I was expecting a way smaller engine to be in that price range
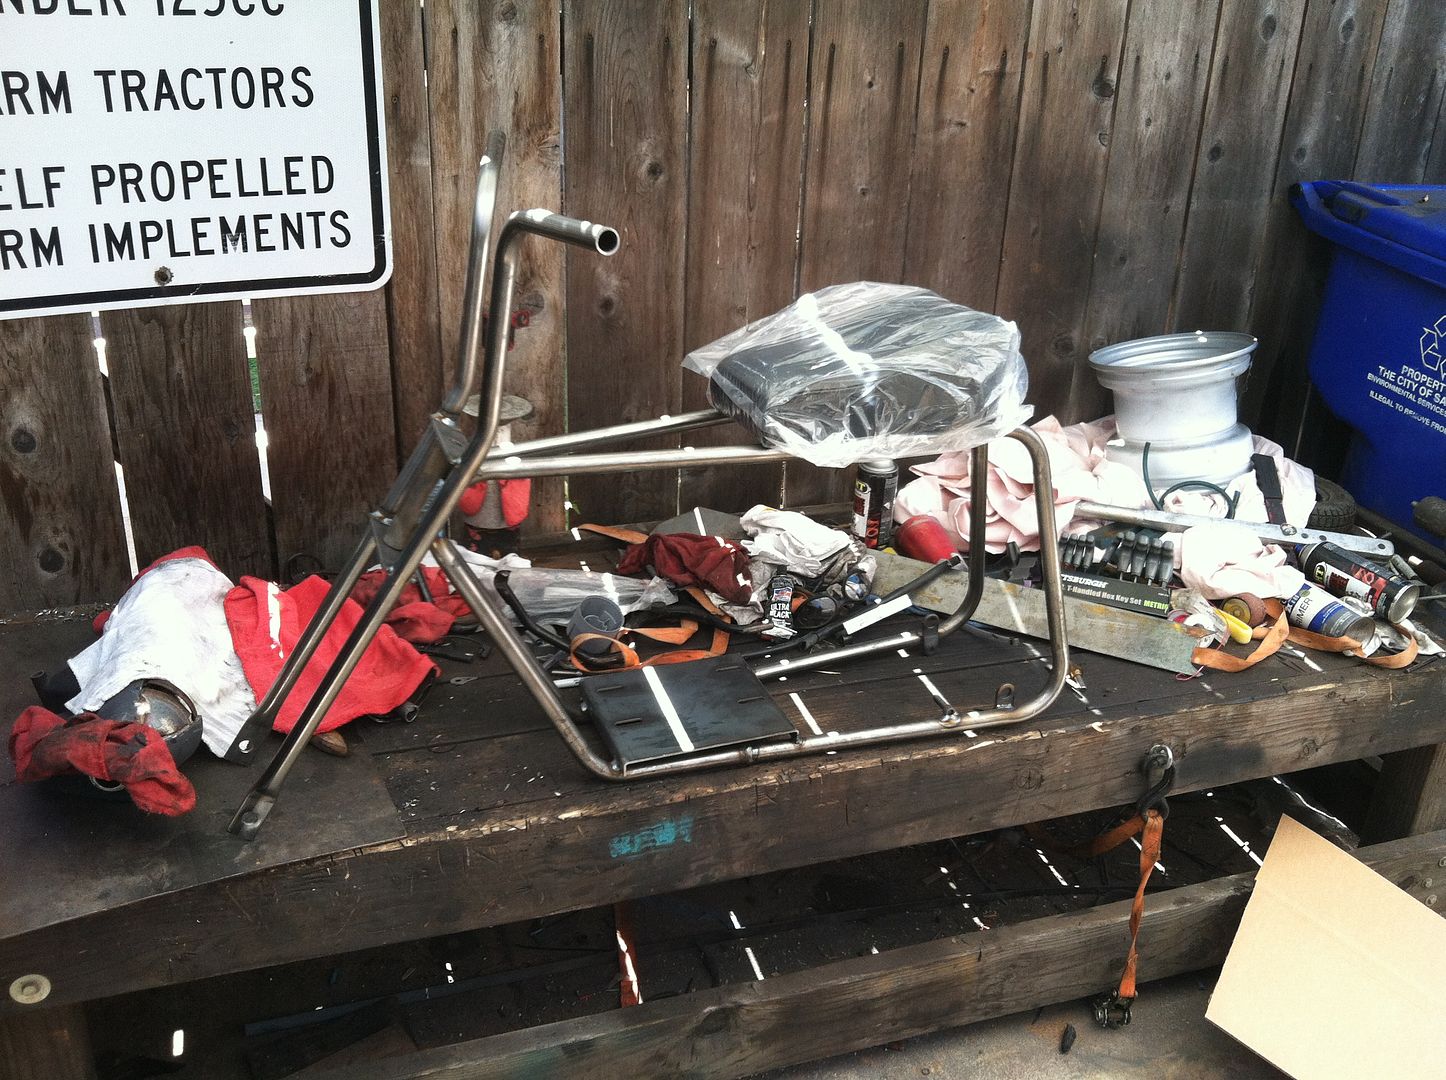
Anyways here are some pics of the build
So far im planning on a rust paint job, hopefully it will work out
I got the paint coming in the mail
Want the bike to look old, so still undecided if im going full rust
or maybe few layers of different color primer and sand away some wear spots and then add small sections of rust
I do my own powdercoating, but I dont have a big enough oven to fit the frame or I would of just powdercoated it something crazy
I suppose I could build an enclosure for my oven to make it larger, but I always wanted to do the rusty paint so now is a good excust
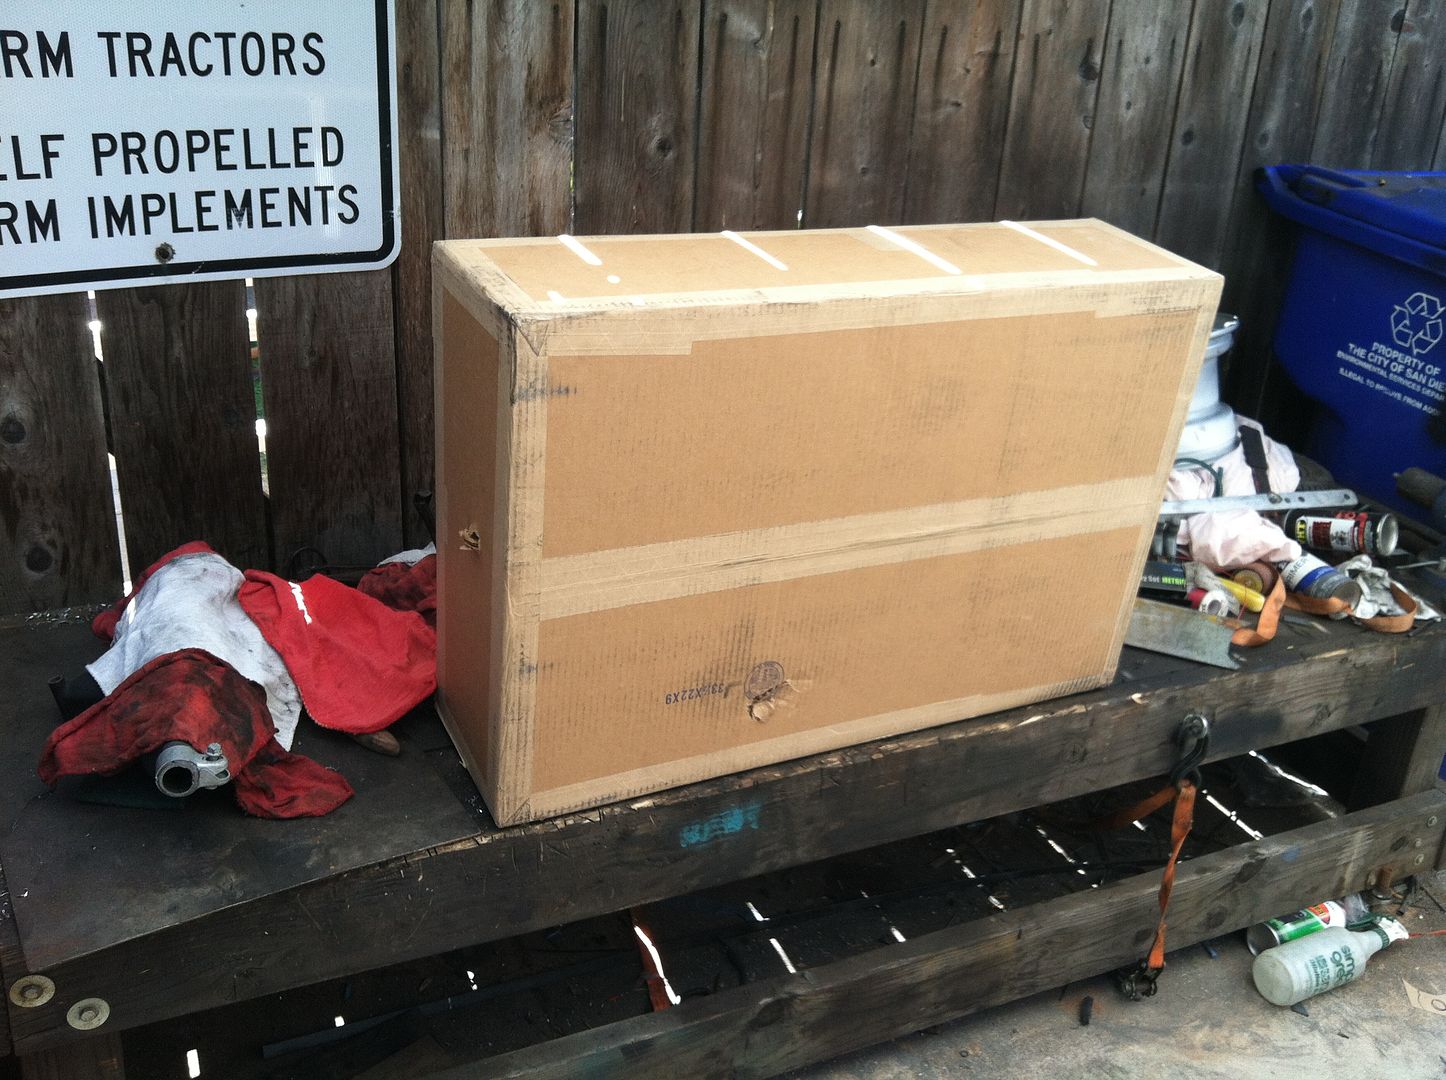
Sadly it came missing alot of parts for some reason
But I found out these come directly from the manufacture so they were the ones that didnt send everything, have to wait until after the weekend for OldMiniBikes to see whats going on with the missing parts
So I had done a little reading about the engine I got
how the gas cap hits the frame, my problem too
Now I had thought alot about what to do
One option was take off the floor plate, cut away the bent edge or just flip it over so the engine would sit lower
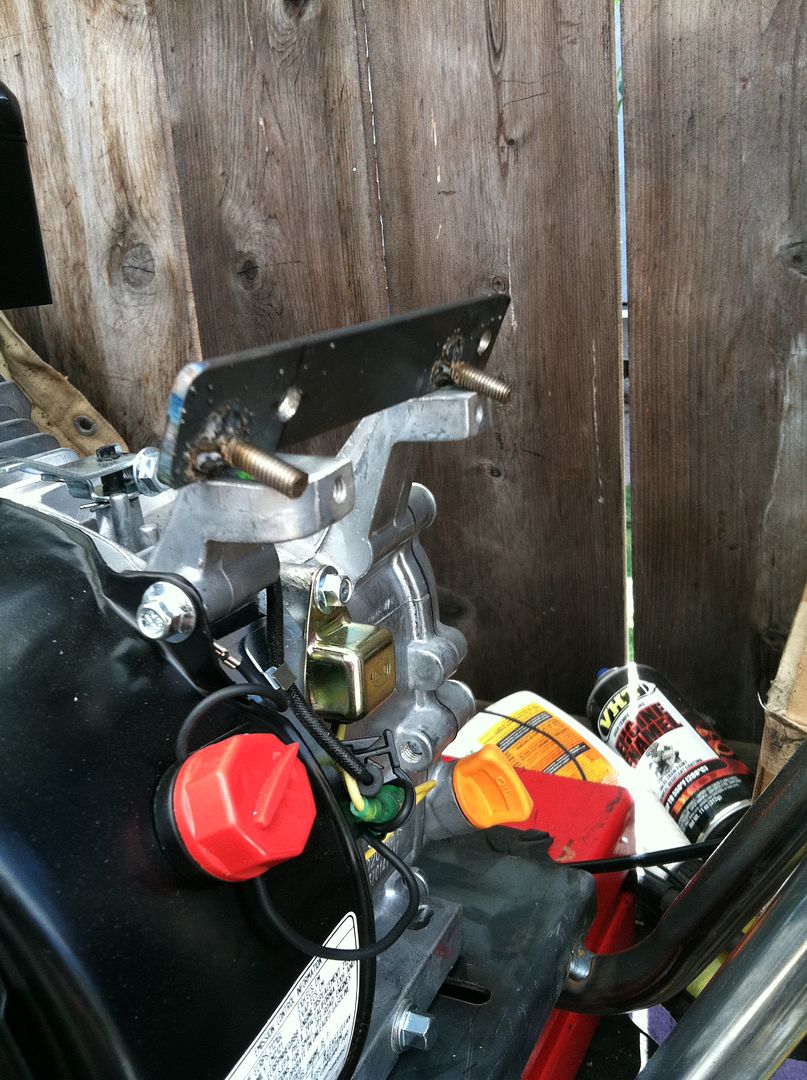
But I decided to make a simple bracket to shift over the gas tank
I have no idea how well this will work, I ended up adding rubber washers under the front of the adapter and tank just to help with vibrations
Since this bike has never started I have no idea what to expect
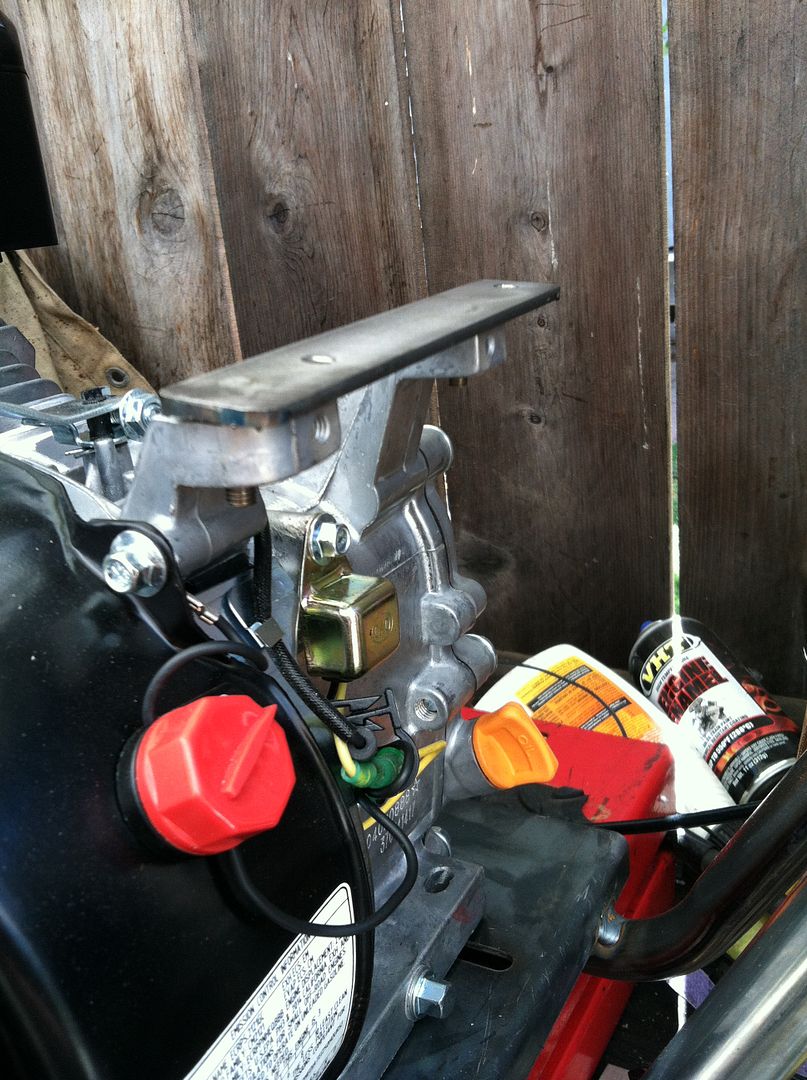
This is the mount I made, welded studs on the bottom that tie into the engine
and offset holes for the gas tank studs to drop into shifting over like 1 inch maybe
I also added a stud to the back of the tank
that stud goes through the aluminum mount and I put a nut on it
just tight enough for the nut to lock on
but not super tight until I see how much this stuff vibrates
would rather have a touch of play to keep that stud from cracking the tank, well outer tank cover not actual gas tank
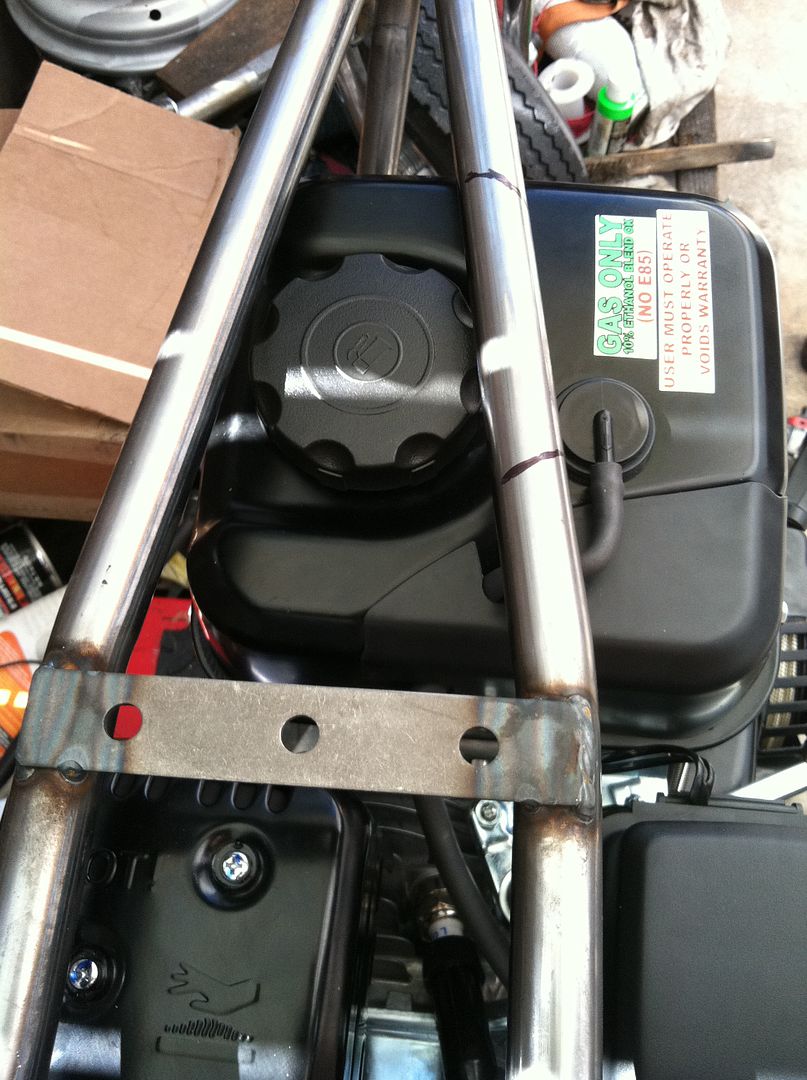
This is how far forward it can be and still be able to work the gas cap
Its about 1/2 inch back from all the way forward
this is all the way back
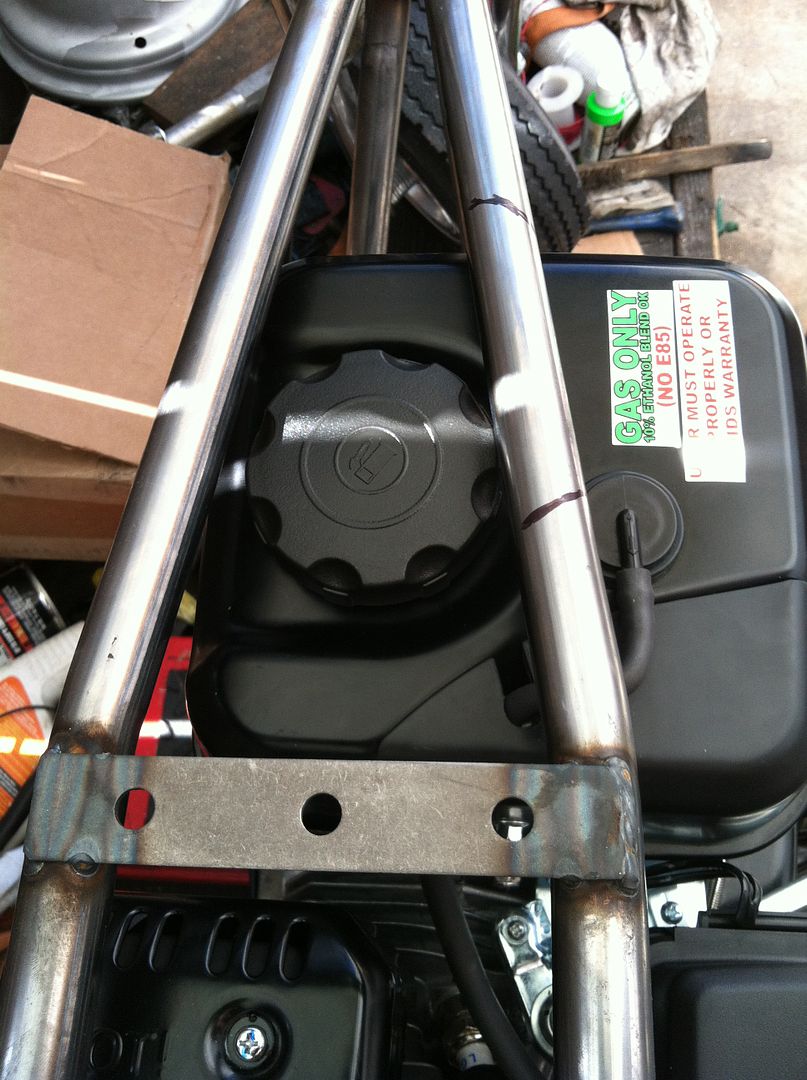
I was thinking about chopping out the frame and welding in a arched tube
but shifting over the tank worked out so far
It has not been tested yet, no chain or clutch has been installed
hopefully the engine does not need to shift over any on the mounts sideways
Im guessing these mostly bolt straight in and move forward or back for chain slack?
thats it for day 1
now just need to wait on the parts to finish
I may go out and start the engine just to see how the vibrations are once I bolt it down temporarily
anyways I finally bought one
Ive been into scooters for a while now so im familiar with how some of this stuff works
Wanted to go simple, putt around on
although not street legal where I live im planning on using this with a small bicycle trailer to haul kids around
I have done this in the backyard with a mini dirtbike but not much room
so ive taken to the streets at least we can go around the block and have fun
I will be welding on a bracket so I can attach the tralier to the bike
just want to get it on the road first make sure everything works
I ordered a bike from this site, I didnt know they had a forum so thats cool
I still need the clutch, and thats it to get it running
Got the engine today the 212cc from harbor freight
Some of my scooters are 50cc, 70cc, 90cc, 155cc but I figured might as well get the biggest engine I could
Im not expecting too much performance from this single gear so might as well have the largest engine I could get to battle the hills around here
and for the price they go for, why not
super cheap
I was expecting a way smaller engine to be in that price range
Anyways here are some pics of the build
So far im planning on a rust paint job, hopefully it will work out
I got the paint coming in the mail
Want the bike to look old, so still undecided if im going full rust
or maybe few layers of different color primer and sand away some wear spots and then add small sections of rust
I do my own powdercoating, but I dont have a big enough oven to fit the frame or I would of just powdercoated it something crazy
I suppose I could build an enclosure for my oven to make it larger, but I always wanted to do the rusty paint so now is a good excust

Sadly it came missing alot of parts for some reason
But I found out these come directly from the manufacture so they were the ones that didnt send everything, have to wait until after the weekend for OldMiniBikes to see whats going on with the missing parts

So I had done a little reading about the engine I got
how the gas cap hits the frame, my problem too
Now I had thought alot about what to do
One option was take off the floor plate, cut away the bent edge or just flip it over so the engine would sit lower
But I decided to make a simple bracket to shift over the gas tank
I have no idea how well this will work, I ended up adding rubber washers under the front of the adapter and tank just to help with vibrations
Since this bike has never started I have no idea what to expect
This is the mount I made, welded studs on the bottom that tie into the engine
and offset holes for the gas tank studs to drop into shifting over like 1 inch maybe
I also added a stud to the back of the tank
that stud goes through the aluminum mount and I put a nut on it
just tight enough for the nut to lock on
but not super tight until I see how much this stuff vibrates
would rather have a touch of play to keep that stud from cracking the tank, well outer tank cover not actual gas tank


This is how far forward it can be and still be able to work the gas cap
Its about 1/2 inch back from all the way forward

this is all the way back

I was thinking about chopping out the frame and welding in a arched tube
but shifting over the tank worked out so far
It has not been tested yet, no chain or clutch has been installed
hopefully the engine does not need to shift over any on the mounts sideways
Im guessing these mostly bolt straight in and move forward or back for chain slack?

thats it for day 1
now just need to wait on the parts to finish
I may go out and start the engine just to see how the vibrations are once I bolt it down temporarily
Last edited: