FOMOGO's - Warrior - (Chinese Class)

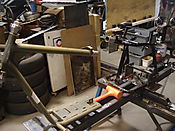
Well I put my black frame back in the jig and I didn't like the factory fit up of the neck. So I checked the green frame and it was much better so I started with it. I readjusted the Jig to a lower mounting point at the neck. Nothing will change except the angle readings. I thought it might be easier to work off of zero for the lower rear section and go from there. We will see. I had several interruptions including an early doctors appointment but I got a lot of work done by my self anyway.
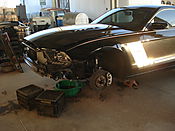
I wont get anything done again until next week. I have a job coming in this morning. A 2014 Mustang that I have to install a Roush supercharger and new exhaust system on. Should be a fun adventure for sure. I will take pics...
Progress from yesterday.

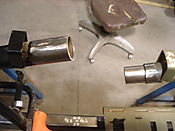
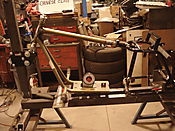
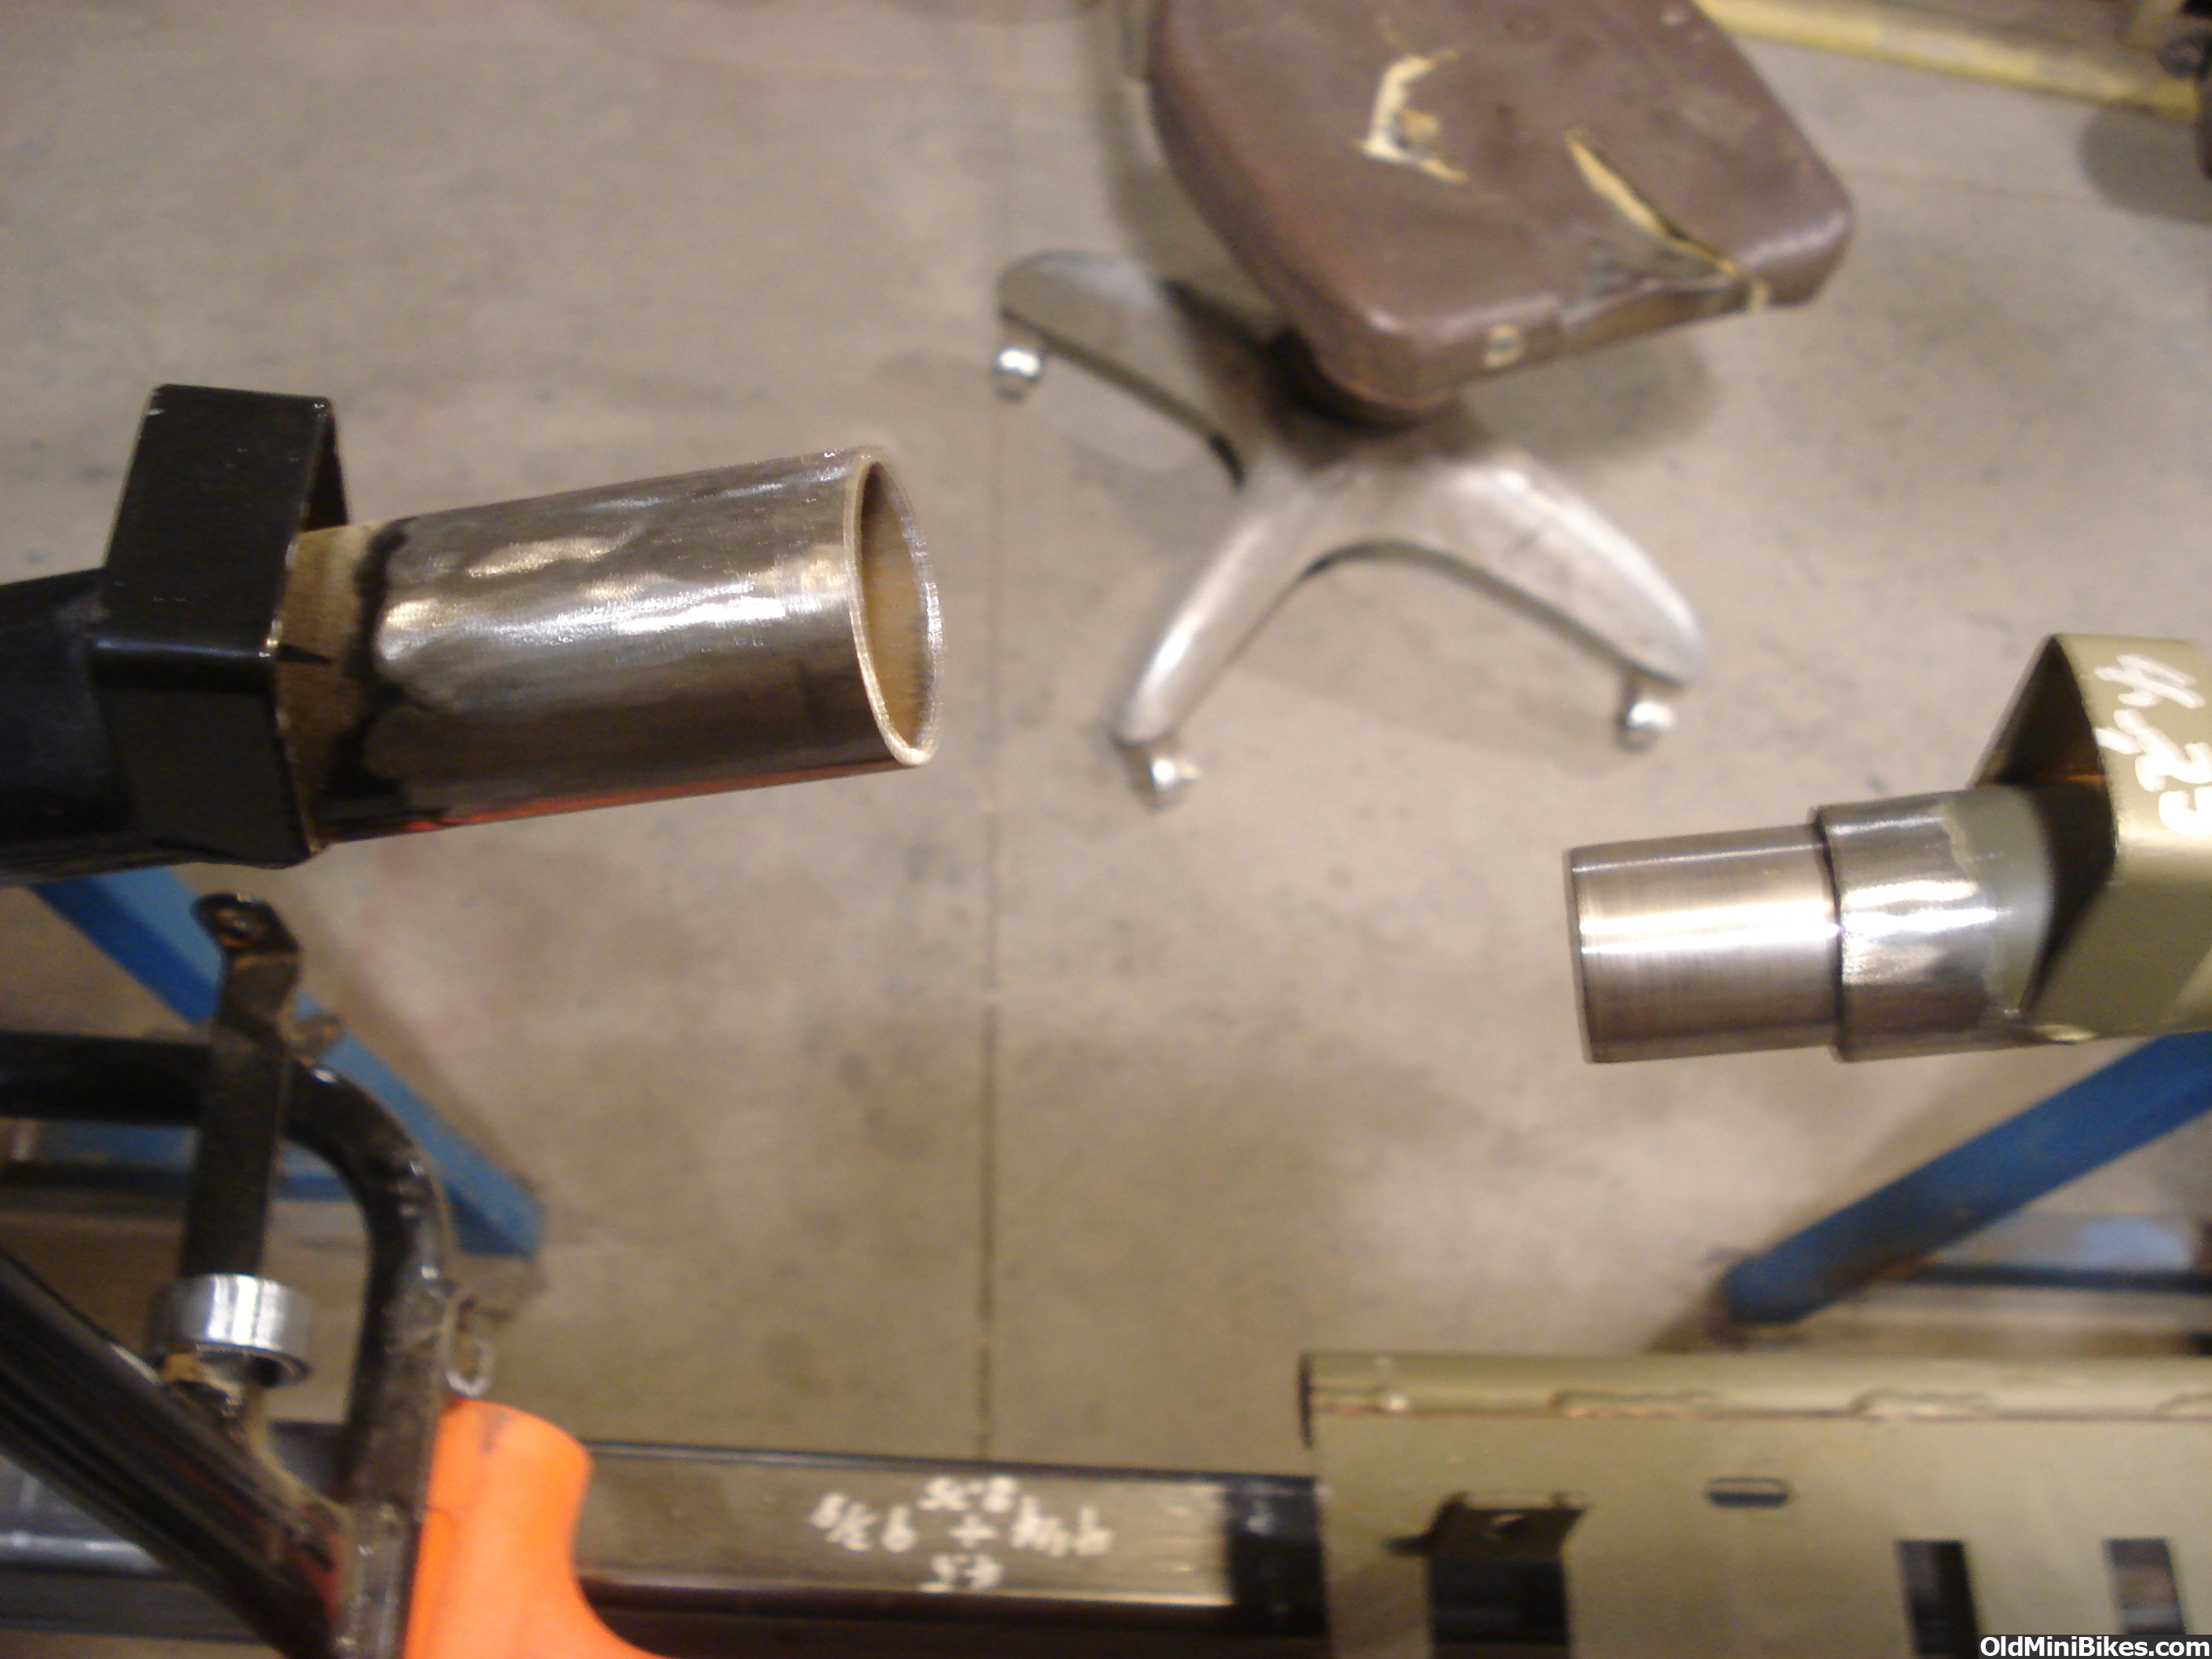
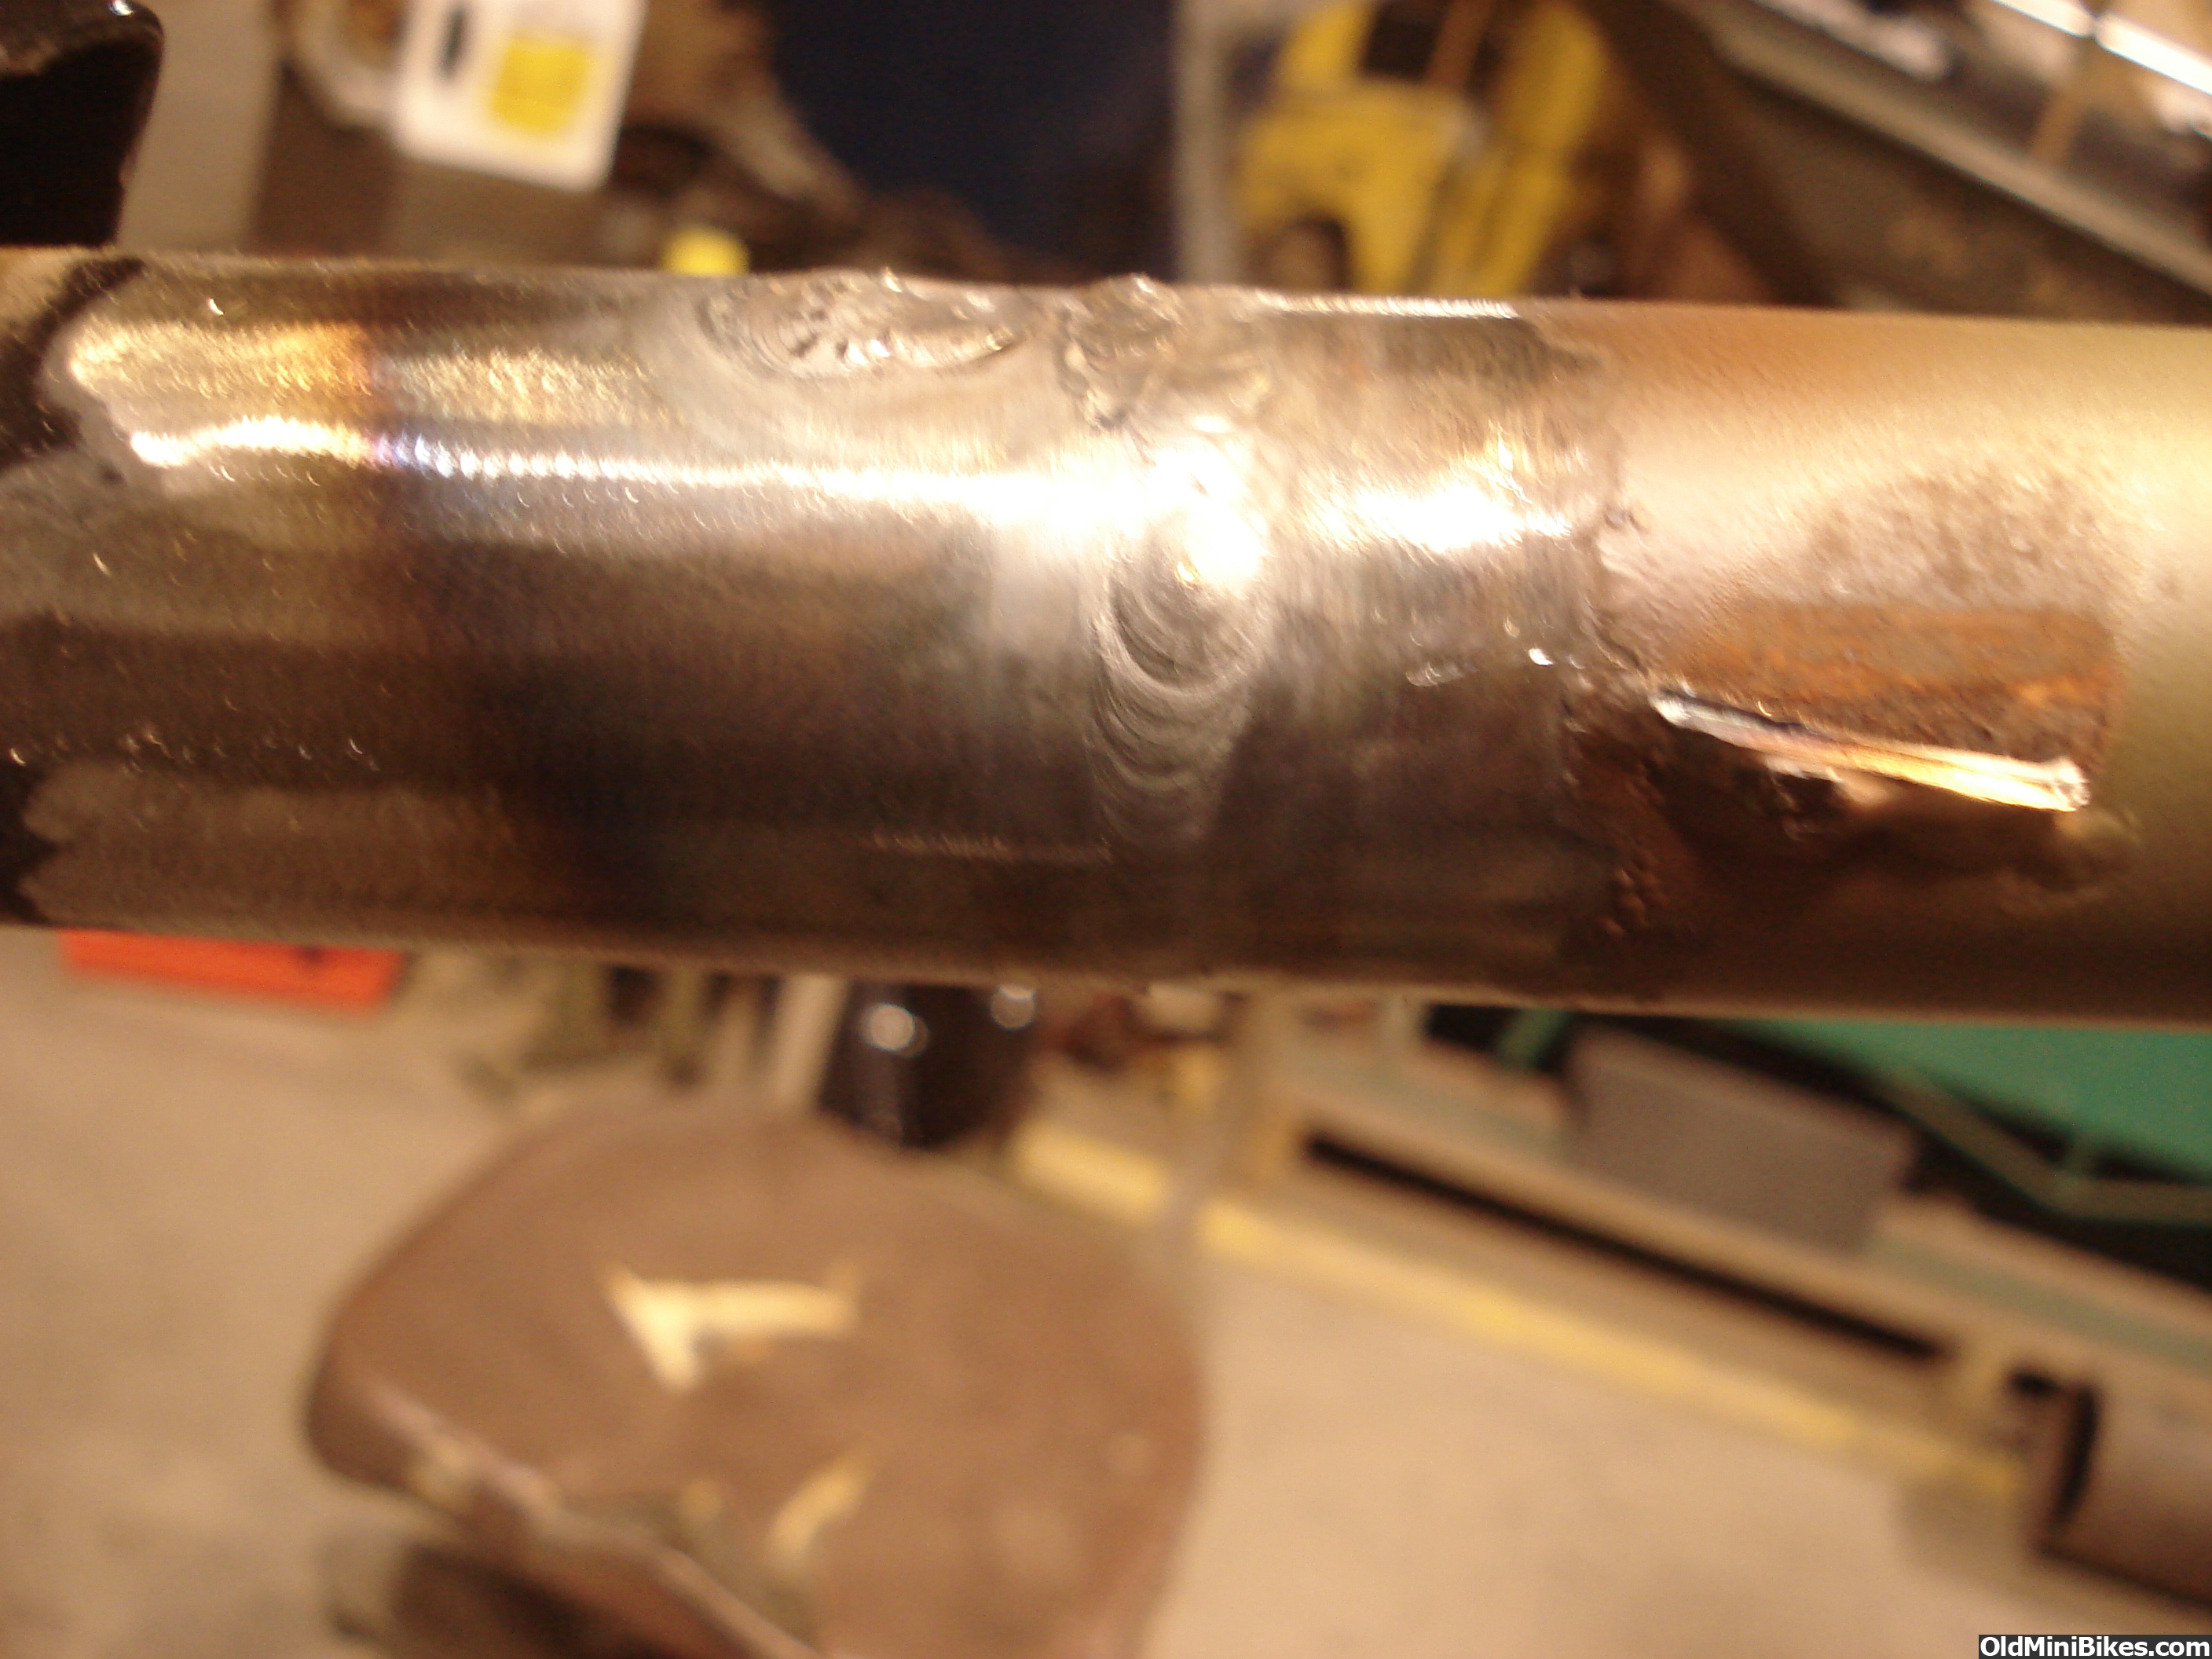
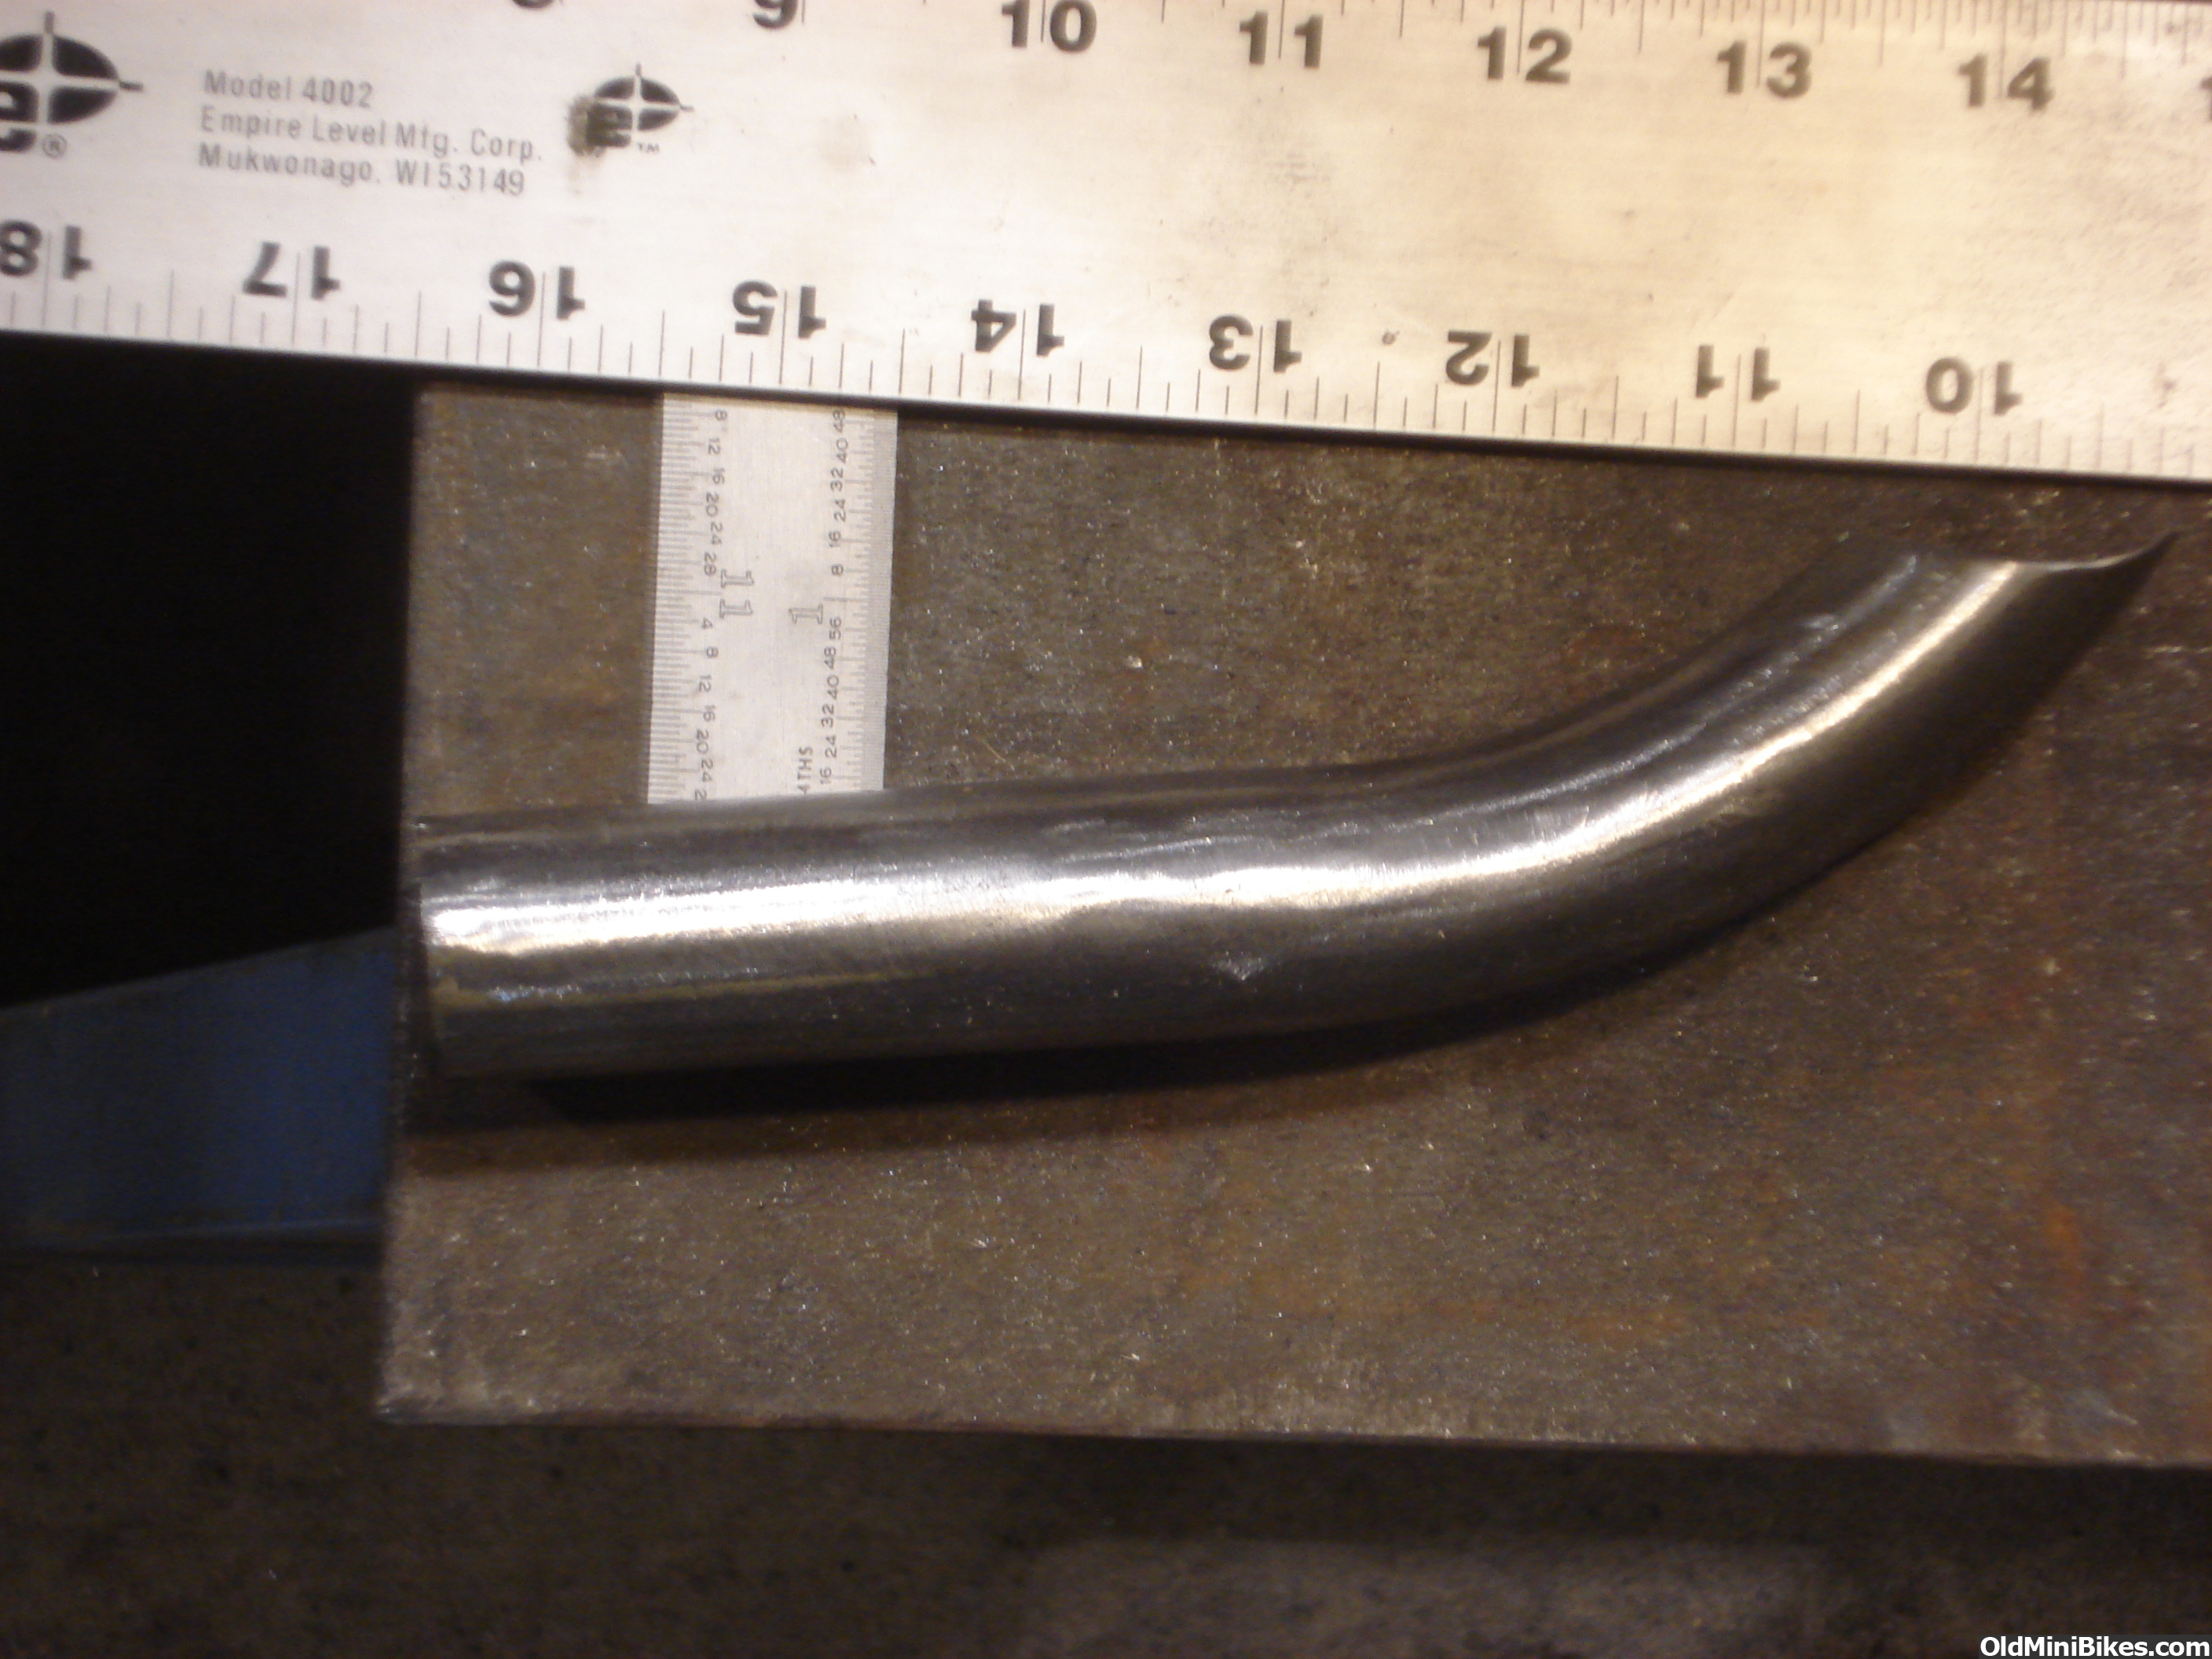
Decided I would Tig mine back together as I hadn't done any Tig welding in a while and wanted to practice a little.

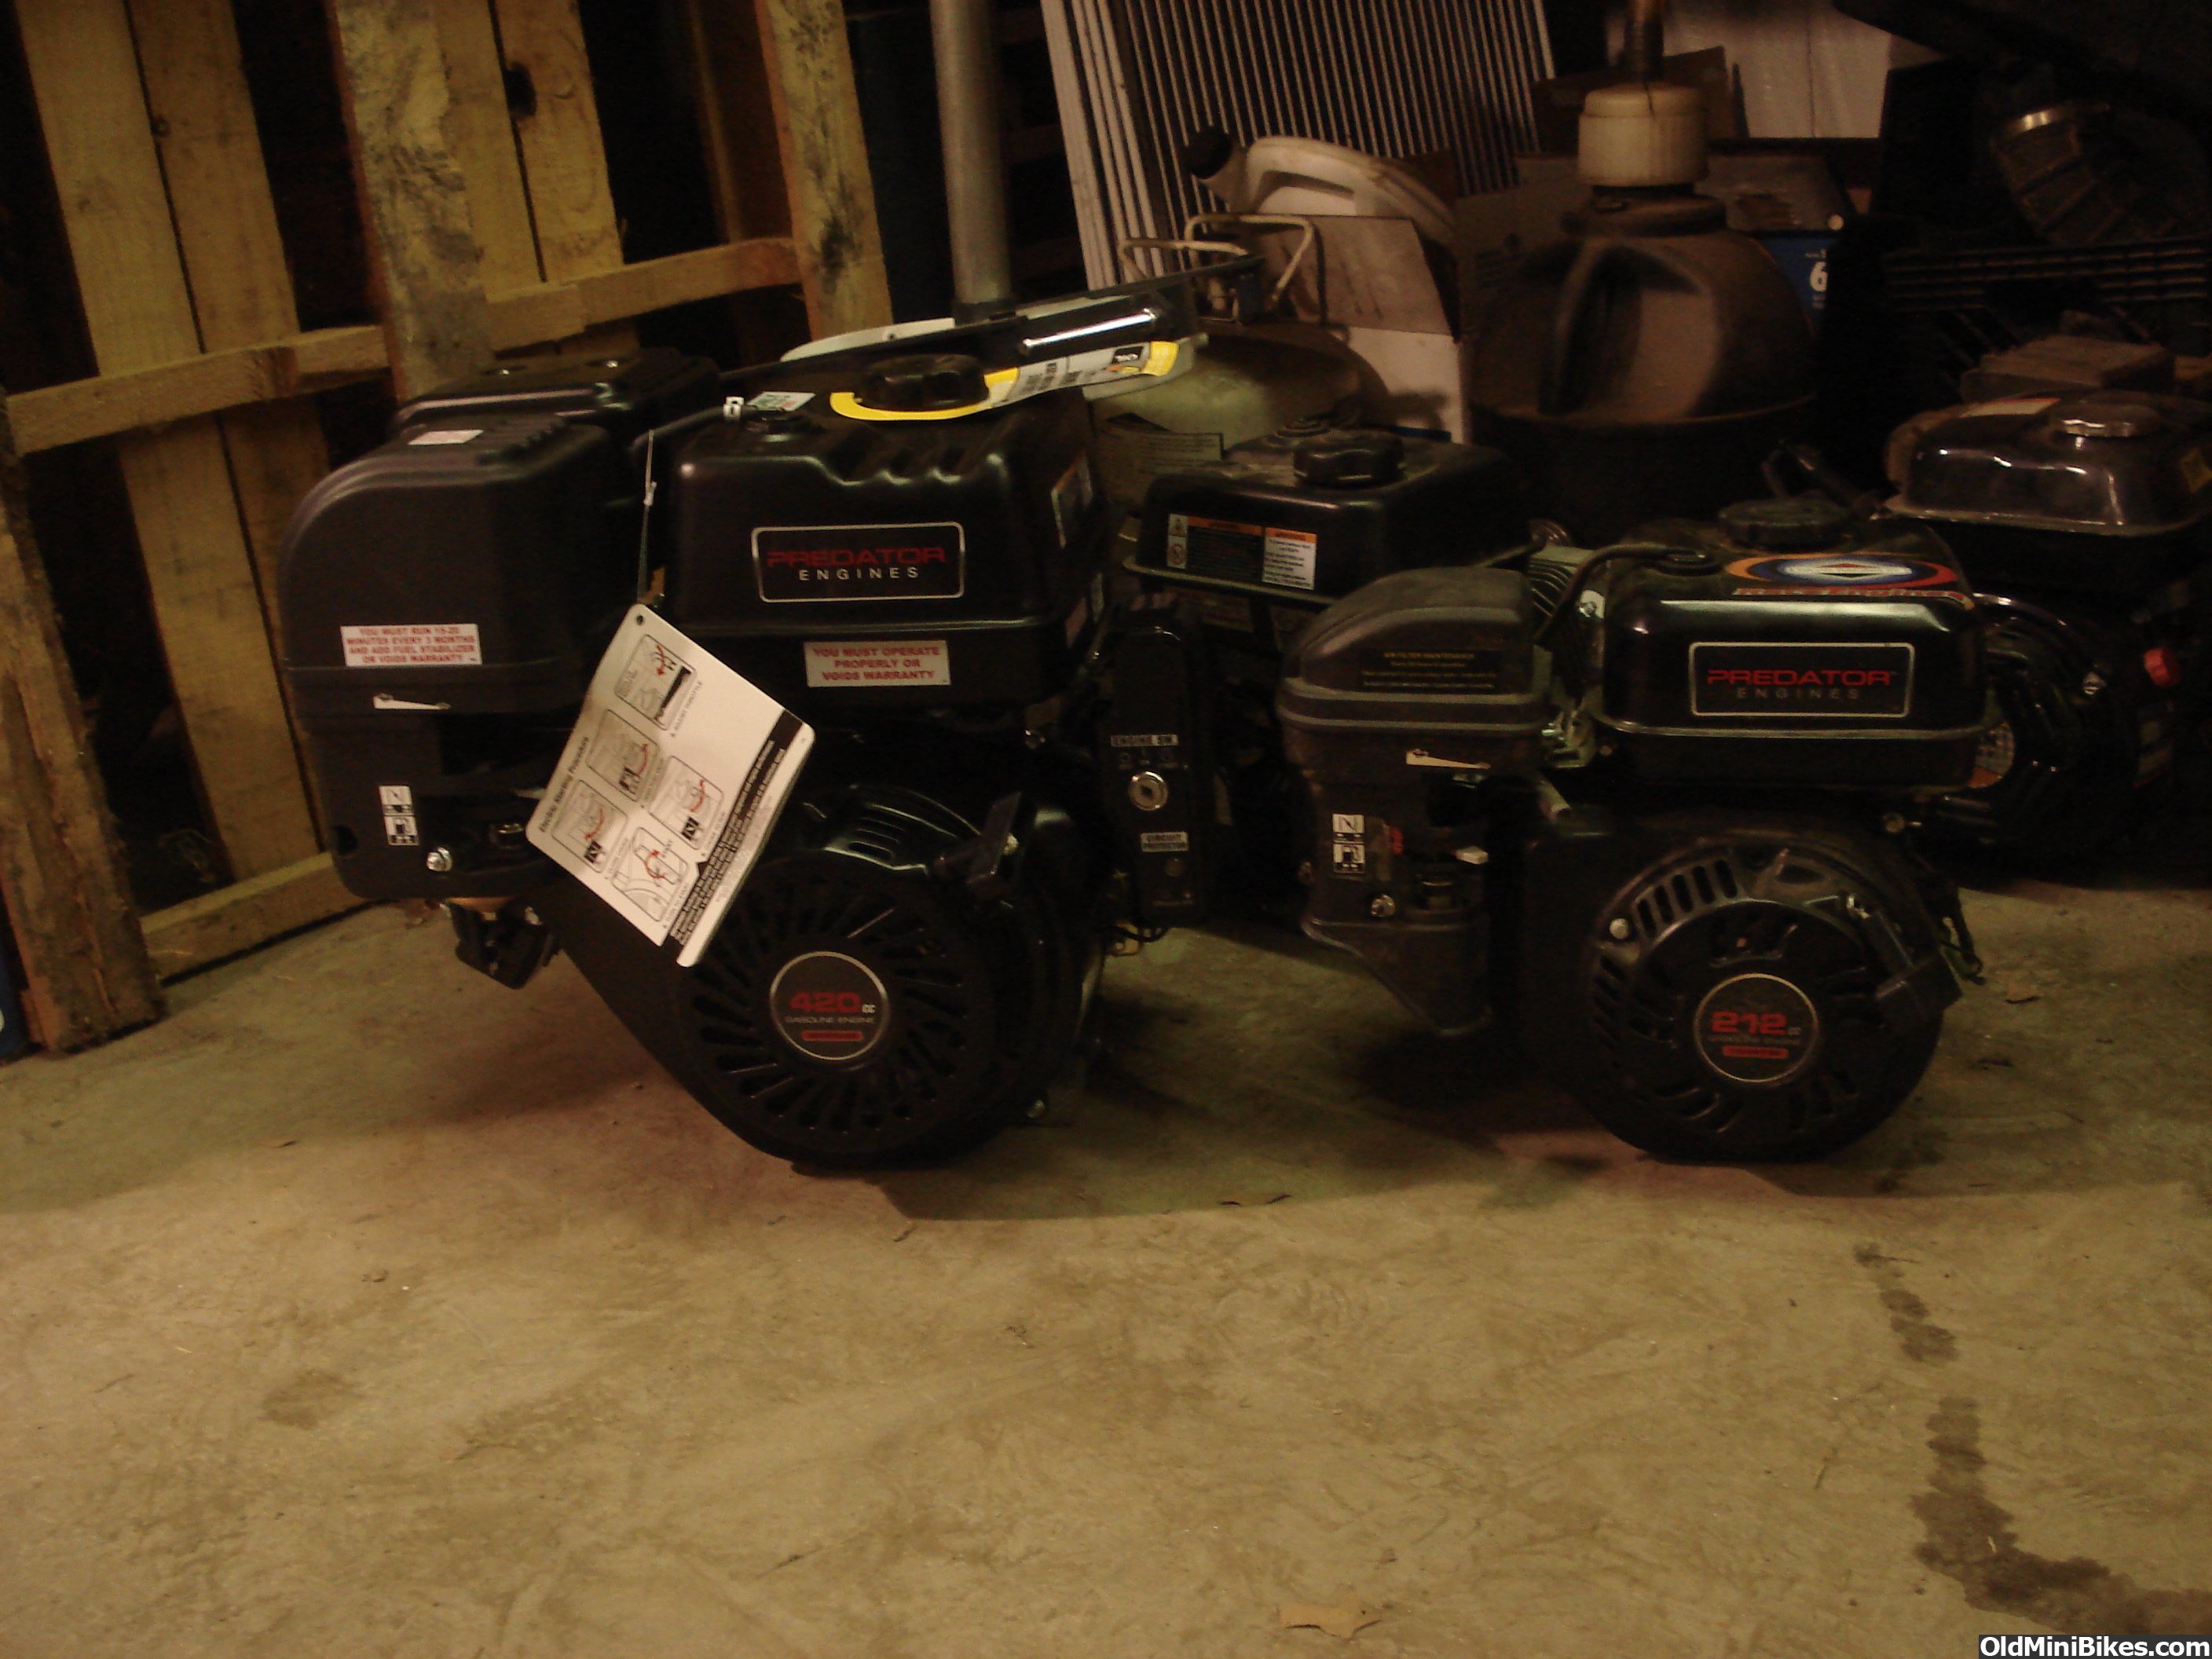
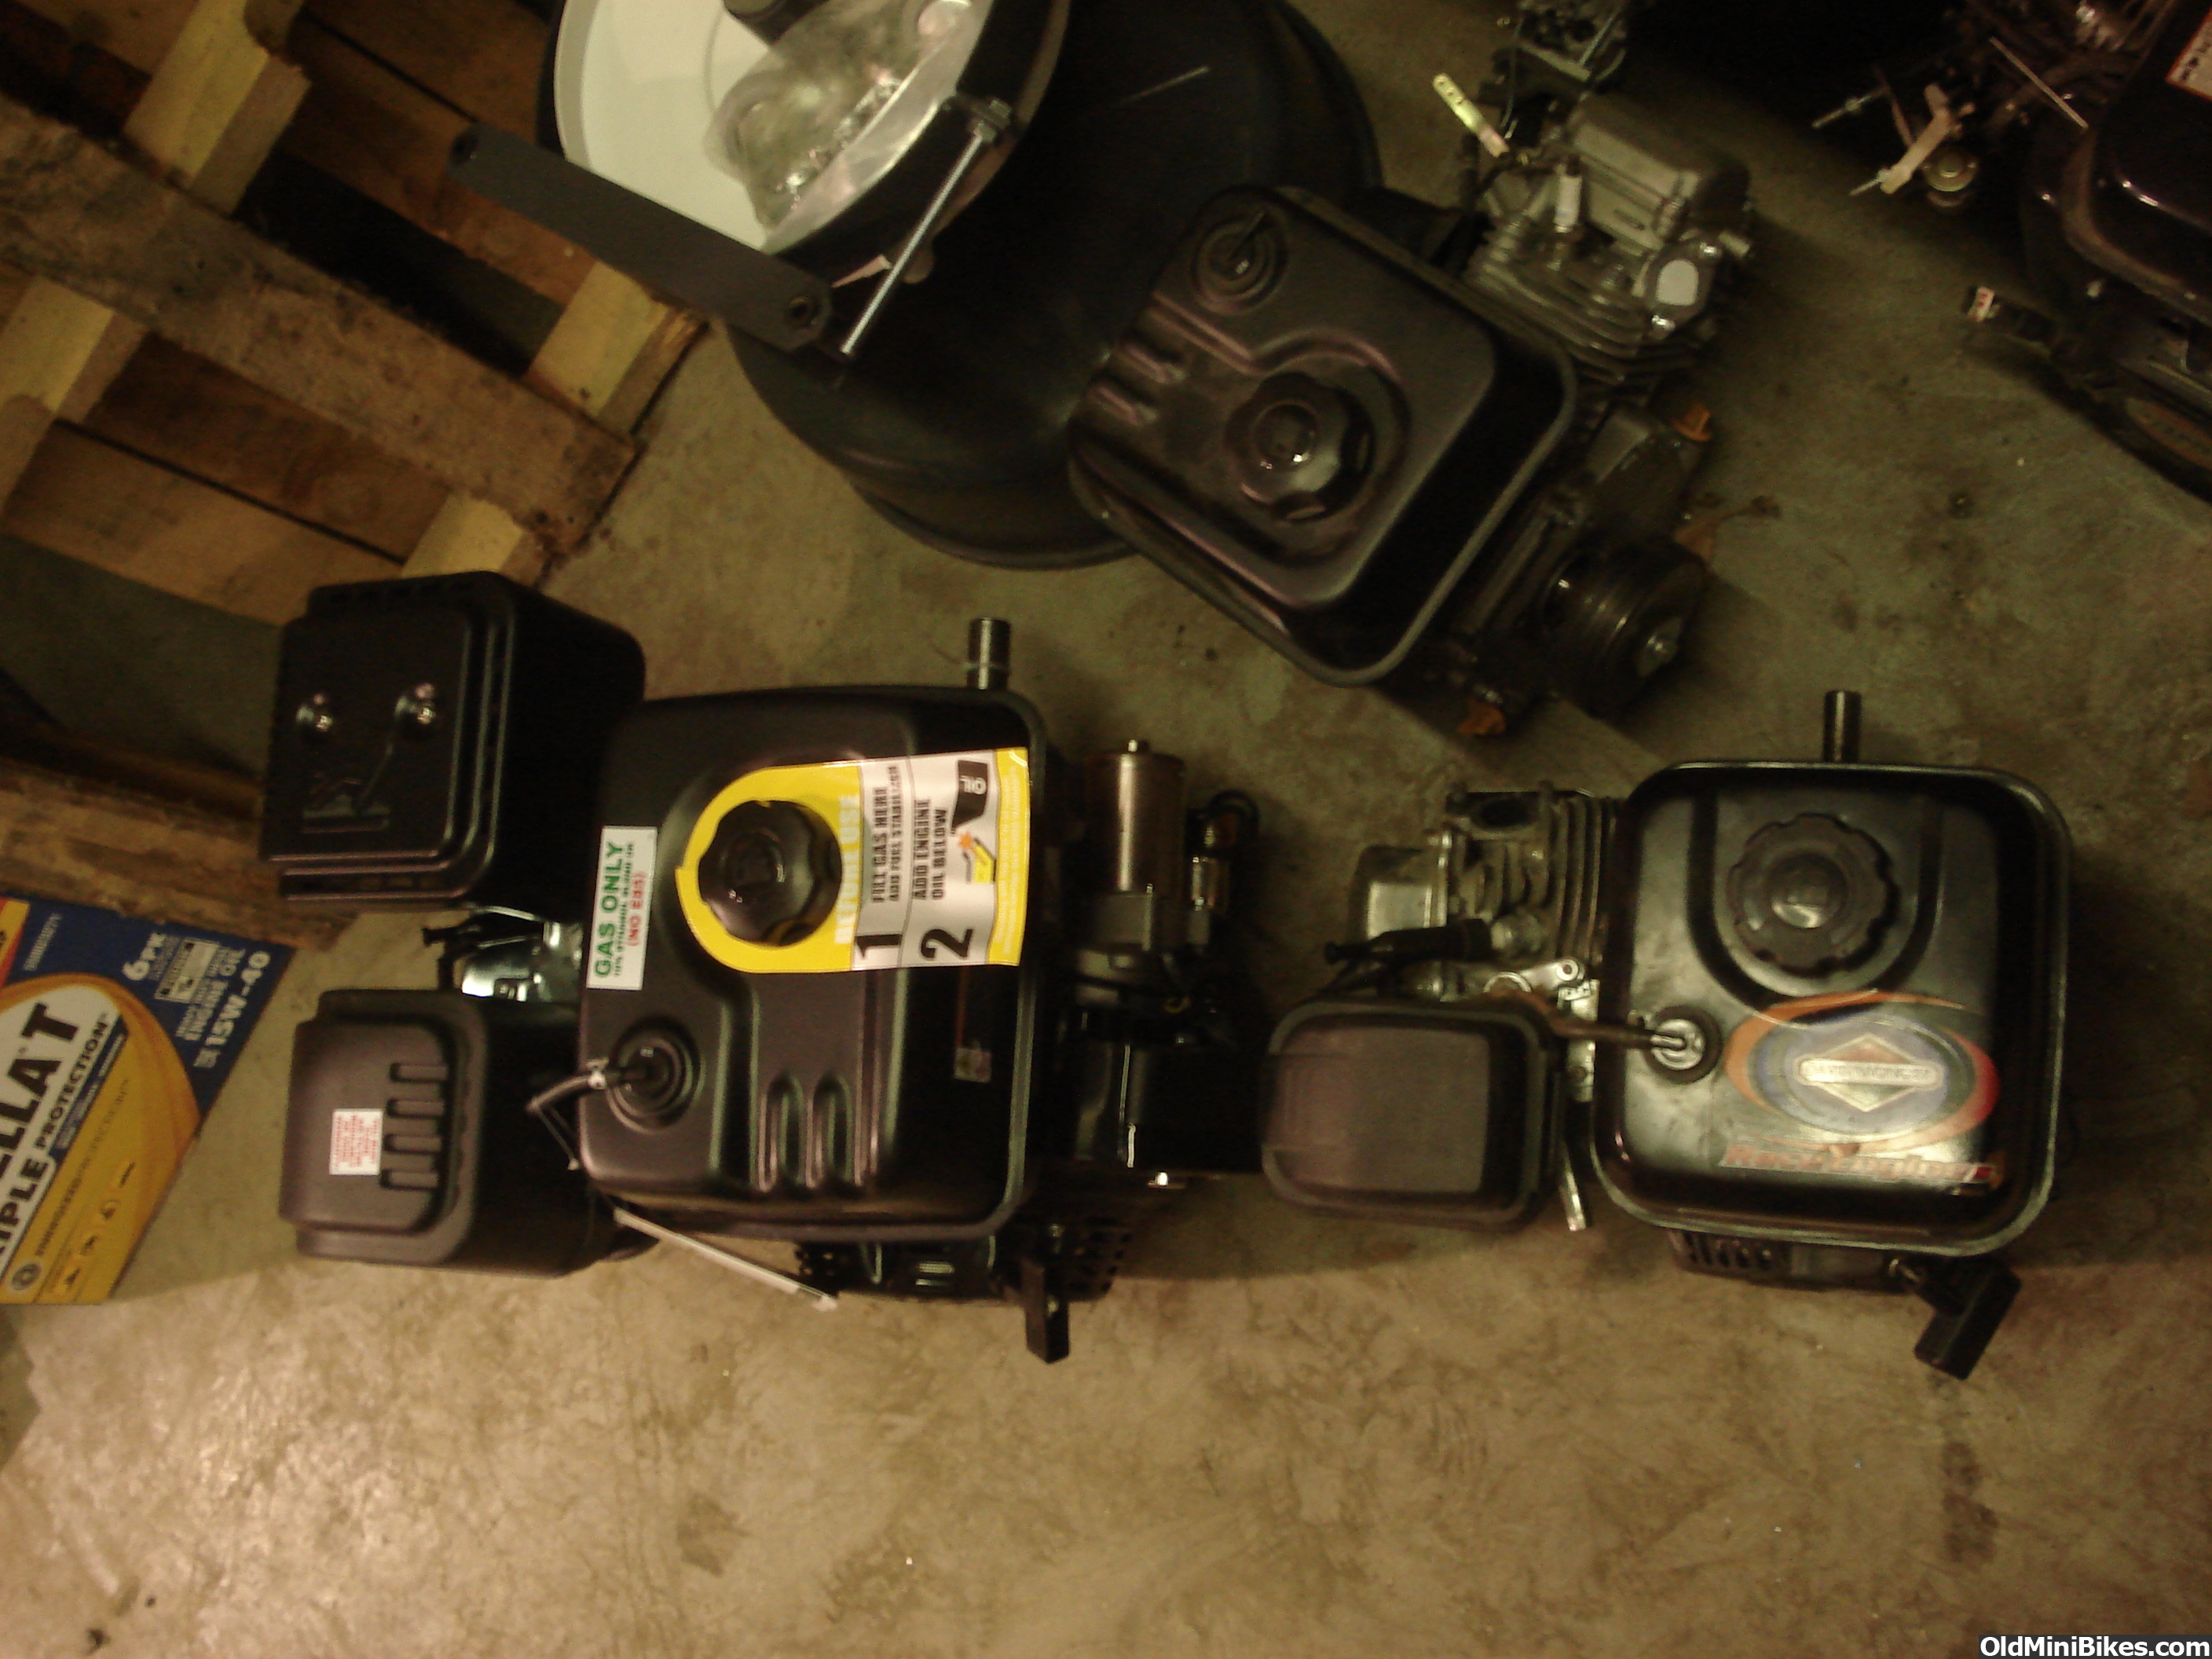
And if you ever wondered about the size of a 420 verses a 212... Here ya go. Lots of difference! And a huge foot print.


I have several things that will be different on mine than the first bike that is Bruce's. I am very happy with where I am at. I added 3/4 of an inch to the stretch on mine at 4 3/4'' compared to the first one at 4''. That and foot peg placement will put me where I want to be.
I am looking for chrome bars for it. Any suggestions? Any links to a site that has lots of selection?
Thanks for looking at my junk!
Doug
I wont get anything done again until next week. I have a job coming in this morning. A 2014 Mustang that I have to install a Roush supercharger and new exhaust system on. Should be a fun adventure for sure. I will take pics...
Progress from yesterday.


Decided I would Tig mine back together as I hadn't done any Tig welding in a while and wanted to practice a little.
And if you ever wondered about the size of a 420 verses a 212... Here ya go. Lots of difference! And a huge foot print.
I have several things that will be different on mine than the first bike that is Bruce's. I am very happy with where I am at. I added 3/4 of an inch to the stretch on mine at 4 3/4'' compared to the first one at 4''. That and foot peg placement will put me where I want to be.
I am looking for chrome bars for it. Any suggestions? Any links to a site that has lots of selection?
Thanks for looking at my junk!
Doug
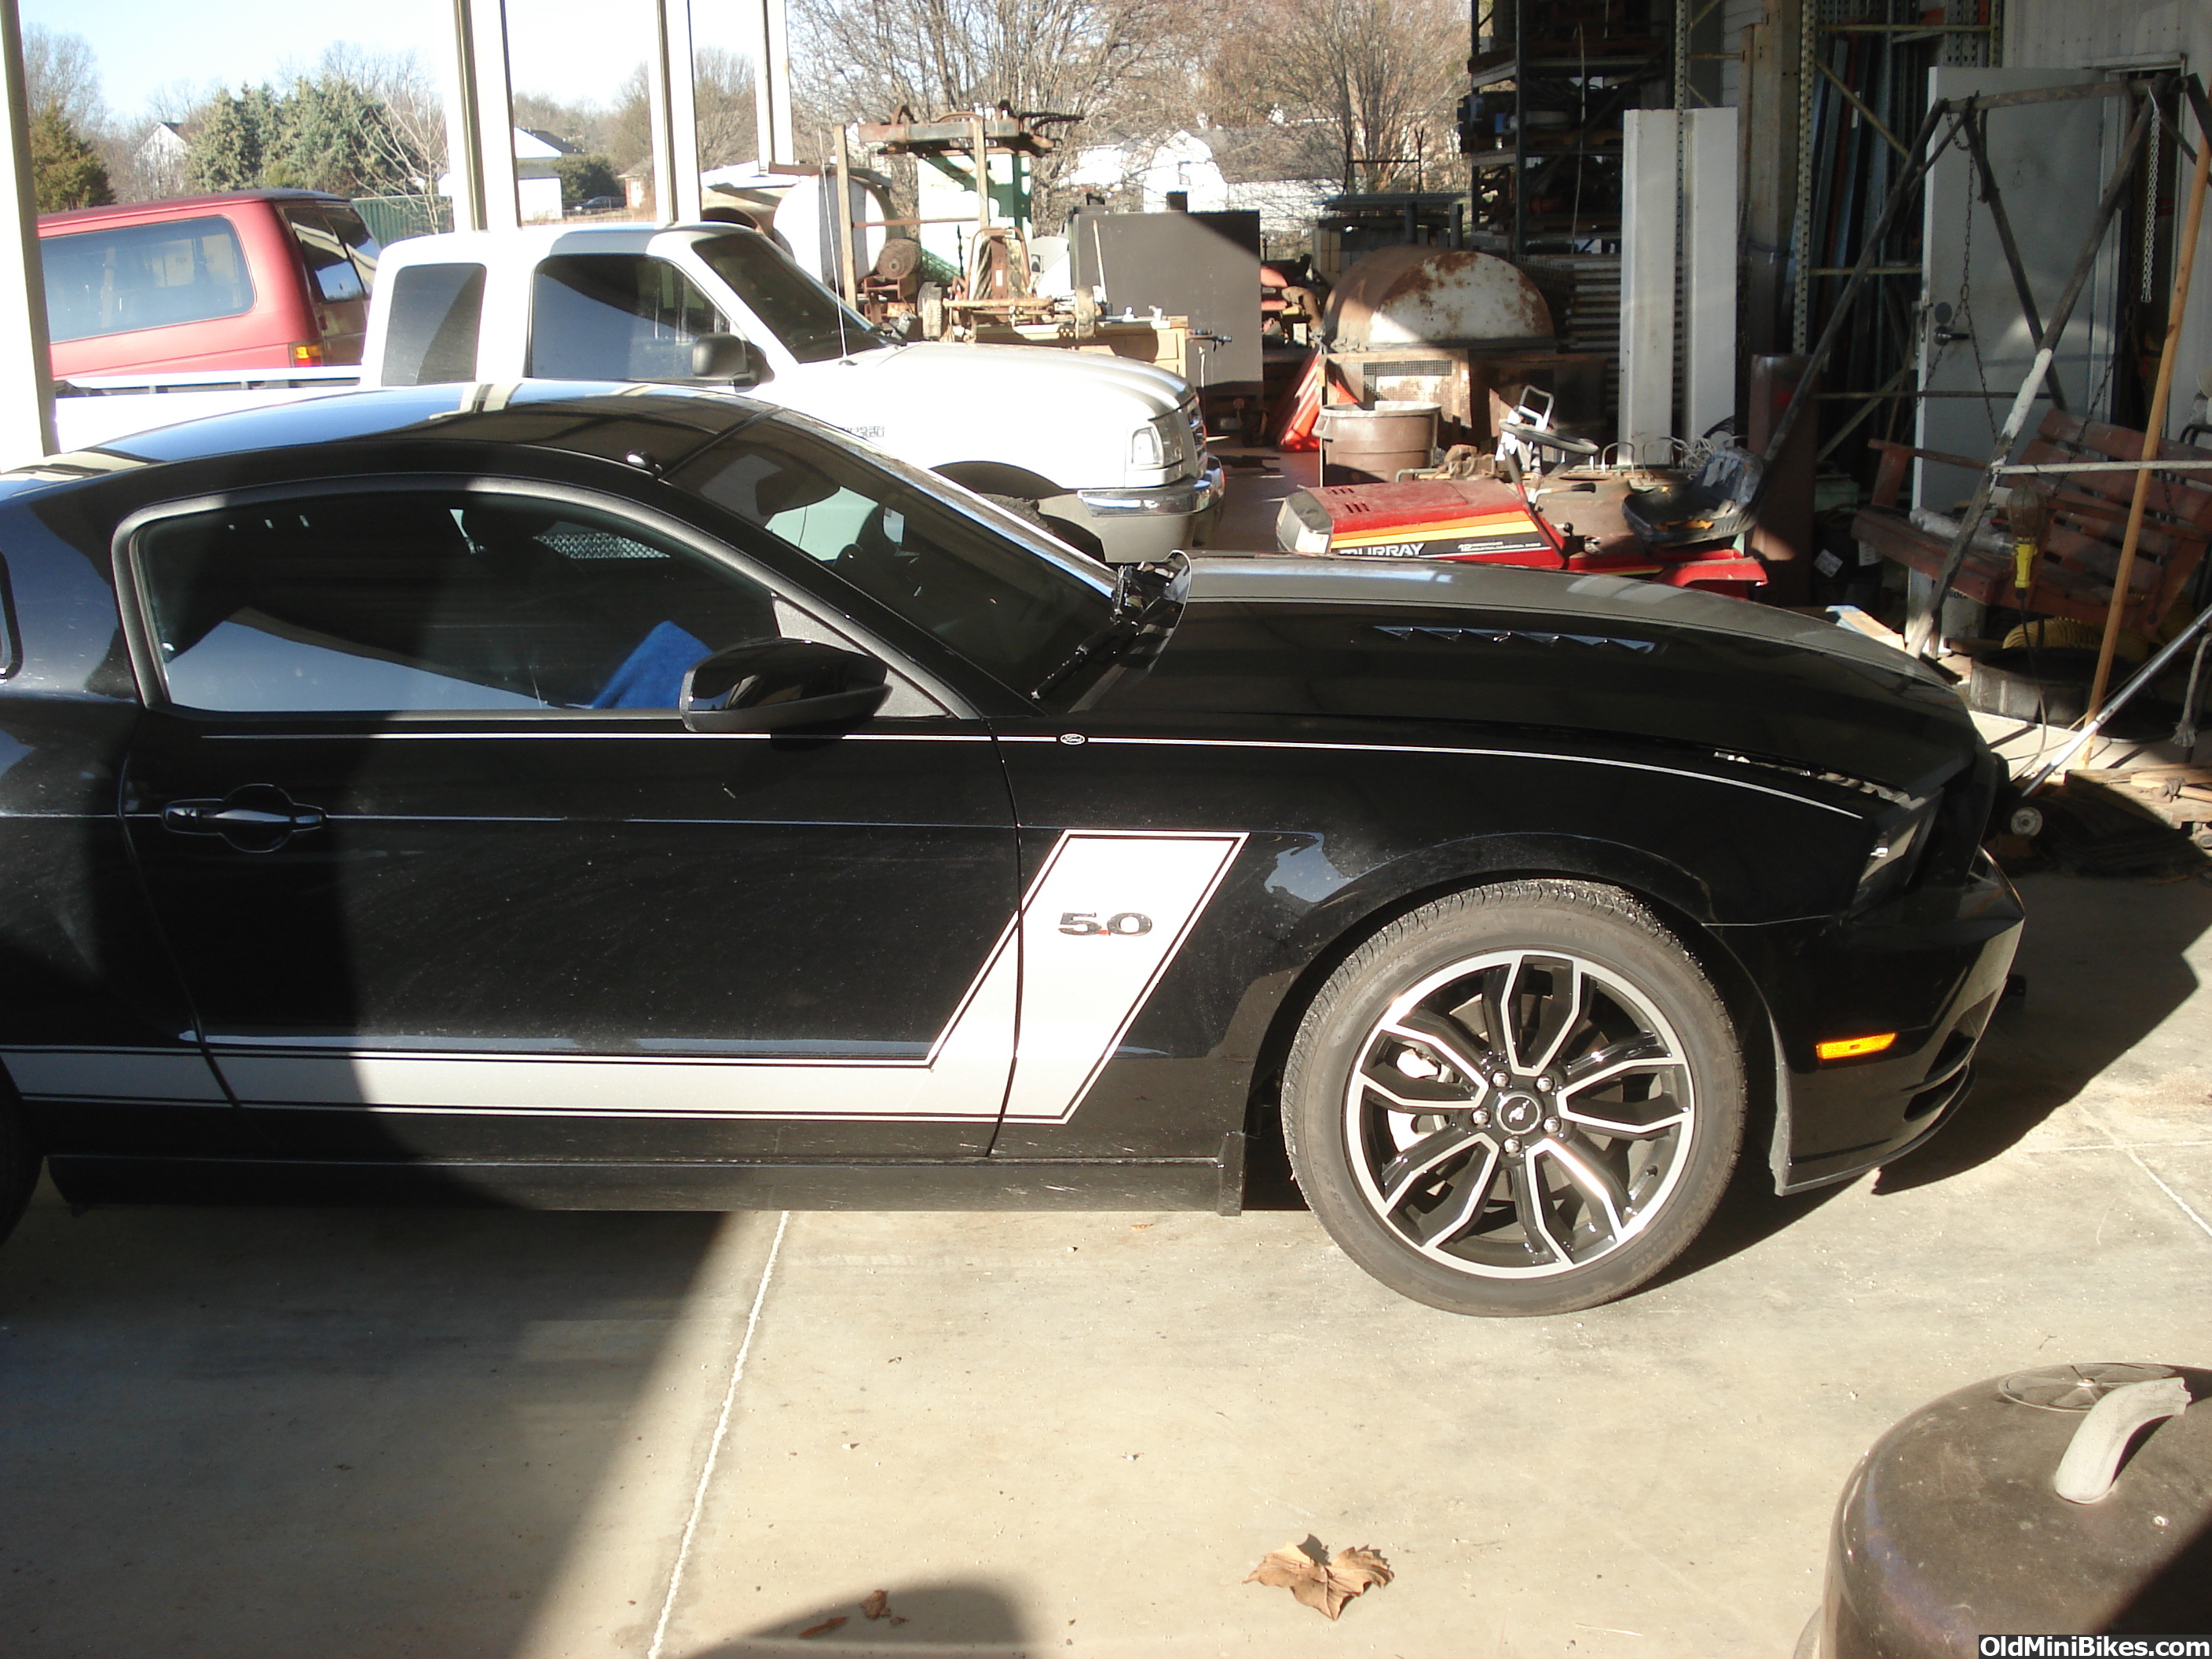
Well no Warrior work today. I did get about half way through the Mustang Supercharger install though.., What a pain to do but a very well engineered and thought out kit. 92 pages of instructions... in black and white. Got it all torn down and ready to start reassembling it tomorrow. The front bumper was the most frustrating part of the disassembly. It did not want to come off. Had to overnight the PCM to Roush in Michigan for a re-flash. They are supposed to return it overnight so that means we should have it Saturday.
A couple of pics.


Should be a bad ride when I get it back together. I have to change the exhaust system on it too.
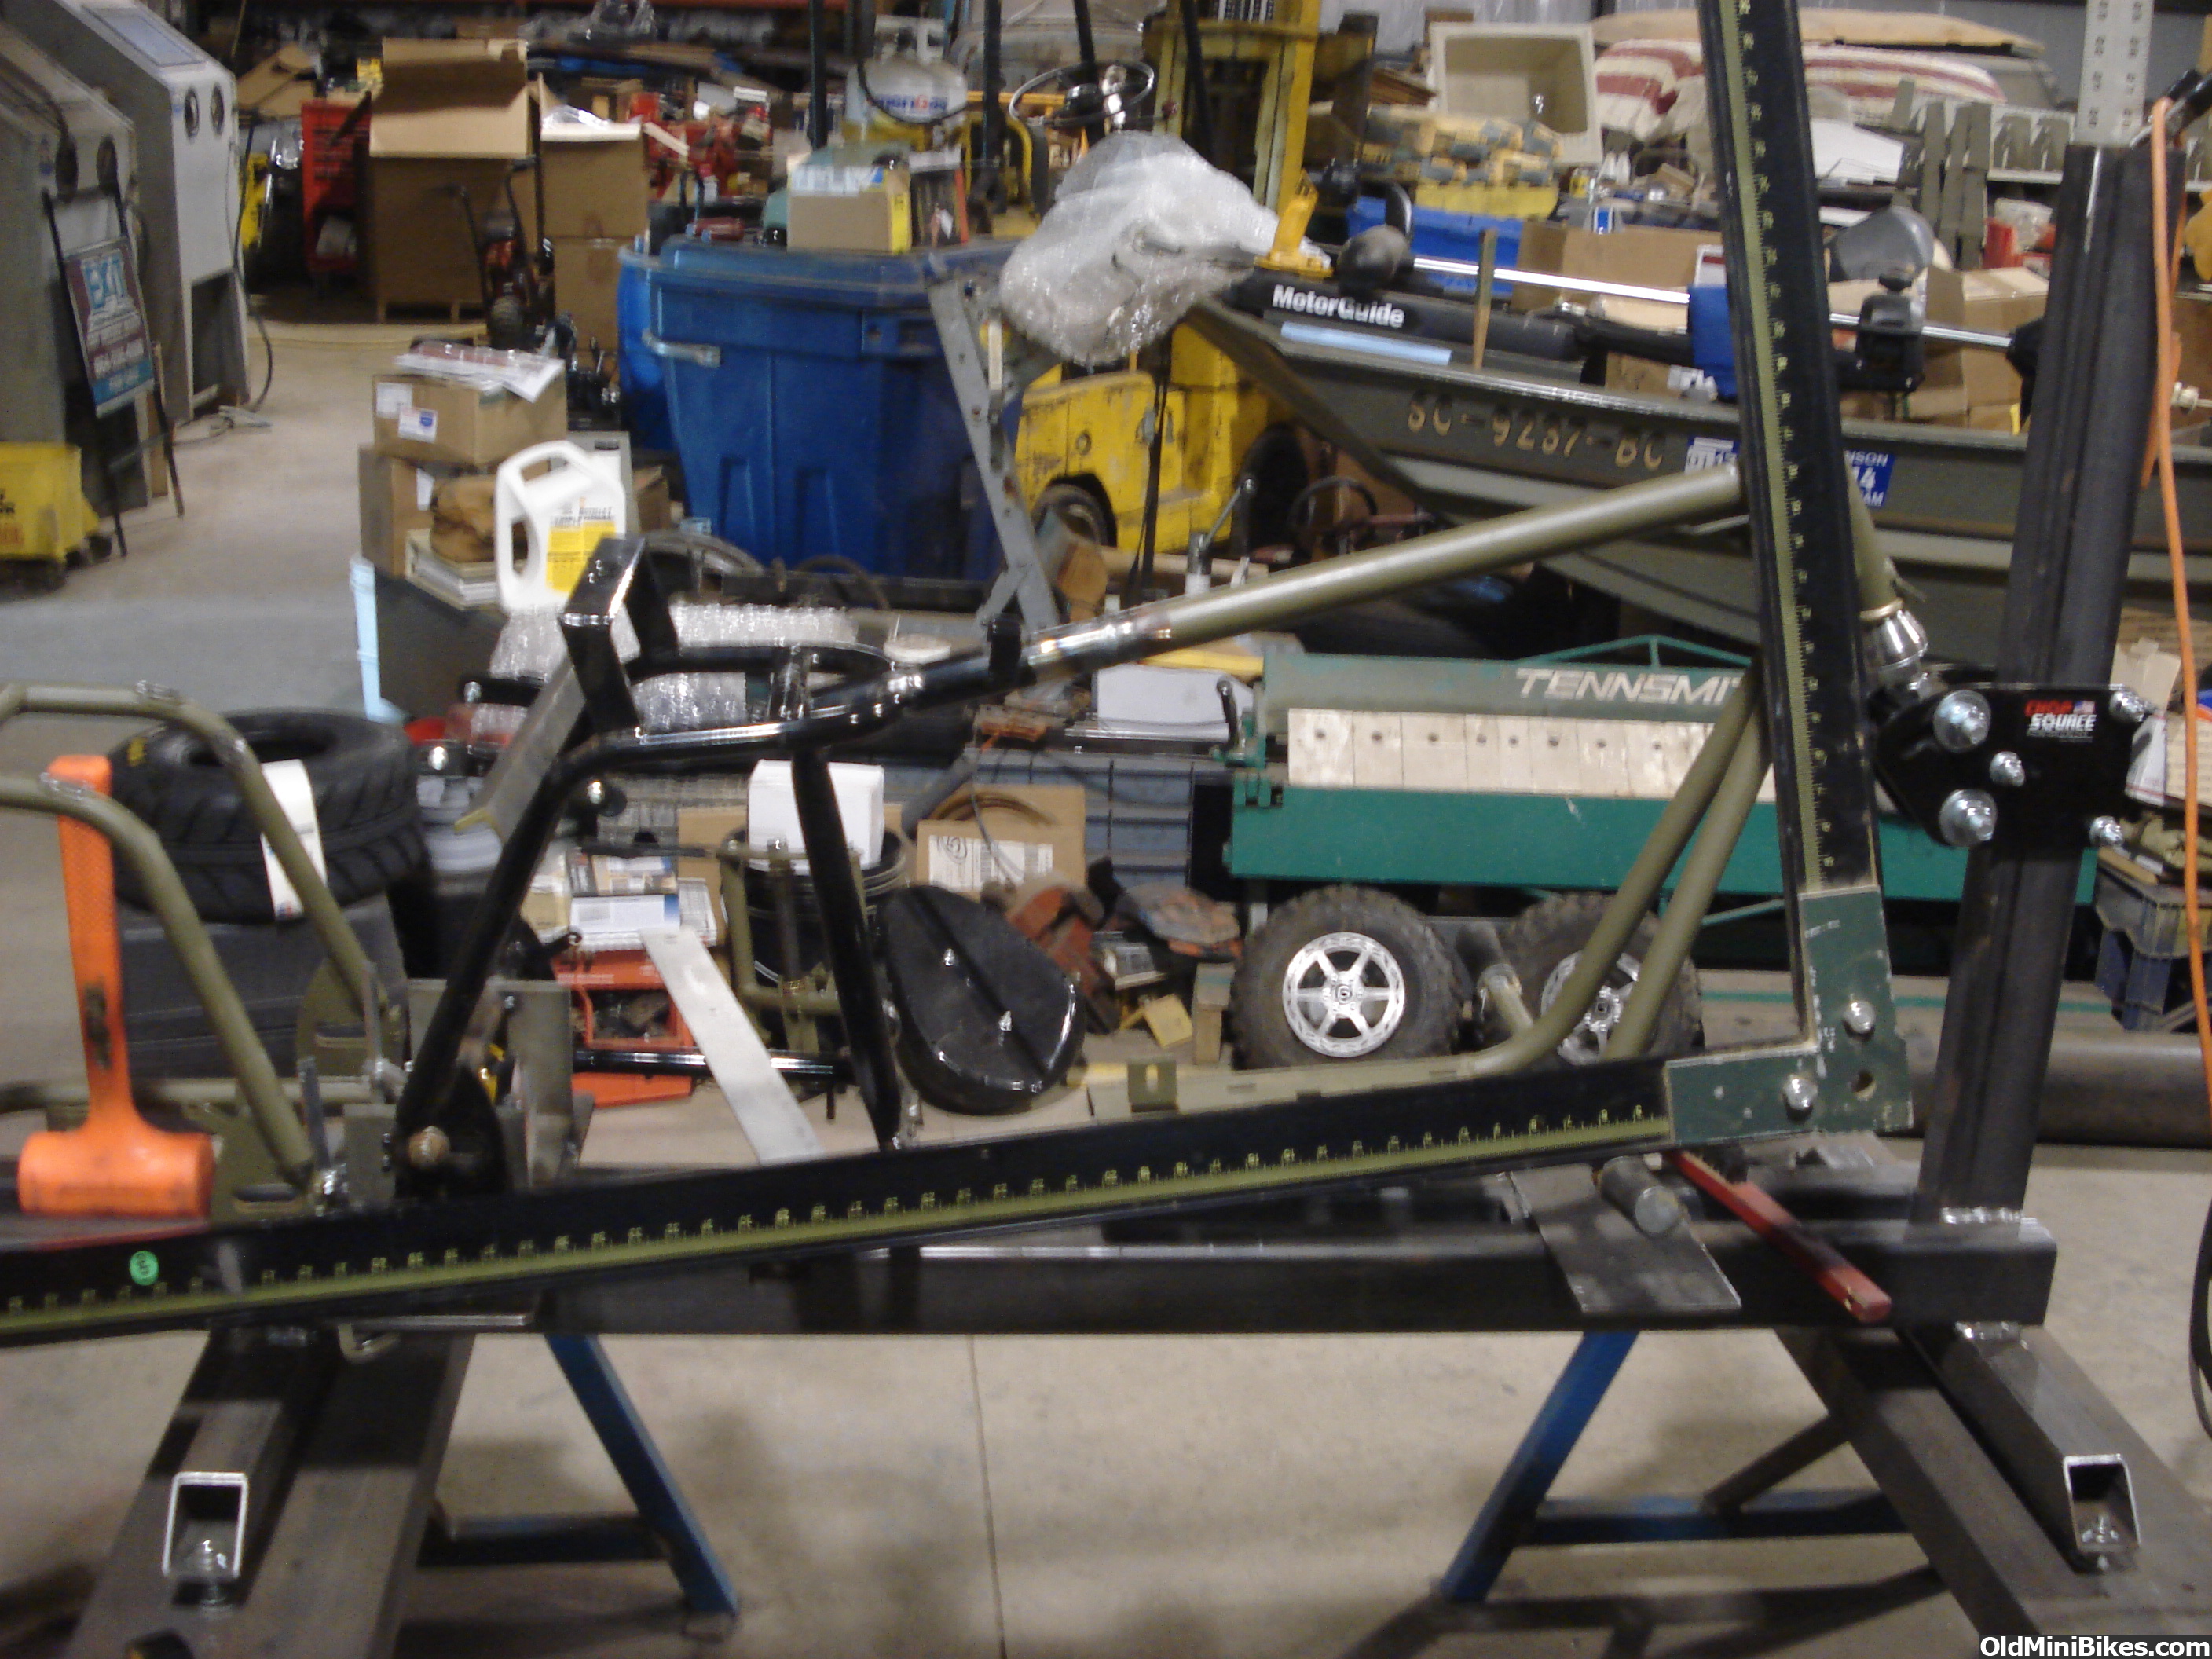
I did check the Warrior to see if it was square but my framing square didn't want to cooperate..
Don't be looking at the mess..... :anon.sml:
A couple of pics.

Should be a bad ride when I get it back together. I have to change the exhaust system on it too.
I did check the Warrior to see if it was square but my framing square didn't want to cooperate..
Don't be looking at the mess..... :anon.sml:
Last edited:
Looks good Doug...now I see where/why you were concerned about lining up the jackshaft mounts to the axle. :thumbsup:
Here is my plan for the JS. Right or wrong at least I have a plan. I have the engine plate tacked in the first bike with 2 tiny tacks. Just for a visual at the moment. We cut 2 identical plates width wise but both were a little long by a few inches. I plan to install mine with 2 tiny tacks and then mock up and tack the JS to the plate (its1/4'') then cut the tack off the frame so that I can set the plate & JS assembly on the bench. Then mock up the motor to the JS. Should be easier to set the distance and get it square that way. Square the JS to the bike and then square the motor to the JS on the bench. I think that will make it a lot easier than fighting it in the frame. I hope..... Then set it back in the frame and recheck the JS and motor placement before final welding. Then I will weld the plate in the bike and the JS to the plate after the plate is locked in the frame. I hope that I can set the JS bearing weldments at the edge of the plate and weld the frame - plate - JS all in one pass. I will measure it a hundred times before I am satisfied that it is right.... Just me. I don't mind doing something once and I don't mind redoing it if I am just stupid wrong. But if it is off by just a hair when I think I am done I absolutely hate doing it again...
 ut:
ut:Doug
Last edited:
Well the weather was nice so we went to the North East Georgia Swap Meet at Commerce, Georgia today. The buying crowd was thin but the vendors were selling cheap. Found a few interesting things. Bought some air tanks (4 tanks $40) that I had been looking for as an air supply for the air horns on my Super Duty. Bought a Flathead Bugle header ($5) to cut up for the bends. Bought a new lisle battery carrier ($5) to make getting the batteries out of my Golf Cart easier. And last but not least I bought a brand new bead breaker ($5) for 16.5 truck wheels. I used it 4 times already this afternnon. Had to break the beads on the Warrior wheels for the new tires.
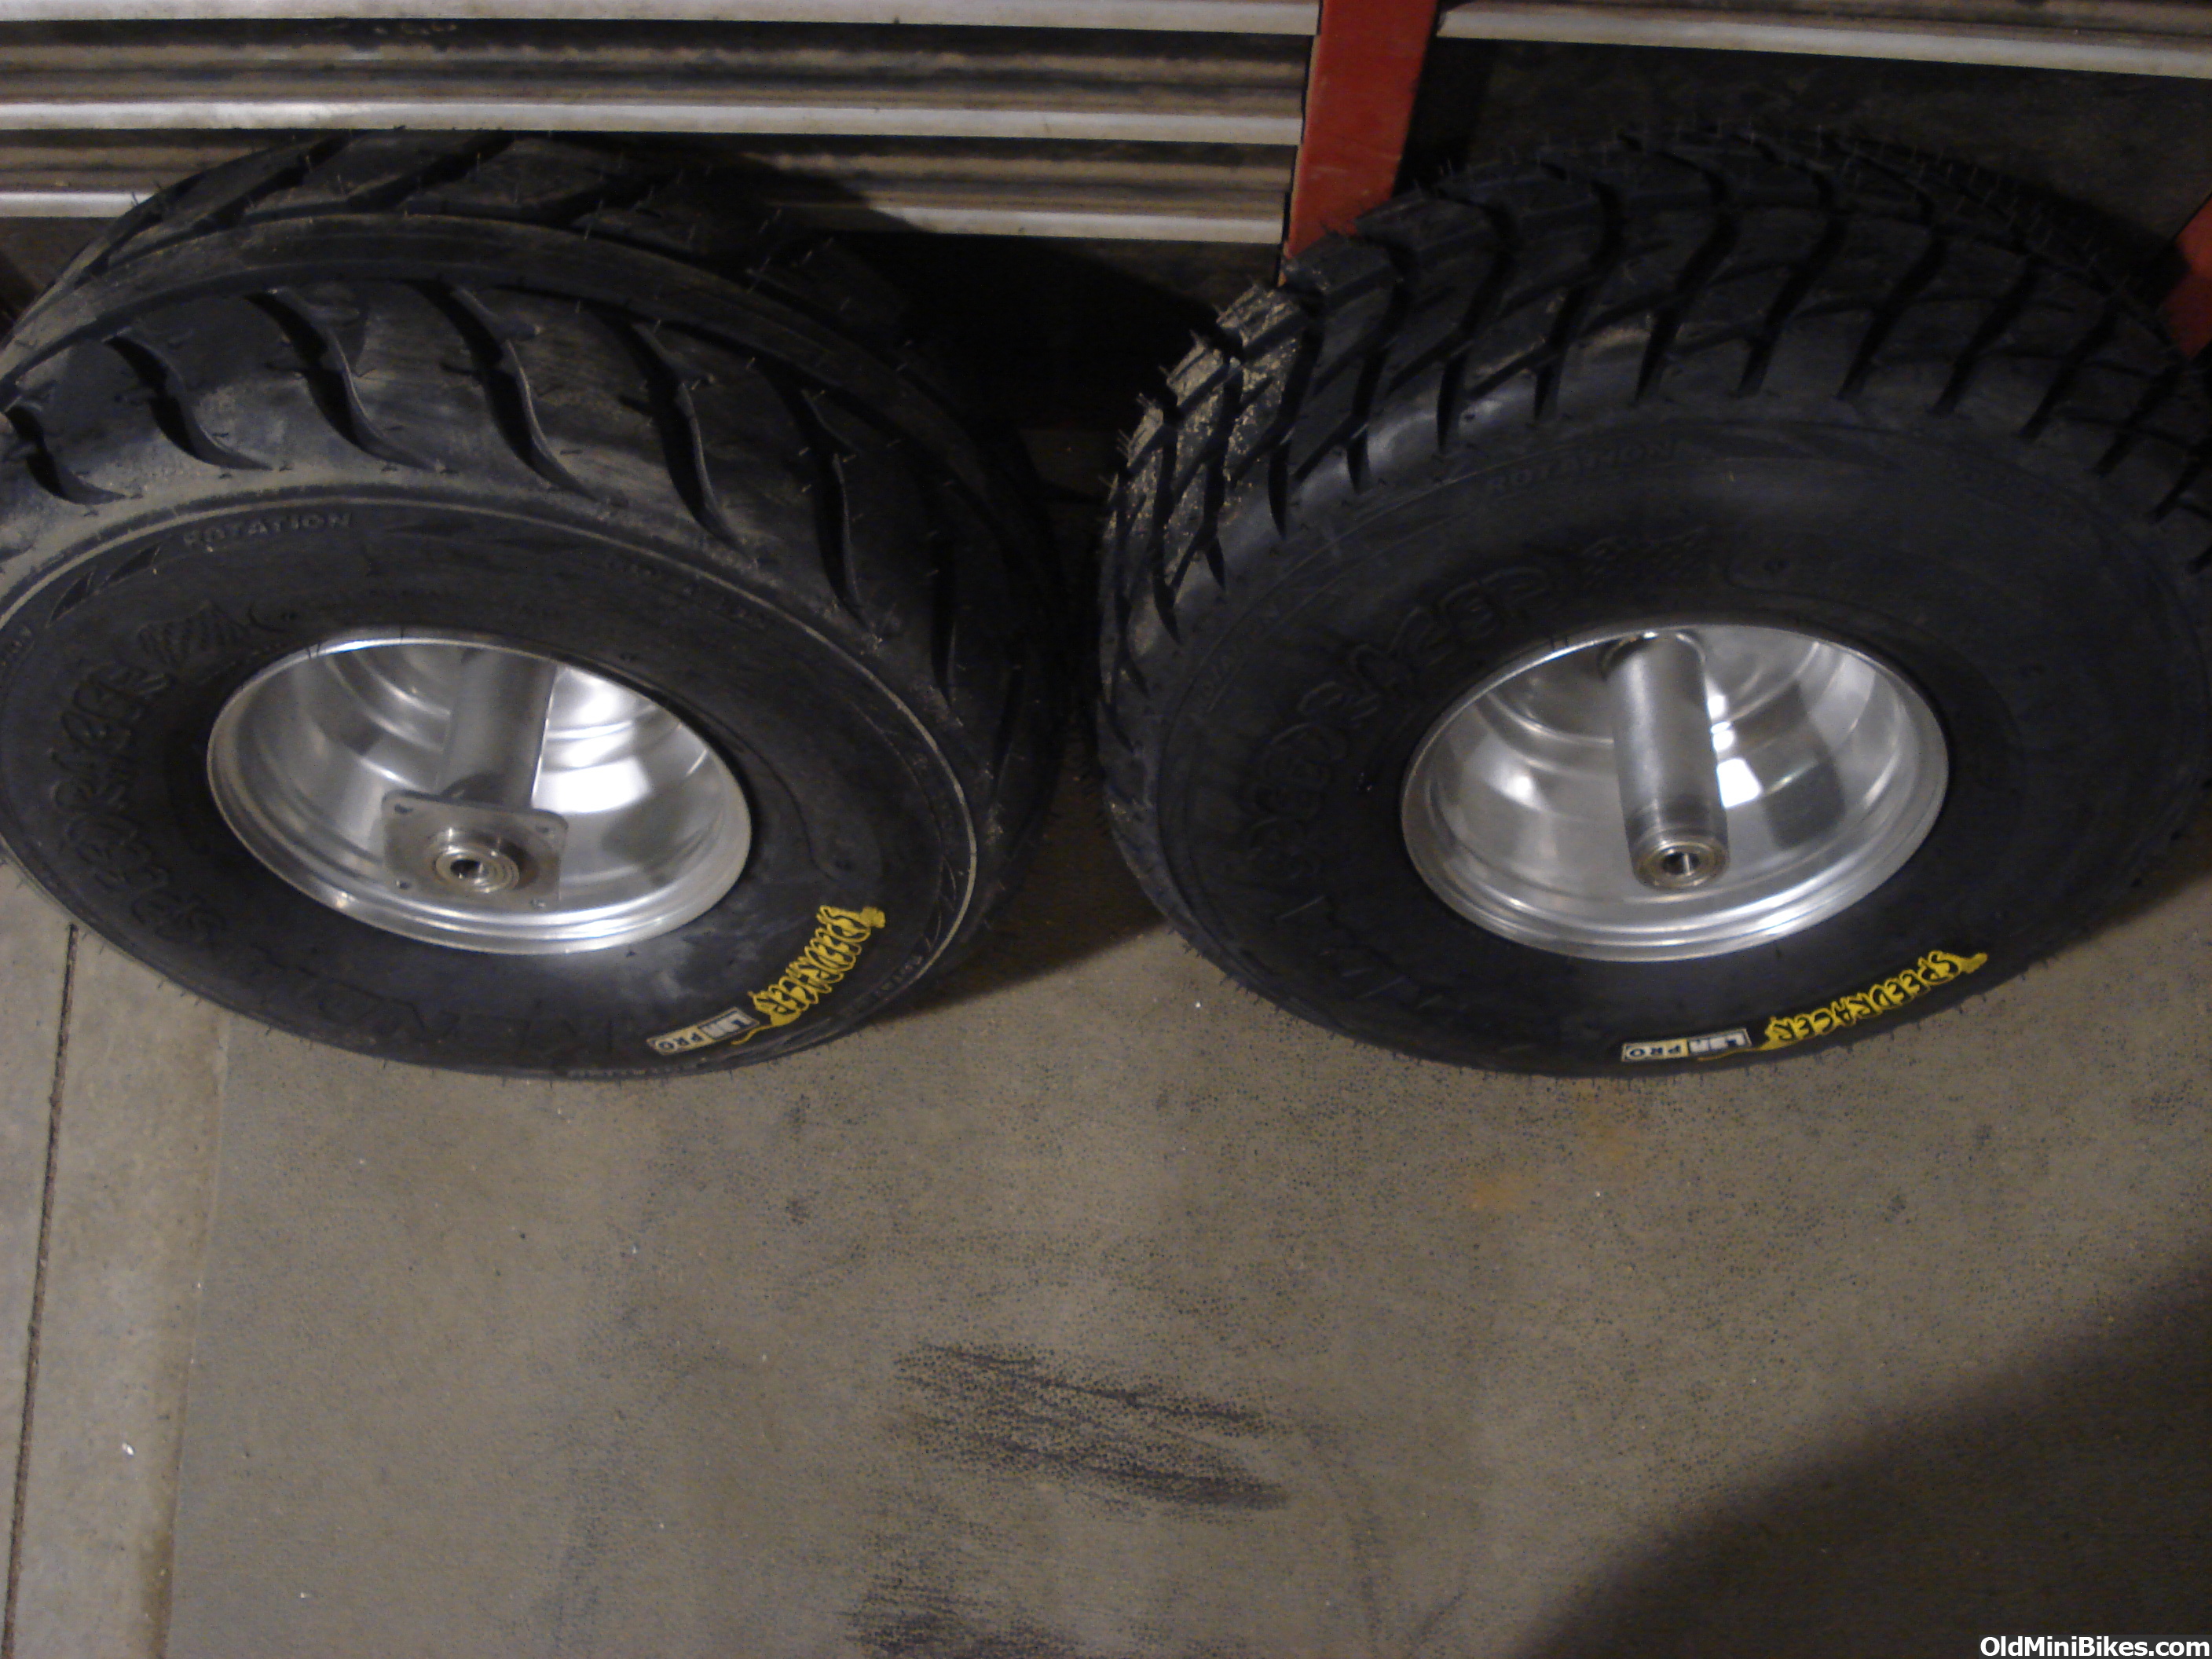
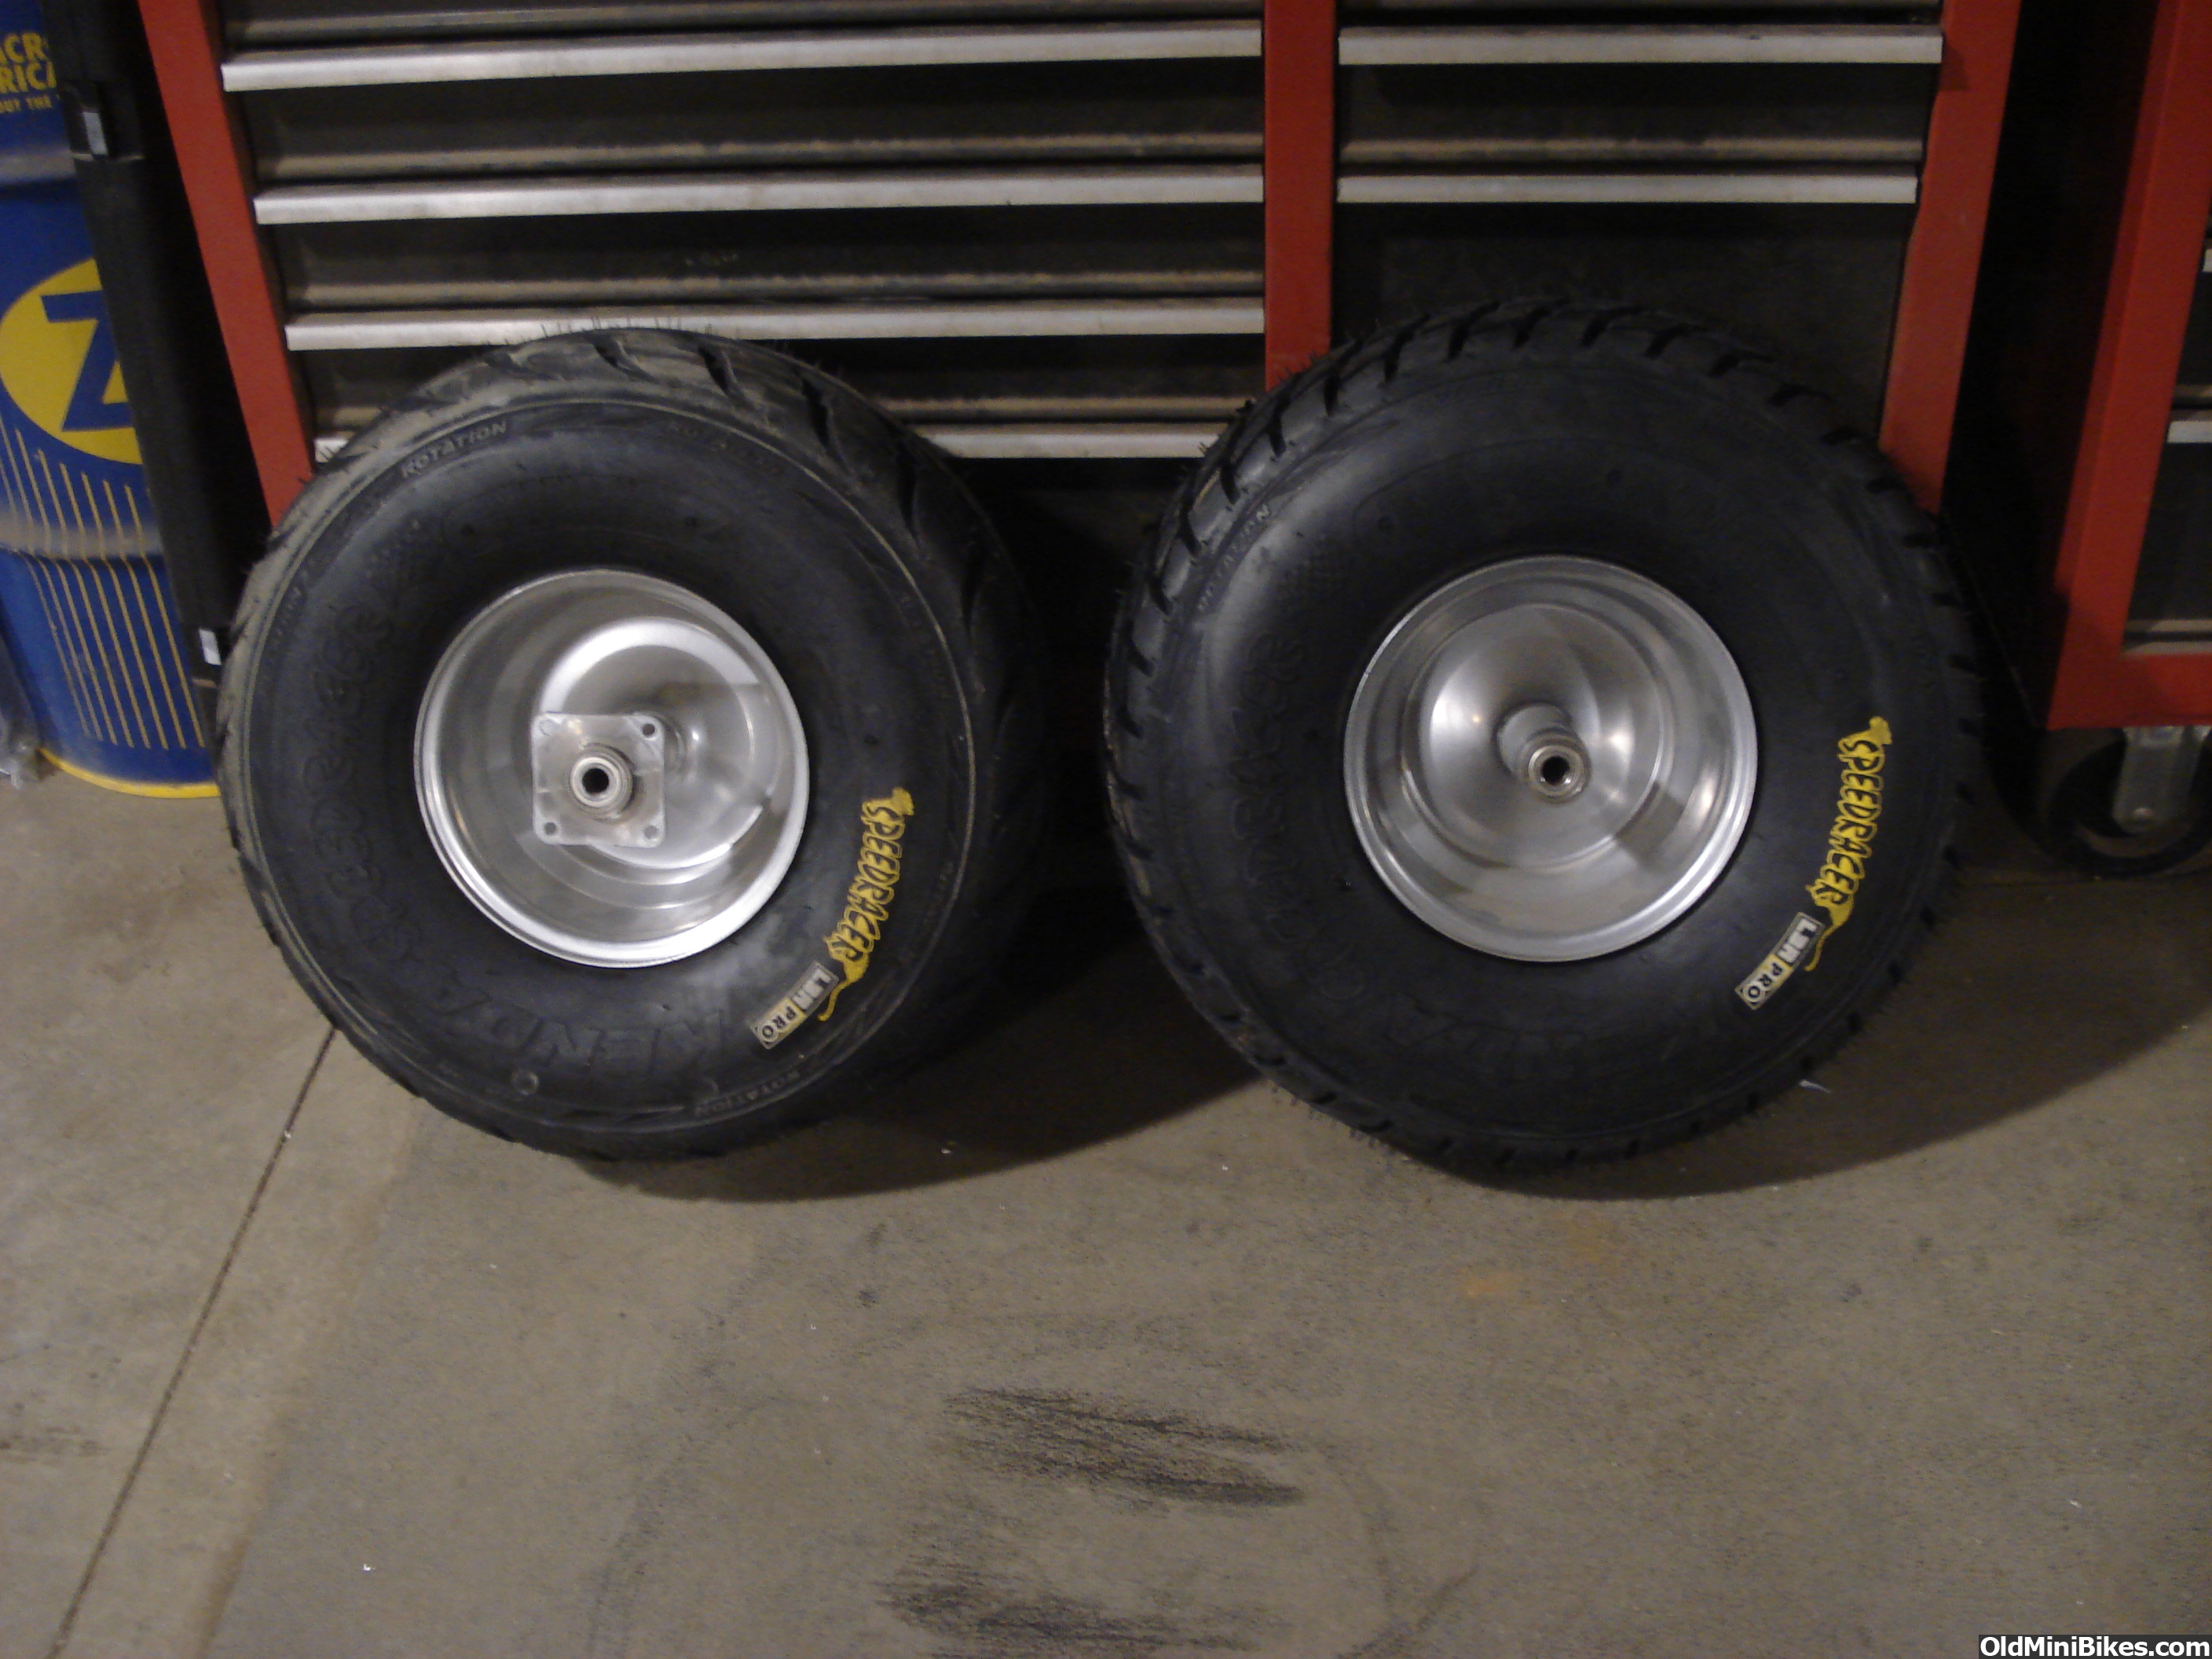
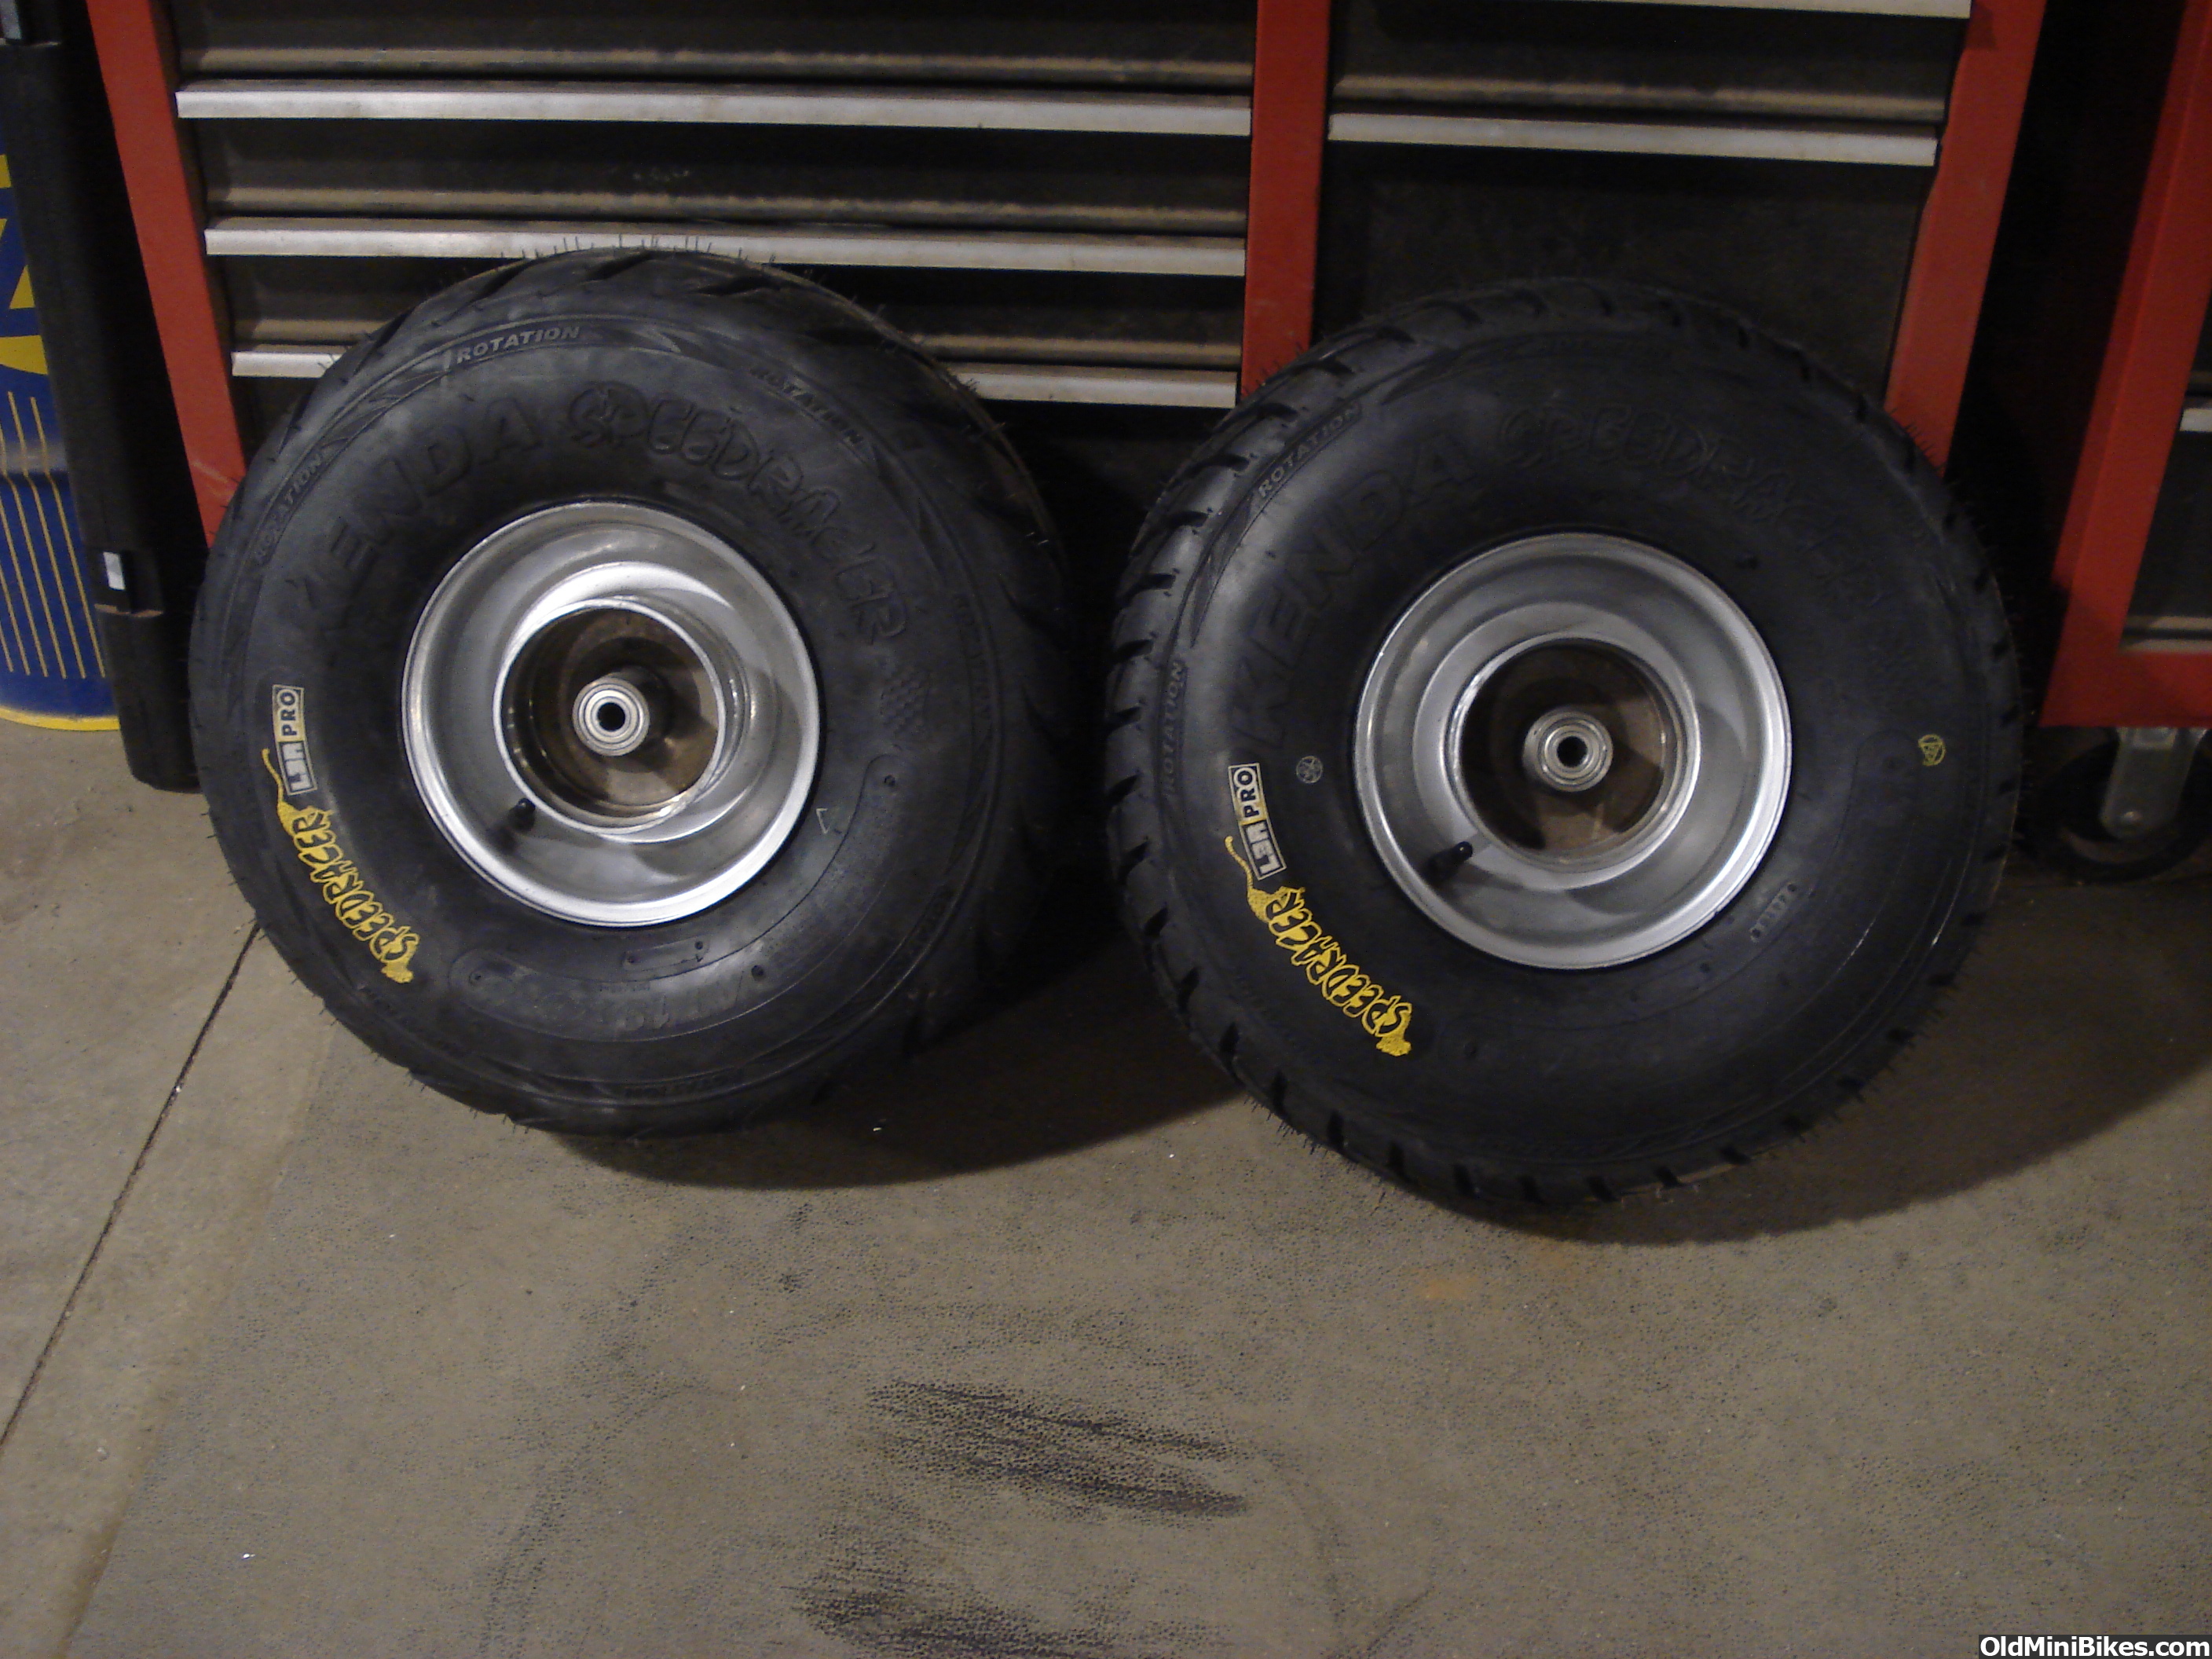
Fed Ex brought the new front tires today. Got the new old tires off so that I could mount the new, new tires. 19 x 8 x 8 for the rear and 19 x 7 x 8 for the front.
I used 2 rear wheels so that I can run front brakes. I put 1 in the lathe and turned the sprocket flange off to clean it up. I like the finished results. Now all I have to do is make a bracket that will hold the front brake panel and the cable mount. All in one, clean and simple.


Turned some bushings to fit inside the lower frame rails for the stretch piece I need to add.

And did a little fitting work on one of the foot peg pieces. They are long but I will cut them to length and mount a nice set of pegs on them after the engine is finalized for position. It is rather wide... And the torque converter adds a bunch to it too.

So I managed to spend a somewhat productive afternoon on the Warrior. I think it is coming along nicely. But it still has a long way to go.
Spent the whole day Friday repining wires on the Mustang. Had to remove the existing plugs and then re-pin the wires back into the new plugs provided. All it amounted to was that we were lengthening the harness to reach the new position for the sensors and switches. Then the real pain in the rear was taking 1 of the 3 70 pin connectors for the PCM apart to splice a wire in and to add a wire to the plug. That alone took longer than all the other wire work combined. Got that done and called it a day. Tomorrow we are going to install the exhaust system and start putting the motor back together. Sent the PCM to Roush for a re-flash but it wont be back until Tuesday. We should get it pretty close to done tomorrow if the weather holds out. That gives us Monday if there is anything left to finalize and then install the PCM on Tuesday. Then it will be play time to see just how good it runs. Should be fun.
Doug
Fed Ex brought the new front tires today. Got the new old tires off so that I could mount the new, new tires. 19 x 8 x 8 for the rear and 19 x 7 x 8 for the front.
I used 2 rear wheels so that I can run front brakes. I put 1 in the lathe and turned the sprocket flange off to clean it up. I like the finished results. Now all I have to do is make a bracket that will hold the front brake panel and the cable mount. All in one, clean and simple.
Turned some bushings to fit inside the lower frame rails for the stretch piece I need to add.

And did a little fitting work on one of the foot peg pieces. They are long but I will cut them to length and mount a nice set of pegs on them after the engine is finalized for position. It is rather wide... And the torque converter adds a bunch to it too.
So I managed to spend a somewhat productive afternoon on the Warrior. I think it is coming along nicely. But it still has a long way to go.
Spent the whole day Friday repining wires on the Mustang. Had to remove the existing plugs and then re-pin the wires back into the new plugs provided. All it amounted to was that we were lengthening the harness to reach the new position for the sensors and switches. Then the real pain in the rear was taking 1 of the 3 70 pin connectors for the PCM apart to splice a wire in and to add a wire to the plug. That alone took longer than all the other wire work combined. Got that done and called it a day. Tomorrow we are going to install the exhaust system and start putting the motor back together. Sent the PCM to Roush for a re-flash but it wont be back until Tuesday. We should get it pretty close to done tomorrow if the weather holds out. That gives us Monday if there is anything left to finalize and then install the PCM on Tuesday. Then it will be play time to see just how good it runs. Should be fun.
Doug
Last edited:
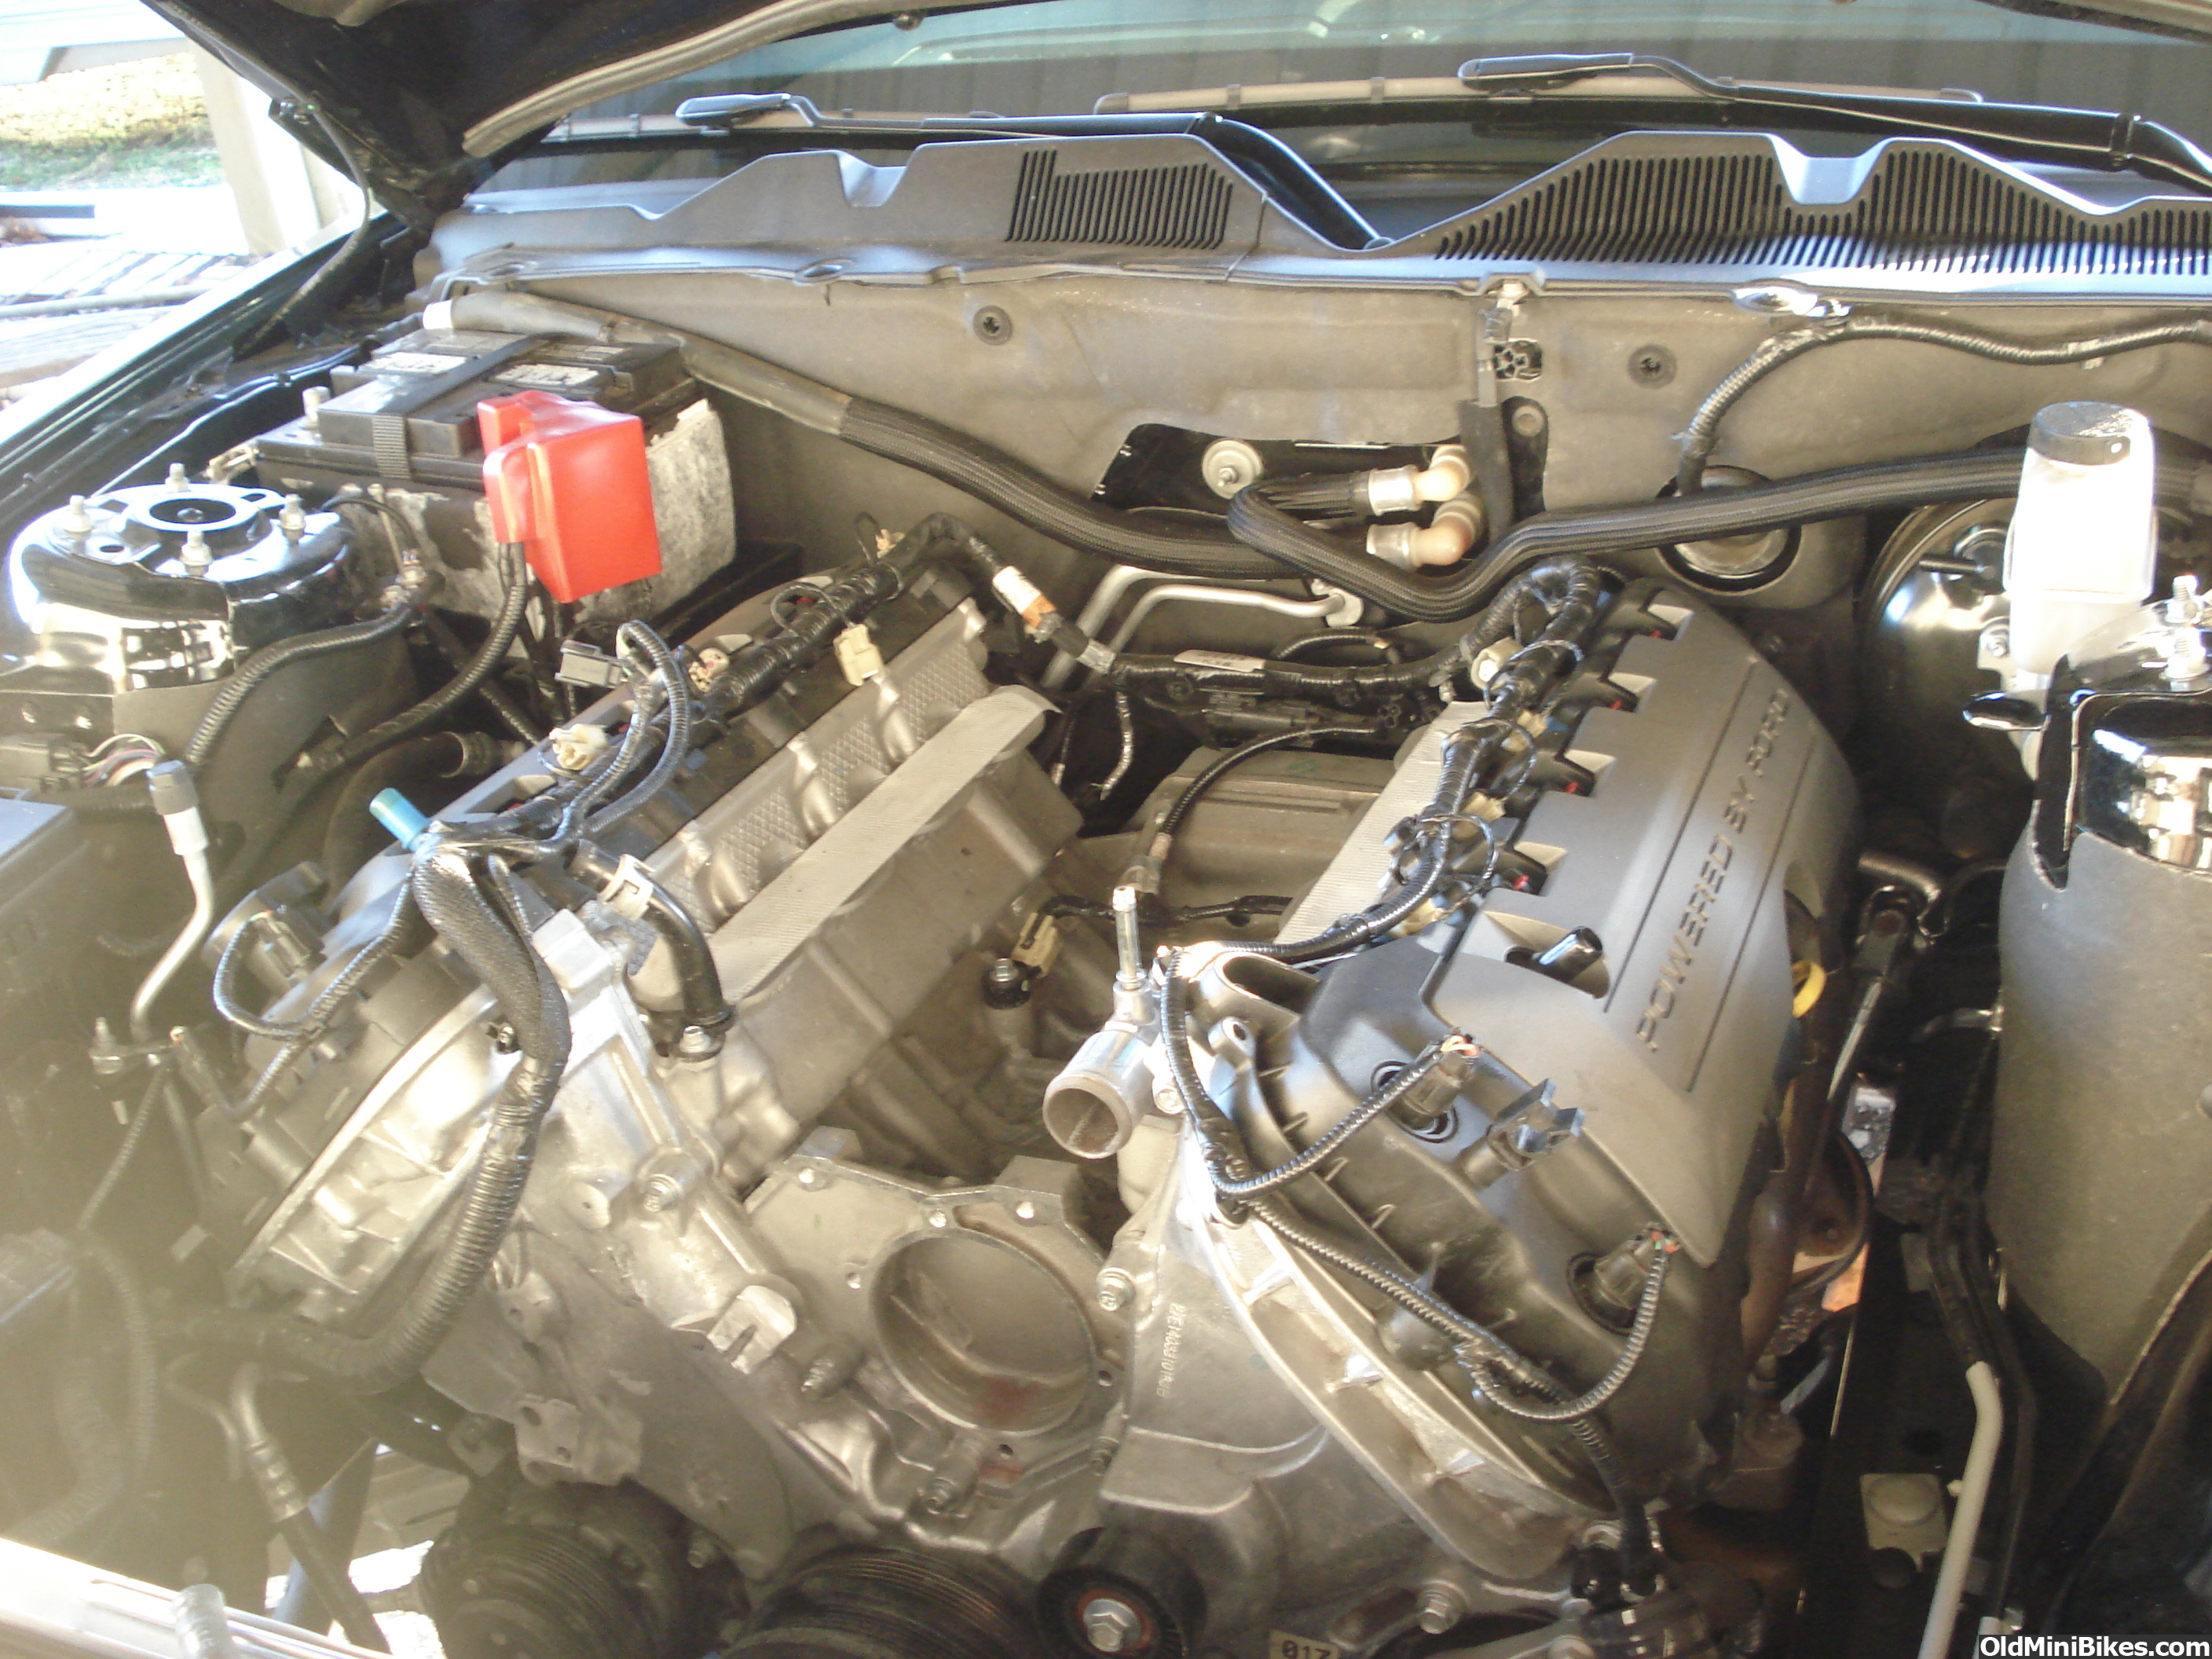
Well we should get the Mustang finished today. I will be glad when it is done so that I can get back on my Warrior. just a few things left to install.. For those that are interested here are a few pics.
The boost device.....

Just sitting there

Finally looking like something! Wires tidied up and most parts installed.


Install the air box and the fuel system up grade today. And then hang all the front fascia back on the car so I can wave bye bye.... and get back to business on my bike.
Doug
The boost device.....
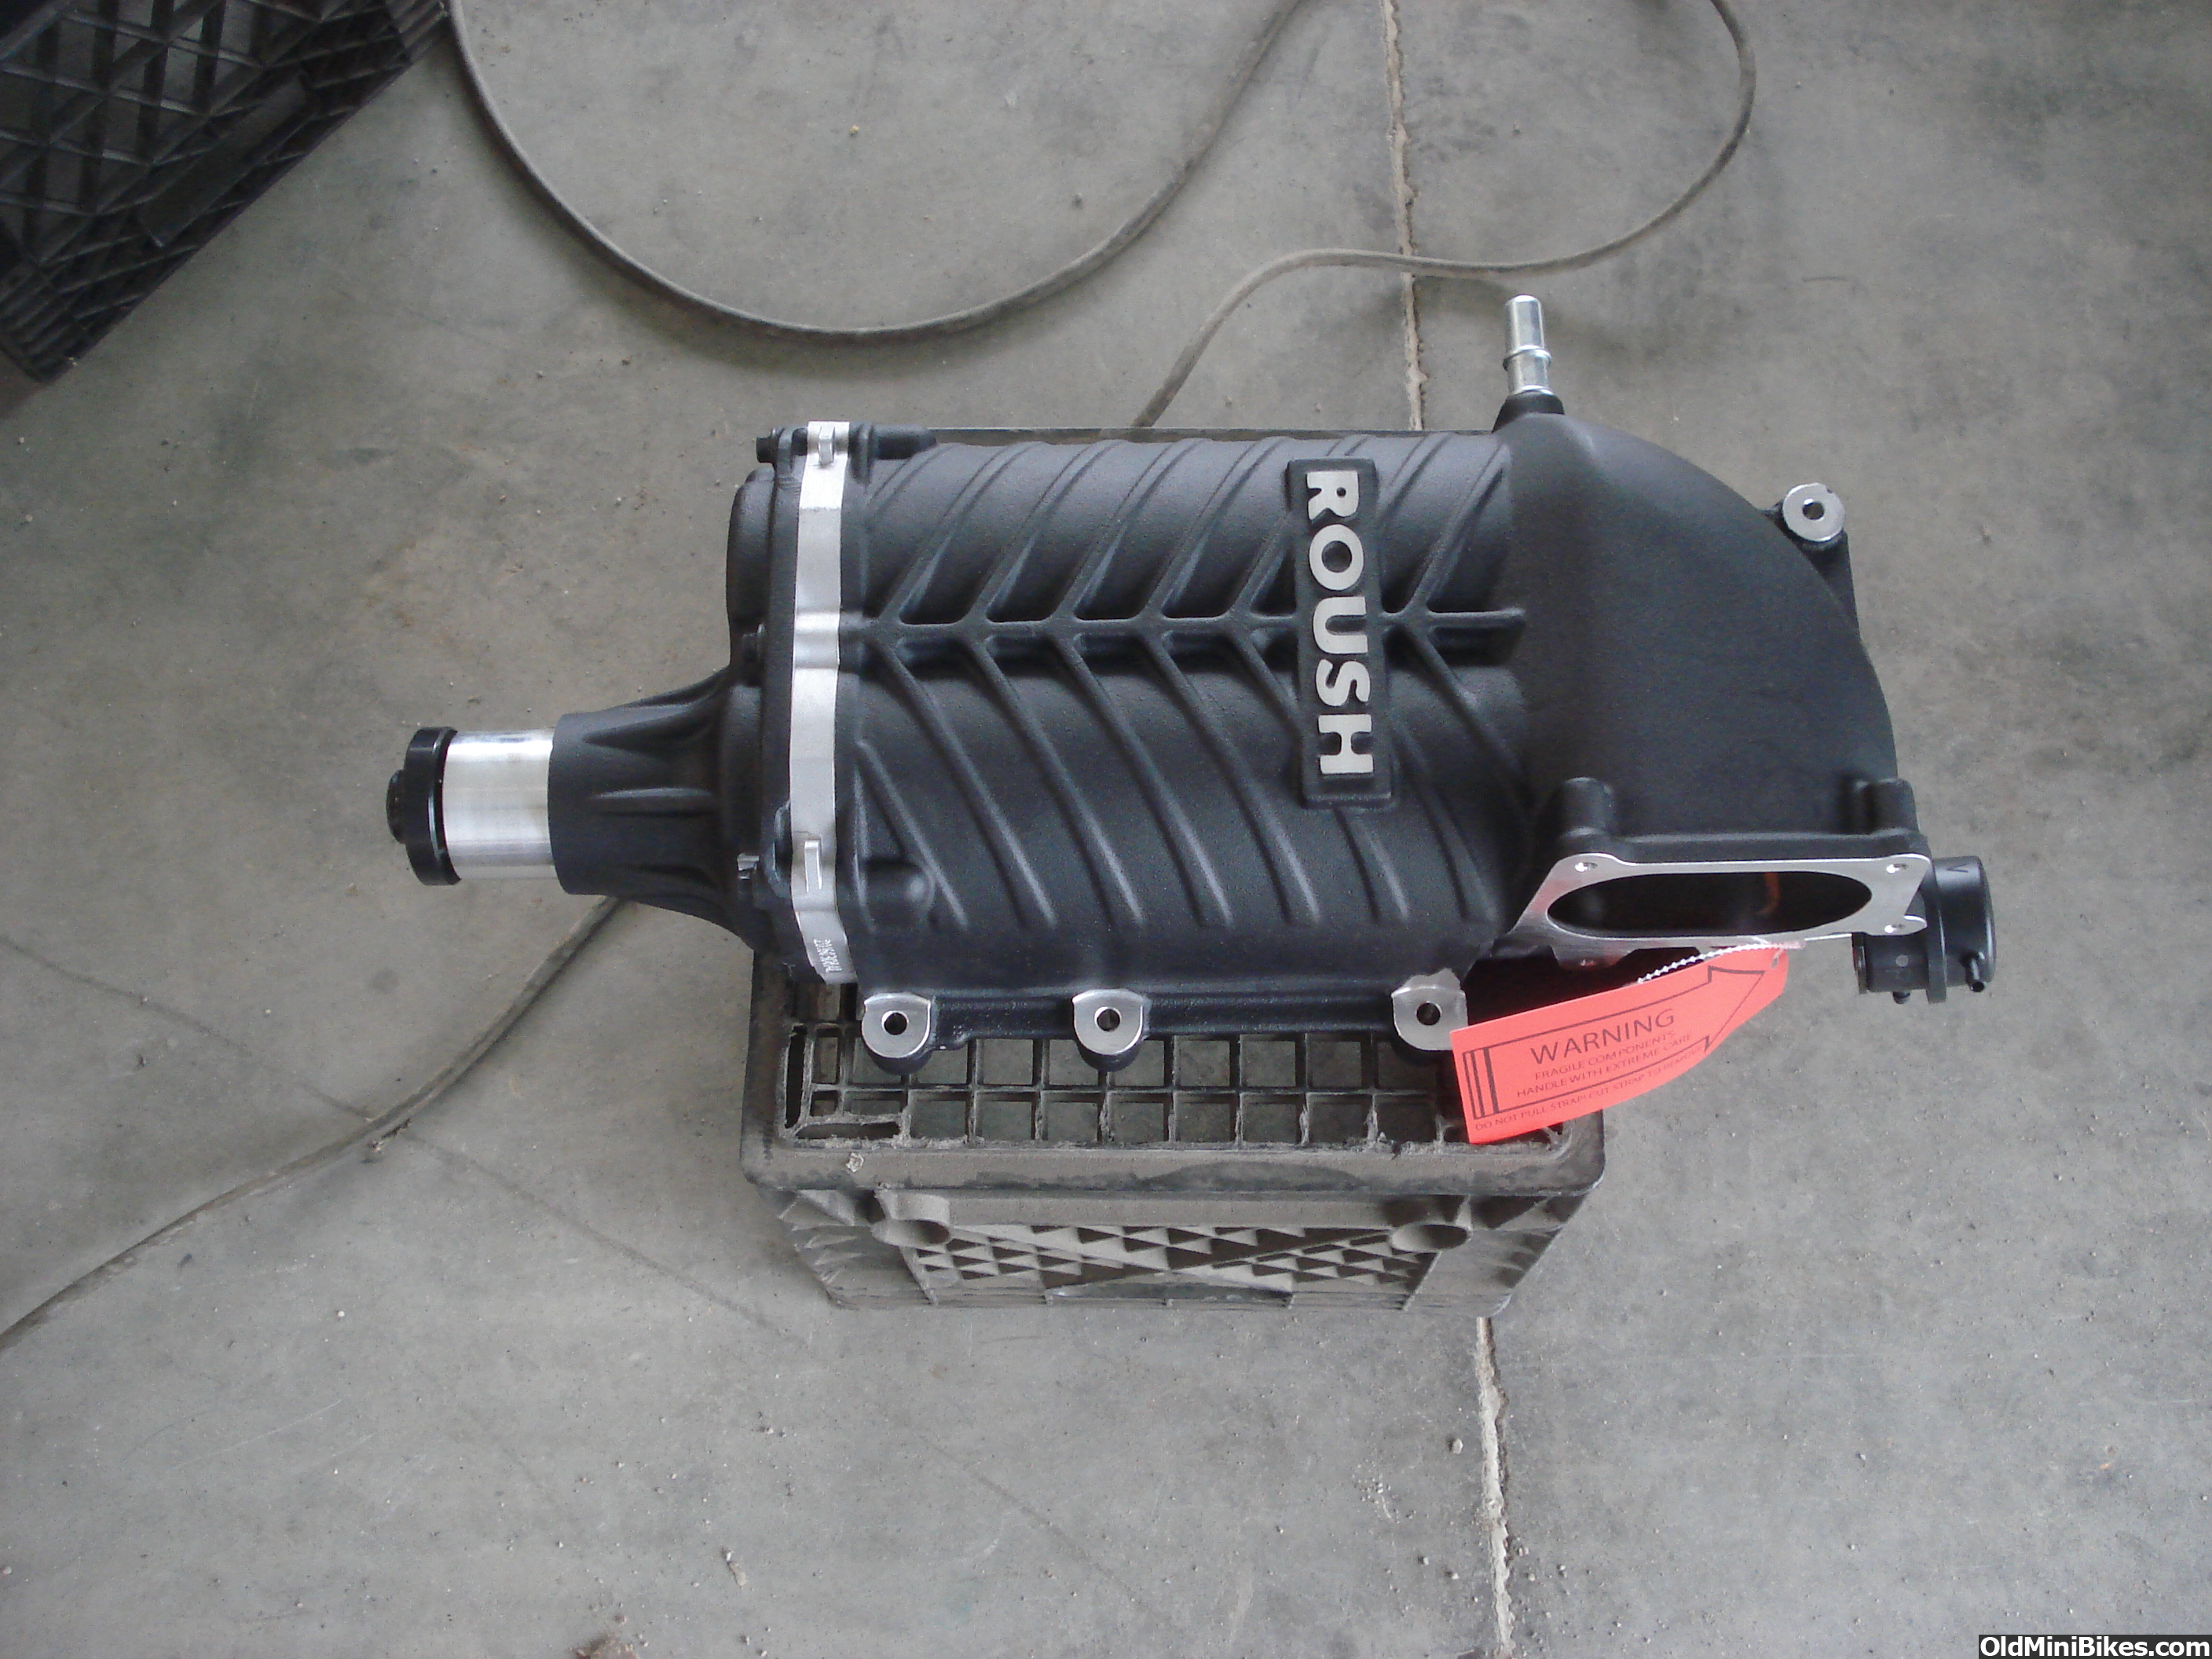
Just sitting there

Finally looking like something! Wires tidied up and most parts installed.

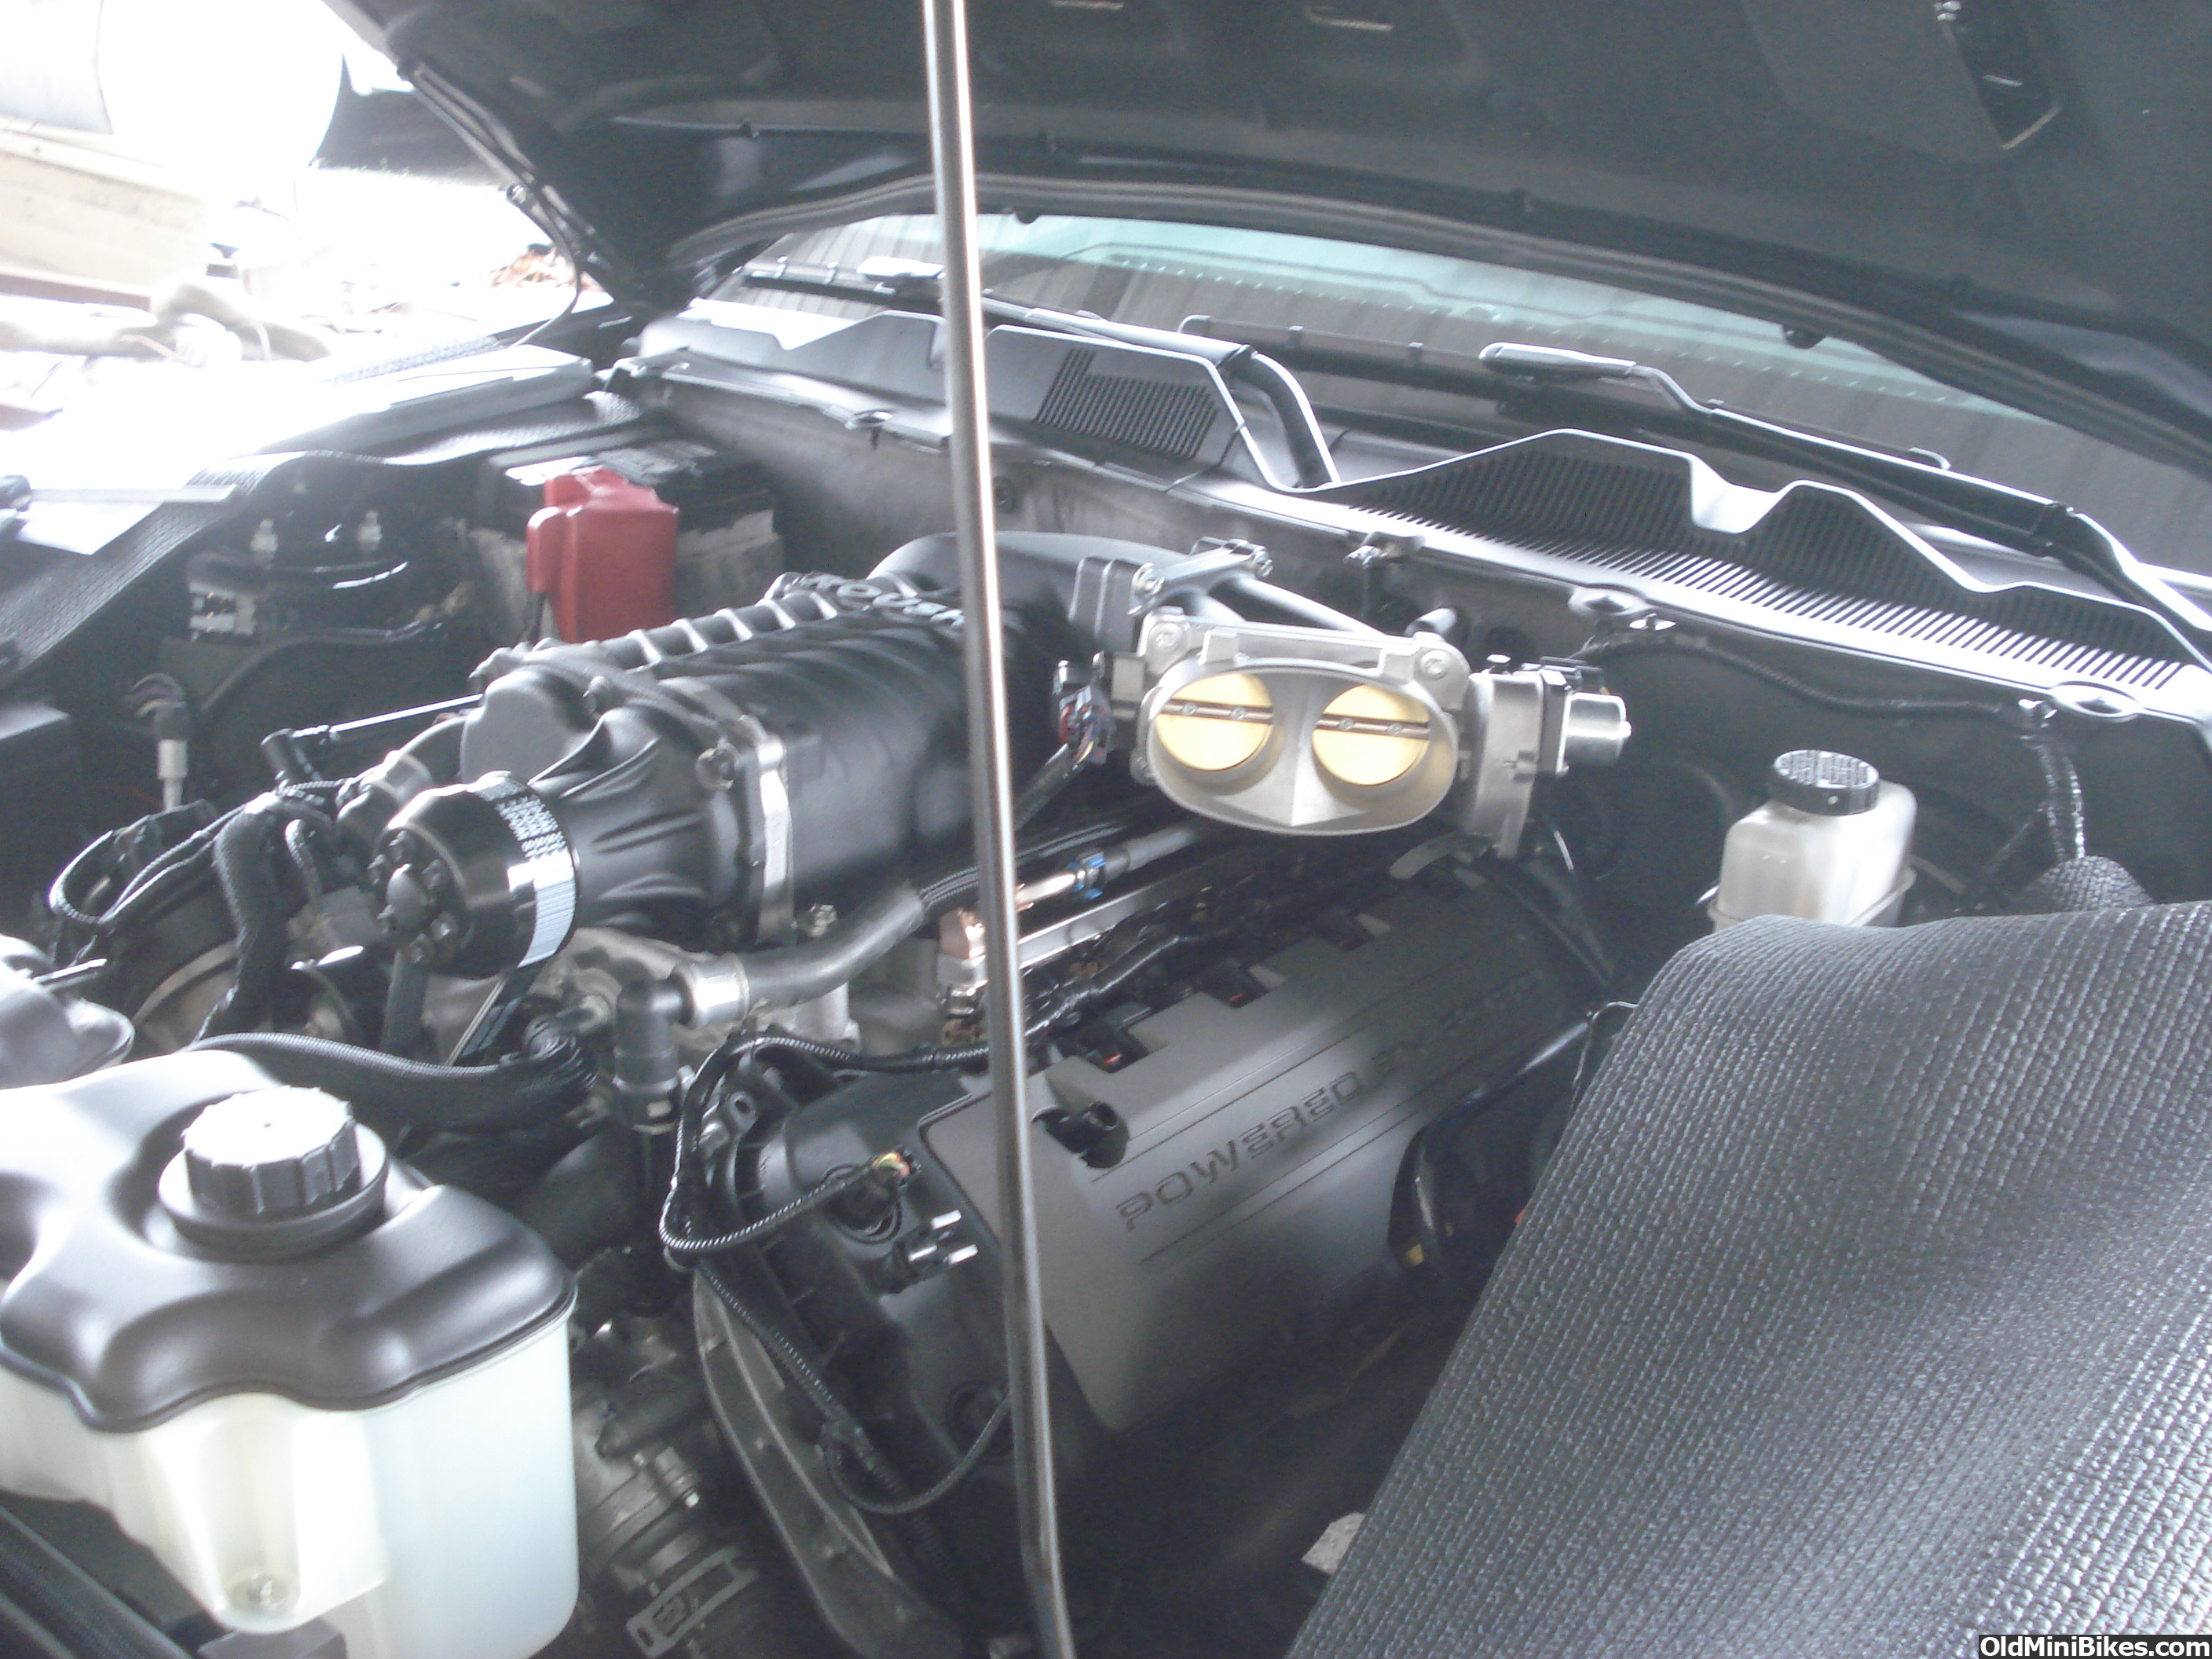

Install the air box and the fuel system up grade today. And then hang all the front fascia back on the car so I can wave bye bye.... and get back to business on my bike.
Doug
Hooray!!!!! The Mustang is done! Back to the build.
What a pain in the rear project that was. The instructions have you take the intake out of the box and attach a hose. The next step is to prepare the air filter box. Then the next step is to hang the intercooler in front of the condenser. Then the next step was to put the fuel injectors in the fuel rails. Then the next step was to install the intake...... Then plumb the intercooler.....
Talk about going in 9 different directions at one time.....
I followed my gut and built the intake and put it on. Then the Supercharger. Then the drive belt system. You know how it goes but I don't think the guy writing the instructions had a clue...
Yeah, tomorrow is Minibike day at my house!!!!!!!!!!!!!!!
Doug
Don't know what the weather is like there Doug....but its been close to the 70's the last couple of days here .
Unfortunately it just makes it that much colder when the real weather does get here. Haven't checked the Blueberries but they were blooming in December of 2015 we had such a warm spell. I was afraid we wouldn't have a crop for 2016 but we had a bumper crop. I recall some even made it to Kentucky....
Wooo hoooo my triple nickel post! :gunsmilie:
Last edited:
Nice work!..damn you move fast:thumbsup:..wish had your energy! I was looking at same tires the other day..was thinking using two front ones on my ct200u those front ones k546? Little cheaper than the k572 sometimes..nice looking tire..after i use up these 18" x 6.50-8 turfs i bought..unless they last good..maybe next year
I got them here. Best price I could find and fast shipping too!
https://simpletire.com/kenda-19-7.0...utm_term=206214&utm_campaign=CartAbandonment1
Last edited: