The Double Whammy was built in two weeks to inspire another fellow OldMiniBikes Member to get his Twinibike done for the Billetproof Drags.
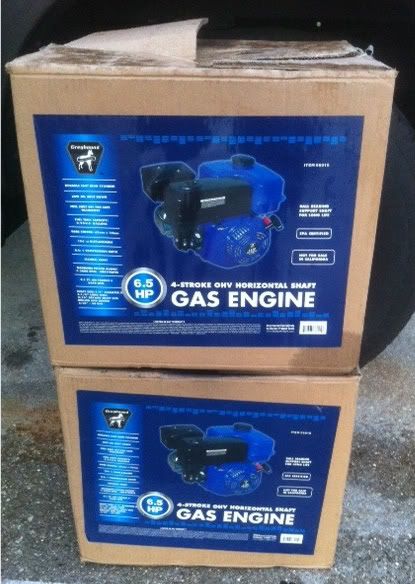
Got a great deal on a Doodlebug and a couple HF engines from Square Chopper here on the board, and thats what started the project rollin'!
Nice clean Doodlebug to cut up!
oh boy, new stuff!!
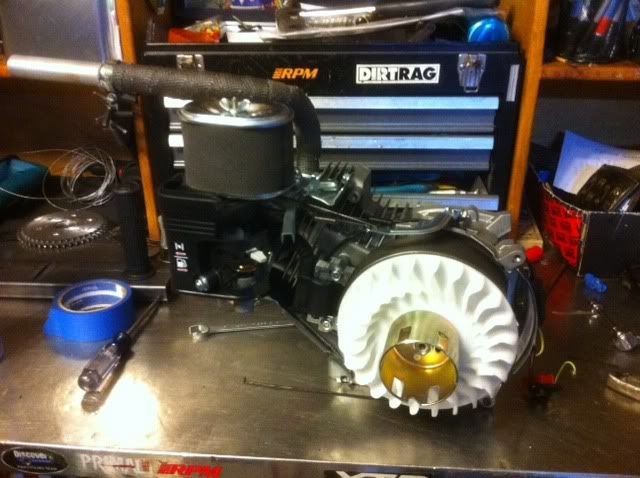
First step was to take all the garbage off the engines and paint the blue BLACK!
Attack of the Clones

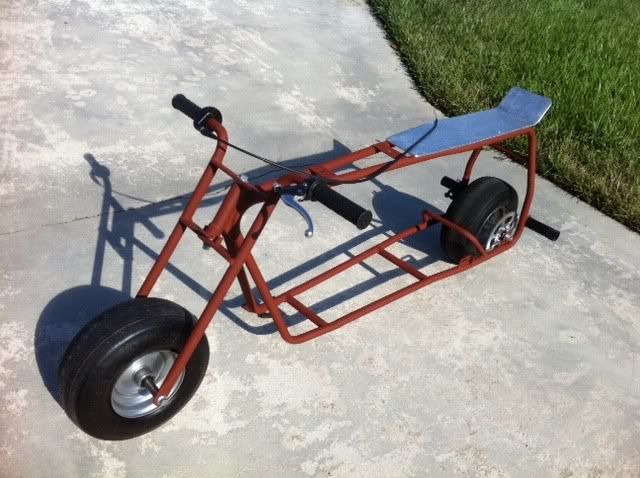
Then get rid of all the excess brackets, and cut her in half!
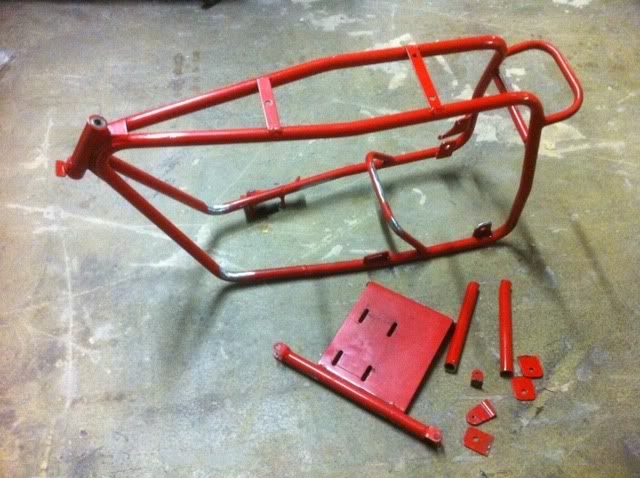
NO TURNING BACK NOW!!!

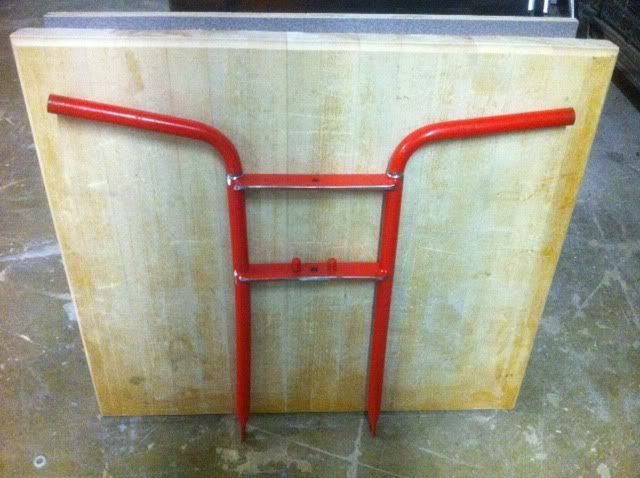
Cut the bars down, I'll bend them down later for a better angle.
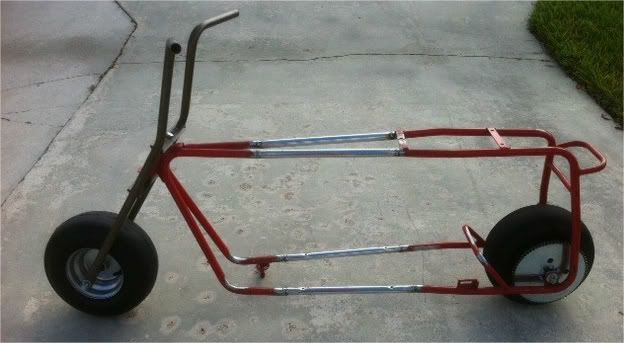
14 inch stretch.
Looks really Nerdy here, but I wanted to make sure the engines were going to clear everything.
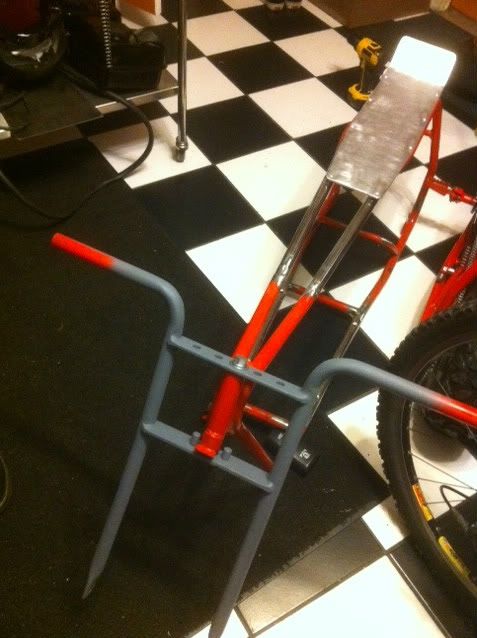
Got the bars bent and primed, couple a holes too. Seatpan idea started too.
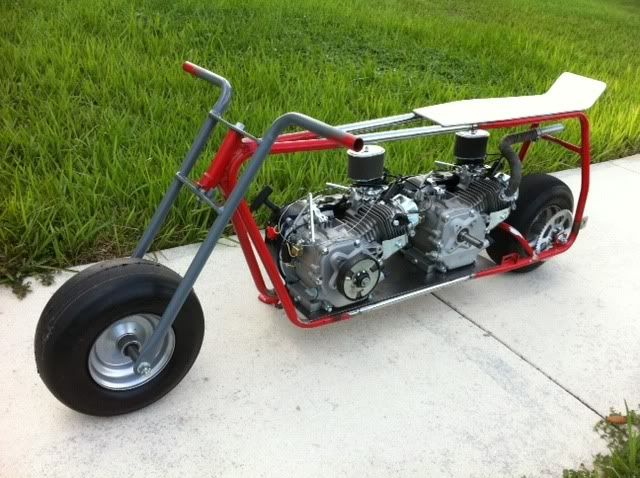
Getting closer to looking like a dragbike.
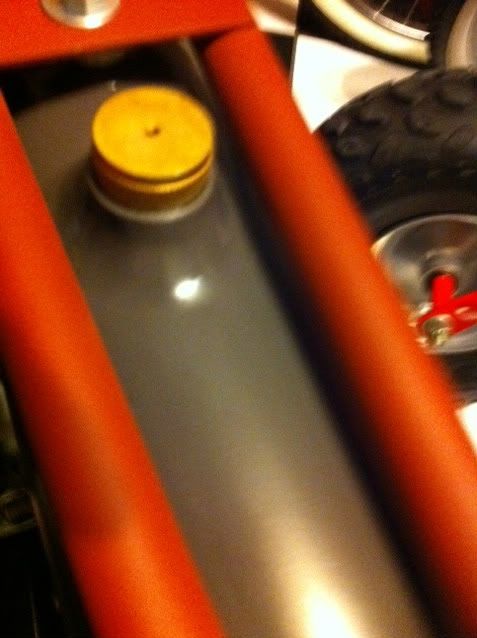
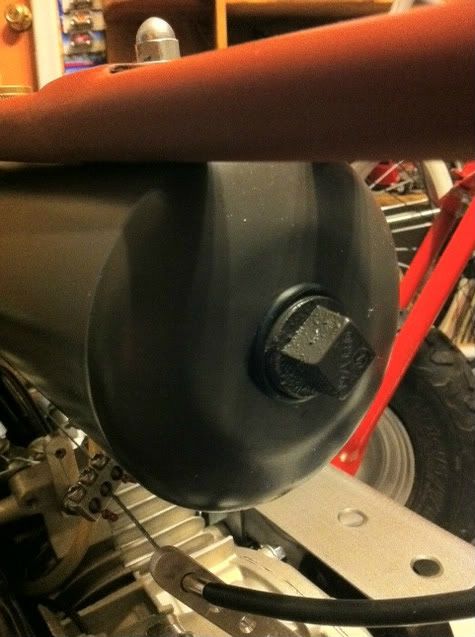
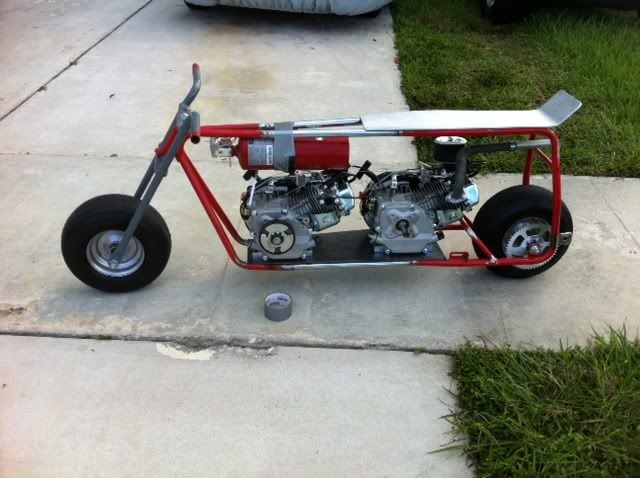
Checking tank clearance, yes its a fire extinguisher, soon to be tank.
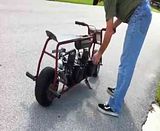
Testing went great, time for paint.
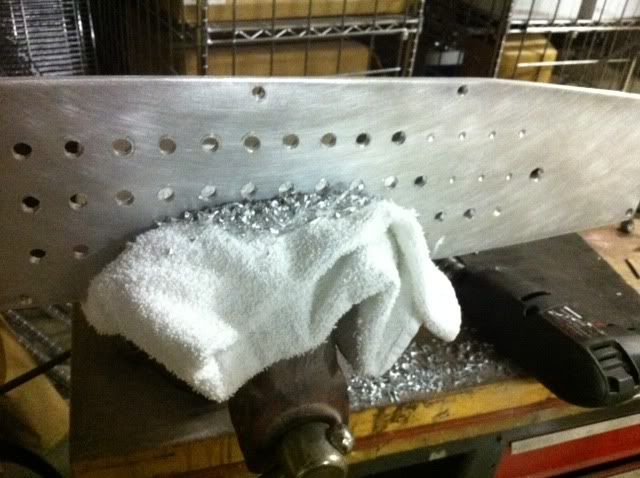
Trimmed down the seatpan and filled it full of holes.
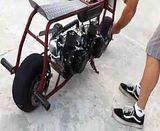
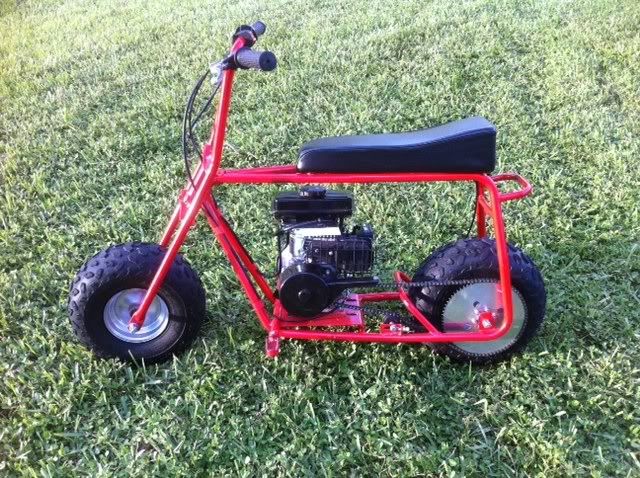
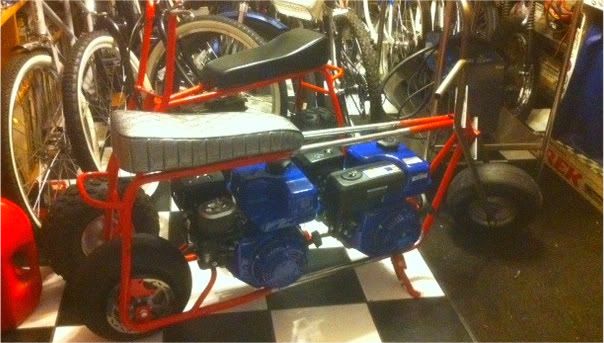
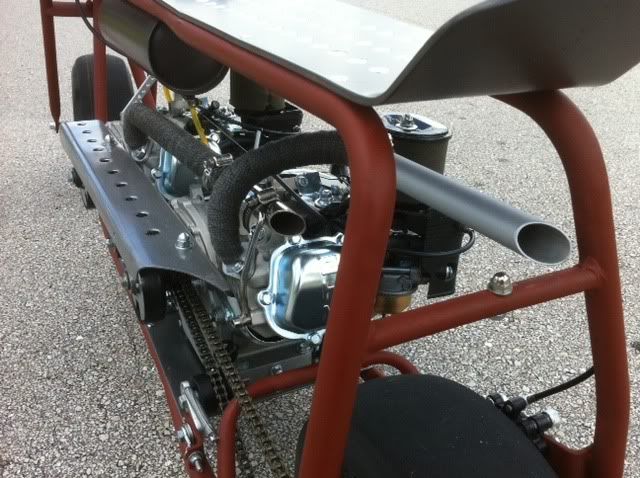
The Double Whammy! Done and raceable in two weeks time.
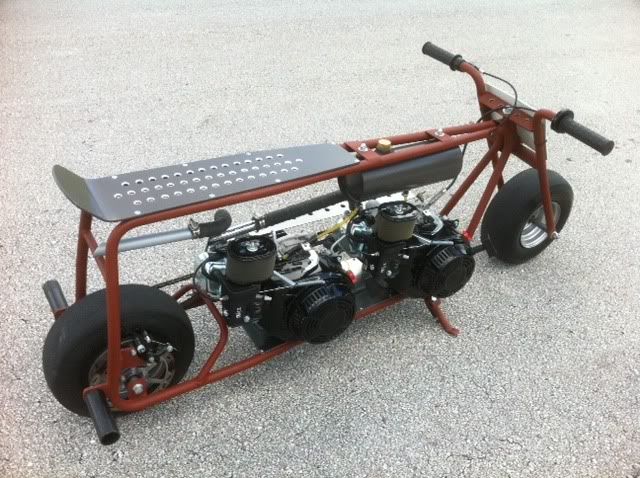
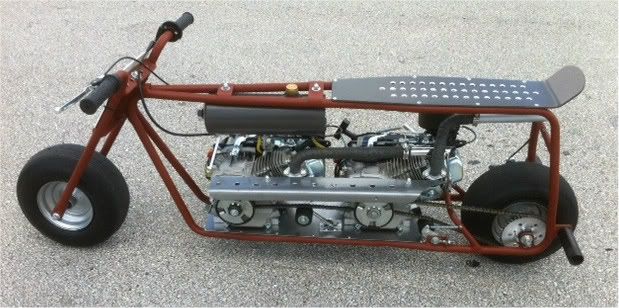
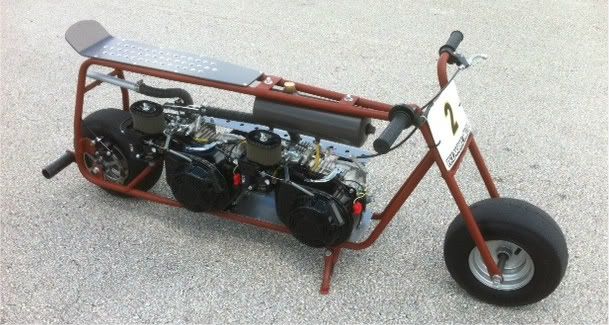
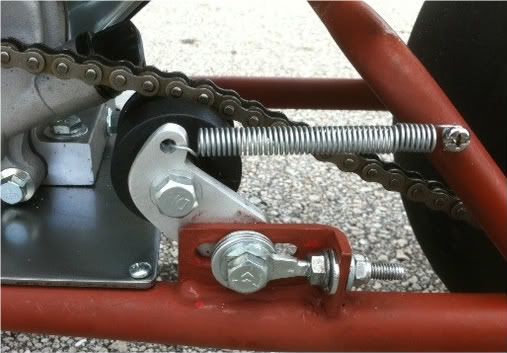
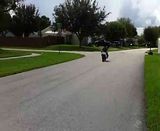
Some of the neat things about the bike... I don't know about top end, but the torque is through the roof! The exhaust was made from bicycle handlebar tubing, the cable stop is from an electrical block, the skateboard looking seatpan was bent in a drainage grate, chaingaurd is a steel shelf bracket, gas tank was a fire extinguisher, Ruddy Red Primer and Industrial Gray spray bomb paint, homeade spring chain tensioners, the back clutch is a two spocket to make the whole project work, and work it does, it is a blast to ride. We'll see next month what it does in the 1/8th...stay tuned.
Got a great deal on a Doodlebug and a couple HF engines from Square Chopper here on the board, and thats what started the project rollin'!
Nice clean Doodlebug to cut up!
oh boy, new stuff!!
First step was to take all the garbage off the engines and paint the blue BLACK!
Attack of the Clones
Then get rid of all the excess brackets, and cut her in half!
NO TURNING BACK NOW!!!
Cut the bars down, I'll bend them down later for a better angle.
14 inch stretch.
Looks really Nerdy here, but I wanted to make sure the engines were going to clear everything.
Got the bars bent and primed, couple a holes too. Seatpan idea started too.
Getting closer to looking like a dragbike.
Checking tank clearance, yes its a fire extinguisher, soon to be tank.
Testing went great, time for paint.
Trimmed down the seatpan and filled it full of holes.
The Double Whammy! Done and raceable in two weeks time.
Some of the neat things about the bike... I don't know about top end, but the torque is through the roof! The exhaust was made from bicycle handlebar tubing, the cable stop is from an electrical block, the skateboard looking seatpan was bent in a drainage grate, chaingaurd is a steel shelf bracket, gas tank was a fire extinguisher, Ruddy Red Primer and Industrial Gray spray bomb paint, homeade spring chain tensioners, the back clutch is a two spocket to make the whole project work, and work it does, it is a blast to ride. We'll see next month what it does in the 1/8th...stay tuned.
Last edited: