Fm71's OldMiniBikes-15 scratch-build step-thru chopper

#21
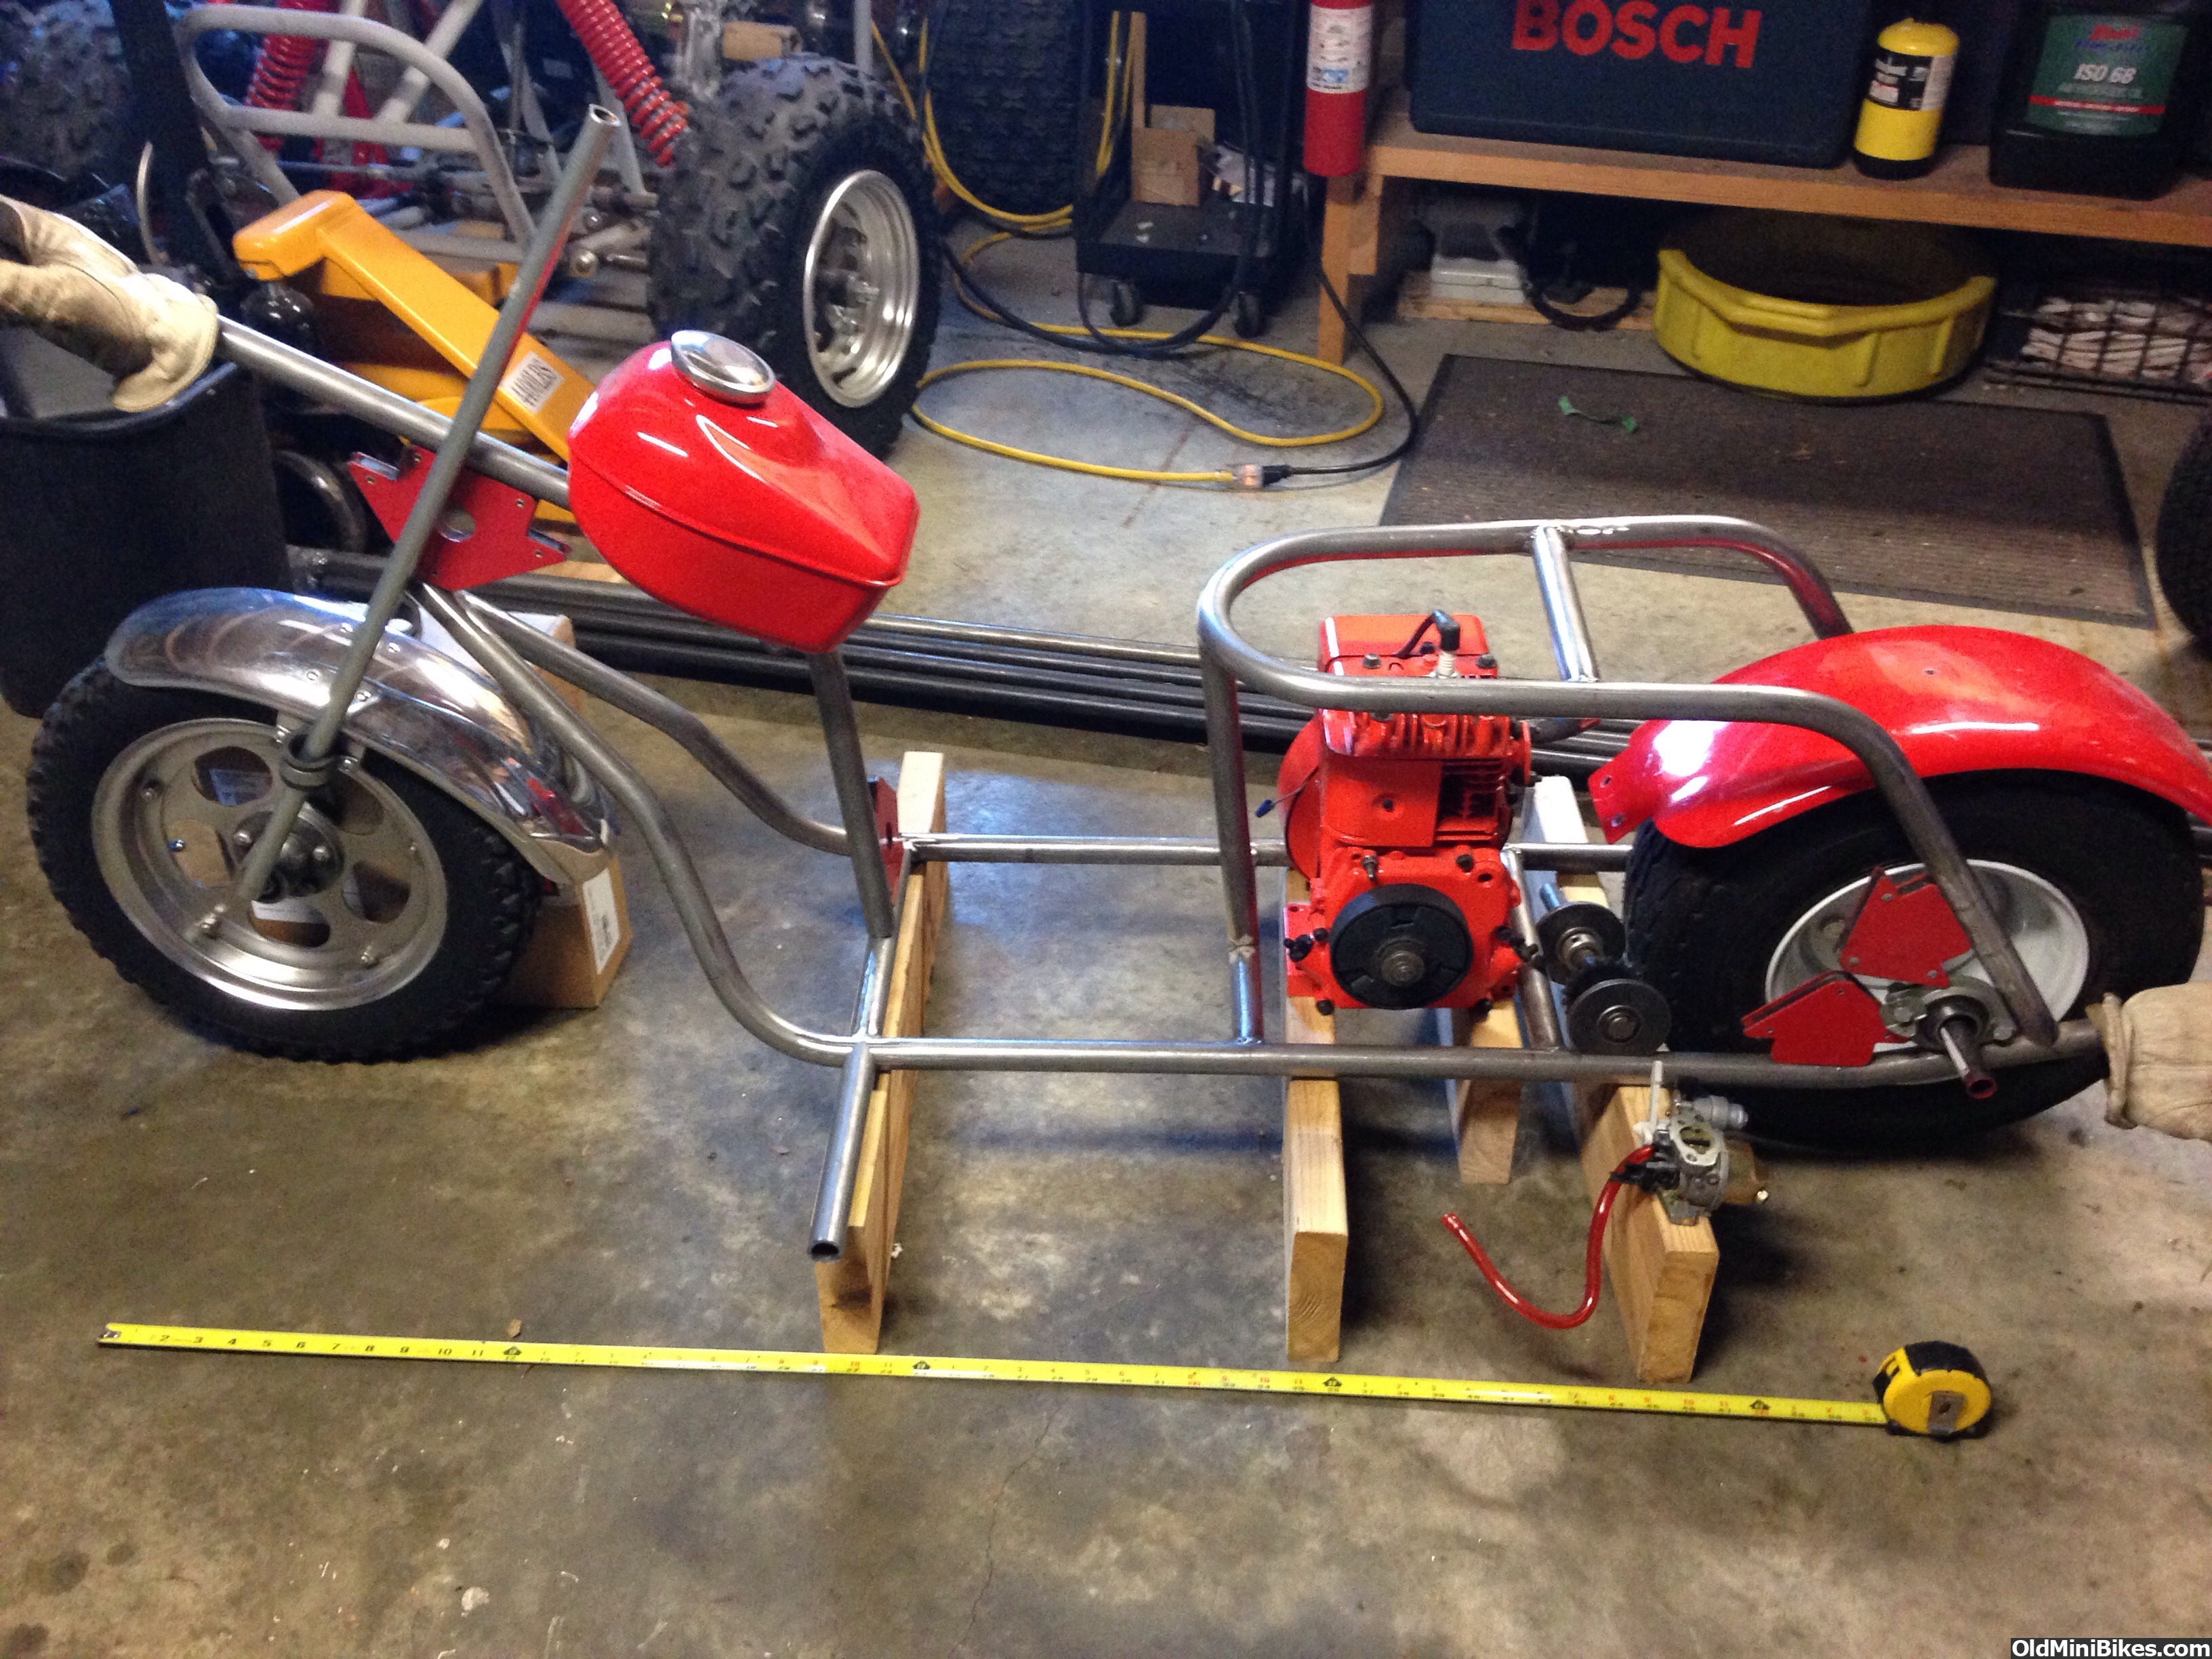
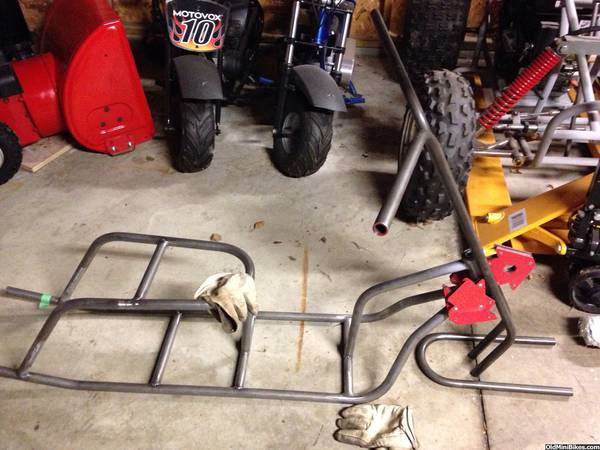
Those are all very strong compliments, thank you! Spent a little time this weekend welding the main part of the frame up and did a quick mock up before packing everything back up till next weekend. I made the engine area a little larger in case the 3 hp doesn't have enough power- a 5 hp will snug in nicely. Still need to make a carb intake for this and try to get it running. Hard part is over though and I can spend more time building and less time designing and tinkering. Wheel base is now 52".
 
#22
Just curious. For a shorter wheel base has anyone thought of putting the wheel in front of the motor? I really like the step through bike look. And was wondering of the rear mounted motor maybe with a shroud?
 

rugblaster

Active Member
#23
That really looks nice FM. I can see a bead rolled or louvered panel around the motor area with nice graphics. Held on with dzus fasteners. Maybe in 2 pieces, one on each side. Very "factory" looking.

I'm looking at that area between the first 2 by under the tank and the second 2 by under the motor. I don't know what wall thickness tubing you're using, but it looks like it could "taco" right there if it hits a dip fast or hard enough. Especially with my FA on it.

I like it!!!
 
#24
Thanks RB, I like your idea of using side tins which might also provide some protection. The tubing is 1"/.125 wall and will have a plate welded to the top creating a boxed in structure. I also am putting some 7/8 tubing along the sides which will flare out the areas where your feet rest.

Another member mentioned ditching the front tank and putting one on back which would reduce the wheelbase probably by 4" but I'm a little set on my original design.
 
#26
Not my build but I might have made a leading link or similar suspension up front for a better ride, the craftsmanship is top notch and the design is well thought out so even without suspension you will have a great machine and have the satisfaction of having built it from scratch. Nice work!
 
#32
It really does look cool.... I would love to be able to draw up some ideas. What programs are there to do stuff like that. I am thinking of a 2 seater double step through now.
 
#33
Thanks gumpit- I still use chicken scratch drawings but the software was from JD^2 which is somewhat limited for modeling. I have an older version of autocad but never figured out how to turn 2d into 3d modeling. I would also be interested in finding a program which does not have a high learning curve.
 
#34
Not my build but I might have made a leading link or similar suspension up front for a better ride, the craftsmanship is top notch and the design is well thought out so even without suspension you will have a great machine and have the satisfaction of having built it from scratch. Nice work!
Thanks outlaw, I'm still contemplating some type of suspension but don't want to over complicate it like my build last year. I have room under the neck for a single spring but not sure I know which size/weight to use.
 
#35
Could you replace the brace under the front of the seat with a shock and hinge it behind the seat? Kind of reverse what most are... At least the jewels would get a little suspension?
 
#37
Not too much to report on for a weeks worth of time But I did get the neck welded in and the upper brace which holds the tank. Next on the list will be bending up the forks and taking this to the next stage as a roller.
 
Last edited by a moderator:
#39
Anyone else having problems uploading pictures? I bent up the front forms this evening and borrowing an idea similar to another builders project by making my own version of a trail tamer front end. Tried posting a thumb and midsize photo but got an error msg.
 
#40
Must have been a temporary glitch, here's the photo I tried attaching last night. My tube die has 3" radius so I will be splitting the "u" piece and shortening an inch.
 
Top